Doctor Octoroc
Sr Member
Hey everyone,
I've started this thread as a place for everyone that ordered my 3d printed Doctor Who props to share their tips, techniques, results, etc. I'm starting it off with a few tips I picked up along the way and hopefully there will be many more.
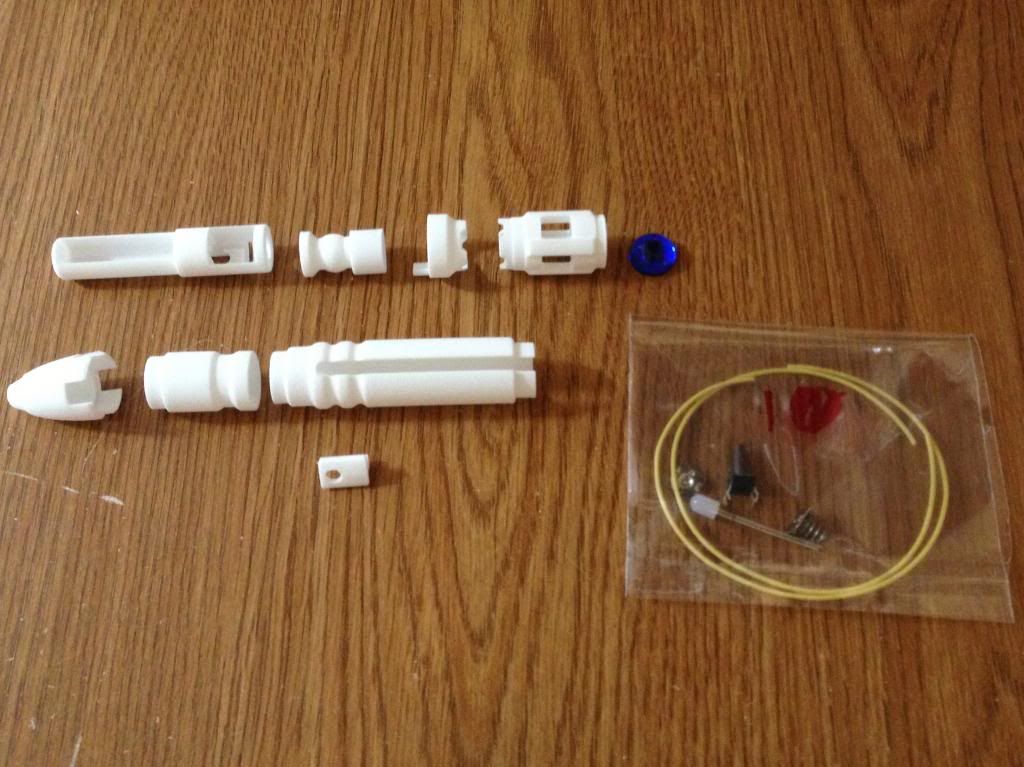
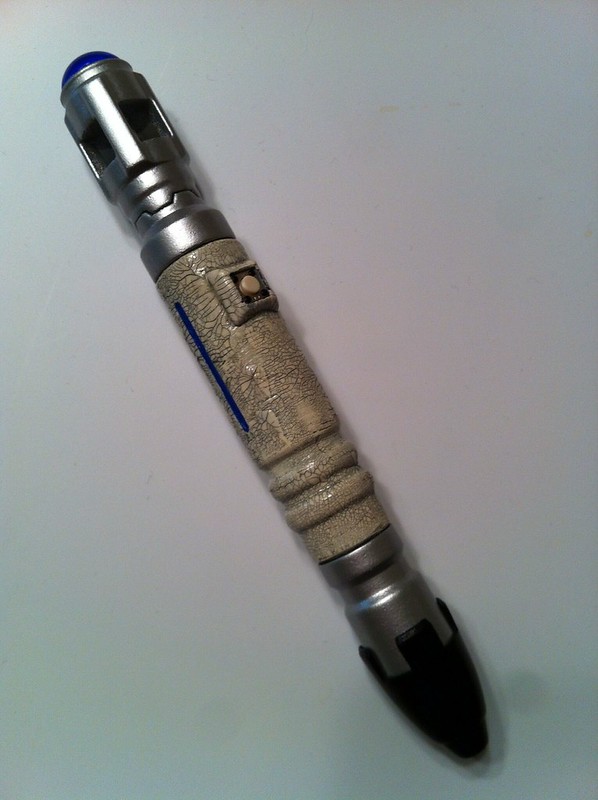
First off, all kits come in sealed plastic bags with letters/numbers on them. If you ordered an electronics kit with your's (as most of you did) it'll come in a separate bag with the same marking so you know which goes with which prop. Your kit will look something like this:
For instructions on putting them together, refer to the first post in the Affordable Doctor Who Props INT thread - after each listing is the basic physical model assembly diagram. If you're incorporating electronics, that's up to you how you want to do it.
2. PREPARATION & ASSEMBLY
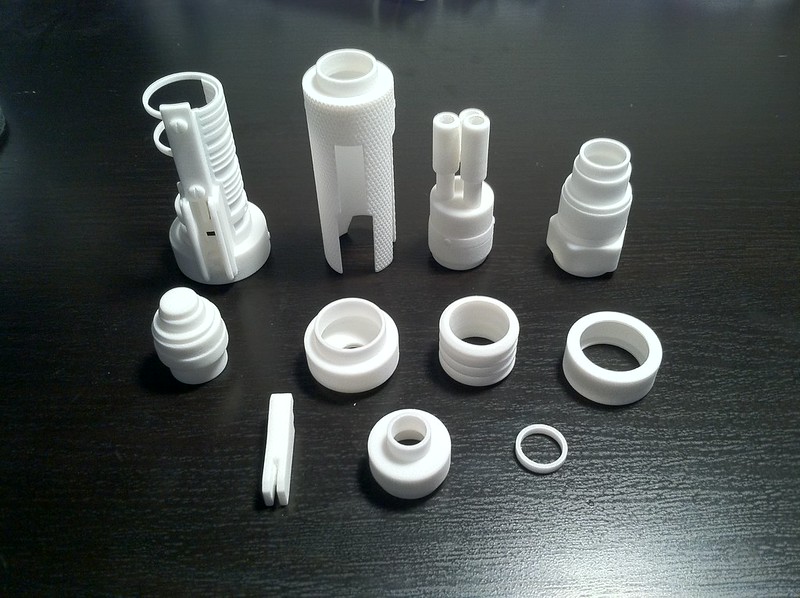
The WSF material will have light dusting on it so be sure to brush, blow, air-in-a-can, whatever to get it off. I wouldn't recommend washing them as they're not water tight the way injected plastics are, but a damp cloth wipe would be fine. The material can be sanded, but as it's built from a power based plastic, the texture itself will be the same as you sand. Paint/sand/paint/sand/paint works nicely, though I've heard that floor wax can be applied and sanded to get it really smooth. I haven't tried this method myself so I can't comment on its effectiveness.
The FUD clear material, on the other hand, should be washed in water with mild hand or dish soap before you use it. There will be a waxy residue on these parts, and they'll even feel a bit waxy when you first touch it, so this is highly recommended that you clean them for proper paint adhesion. I've read other tips that suggest placing the FUD part on a paper towel under a low heat source (like a lamp or on top of a window sill or car dash in the sun) so the remaining wax residue will melt away, then place it fully submerged in an acetone (nail polish remover) bath for 10-15 minutes, and let dry thoroughly. Any longer than 15 minutes in the heat and it is said to get softer and are more likely to warp. To clean inside the emitter lenses/bulbs, q-tips work nicely, but don't go too nuts - I lost the cotton end of a q-tip inside the 11th's bulb and it was a pain to get out!
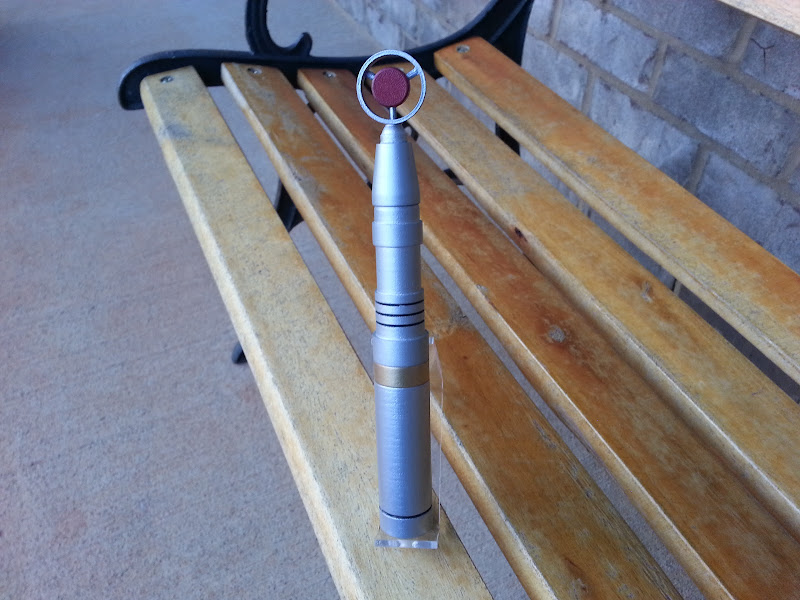
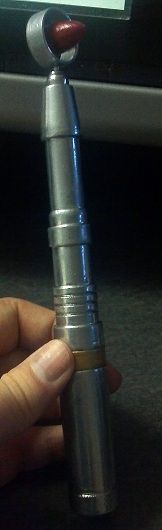
Most of the kits have everything you need for a physical, static prop, except for the 9th and 10th extending sonics. These require the addition of a length of 1/2" acrylic rod, as seen in this picture:
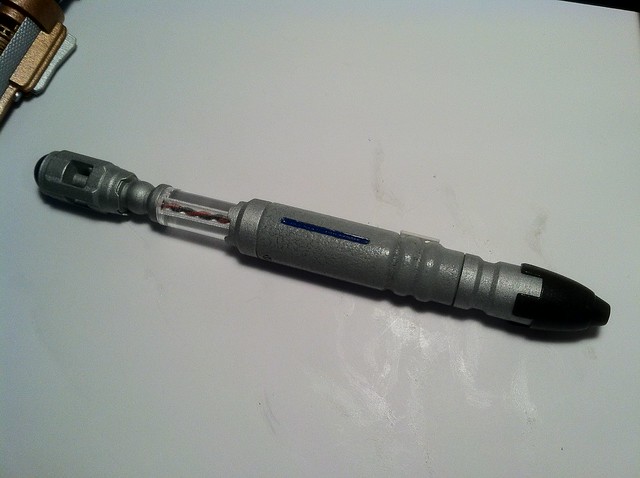
I did not include these with the kits (noted in the order section) since I was unable to perfect the implementation, but there is a way to do it, I'm sure. If you are unable, the pieces included in the kit are enough to make a static variation of each of those sonics.
3. PAINTING
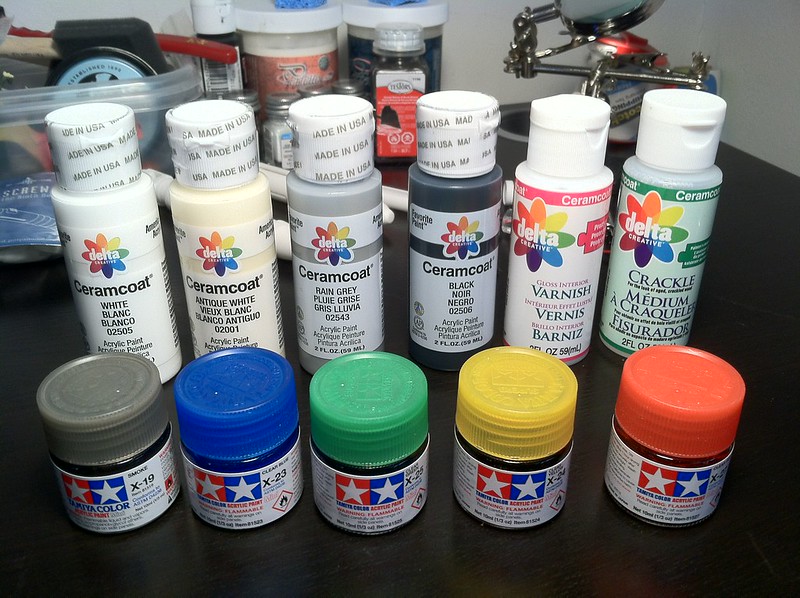
I recommend these paints. For the WSF plastic, Ceramcoat acrylic paints (or any acrylic paint really) adhere pretty well. I've also used Testor's, but truth be told, no paint has reacted poorly thus far with the WSF.
For the clear FUD pieces (emitter lenses, etc) I used Tamiya clear paints. They cover well and come in the right colors already.
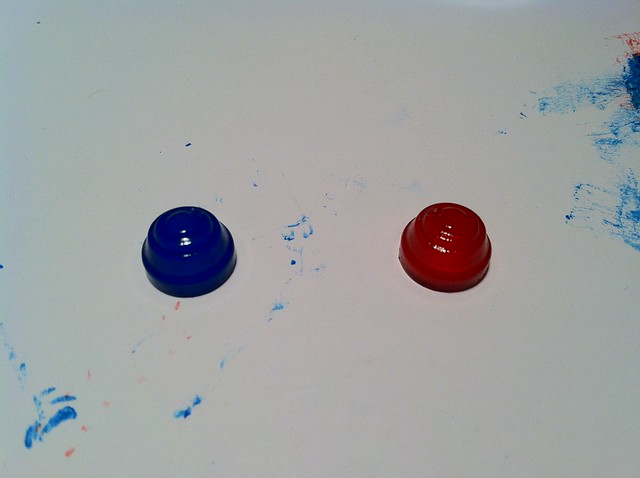
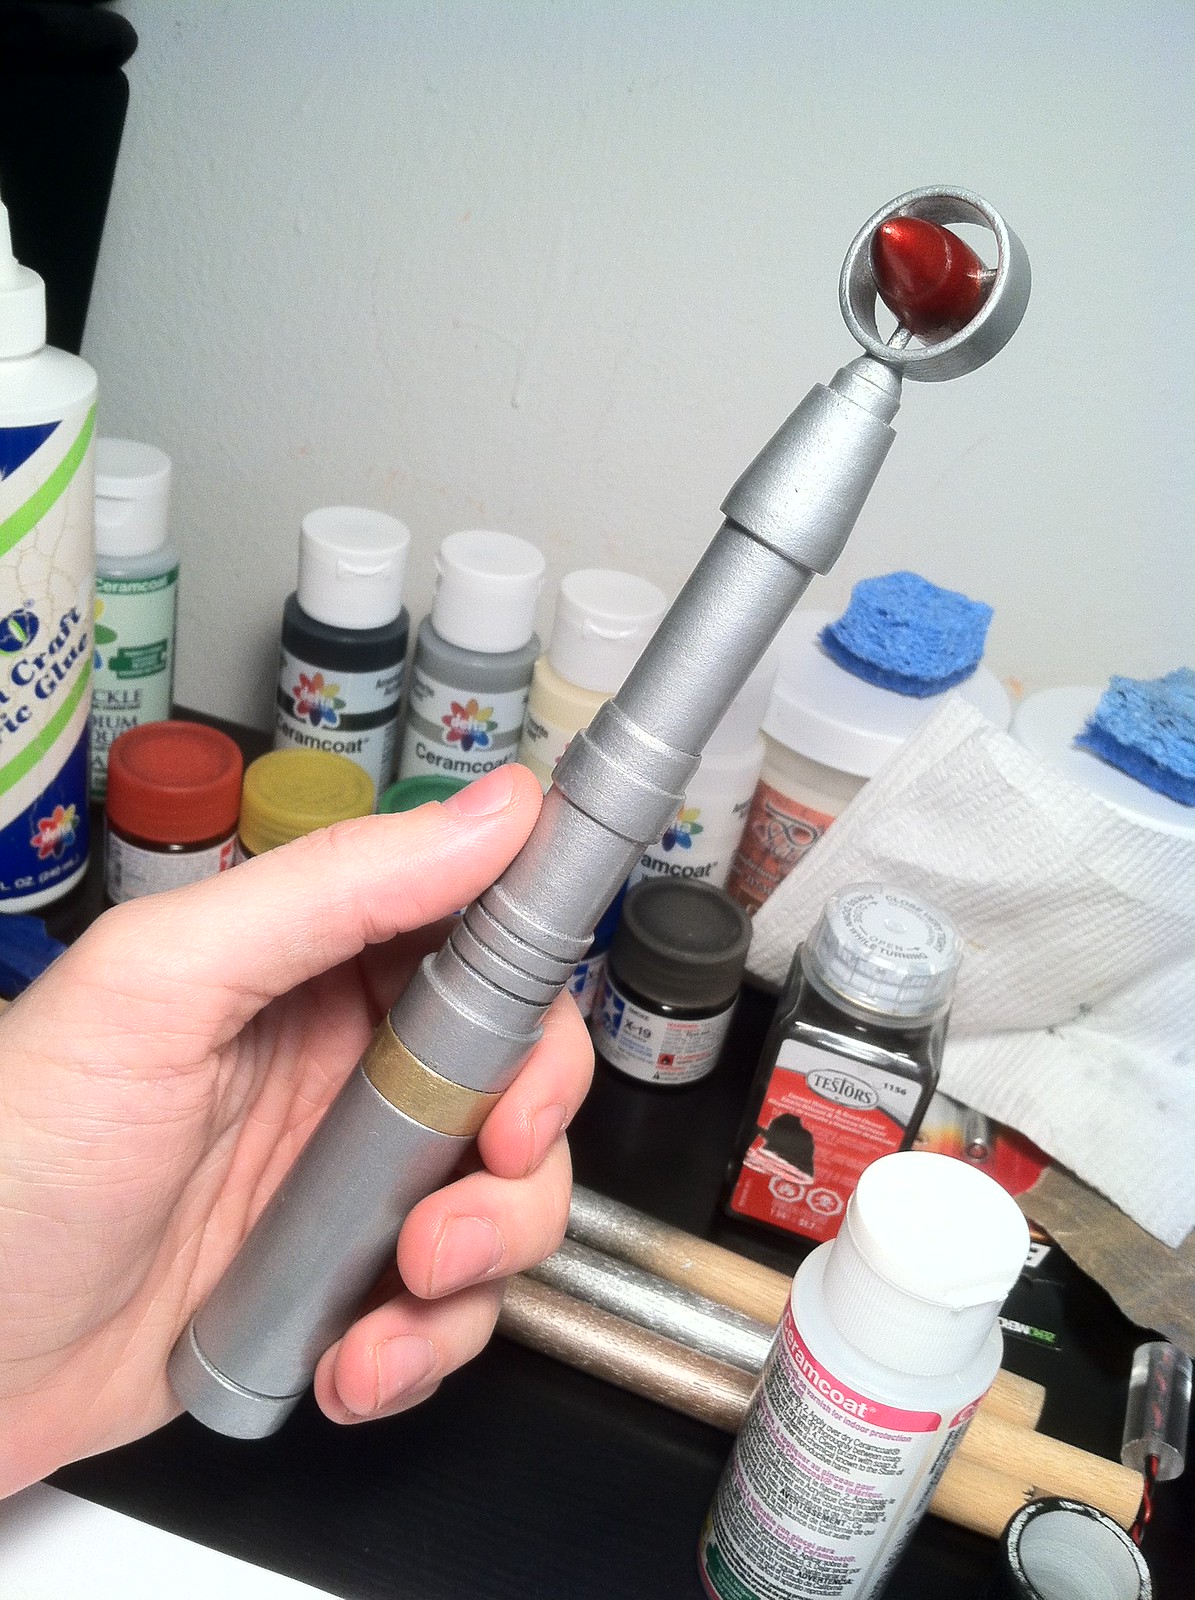
After 3-5 coats, the River SOng sonic emitter lenses look like this:
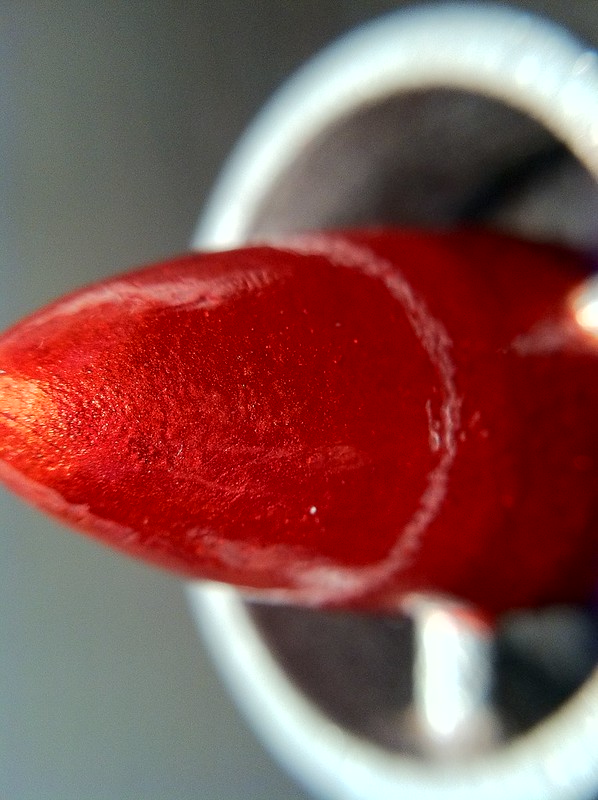
If you want a cool metallic color finish, paint the clear Tamiya over a metallic silver Testors enamel - that's how I did the emitter bullet on the 8th Doctor's sonic!
If you require masking decals for your paint jobs, here's a PDF file with those included.
http://www.doctoroctoroc.com/misc/decals.pdf
I drafted some up for the 3rd, 9th, 10th and River Song models that can be printed on adhesive paper of your choice and applied to the area that are to be protected from paint.
4. ELECTRONICS
For those who ordered electronics packages, there are no specific directions to make them glow. The kits were designed to give as much flexibility as possible, and with plenty of room for wires, batteries, LED's, chips, etc.
If you ordered a 9th or 10th Doctor's sonic with electronics package, they were designed specifically to house an A27 12V battery inside the inner housing. Here is how those fit in:

there is a hold behind the + contact (left side) that allows two wires to run up to the main housing area, where you would fit your chip, speaker (if you figure out how to add sound from a 9th Doctor's CO sonic or scratch), etc.
The front inside head of the 9th Aztec, 9th, 10th and River sonic are all designed to fit a 5mm LED just behind the lens. For the 9th and 10th variations, there is just enough room for the LED behind the cabochon if you opted for that for the lens instead of the FUD, so the LED leads will need to be wired so they fit fully inside of the shaft that leads from the top portion of the head to the bottom portion of the head. I had no problem with this, I just needed shrink tube wrapping to keep the contacts/wired from touching each other.
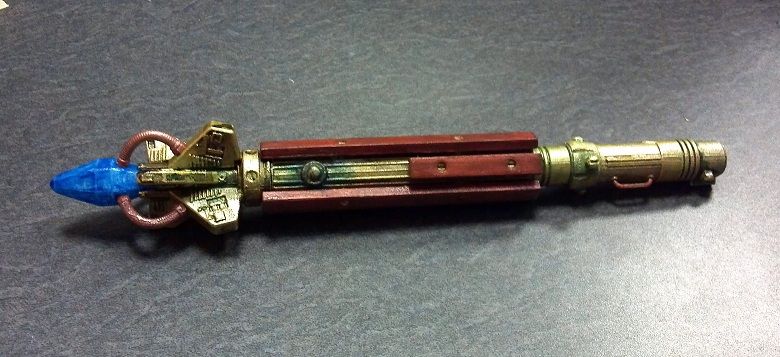
All of the sonics that come with electronics kits have housing for a typical tactile push switch. The 10th sonic has housing for a switch with a plunger that extends out to the slider. If you didn't order an elec kit, these housings were typically left out of the model except for those that conceal the button within - like the Master's laser screwdriver and the alternate 8th Doctor's sonic.
EDIT: I've decided to add a gallery of finished props in this first post so people can see them without having to sort through the thread! I've included the members' names as well so everyone gets proper credit. In chronological order...
8th Doctor's Sonic Screwdriver by Doctor Octoroc

8th Doctor's Sonic Screwdriver (It retracts!) by The Next Doctor
8th Doctor's Alternative Sonic Screwdriver by TickTockMan

9th Doctor's Aztec Sonic Screwdriver by The Next Doctor

8th Doctor's Alternative Sonic Screwdriver by E Williams

11th Doctor's Sonic Screwdriver by Darran

8th Doctor's Alternate Sonic Screwdriver by Cadien
9th Doctor's Aztec Sonic Screwdriver by E Williams
8th Doctor's Alternate Sonic Screwdriver by Darran

8th Doctor's Alternate Sonic Screwdriver by xxblackbird
8th Doctor's Sonic Screwdriver by xxblackbird
I've started this thread as a place for everyone that ordered my 3d printed Doctor Who props to share their tips, techniques, results, etc. I'm starting it off with a few tips I picked up along the way and hopefully there will be many more.
First off, all kits come in sealed plastic bags with letters/numbers on them. If you ordered an electronics kit with your's (as most of you did) it'll come in a separate bag with the same marking so you know which goes with which prop. Your kit will look something like this:
For instructions on putting them together, refer to the first post in the Affordable Doctor Who Props INT thread - after each listing is the basic physical model assembly diagram. If you're incorporating electronics, that's up to you how you want to do it.
2. PREPARATION & ASSEMBLY
The WSF material will have light dusting on it so be sure to brush, blow, air-in-a-can, whatever to get it off. I wouldn't recommend washing them as they're not water tight the way injected plastics are, but a damp cloth wipe would be fine. The material can be sanded, but as it's built from a power based plastic, the texture itself will be the same as you sand. Paint/sand/paint/sand/paint works nicely, though I've heard that floor wax can be applied and sanded to get it really smooth. I haven't tried this method myself so I can't comment on its effectiveness.
The FUD clear material, on the other hand, should be washed in water with mild hand or dish soap before you use it. There will be a waxy residue on these parts, and they'll even feel a bit waxy when you first touch it, so this is highly recommended that you clean them for proper paint adhesion. I've read other tips that suggest placing the FUD part on a paper towel under a low heat source (like a lamp or on top of a window sill or car dash in the sun) so the remaining wax residue will melt away, then place it fully submerged in an acetone (nail polish remover) bath for 10-15 minutes, and let dry thoroughly. Any longer than 15 minutes in the heat and it is said to get softer and are more likely to warp. To clean inside the emitter lenses/bulbs, q-tips work nicely, but don't go too nuts - I lost the cotton end of a q-tip inside the 11th's bulb and it was a pain to get out!
Most of the kits have everything you need for a physical, static prop, except for the 9th and 10th extending sonics. These require the addition of a length of 1/2" acrylic rod, as seen in this picture:
I did not include these with the kits (noted in the order section) since I was unable to perfect the implementation, but there is a way to do it, I'm sure. If you are unable, the pieces included in the kit are enough to make a static variation of each of those sonics.
3. PAINTING
I recommend these paints. For the WSF plastic, Ceramcoat acrylic paints (or any acrylic paint really) adhere pretty well. I've also used Testor's, but truth be told, no paint has reacted poorly thus far with the WSF.
For the clear FUD pieces (emitter lenses, etc) I used Tamiya clear paints. They cover well and come in the right colors already.
After 3-5 coats, the River SOng sonic emitter lenses look like this:
If you want a cool metallic color finish, paint the clear Tamiya over a metallic silver Testors enamel - that's how I did the emitter bullet on the 8th Doctor's sonic!
If you require masking decals for your paint jobs, here's a PDF file with those included.
http://www.doctoroctoroc.com/misc/decals.pdf
I drafted some up for the 3rd, 9th, 10th and River Song models that can be printed on adhesive paper of your choice and applied to the area that are to be protected from paint.
4. ELECTRONICS
For those who ordered electronics packages, there are no specific directions to make them glow. The kits were designed to give as much flexibility as possible, and with plenty of room for wires, batteries, LED's, chips, etc.
If you ordered a 9th or 10th Doctor's sonic with electronics package, they were designed specifically to house an A27 12V battery inside the inner housing. Here is how those fit in:
there is a hold behind the + contact (left side) that allows two wires to run up to the main housing area, where you would fit your chip, speaker (if you figure out how to add sound from a 9th Doctor's CO sonic or scratch), etc.
The front inside head of the 9th Aztec, 9th, 10th and River sonic are all designed to fit a 5mm LED just behind the lens. For the 9th and 10th variations, there is just enough room for the LED behind the cabochon if you opted for that for the lens instead of the FUD, so the LED leads will need to be wired so they fit fully inside of the shaft that leads from the top portion of the head to the bottom portion of the head. I had no problem with this, I just needed shrink tube wrapping to keep the contacts/wired from touching each other.
All of the sonics that come with electronics kits have housing for a typical tactile push switch. The 10th sonic has housing for a switch with a plunger that extends out to the slider. If you didn't order an elec kit, these housings were typically left out of the model except for those that conceal the button within - like the Master's laser screwdriver and the alternate 8th Doctor's sonic.
EDIT: I've decided to add a gallery of finished props in this first post so people can see them without having to sort through the thread! I've included the members' names as well so everyone gets proper credit. In chronological order...
8th Doctor's Sonic Screwdriver by Doctor Octoroc
8th Doctor's Sonic Screwdriver (It retracts!) by The Next Doctor
8th Doctor's Alternative Sonic Screwdriver by TickTockMan
9th Doctor's Aztec Sonic Screwdriver by The Next Doctor
8th Doctor's Alternative Sonic Screwdriver by E Williams
11th Doctor's Sonic Screwdriver by Darran
8th Doctor's Alternate Sonic Screwdriver by Cadien
9th Doctor's Aztec Sonic Screwdriver by E Williams
8th Doctor's Alternate Sonic Screwdriver by Darran
8th Doctor's Alternate Sonic Screwdriver by xxblackbird
8th Doctor's Sonic Screwdriver by xxblackbird
Last edited: