| Part 3 - build your bag | |
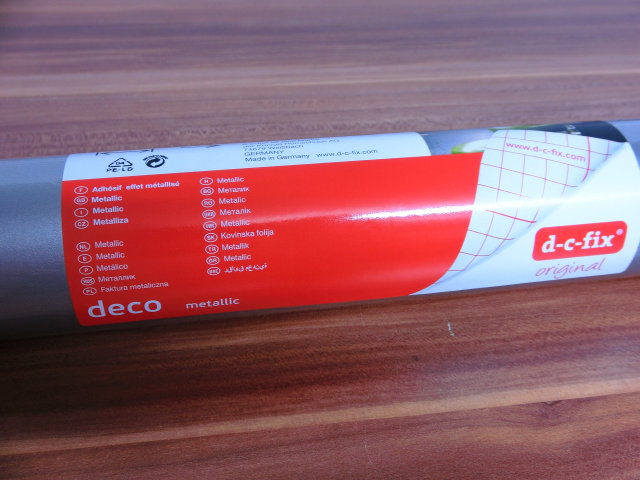
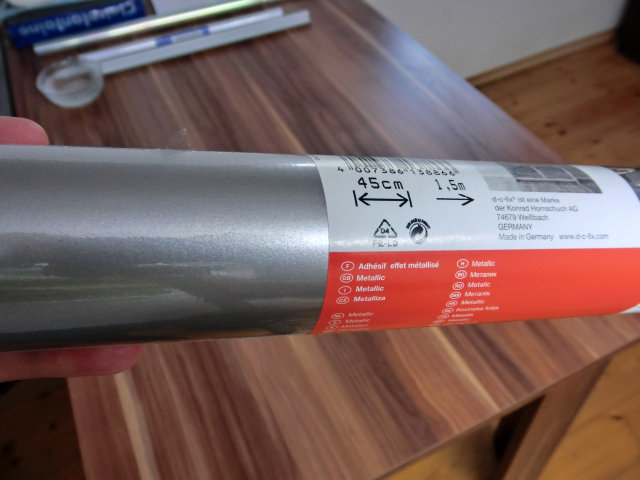
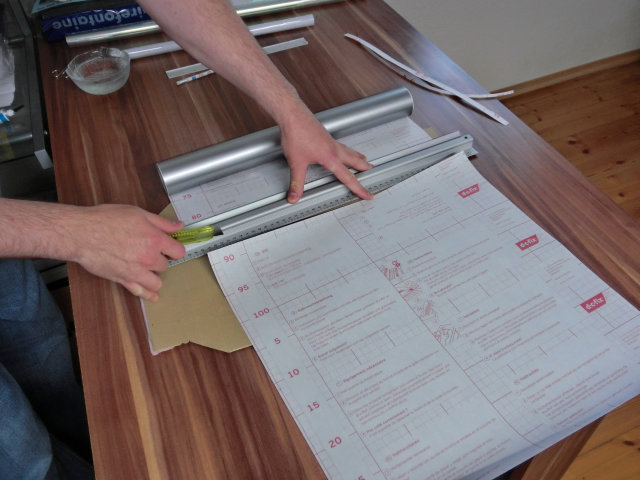
| Trim the silver film to exactly 18 inches in width (the height must be more than 15 inches). That's the double width of the bag. It's important that you cut very precisely! | |
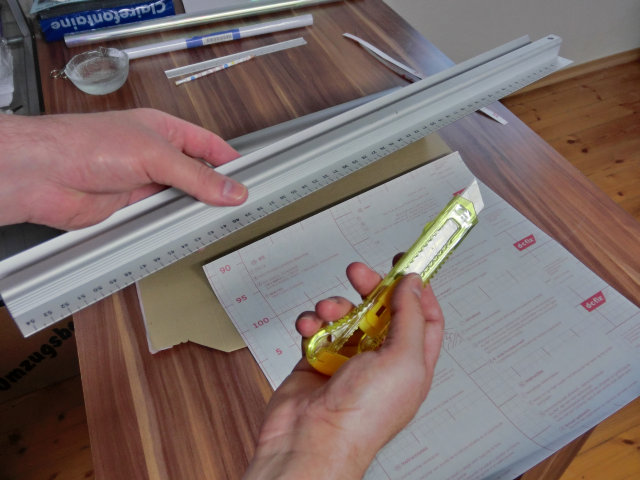
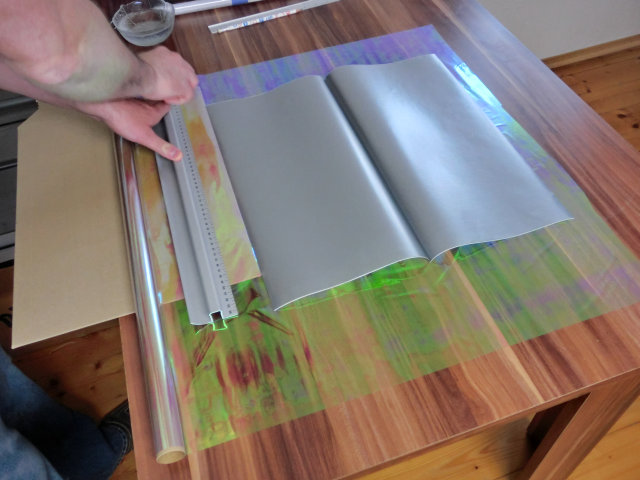
| Use a long metal ruler and an utility knife for cutting the films. | |
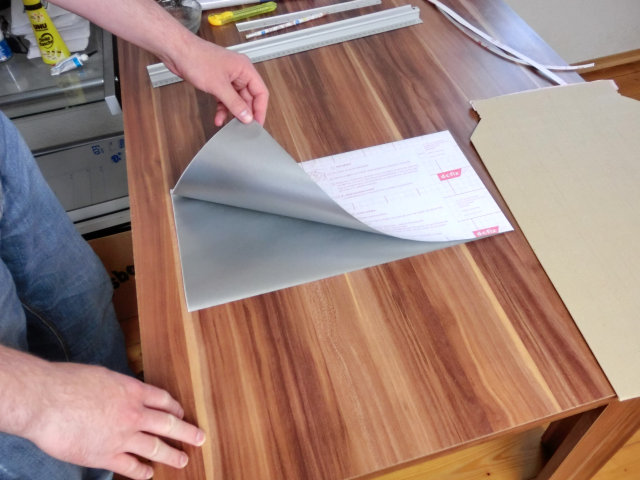
| Fold the silver film exactly in the middle of the 18 inches side, so that you get the end width of the bag (9 inches). The adhesive side with the carrying paper must be outside! | |
| | |
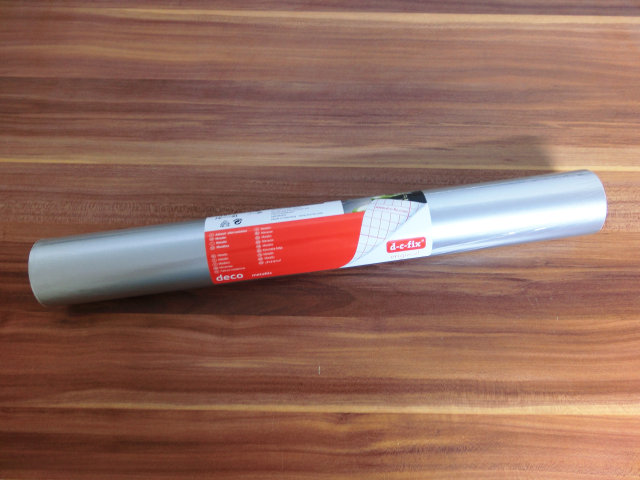
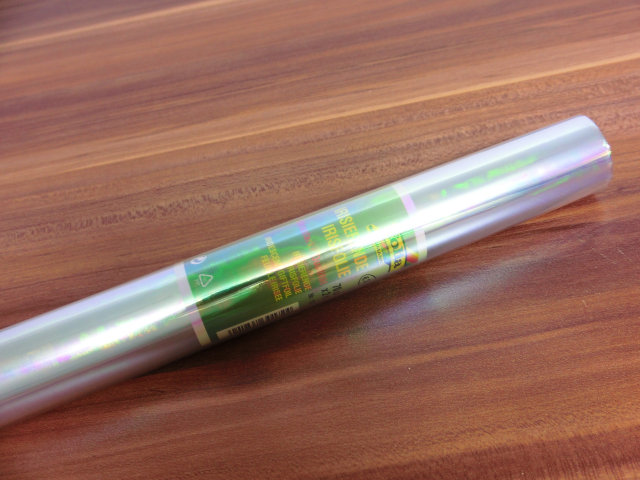
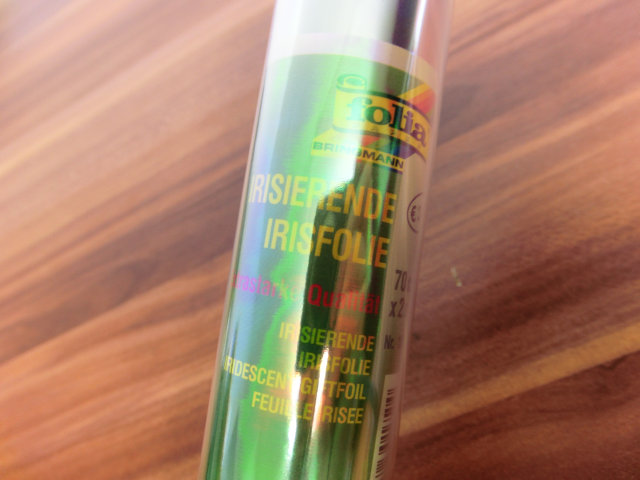
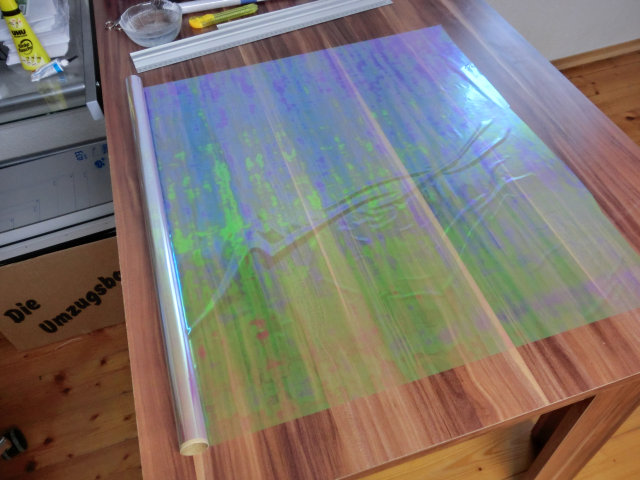
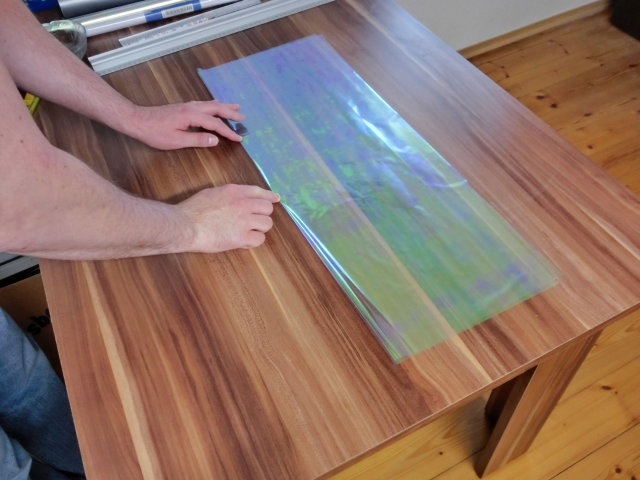
| Roll out the iridescent film ... | |
| ... and cut out more than 18 inches (the double width of the bag). | |
| | |
| Fold it in the middle. | |
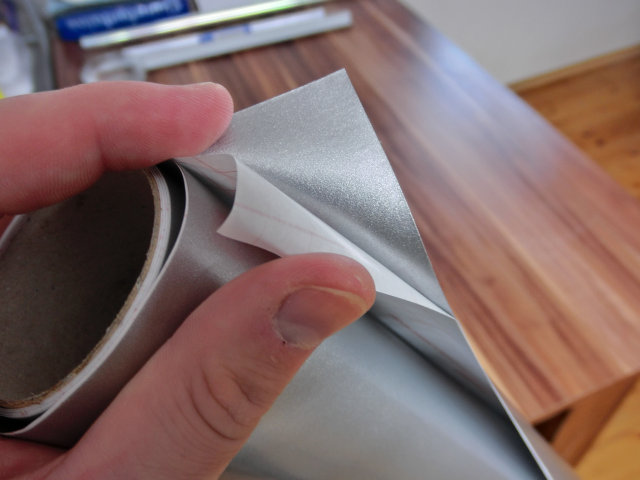
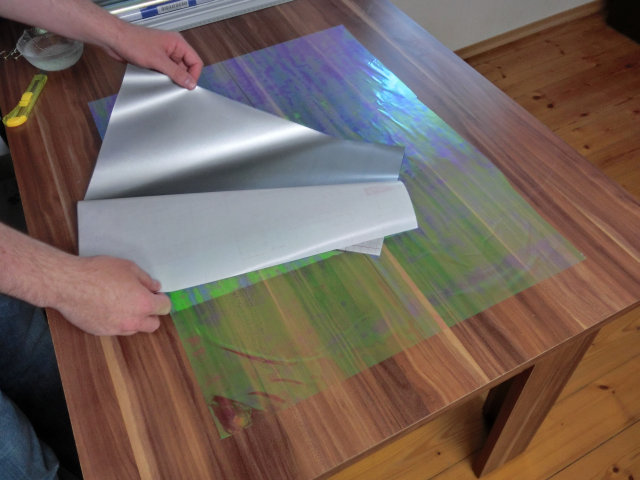
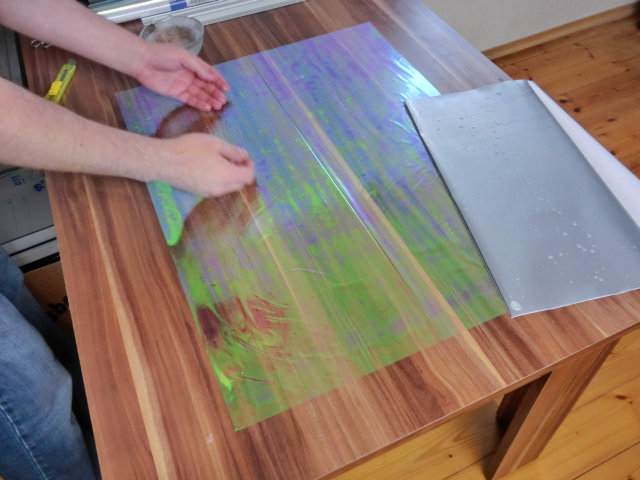
| Remove the carrying paper of the first half of the silver film. | |
| | |
| Spread a lot of dish water on the adhesive side of the first half of silver film. Make sure that it's no longer adhesive at any point. | |
| Do the same on the lower half of the iridescent film. | |
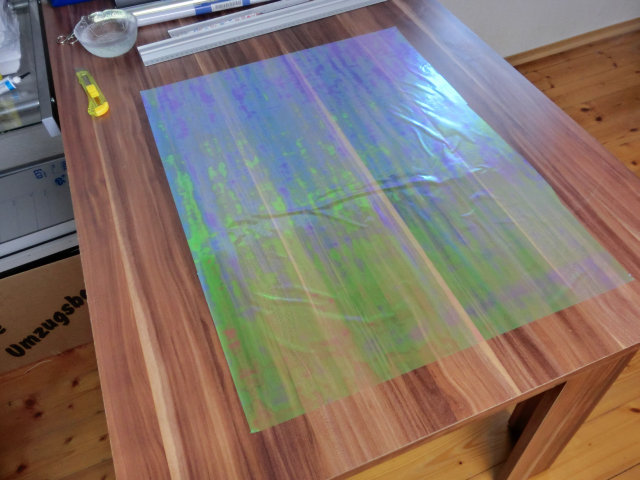
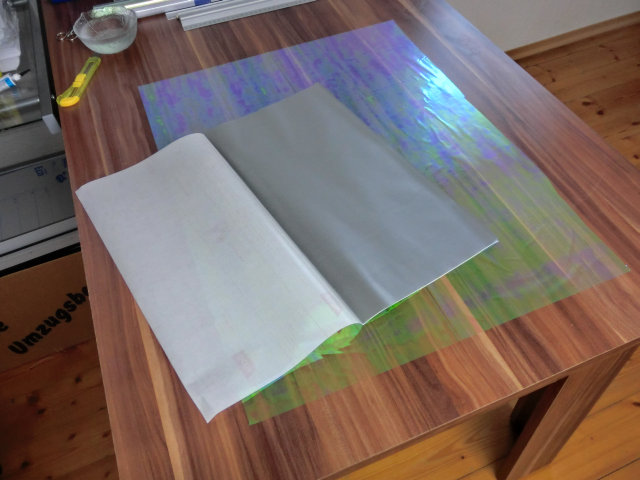
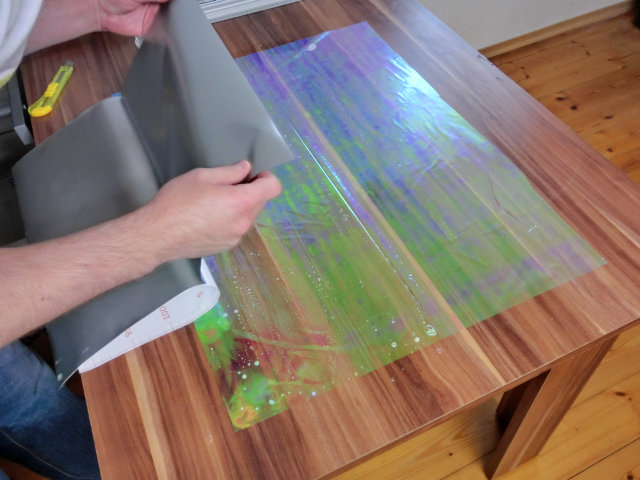
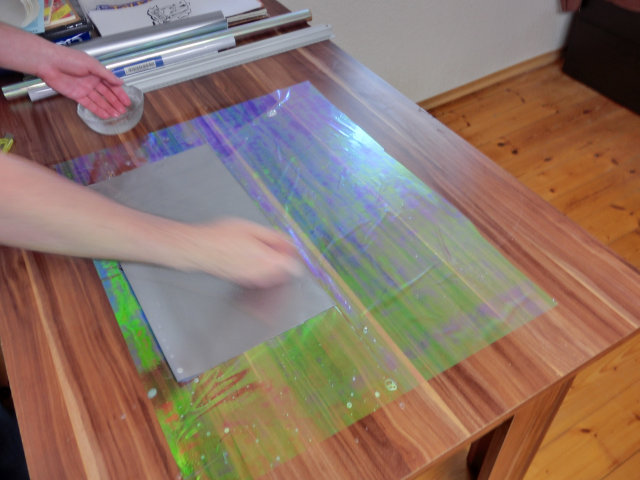
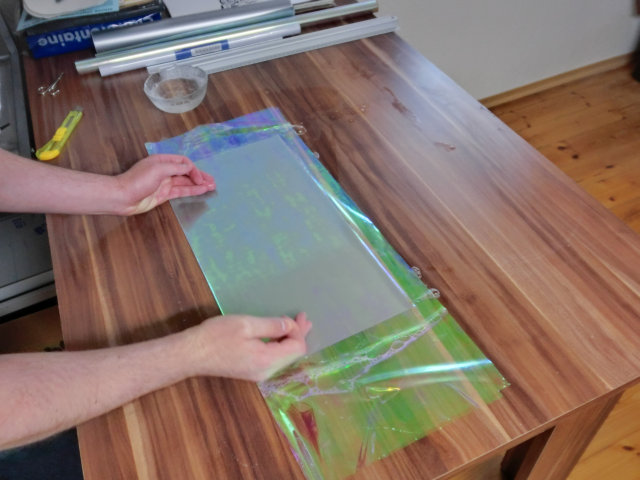
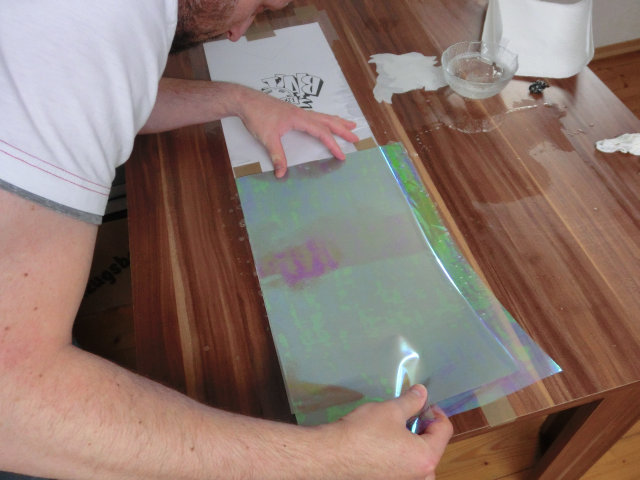
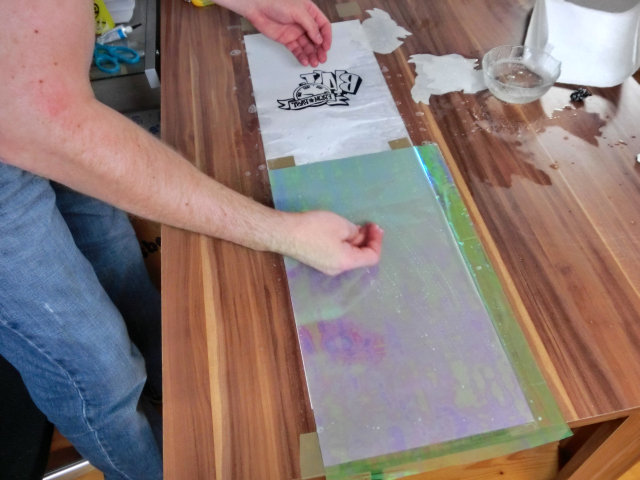
| Apply the (at the moment not) adhesive side of the silver film on the iridescent film. | |
| The edge of the silver film must be applied exactly on the centerfold of the iridescent film. | |
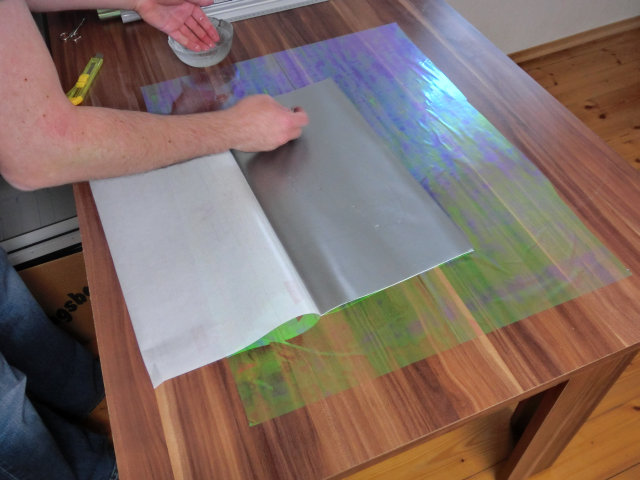
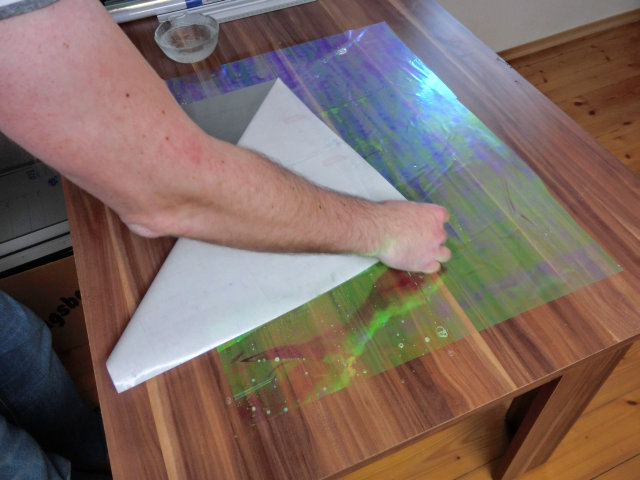
| Remove the rest of the carrying paper. | |
| Spread dish water on the adhesive side of the second half of silver film. Make sure that it's no longer adhesive at any point. | |
| Do the same on the upper half of the iridescent film. | |
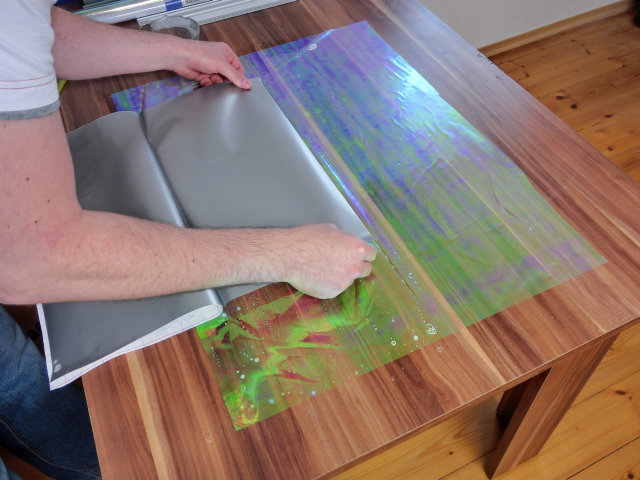
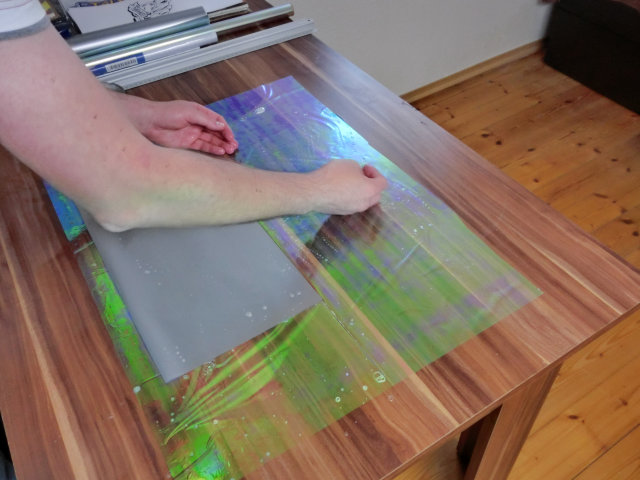
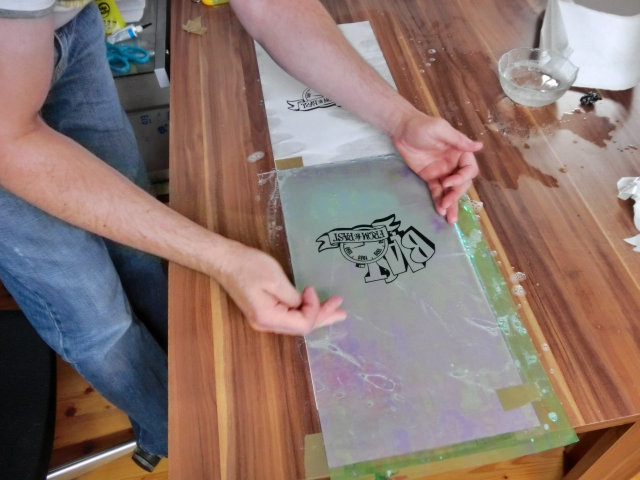
| Switch the upper half of the iridescent film and apply it on the silver film. | |
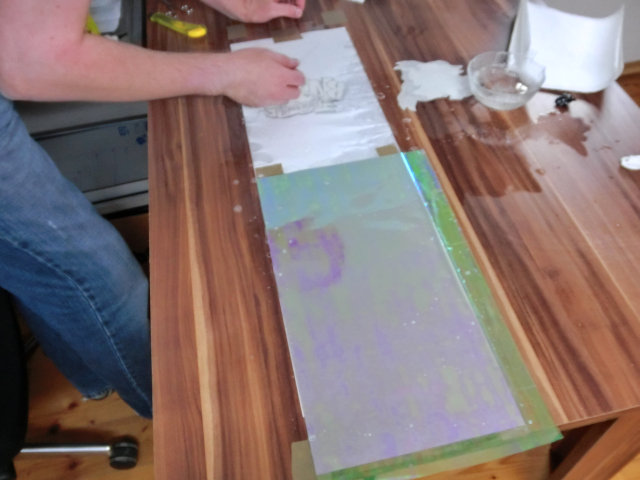
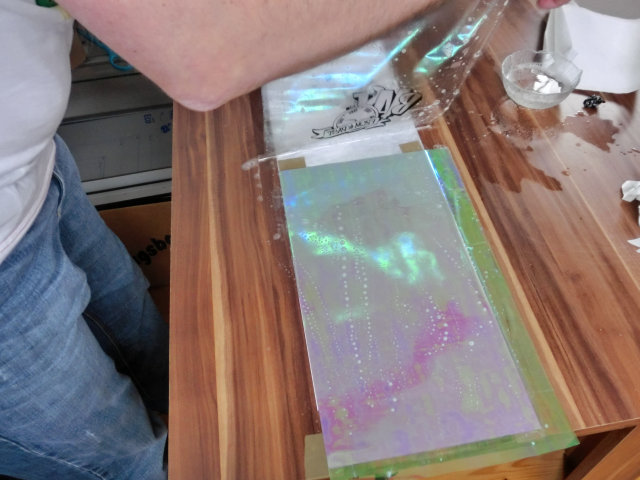
| Press out the water bubbles, ... | |
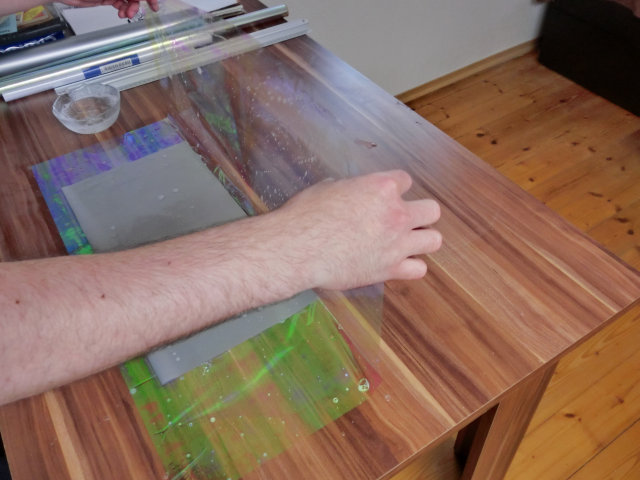
| ... turn it to the back side | |
| ... and do the same again. | |
| Do it again and again until you're sure that there's no more bubble. Be very careful, because the iridescent film is very, very thin. | |
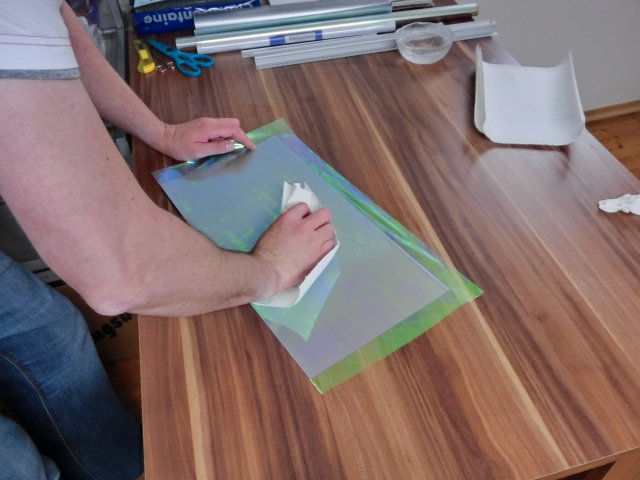
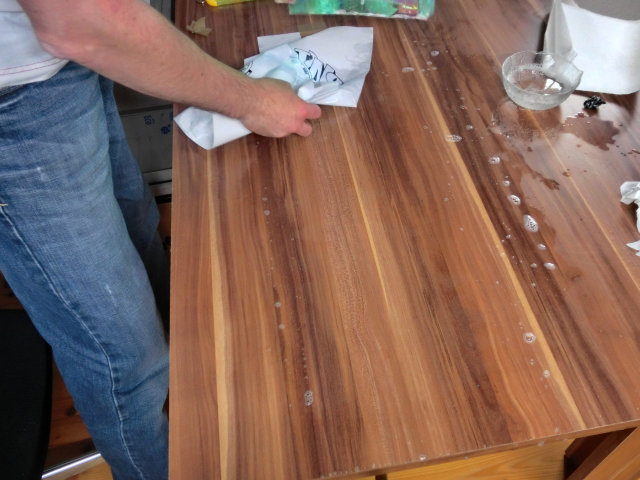
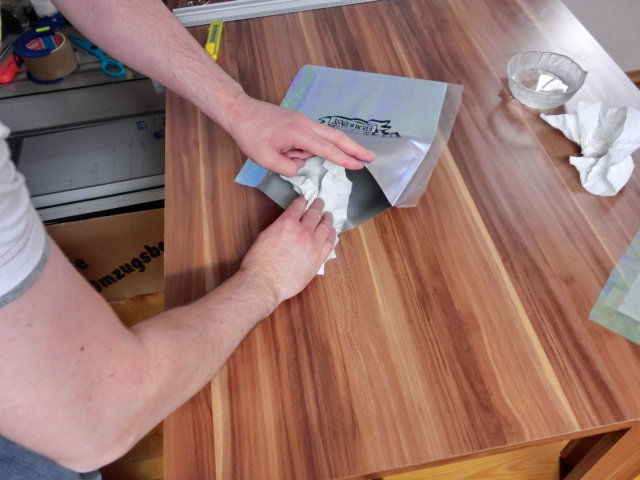
| Wipe off the water with a paper towel. | |
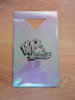
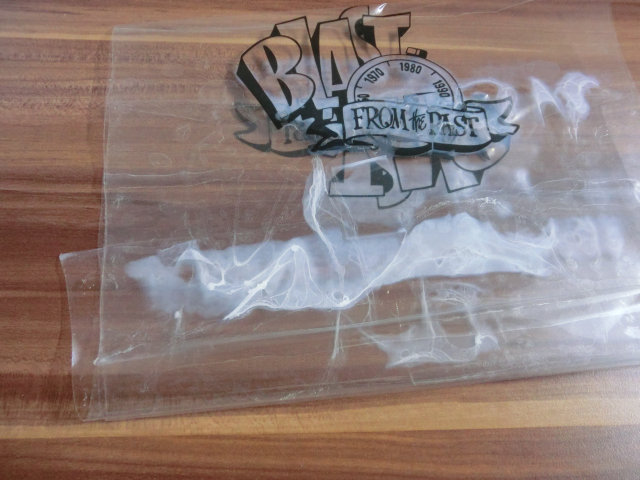
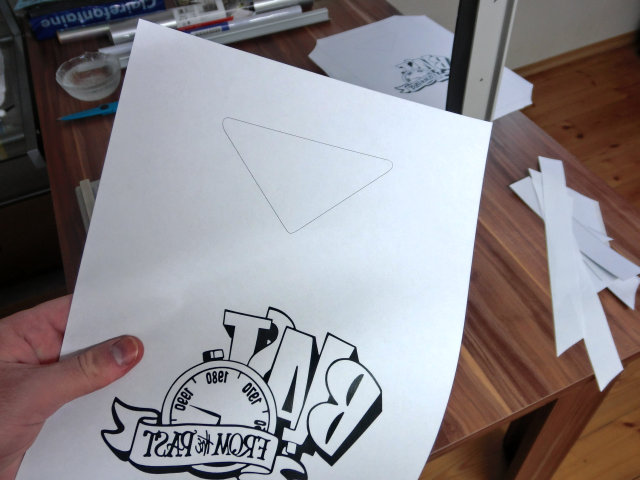
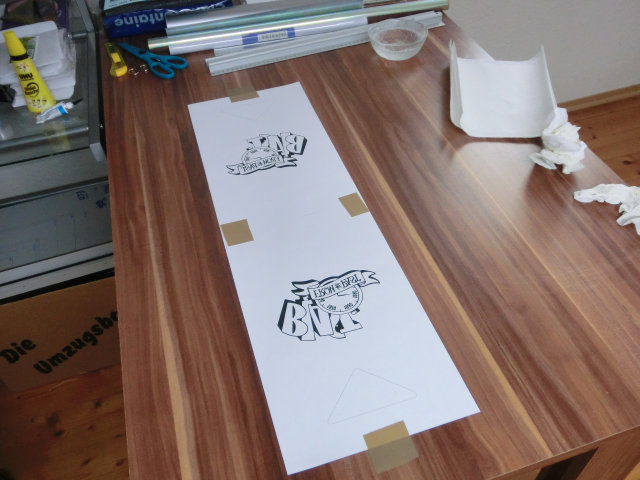
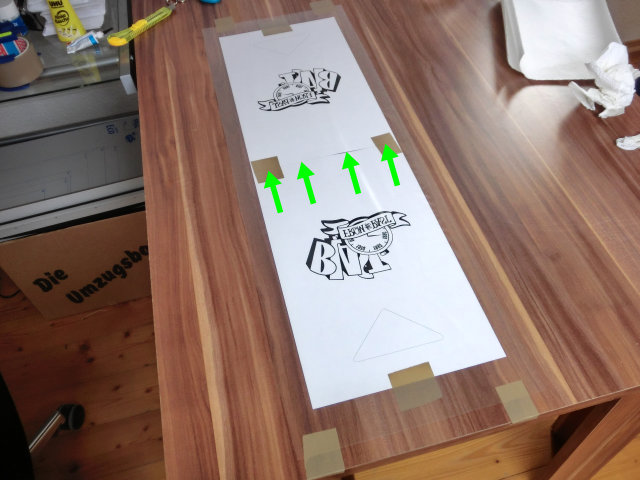
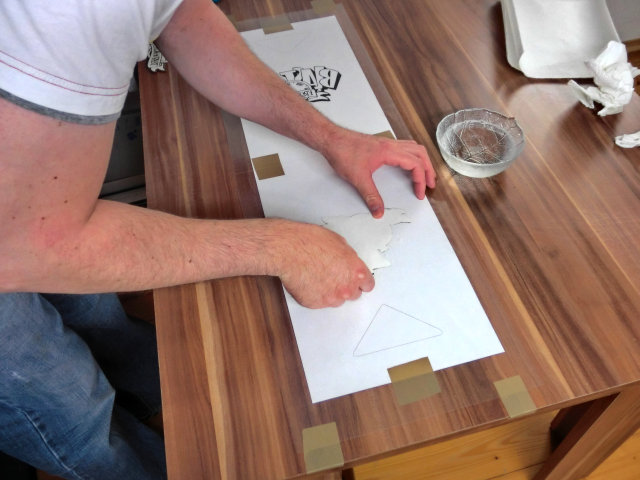
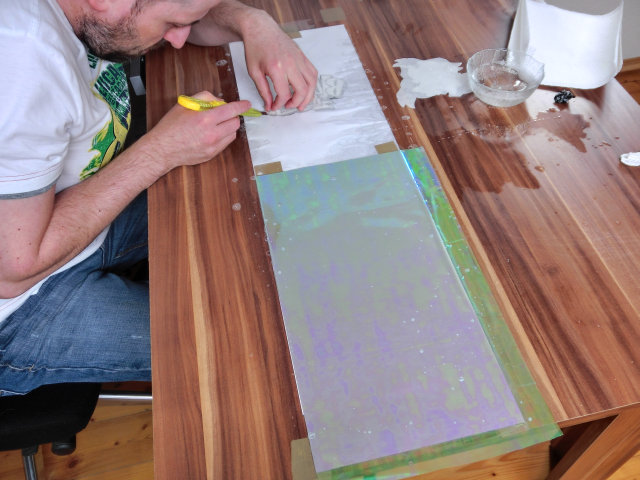
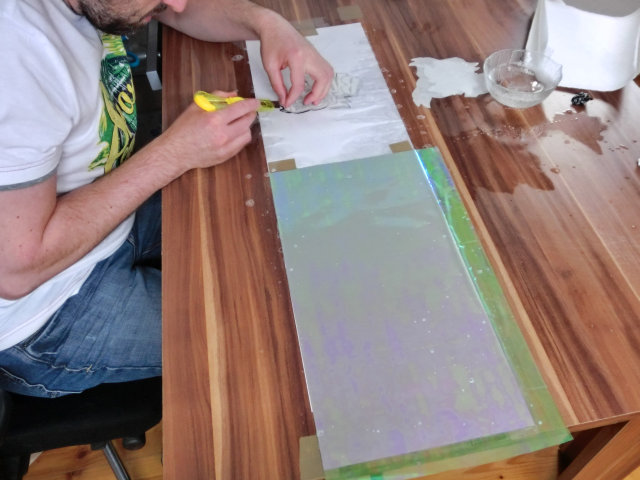
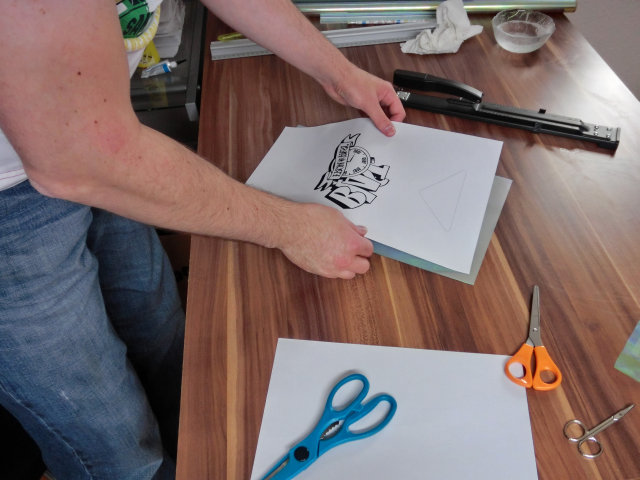
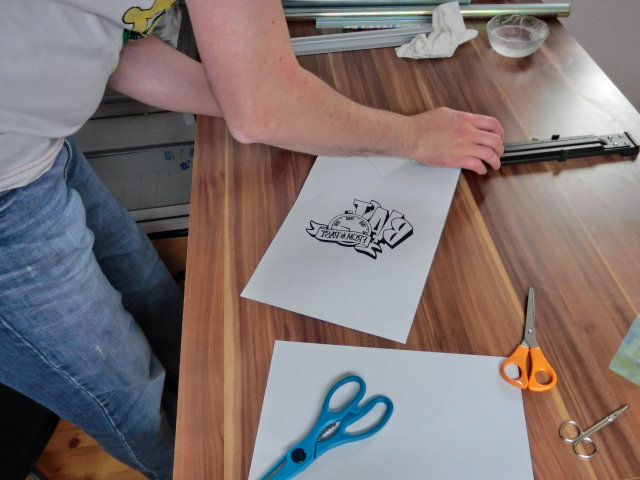
| Stick two of the three large paper sheets (with the mirrored logo) on your table. Be very precisely! | |
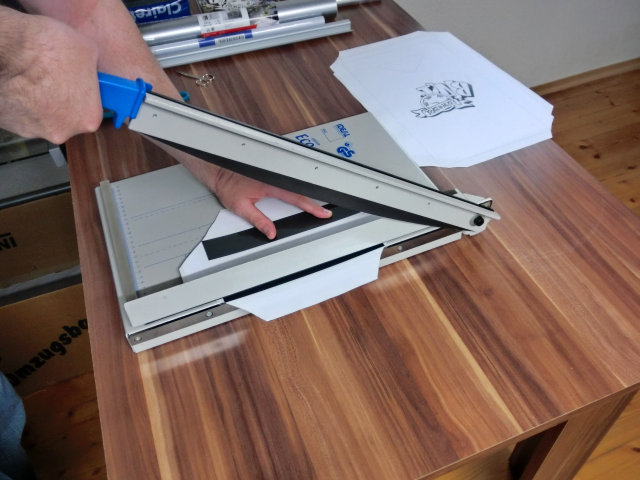
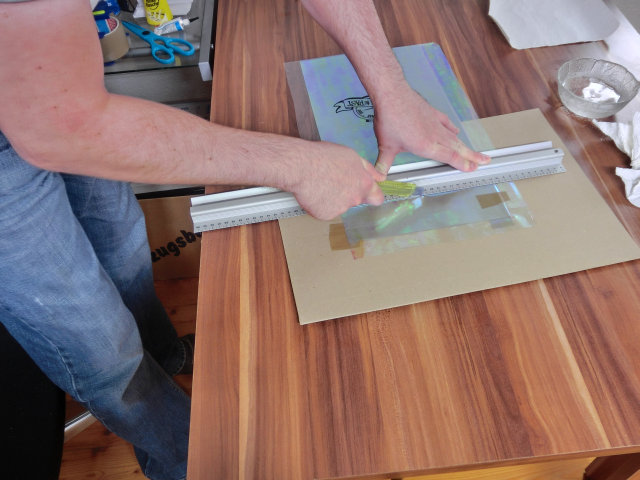
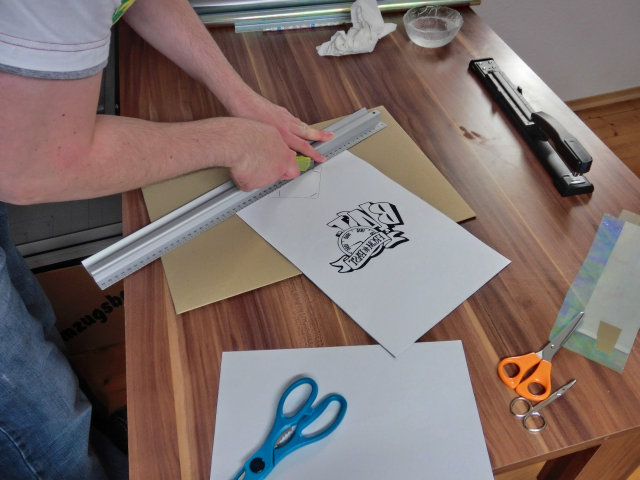
| Trim one edge of the bag. Make sure that the angle is 90 degrees. | |
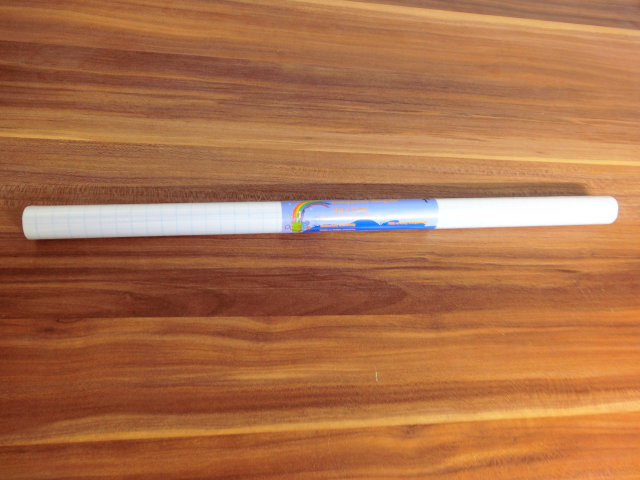
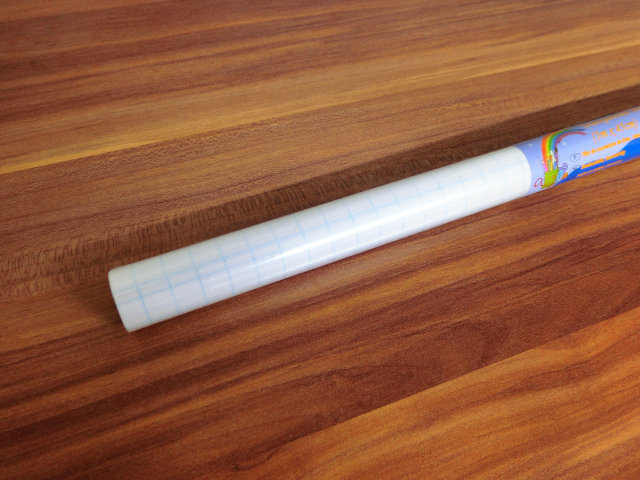
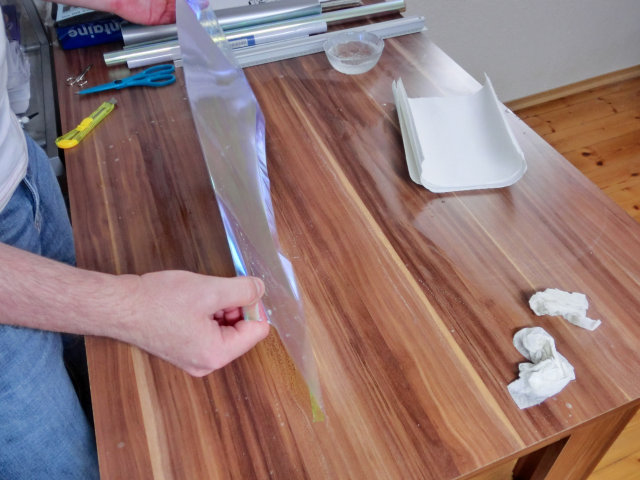
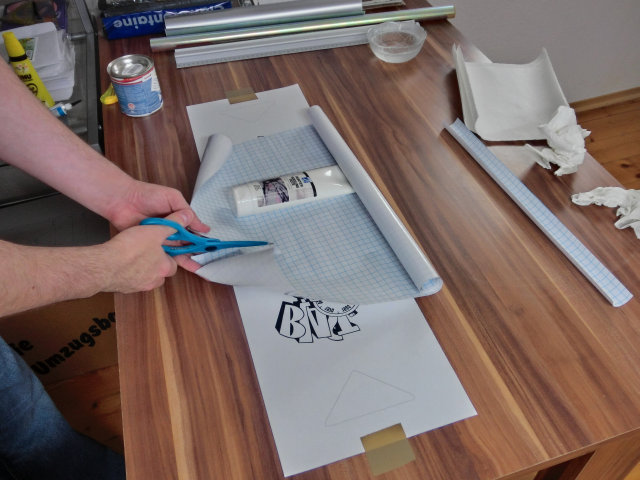
| Now trim the self-adhesive transparent film to a size of more than 9 x 30 inches. | |
| | |
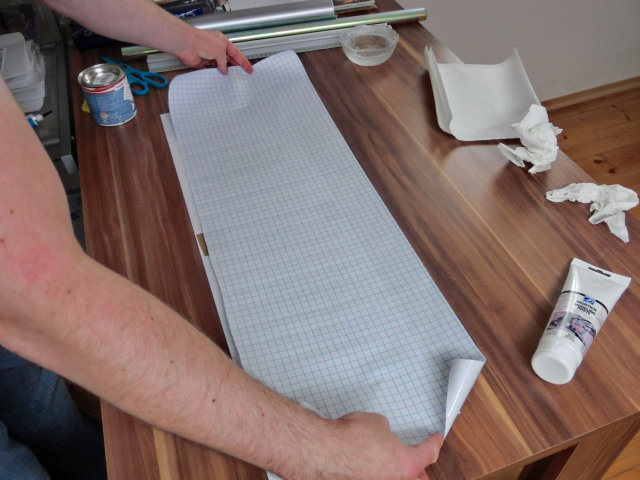
| Fold the film in the middle of the more than 30 inches side. The film must be outside and the carrying paper inside, when you are folding it. | |
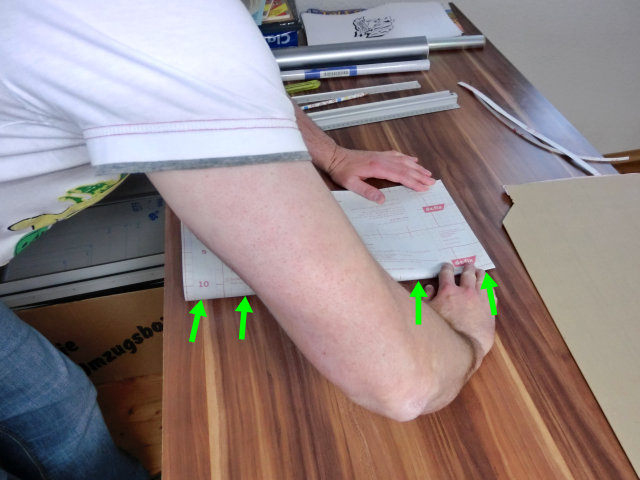
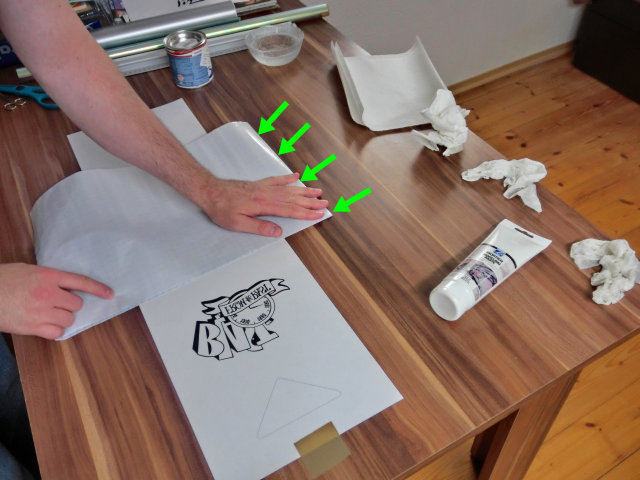
| Remove the carrying paper and attach the edges of the film on the table with the adhesive side on top. Make sure that the folding line of the film is exactly over the dividing line between the two paper sheets below. | |
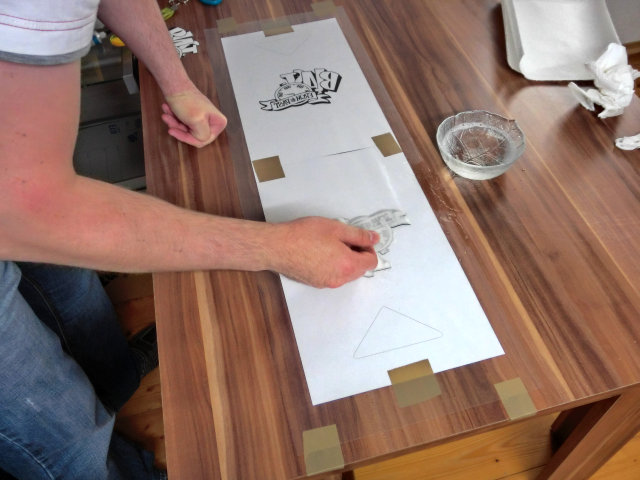
| Spread dish water on the right logo. | |
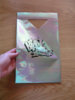
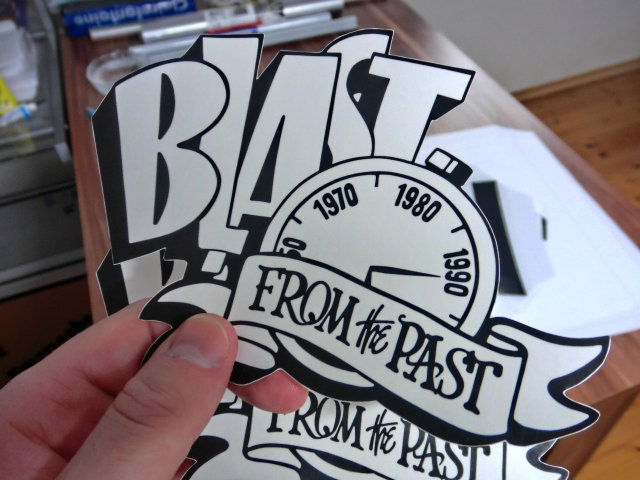
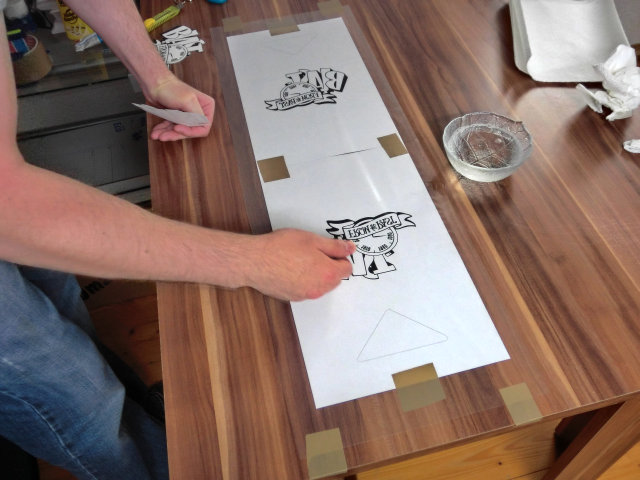
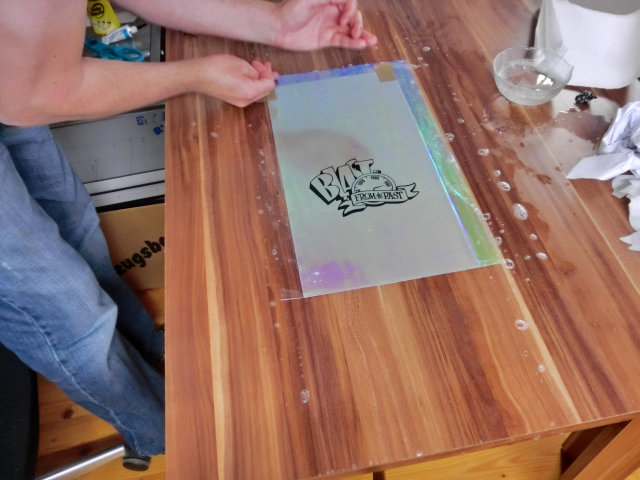
| Put the first waterslide decal with the printed side down exactly over the mirrored logo below. | |
| Spread a lot of dish water on the waterslide decal. | |
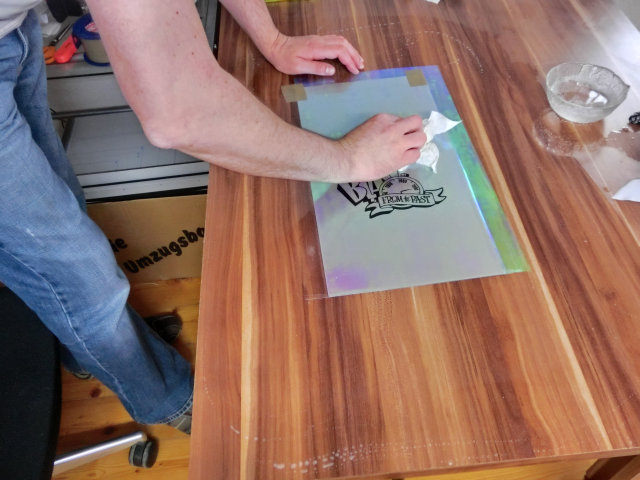
| Wait 30-45 seconds and then remove (absolutely careful!) the carrying paper of the waterslide decal. | |
| Spread dish water on the surface of the bag. | |
| Spread dish water on the right half of the transparent film. Make sure that it's no longer adhesive at any point. | |
| Apply the bag precisely on the right half of the transparent film. The cut edge of the bag must be in line with the folding line of the transparent film below. | |
| Now we repeat the same procedure with the second waterslide decal on the left half of the transparent film. | |
| | |
| | |
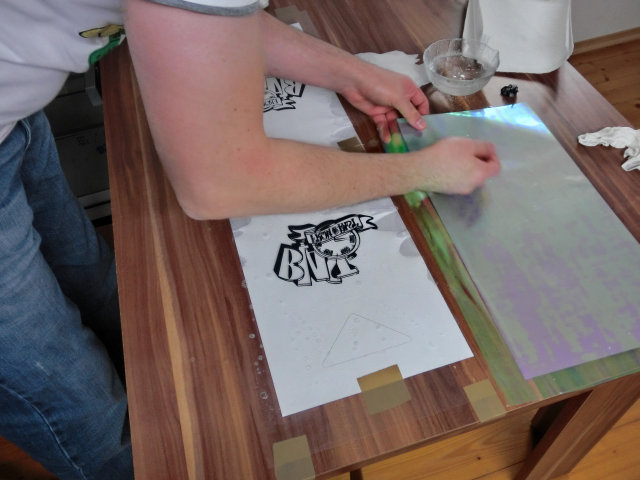
| Spread dish water on the bag and on the left half of the transparent film. Make sure that the transparent film is no longer adhesive at any point. | |
| Switch the left half of the transparent film and apply it on the bag. | |
| Press out all water bubbles. | |
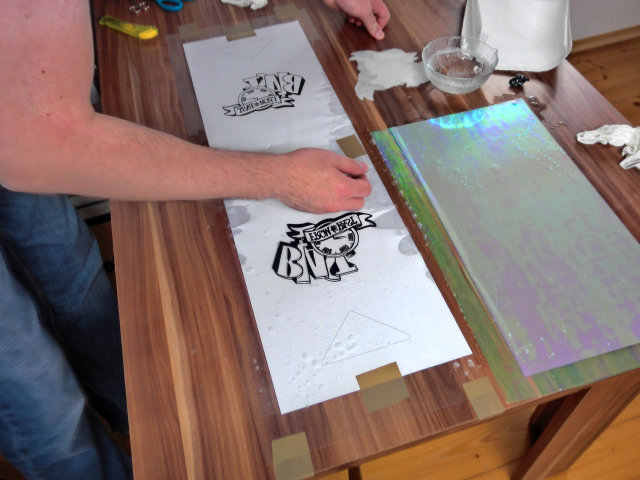
| Remove the two paper sheets from your table. | |
| Press out all water bubbles from both sides of the bag. Do it until you're sure that there's no more bubble. | |
| Wipe off the water with a paper towel. | |
| Trim the top edge of the bag to a height of 15 inches. Make sure that the angle is 90 degrees. | |
| Wipe off the water from the inside of the bag with a paper towel. | |
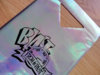
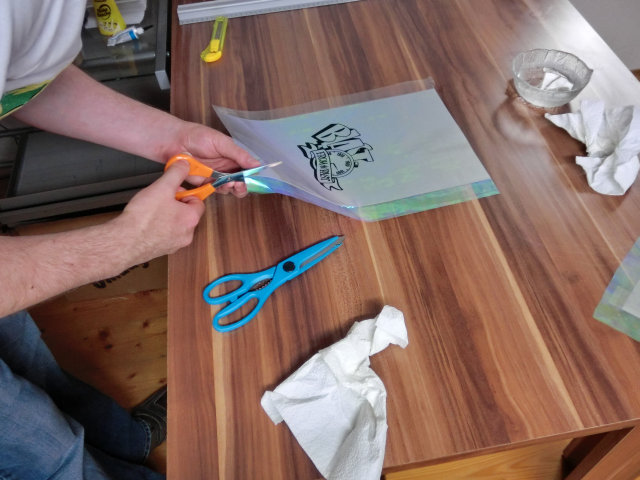
| Now the moment has come where you must be most carefully. Cut away the overhanging film on the left and right side of the bag. If you're not careful it could happen that you cut into the wrong film and then you have holes in the edges. | |
| | |
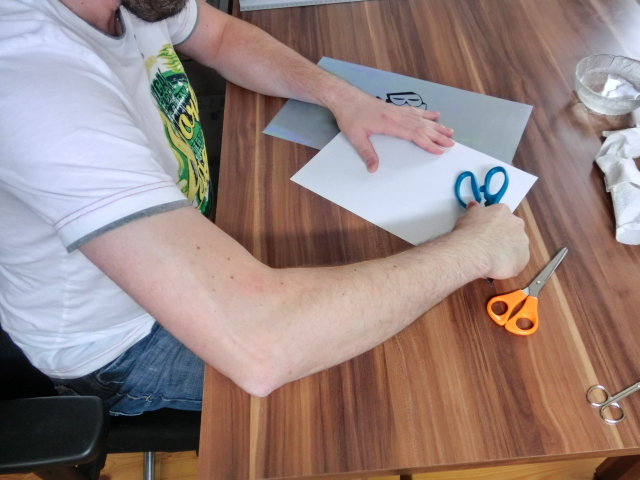
| Straighten the edges of the bag with the handle side of your scissors. Put a paper sheet between scissors and bag to avoid damaging the bag. | |
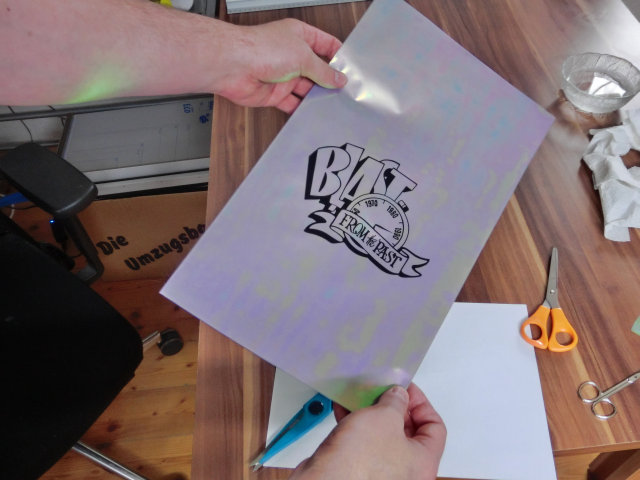
| The bag is almost finished. | |
| | |
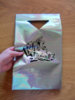
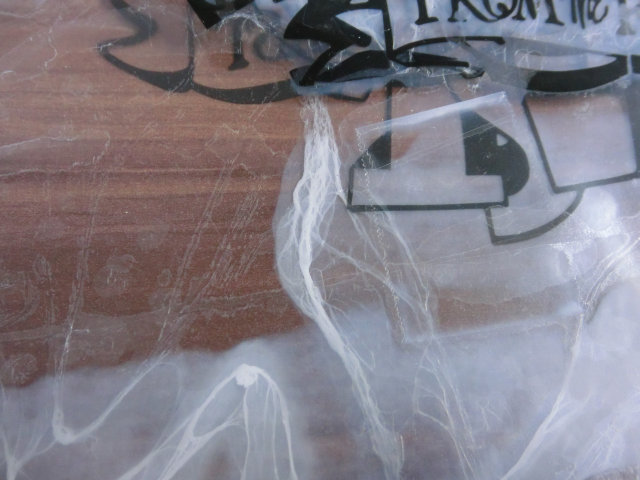
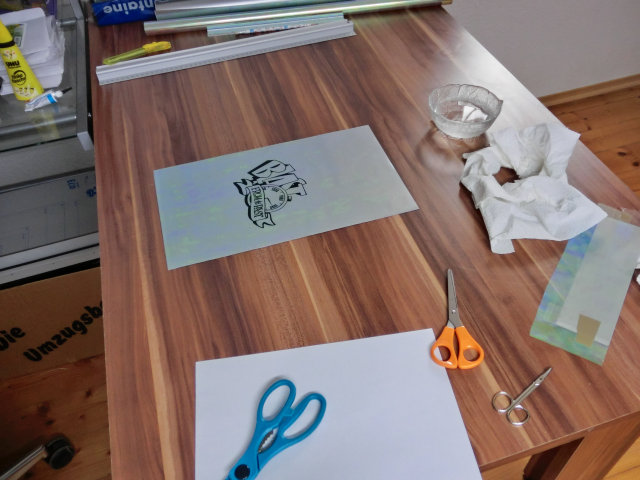
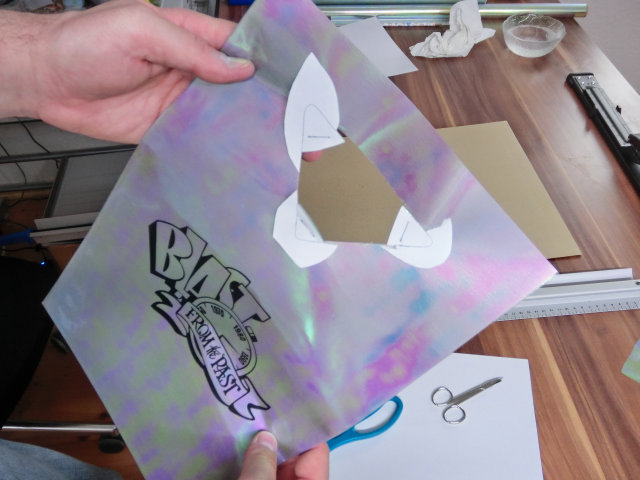
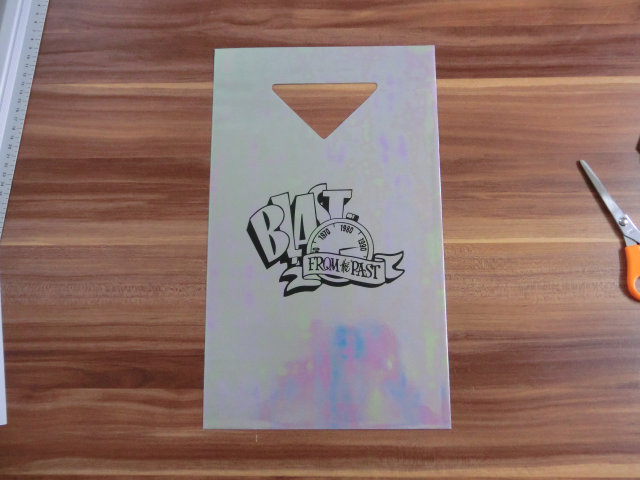
| Put the third paper sheet with the mirrored logo exactly over the bag. | |
| Use a stapler to attach the three corners of the hole to the bag. | |
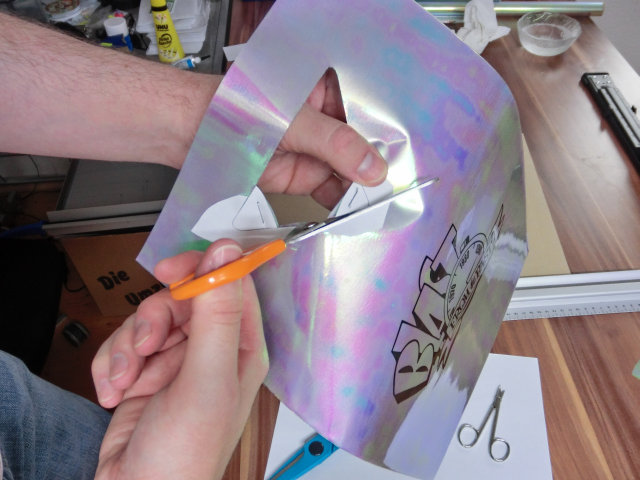
| Cut the three straight edges of the hole with your utility knife, ... | |
| ... cut away the not required paper ... | |
| ... and cut the three corners of the hole with scissors. | |
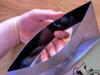
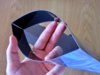
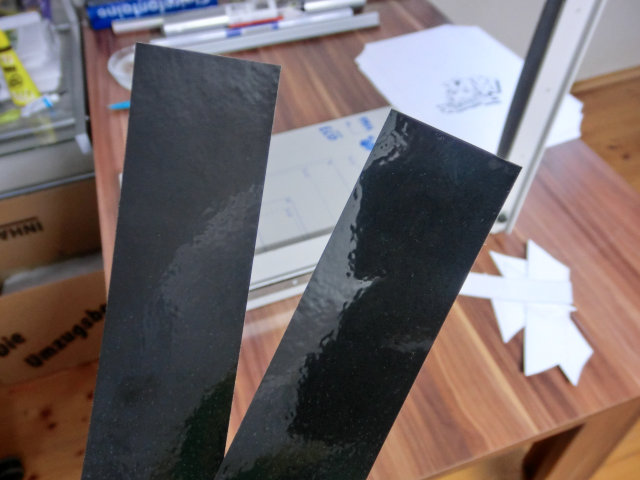
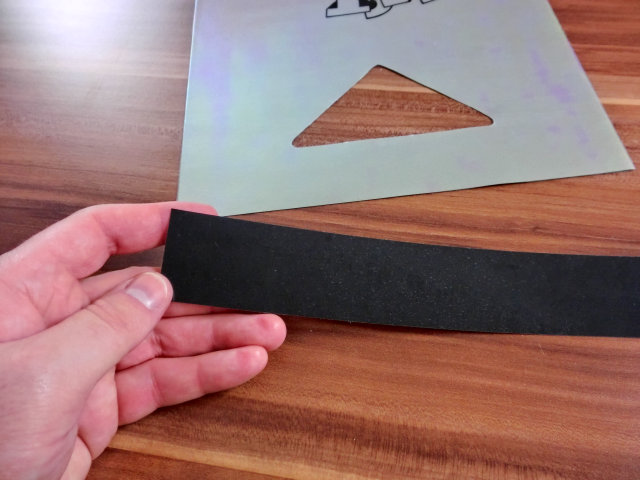
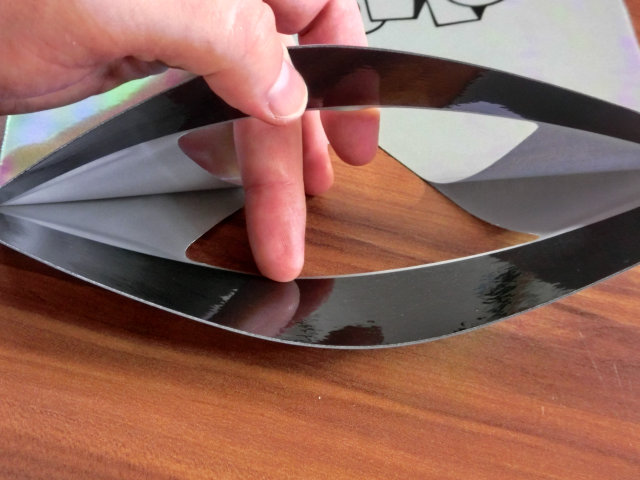
| Last step: the two laminated black strips. | |
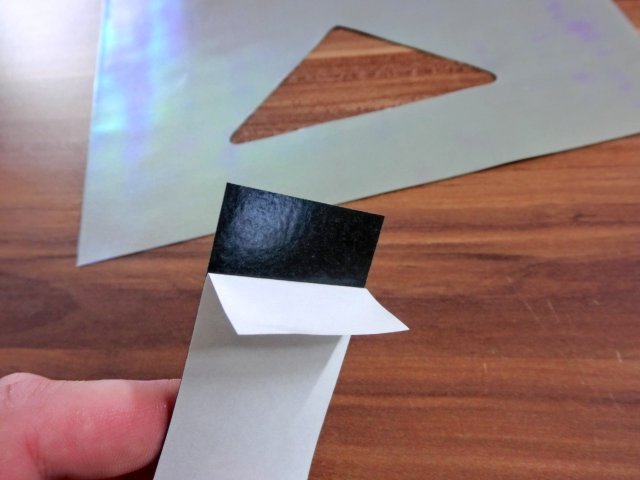
| Remove one inch of the carrying paper. | |
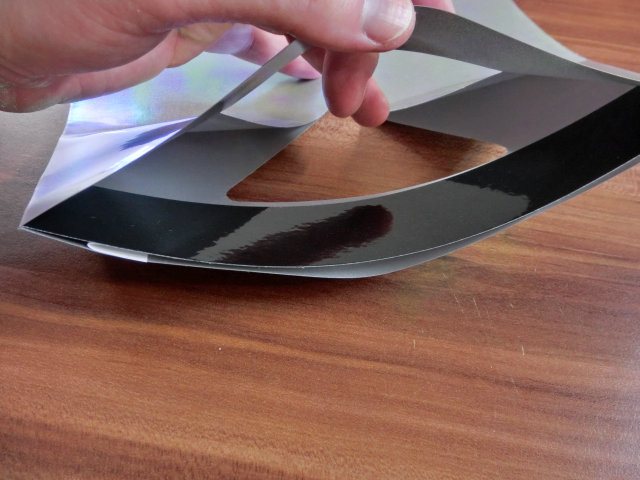
| Position the first strip accurate on the top inside of the bag ... | |
| press it down with your one hand and remove the rest of the carrying paper with your other hand. | |
| Do the same with the other side of the bag. | |
| Your bag is finished! Don't wonder if the colors of the bag look bad on the first few days. There's still dish water between the films which has to dry. Wait a week and you will see: the bag looks better from day to day. | |
")