joshspiderman23
Sr Member
So, Ive finally jumped into foam building and thought a basic armor suit would be efficient to learn how to properly free hand foam. Went to my basic stores, homedepot, michaels and such which got me both 2mm foam rolls and 1/2 inch eva foam mats. I still wanted to pick up 6mm which I guess is a good in between, but alas sears had nothing so I ordered some from wandy foam on the bay. Thanks to all the rpf members who provided me knowledge to undertake this build, I would have never attempted it without you guys.
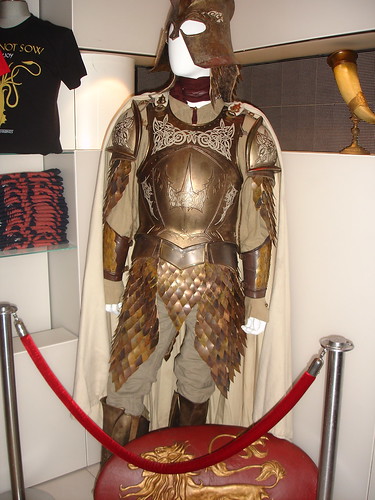
example

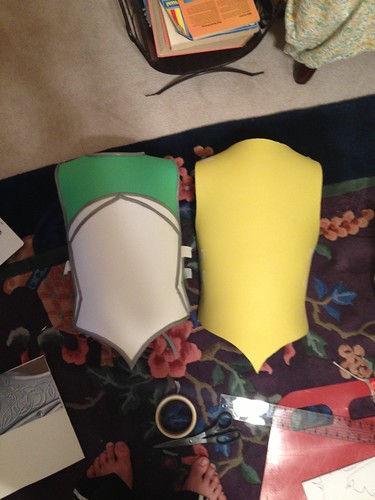
So day 1 I cut out my base pattern with the 1/2 inch foam, I used a heated blade to cut through the foam, which was like butter lol


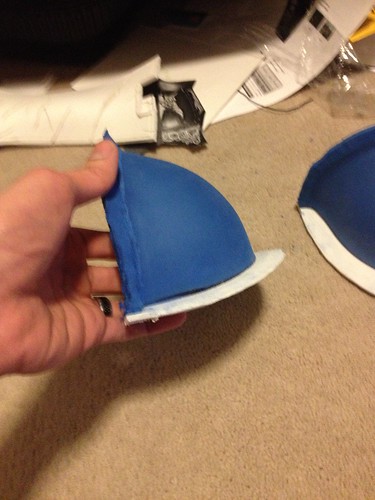
My first attempt at heat forming my shoulder pieces failed miserably, took me another day of digging around the forums to finally get it, three sheets of foam later and I had this
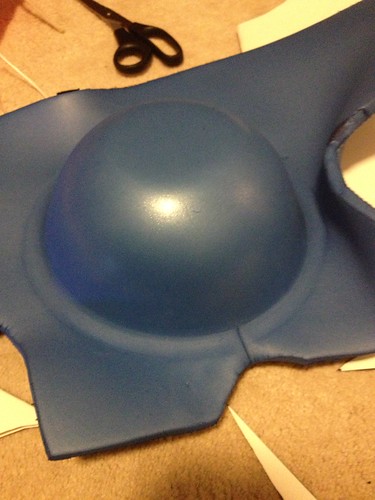
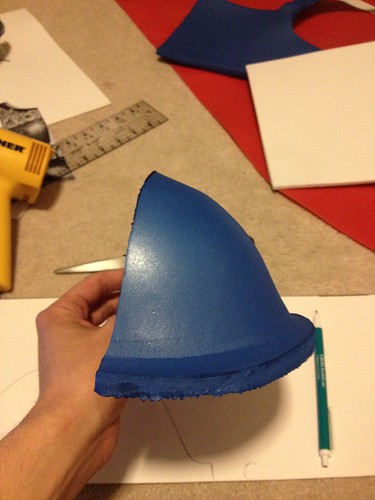
day 3 I attempted to sand down the shoulder pieces :wacko I nicked the hell out of my hand many times using my dremel lol. Plus I still couldnt get my lines nice like everyone elses:facepalm but I figure this is my first foam build so the show must go on .
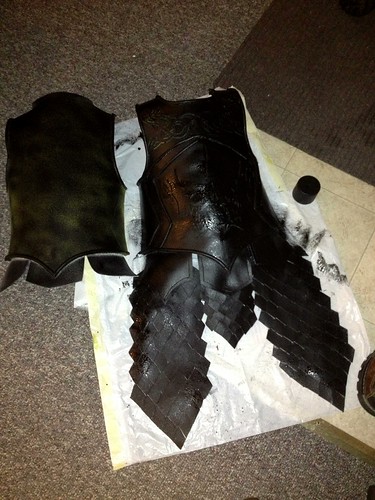
finished up day 3 with my back template and test fitting it to the front
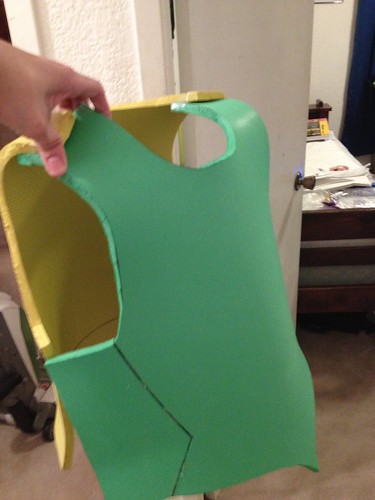
it might look small but Im a slender man lol, Im slowly trying to fix that.
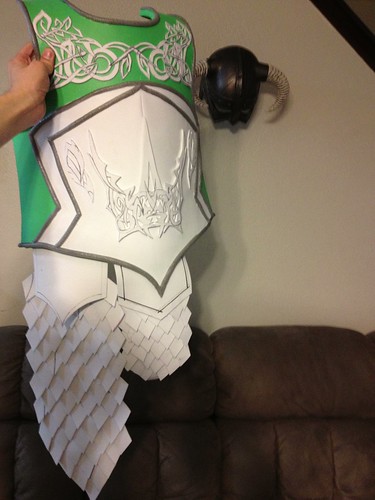
day 4 I re-flattened my breast piece and started to add the top layers
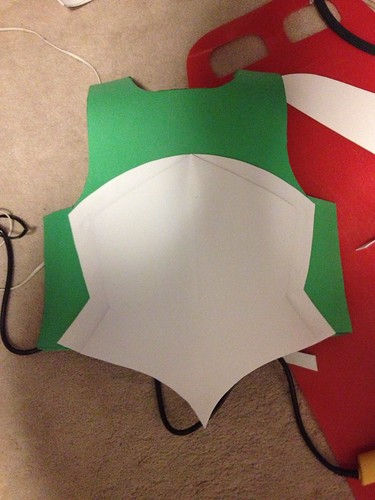
for the trim I used the closed cell foam window tubing which I cut in half
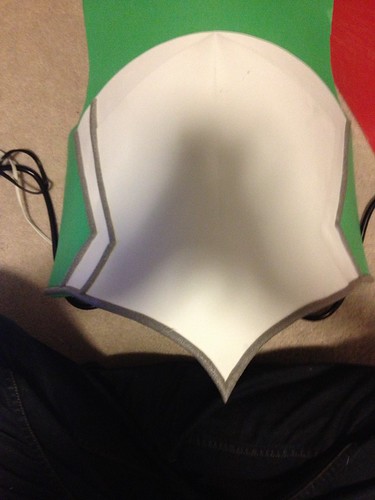

after I reformed the breast plate but as I was doing so it melted the foam trim :facepalm then I had to slice it off carefully and patch the parts that melted.
at the end of the evening I was happy with it.
I moved onto the intricate emblems on the chest piece which took my hours lol.
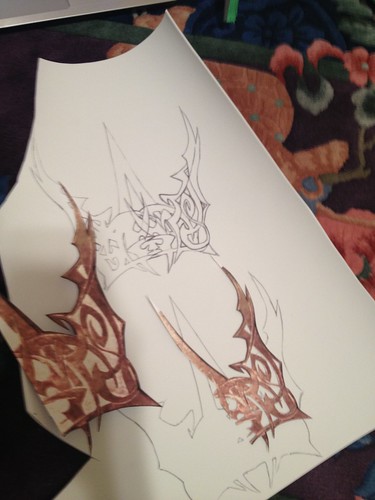
(template)
I decided to do 2 layers in 2mm foam glued ontop of eachother, the top layer would have all the negative space cut out the bottom would just be the outline, figured it would make it pop, but I didnt think about how long it would take to cut out each little flare and line :lol
3 hours later and I finally had the top layer cut out

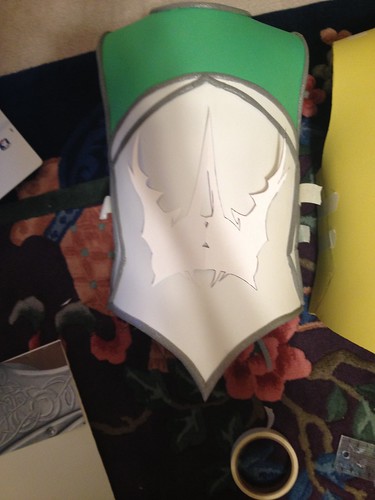
and finally the bottom layered and glued
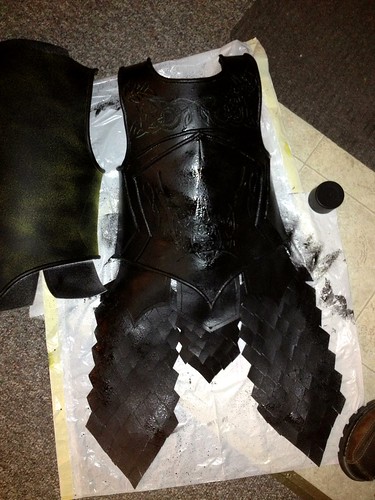
Once its plasti dipped and painted I hope the 2 layers will it help it pop
At this stage I did realize I screwed my middle chest layer dimension, it was way to close to the other layer which would make the side designs impossible :thumbsdown
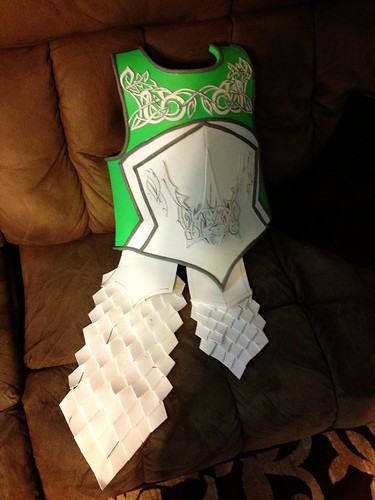
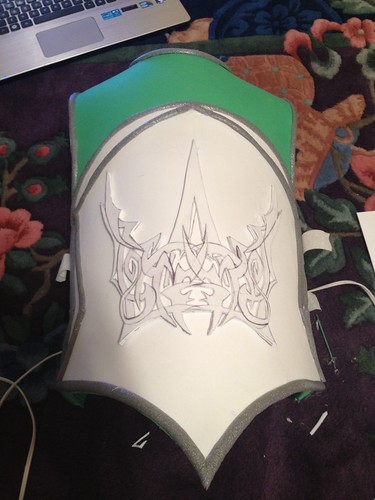
not wanting to have this bum me Ive pushed on last night I did the other inner design which sits on either side of the king crest

Then spent 2 hours carving the the chest design
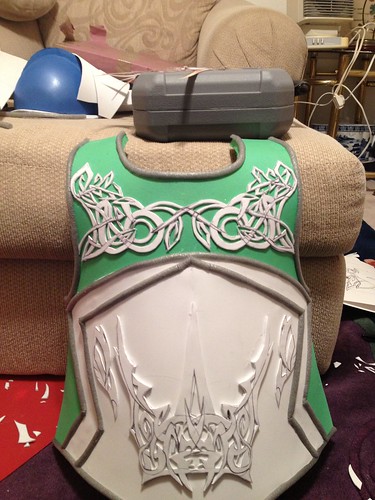
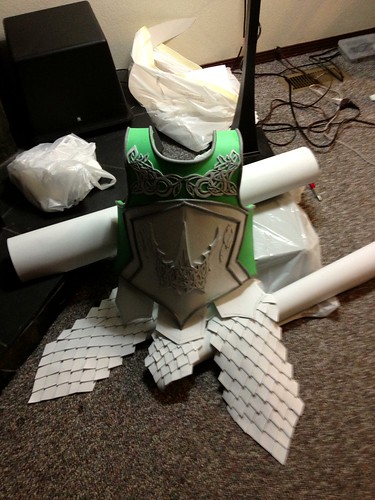
finished off the night with the cod piece and the plating under it,
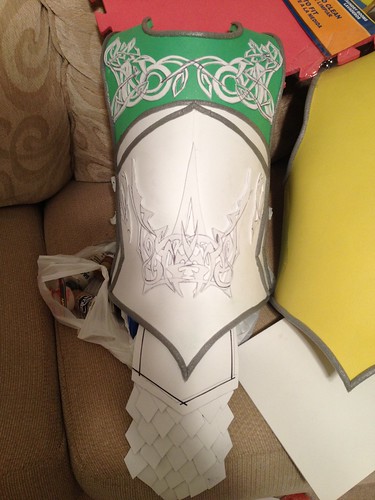
Tonight I hope to finish, the other skirting. I think so far for my first foam build its turning out better then I was planning :lol(knock on wood)
still to do, bottom skirting, shoulder design, shoulder plating, legs, seal and paint.
example
So day 1 I cut out my base pattern with the 1/2 inch foam, I used a heated blade to cut through the foam, which was like butter lol
My first attempt at heat forming my shoulder pieces failed miserably, took me another day of digging around the forums to finally get it, three sheets of foam later and I had this
day 3 I attempted to sand down the shoulder pieces :wacko I nicked the hell out of my hand many times using my dremel lol. Plus I still couldnt get my lines nice like everyone elses:facepalm but I figure this is my first foam build so the show must go on .
finished up day 3 with my back template and test fitting it to the front
it might look small but Im a slender man lol, Im slowly trying to fix that.
day 4 I re-flattened my breast piece and started to add the top layers
for the trim I used the closed cell foam window tubing which I cut in half
after I reformed the breast plate but as I was doing so it melted the foam trim :facepalm then I had to slice it off carefully and patch the parts that melted.
at the end of the evening I was happy with it.
I moved onto the intricate emblems on the chest piece which took my hours lol.
(template)
I decided to do 2 layers in 2mm foam glued ontop of eachother, the top layer would have all the negative space cut out the bottom would just be the outline, figured it would make it pop, but I didnt think about how long it would take to cut out each little flare and line :lol
3 hours later and I finally had the top layer cut out
and finally the bottom layered and glued
Once its plasti dipped and painted I hope the 2 layers will it help it pop
At this stage I did realize I screwed my middle chest layer dimension, it was way to close to the other layer which would make the side designs impossible :thumbsdown
not wanting to have this bum me Ive pushed on last night I did the other inner design which sits on either side of the king crest
Then spent 2 hours carving the the chest design
finished off the night with the cod piece and the plating under it,
Tonight I hope to finish, the other skirting. I think so far for my first foam build its turning out better then I was planning :lol(knock on wood)
still to do, bottom skirting, shoulder design, shoulder plating, legs, seal and paint.
")