USS Enterprise (2009) (Revell) review and build

Well my confidence in painting the Aztec pattern took a hit today. Did a paint test on a scrap polar lights TOS enterprise and the pearlescent effect disappeared when the gloss coat was applied that needs to be done for decals. Anyone who has done the tmp scheme before, does the pearl effect come back after dull coat?

And would using low tack masking tape over a gloss coat done over the decals then using a combo of gloss, satin and matt clear to repeat the Aztec pattern underneath be any good?

And in case I can't get this working, does anyone have contact with pnt models? If so, what's happening with the Aztec decals for this kit? A pic was released where the decal sheets looked ready to be printed and shipped over 20 days ago, yet no news or anything else has surfaced since.

Love the orbital_drydock masking set, but as I live in the uk the cost of the set plus postage and import duties at my end puts it way over my budget.

Disappointed that revell didn't stretch to include a set of masks or decals for the pattern, especially considering they have Cartograph at their disposal. Even an aftermarket set like round 2 did for the reliant, and keep doing for the 1/1000 refit for some reason, would be nice. The kit decals are the wrong colour on half of them, way to dark on the other half. And other than the registries, they just look way too cartoonish.
 
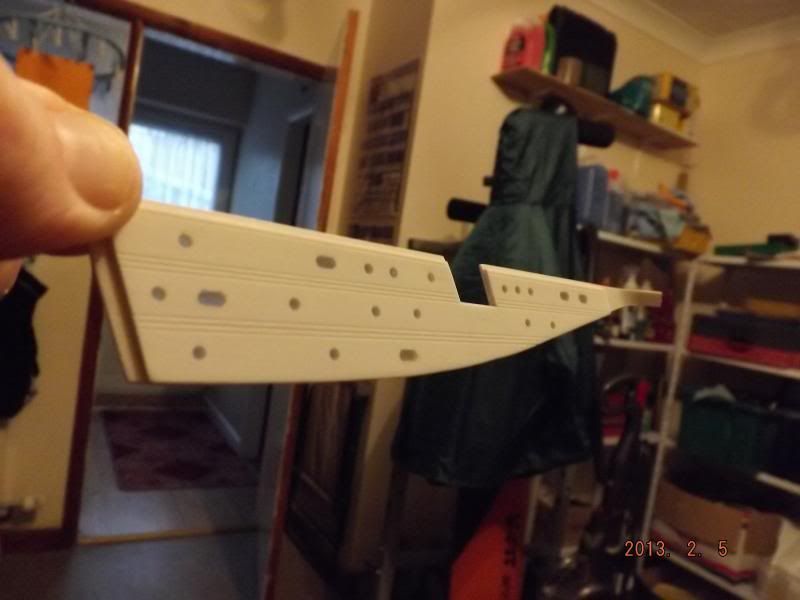
I have a problem with the dental acrylic: Like seen in the videos by Steve Neill, I first seal the window on the outside with masking tape and put the powder in. Then I add a drop of the liquid to it, which runs into the powder quite well. During the first few minutes it looks quite nice, but as it cures, it gets more and more opaque with a grainy appearance, mostly in the corners. Don't know if it comes from tiny bubbles from the reaction. Someone knows how to avoid this? Until now I did only tests, but always with the same result. Would really like to get it into the model this weekend.

Thorsten
 
Last edited:
I have a problem with the dental acrylic: Like seen in the videos by Steve Neill, I first seal the window on the outside with masking tape and put the powder in. Then I add a drop of the liquid to it, which runs into the powder quite well. During the first few minutes it looks quite nice, but as it cures, it gets more and more opaque with a grainy appearance, mostly in the corners. Don't know if it comes from tiny bubbles from the reaction. Someone knows how to avoid this? Until now I did only tests, but always with the same result. Would really like to get it into the model this weekend.

Thorsten

Hi T,
That can happen if there's starvation of the monomer component(liquid). Which can happen from just not enough used, or if what you're filling isn't level. Dental acrylic is fast acting, but not that fast. If you're piece isn't level , the monomer will run out.

One trick I use to prevent starvation is to put a tiny drop of monomer into the hole before adding the powder. Then add powder & more monomer, don't skimp on the monomer. Use enough so you see so that it looks soaked & wet on top. Have everything ready to go, you will need to work fast!! I suggest only doing about 4-5 holes at a time. This method will also prevent corner bubbles from happening.
 
Hum not too good as well...:

Ent_STID_Rev_build_039.JPGEnt_STID_Rev_build_040.JPG

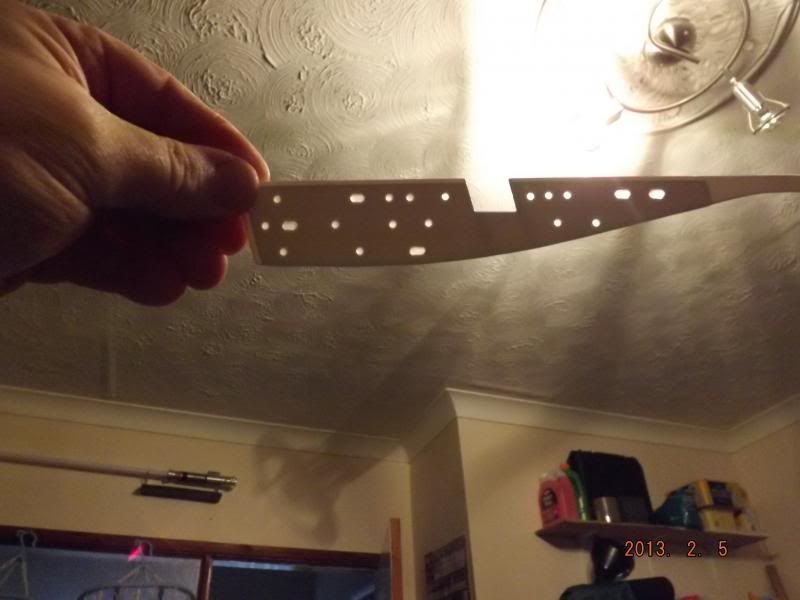
I made three test windows in 2 mm thick plastic. On two of them I first put a drop of the liquid in, followed by powder, followed by more liquid. When putting in the powder, it almost instantaneous starts to cure, giving no chance to level it out without gaps as result. On the third one, I gave in powder and then liquid like I did before, but now with more liquid, it must have been a ratio of 1:3 of powder to liquid. The results are not really satisfying. In all three there are microscopic bubbles which can be seen very well if lighted from the back as dark spots. This is not the way I want it to be :( .

Any more suggestions?

Thorsten
 
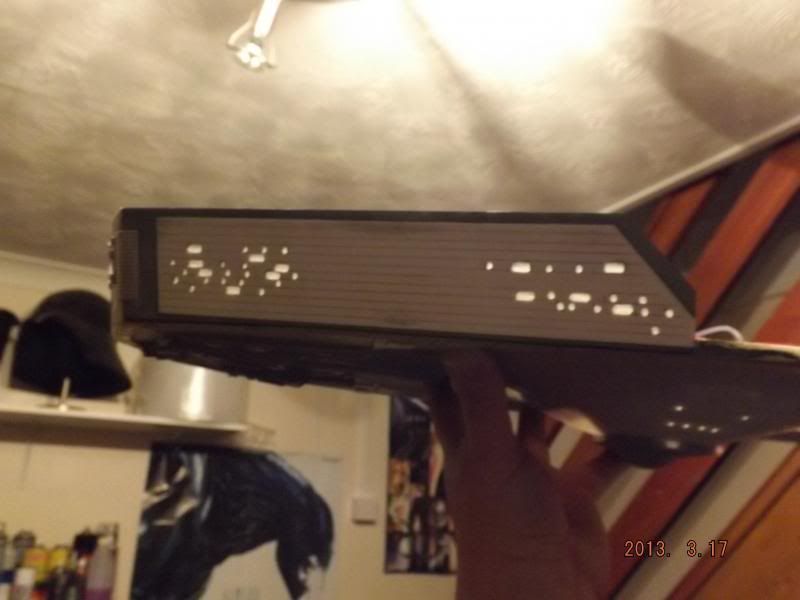
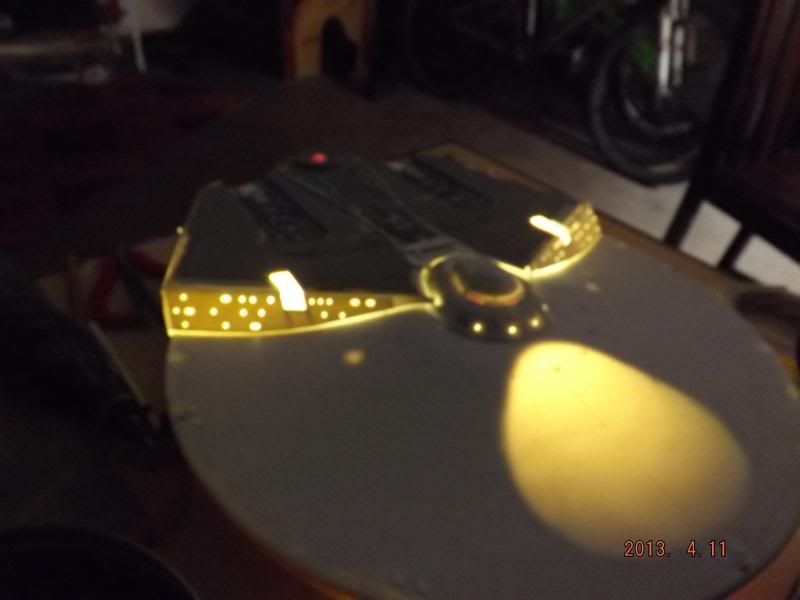
I now tried to vary the thickness of the acrylic layer. Doesn't change the look a lot. Could someone who worked with the stuff show me close-up pictures of his windows in lit and unlit state? I'm starting to think that it is normal and my expectations were wrong...

Thorsten
 
Last edited:
thorst, your progress has been totally inspirational! The windows....you might want to try water clear polyester resin.....this is what i've used on my 1:350 Reliant scratchbuild....takes a while to cure, but when sanded/polished it's pretty effective!

Rich
windowsssss005.jpg

windowsssss003.jpg

sidewindows005.jpg

abitoffun002.jpg
 

Attachments

  • windowsssss 003.JPG
    windowsssss 003.JPG
    1.3 MB · Views: 170
I should try this, thx :D

You're welcome!

I couldn't get hold of dental acrylic here, (and really wanted to use it as Steve Neill had used it so effectively!)

This stuff takes about a week to cure (!) then you need to wet wash it with water/washing up liquid... dry thoroughly, then sand/polish to taste!

Rich
 
Thanks Rich!
If there is no way to get the dental acrylic working, I will use resin. Already have a bottle here. But as the dental acrylic was so hard to get and cost quite a lot, I'd really like to find a way.

Tomorrow my holidays start, I won't be able to read and post here for a week then.

Thanks for all the help!

Thorsten
 
mostlydone1.jpg
I found that once the pylons were properly glued, the nacelles lined up just fine with no special jig needed. Now I did put some 5 min epoxy up there and let it cure, but that was it
 
Just wanted to let you know that I'm back from holidays.
I've put clear resin into the window cutouts of the saucer section yesterday, but there were some bubbles, luckily mostly on the outer surface where the resin didn't flow into all edges. I tried to fill those today with more resin, it seemed to work but I have to sand down the excess when it is fully hardened. I'll come back to this probably next weekend as I have to work again this week.

Thorsten
 
This thread is more than 7 years old.

Your message may be considered spam for the following reasons:

  1. This thread hasn't been active in some time. A new post in this thread might not contribute constructively to this discussion after so long.
If you wish to reply despite these issues, check the box below before replying.
Be aware that malicious compliance may result in more severe penalties.
Back
Top