Tron Legacy Costume

First post so here we go!

I was thinking of using the 8xAA battery pack featured here- 8 x AA battery holder with 5.5mm/2.1mm Plug and On/Off Switch ID: 875 - $5.95 : Adafruit Industries, Unique & fun DIY electronics and kits to power my EL tape on my suit. Looking for a second opinion, is it good, bad? Would using this inverter here help with any power surge problems 12V EL wire/tape inverter ID: 448 - $4.95 : Adafruit Industries, Unique & fun DIY electronics and kits ? Thanks in advance!
I think that should work, but you'll either need to cut off the connector on the battery holder and solder to the inverter's leads, or use something like this: Female DC Power adapter - 2.1mm jack to screw terminal block ID: 368 - $2.00 : Adafruit Industries, Unique & fun DIY electronics and kits.
 
Hey guys! First costume I ever made, let me know what you guys think!


Lots of hours of sewing, but I used EL wire. It's a different approach from that of the movie, but I still like the direction this went


Very cool! It's a little like my first attempt, not accurate, but definately Tron (gotta start somewhere)

2f4d87de.jpg

5dd11dbd.jpg


My homage
04646bed.jpg


I rather like the Teaser/Gibson style disc effect you did. How was that achieved?
 
Very cool! It's a little like my first attempt, not accurate, but definately Tron (gotta start somewhere)
My homage
04646bed.jpg

I rather like the Teaser/Gibson style disc effect you did. How was that achieved?

Nice! and thanks! It's okay, our attempt wasn't all to accurate either haha. I really love your homage though. How'd you do that?

For the disc, we just drilled some holes into and slipped the EL wire through. Used E-6000 glue to dry it and tape to hold it down.

I love the way our helmet and disc turned out, we tried putting EL Tape on the back of the helmet, but couldn't find a good way to keep it on.
 
So, long-time lurker.

I'm working on a quick project for a con next week. I'm looking at taking a polyester jacket and making foam panels that house the EL wire nd mounting those on the jacket. I've been looking through at the different ways of making things look flashy and I've run into a few questions.

1. What's the best way of mounting craft foam onto fabric (this case polyester)
2. I was looking into using a diffusion method but I've read that red doesn't fair too well with that method. I saw another person using reflective tape and lining it with el wire but I couldn't find a proper follow up, does that work as well?

Also any alternative design ideas are welcomed, just know that currently to work with I have a couple sheets of craft foam, 3 feet of red and 3 feet of blue el wire and13 feet of white el wire with the appropriate inverters and battery packs.
 
Nice! and thanks! It's okay, our attempt wasn't all to accurate either haha. I really love your homage though. How'd you do that?

For the disc, we just drilled some holes into and slipped the EL wire through. Used E-6000 glue to dry it and tape to hold it down.

I love the way our helmet and disc turned out, we tried putting EL Tape on the back of the helmet, but couldn't find a good way to keep it on.


The homage was made using clear printing gels/sheets and an EL panel. I found the image on the interweb and used photoshop to reverse the colours. I then used publisher to lay out several of the same image roughly the size of the EL panel and and printed it on the clear sheet. I cut it up, selected the best three prints and layered them on the EL panel and secured them.

The EL tape on the helmet was just hot glued on. It was the first part of the costume I made, and I'd never used EL before so ot didnt come out quite how i qanted it. I'm intending to re-do the EL on the helmet at some point in the near future.

686d9578.jpg
 
The homage was made using clear printing gels/sheets and an EL panel. I found the image on the interweb and used photoshop to reverse the colours. I then used publisher to lay out several of the same image roughly the size of the EL panel and and printed it on the clear sheet. I cut it up, selected the best three prints and layered them on the EL panel and secured them.

The EL tape on the helmet was just hot glued on. It was the first part of the costume I made, and I'd never used EL before so ot didnt come out quite how i qanted it. I'm intending to re-do the EL on the helmet at some point in the near future.

I had a feeling you used EL panel haha, nice work with it still. I tried some E-6000 glue on the helmet but it just didn't stay on well enough. I probably just need to spend more time on the helmet. I tried hot glue but it didn't look too clean :(.
 
Hi all.

It's been a long while since I posted here on the TRON cos thread and wanted to show off a (semi-complete) TRON 1.6 build I took out a few weeks ago on a test run.

It breaks from the ELWire/Tape version I did back in Dec 2010 in that this cos now has 12v LED Strips that are so stupidly bright that a camera lens tends to see the strips as a solid green line. *bonus when working in well lit environments, such as Cons* The overall look is meant to give the feel of a User-based program that uses pinpoints of light over bands or lines (i.e. like Rinzler in Legacy) while the 'inner glow of the shoulders and such hint at the same glow that Zen-Flynn has in his Legacy robes.

The current design will be reworked with a bit of white tunic and leggings as well as other boots and a sound activated lighting system. Updates to follow.

536752_10150771668622115_671017114_9535250_1577239914_n.jpg

DSC01627.jpg

148912_413796518652382_230855746946461_1264322_358518410_n.jpg

535125_409913692363413_100000343567926_1430961_571225349_n.jpg

579516_10150771667392115_671017114_9535239_127356549_n.jpg


and a look at the Sound Controller during one of the early tests:
LED Strip Sound Driver - test

Yes, the new LEDs work very, very well. :)
Lumeb8514.jpg
 
Last edited:
So after several hours staring at the computer, I've finally made it to the end of this thread! And I'm glad I did, you guys have put together an excellent collection of knowledge and techniques on Tron costumes. I really want to thank you all for this thread. I gotta say I've been researching El lighting since halloween 2 years ago, and I just came across this site maybe 2 weeks ago... not sure why it took so long!

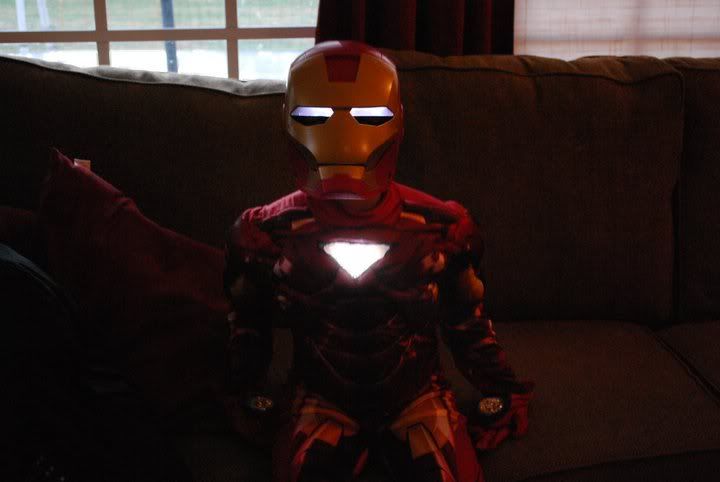
I am going to be building my son a Sam Flynn disc arena costume for halloween this year, and in the past, I've only "modified" existing costumes for him, like his Iron Man from 2 years ago:
MichaelsIronMancostumehalloween2010.jpg

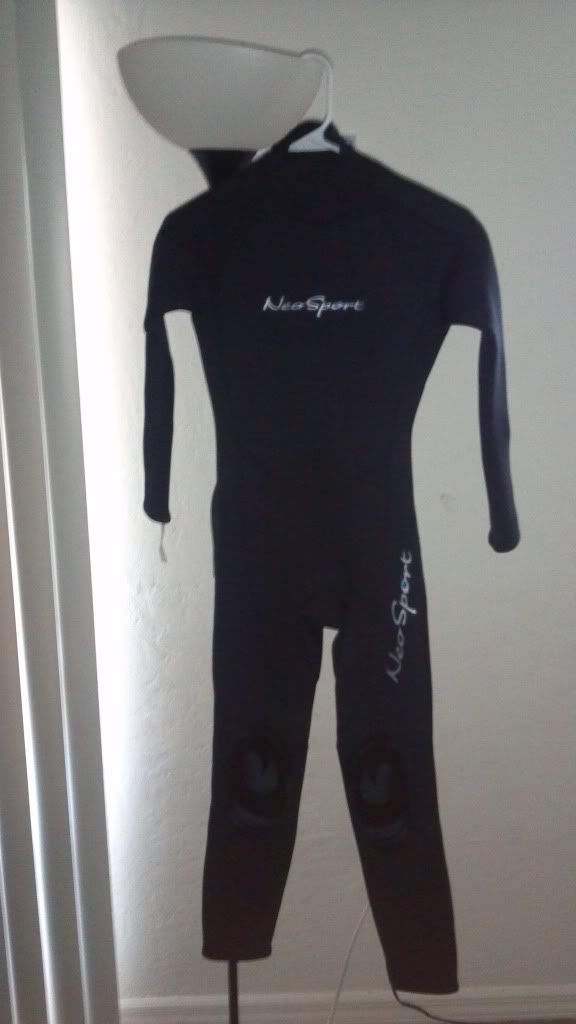
But I knew that I would make his Tron costume from scratch. Right now the plan is to put him in this wetsuit,
2012-06-19_14-24-04_424.jpg

I may go with underarmour compression clothing though, since I do live in Florida.. I'm just not sure if the underarmour will be sturdy enough to hold up the armor pieces (plus the wiring and lights).
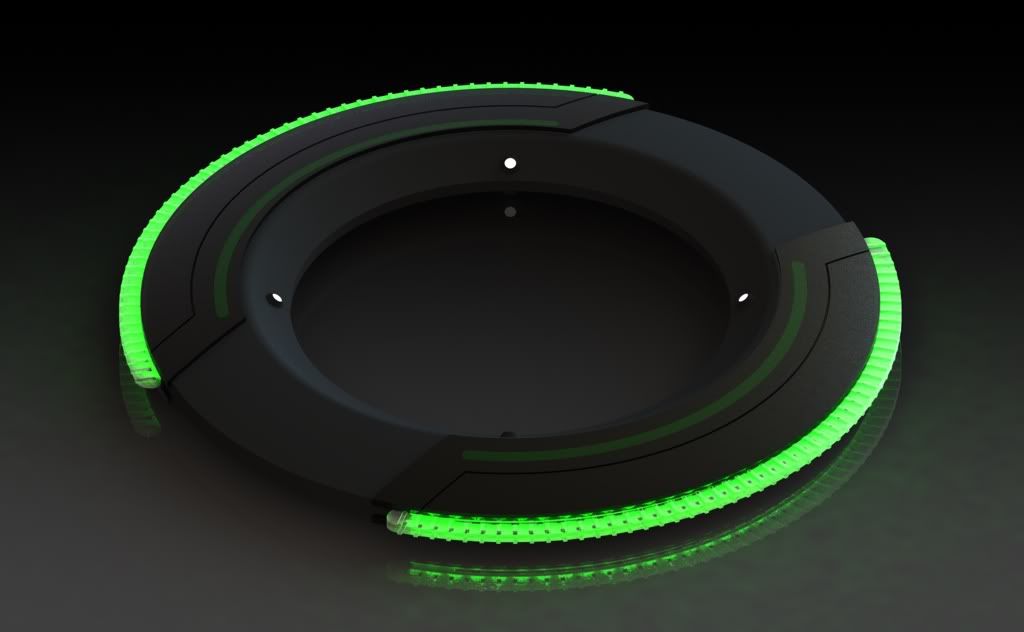
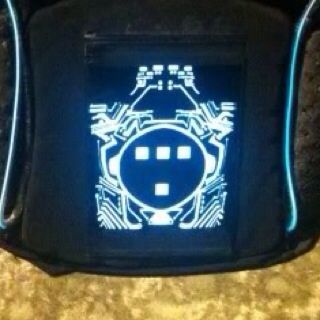
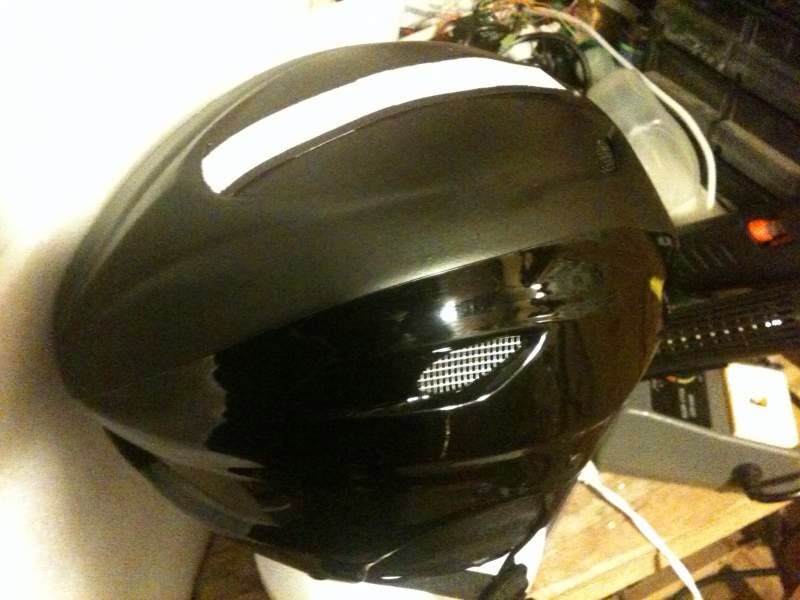
And speaking of the armor, that will be made out of craft foam. I plan to make the helmet and disc holder out of fiberglass.
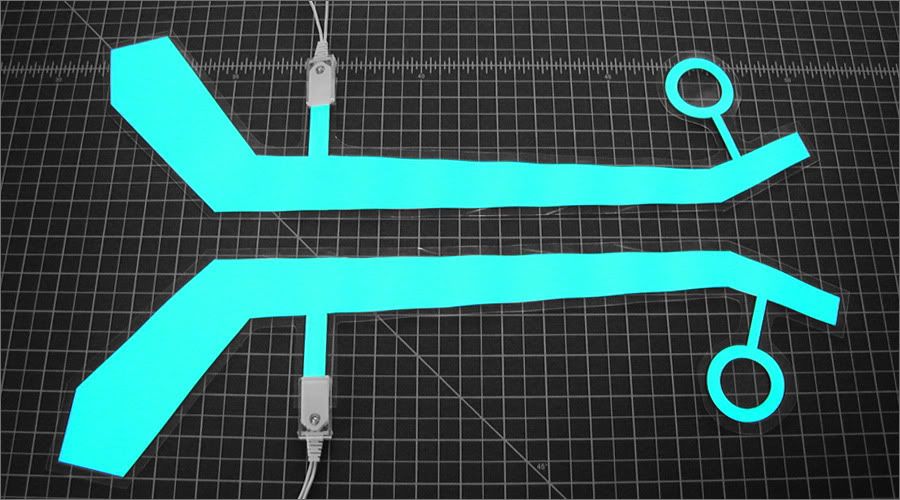
I haven't narrowed down which brand of el lights I will use, but I'm certain I'll be using the white color parallel paneling, that you cut and shape. Which brings me to my questions..
I have been considering this company,E-Luminates, but their "lighted" product photos are less than impressive.. Not sure if that's just poor picture taking, or poor quality product! So if you bought from them, were you happy with the product? Was it bright enough? Also, can anyone show the "lighted" difference between the POWO vs. the WOWO panels? I have been leaning towards the POWO panels, because everything I've read says that it is brighter.
I've also been considering Electroluminescent Panel + Inverter , more expensive, and their product photos are MUCH better in my opinion, but their product doesn't appear to be tabbed for "cut and shape" use, and that would be a deal breaker if I couldn't make my own panels..
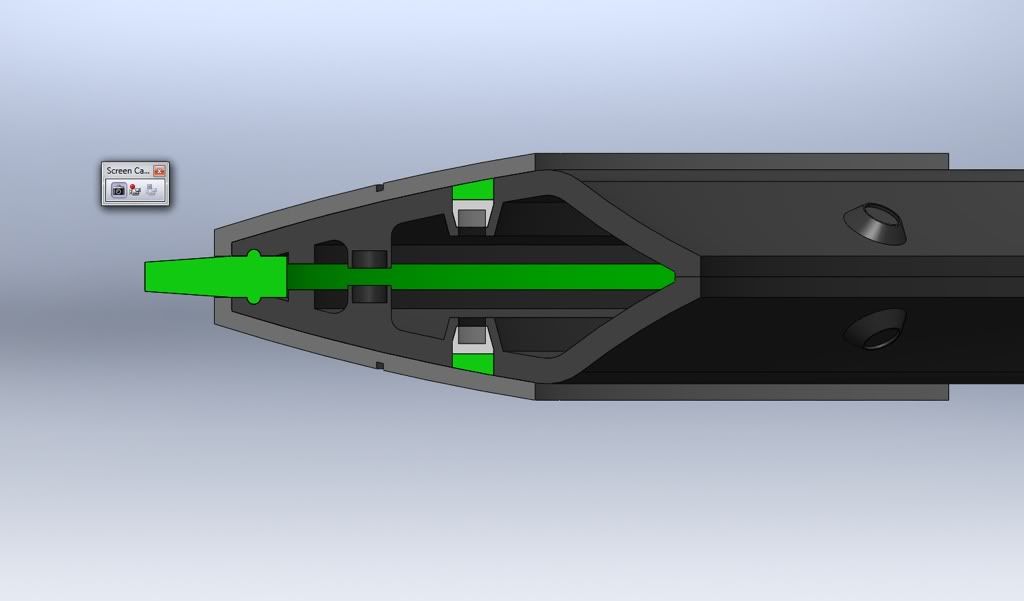
Also, does anyone know where I can get these connectors?
Web20-20Tron2008_900.jpg
since this will be for my son, and I know he will be running and dancing in it, I want to protect the wire solder joint from any and all movement!

Thanks in advance for all your help!
 
How are you building the disc wars helmet pbkayaker? Using the pep file (i've assembled it and started resining for adult size it doesn't look right yet once I have time I'll post pic's but I have really limited time on these projects 1-2 hours a month).
 
Hey pbkayaker, I think those are Light Tape's low profile connectors. Here is a video that shows them:
How to Make a Low Profile Light Tape® Connection - YouTube
The video is for the UK site of Light Tape, but I'm sure that you can probably purchase them from the US site (if you live here in the States, that is).

Light Tape huh? I didn't see the connectors available separately on their site, I guess I'll have to call them. They show those connectors on split electrode tape, and even though I plan on using parallel electrode panels, I think I could still use them, as long as I don't pierce the panel. Thanks for your help!
 
How are you building the disc wars helmet pbkayaker? Using the pep file (i've assembled it and started resining for adult size it doesn't look right yet once I have time I'll post pic's but I have really limited time on these projects 1-2 hours a month).

Well I can promise you that it will be a giant experiment for me when I make his helmet. but the current plan is to wrap his head in plaster bandages. Once I get it built up and strong enough, pull it off my sons head and line the inside of the plaster mold with mold release and a thin layer of plastic sheeting. Then I'll make a crude plug of my sons head by spraying expanding foam inside the mold.Essentially, what I'm going for is an accurate reproduction of the shape of my sons skull...
Once I have that, I'll cover the plug with a thin coating -not more than 1/8" of plasticine modeling clay (so the fiberglass doesn't stick to the plug) I'll fiberglass directly on the clay to get the bottom shell of the helmet. Once that cures, I'll take more clay and place it directly on the fiberglass base shell, and start to sculpt the top shell of the helmet. once I have the desired shape, i can fiberglass the top shell right on the the clay as well. But i have to be careful to seal the bottom shell from the top shell (otherwise I'll have a helmet full of clay!!) Once the top shell has cured, I'll pull it off, clean out the clay, pull off the bottom shell, clean both pieces well, and fiberglass them together.

Of course, that's just the gist of it, there is alot more involved, but I don't want to bore anyone with a ton of writing... Once I start it, I'll post up lots of pics detailing the process. Like I said though, this will all be giant experiment for me because of everything needed to make this work, the only thing I've used before is fiberglass. I have no experience with plaster bandages or with plasticene, but in my head, it should work...
 
If you want a 100% completed helmet it will cost around $600. If you want a basic kit, which is what I got, then it will cost around $300. However, it's made really big. I had to size mine down about 50% before it fit me. So I would go with the kit in case it's too big for your head.

Awesome! Thanks a ton for letting me know. I hoping it wont come to that, and I have several techniques I plan to try before breaking down and purchasing one. Right now I am just hoping I can sculpt the initial helmet shape well enough. :)
 
Ohh yeehh! That's one cool disc and costume :cool I tip my hat to you sir on a job well done :thumbsup

y'know, if you were able to split or cover parts of the C ring and line each end up to the outer blades, you would have the first accurate concept disc mod out there, plus you would beat me to the pip on that one too (grrr :lol).


Here's some renders of my work in progress for that one

e57294e2.jpg

7a70301f.jpg

f0a10fe0.jpg


I'm a long way from getting the parts made, but one day....
 
Ohh yeehh! That's one cool disc and costume :cool I tip my hat to you sir on a job well done :thumbsup

y'know, if you were able to split or cover parts of the C ring and line each end up to the outer blades, you would have the first accurate concept disc mod out there, plus you would beat me to the pip on that one too (grrr :lol).

Here's some renders of my work in progress for that one
I'm a long way from getting the parts made, but one day....

Haha thanks, we weren't really trying to be accurate though. Just going with whatever looked good. I hope you finish yours soon, it looks like it will be good haha.
 
Canobi, that is a sweet render. I like how you have actual light sources inside your model. Nice work.

what program are you using?
 
This thread is more than 3 years old.

Your message may be considered spam for the following reasons:

  1. This thread hasn't been active in some time. A new post in this thread might not contribute constructively to this discussion after so long.
If you wish to reply despite these issues, check the box below before replying.
Be aware that malicious compliance may result in more severe penalties.
Back
Top