Star Destroyer....18 years in the making.....

I like this build because it is very creative. you didn't use anything fancy. instead you just used a bunch of found objects from around the house and used them very well in this build. I can tell a lot of heart went into this project. You shown us all that you don't need expensive tools or materials to make something cool! I think my favorite part is the engine section. I like your detailing around the engines. You really nailed the piping! Lets see some more projects.
 
Lets see some more projects.

I am like out of room, unless I make some more shelves, which I might have to. Wood sure is expensive though. After I finish the wipeout model, not really sure yet what to make.... Well, I have a death star I started painting and never finish. Might start over and repaint that.
 
Well there you go. Is the Death Star a kit or one you built?

Just a kit I got on sale for $10. Funny that its only 8 peices you glue together. But they were actually quite a pain to get just right....more than you would ever think. For just that and then painting it, figured I wouldn't even bother with making a thread for it. How could I ever compete with the already perfect studio model replica over in that section on here....thats actually how I even found this site in the first place.
 
I would have stuck with 1976 1977 1980 1983 the release years of the movies that Actually had Star Destroyers in them. original limited release ep 4 1976 wide 1977 esb 1980 rotj 1983. for common found items and a cardboard base of 18 yrs the fact it looks this good after that long is amazing. the level of detailing you have added is outstanding. Awesome thanks for sharing your work.
 
So I found out that using a blacklight on the glow in the dark paint make its glow so well, it works in the light.
Heres what I have.


With the light from the room on.


I put the blacklight on the ceiling for good.


Makes everything in the whole room look pretty cool as well.
 
yoda-meme-generator-much-talent-i-see-yes-much-talent-4bcf29.jpg
 

Much thanks to you very so much.


So yeah, been gone a bit. Just busy and computer issues...but now have a new computer. Still getting through this whole windows 8.1 thing.

Anyways, just about 30 mins ago, I was looking for something in the kitchen and saw a bag on the microwave. Looked in it and couldn't believe what I was looking at...... The perfect sized domes that I had been looking for for so long. Cabinet knobs. My mother and law had giving it to us and had been sitting there for like 3 weeks...and I didn't even know it. So now I think if I should rip off the Christmas balls and add these more perfect ones....
 
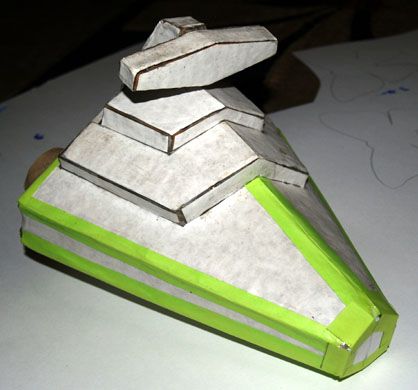
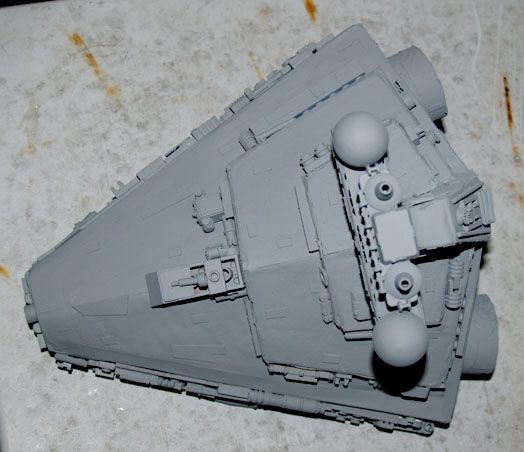
So I got a gift from my brother. He ended up giving me 250 dollars between gift cards and cash. So I knew I had to do something nice back for him. Well, if you go back to the first page here in this thread, you see the old pic with the shuttle, big star destroyer, and the smaller one. That one was my younger brothers(around age 10), who was just copying me, his older brother. Now about 19 years later, and having this model for all this time, decided I would finish it and then give to him.
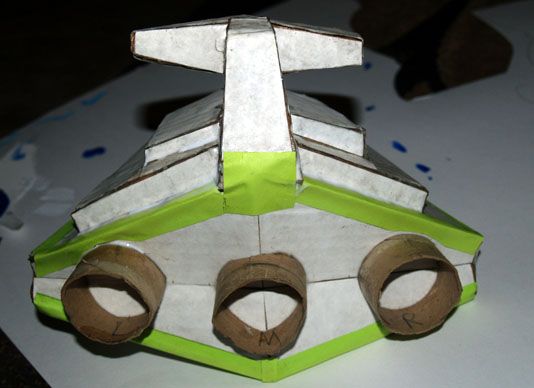
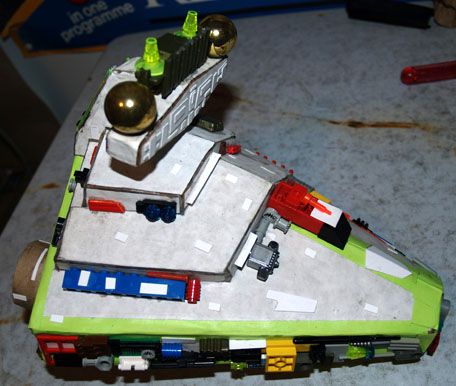
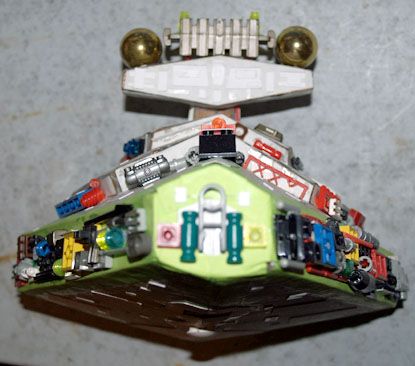
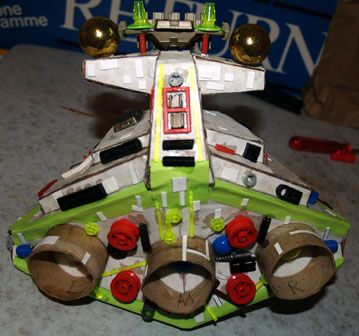
Around 2002 I glued on the white paper, from there, it just sat. Starting Sunday night, I added the green paper for the edges and then all he greebles, mostly legos.
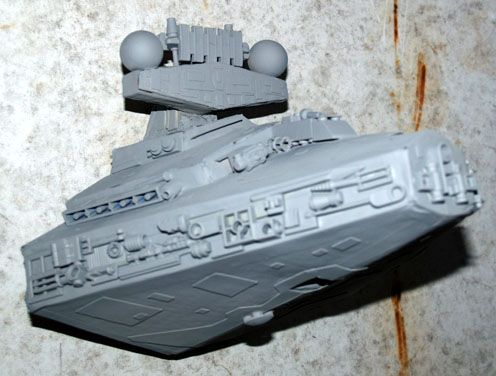
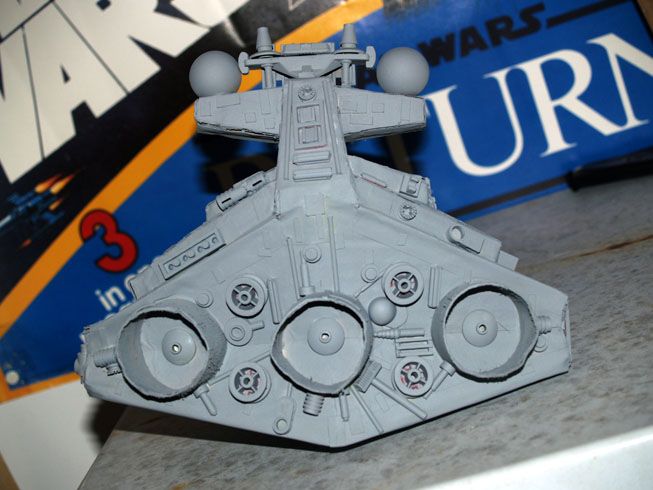
By last night, Monday, I was painting it. I still have some touching up to do, but wanted to share for now.
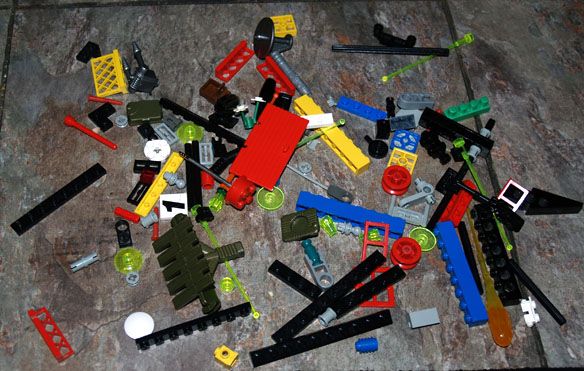


All the greebles.


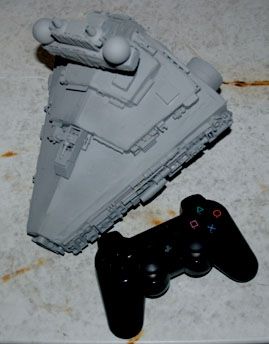
And size comparison to a PS3 controller.


I figure this is another smaller type of star destroyer perhaps just never seen in the movies.
So now, going back to my death star models.
 
JM, I'd say the latest one is a perfect 'SD' (Super Deformed) Star Destroyer, or SD-SD! Like the 'Egg Plane' models that Hasegawa produces, it certainly has great charm for any Star Wars fan! Very nice job, mate!

Regards, Robert
 
So if you go towards the top of this page, you can see me talk about the 2 domes. Now that I have the right type and size, I decided to take off the christmas ornament ones and add these newer better ones. Going to a bunch of stores looking for just the right parts to make it best I can.
Heres what I got so far.

Dome with the little antenna things.


Both domes with the base started.


Glued on the antennas as well as added a part to the bottom of each.


I know I'll be more happy with this fix.
 
I applaud your creativity and resourcefulness! A project like yours has so much humanity and love invested in it.
 
Amazing creativity... great story. You should be very proud!
Just for the fact of the time and love you put on this project I would say its one of the best buildings I've ever seen.
Very well done man!

Thanks for sharing.
MB
 

Your message may be considered spam for the following reasons:

If you wish to reply despite these issues, check the box below before replying.
Be aware that malicious compliance may result in more severe penalties.
Back
Top