Re: Space 1999 Eagle Transporter Build Club UPDATE 15/03 (PIC HEAVY!)
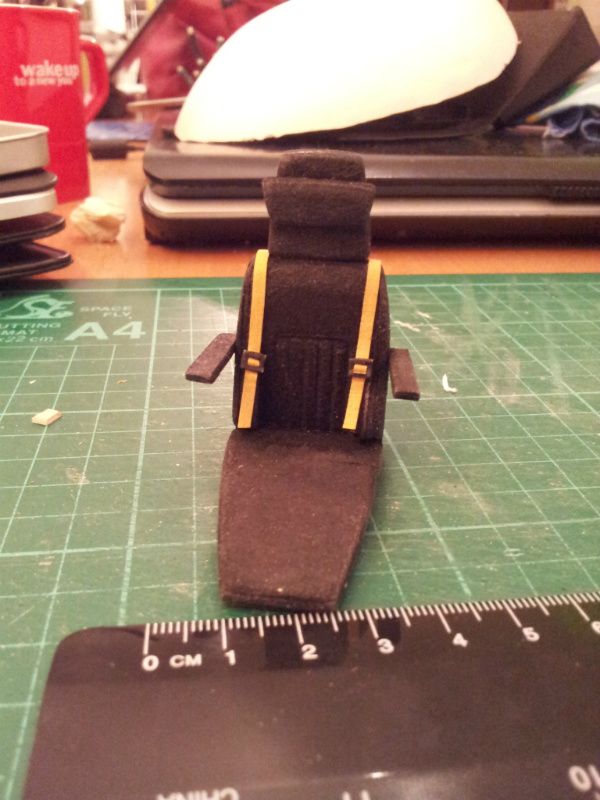
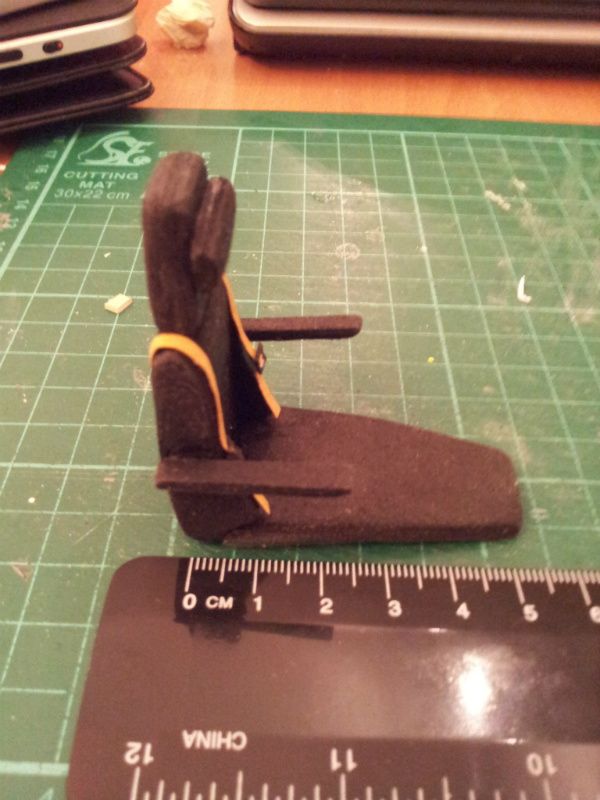
Well, a nice relaxing day today allowed me to make this little pilot's chair. Still have to make another one but I am happy with this first one. The seat is made entirely out of 1mm thick card, whereas the seat belts are just cut from two lengths of masking tape stuck, sticky sides together and trimmed to width/length and painted yellow. The little buckles are just cut from a cereal box. Damned fiddly work, though...
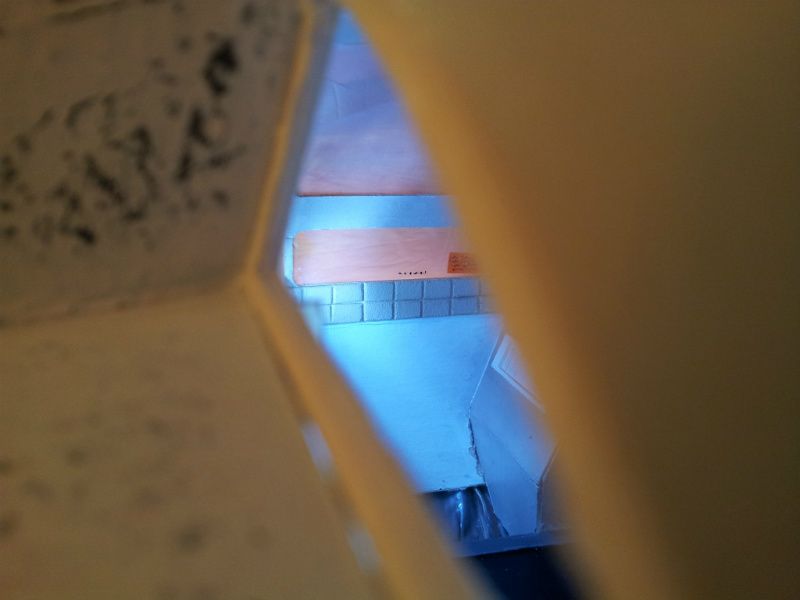
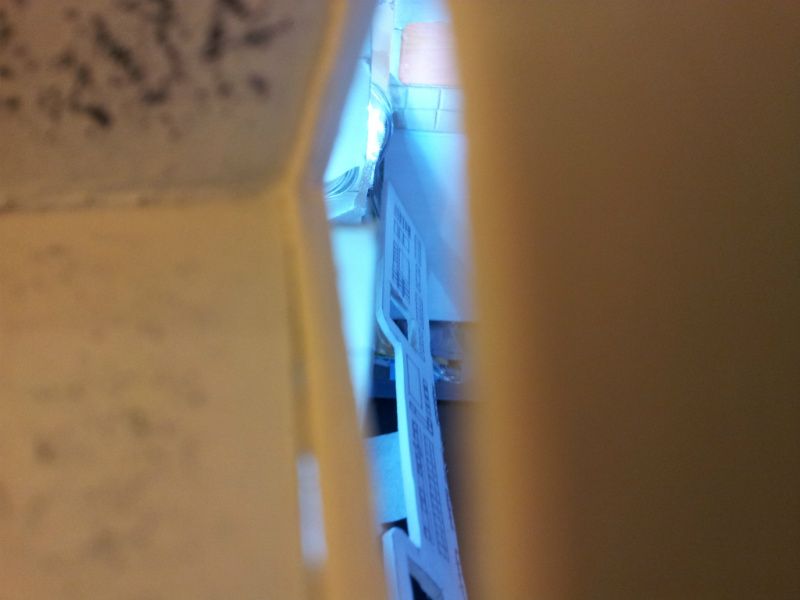
I had an hour sitting in the garden today in the sunshine. I used the opportunity to dremmel the CM apart and start the fitting of the cockpit. It was about 8mm too wide at the bottom of the back wall, so I just temporarily removed the floor, and trimmed 4mm off of each side. Then I will pull the side walls in to meet the new floor edges. I have also temporarily taped some lights into position for test lighting.
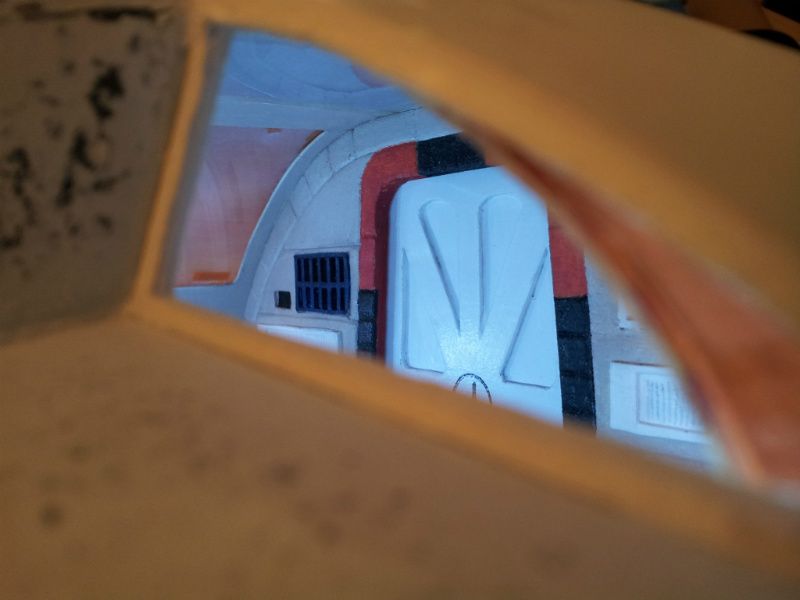
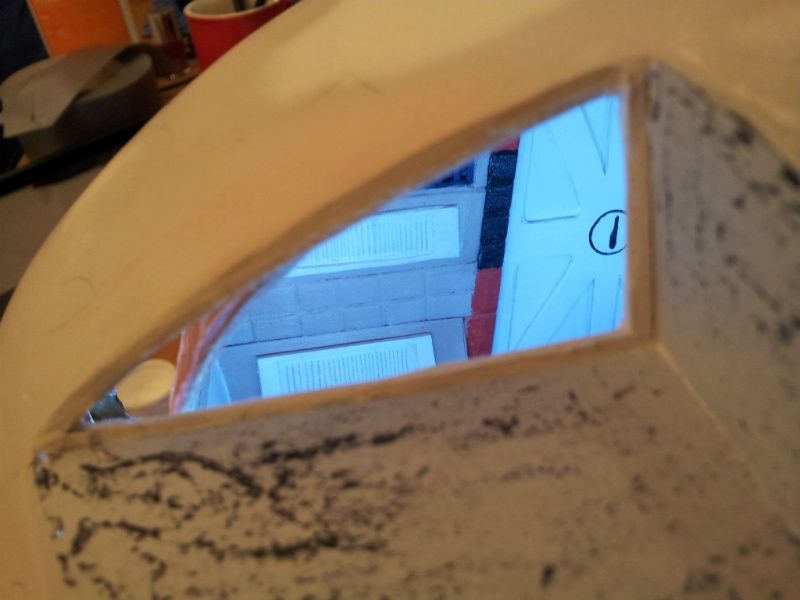
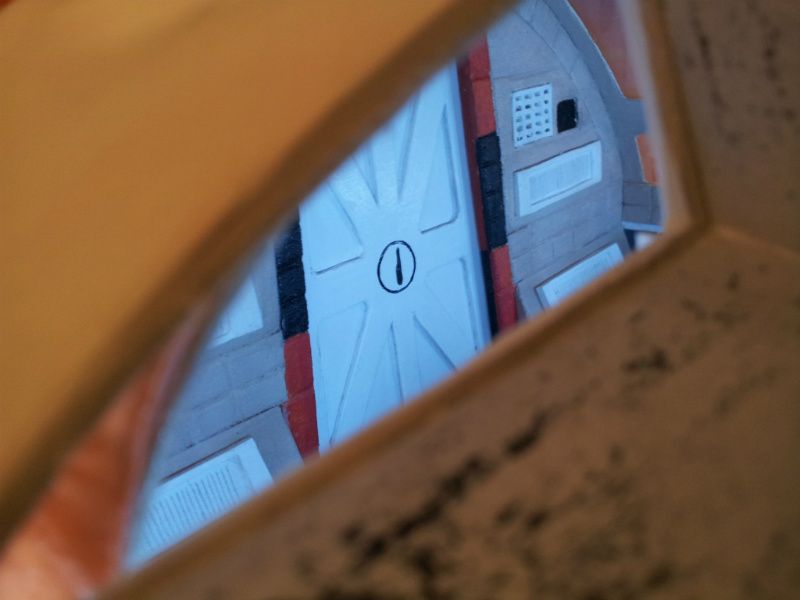
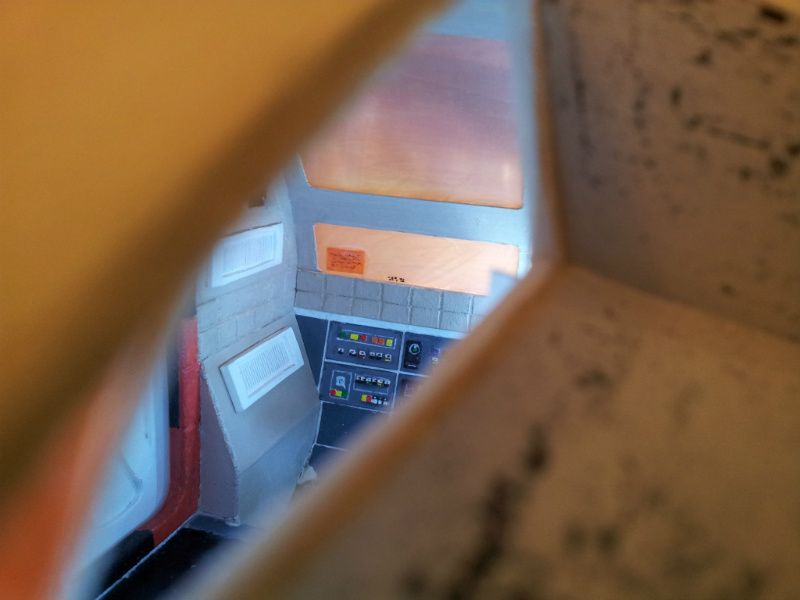
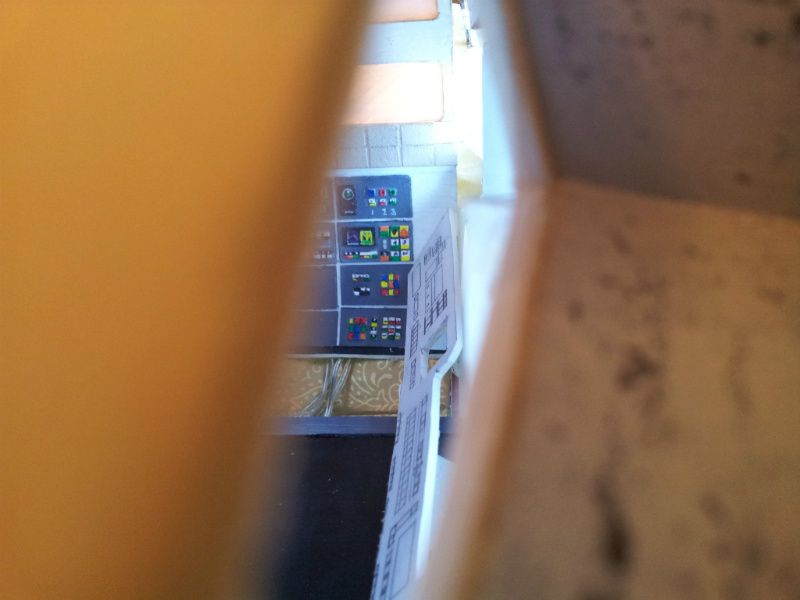
Here, you can see that I have drawn and cut out the front console. and temporarily placed it at the front of the cockpit. You can just make out the two holes in the console - these are the TV screens and I shall put a little square of clear plastic behind each hole and mount the Eagle 1 screen behind that. I will then install an LED directly behind each TV screen to illuminate them. I have decided to modify the back section of the CM to make it more like the Roberto Baldassari design,(see immediately below).
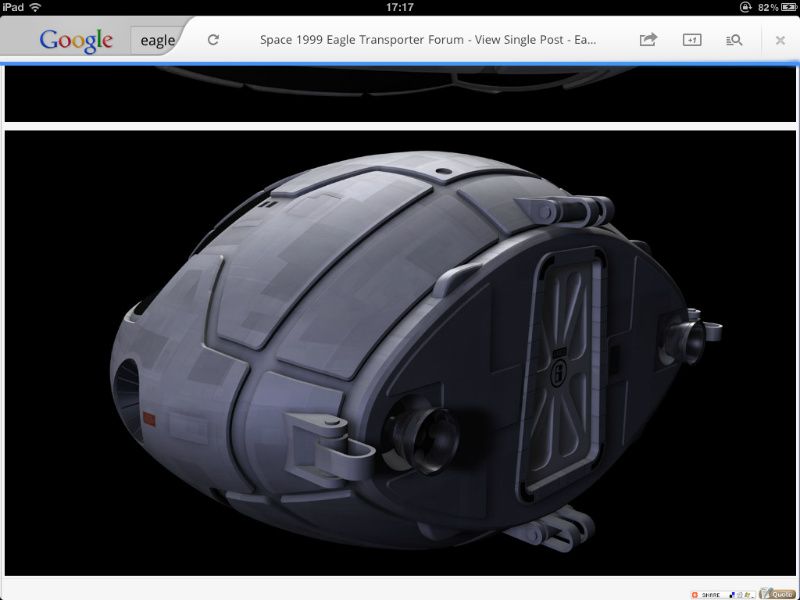
This will allow me to make a real sliding door on the cockpit and will also permit the cockpit interior to be viewed from the doorway. I know that this is not the authentic way to go about it, but I feel that this is how the Eagle should/ would have been designed if it was a real functioning craft. I just need to add the little "bump" to the outer shell to accomodate the top corner of the door when open. I will have to still fit out the rest of the front cockpit wall, but that will surely happen now that the worst is behind me.
Damn! I love this "taking it easy" as, I get loads done!
Hope you enjoyed this update!
")