Nike Mag V2 Mod Discussion (Page 58 Shopping List)

Status
Not open for further replies.
The entire shoe looks perfectly proportioned when you compare it to the v2. The v2 just looks fat and bulky because its pushed too forward the gap between the laces and front toe is too short. I had to correct this from scratch on my custom template, its been quite the challenge!

Thanks for the video. I think that part of the reason these shoes look as cool as they do has to do with their size. For a long time, we have been led to believe they were US9.5 and I think they were smaller, possible as small as a US7. Even my crappy pair of US8 V1 MAGs look better than the larger versions of the same shoe.

I recently acquired a Mattel Hover Board. If these boards are really a 1:1 of the real board, then US9.5 is too big.

H1.jpg
 
Has anyone thought making a pair with actual power laces? I mean it is possible but I dont think there would be enough room for lighting them up too. I don't know just something I've been thinking about
 
I've been following this thread lately and I've decided to get a pair. has anyone tried making a wireless on off switch using a phone and an arduino nano with bluetooth shield? this thread Using android mobile to control arduino - Arduino Forum (video in link)shows what i mean. not sure how much space is in the shoe but a nano with a small bluetooth module might fit. arduino-nano-peq.jpg. battery life shouldn't be an issue, in this article How to run an Arduino (clone) on a 9V battery for weeks or even months | Hardware Startup it says a standard uno takes 2 days to drain a 9v battery so a nano should be fine.

EDIT: just found this thing, it'd be perfect. http://www.kickstarter.com/projects/kytelabs/bleduino-bluetooth-40-ble-made-easy-arduino-compat

EDIT 2: how about putting a pressure sensor in the heel to turn on the arduino only when the shoes are being worn to preserve battery life, maybe program a 15 minute timer before the power cuts so they can be controlled after you take your shoes off. http://www.youtube.com/watch?v=E7ATHhNnrD8

http://playground.arduino.cc/Learning/arduinoSleepCode

I'll stop now :rolleyes
 
Last edited:
Has anyone thought making a pair with actual power laces? I mean it is possible but I dont think there would be enough room for lighting them up too. I don't know just something I've been thinking about

The subject comes up from time to time. A few of the things mentioned last time included motor size and torque, placement of said motor and the shaft and lace winding mechanics. There is also the power supply issues.
 
I can't seem to find it, but she has done a 3rd version where she uses a screwdriver to push a pressure switch on the sole. The project looked much more refined, but like V2, does not show the inside of the shoe to prove a foot can still be inserted. There is also another one that seems to have a spool and line system. Again, just enough shown to gain interest, but not enough to work out how.
 
Been a long time since I have posted in this thread. I haven't kept up with it but I am having some free time so I decided to swing by. I see most people use the 9v system. Doesn't look like any one stuck with the 3v system? Anyways here is how I have been doing my 3v system...

The electronics are done in this pair just have to seal the battery in the ankle buckle. And tuck the wires away and toe slim. I use something similar to sugru to do this, basically a white silicone paste to encase the battery. It's very satisfying being able to plug the shoes directly into the charging port and charge them as they are with the built in 3.7v battery. How I wired these...

3.7v battery ---> Protection Circuit ---> 1.3mm power port ---> switch ---> Ankle Bubble ---->Strap and Sole

If someone is interested in doing this method I can draw up a detailed diagram. And for anyone who sees this and wants to try this on their own, its VERY important you use some sort of protection circuit to stop the battery from over charging.

0aev.jpg

5kcu.jpg
 
Been a long time since I have posted in this thread. I haven't kept up with it but I am having some free time so I decided to swing by. I see most people use the 9v system. Doesn't look like any one stuck with the 3v system? Anyways here is how I have been doing my 3v system...

I like it. A little too complex for the first timer but very cool. How long does your battery last?
 
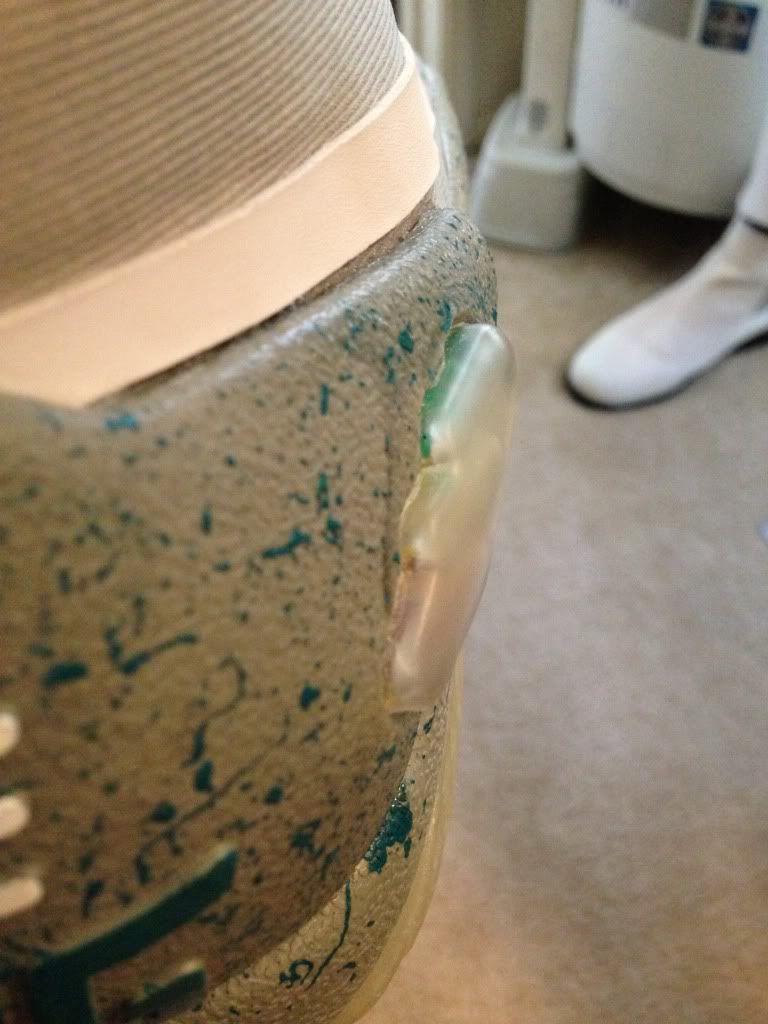
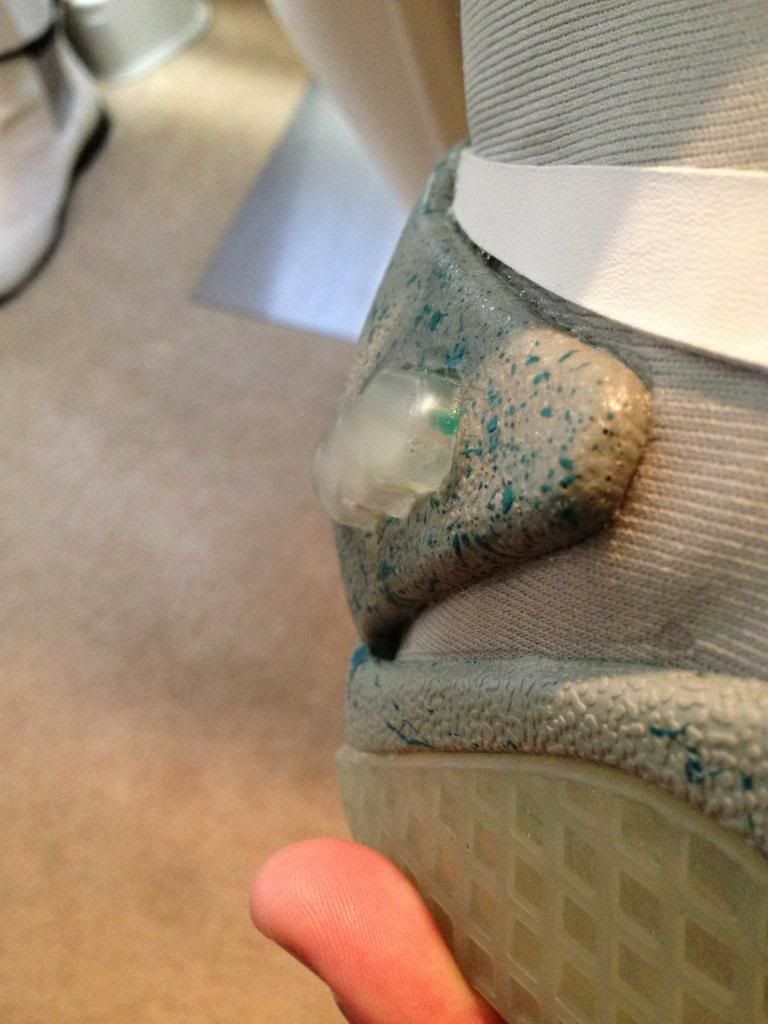
How did you guys remove the ankle bubble? With an xacto knife or using a hair dryer?

Hair dyer to loosen the glue, fingers to remove the bubble and Xacto knife to trim the excess off.

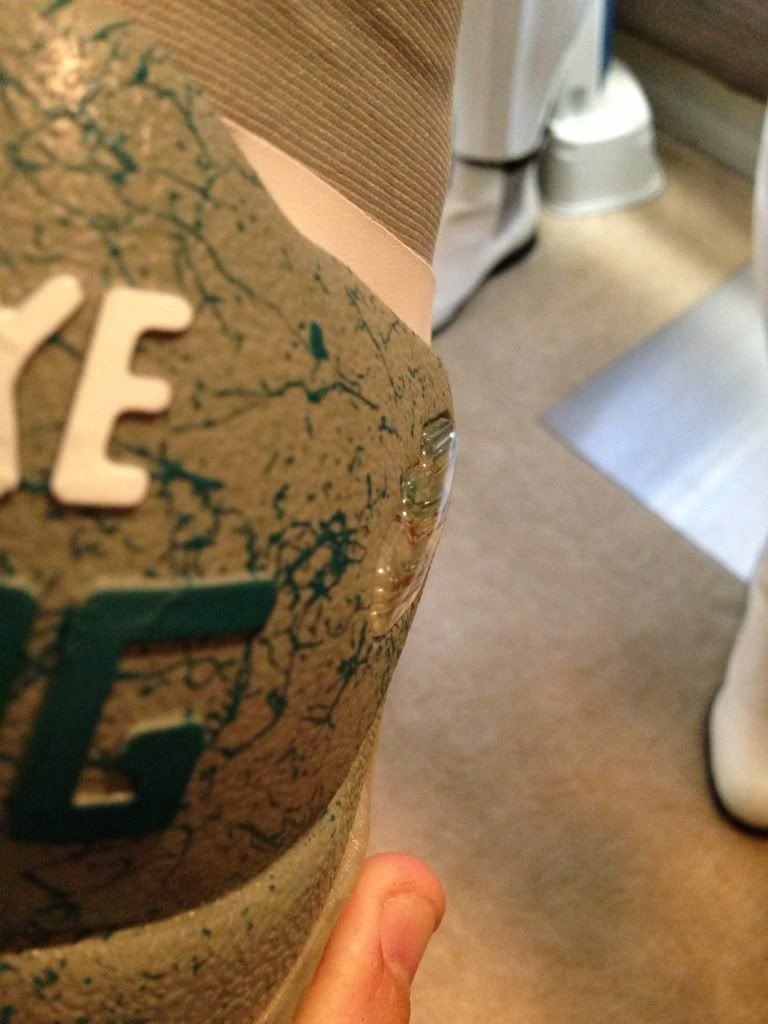
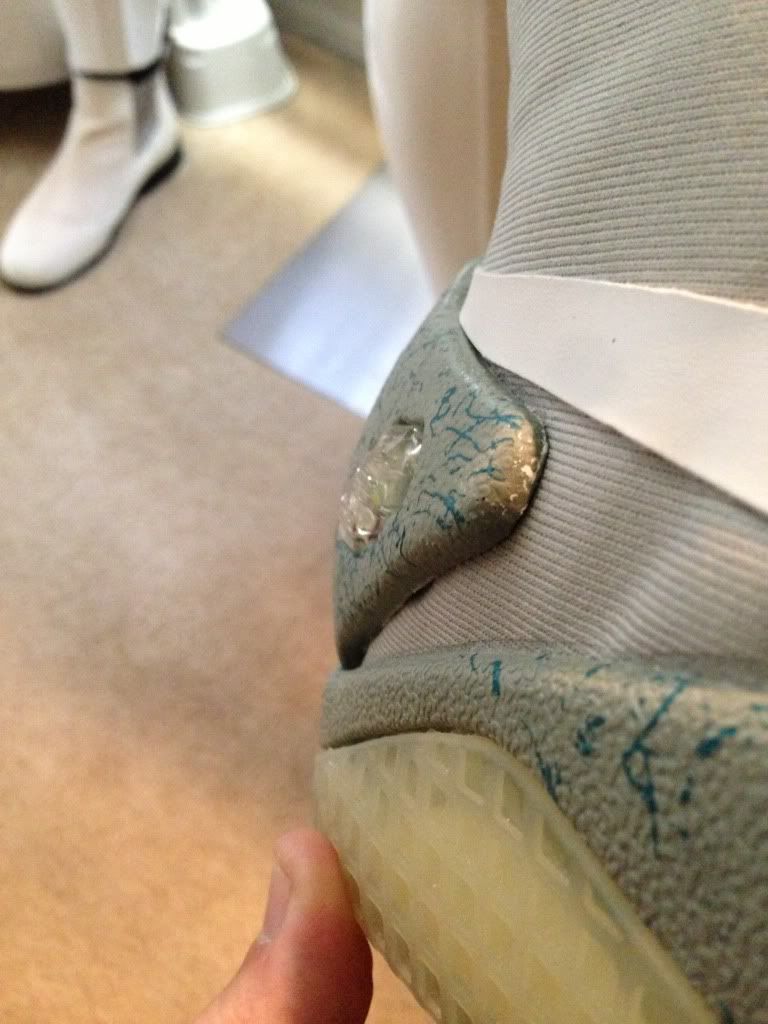
It went from this (these are different shoes but the same idea applies):


null-4.jpg

null-2.jpg


To this:

null-5.jpg

965c7f63-e9b4-4b0d-ba2d-ba2e4d75b829.jpg
 
I like it. A little too complex for the first timer but very cool. How long does your battery last?

Yes It is a little complex but I really enjoy it and I will keep using it. I haven't timed it EXACTLY but about 7-8 hours it seems. Using a 1800 mah battery. I really would like to see 12 hours. I will order a pair of the ankle buckles from shapeways. I should of done this in the first place instead I just cut a notch out of the stock buckles which is only a few mm high. I have a 3100mah battery that is the width and height but is thicker. But I have the biggest battery I can fit into the stock ankle buckles right now.


I wish I could dissect a pair of Nike's version. I would like to see how they did it. Does anyone know?? I bet their battery is a 3.7v located in the ankle buckle as well.


0ihf.jpg
 
Last edited:
I am thinking it might be possible to cut right through the rubber of the V2 buckle so a 9V battery actually fits in that rectangular cutout, then cover the cutout with the CP 3D print?
2013-08-26 23.26.30.jpg
The shoes would look like my pair.
 
Those ankle buckles look HUGE!

Could be the angle. I just think they have a way better shape than the factory supplied rubber part.
DSCF4195.JPG
They are not that large. They are about the same size as the ones I vac formed.
 
Last edited:
hi
did you have to make the protection circuit yourself or can you get it premade?
did you leave your inverter still in the sole?
thanks

Been a long time since I have posted in this thread. I haven't kept up with it but I am having some free time so I decided to swing by. I see most people use the 9v system. Doesn't look like any one stuck with the 3v system? Anyways here is how I have been doing my 3v system...

The electronics are done in this pair just have to seal the battery in the ankle buckle. And tuck the wires away and toe slim. I use something similar to sugru to do this, basically a white silicone paste to encase the battery. It's very satisfying being able to plug the shoes directly into the charging port and charge them as they are with the built in 3.7v battery. How I wired these...

3.7v battery ---> Protection Circuit ---> 1.3mm power port ---> switch ---> Ankle Bubble ---->Strap and Sole

If someone is interested in doing this method I can draw up a detailed diagram. And for anyone who sees this and wants to try this on their own, its VERY important you use some sort of protection circuit to stop the battery from over charging.

http://imageshack.us/a/img16/4229/0aev.jpg
http://imageshack.us/a/img15/5425/5kcu.jpg

very interested in your setup. Details would be greatly appreciated.
 
Status
Not open for further replies.
Back
Top