FakeBritishAccent
Sr Member
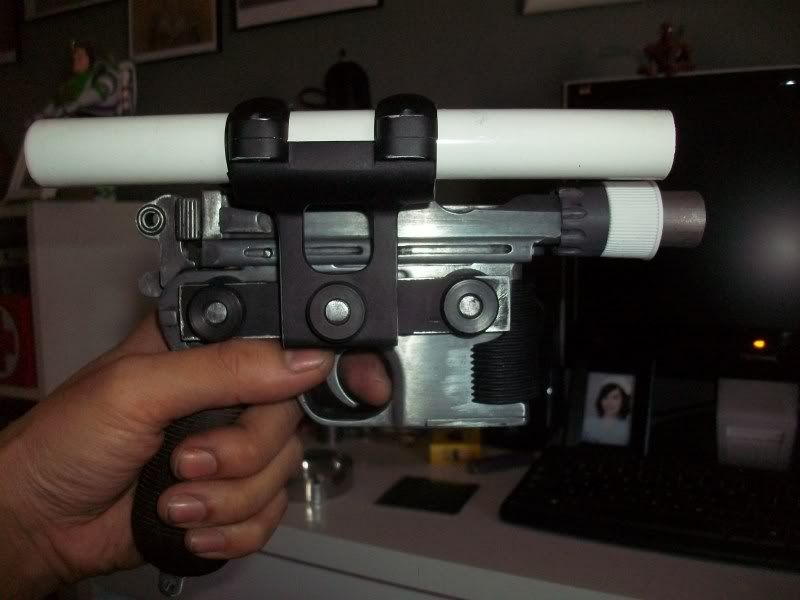
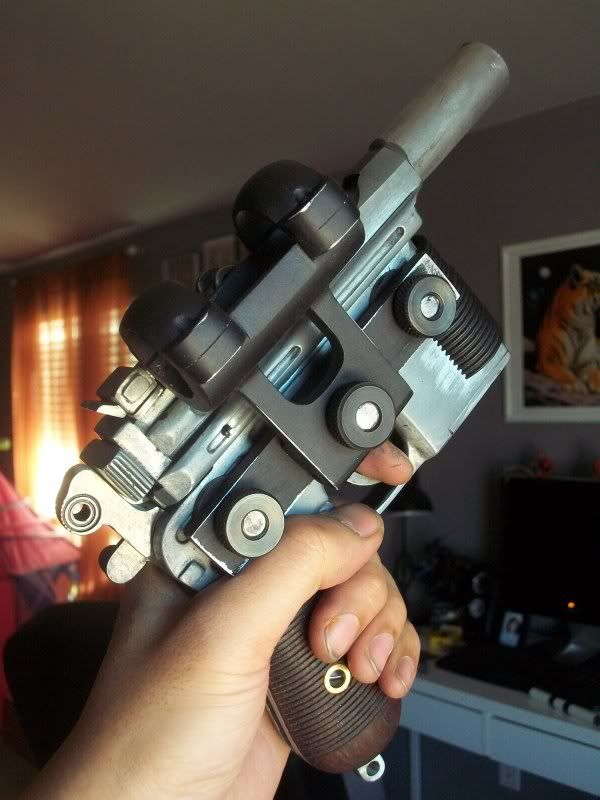
Re: Han Solo ANH Hero DL-44 Heavy Blaster from a Denix Mauser
@The Night: No problem, friend...and thanks for the kind words!
More boring updates = No new pics
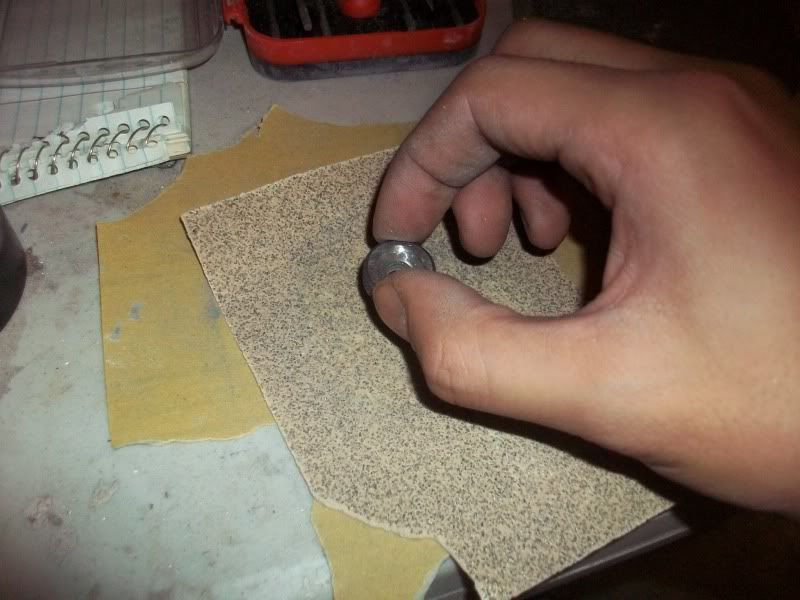
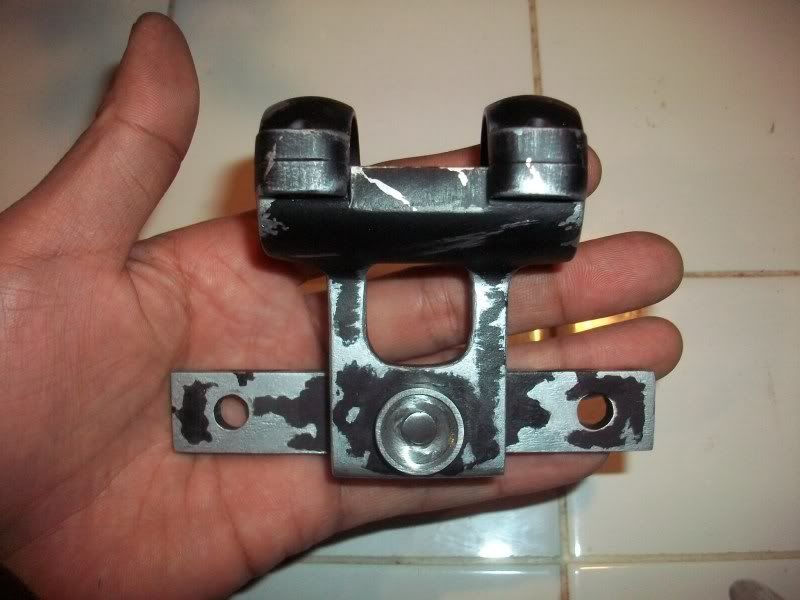
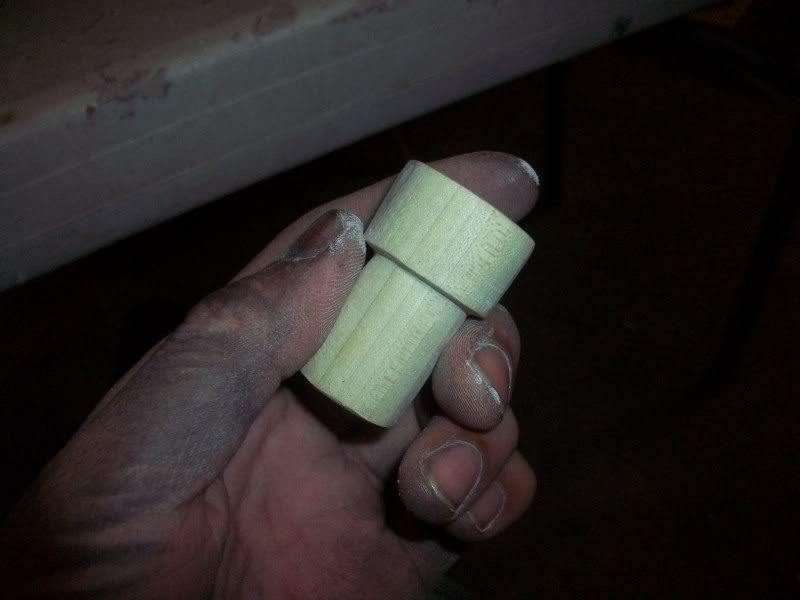
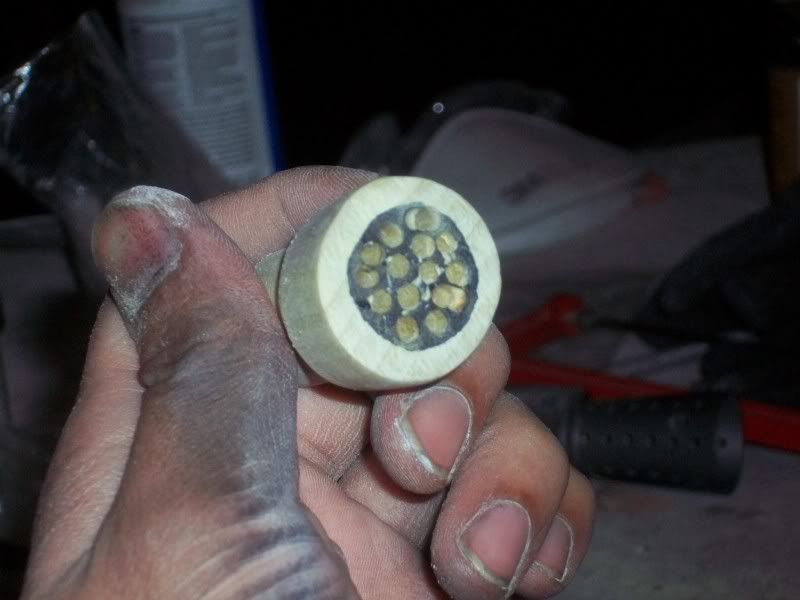
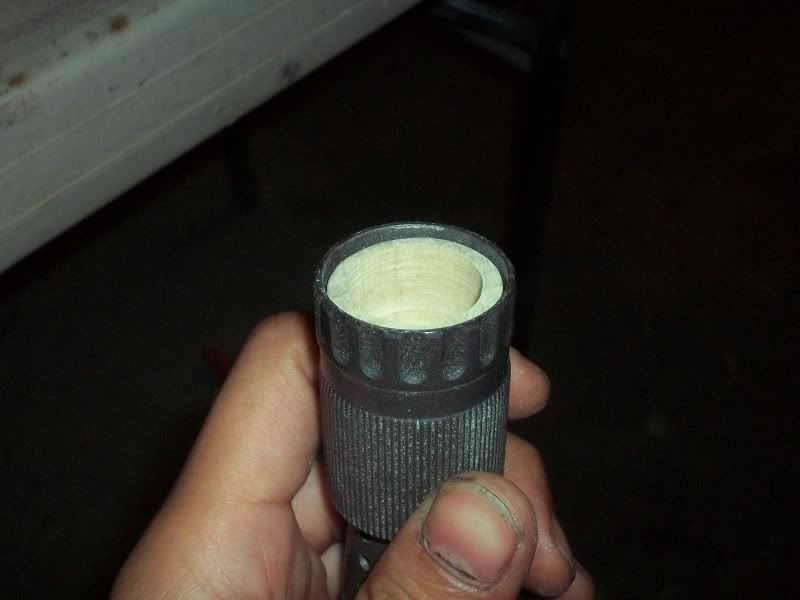
I spent an hour or so shaving down the inside lip of my wood grips. I was wondering why they fit kinda loose and wonky and was considering buying a larger screw to fasten the grips tighter together. Turns out, all I needed was my Dremel and a little bit of time and now it fits perfectly! Tomorrow's work will probably be pretty boring too...just some cosmetic finessing of the the grips' edges and shaving down a bit of the Denix's frame so it's nice and flush with the grips. I can't wait until I receive my package from Markus/Odiwan...after that, it's the home stretch.
G'night y'all!
-Jonaas
@The Night: No problem, friend...and thanks for the kind words!
More boring updates = No new pics
I spent an hour or so shaving down the inside lip of my wood grips. I was wondering why they fit kinda loose and wonky and was considering buying a larger screw to fasten the grips tighter together. Turns out, all I needed was my Dremel and a little bit of time and now it fits perfectly! Tomorrow's work will probably be pretty boring too...just some cosmetic finessing of the the grips' edges and shaving down a bit of the Denix's frame so it's nice and flush with the grips. I can't wait until I receive my package from Markus/Odiwan...after that, it's the home stretch.
G'night y'all!
-Jonaas