Green Goblin Movie Suit

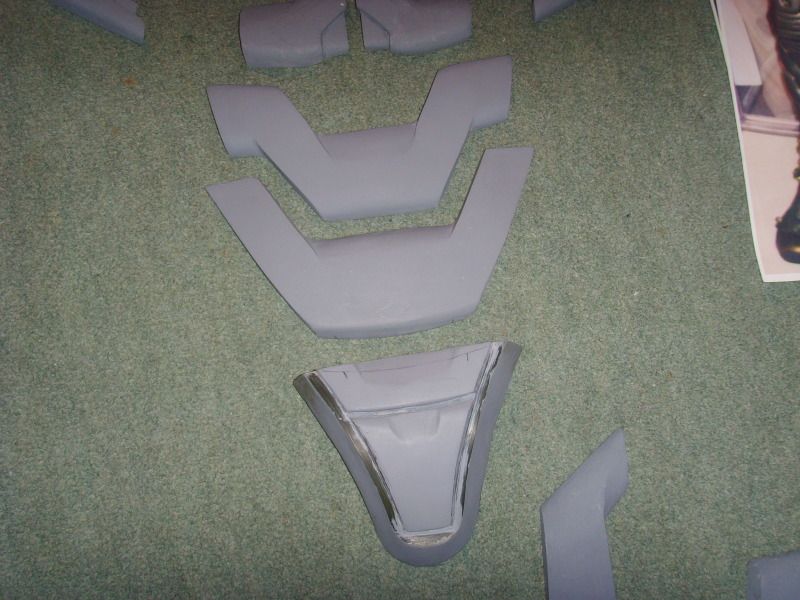
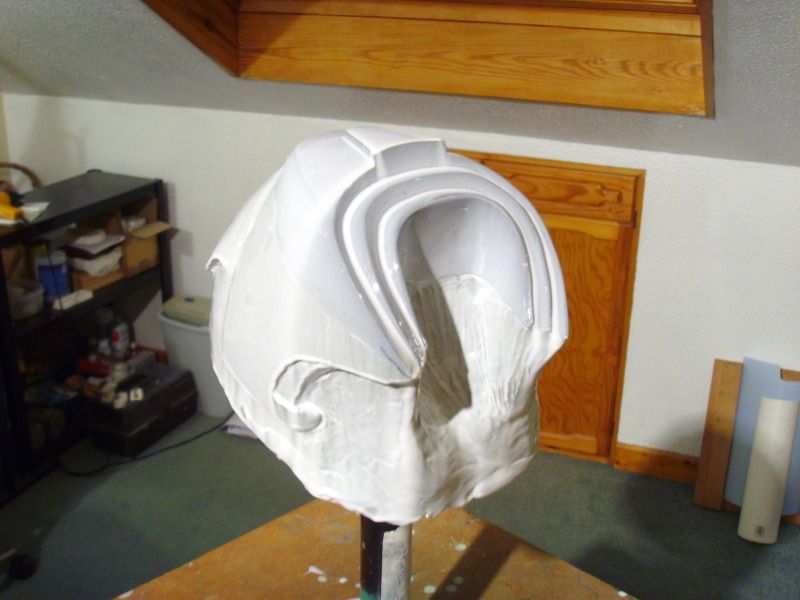
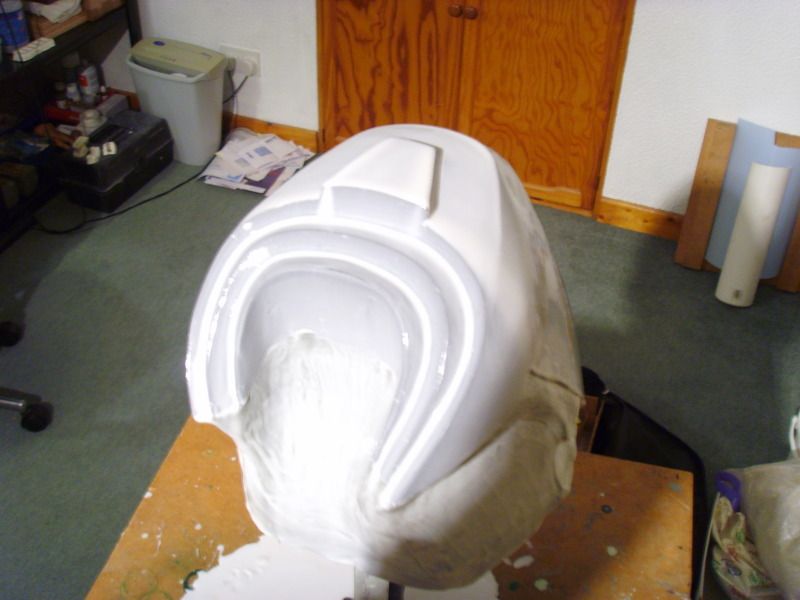
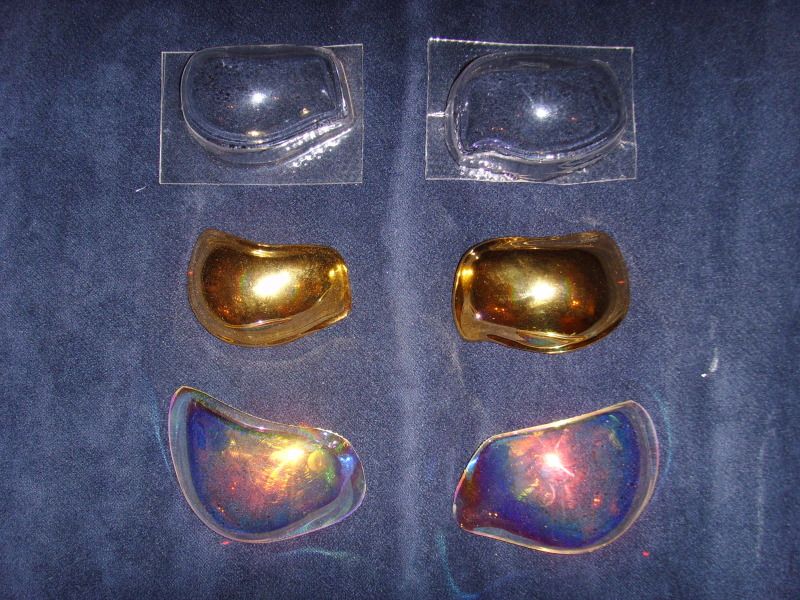
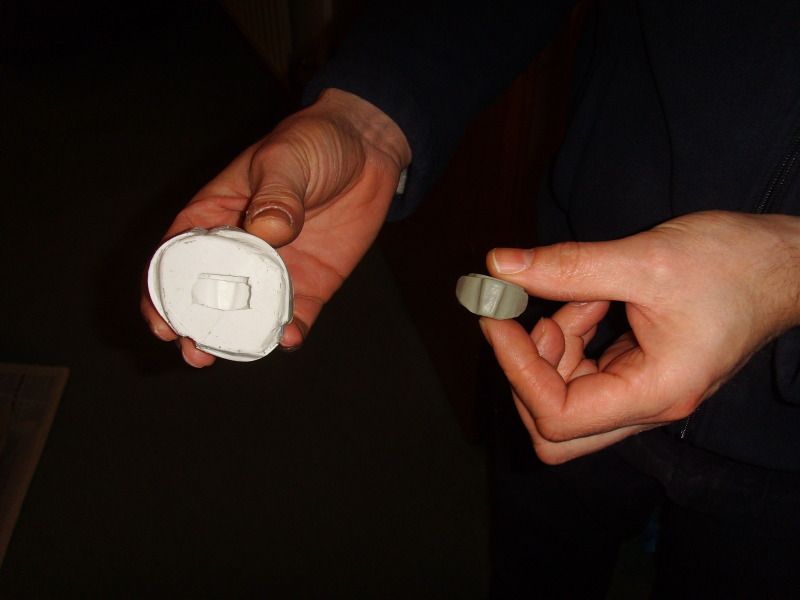
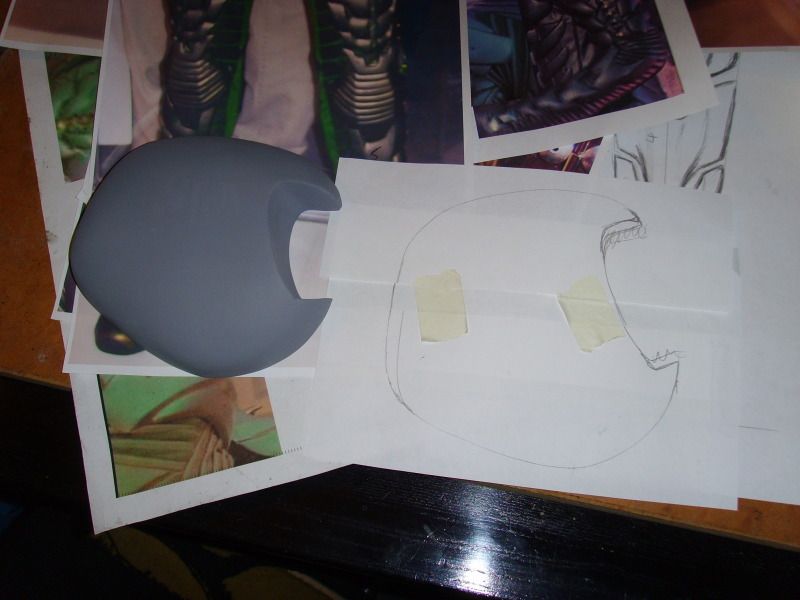
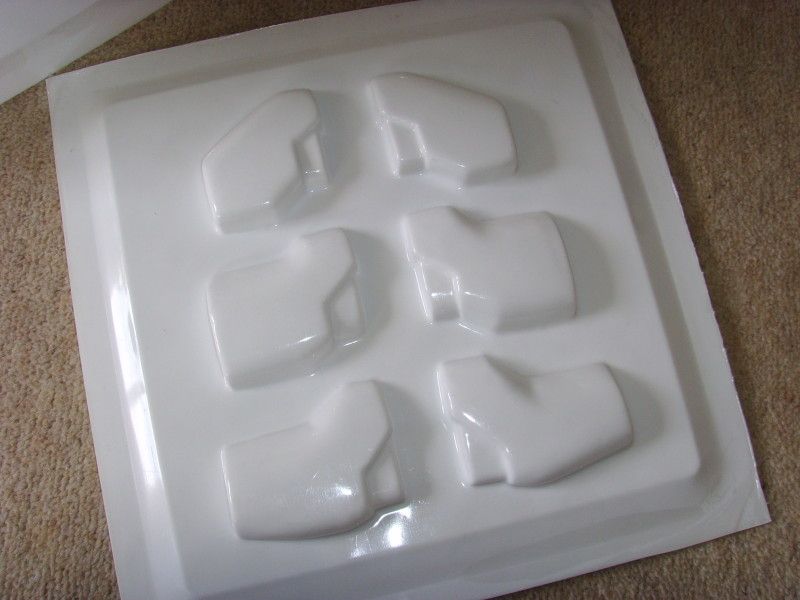
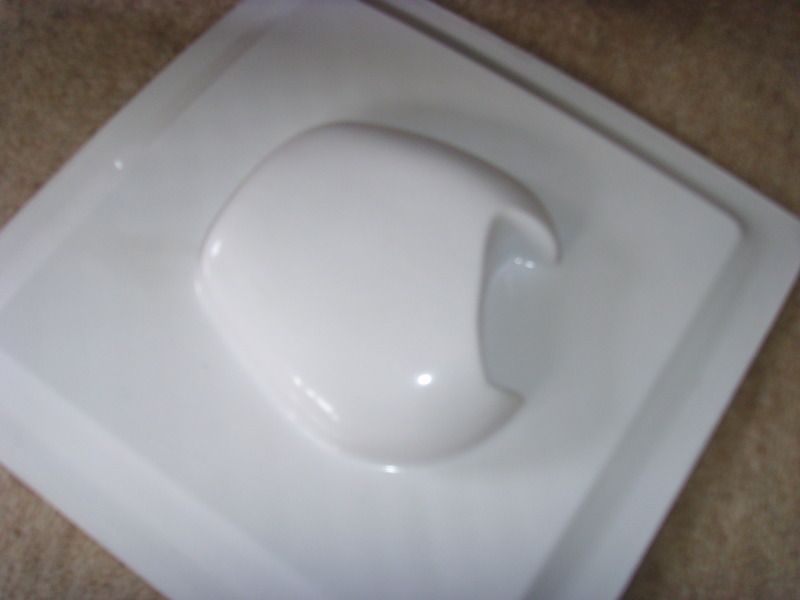
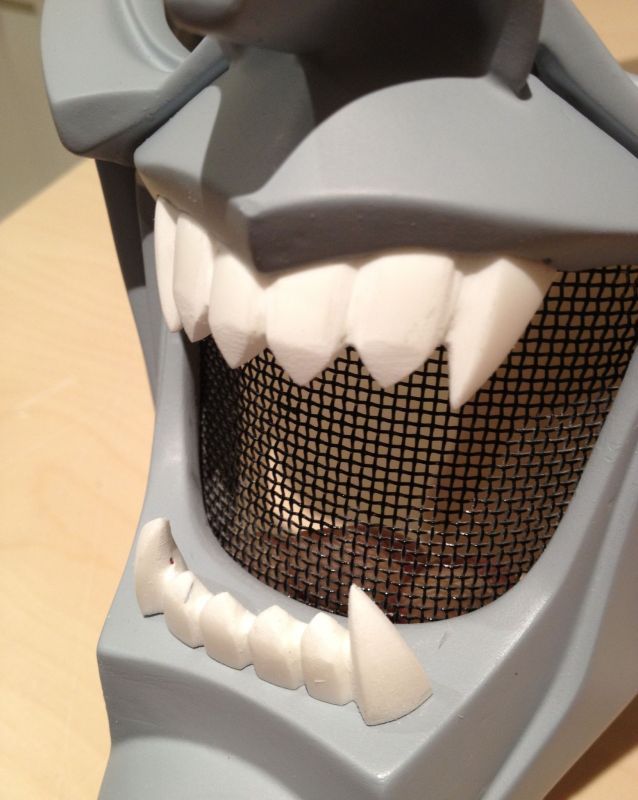
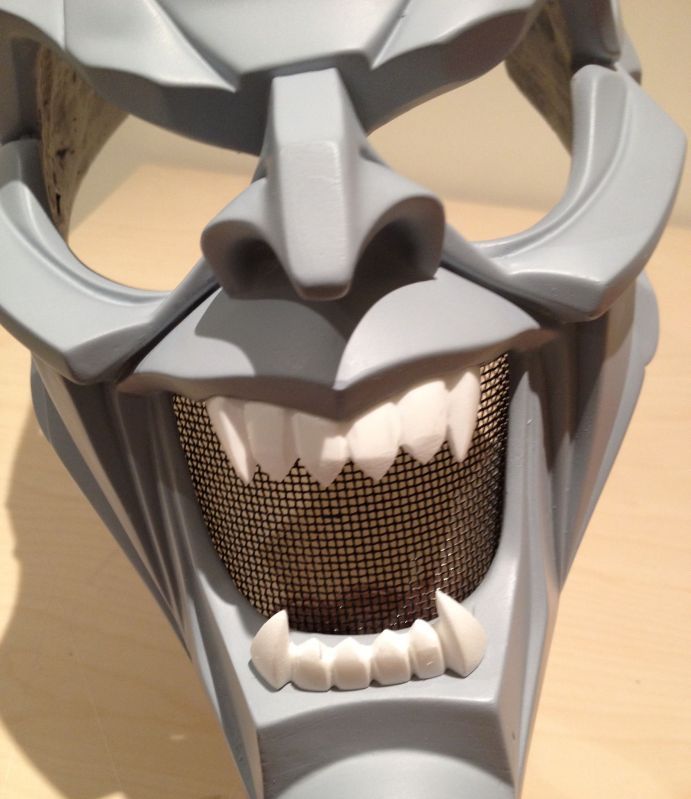
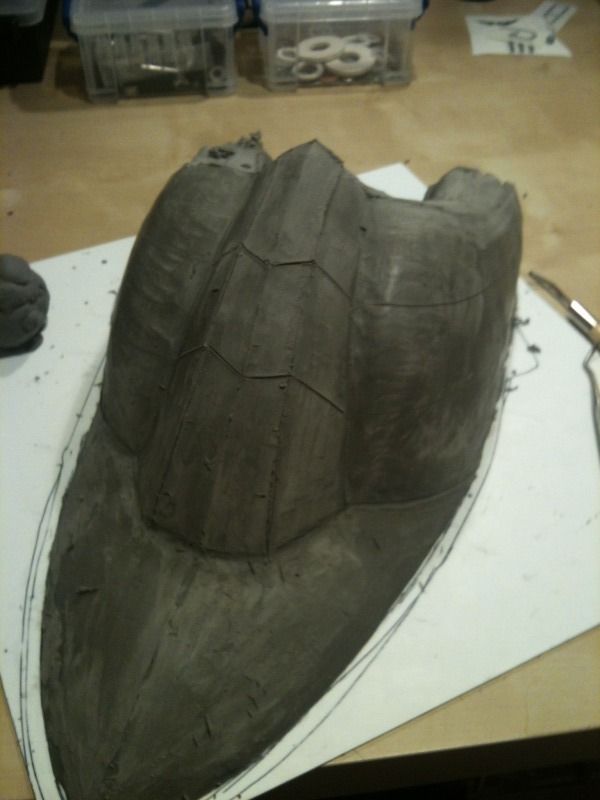
Hello everyone! I am a beginner in conceptual modeling and decided inciar my first helmet, the shape of the Green Goblin. However I felt a little embarrassed to show my progress since my friend showed G4Tyrant his helmet and God is perfect! I'm still lost on how to mold and how to do the painting, currently only modeled the helmet and nothing else. I would like someone to help me finish my helmet. Here are the pictures:
IMG_0426.jpg

IMG_0438.jpg

IMG_0455.jpg
IMG_0458.jpg


I apologize for the quality of images. And you write a word wrong, I'm still learning to speak English. I hope to finish this helmet! Thank you!:)
 
Ok people, here's a few more progress shots of what we've been doing so far ....

These are some early sculpts of the Cod Piece sections ...

GreenGoblinBuild008.jpg


This is the mould for one of the Shoulder bells ....

GreenGoblinBuild035.jpg


GreenGoblinBuild039.jpg


Here are some of the lenses we've been experimenting with .... the clear ones are the ones we will be using once they have been coated, the Gold ones are the test display lenses, and the bottom ones are some oakley Style lenses that were slightly too big ... and too brittle, so we broke them trying to make them smaller ... Lol ...

GreenGoblinBuild028.jpg


This is the first mould of the knuckle pieces to go on the gloves ...

GreenGoblinBuild040.jpg


an early chest piece mould .... we have now modified the shape on this ....

GreenGoblinBuild041.jpg


Some early test pulls of some of the armor pieces on the Vac Former ....

SSL20318.jpg


SSL20320.jpg


SSL20321.jpg


and these are the Nike trainers i have, they are exactly the same as the ones used on the original costume ....

GreenGoblinBuild021.jpg


G. :)
 
Last edited:
G4Tyrant that's a really awesome job so far man! Well done! The helmet really rocks! We are waiting for updates!
 
Havent posted for a while and been doing a few odd bits to the Helmet so here ya go ....

Have reshaped the teeth to look a bit more aggressive now ... might take a bit more off the top middle teeth im not sure yet ...

Photo03-06-2012210827.jpg


Photo03-06-2012210956.jpg


.... and i am now resculpting a new back section to the Helmet as the back piece that came with it originally was pretty poor and way too small so didnt fit very well, so as im gonna be using it in a complete costume build i decided to do a new one that i will propably pull in 2mm ABS?...

Photo22-06-2012123509.jpg


Photo27-06-2012161829HDR.jpg


.... have also located some gold mirrored acrylic now as well so the new lenses will be next .... so watch this space ... ;)

G.
 
I need tips on how to make a perfect mold, someone could help me? :confused

Hermes - your clay work is coming along nicely - try searching the costumes forum threads with the search function for stuff about molding. Even youtube has tutorials. People aren't trying to ignore you, they're just paying attention to the build at hand.

Hope this helps!
 
G4Tyrant, glad ta see that your still gonna do this build brah. Th' new teeth look really menacing, excellent sculptin' skillz on th' back half of th' helmet keep up th' good work brah.:cool:cool
 
That color shifting paint was first used on a Mustang and called Mystic. $1600 option I think.
It was used again and called Mystichrome.

Then it was available in spray bomb systems.

The secret is ChromaFlair particles.

ChromaFlair® light interference pigments, from Flex Products, Inc. in Santa Rosa, California. These tiny particles (each an average size of 17 microns) are comprised of five layers of colorless film. Combined, these layers produce shimmering, vibrant colors.

The microscopic layers act like a tiny prism: White light is reflected off the core layer, and then split by outer layers into visible colors. As the viewing angle changes, so does the visible color. The color produced is controlled by precise variances, measured in atoms, in the prismatic layers: The thinnest ChromaFlair pigment shifts from gold through silver and into light blue; The thickest pigment shifts from silver through green, and into purplish blue.
 
Quick Update ..... been having a tinker around today with pulling\glueing the material over the armour pieces to see how it takes and looks ...

... these are only test pieces so ignore the glue marks etc ...

2012-07-17172941.jpg


2012-07-17172931.jpg


2012-07-17172844.jpg


... and then i added the pan head alan screws again as a test ... but i think im gonna need to go up a size or two as they look a little small compared to the originals .. ?

2012-07-17175141.jpg
 
This thread is more than 4 years old.

Your message may be considered spam for the following reasons:

  1. This thread hasn't been active in some time. A new post in this thread might not contribute constructively to this discussion after so long.
If you wish to reply despite these issues, check the box below before replying.
Be aware that malicious compliance may result in more severe penalties.
Back
Top