OK, I know this is late. I've seem to never give an accurate prop related completion date and this is no exception.
I'd just like to say that you guys have been great and this was a fun project.
I'd like to once again point out that this project was strictly to outline a method of making Iron Man armor out of a trashcan or 2 or 3 or 4 or whatever.
")
This was a quickly executed project to get this information out there. This is not my definitive Iron Man project and you won't see me walking around downtown wearing it or entering every costume contest with it. I won't be doing any more plastic sheet riveted Iron Man costumes. It is, however, a very fun build that yields good results. You can have a lot of fun with this method beyond Iron man.
Although I provided you with the same templates I used to make this tutorial, they are by no means the best templates. They have a lot of room for improvident. If you tackle this project, put serious consideration into modifying the templates in part or in whole to fit your needs. The way I went about making this suit is not the best way, but it will get you there.
This project was first and foremost about showing you what can be done with a riveted plastic trashcan.
There was a myth that some people didn't use this method already and this was also an experiment to test that claim.
At this point I'm going to have to call this method plausible. It certainly seems like you can build one of those plastic riveted Iron man suits out of a trashcan. It is a cheap, and usable source of plastic that holds up to being shaped with a heat gun and riveted. It's also light and soft so it doesn't cut your skin.
So, that said, in my opinion this myth is busted...if you'll forgive the reference.
I called plastic supplier after plastic supplier. Regional, National, and international trying to find High Impact Urethane in sheet form for my next build but it doesn't seem to exist in sheet form. You can buy polyurethane sheet, but polyurethane sheet is not the same as High Impact Urethane.
Back to the tutorial:
It was at this point I ran out of trashcan. I had to go get two more trashcans to finish the project. I got white ones this time.
All the templates are not finished for the back but as soon as I get them finished I'll send them your way.
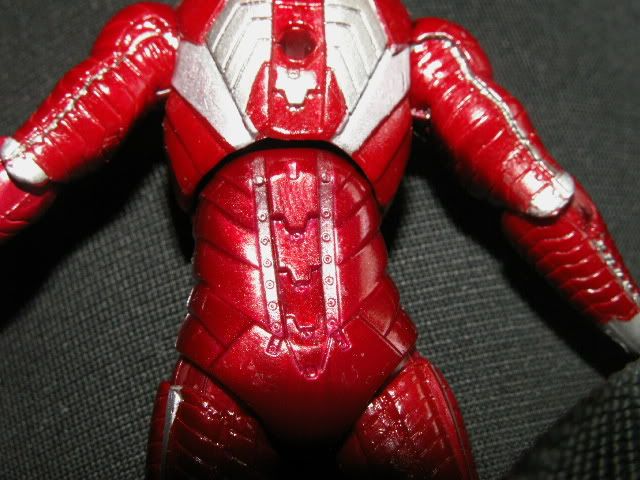
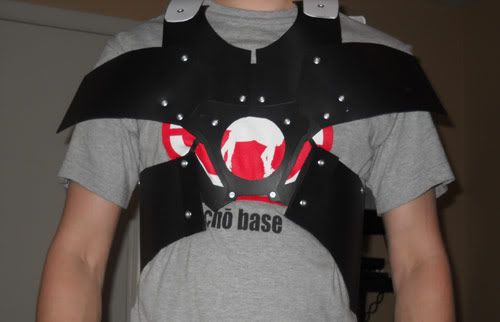
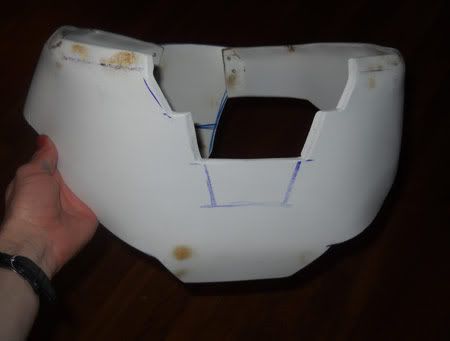
First I had to shorten up the front collar and I attached it to the main back plate.
Then I attached the back wing and the two back plates.
You can see at the top where they are attached. At this point I have not uploaded the main back plate template.
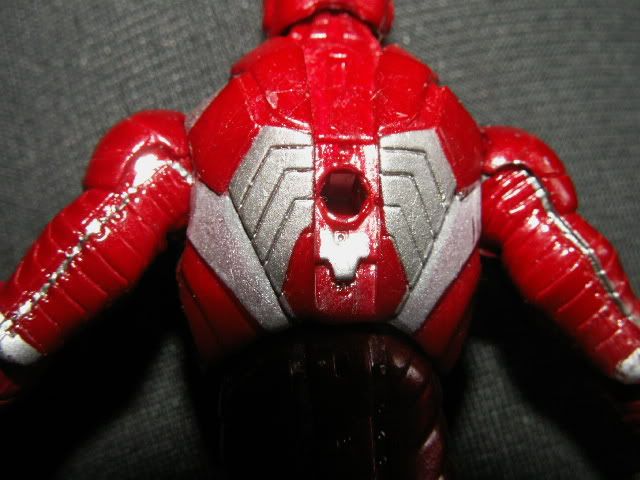
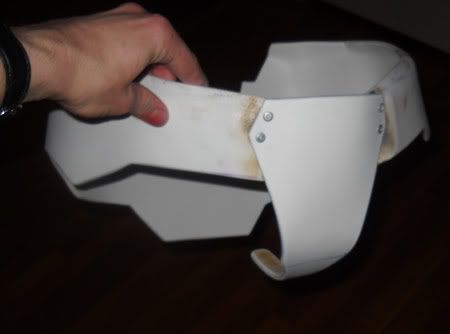
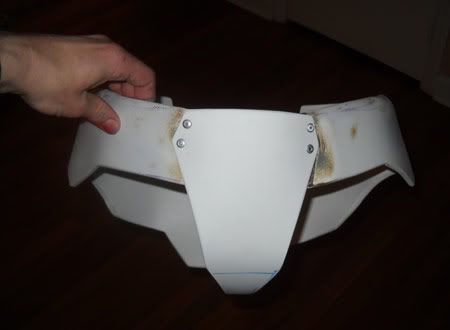
Test fit:
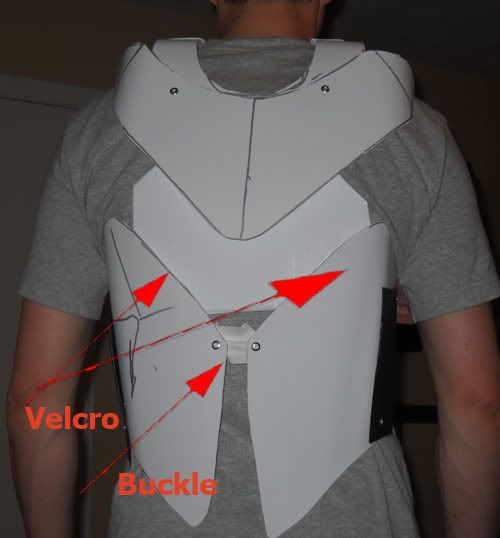
You will need to put a buckle of some kind between the two back plates. This is how you will put on the chest/back part and adjust it's tightness.
You will also need to put some velcro on the back of the back plates to attach them to the main back plate.
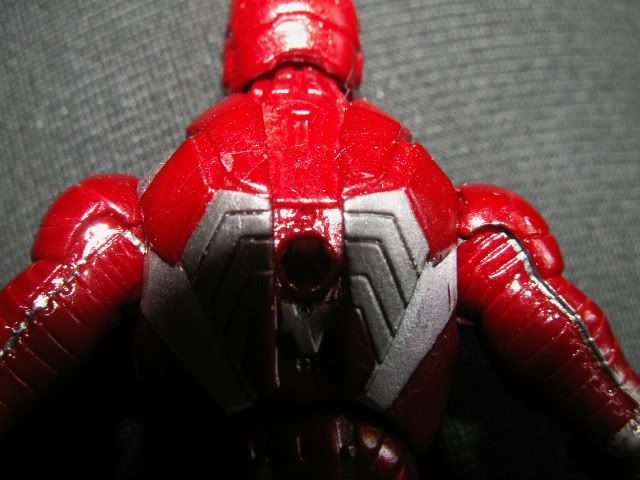
They aren't in this picture but you'll need to cut 4 more form abdominal plates and attach them to the back of the elastic straps holding the abdominal plates in place. This will form the lower back section. I don't have them pictured here.
For the thigh section; cut the three inner thigh plates, three front thigh plates, and four outer thigh plates. At this point you should be getting pretty good at figuring out how to line plates up and at riveting them. So rivet together your thigh plates. For the back of the thigh, cut out three more front thigh plates and, after test fitting the thigh, mark the plates and use them to form the back of the thigh.
Thigh:
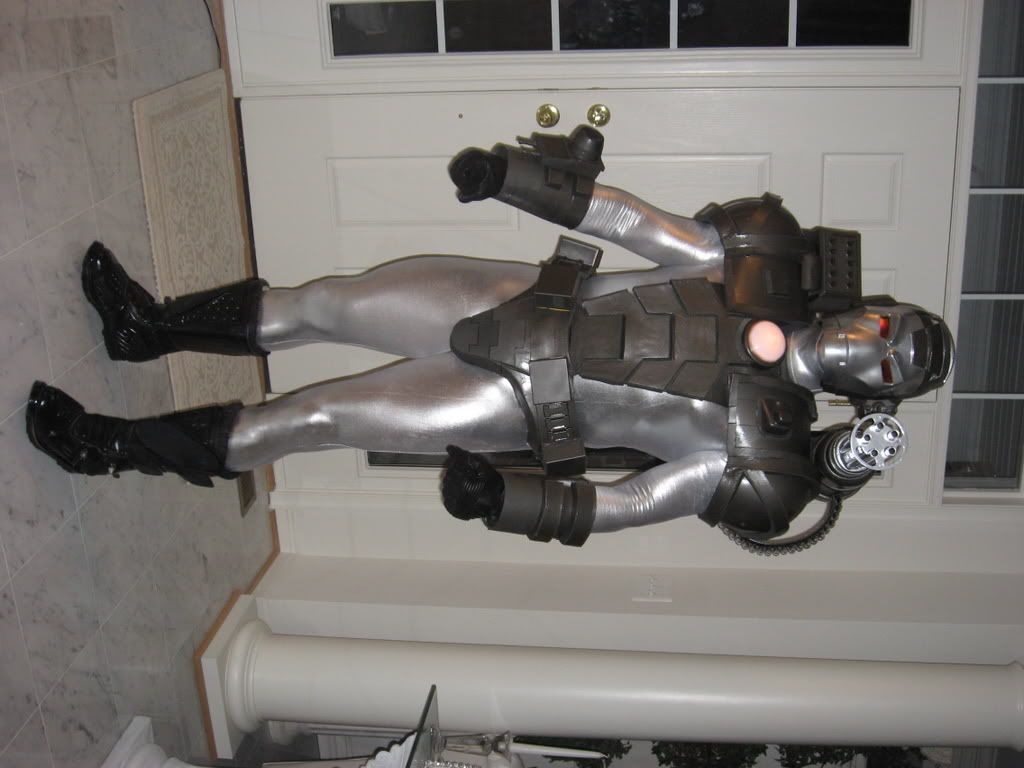
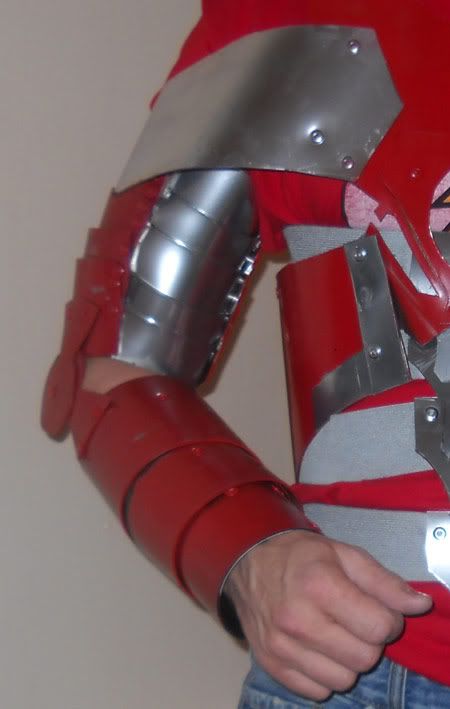
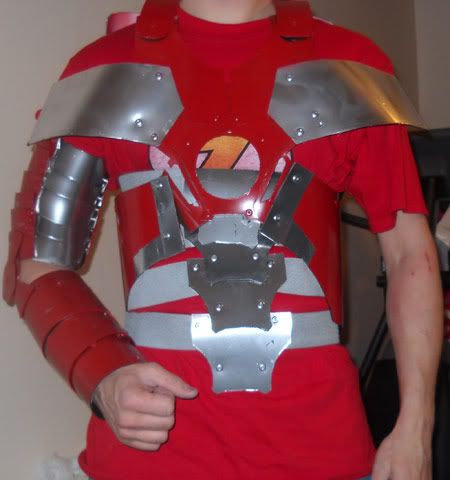
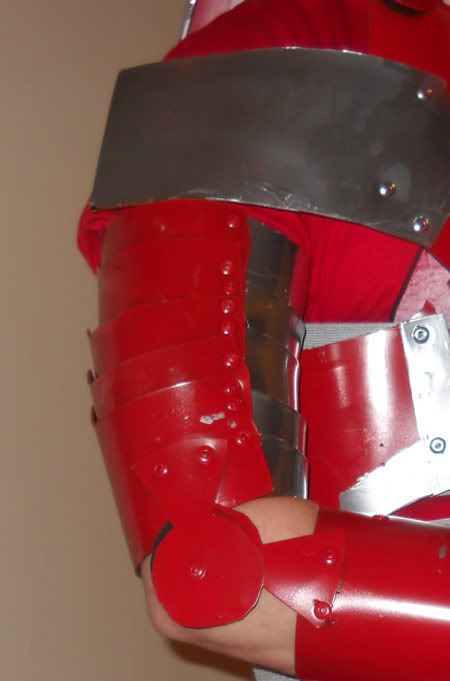
Please for give the DC comic shirt I have on, its my only red t-shirt. Here is what I have thus far:
the paint I used is rattle can red krylon fusion and rustoleum chrome.
Now, let's take a moment to talk about codpieces.....
I'm not making a template for the codpiece. I tried, but the variation in waist size an butt size is just too much to account for.
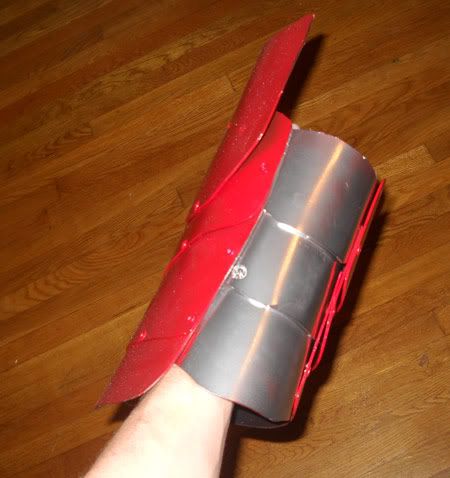
Fortunately, the codpiece is not hard to freehand. I ran out of trashcan here, so I used a scrap piece of plastic to make this.
Measure your waist in costume... as in how big do you want the codpiece.
Free hand the butt section and extend out so that the codpiece wraps around your butt and your waist and meets in front of you like a belt. Then make the actual codpiece. I made it with a bend that banana hammocks its self toward my nether reigns. It's sounds awkward but it works.
So, here is your first no template part. Have fun.
While were on the subject, I have no plans to make the shin templates or shoulder bell templates.
I feel like you have enough skill and creativity to make these parts on your own. By now you are probably very used to cutting and riveting plastic and you probably have a million ideas about how to go about this or that. So, making the shin/knee templates and shoulder bells seems a little redundant.
If you want ideas, several people have mentioned that you can make shoulder bells by buying cheap kids batting helmets and cutting them up. i know walmart sells these.
Anyway. I'm here if you have any questions.
:cheers