You are using an out of date browser. It may not display this or other websites correctly.
You should upgrade or use an alternative browser.
You should upgrade or use an alternative browser.
F-Toys AT-AT diorama
- Thread starter christrom
- Start date


MonsieurTox
Master Member
Fantastic job ! The paintjob is top notch !
Sym-Cha
Master Member
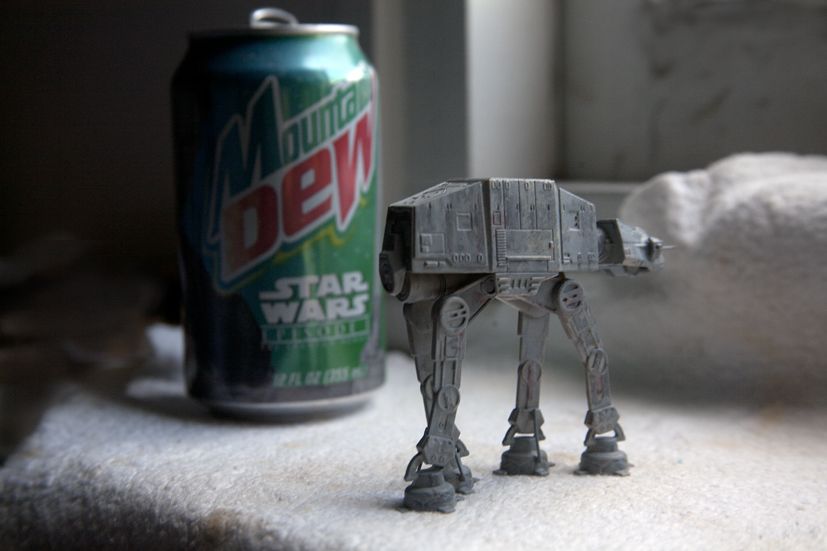
Love that bed shot ") ... and thanks I'll try your painting and weathering technique ... sounds exciting ... since I have 4 AT-AT's + 6 small ones to attend now ... meanwhile here's my last weathering paintjob on a Deagostini AT-AT I did a while ago with modelkit paint and thinner since it's a diecast metal model :
... and thanks I'll try your painting and weathering technique ... sounds exciting ... since I have 4 AT-AT's + 6 small ones to attend now ... meanwhile here's my last weathering paintjob on a Deagostini AT-AT I did a while ago with modelkit paint and thinner since it's a diecast metal model :
Chaim


christrom
Sr Member
Quick update:
I've primered and airbrushed all of the turret guns. These are the scaled down ones so should fit in well with the diorama. I've also ordered the cases for these models and will be able to construct the finished article soon.


I quite like the look of this damaged one. This one is for my client's diorama, but I may have to do one for myself too!
By the way - If anyone is interested I still have quite a few of the LARGER CASTS of these turret guns available. These will suit the scale of the Ertl AT-AT. All you'd need to do is add some brass rod and paint. If you are interested in any, PM me and we'll sort out a price!
I've primered and airbrushed all of the turret guns. These are the scaled down ones so should fit in well with the diorama. I've also ordered the cases for these models and will be able to construct the finished article soon.
I quite like the look of this damaged one. This one is for my client's diorama, but I may have to do one for myself too!
By the way - If anyone is interested I still have quite a few of the LARGER CASTS of these turret guns available. These will suit the scale of the Ertl AT-AT. All you'd need to do is add some brass rod and paint. If you are interested in any, PM me and we'll sort out a price!
christrom
Sr Member
Been a while since my last update, but here is another! Those of you who have seen my ertl AT-AT build may get a pang of Deja vu!
Firstly, the snowspeeders. As far as I can remember there were 3 speeders in the 'Hoth scene' kit. In my previous dio I used the F-Toys snowspeeders, but in this one I'm really trying every trick to keep the scale down. These speeders are significantly smaller, but still look very accurate. I've casted 2 or 3 more and will use one of the casts as a crashed one on my client's dio.

The only downside to these smaller models is that the windows are molded plastic rather than transparent plastic. I did try to drill through them, but the size is way too small. I'll probably paint them dark grey and maybe gloss them

Now I've got a replacement airbrush (the other died on me) I may mask out the shapes for the markings. I tried freehand painting them before but even on this scale it is obvious that they are hand painted. This will be a masking nightmare!

Yep, more tiny rebel dudes! All primed and painted.


Breathe in too quickly and you are at risk of inhaling them

Once again I've used the guns that came with the kit, but added a lot of extra detail.


Started applying the snow to the AT-ATs. This is actually a second run though. The first application was a little too heavy and didn't suit the scale, so I washed off the majority and kept it to a minimum. I actually watched the scene over and the walkers have virtually no snow on them.

Bit of a close up


These are just about done, but once they are in place in the dio I can add finishing touches if necessary

The 2 new display boxes have arrived!
So, finish the snow on the walkers, paint up the snowspeeders and then I'll be ready to start assembling. I think you'll appreciate the scale when you see the finished result. These walkers are around half the size of the last ones!
thanks for looking,
Chris
Firstly, the snowspeeders. As far as I can remember there were 3 speeders in the 'Hoth scene' kit. In my previous dio I used the F-Toys snowspeeders, but in this one I'm really trying every trick to keep the scale down. These speeders are significantly smaller, but still look very accurate. I've casted 2 or 3 more and will use one of the casts as a crashed one on my client's dio.
The only downside to these smaller models is that the windows are molded plastic rather than transparent plastic. I did try to drill through them, but the size is way too small. I'll probably paint them dark grey and maybe gloss them
Now I've got a replacement airbrush (the other died on me) I may mask out the shapes for the markings. I tried freehand painting them before but even on this scale it is obvious that they are hand painted. This will be a masking nightmare!
Yep, more tiny rebel dudes! All primed and painted.
Breathe in too quickly and you are at risk of inhaling them
Once again I've used the guns that came with the kit, but added a lot of extra detail.
Started applying the snow to the AT-ATs. This is actually a second run though. The first application was a little too heavy and didn't suit the scale, so I washed off the majority and kept it to a minimum. I actually watched the scene over and the walkers have virtually no snow on them.
Bit of a close up
These are just about done, but once they are in place in the dio I can add finishing touches if necessary
The 2 new display boxes have arrived!
So, finish the snow on the walkers, paint up the snowspeeders and then I'll be ready to start assembling. I think you'll appreciate the scale when you see the finished result. These walkers are around half the size of the last ones!
thanks for looking,
Chris
Last edited by a moderator:
christrom
Sr Member
As promised Chaim!

Done the snowspeeders! This time I managed to use Tamiya tape and mask all the panel areas for the coloured markings. It was fiddly to do, but well worth it and I like the effect. The windows are painted - as I said in the previous post, they are solid, but trying to drill them at this size was just impossible. However, thanks to their small size, it does work fairly convincingly.

Here's the rest of them. I'll have two speeders in my dio, and my client will have three (inc crashed one)

Cute eh?

Here is the case for my diorama. I lined the bottom of the case with black iron-on strip and then made sidewalls out of sintra/foamex. This will create a bowl for me to catch the snow in. I then stepped up the front of the dio with sheets of foamboard. The rocks are pieces of concrete, spray painted black. The AT-ATs are not stuck down yet though

This is my client's diorama (which is a little bit larger than mine) with a first coat of filler. I watered it down, poured it and used a painting knife to spread it around. The walkers were placed on while it was still wet to allow them to sink a tiny bit

24 hours later I added a second coat, again watered down and I cut a trench. The trench will open to the left allowing you to see a cross section of the troops. I did this with the previous one and liked the cross section feel

A lot more lumps and bumps in this second coat to keep visual interest. I'll leave this to dry and then probably add another coat to mould certain areas. After that, areas will be carefully sanded to keep the effect looking correct scale-wise.
The big problem with this technique is that the filler takes a long time to dry. In order to smooth it out I spray the surface lightly with water, and the filler does absorb a lot of the water. It does dry eventually!
So, that's it for now. Thanks for looking
Done the snowspeeders! This time I managed to use Tamiya tape and mask all the panel areas for the coloured markings. It was fiddly to do, but well worth it and I like the effect. The windows are painted - as I said in the previous post, they are solid, but trying to drill them at this size was just impossible. However, thanks to their small size, it does work fairly convincingly.
Here's the rest of them. I'll have two speeders in my dio, and my client will have three (inc crashed one)
Cute eh?
Here is the case for my diorama. I lined the bottom of the case with black iron-on strip and then made sidewalls out of sintra/foamex. This will create a bowl for me to catch the snow in. I then stepped up the front of the dio with sheets of foamboard. The rocks are pieces of concrete, spray painted black. The AT-ATs are not stuck down yet though
This is my client's diorama (which is a little bit larger than mine) with a first coat of filler. I watered it down, poured it and used a painting knife to spread it around. The walkers were placed on while it was still wet to allow them to sink a tiny bit
24 hours later I added a second coat, again watered down and I cut a trench. The trench will open to the left allowing you to see a cross section of the troops. I did this with the previous one and liked the cross section feel
A lot more lumps and bumps in this second coat to keep visual interest. I'll leave this to dry and then probably add another coat to mould certain areas. After that, areas will be carefully sanded to keep the effect looking correct scale-wise.
The big problem with this technique is that the filler takes a long time to dry. In order to smooth it out I spray the surface lightly with water, and the filler does absorb a lot of the water. It does dry eventually!
So, that's it for now. Thanks for looking
Similar threads
- Replies
- 5
- Views
- 472