Enterprise NCC-1701 Refit-FINISHED PICS!

trekriffic

Sr Member
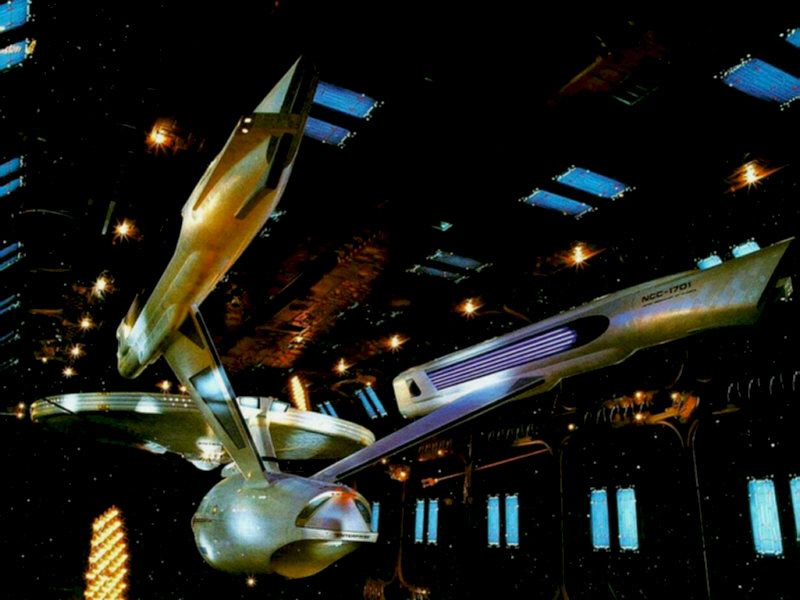
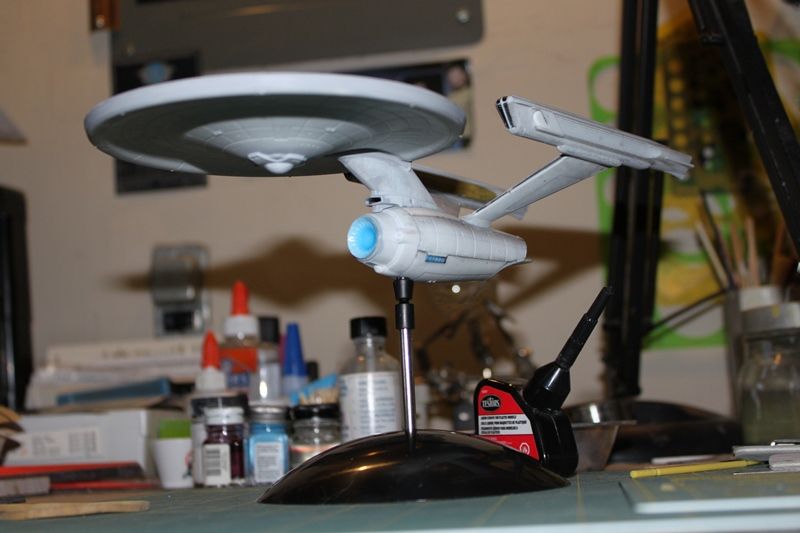
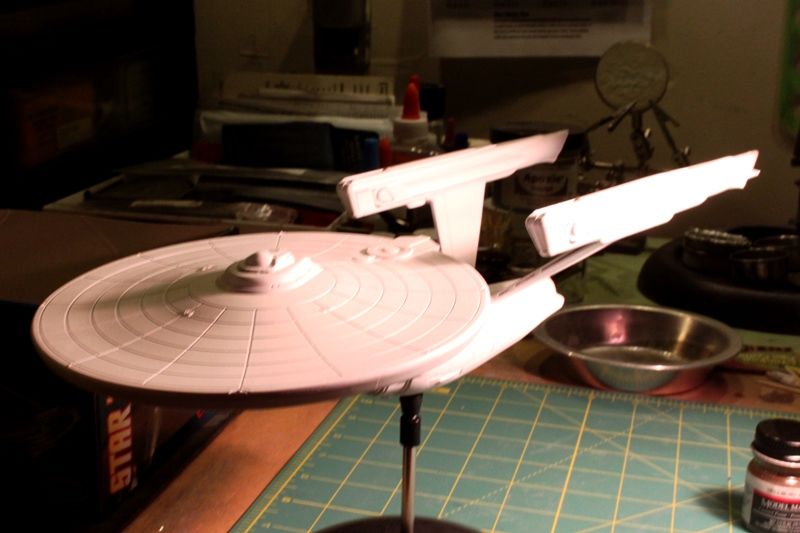
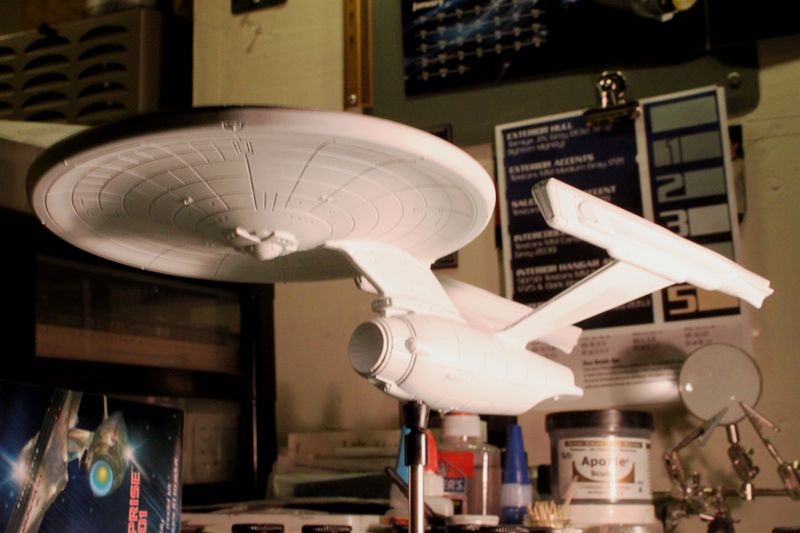
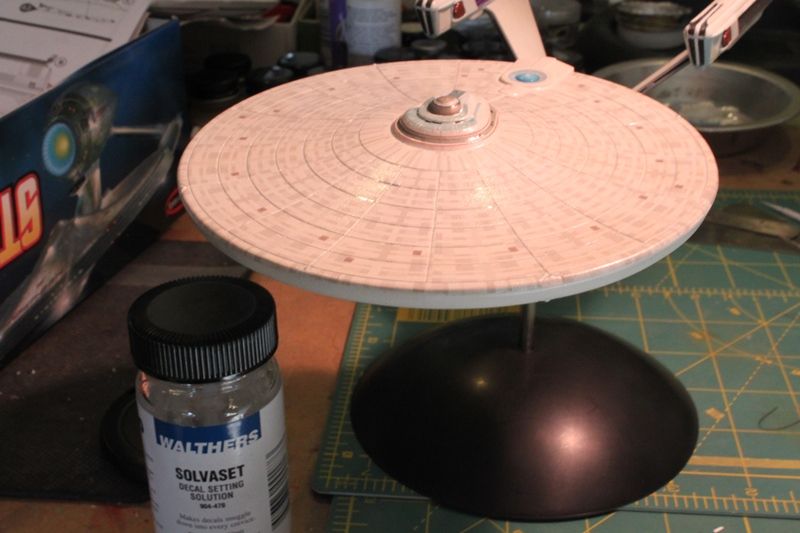
So while I wait for CultTVMan to ship me my lighting kit for the 1/350 Enterprise (money order mailed Friday) I thought I would go ahead and put together the 1/1000 refit that's been sitting inside the cupboard over the clothes drier for the past few years:

BoxArt.jpg


I figured it would keep me from losing my modeling "edge" while I assemble the aftermarket bits I'll need to do justice to the big Grey Lady.
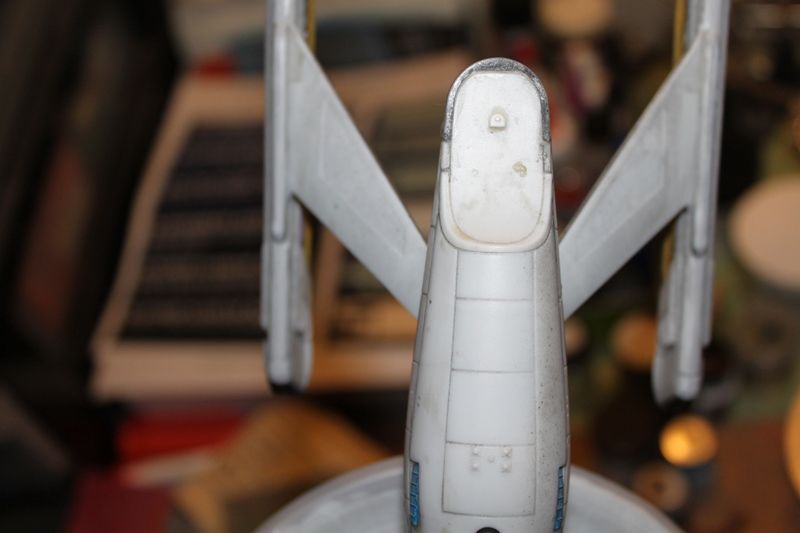
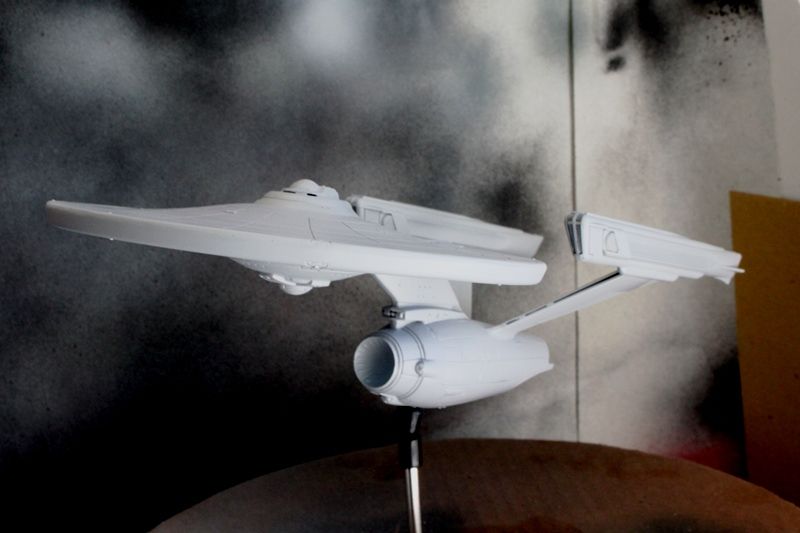
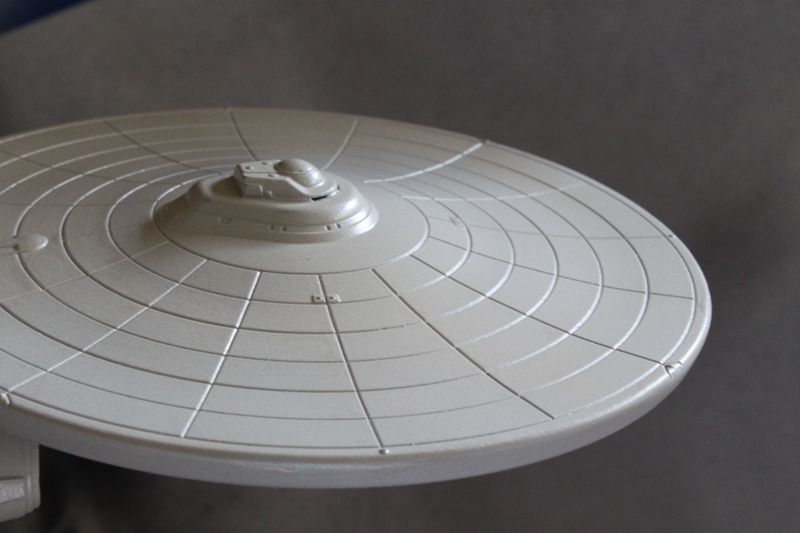
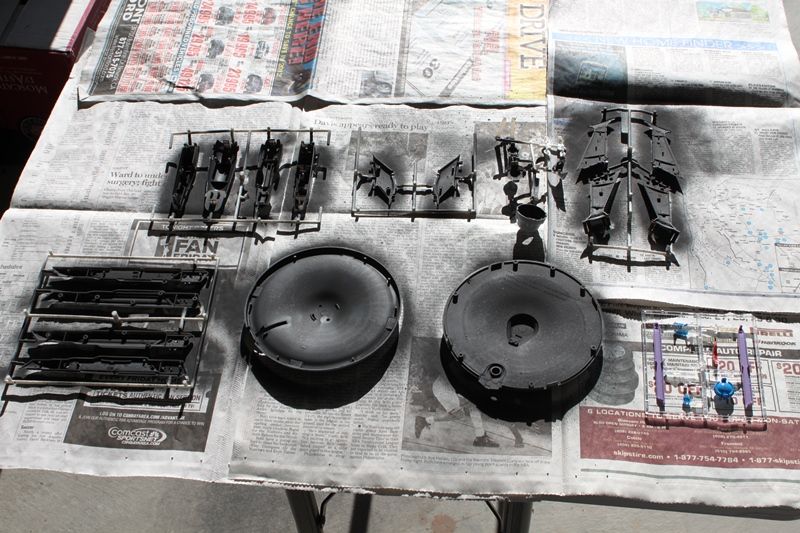
Anyway, the first thing I did was spray Testors Flat Black to the inside surfaces of the parts. Although this model will not be lit I remember someone doing an unlit build awhile back who didn't light block and noticed when looking at the model with backlighting the light shined thru being as how the model plastic is white and the paintjob is white too:

IMG_3341.jpg


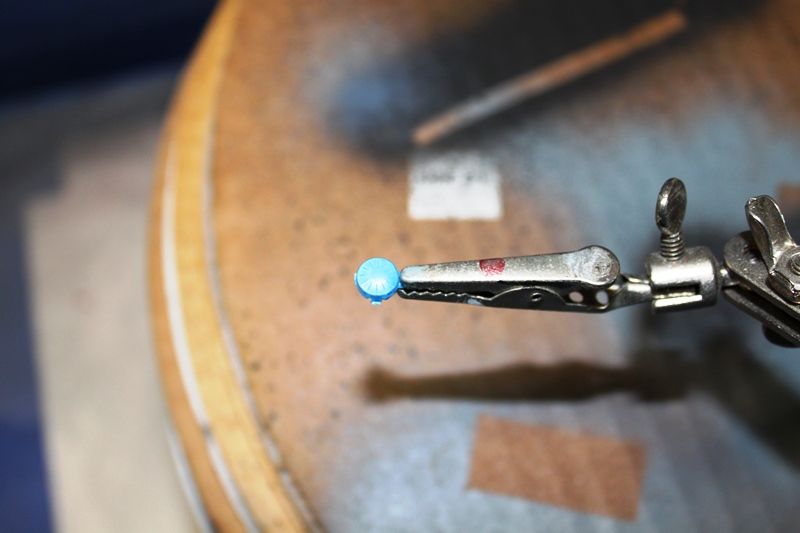
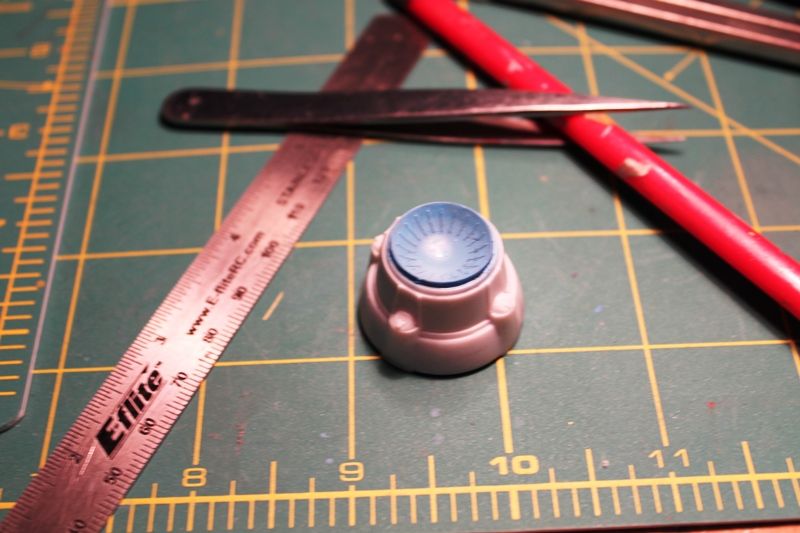
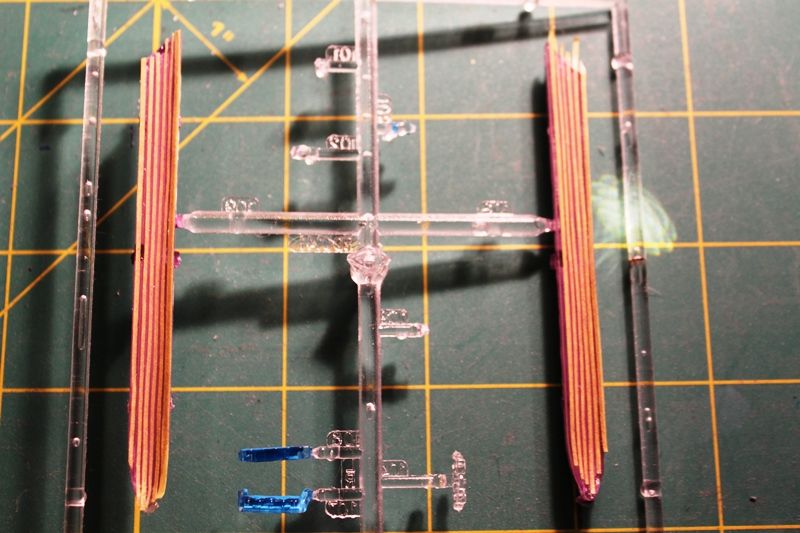
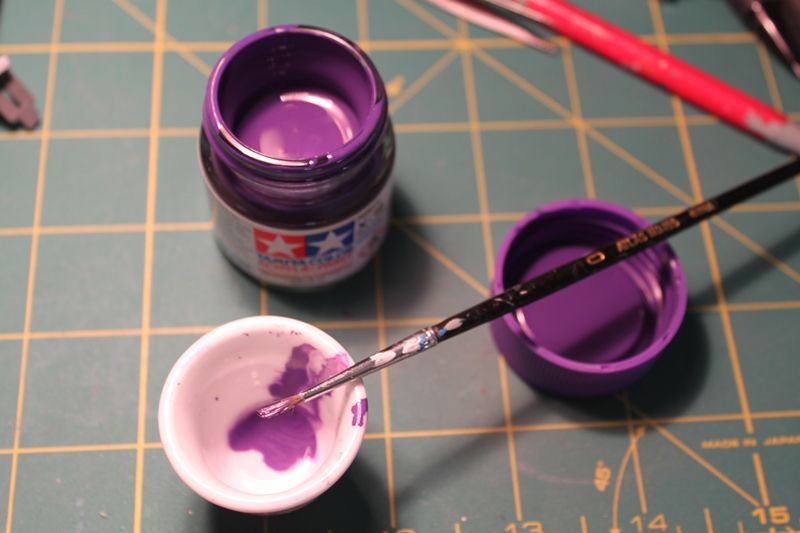
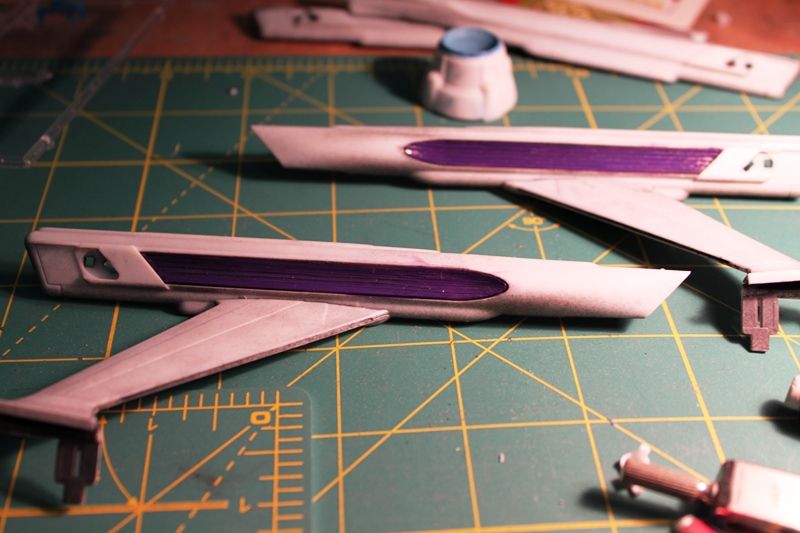
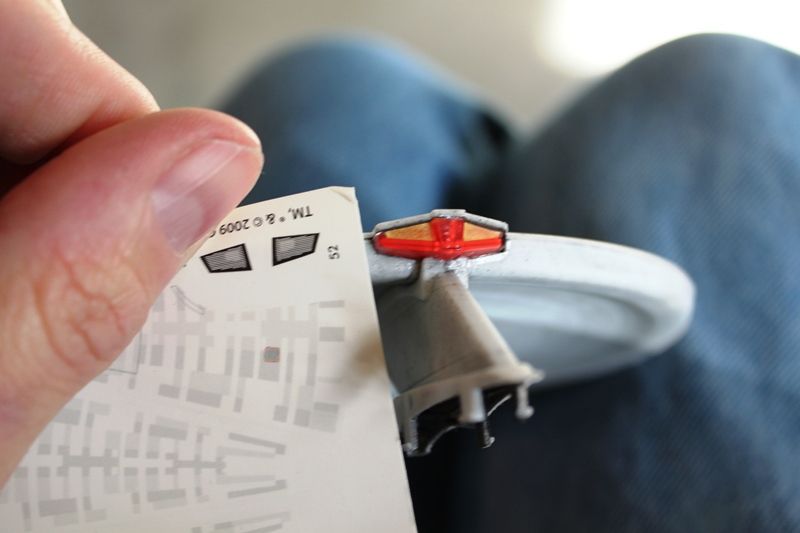
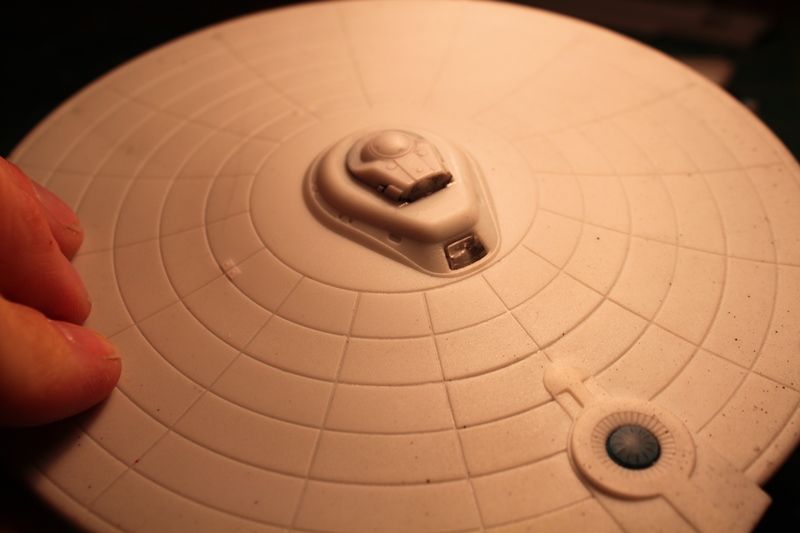
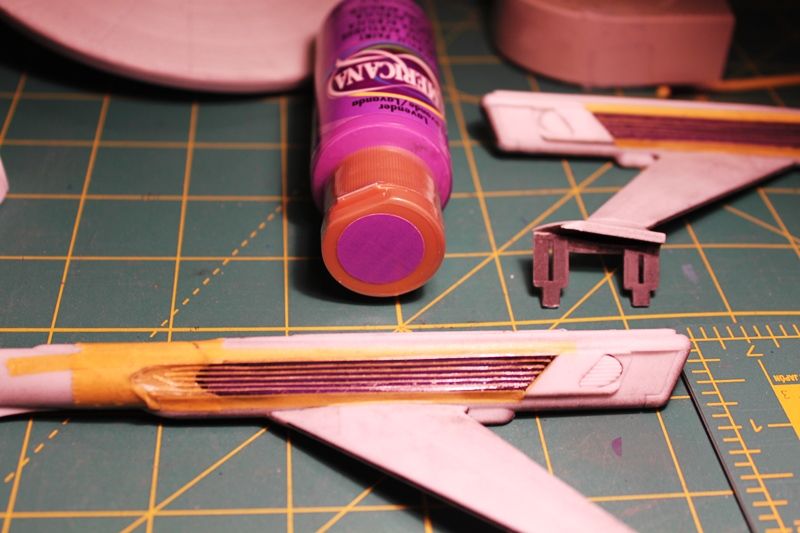
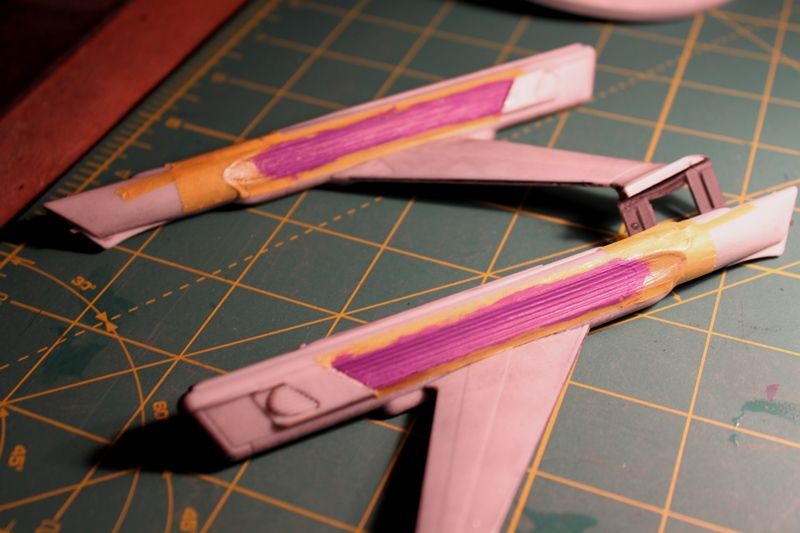
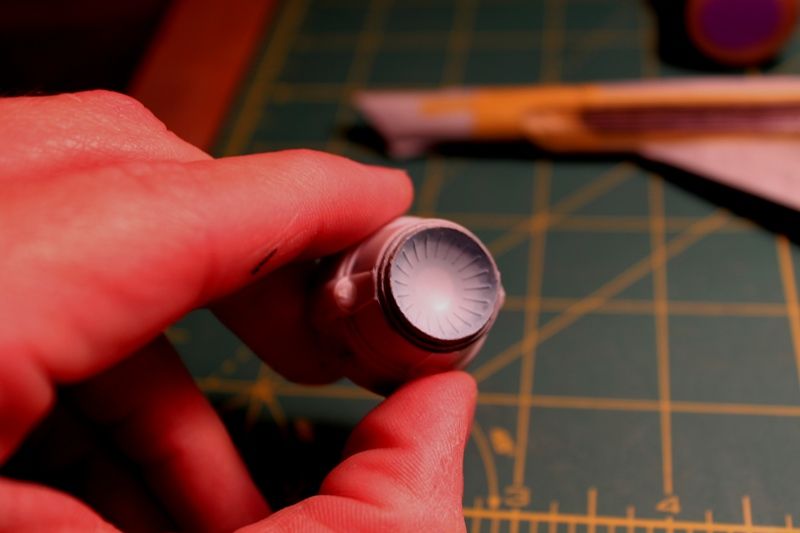
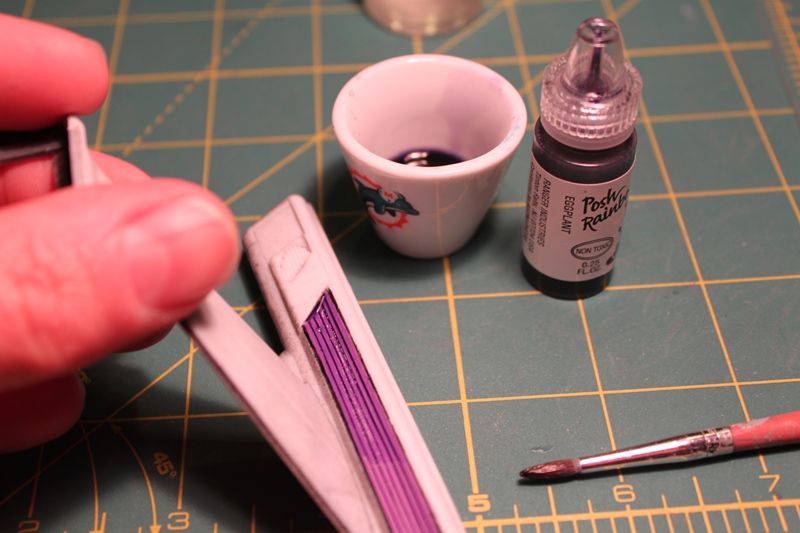
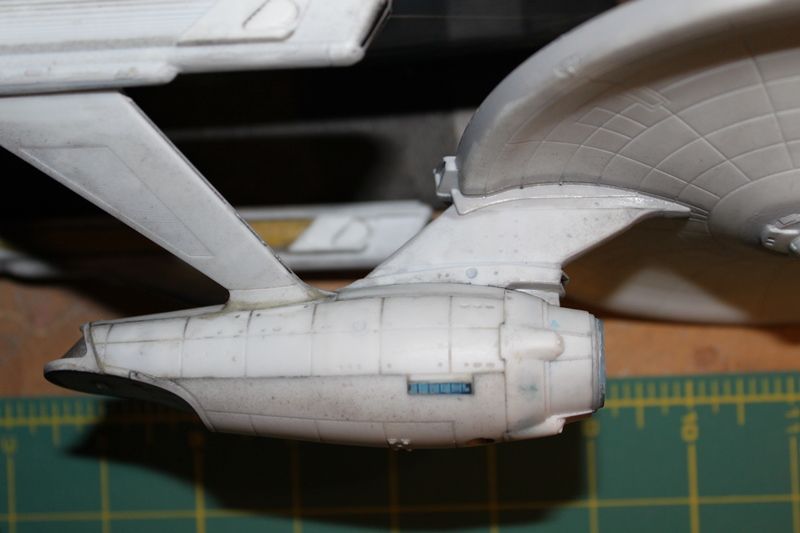
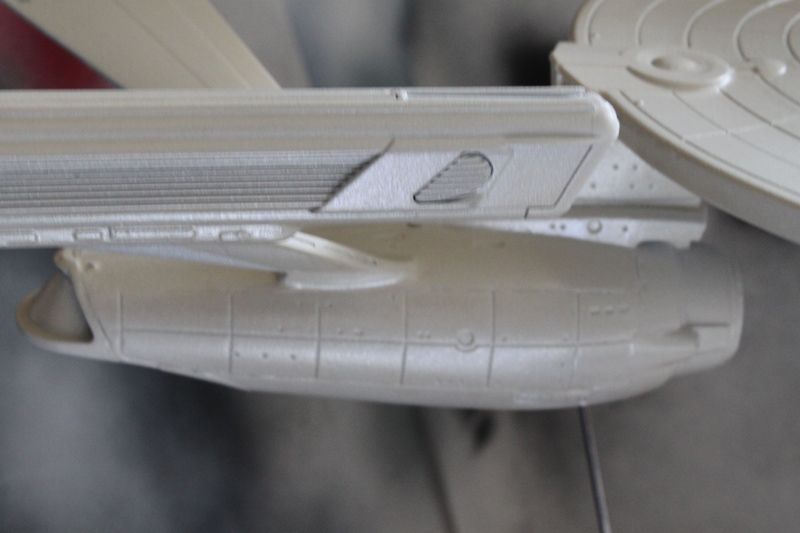
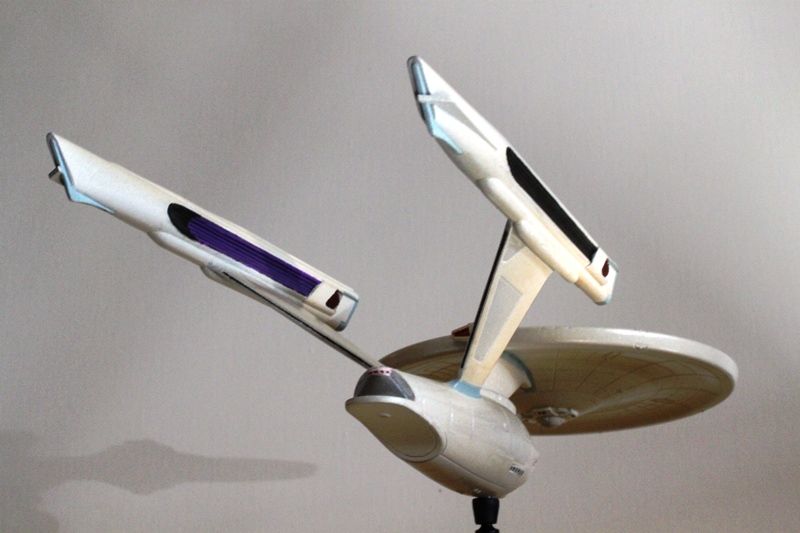
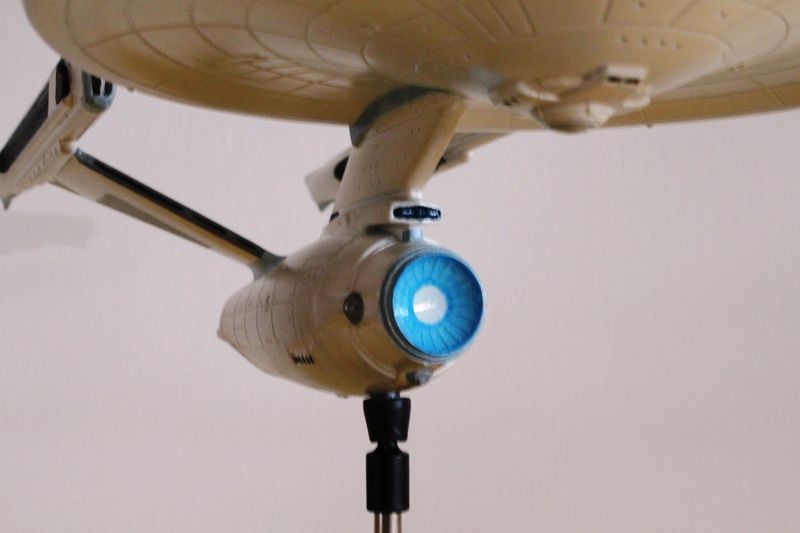
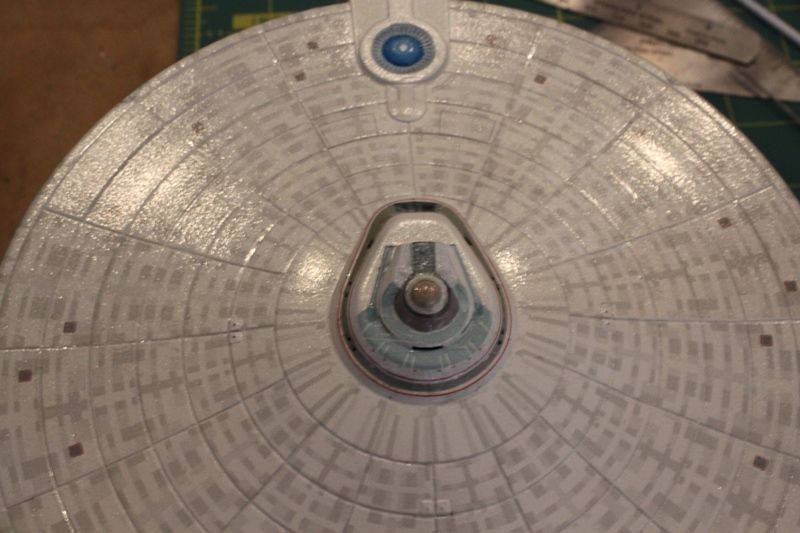
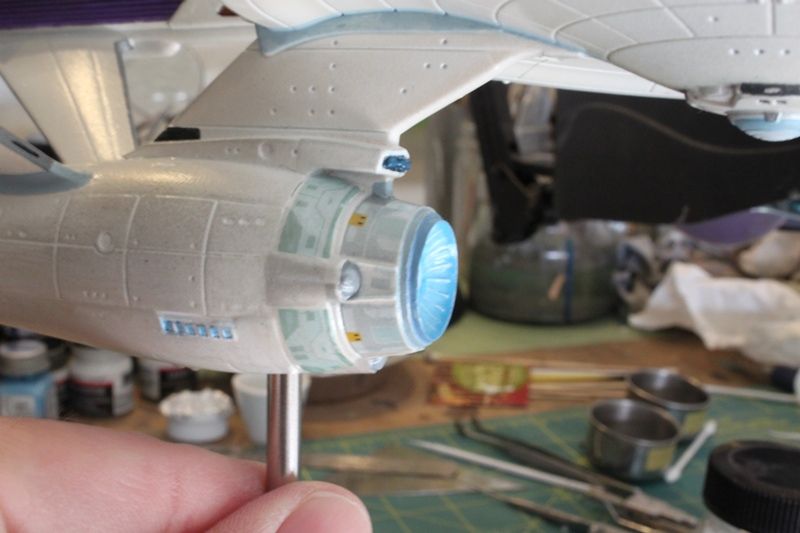
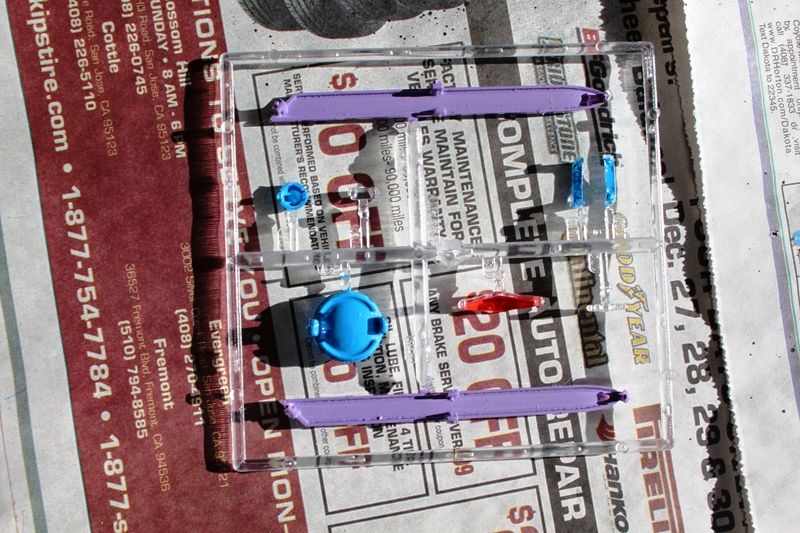
I also painted the inside surfaces of the clear parts. I brushed Tamiya Sky Blue acrylic on the deflector housing, impulse crystal, and arboretum windows. The Warp grills were painted with Testors Napoleonic Violet. The impulse engines were painted Testors Italian Red. I'll paint a coat of fluorescent white acrylic behind the blue on the deflector dish and the impulse crystal. I'll probably do the same for the warp grills. The impulse engines will get a coat of yellow behind the red. I may try and sand a little of the red off to thin it before painting it yellow so the center would have a yellow glow but that might be tough with such a small part:

IMG_3342.jpg


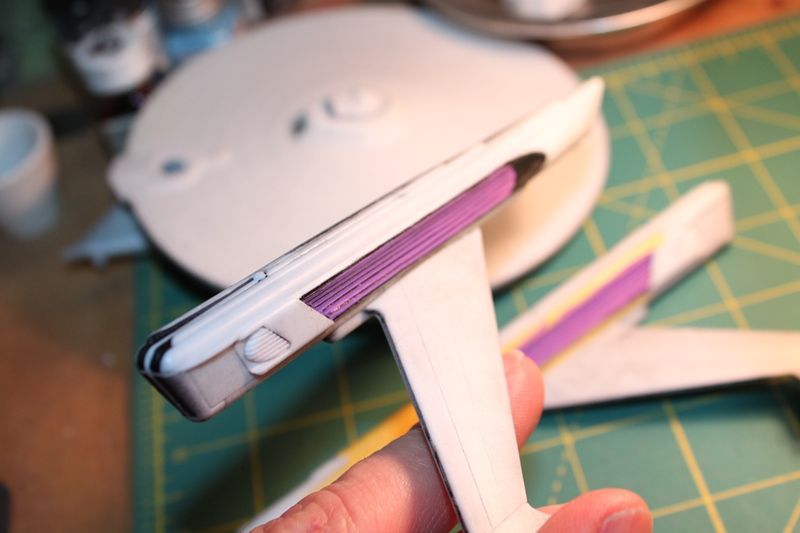
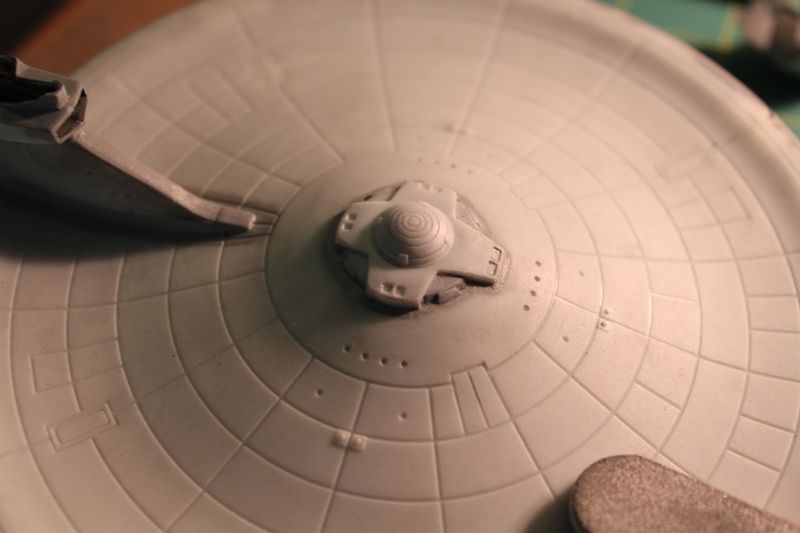
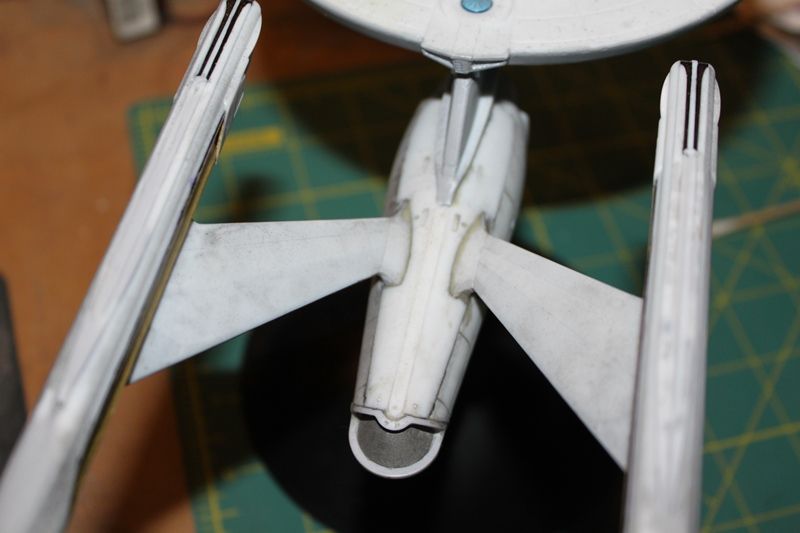
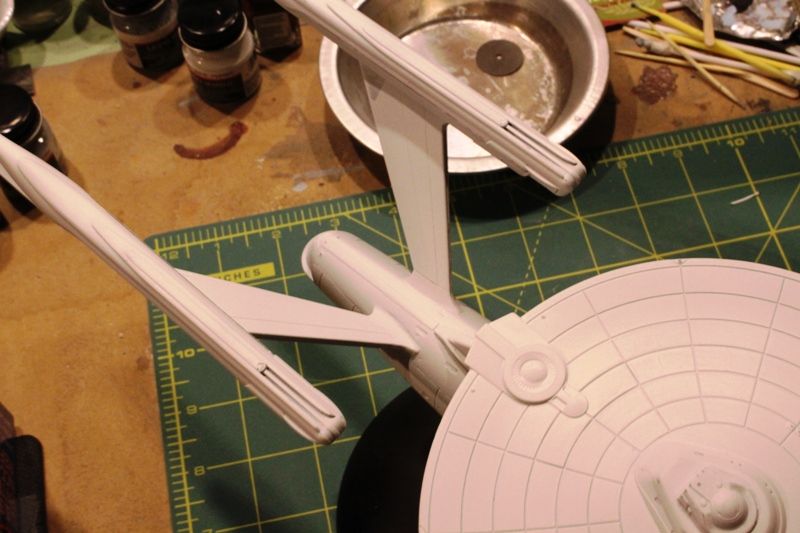
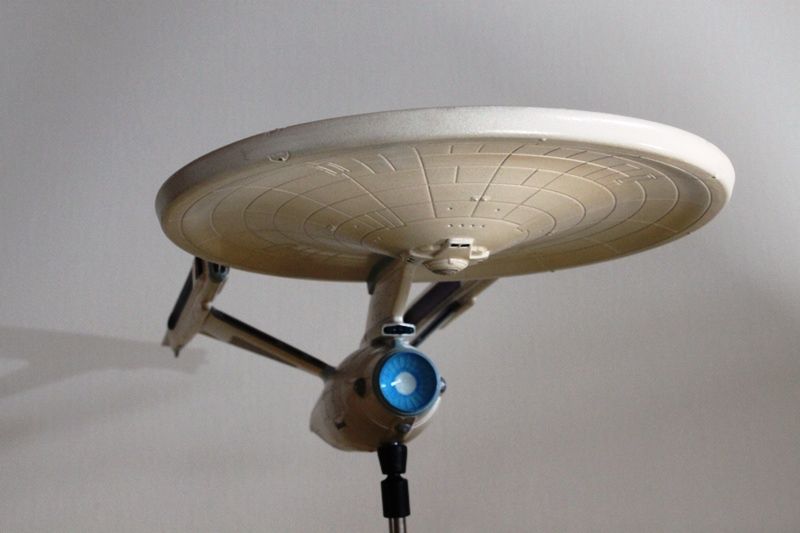
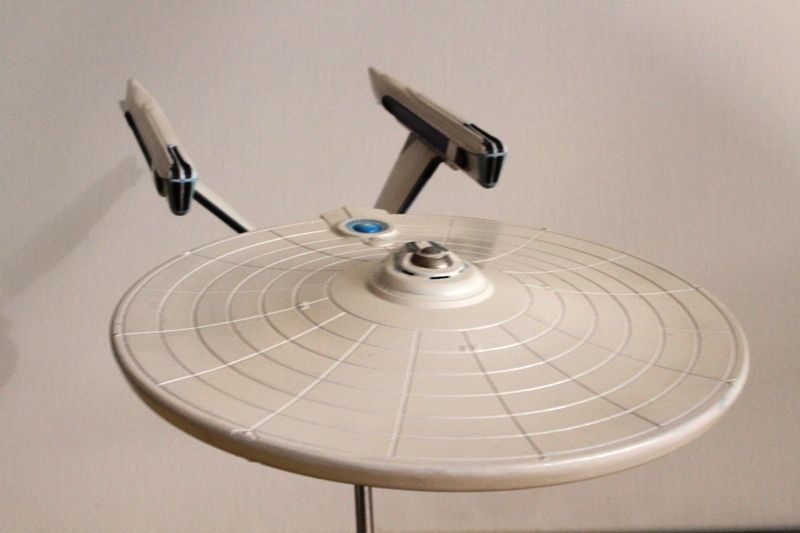
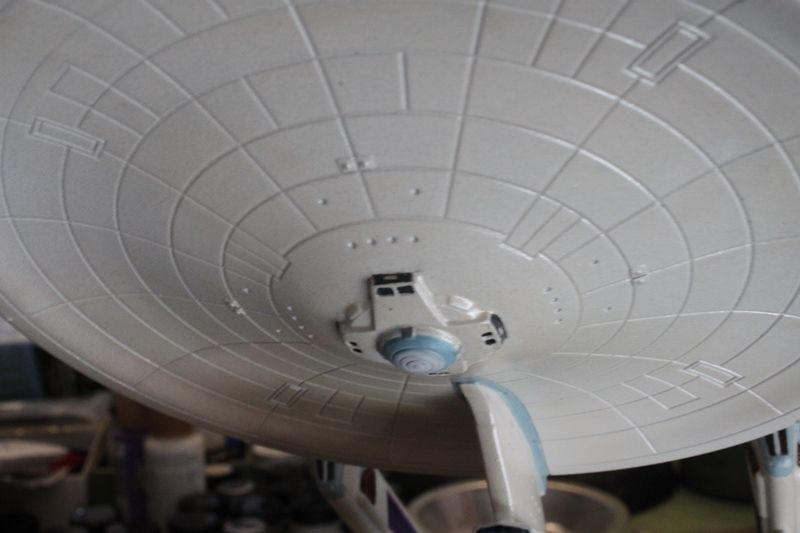
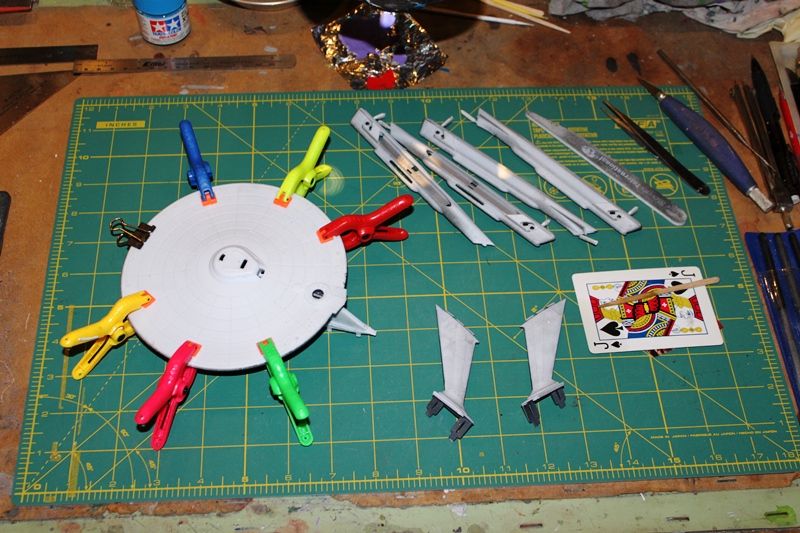
I glued the nacelle pylons and dorsal halves together with Testors liquid cement. Then I glued the dorsal to the lower saucer to get a good tight snap fit before dobbing CA around the inside of the joint. Then I brushed on some Tenax liquid around the outside where the dorsal mates to the saucer. Then I glued the saucer halves together with Testors cement and clamped the edges to dry:

IMG_3343.jpg


That's it so far. Comments welcome as always.
 
Last edited:
Re: Enterprise NCC-1701 Refit

Looking good man. I got this kit from this past christmas. I was really excited to build it and all that good stuff, but then I painted the outside white, with a pearl coat over it and I sealed it up without painting the inside black. *face palm* Now, it looks all yellow when any form of light hits the top, it glows on the underside. Fail, but hey, I'm not a pro modeler so it's all good. I'll be following this build for sure for further inspiration. Awesome start and can't wait to see it finished :)
 
Re: Enterprise NCC-1701 Refit

Well so much for having it all together by now...

I didn't care much for the look of the clear bits for the deflector dish and impulse crystal with just the acrylic paint on the backside so I painted the exterior facing surfaces with a mix of small bottle Testors Sky Blue and Model Master Navy Blue Gray mixed with thinner.
The problem with clear parts like this is wherever the locking snap fit tab is you end up with a spot where you can't apply paint and it shows thru as a void on the opposite side. I like the color better and the coverage is better with no damn voids!


IMG_3346.jpg

IMG_3357.jpg


Next I'll thin down some Model Master white enamel and see if I can drop it into the center of the deflector dish and swirl it around to simulate the glow.

I taped off the inward facing warp grills with thin strips of Tamiya tape:

IMG_3348.jpg


Then I brushed on some Future to seal the tape edges afterwhich I brushed the grills with flat black.
Once that dried I removed the tape.
It looked okay but it was hard to see the violet from the backside so, after snapping them into place in the nacelle, I brushed them with some Tamiya Purple acrylic thinned with alcohol onto the front of the grills:

IMG_3359.jpg

IMG_3356.jpg


After snapping in the impulse engine piece to the back of the saucer I masked the vents and sealed with Future.
I located the decal for the vents on one of the three decal sheets (there are a lot of decals) and, is it just me, or are the decals a tad oversized? Methinks I must needs do some trimming down the road to get them to fit:

IMG_3354.jpg


The clear piece for the officer's lounge was snapped in. Man is it basic.
I'll have to cut some tiny oblong pieces of masking tape if I want to make the windows look right.
Get out the magnifying glass boy!

IMG_3358.jpg


After taking these pics I brushed on some Mr. Surfacer 500 to the impulse engine vent housing, the saucer rim, and the dorsal.
I'll need to putty the sides of the impulse vents as there are some pretty good gaps there. Otherwise, the seams are not very nocticeable at all.
Once I get the warp nacelle halves glued together I'll work on their seams before attaching them to the secondary hull which I even haven't touched yet. Then will be time for more puttying, sanding, rinse, repeat.
You guys know the drill...
 
Re: Enterprise NCC-1701 Refit

Spent some time today puttying around A deck and the impulse engines with AVES. I glued the nacelle halves together and puttied around the pylon joint.

I also remembered this pic of the refit in drydock from The Motion Picture..

1701-dock.jpg


... and thought, man, my purple grills don't look like that so I went to Michaels and got a bottle of the Lavender craft acrylic paint. Then I repainted the black stripes and painted the aft end of the grills inside the concavity so the lavender color woudl form an ovoid shape like that seen in the picture. Then I masked off the all the black:

IMG_3368.jpg


After that I brushed on the lavender paint:

IMG_3370.jpg


After removing the masking this is what I had. Not perfect but closer to the screen image than before:

IMG_3372.jpg


Here's the deflector dish after adding a mix of white to the center and blending it with MM Navy Blue Gray and Testors Sky Blue. Hard to see in this pic but the color darkens slightly as you go out to the perimeter of the dish.
I puttied the outer deflector ring with Tamiya Basic Polyester Putty where it snapped into the main housing. Need to sand around the collar:

IMG_3369.jpg


That was it for today. Tomorrow I'll work on sanding the puttied areas and the seams on the nacelles. Maybe get the pylons glued into the secondary hull and the saucer attached if I'm lucky.

Cheers!
 
Re: Enterprise NCC-1701 Refit

Nice work! Building this one myself so its great to follow your progress

Thanks! I'm doing the same with your build. I like the way the aztecing looks with the pearl white on your build. I'm not quite as ambitious; just going to use the kit decals.
 
Re: Enterprise NCC-1701 Refit

Update for today...

I tinted the grills using Future tinted with a drop of purple water-based ink. The color change is subtle but it does make them more purplish:

IMG_3374.jpg


The lower sensor array had some pretty good gaps so I filled them with Tamiya Basic type polyester putty and sanded smooth:

IMG_3375.jpg


The subassemblies were glued together after masking. Now we're getting somewhere:

IMG_3382.jpg


I used liquid mask on the deflector dish, impulse crystal, and the bussard grills on the front of the nacelles. The arboretum windows and officer's lounge windows on the back of B-C deck will be taped off like the warp grills.

Next step is more filling of seams where the subassemblies mate. Then sanding and priming, and repeat seam filling if needed. Then it will be time for the basecoat of white with pearlescent gloss overcoat before decaling.
 
Re: Enterprise NCC-1701 Refit

Looking really good there, Trekrific; I can't wait to see how this comes out! The inner flux chiller grills especially pop and look movie legit!

Also, the work you did on the planetary sensor/lights on the bottom of the primary hull looks great. I was wondering if you plan on a pearl coat for this piece or did you have something different in mind?
 
Re: Enterprise NCC-1701 Refit

This morning's progress...


Spent abut 45 minutes this morning puttying seams on the secondary hull with AVES Apoxy Sculpt. It went on so smooth I shouldn't need to do much sanding at all:

IMG_3387.jpg

IMG_3386.jpg

IMG_3383.jpg


Once it's dried I'll sand and brush on some Mr Surfacer to see if I have any gaps left. If I do, I'll fill them with Tamiya putty. I also need to mask off the hangar bay doors which I painted steel using MM enamel. Think I'll mask them with liquid mask.
 
Re: Enterprise NCC-1701 Refit

Looking really good there, Trekrific; I can't wait to see how this comes out! The inner flux chiller grills especially pop and look movie legit!

Also, the work you did on the planetary sensor/lights on the bottom of the primary hull looks great. I was wondering if you plan on a pearl coat for this piece or did you have something different in mind?

Yes. The whole ship gets a pearl coat aside from the areas I'm masking off.
 
Re: Enterprise NCC-1701 Refit

Here she is Sunday after shooting with a second coat of grey Tamiya Fine Surface Primer:
IMG_3389.jpg


And today after I finished polishing the white Tamiya primer coat with sanding films:
IMG_3398.jpg

IMG_3397.jpg


Look Ma! No seams!
IMG_3404.jpg
 
Re: Enterprise NCC-1701 Refit

So Monday was "Screw Things Up Day" for yours truly!
I sprayed Testors Pearlescent Clear Overcoat over the Tamiya white primer but I got carried away and put on too much pearl which puddled in places and turned yellowish.

Argggghhhhhhh! God! sometimes I screw up worse than a newbie!

After lettting it set for about an hour I was able to handle it enough before it fully cured to dip a brush in paint thinner (not lacquer thinner) and drag out where the pearl coat had puddled in spots. It looked better but I noticed a few spots where the pearl had softened the underlaying Tamiya primer such that, while brushing out the pearl, it had thinned the white layer underneath causing some of the underlying grey primer to show thru just enough for me to notice it.

So at that point I decided I'd had enough for a day and let it sit overnight.Tuesday morning arrived and gave her a light sanding then I broke out the Testors flat white enamel in a rattle can and sprayed that over the pearl coat. It went on nice and smooth with no blemishes and only a few dust strands that must have floated down while it dried; easily dealt with using 1200 grit sanding film. Today I gave her another once over with the 1200 grit before applying another coat of pearl being careful not to go too heavy this frickin' time.
She has a real nice sheen now. Check it out:

IMG_3407.jpg

IMG_3408.jpg


Next I'll lay on one more coat of gloss clear before painting the front around the bussard grills, the indents on the front of the sides, and the rear fins on the nacelles; the base of the nacelle struts; the backside of the bridge; the first ring of the deflector housing; and the top of the neck with MM Hellblau. Basically wherever the instructions indicate should be painted Duck Egg Blue. I compared Hellblau to Duck Egg Blue and liked that it's similar in tone but a little darker. Besides I needed the Hellblau for my 1/350 big E build so I could use it on both builds and it saved me $3.75 for a bottle of Duck Egg Blue! lol.
I'll also paint flat black on the outward facing warp grills and the grill at the base of the neck on the back. Those rounded grills on the front sides of the nacelles in the indents will get painted rust.

Once I'm done with the painting phase it will time for a buttload of decals to be applied.

Wish me luck folks!
 
Re: Enterprise NCC-1701 Refit

Painitng stage is done. After a shot of Glosscote she's ready for her decals...

IMG_3414_zps961872e5.jpg

IMG_3417_zps9b1e4898.jpg

IMG_3416_zpsd0b759b1.jpg

IMG_3418_zpsc1732d8b.jpg

IMG_3419_zpscfaaf709.jpg


Actually, there may be one thing left to paint and that would be the radial ribs around the circumference of the deflector dish.
I think I'll use a white acrylic on them so any holidays could easily be wiped off with a moistended micro-brush.
 
Re: Enterprise NCC-1701 Refit

What pearl are you using?


edit: Doh, never mind, reread post 12.


Doug
 
Last edited:
Re: Enterprise NCC-1701 Refit

i am building the same kit too and just wanted to point out that you need to remove the saucer and the deflector housing for some of the decals
 
Re: Enterprise NCC-1701 Refit

i am building the same kit too and just wanted to point out that you need to remove the saucer and the deflector housing for some of the decals

Thanks for the tip but it's too late to remove the saucer and deflector housing. They are glued on solid at this point.

So..... Fun with decals!

So far I've finished the aztecs for the upper saucer and the deflector dish. I'll save all the registration markings, phaser banks, and saucer rim reaction control thrusters (hope that's what they are called) for last once I've applied and sealed the aztec decals.

All I have to say is thank god for Solvaset! And white glue mixed with water:
IMG_3427_zpsb03650dd.jpg

IMG_3422_zps48f28851.jpg


For the most part, the upper saucer decals went on without too much fuss. Only one or two had minor fragmentation issues and those were easily dealt with by patching gaps with the extra decal bits I had left over after trimming the rearmost pie slices to fit around the back of C deck:

Rear of A-C deck housing showing the officer's lounge window frames. Most of the decals on B-C deck fragmented into 2 or 3 pieces even after coating with liquid decal film. Luckily I'm good with puzzles:

IMG_3428_zps3bf39a1c.jpg


The deflector housing aztecs are complete:

IMG_3423_zpsb632ed6e.jpg


What a friggin' pain the uppermost decals were to trim and fit around the base at the front of the dorsal! I hadn't counted on Round2 not printing the decals to fit around the neck so had to trim them to fit myself. Then one of them started breaking apart and I had to splice leftover bits together with tweezers under the photon torpedo launcher overhang.
Oofda!
Got her done though and the splice job is decent enough although not flawless.
It's fairly inconspicuous unless you know where to look for it which I do of course.
So you were right dlots'. It would have been a lot easier if I'd done the decals before mounting the deflector housing to the secondary hull. The only negative to doing that though would have been as it concerns the gap between the housing and the base of the dorsal at the front of the neck which is a poor fit. Filling that gap and making it smooth without disturbing the decals would have presented it's own challenges.


Underside of the saucer ready for aztecs:
IMG_3425_zpsa2736c59.jpg


I painted the dome with flat white mixed with a little silver.
I also brushed on a mix of white feathered into azure blue aroud the rim of the dome. The floodlight ports were painted using gunship gray after masking off rectangular white shapes to simulate the lights.

So all in all I'm very pleased with how this is going.
At this rate I should be finished in another 2 weeks considering I spent about 6 hours so far.

:rolleyes
 
Re: Enterprise NCC-1701 Refit

Looks awesome. I'm waiting on the old school ATM "Movie Era" refit for my test build up before I start on my Polar Lights 350.
 
This thread is more than 11 years old.

Your message may be considered spam for the following reasons:

  1. This thread hasn't been active in some time. A new post in this thread might not contribute constructively to this discussion after so long.
If you wish to reply despite these issues, check the box below before replying.
Be aware that malicious compliance may result in more severe penalties.
Back
Top