rosskow
Sr Member
Re: pepafett (boba fett pepakura attempt)
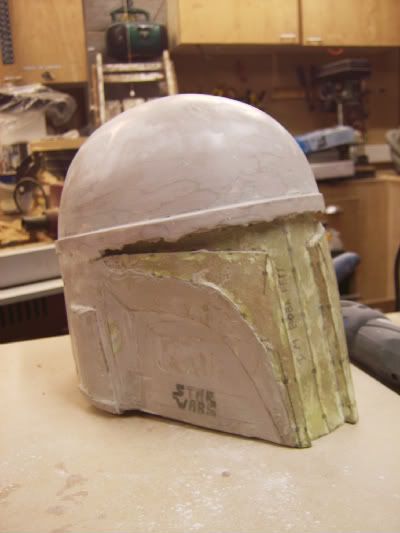
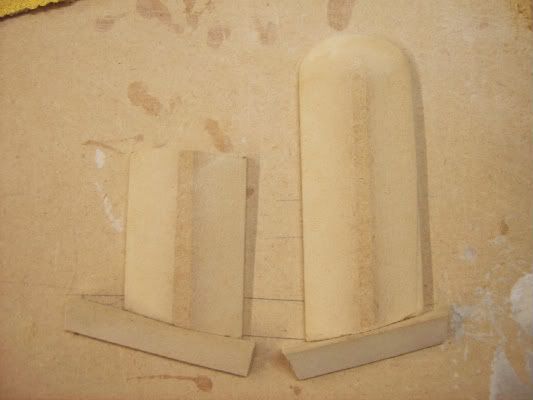
day 9
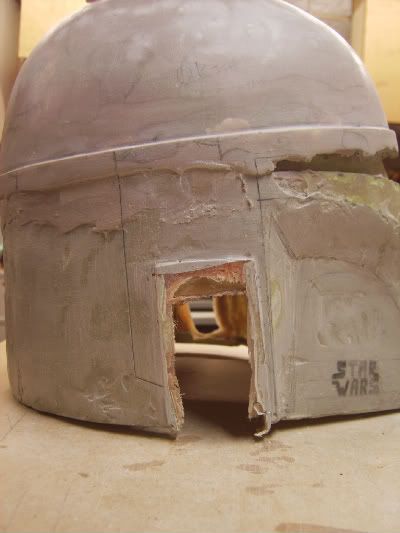
more sanding and smoothing and adding more filler to sand and smooth

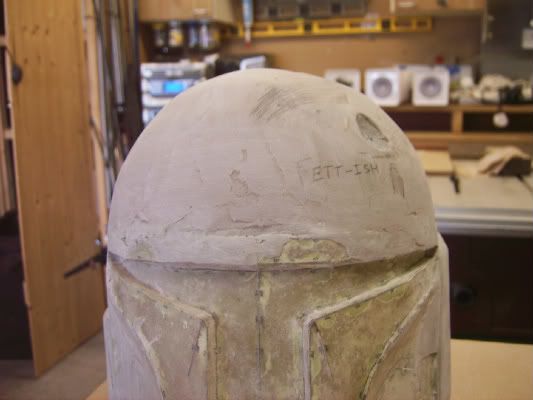
still to smooth out some imperfection on the dome (the shaded areas needed some blucking up that i added before the end of the day)
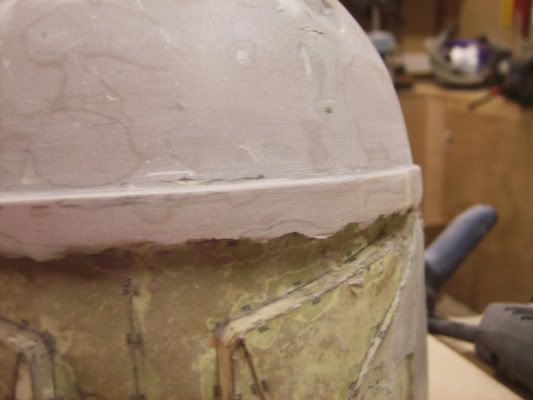
day 10
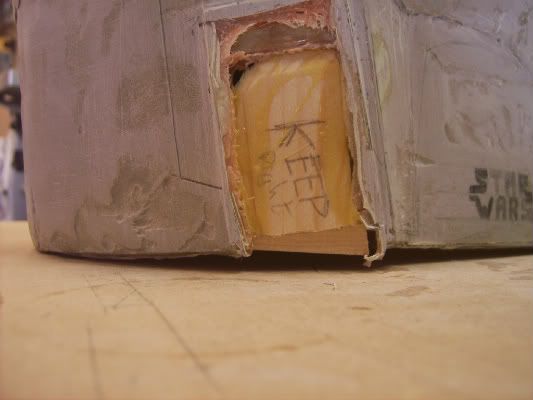
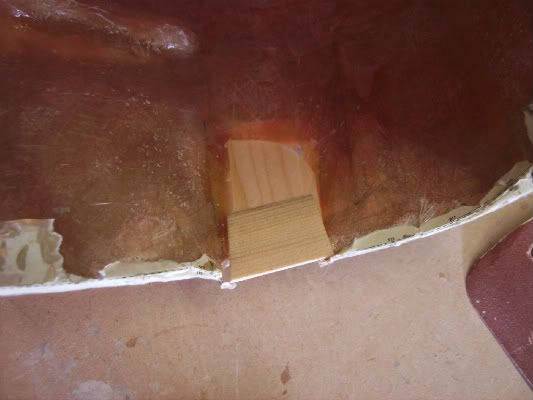
used some thinner filler to plug the little gaps
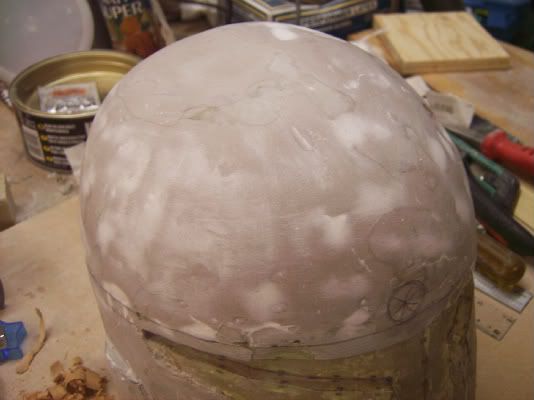
next, try to figure out how to sort this mess out, neatly and accurately
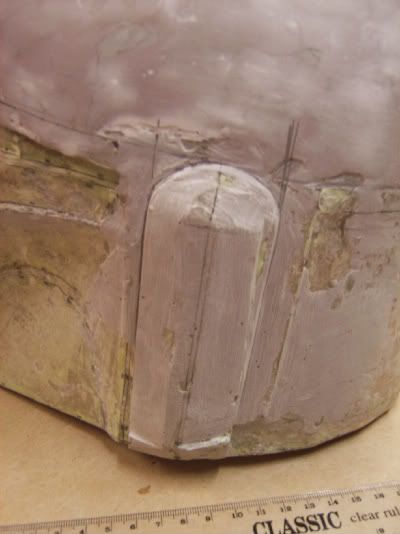
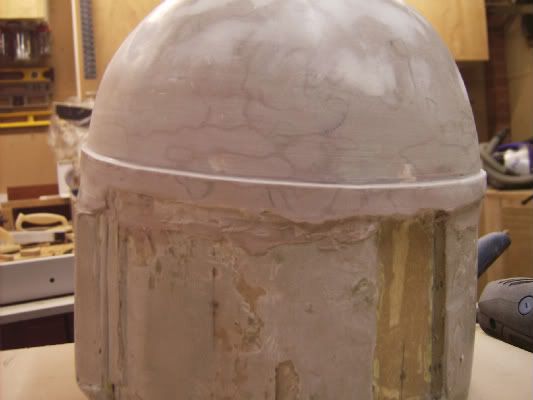
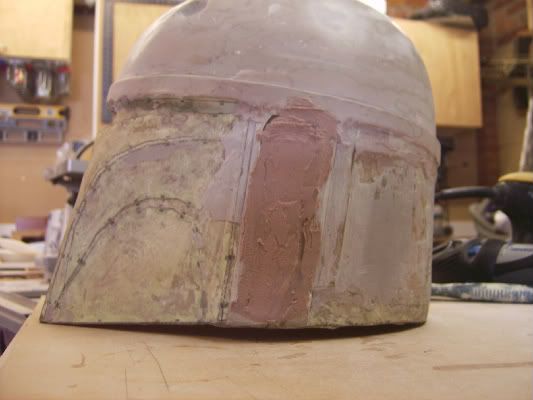
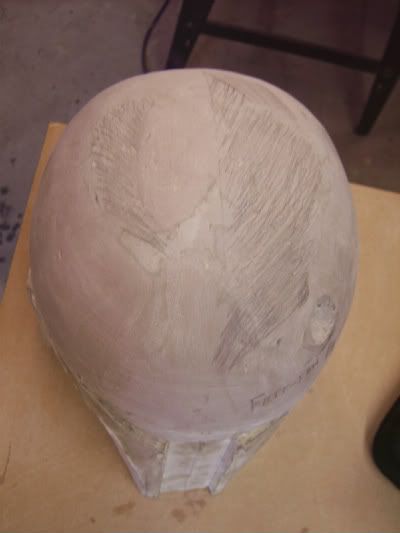
after using nothing but credit cards, timber cut offs as sanding blocks and the sand paper its self i then spent the next 5 hours of my built using an electric and normal planer, a circular saw, belt sander, disc sander, sand paper on its own, and a tennon saw, and a few more manual and electrical tools and came out with this...
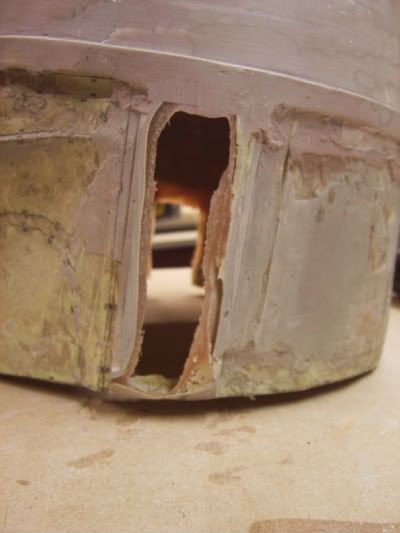
going need to figure out the different levels/thickness on the helmet before i hack off the ears and implant my new MDF ones, but should pay off in the end with a cleaner and sharper finish... or so i think
happy building everyone!
day 9
more sanding and smoothing and adding more filler to sand and smooth
still to smooth out some imperfection on the dome (the shaded areas needed some blucking up that i added before the end of the day)
day 10
used some thinner filler to plug the little gaps
next, try to figure out how to sort this mess out, neatly and accurately
after using nothing but credit cards, timber cut offs as sanding blocks and the sand paper its self i then spent the next 5 hours of my built using an electric and normal planer, a circular saw, belt sander, disc sander, sand paper on its own, and a tennon saw, and a few more manual and electrical tools and came out with this...
going need to figure out the different levels/thickness on the helmet before i hack off the ears and implant my new MDF ones, but should pay off in the end with a cleaner and sharper finish... or so i think
happy building everyone!
")