Hi Guys
Sorry for the lack of update this morning. I was a little busy... Enjoy!
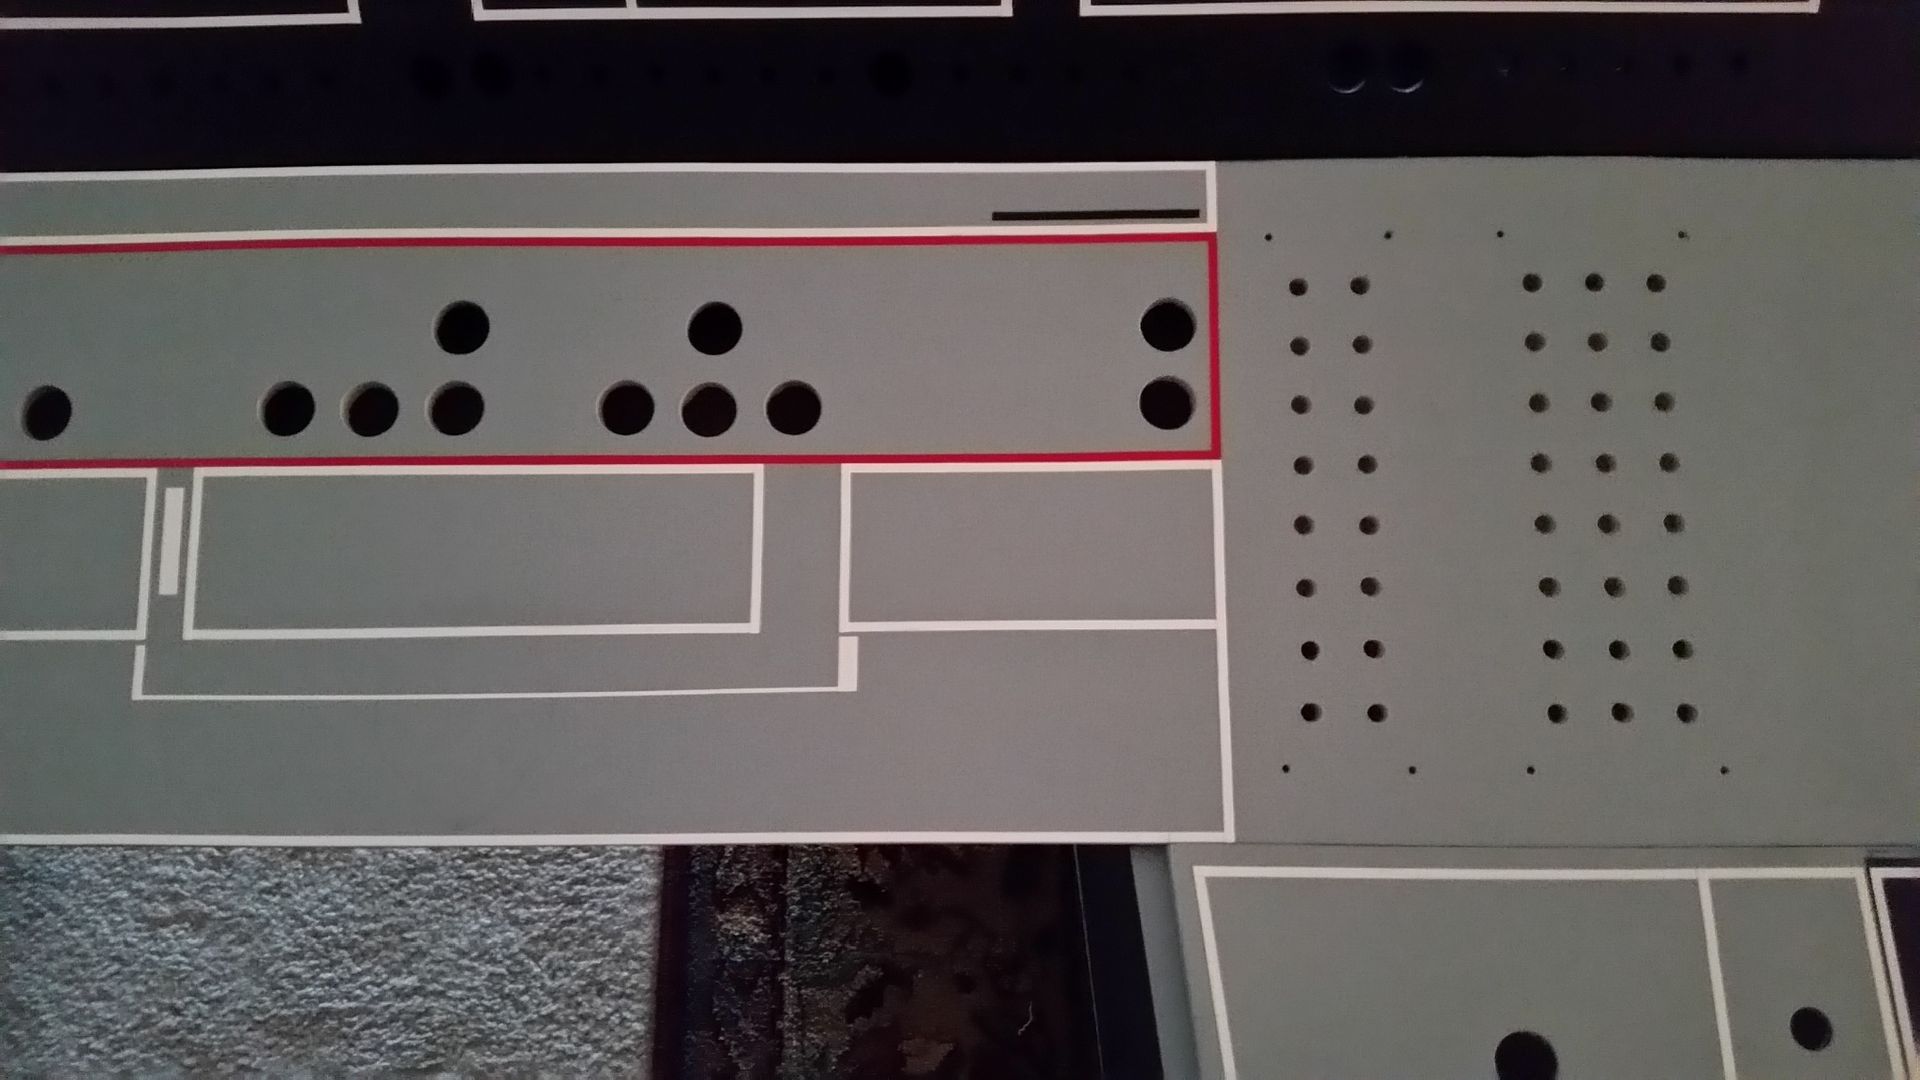
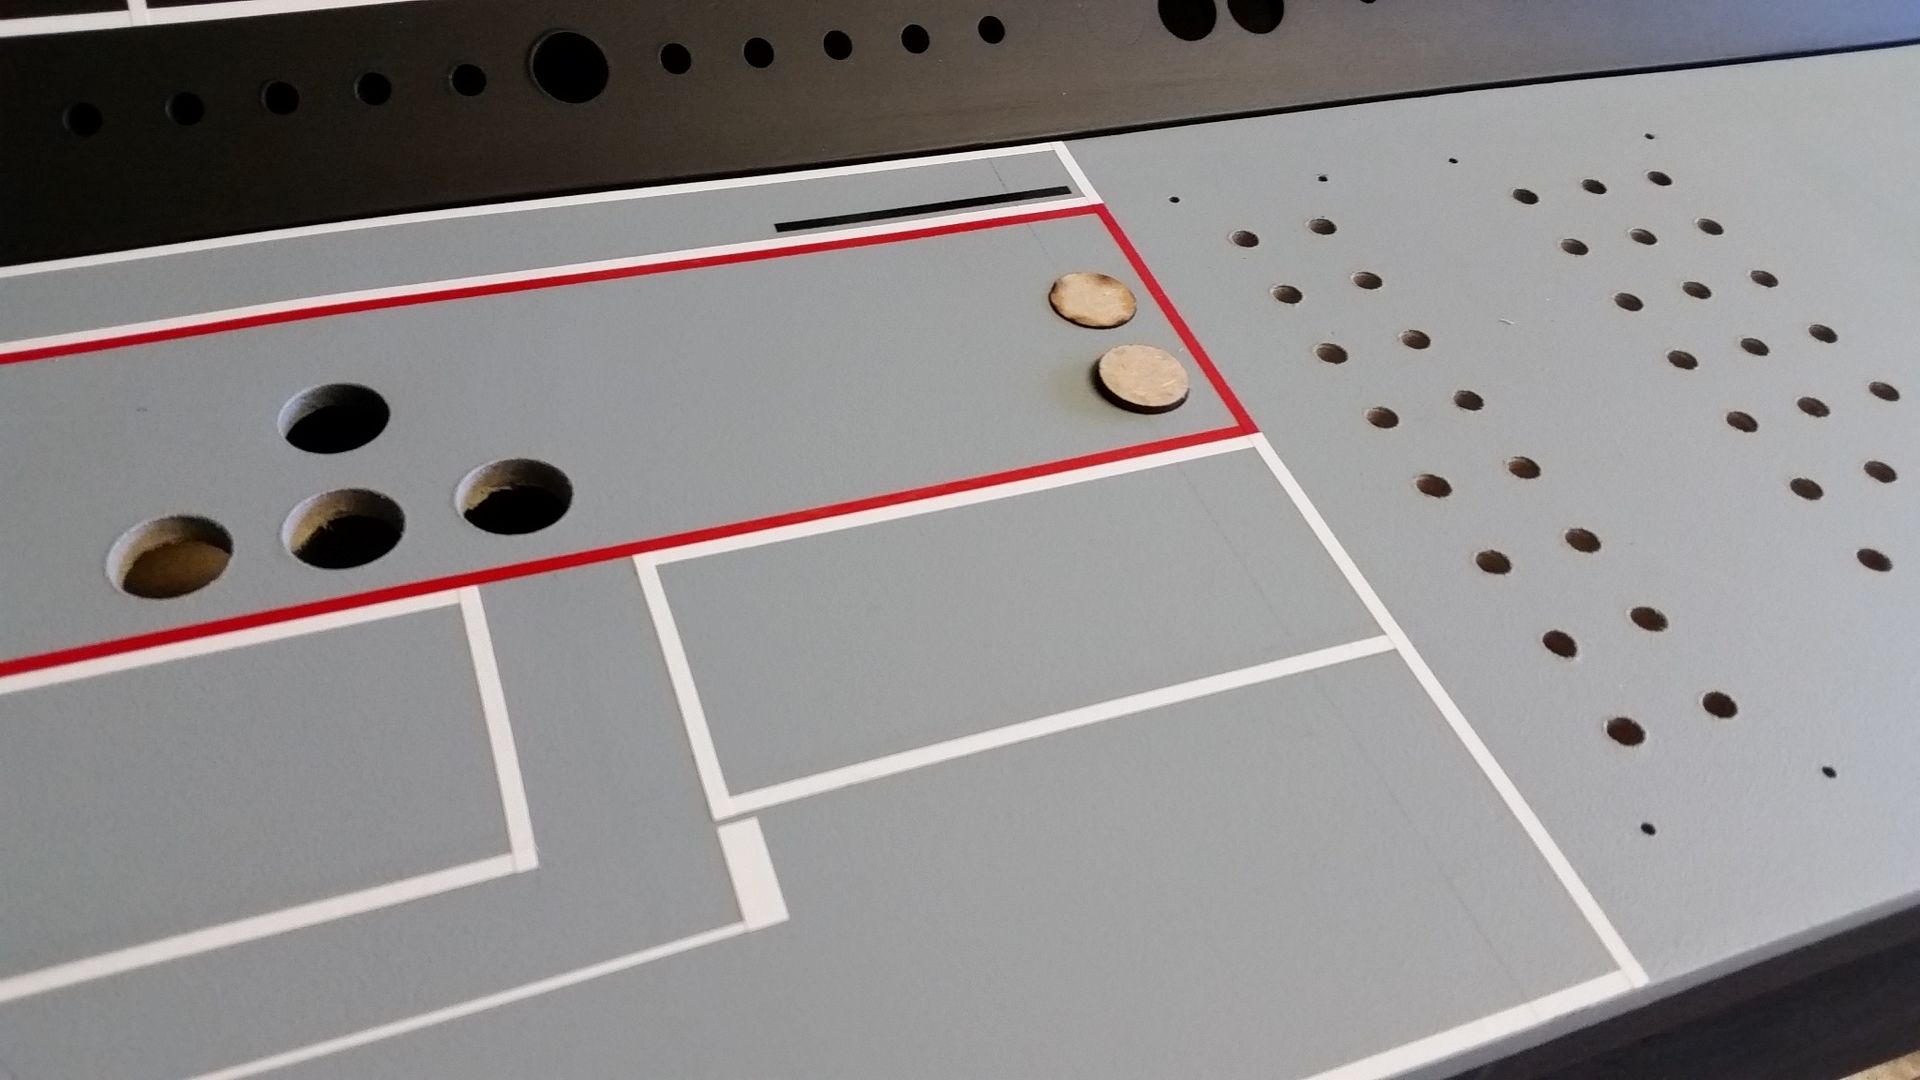
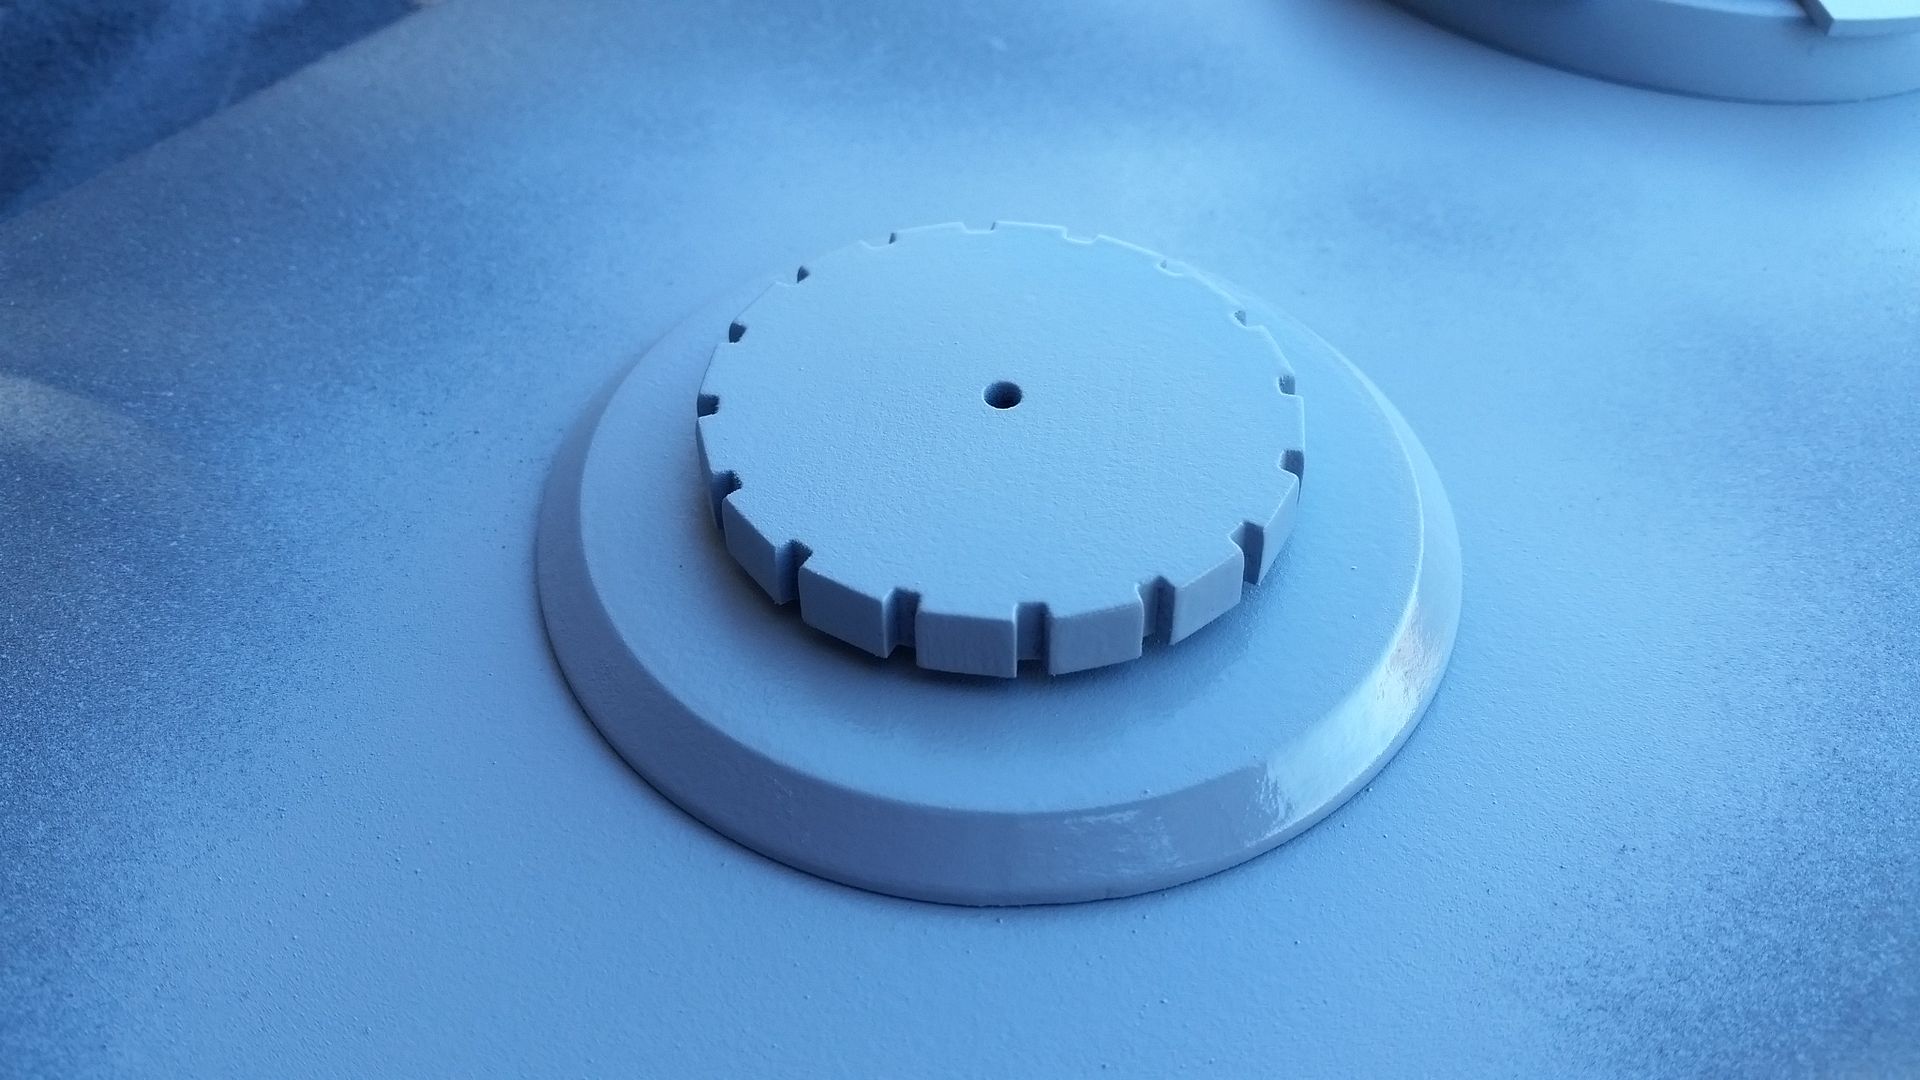
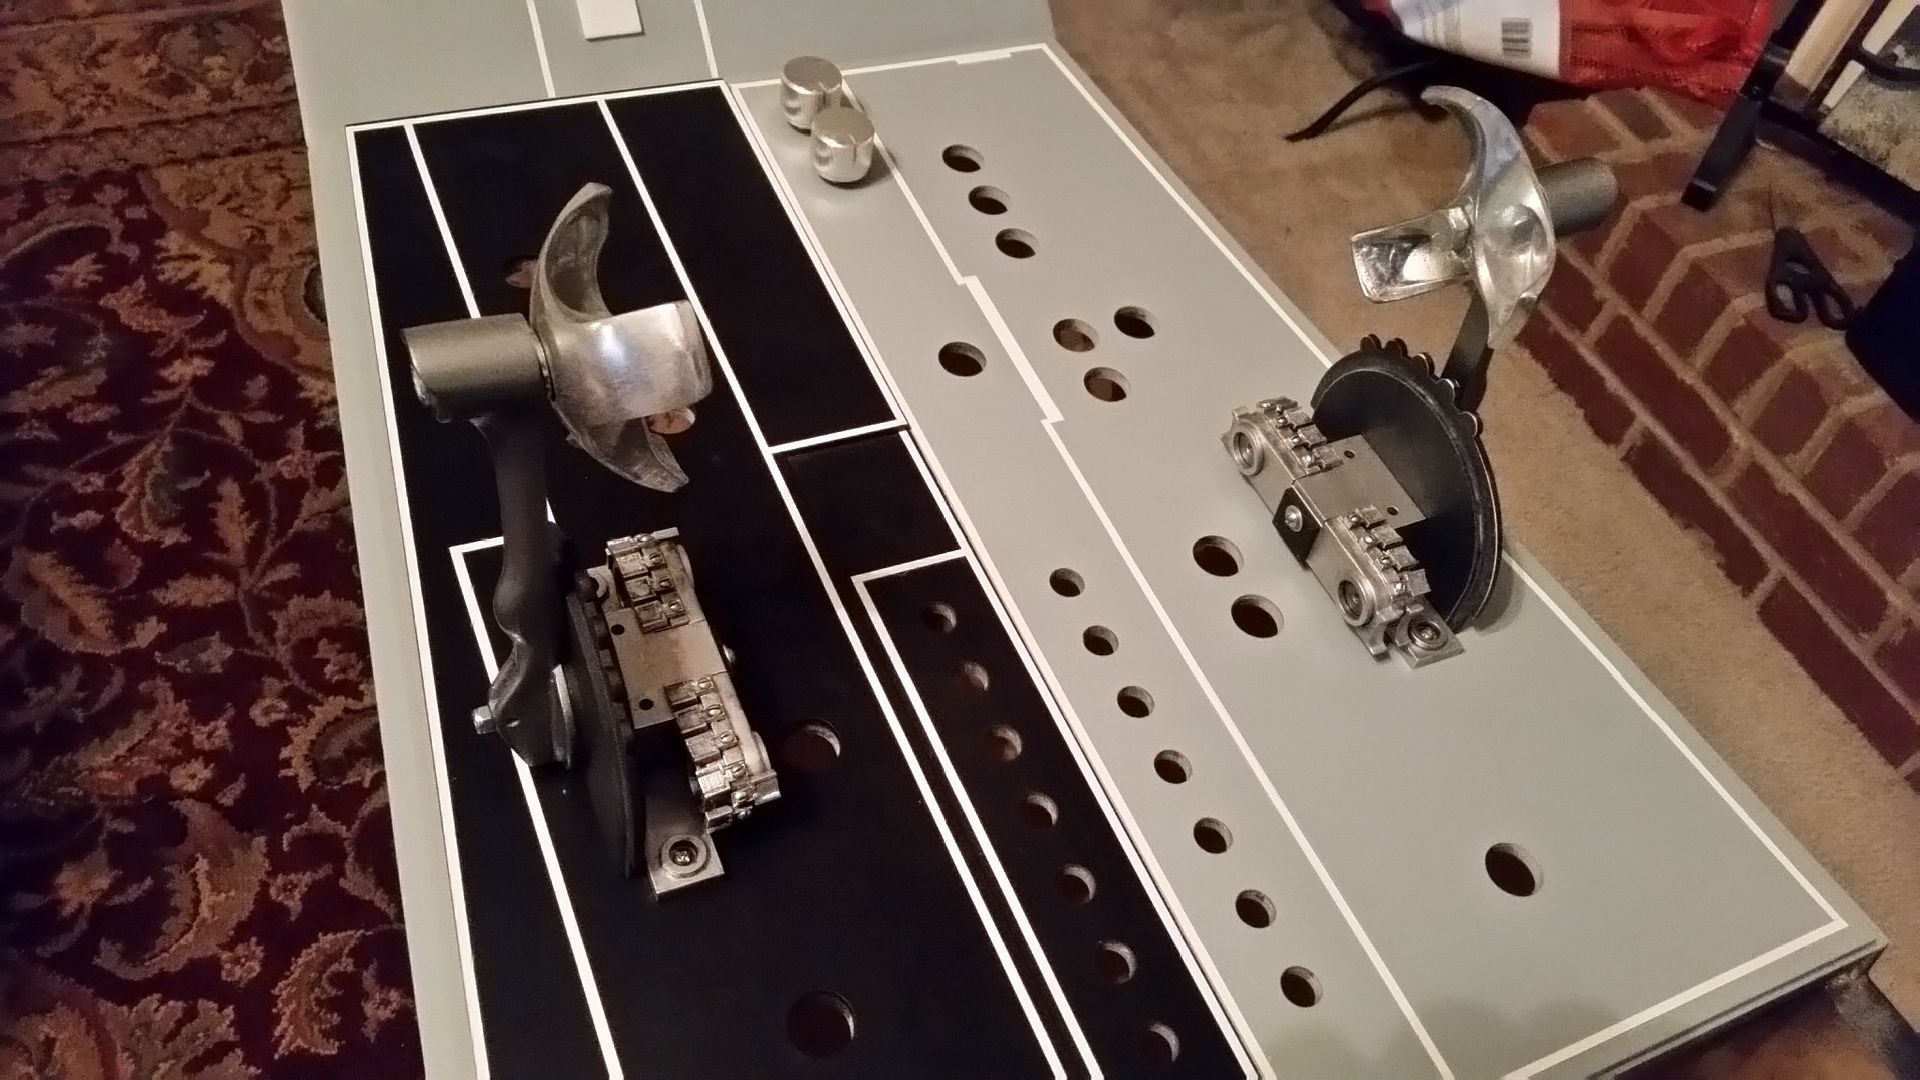
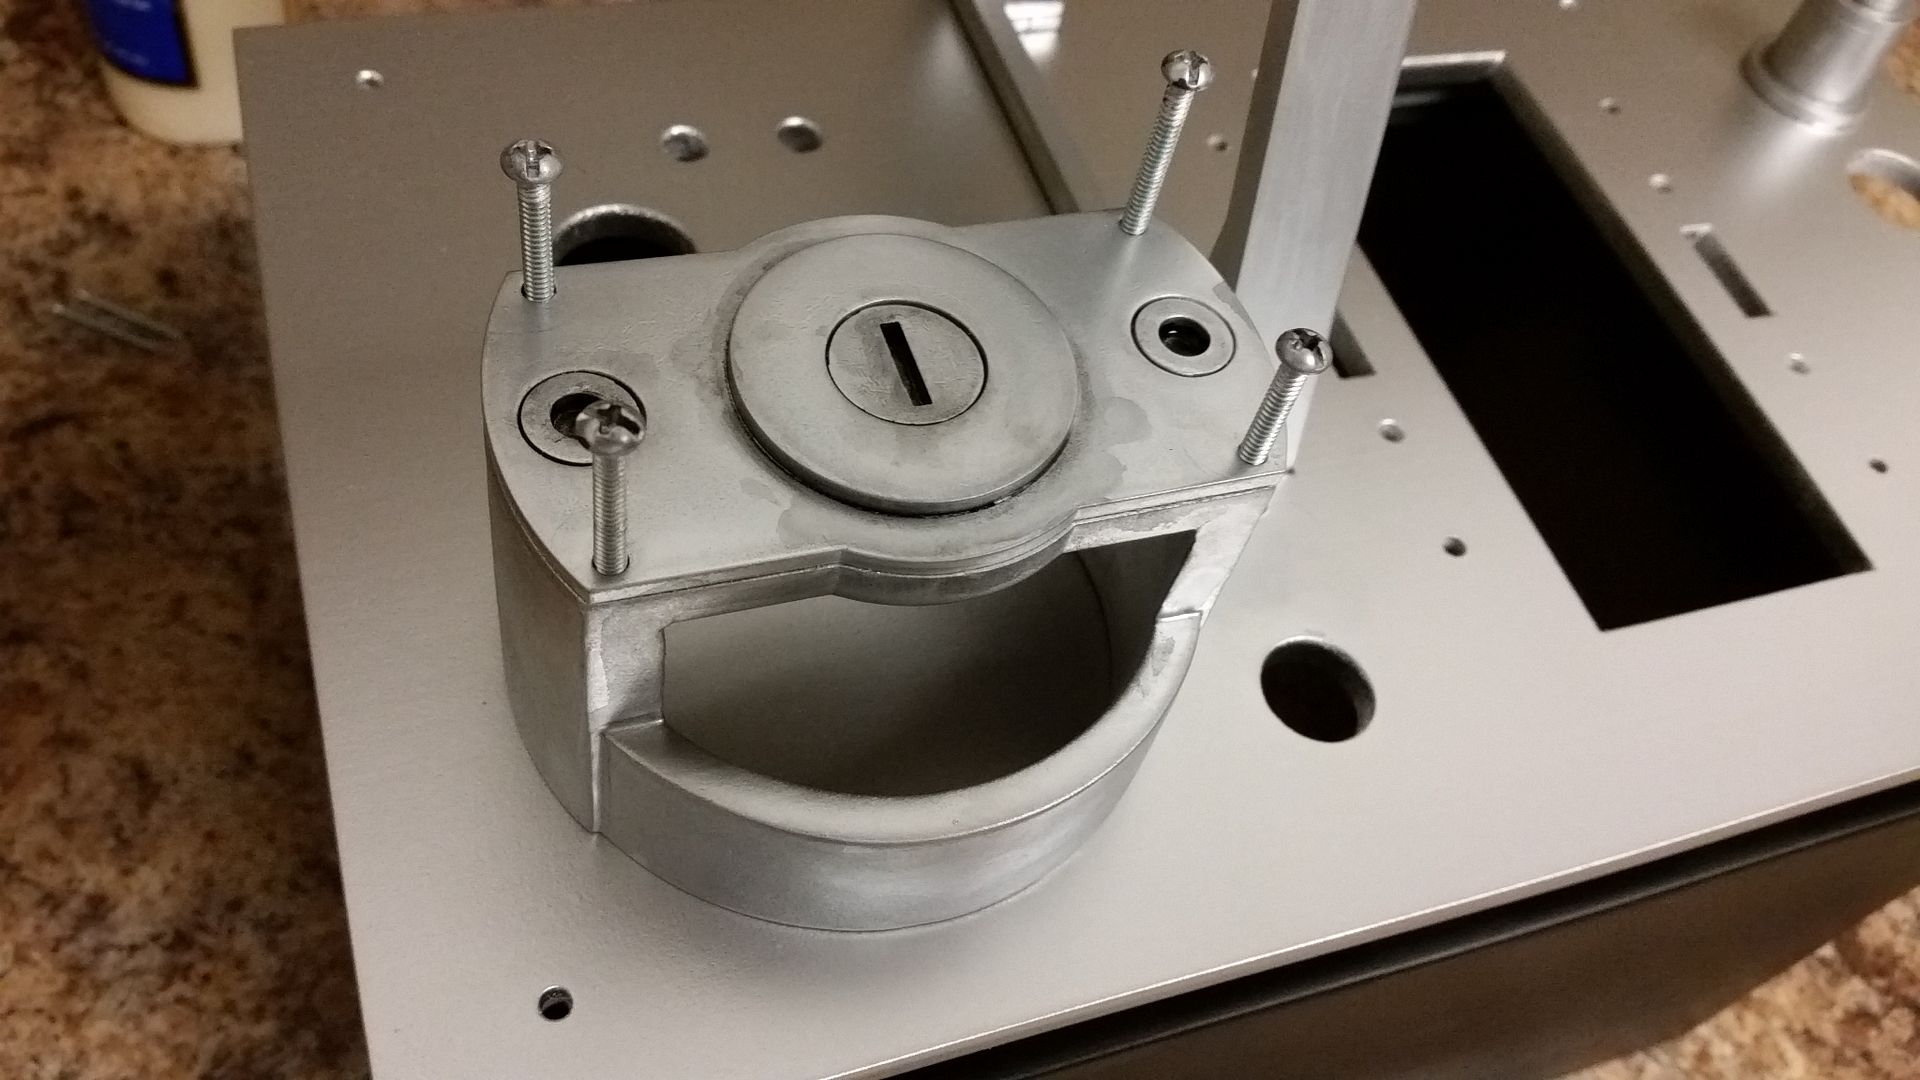
So I was looking at the instrument panel when I noticed a slight boo boo. The pin striped on Han's side too far toward the center
This meant removing the pin stripes and filling the holes - I cut a bunch of these a long time ago knowing full well I would need them!
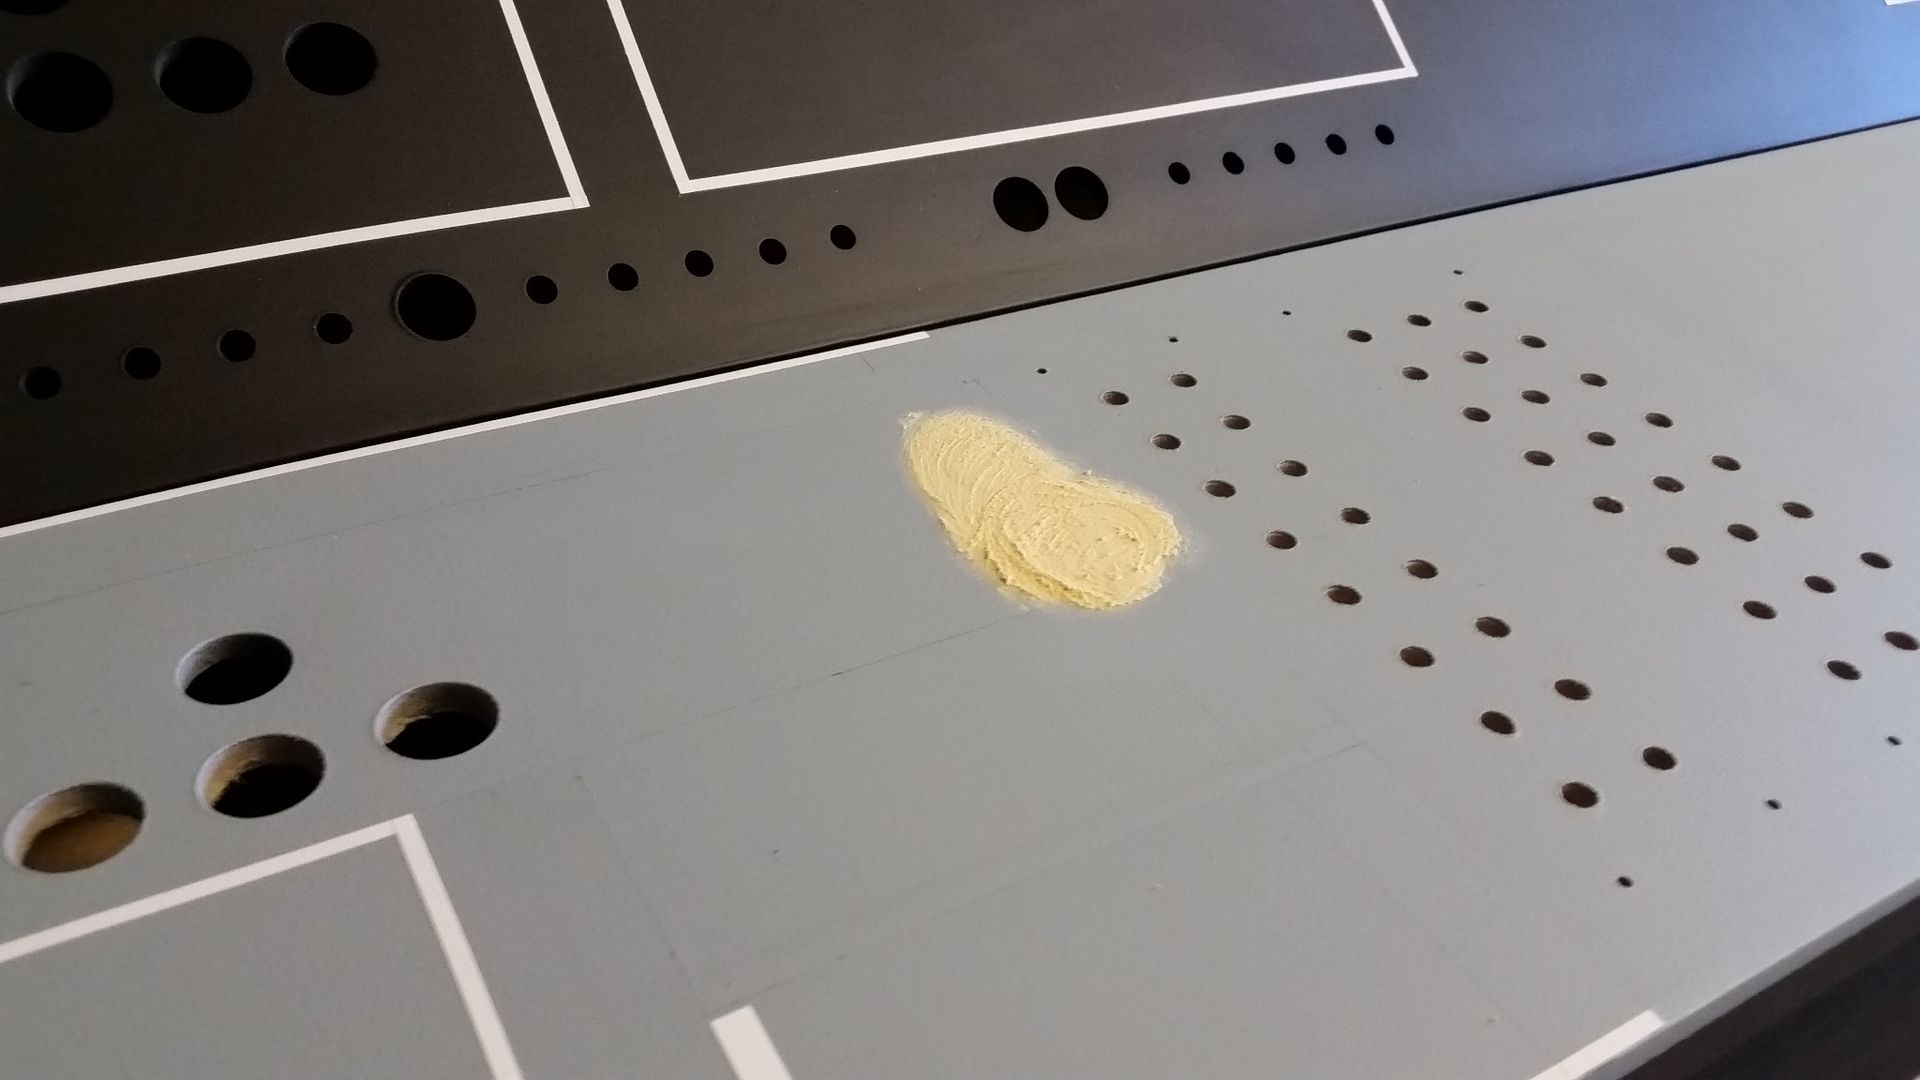
Luckily I didn't spray with the clear satin - glued and filled the holes
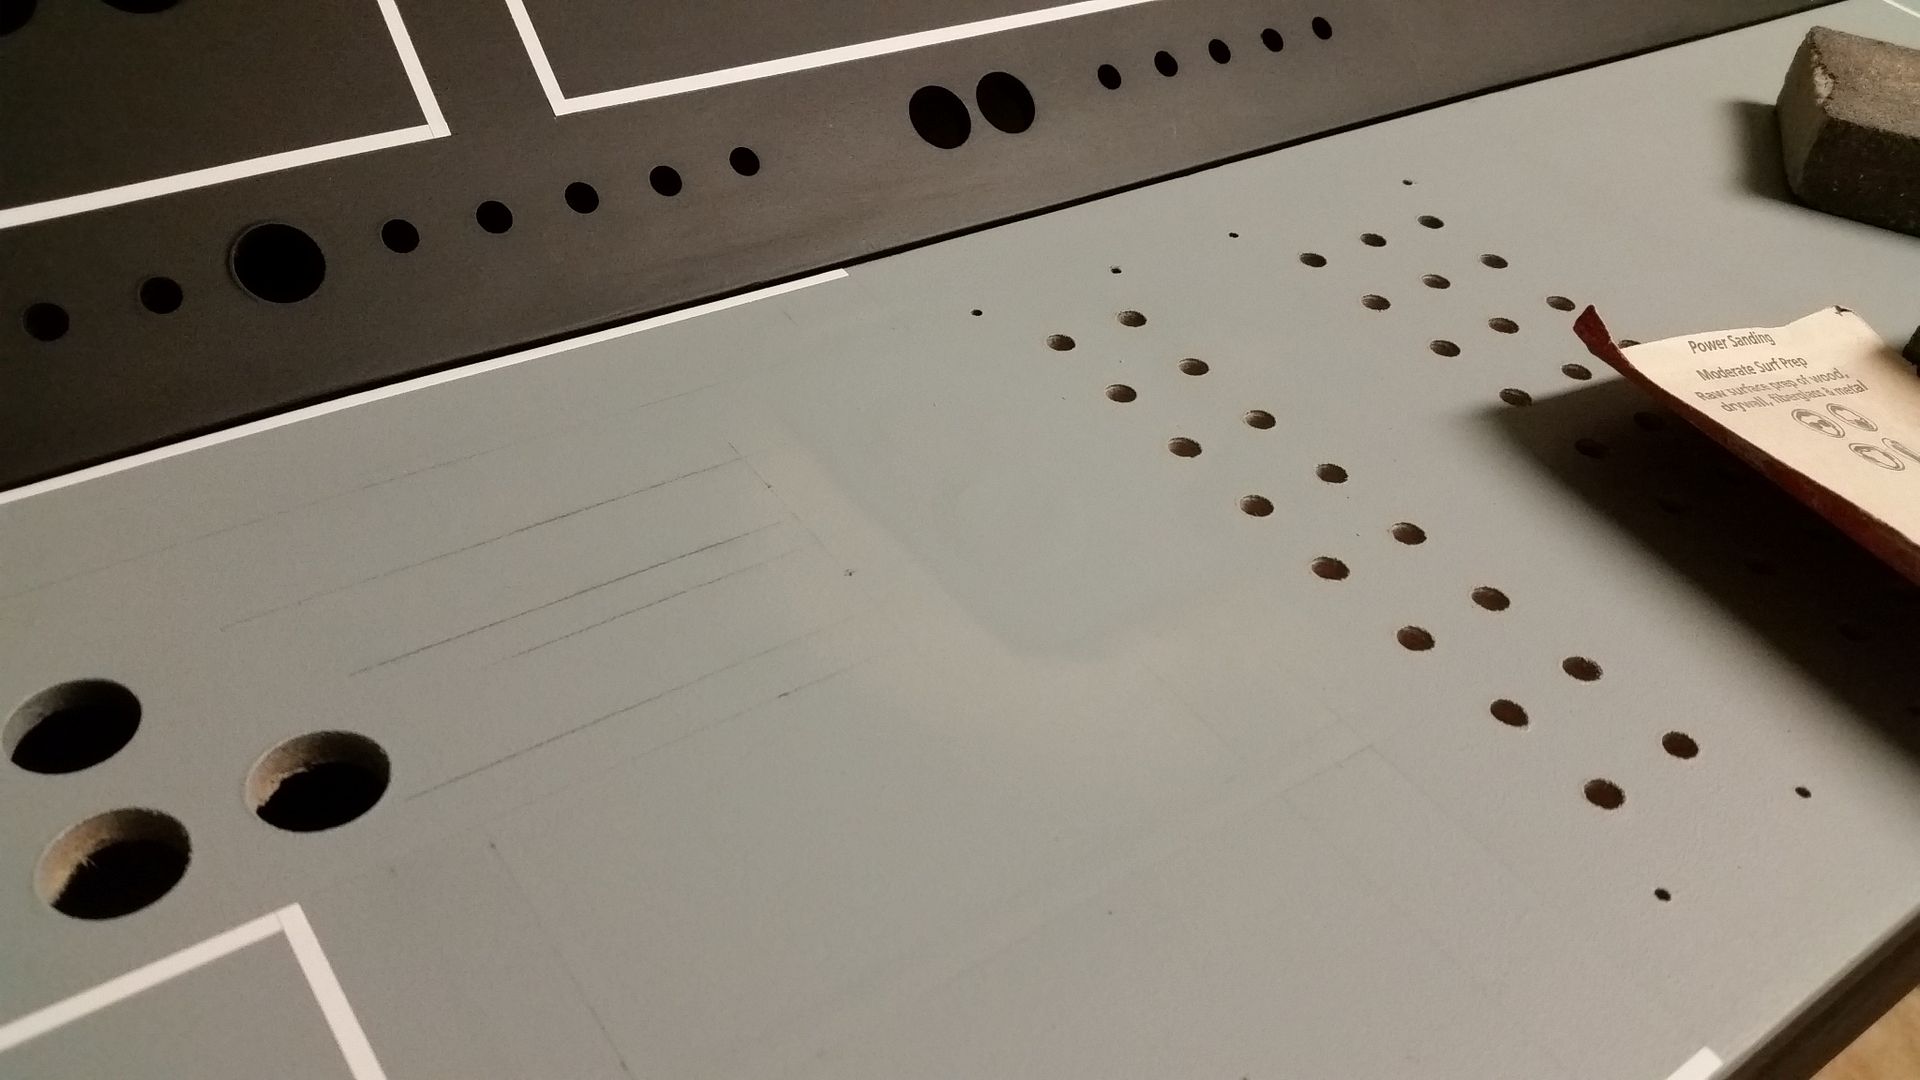
Sanded smooth
All gone... I need a bit more paint and then finish up the pin stripes - I picked up a pack of red
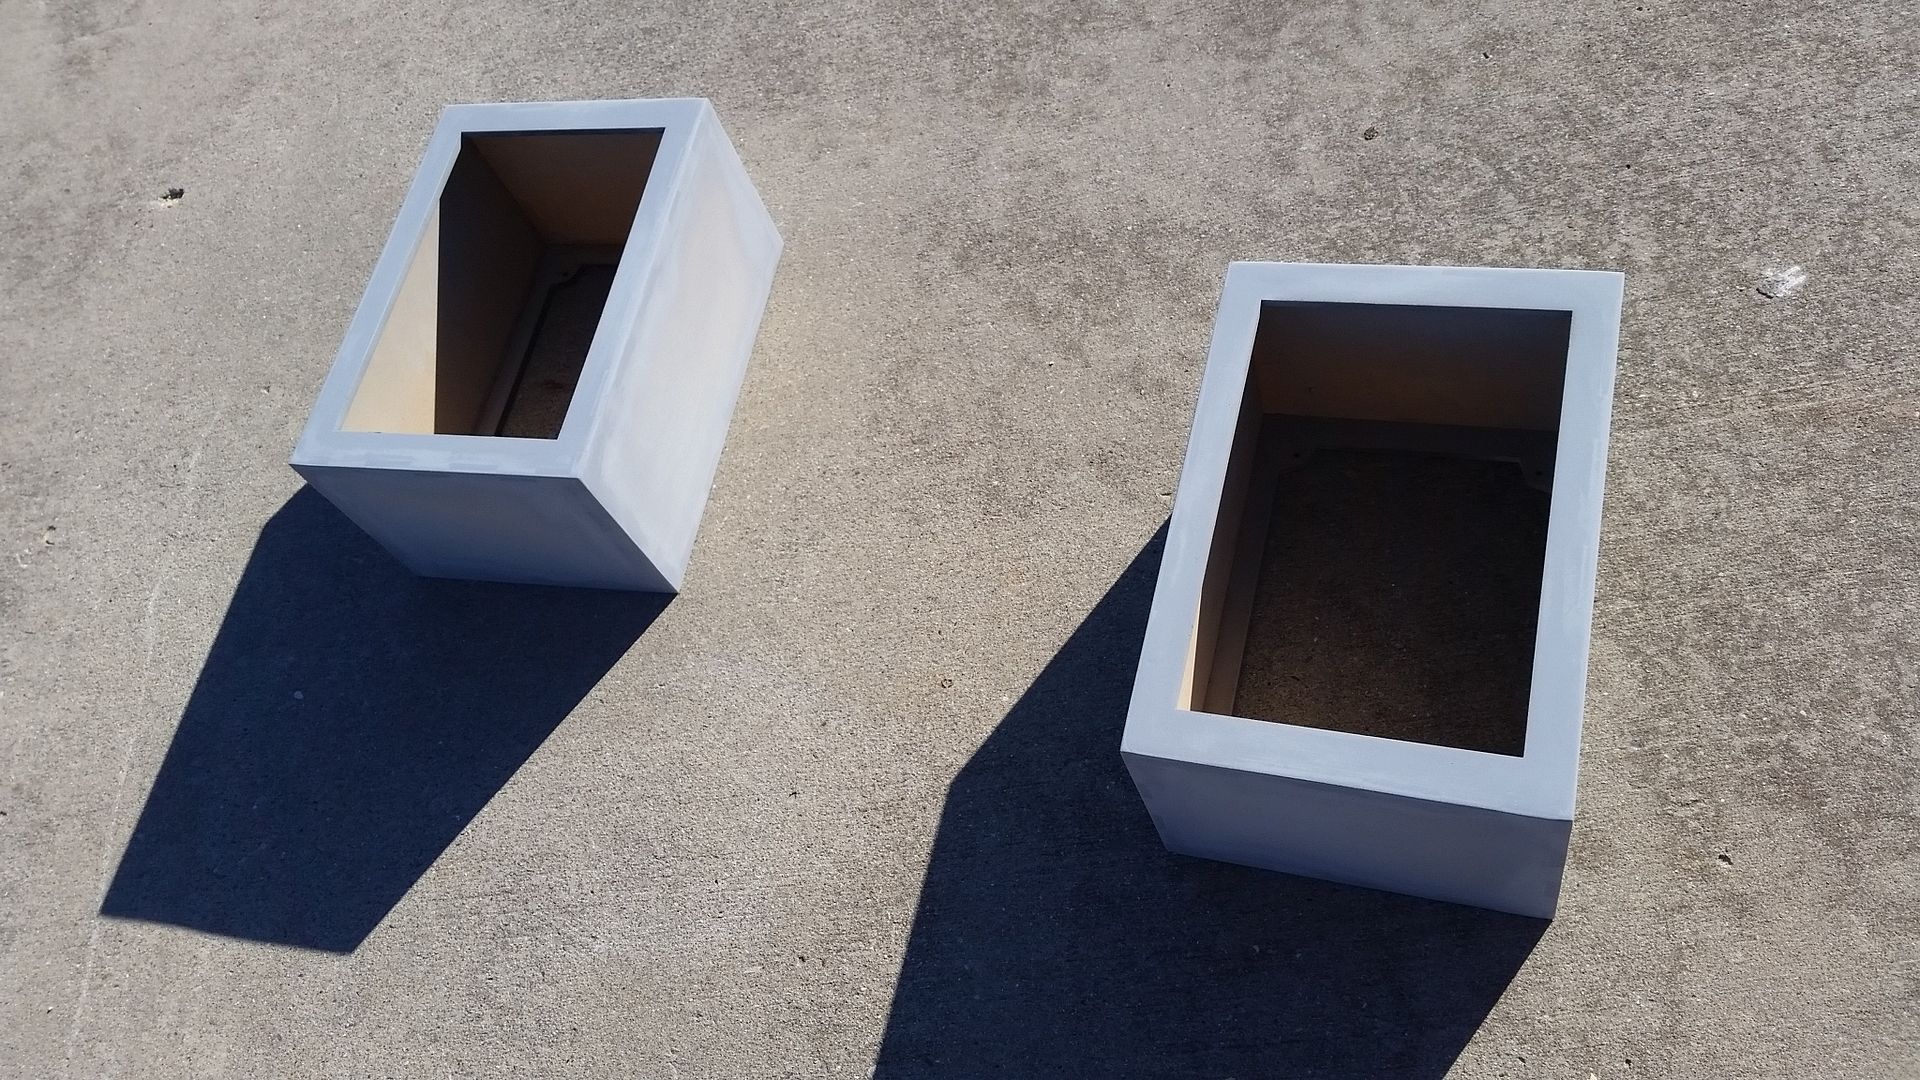
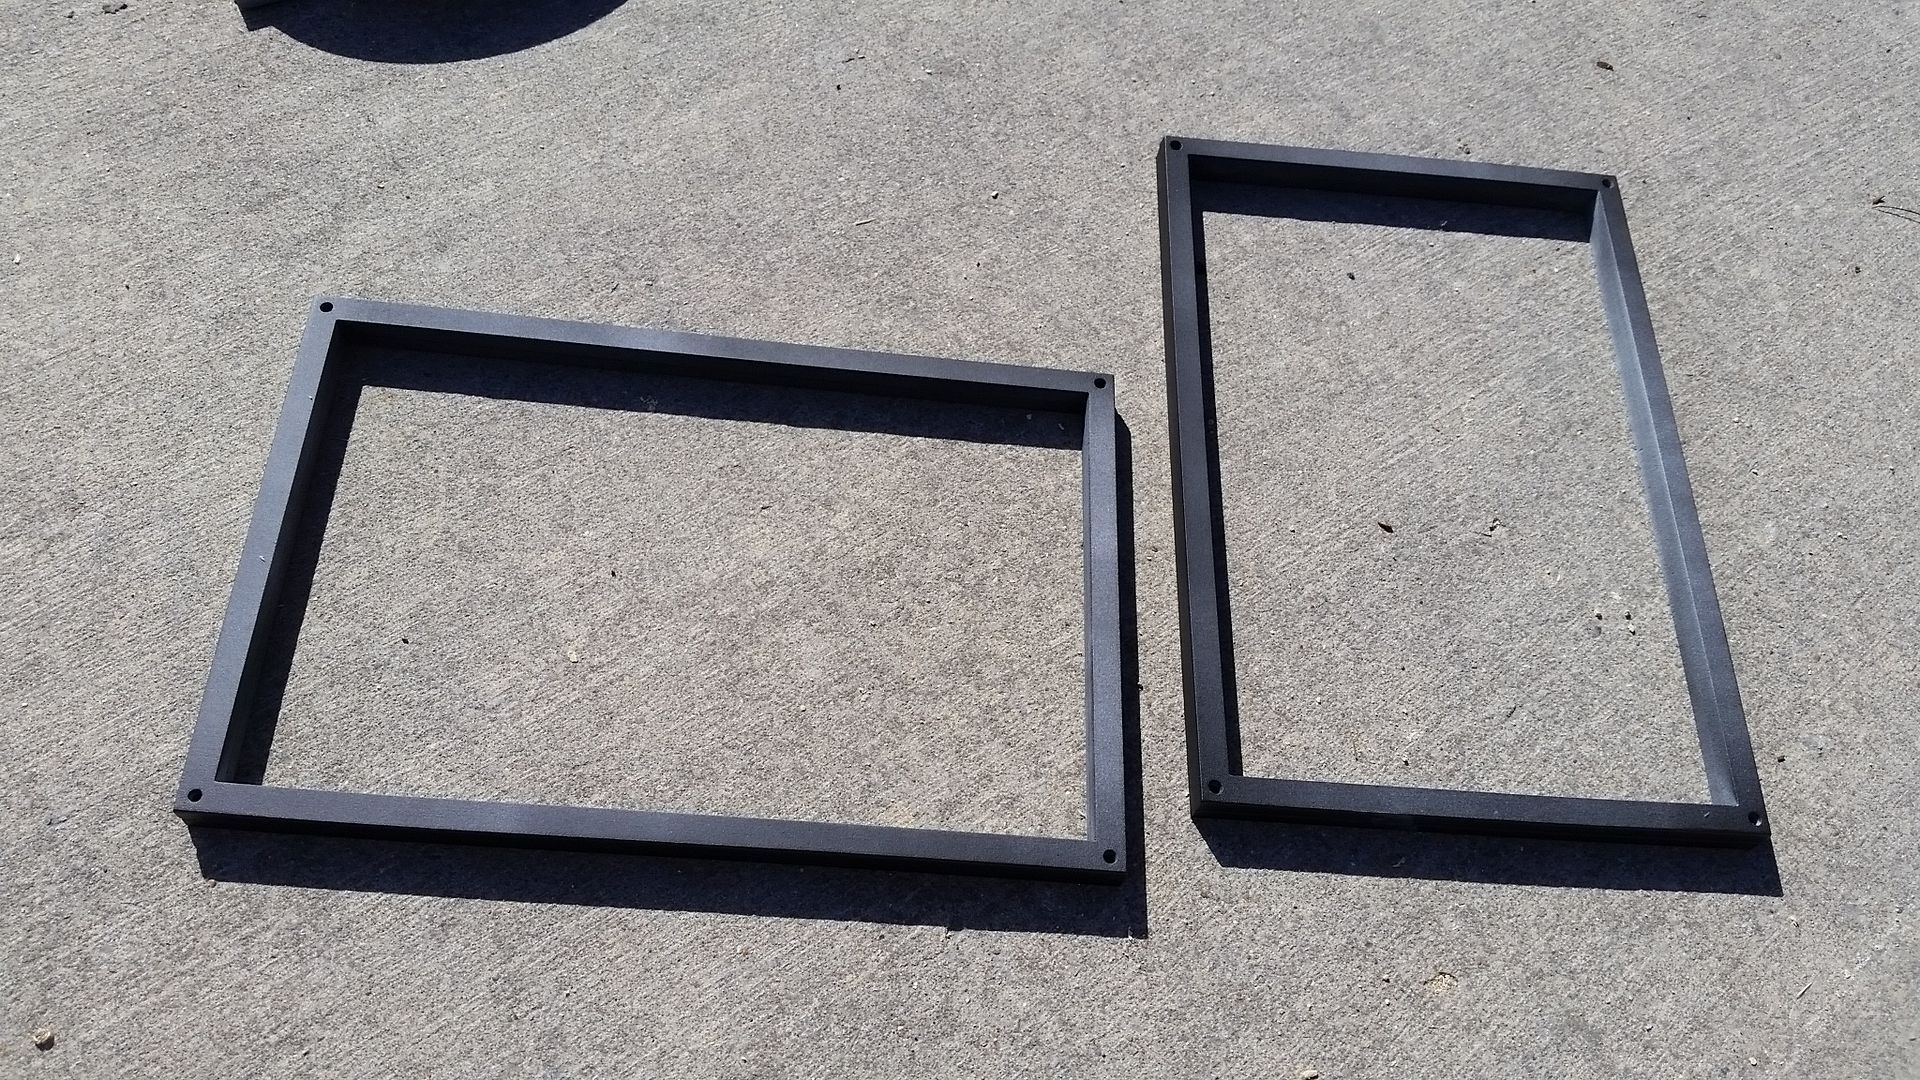
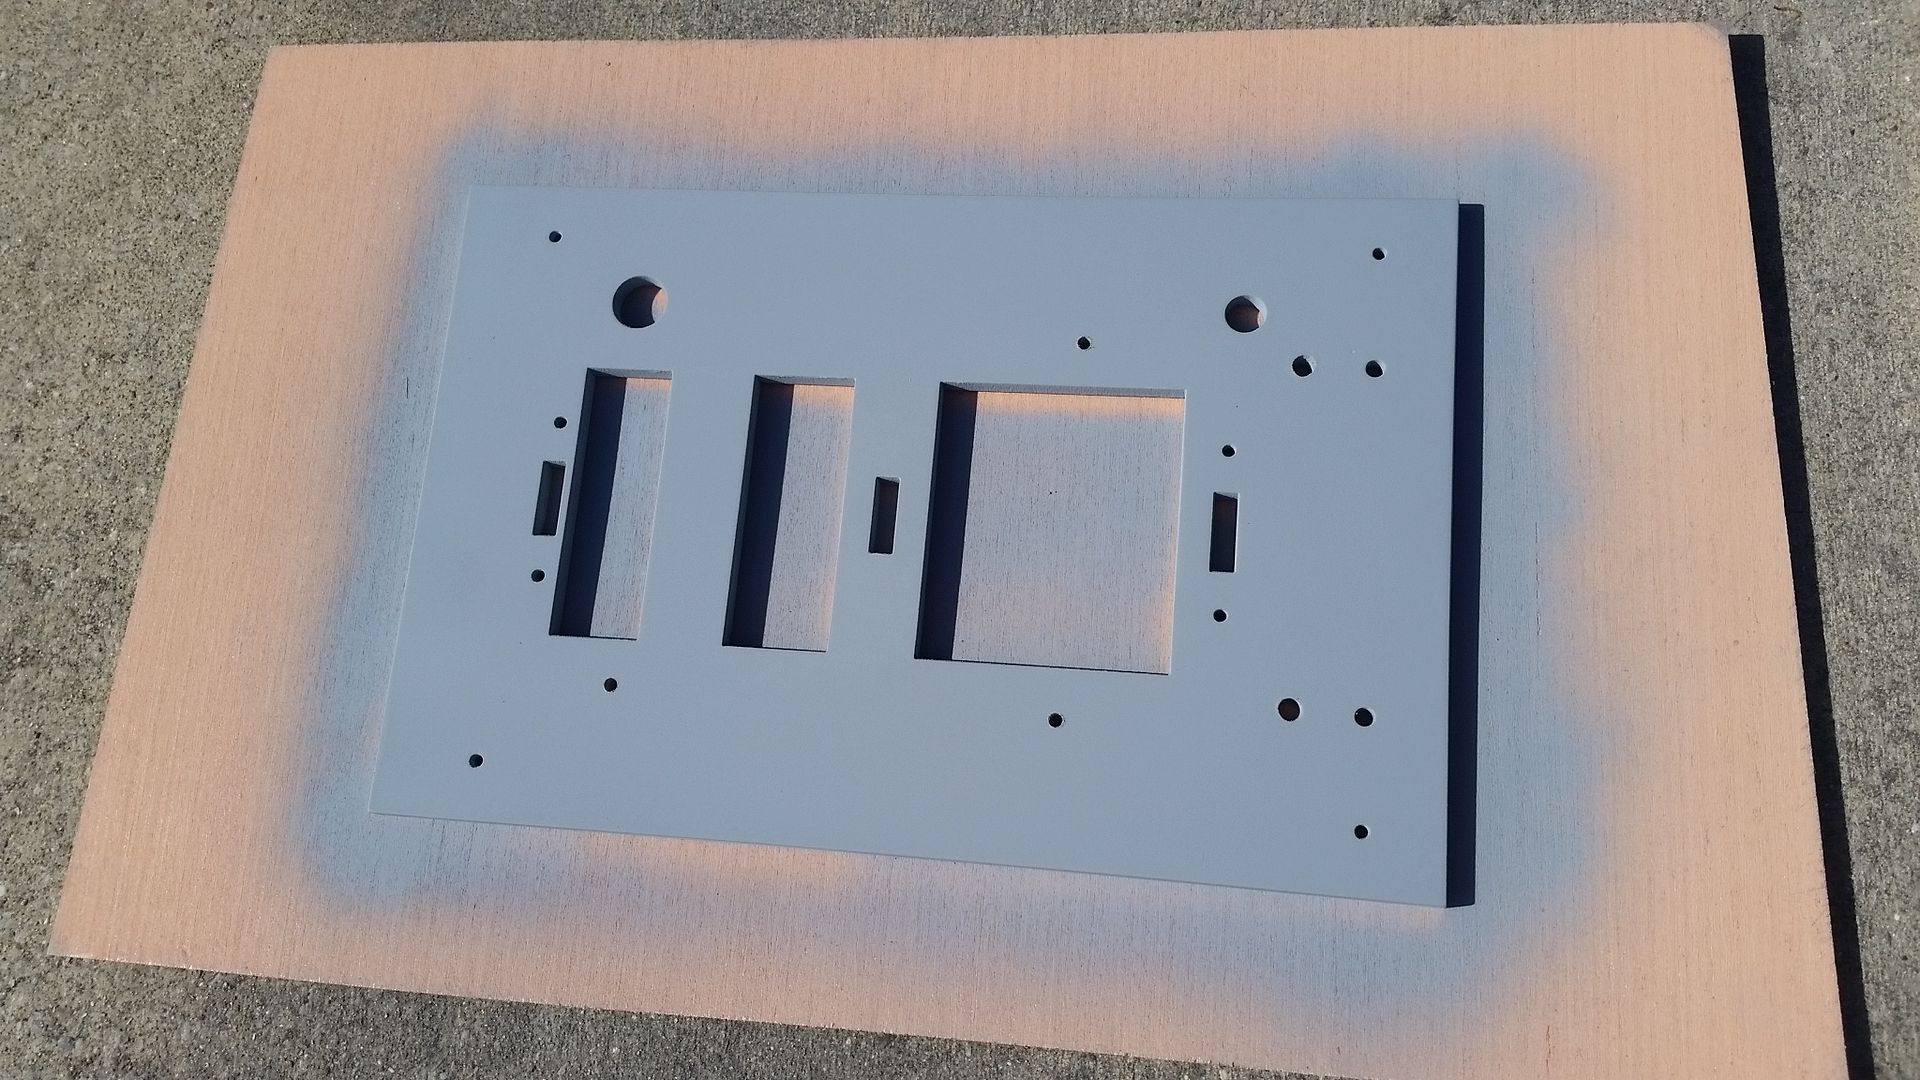
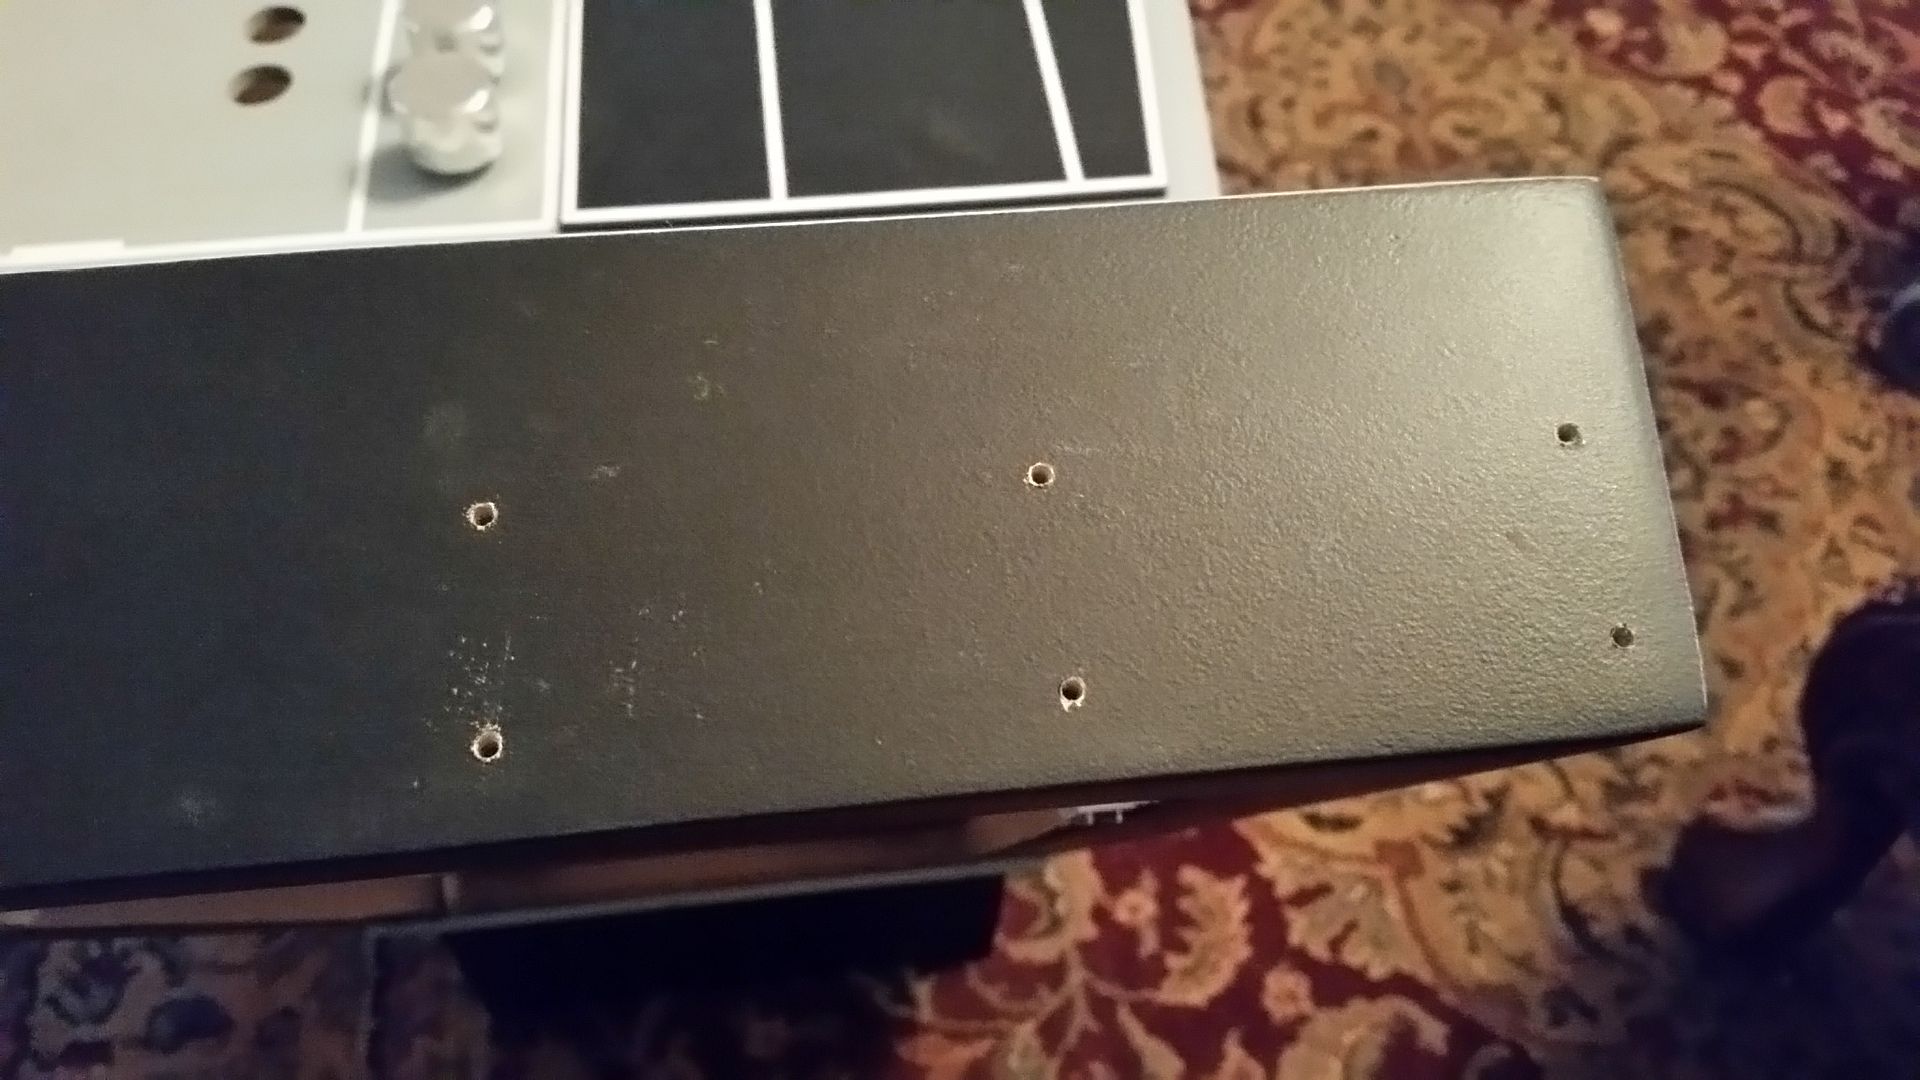
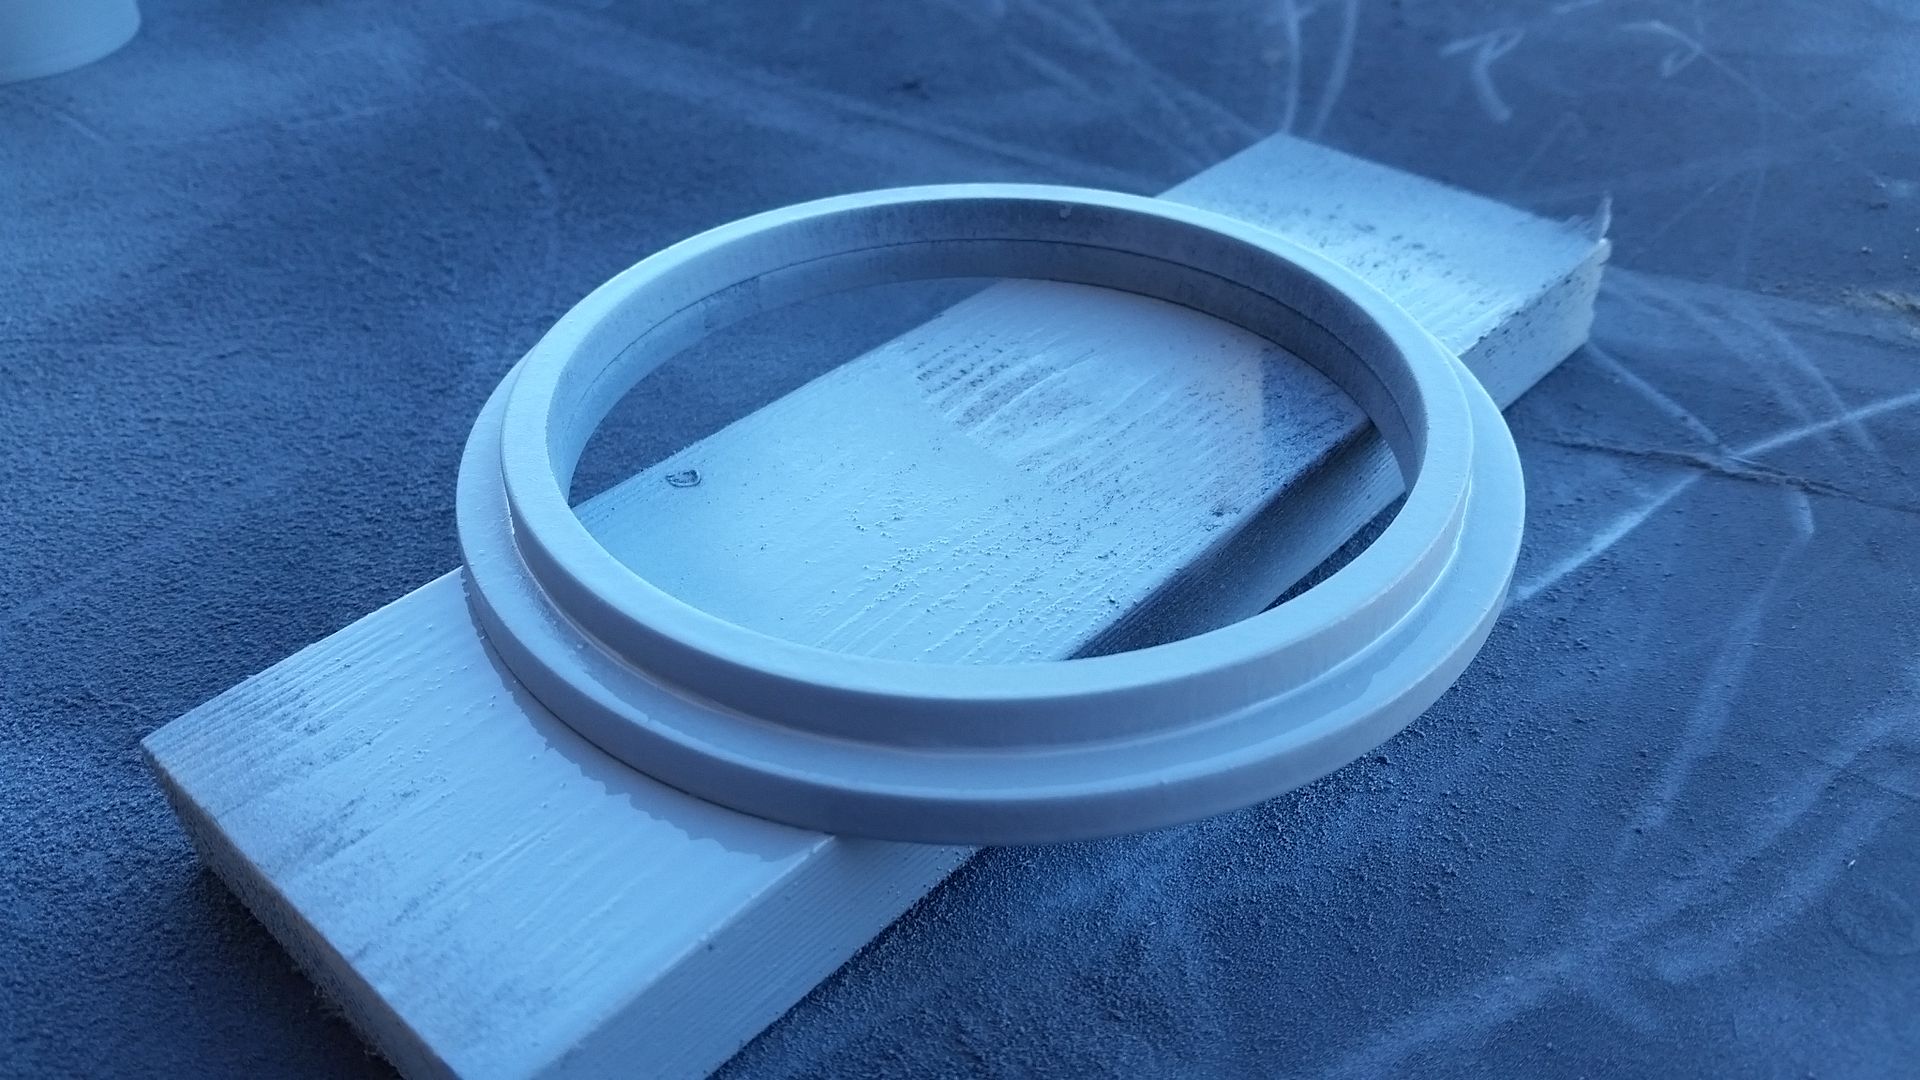
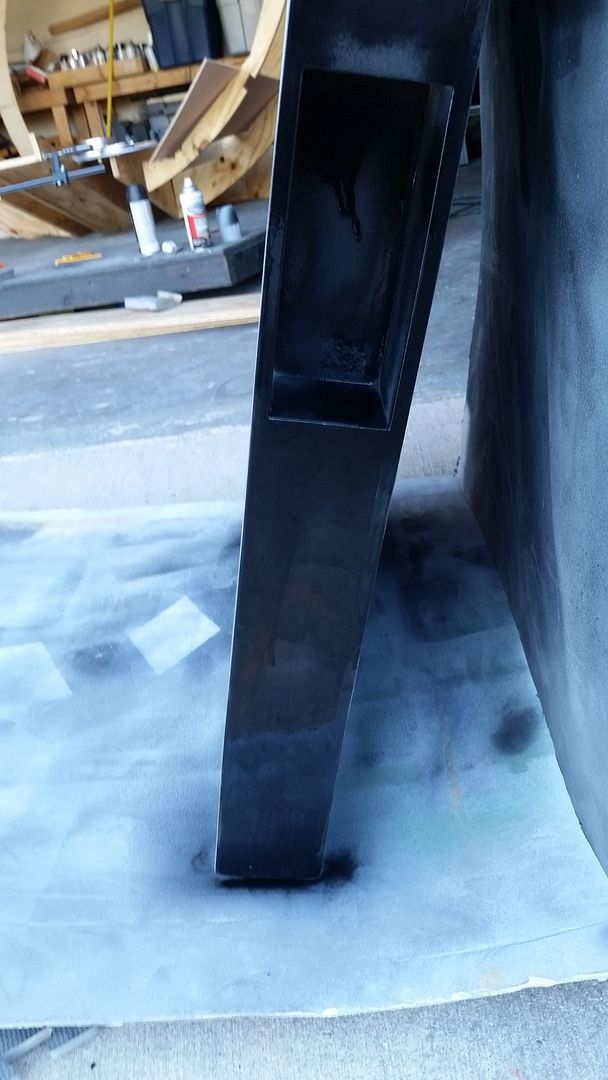
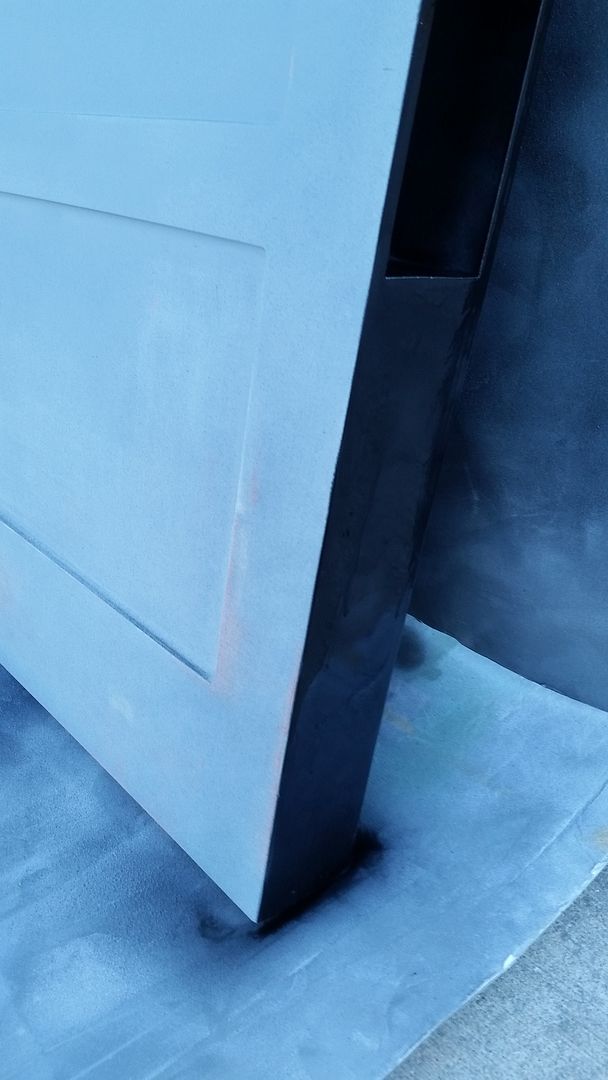
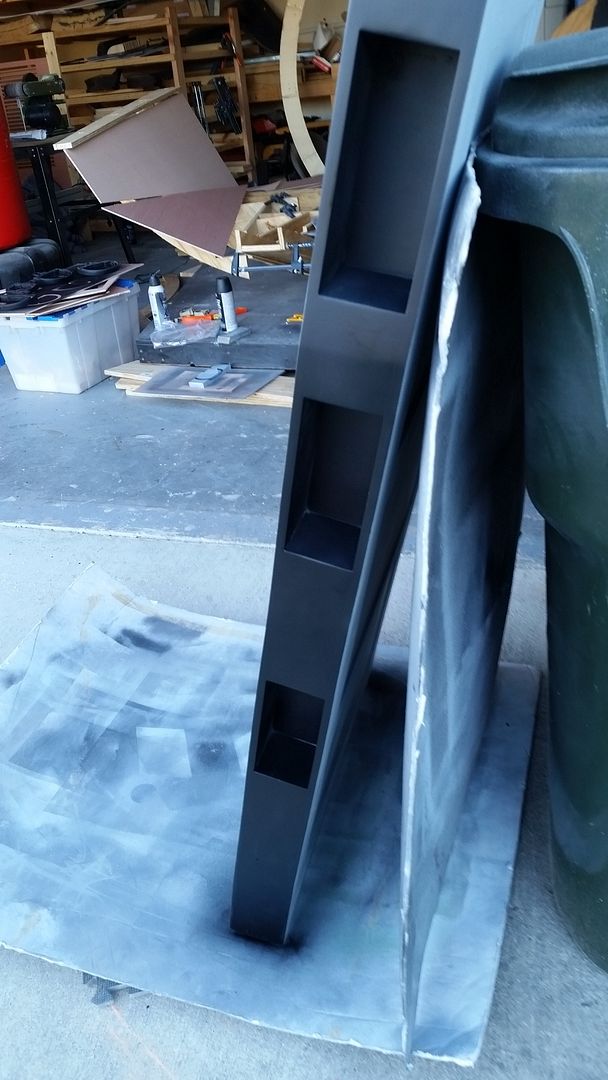
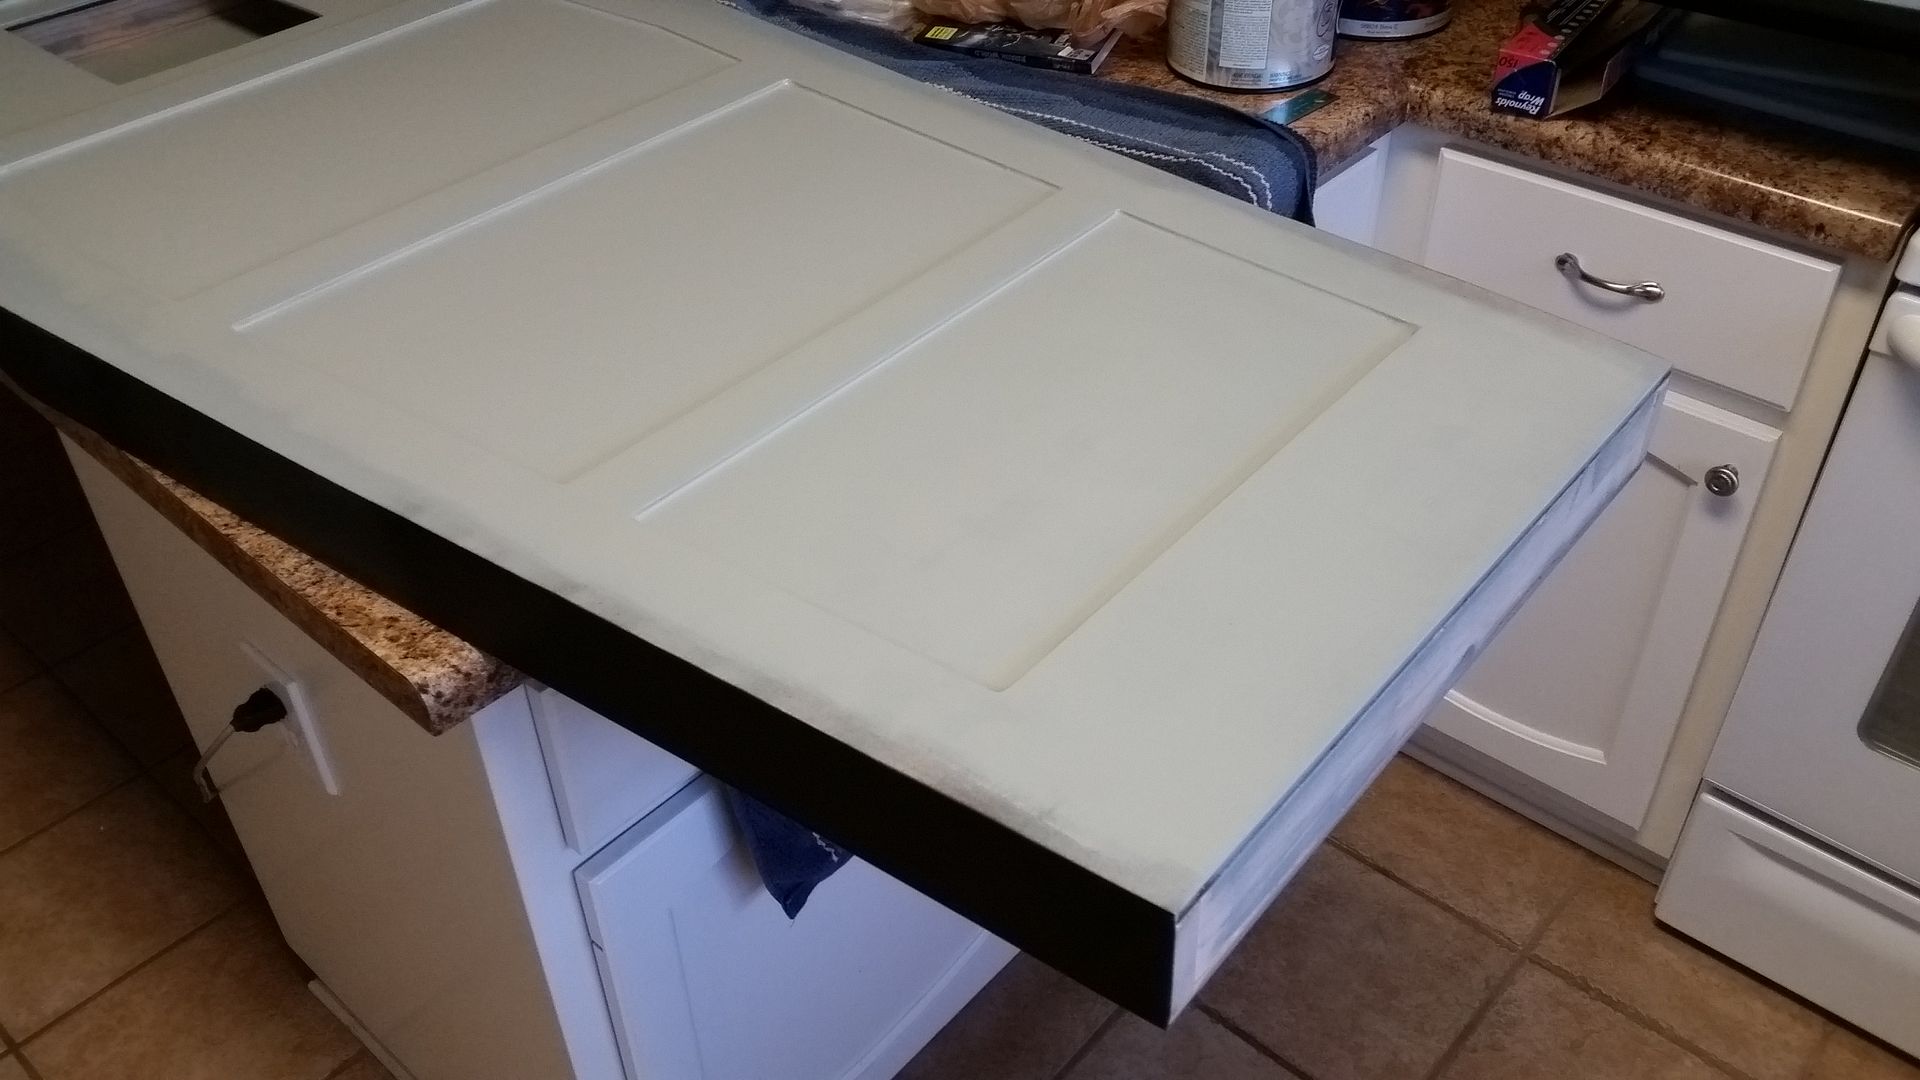
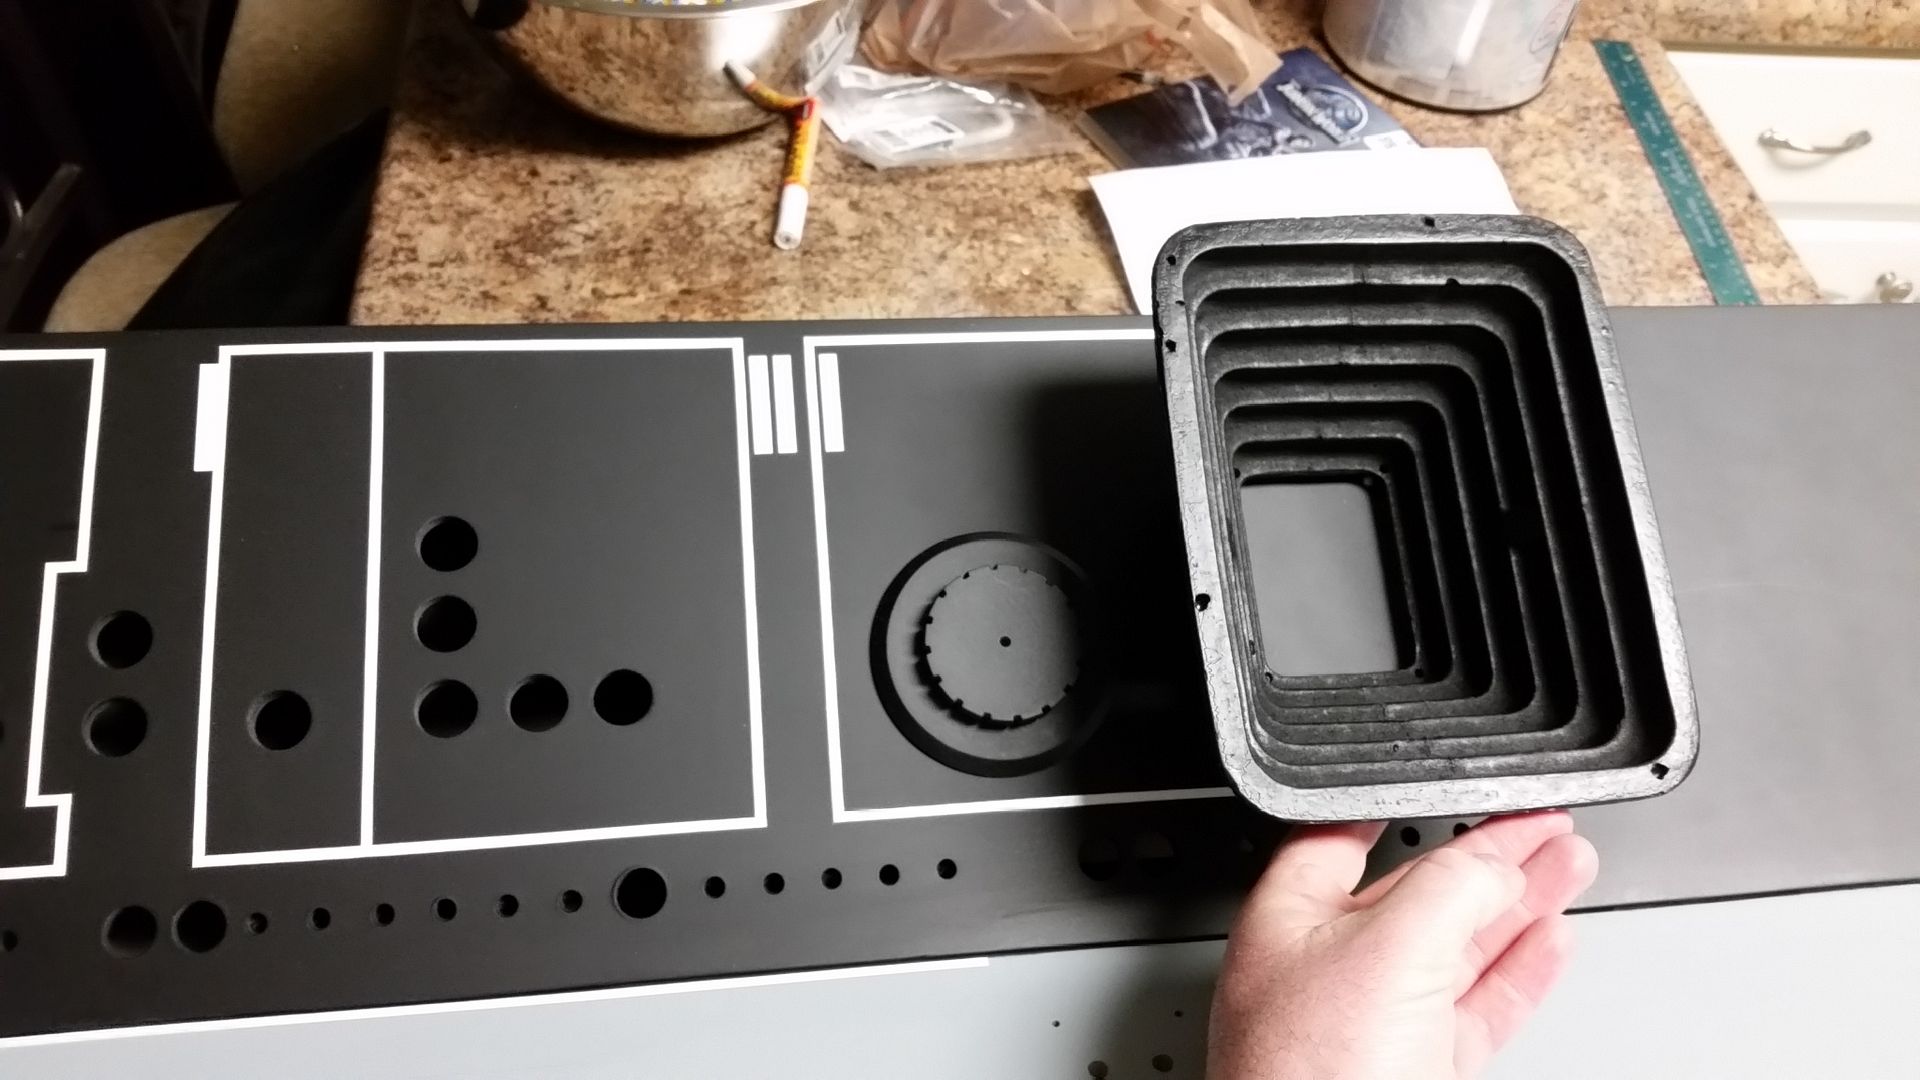
Sanded the door frames smooth - prepping for another coat of paint
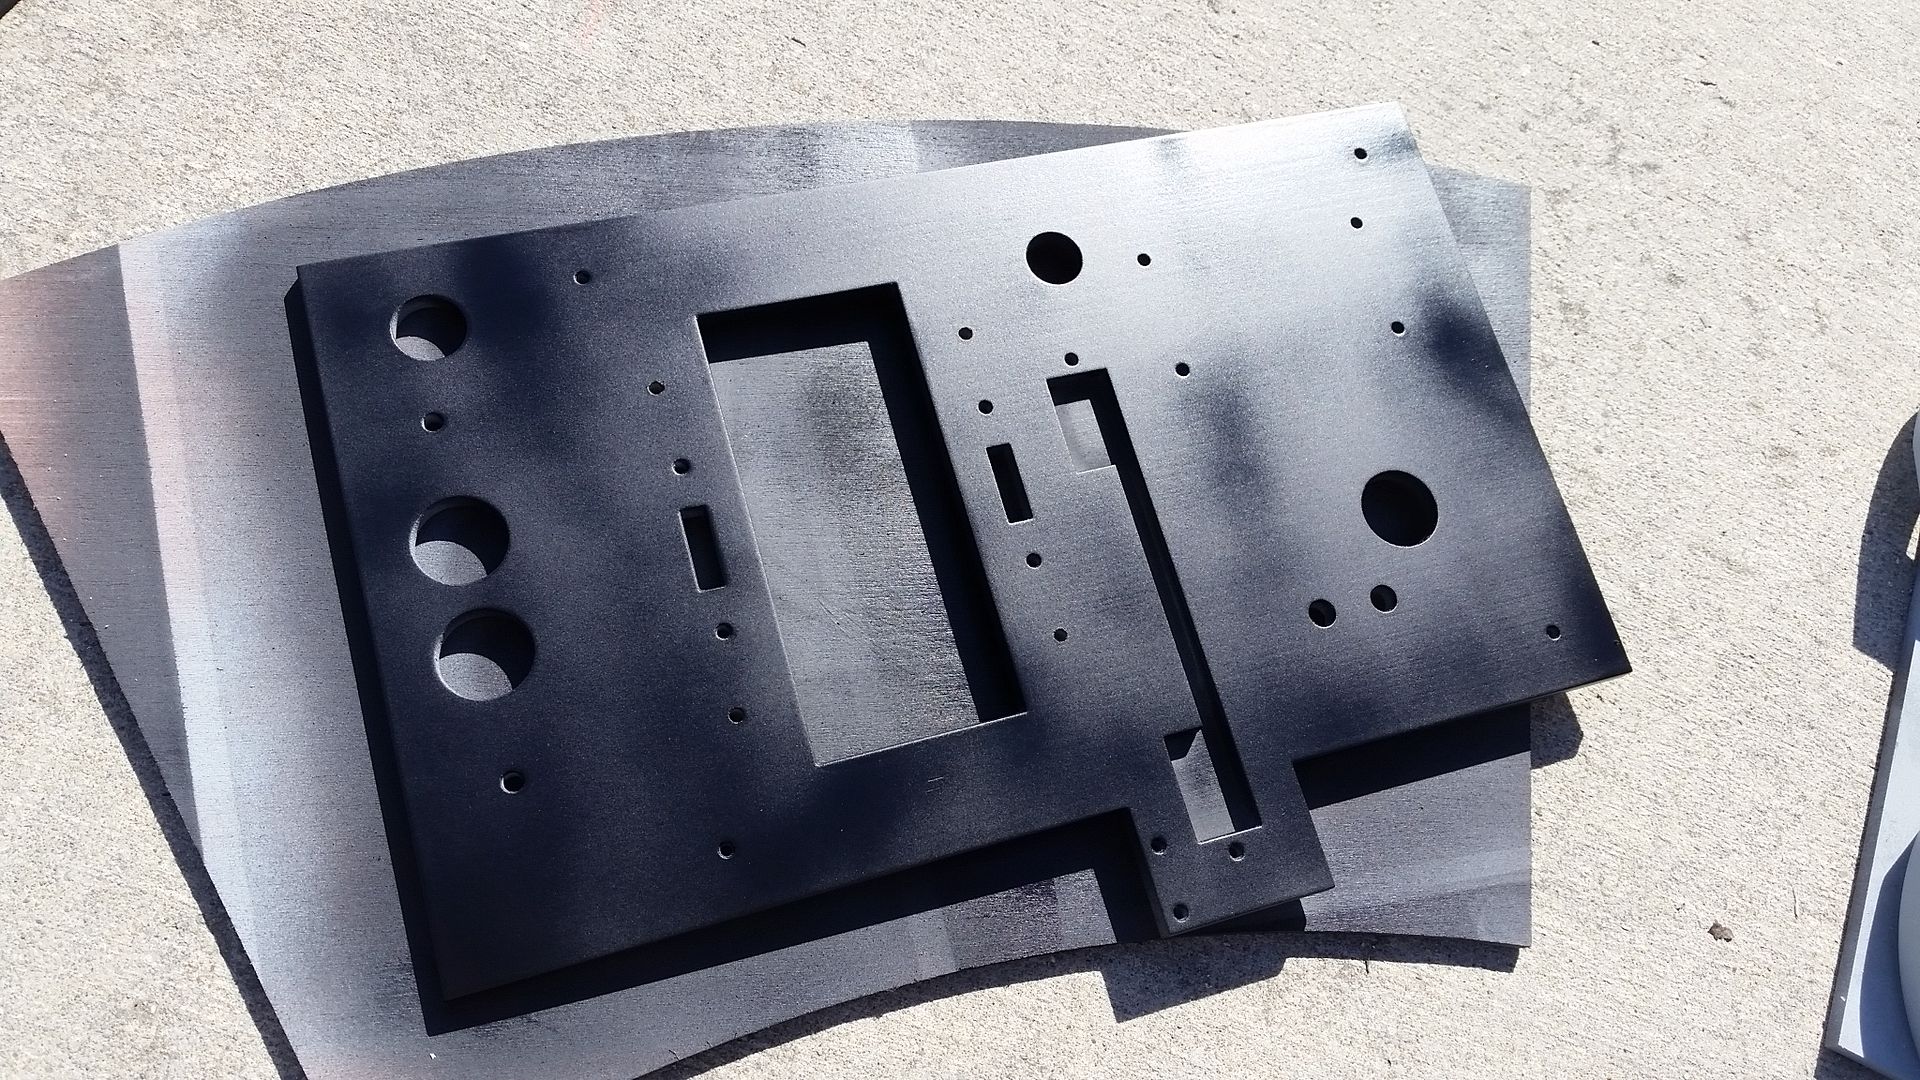
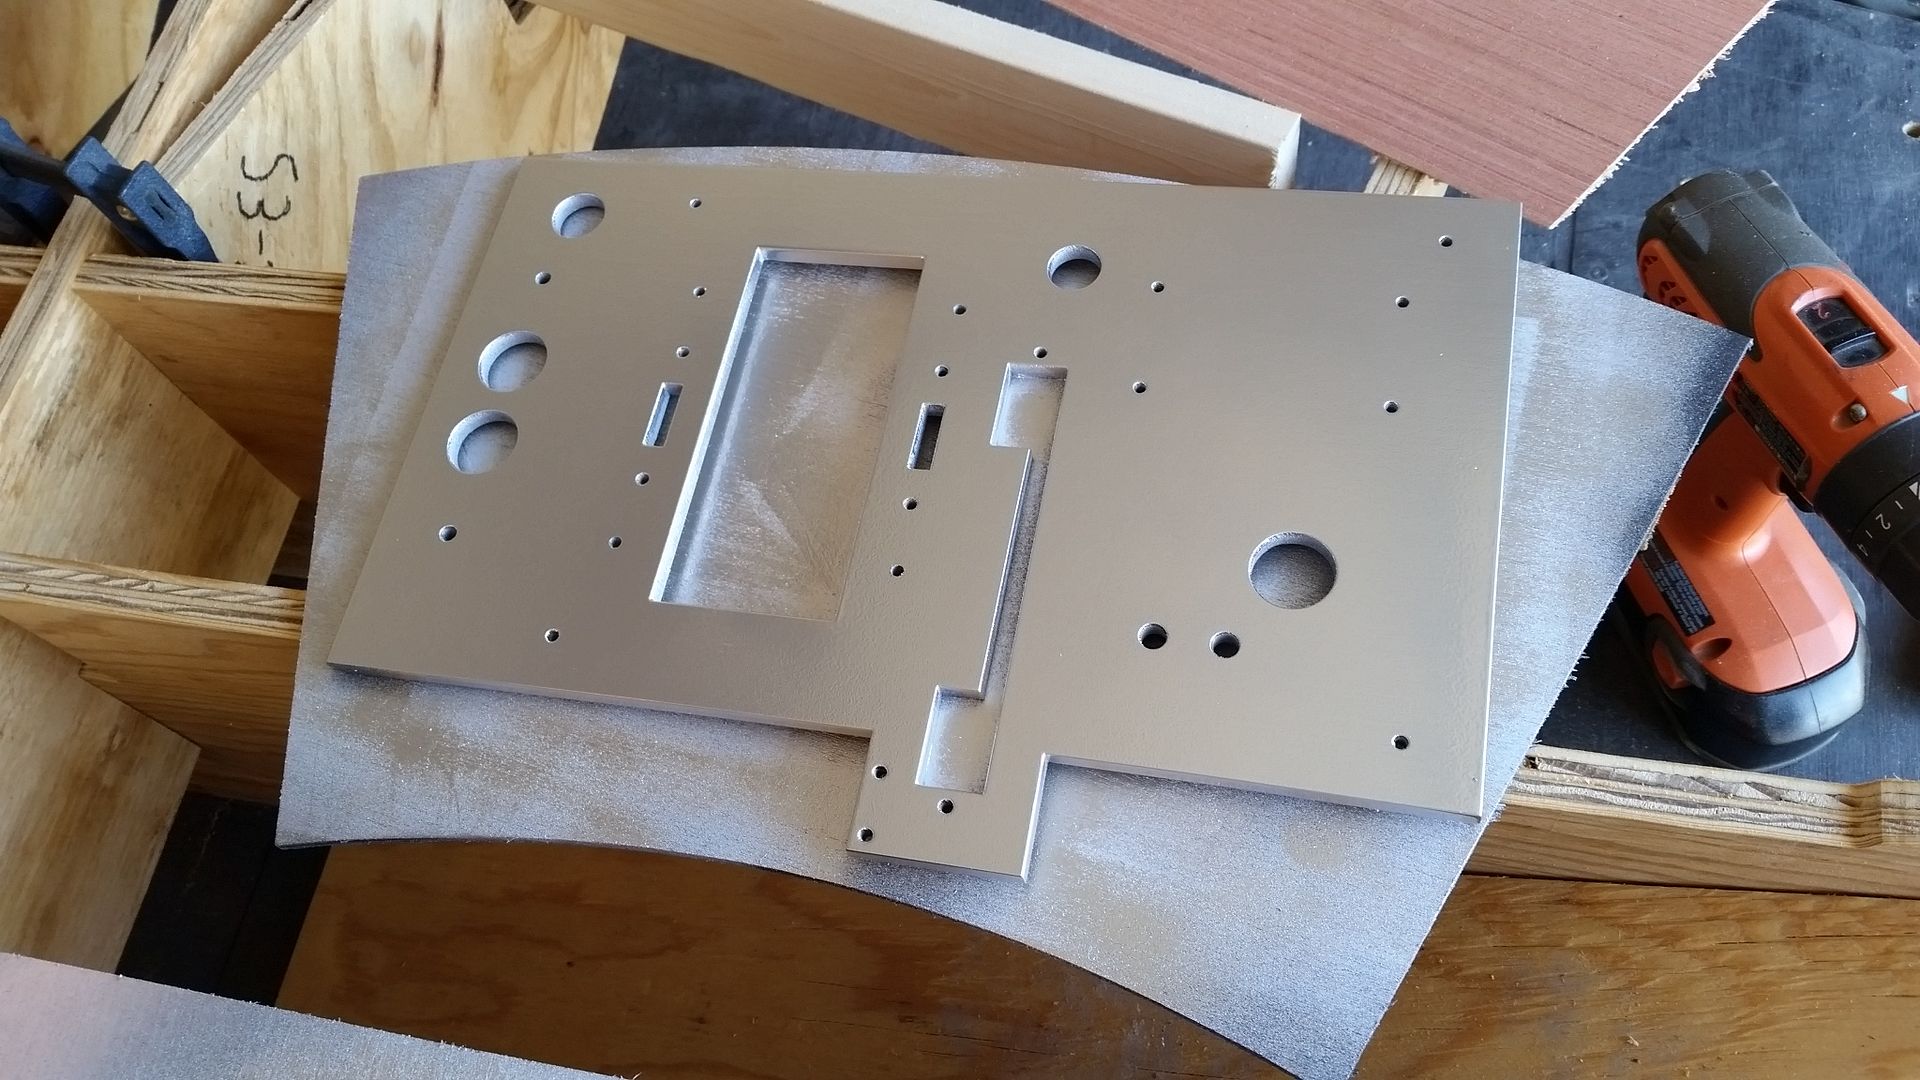
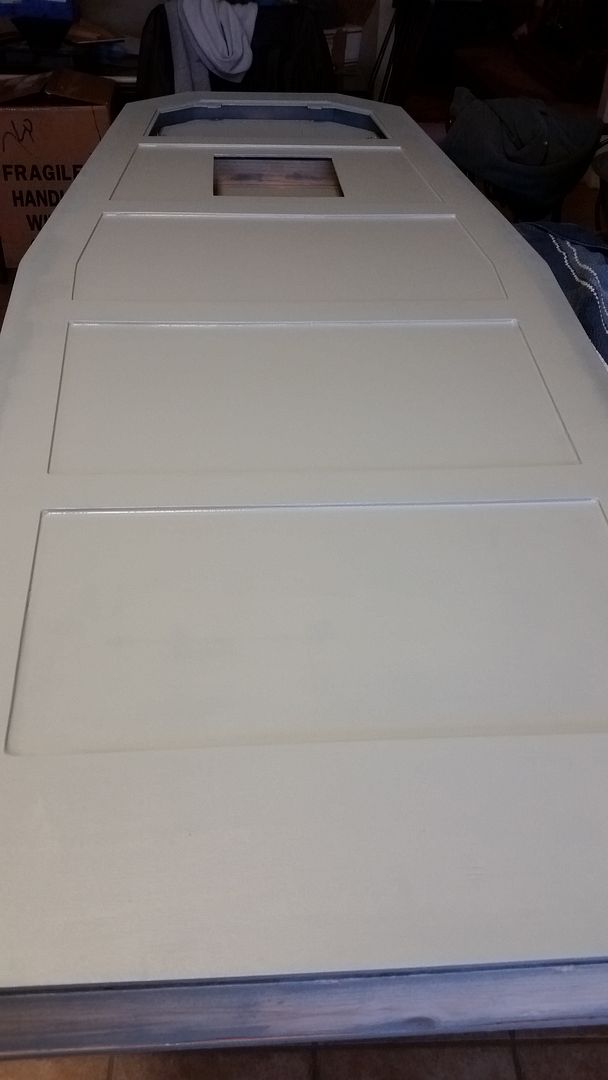
Sanded and added primer/filler to these guys
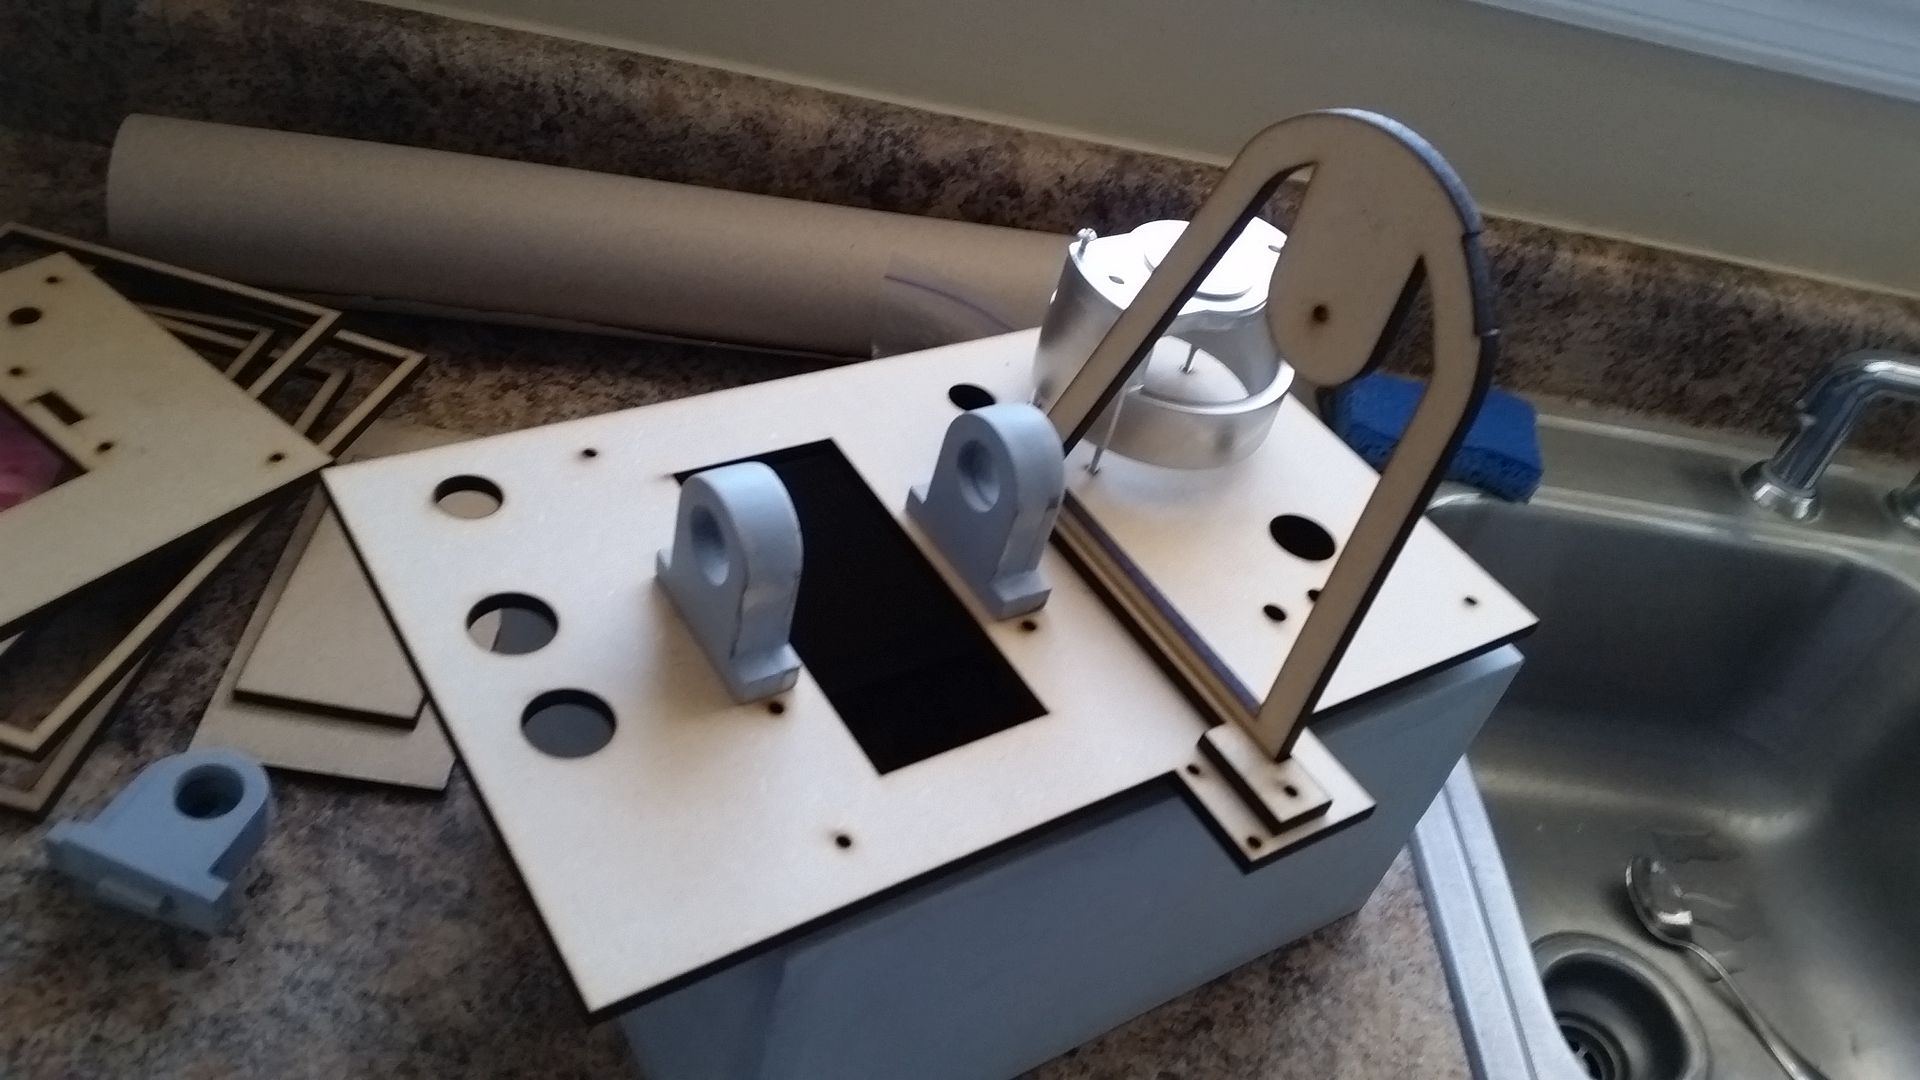
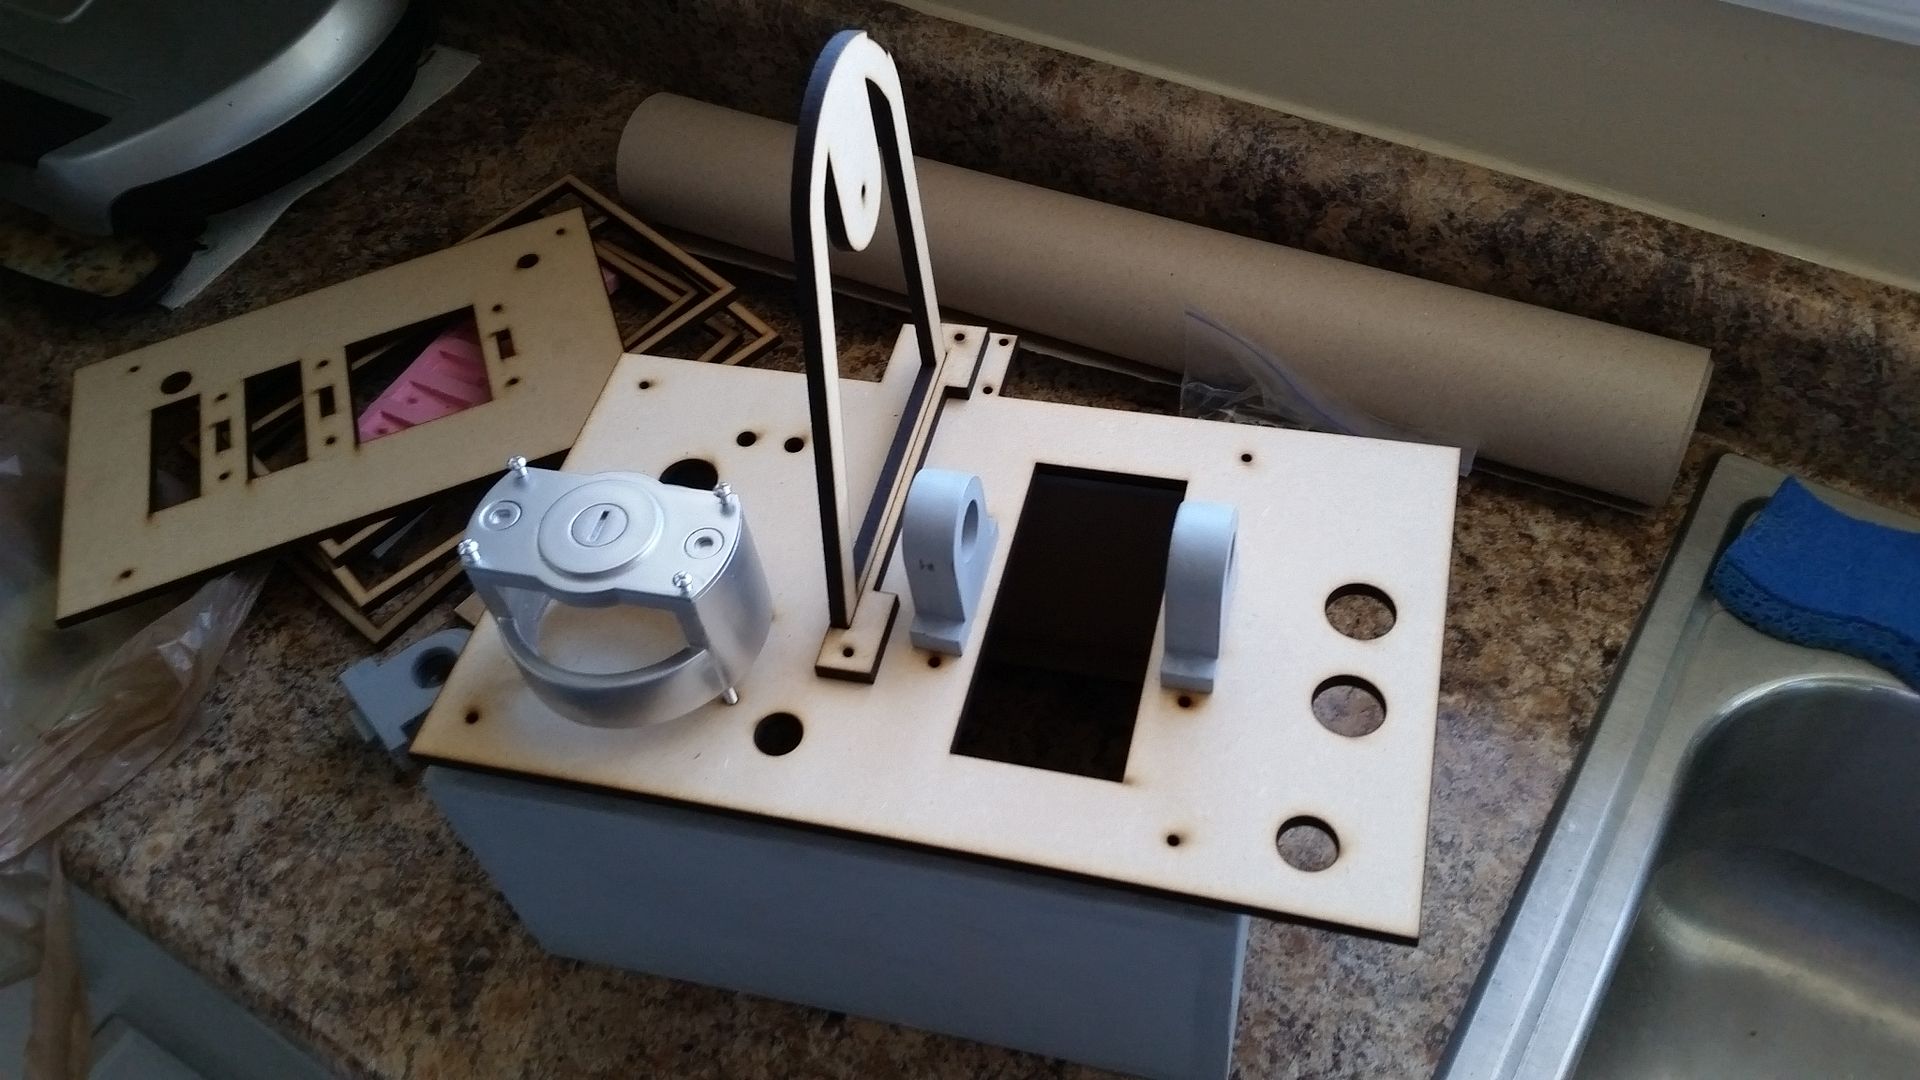
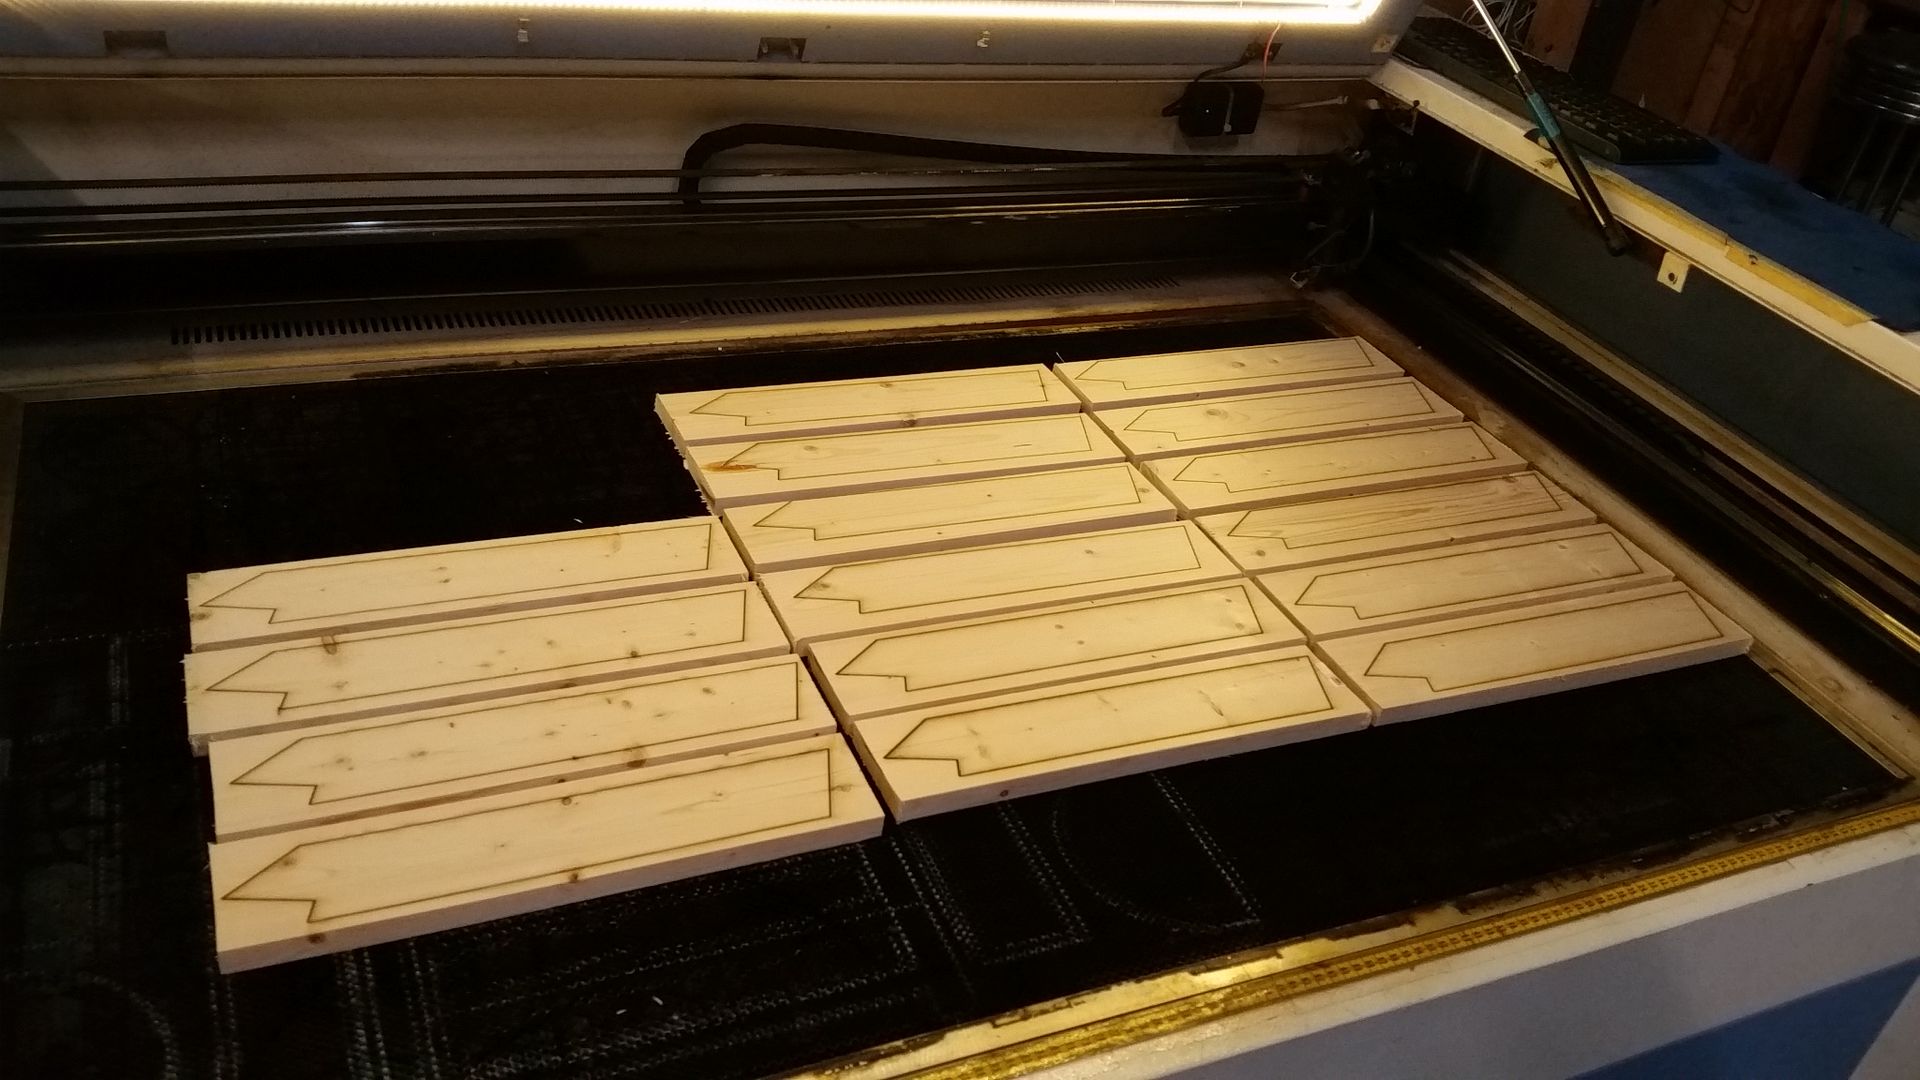
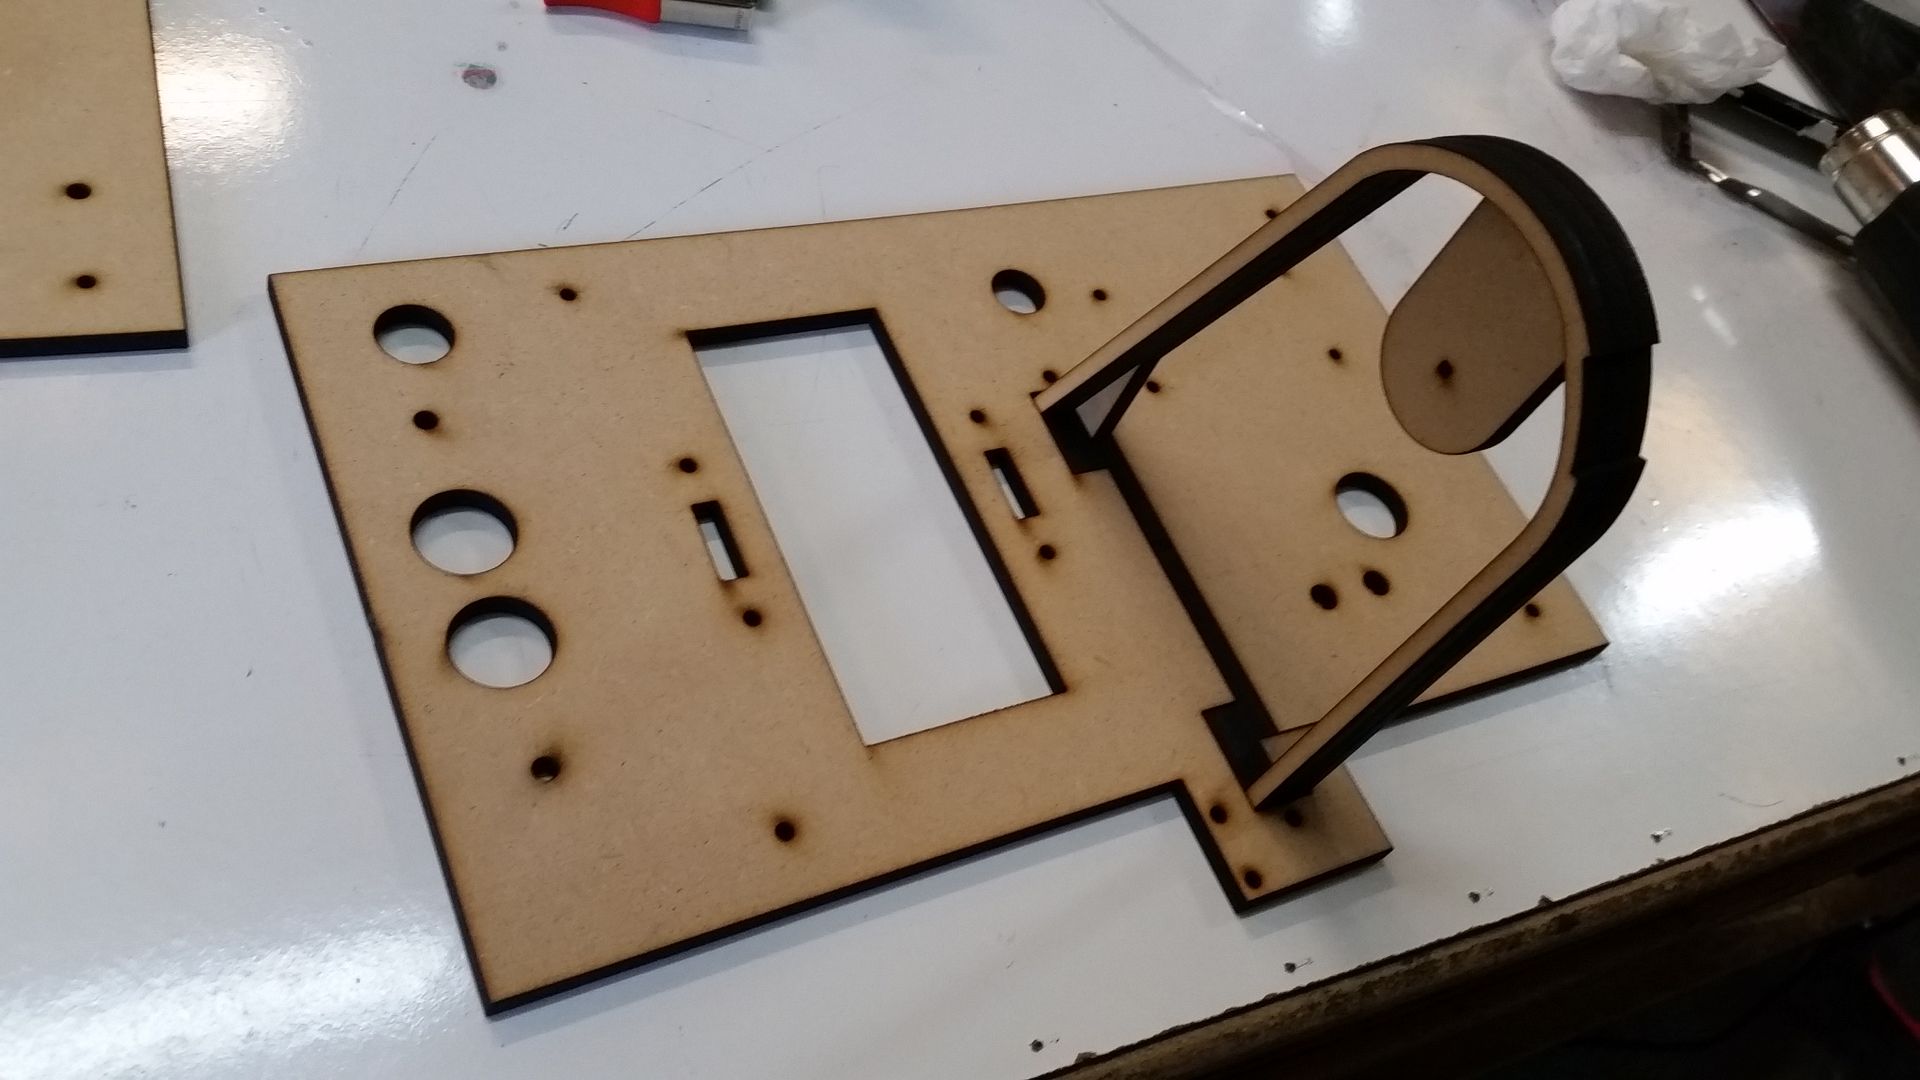
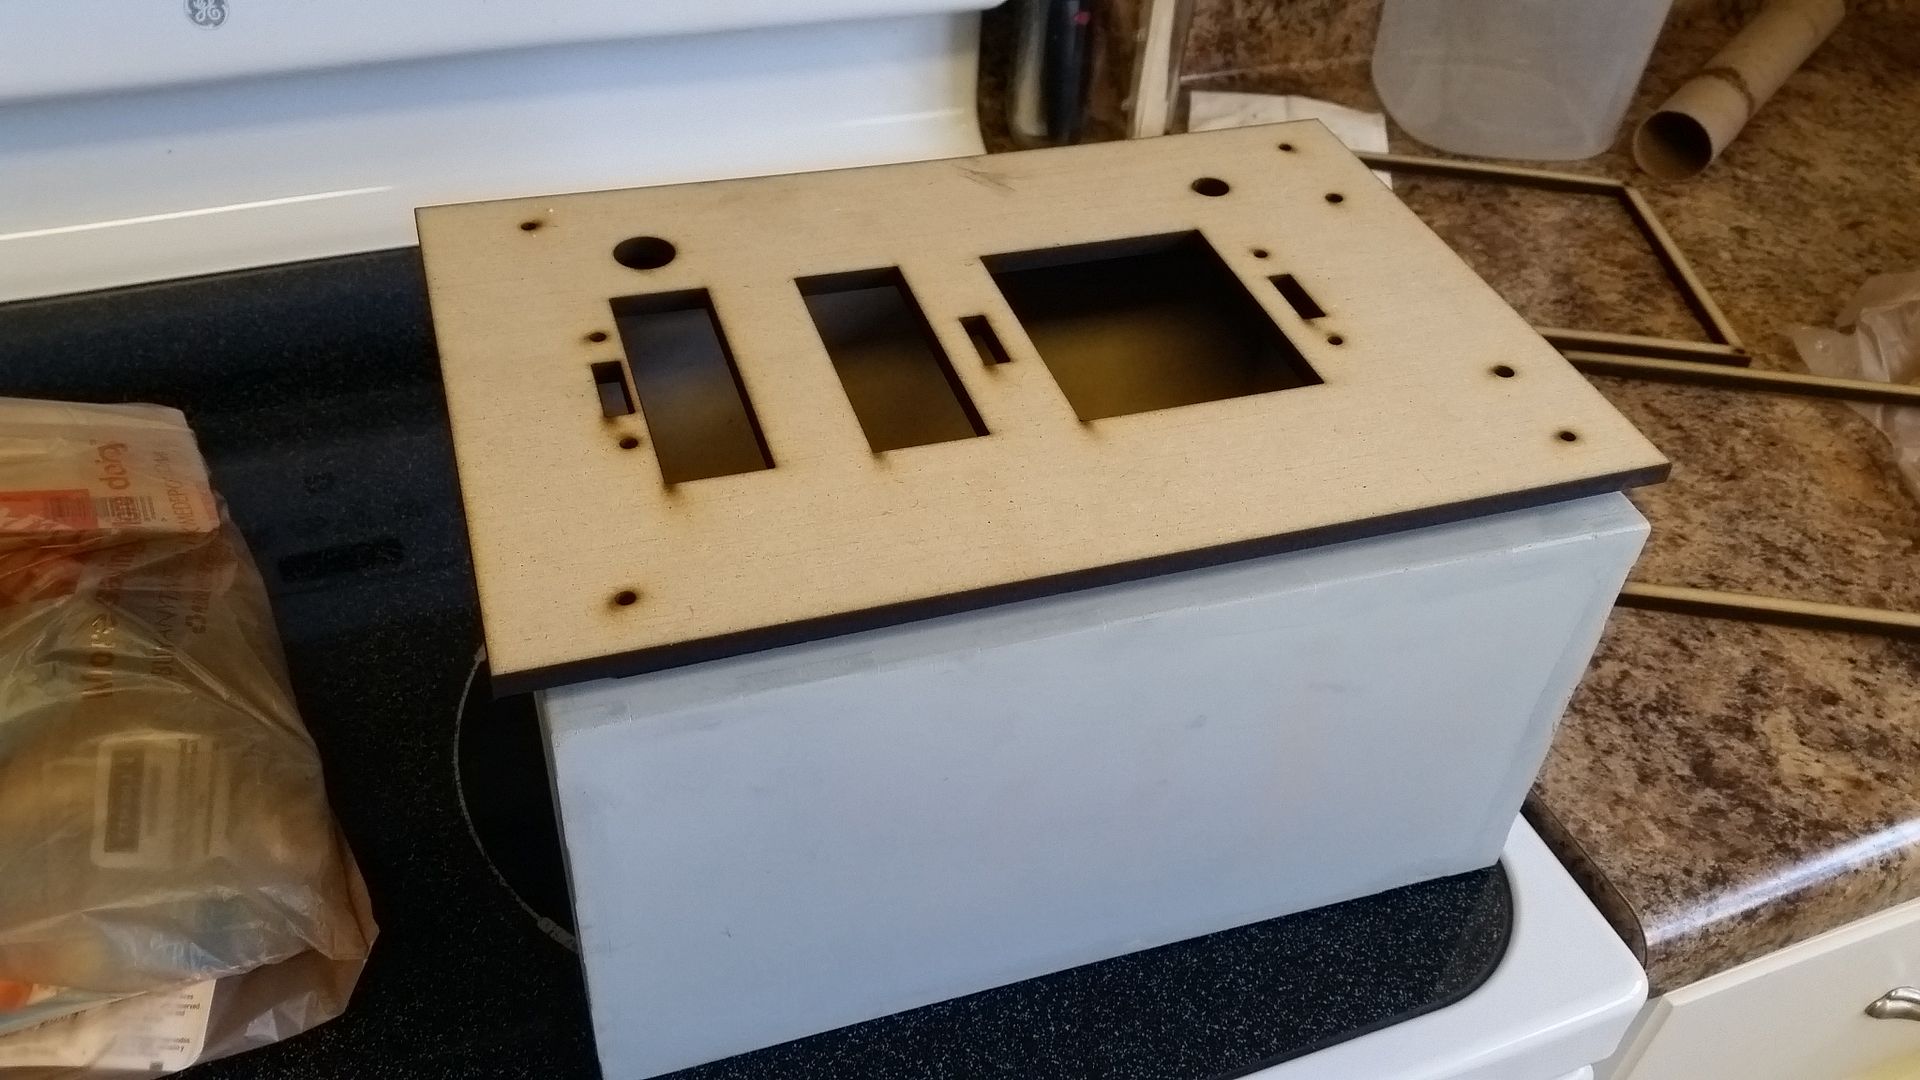
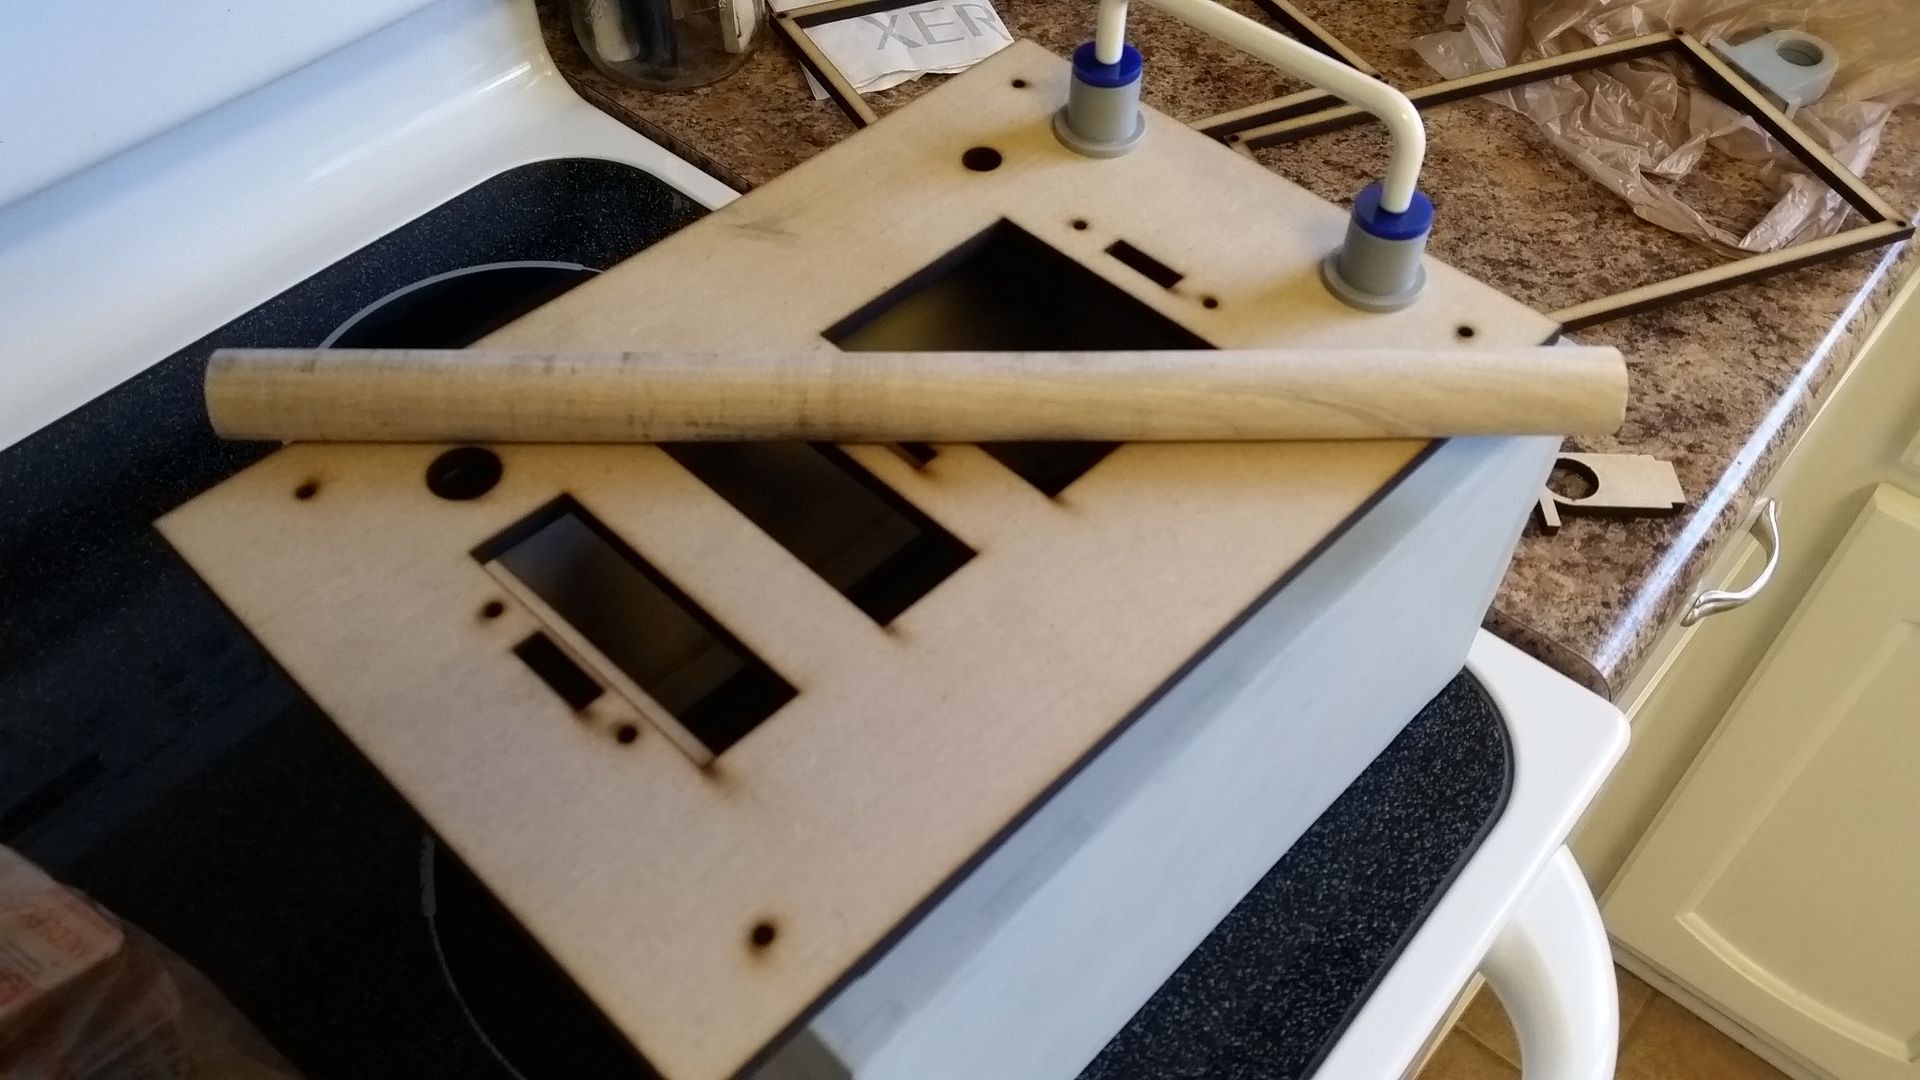
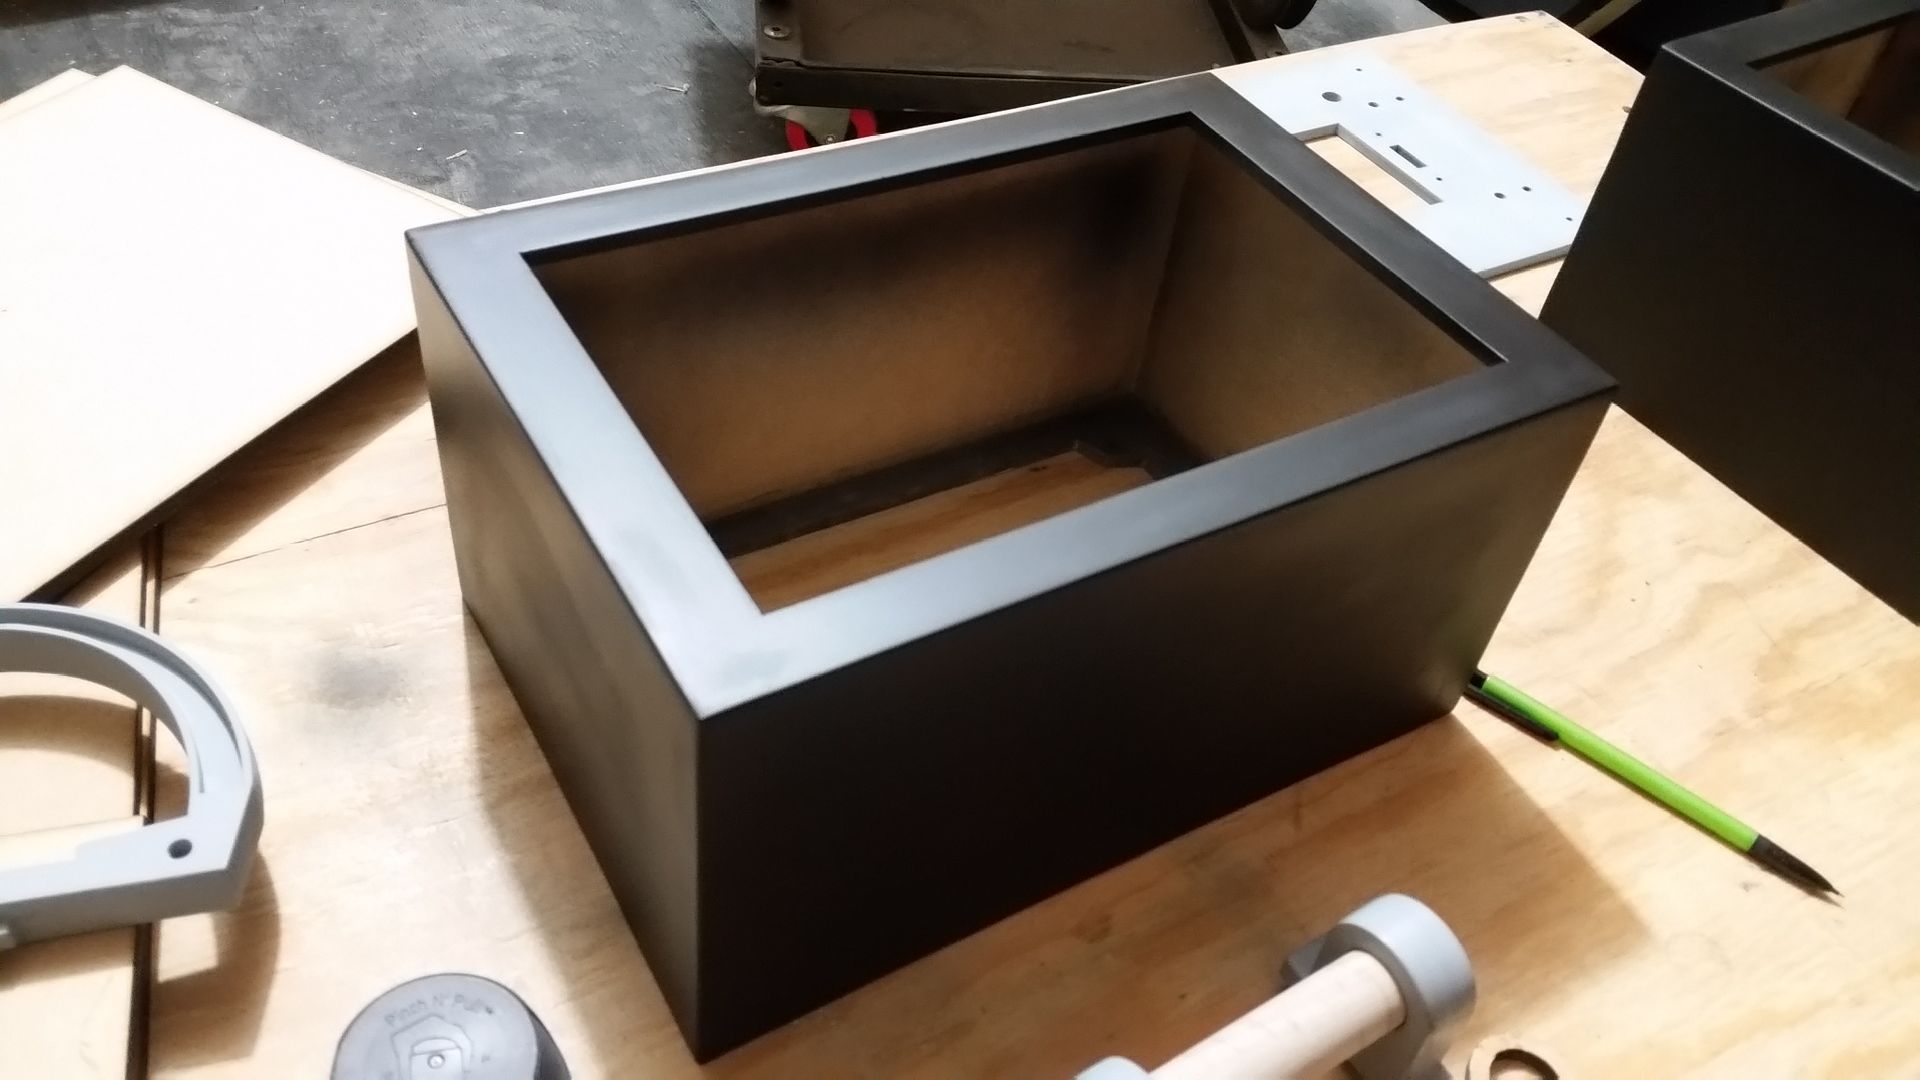
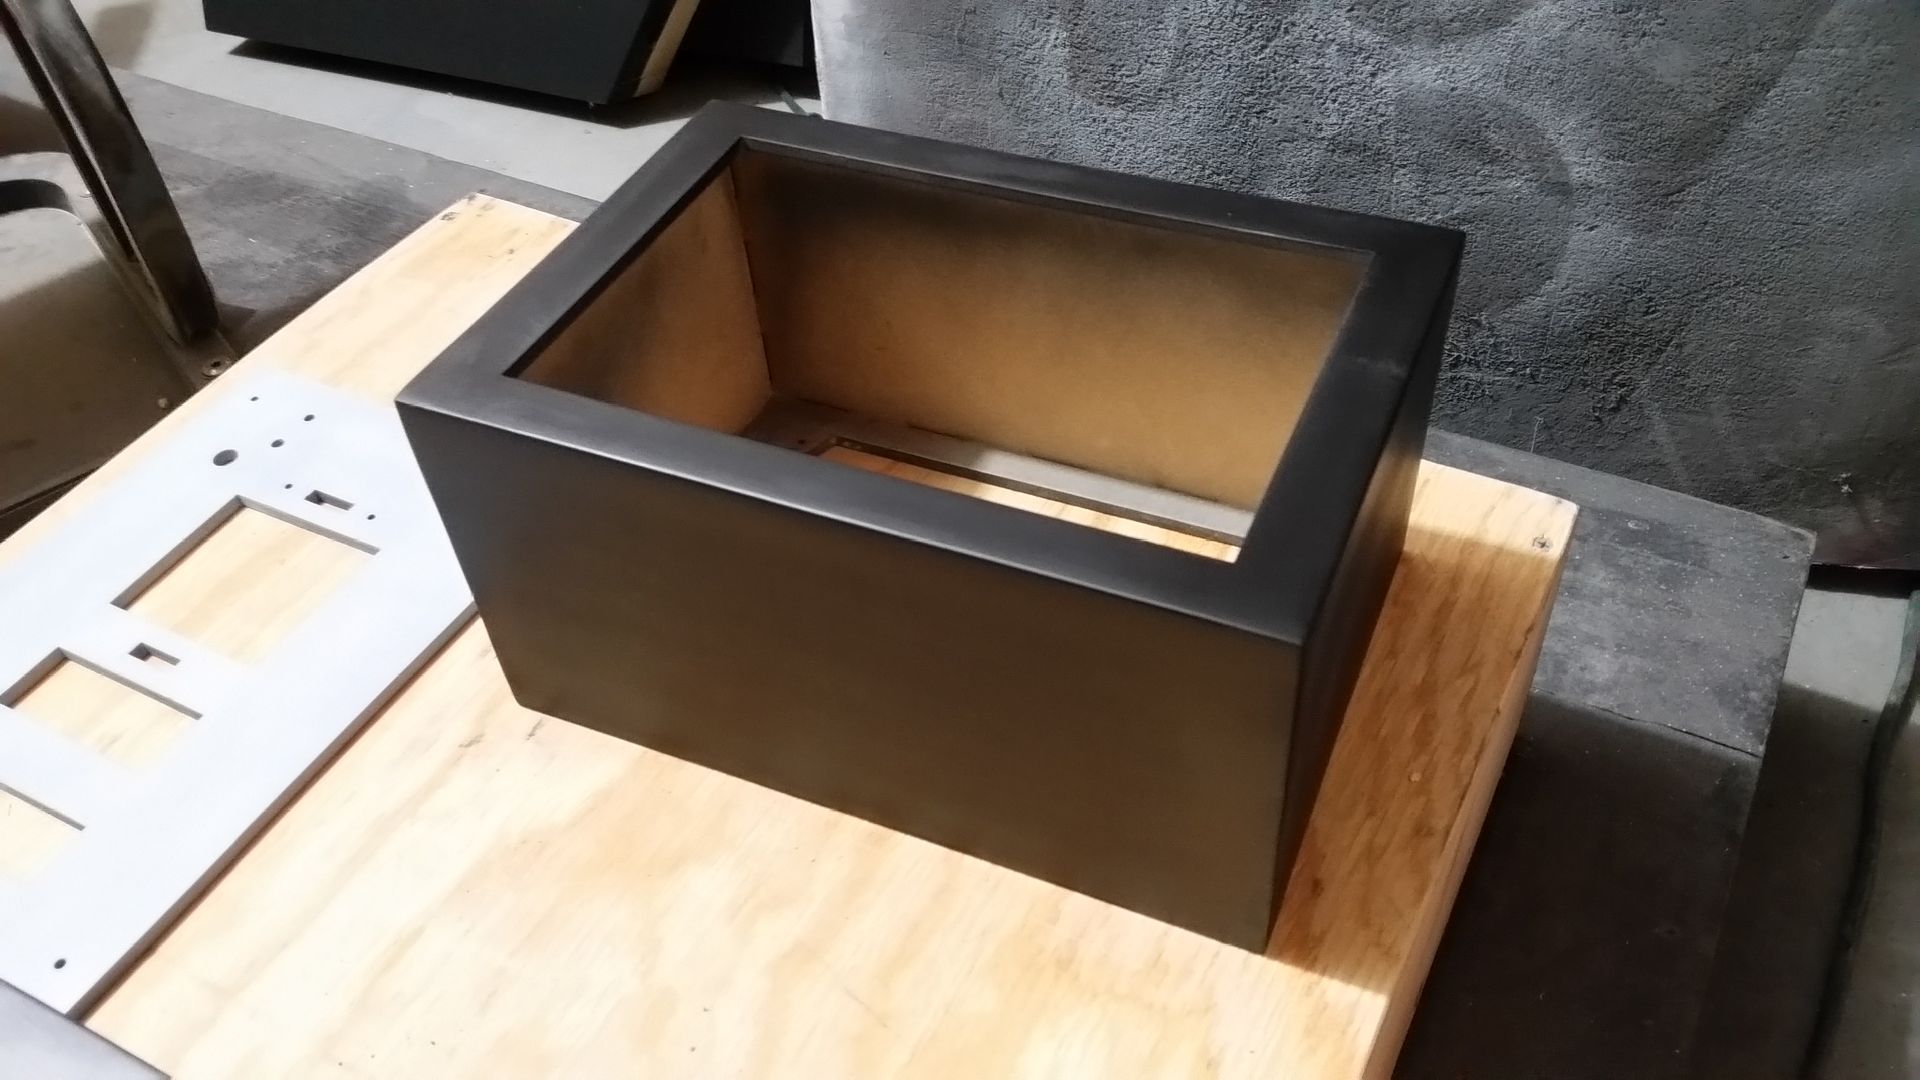
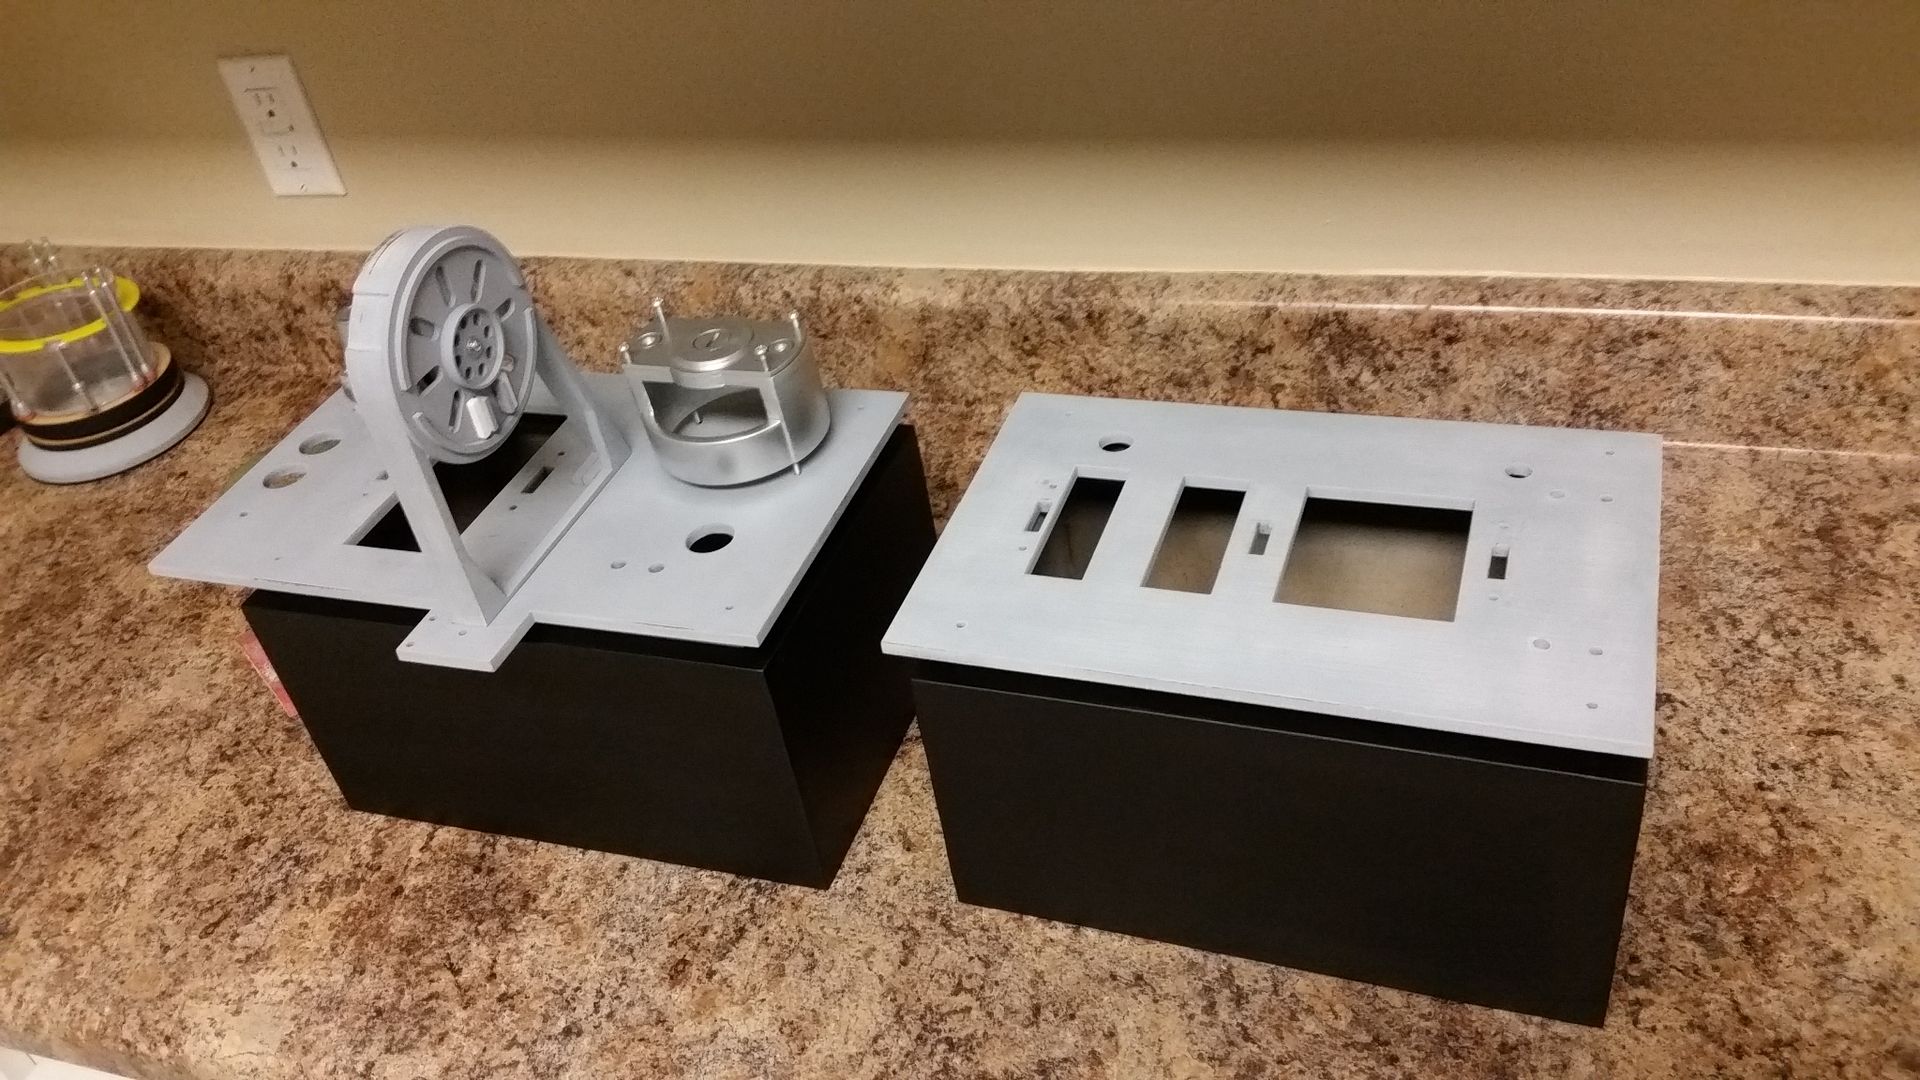
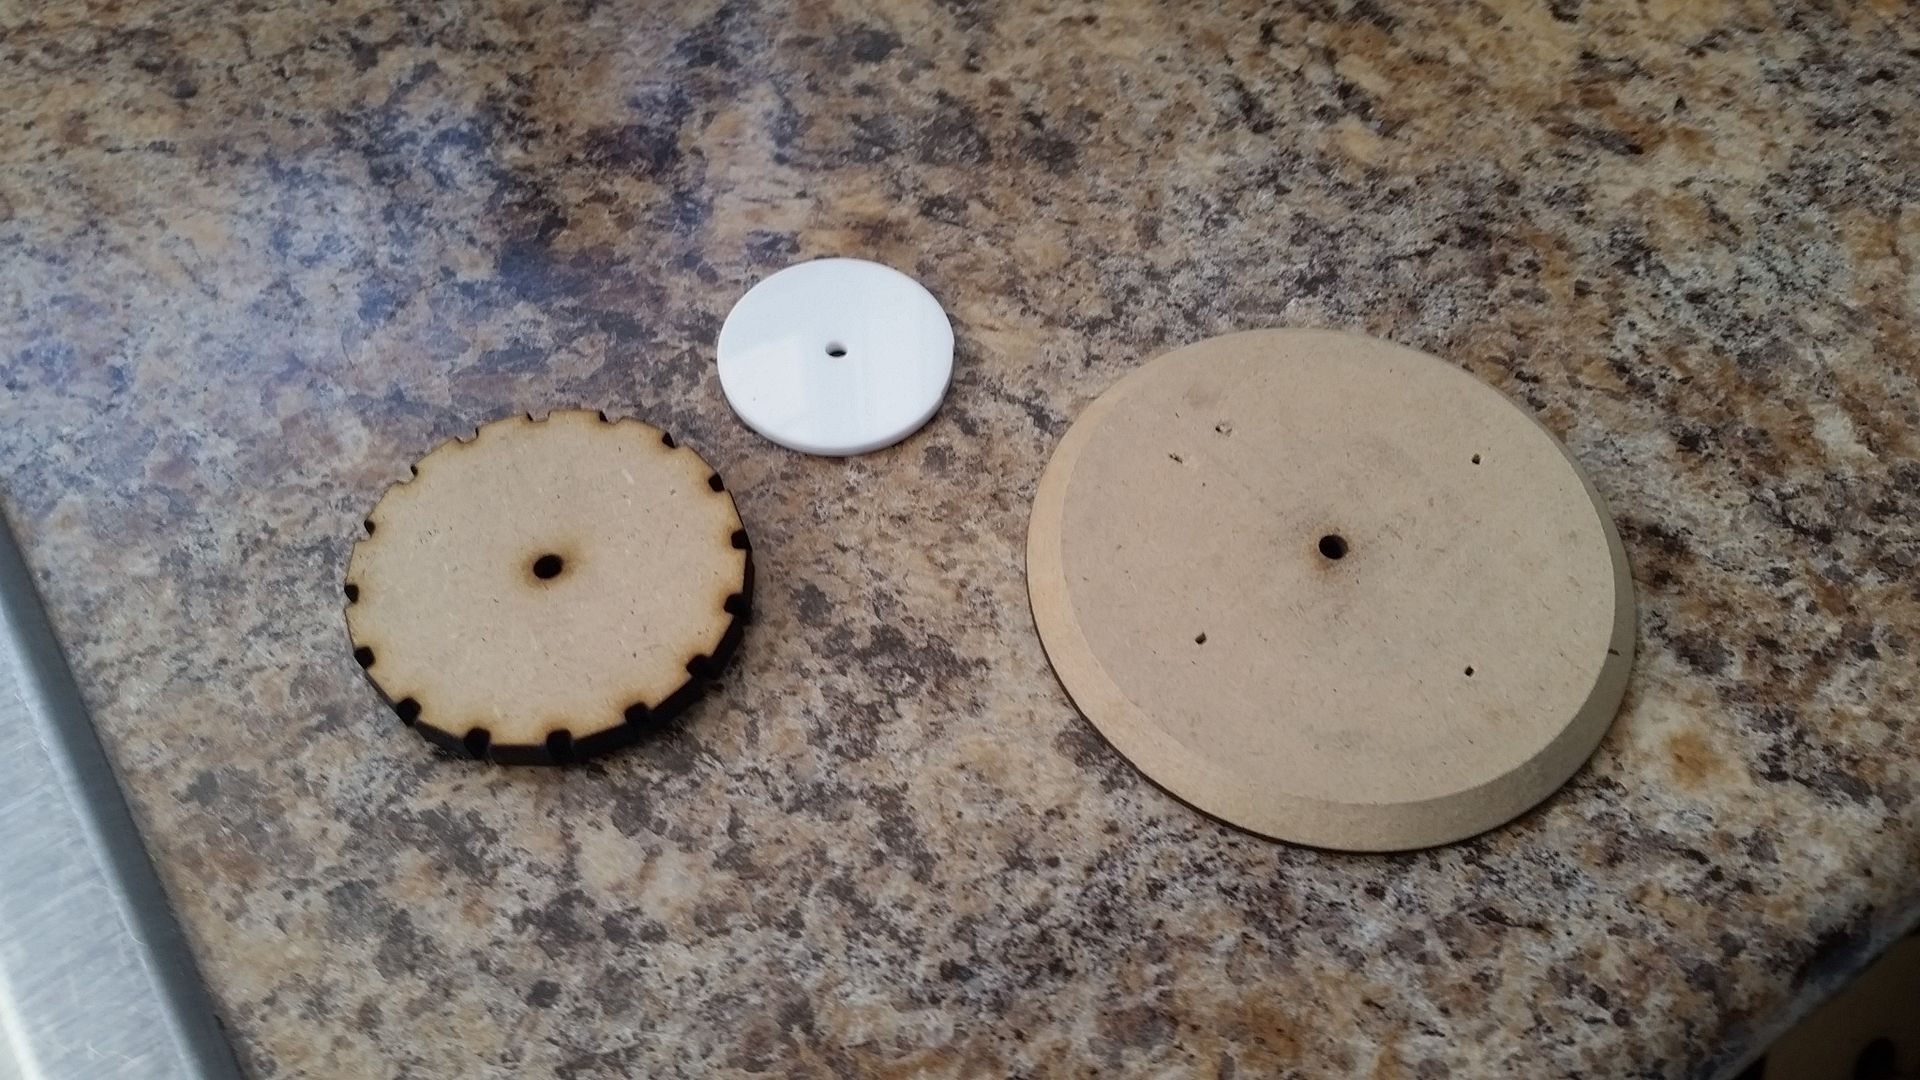
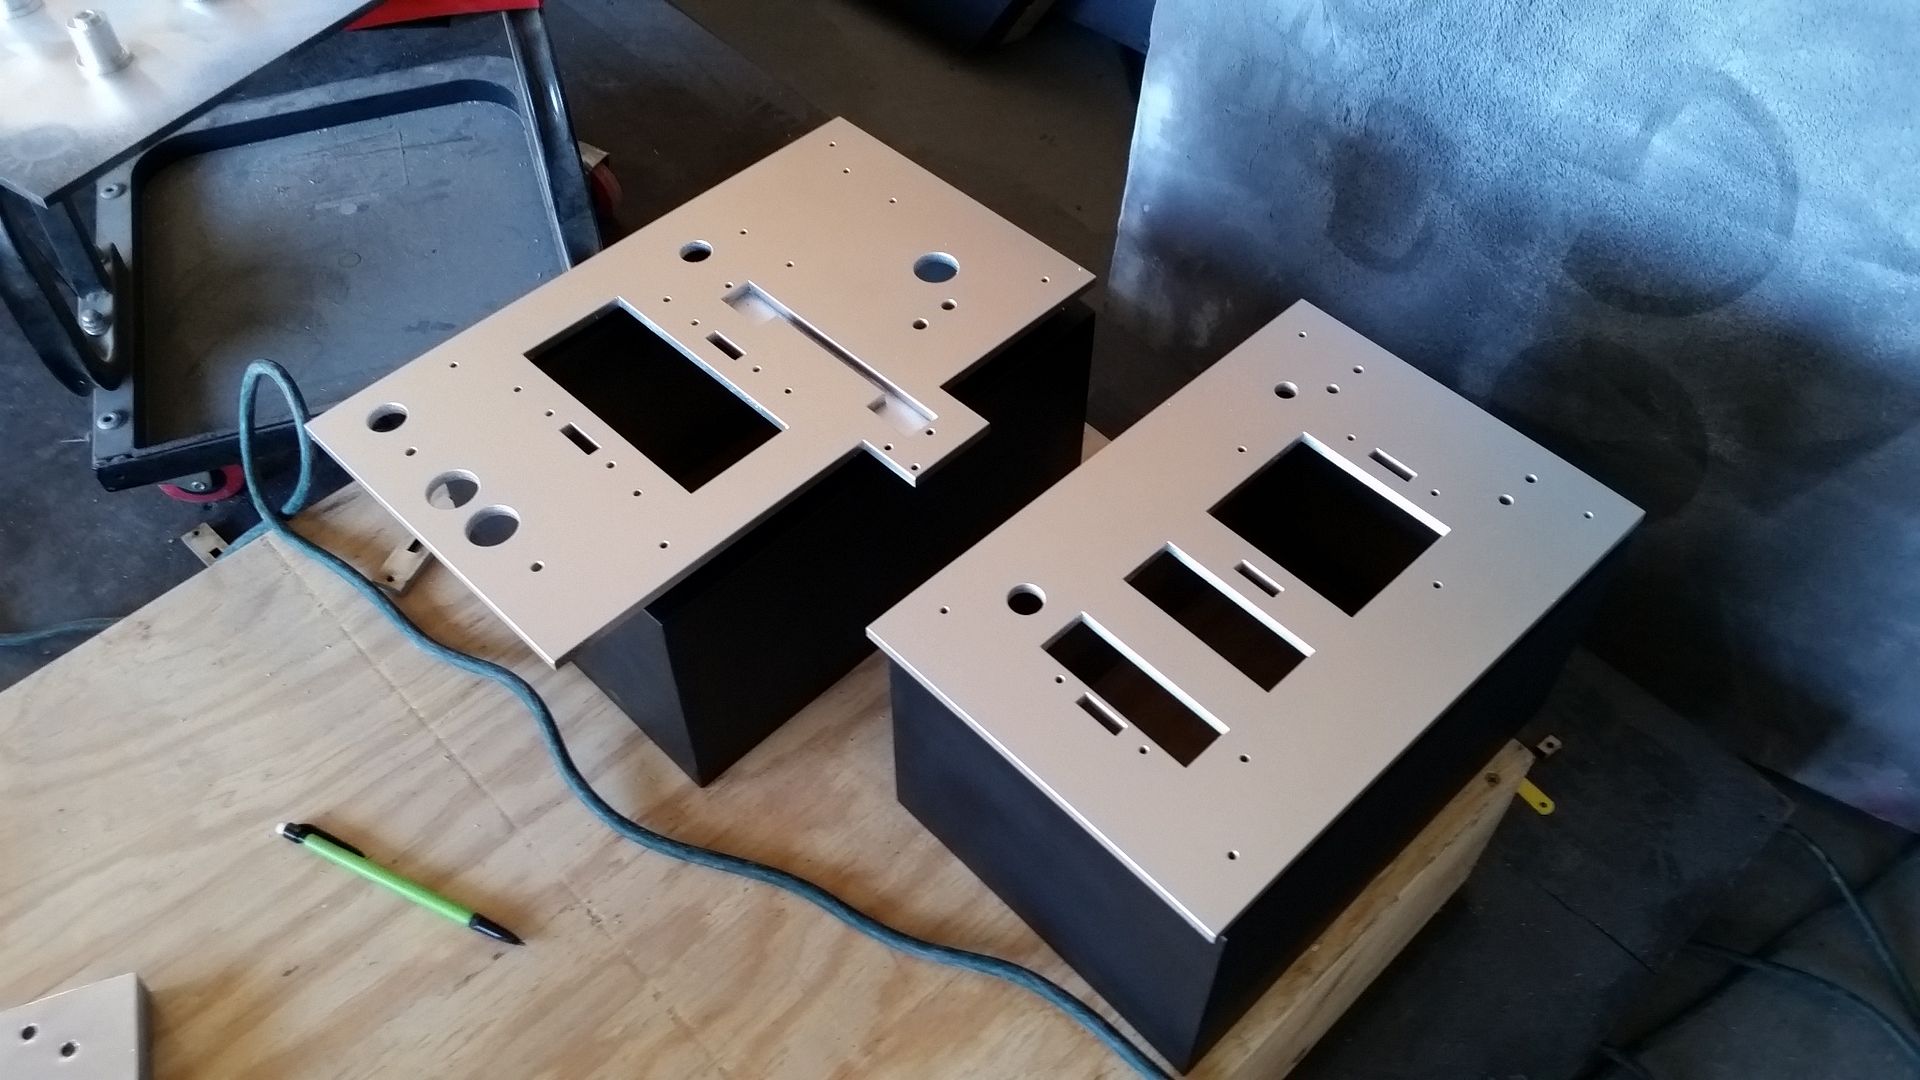
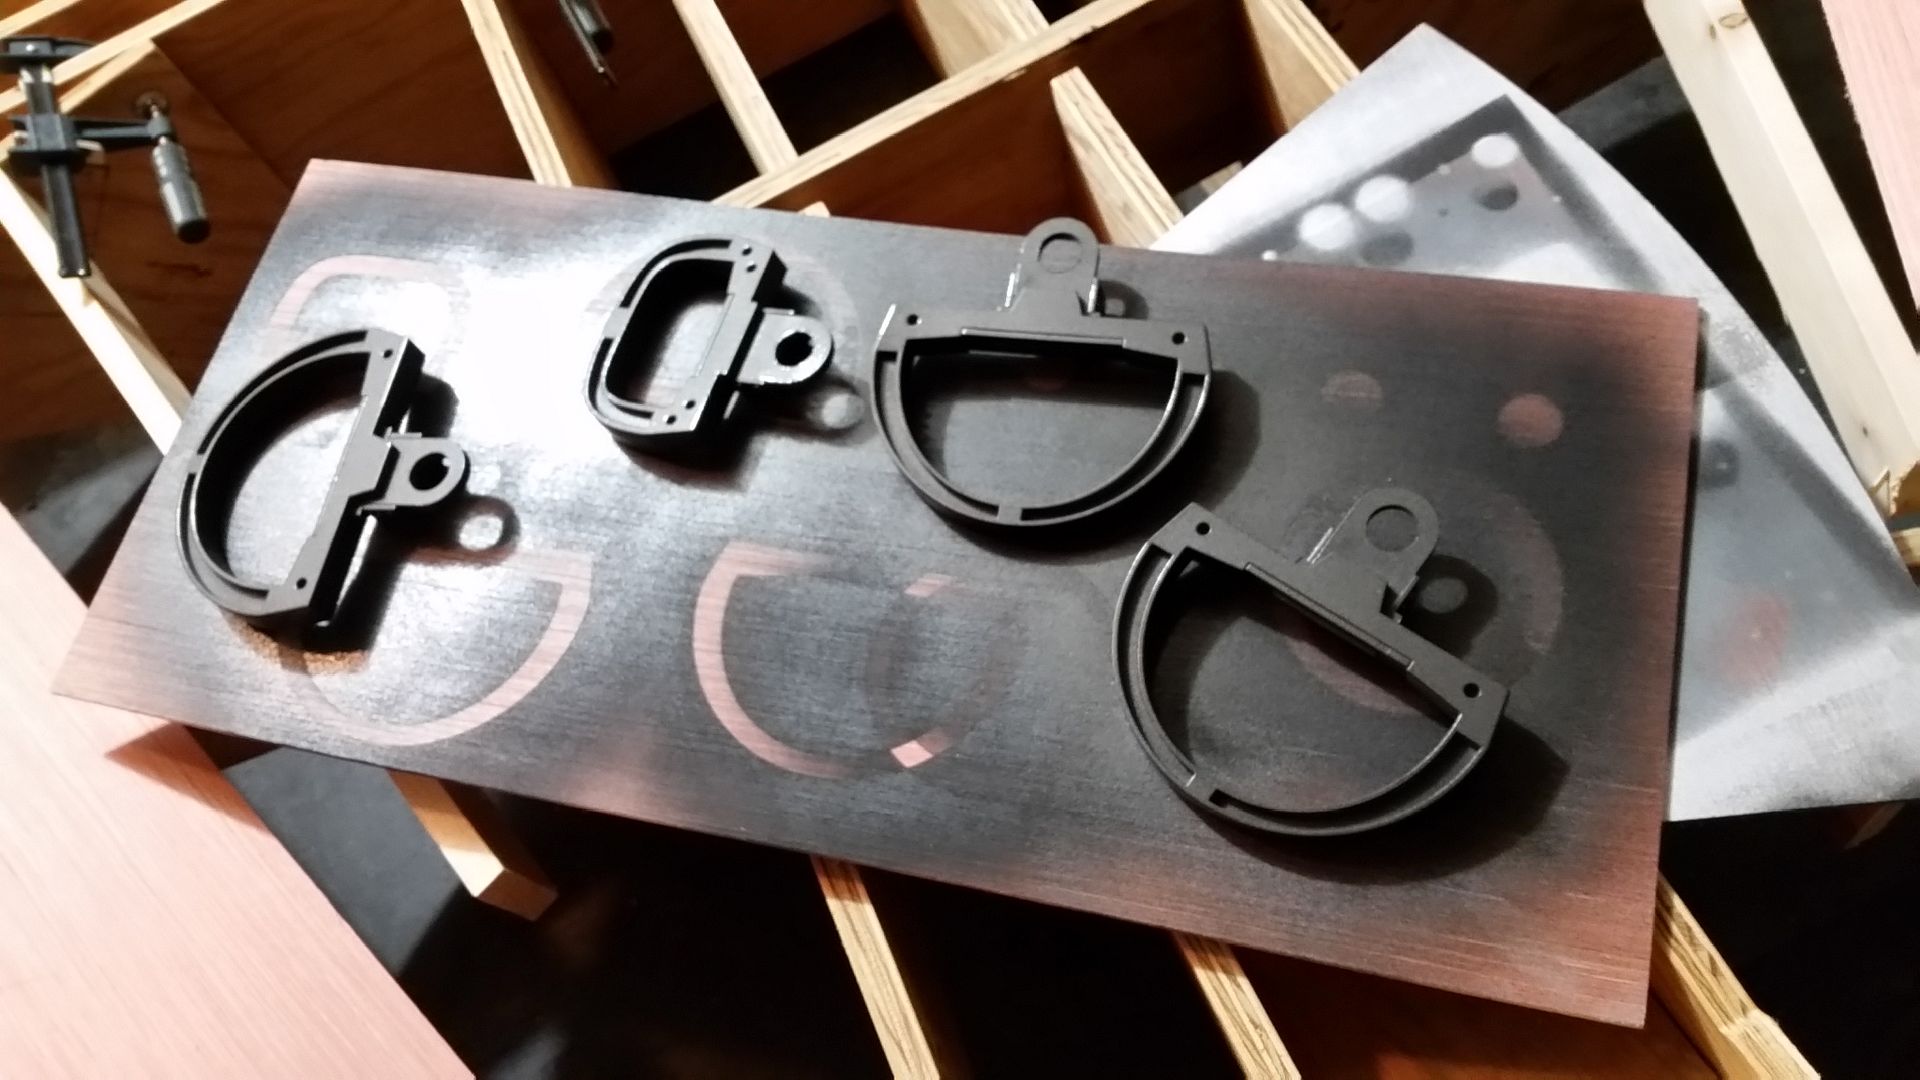
I spent the morning with the laser cutter
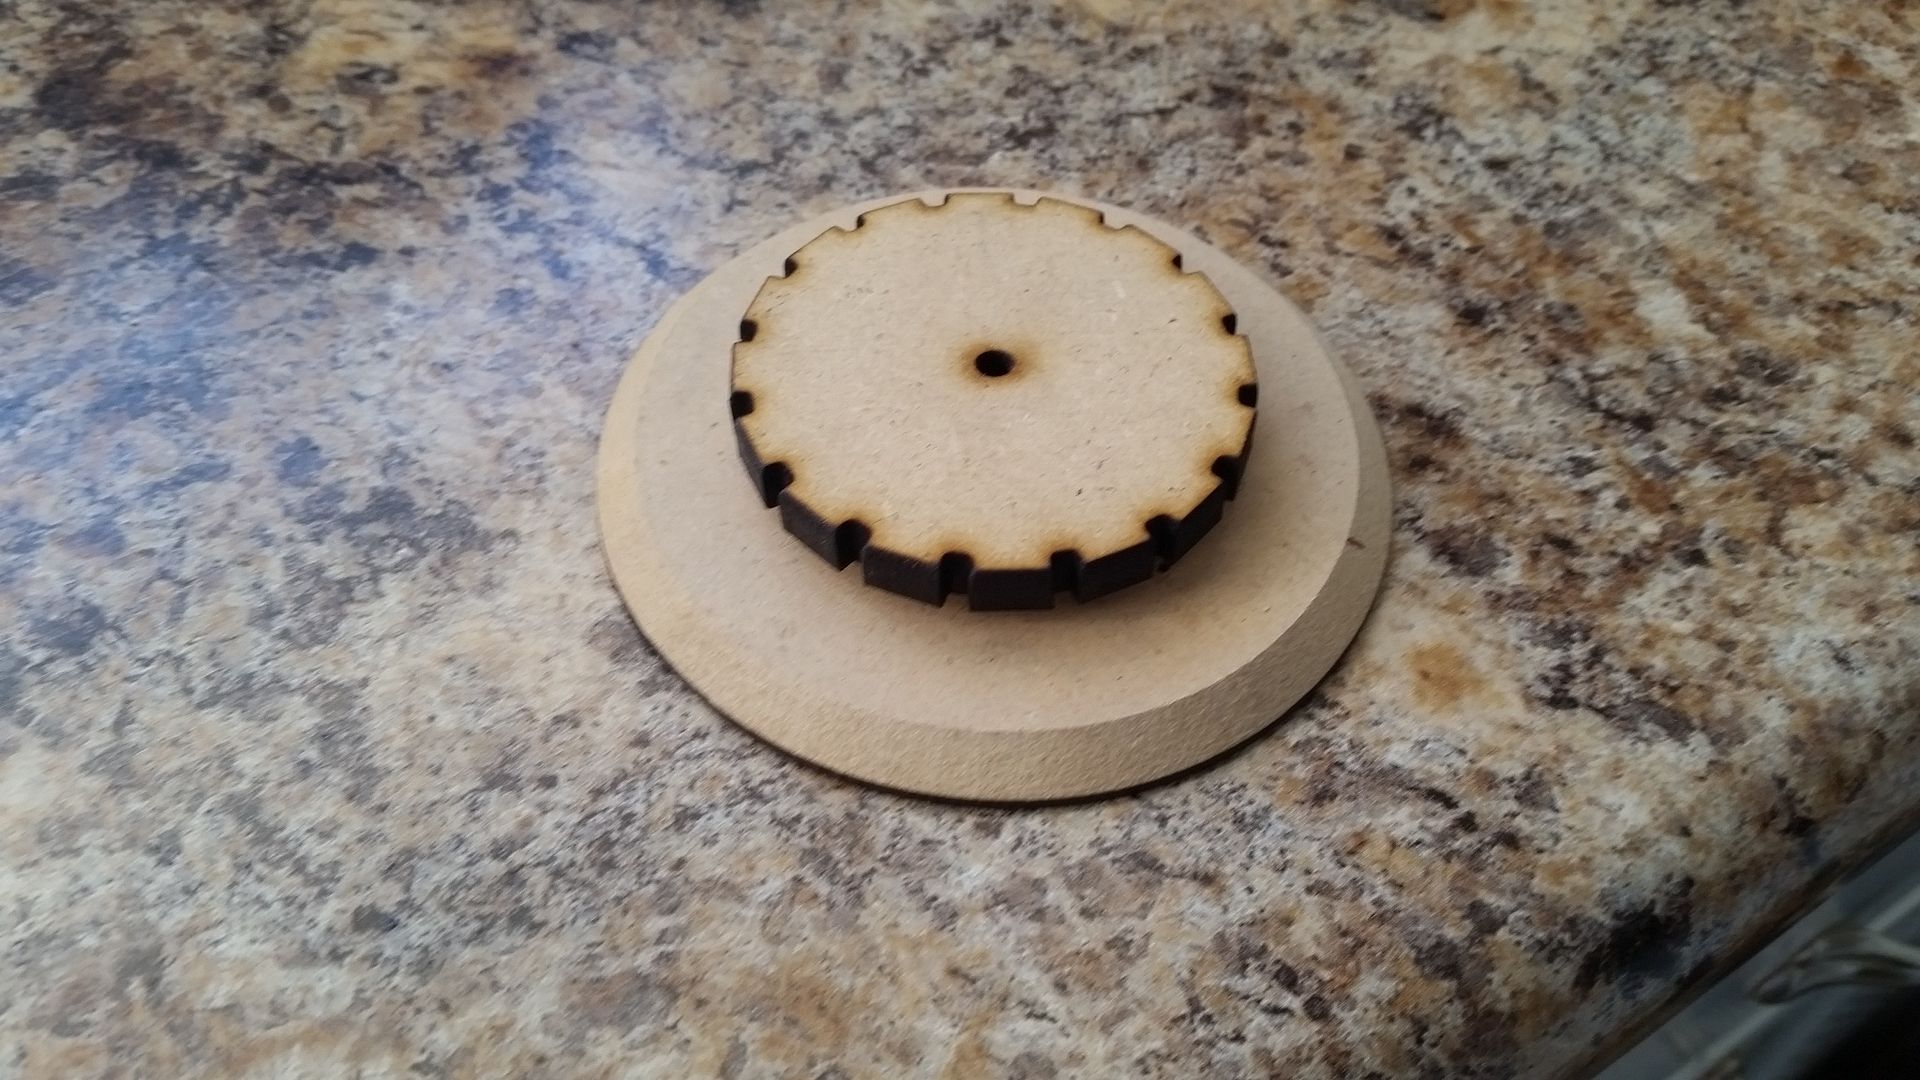
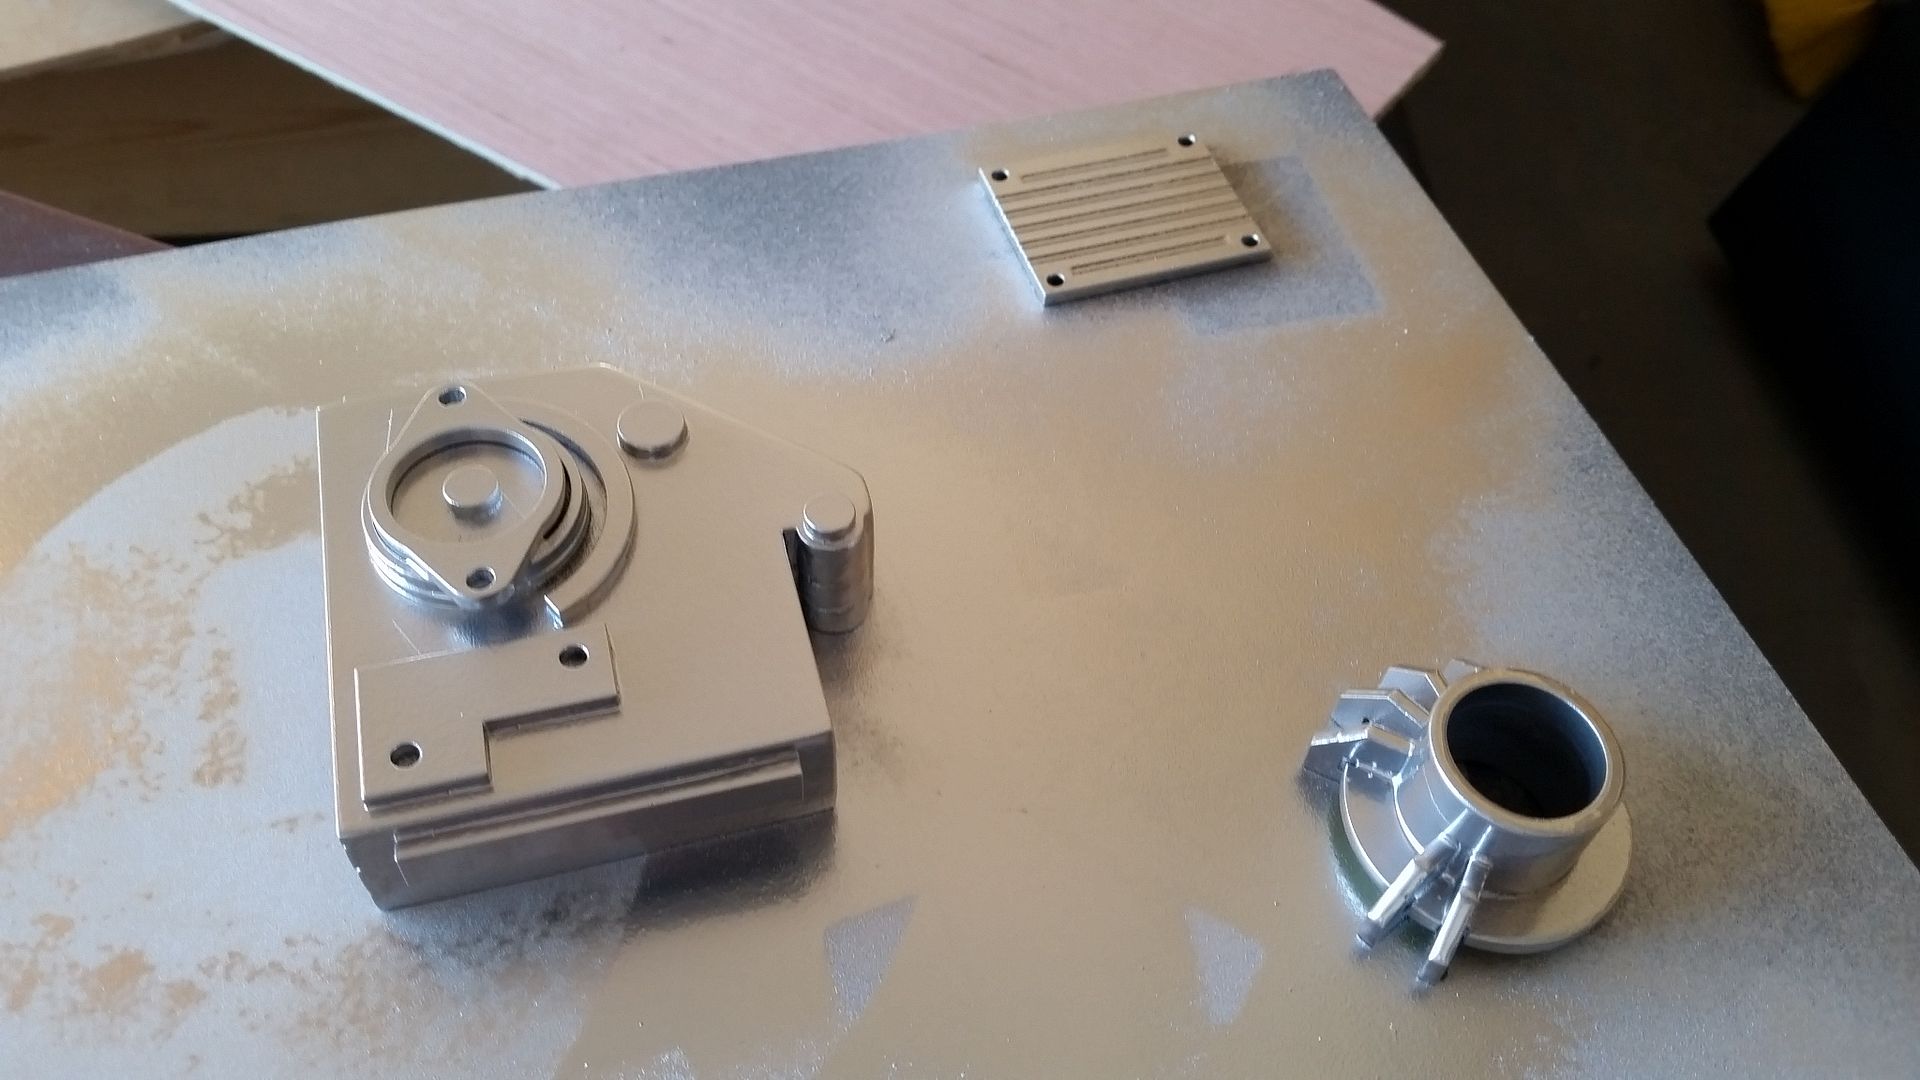
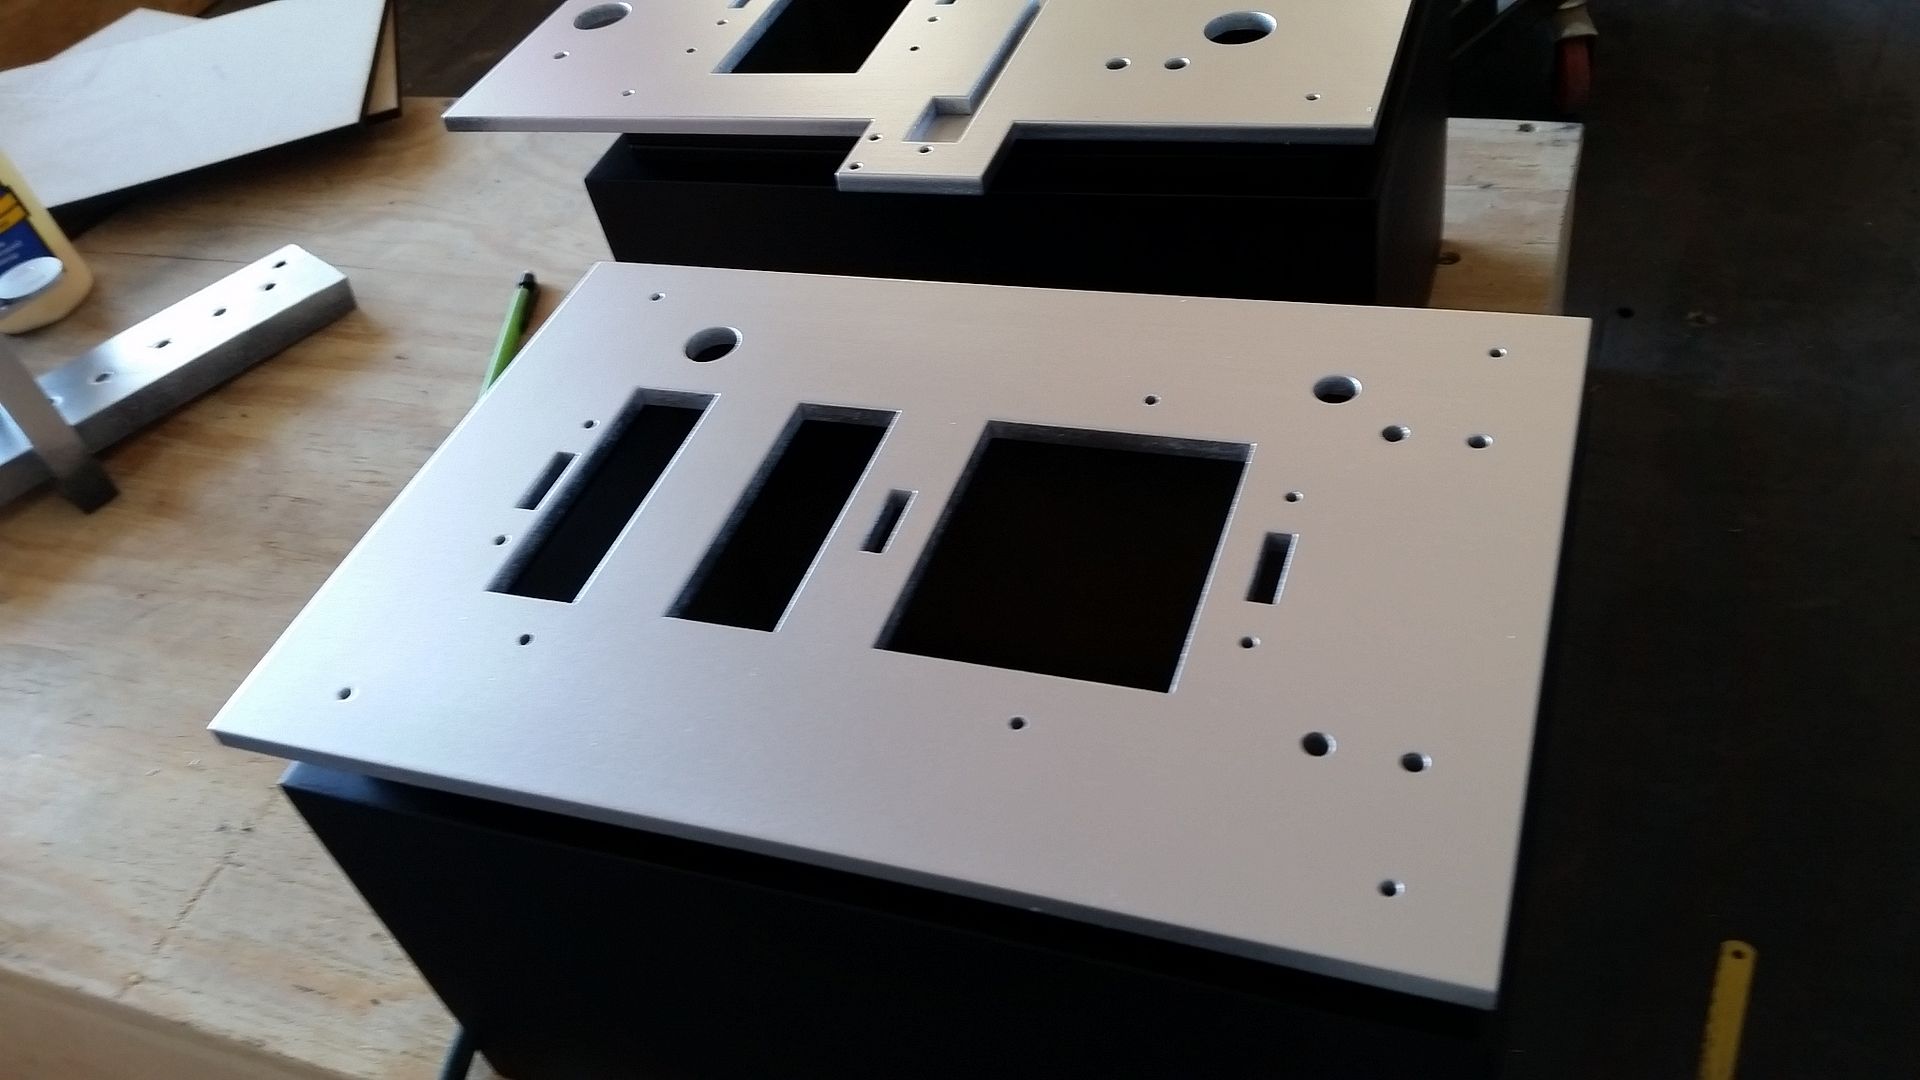
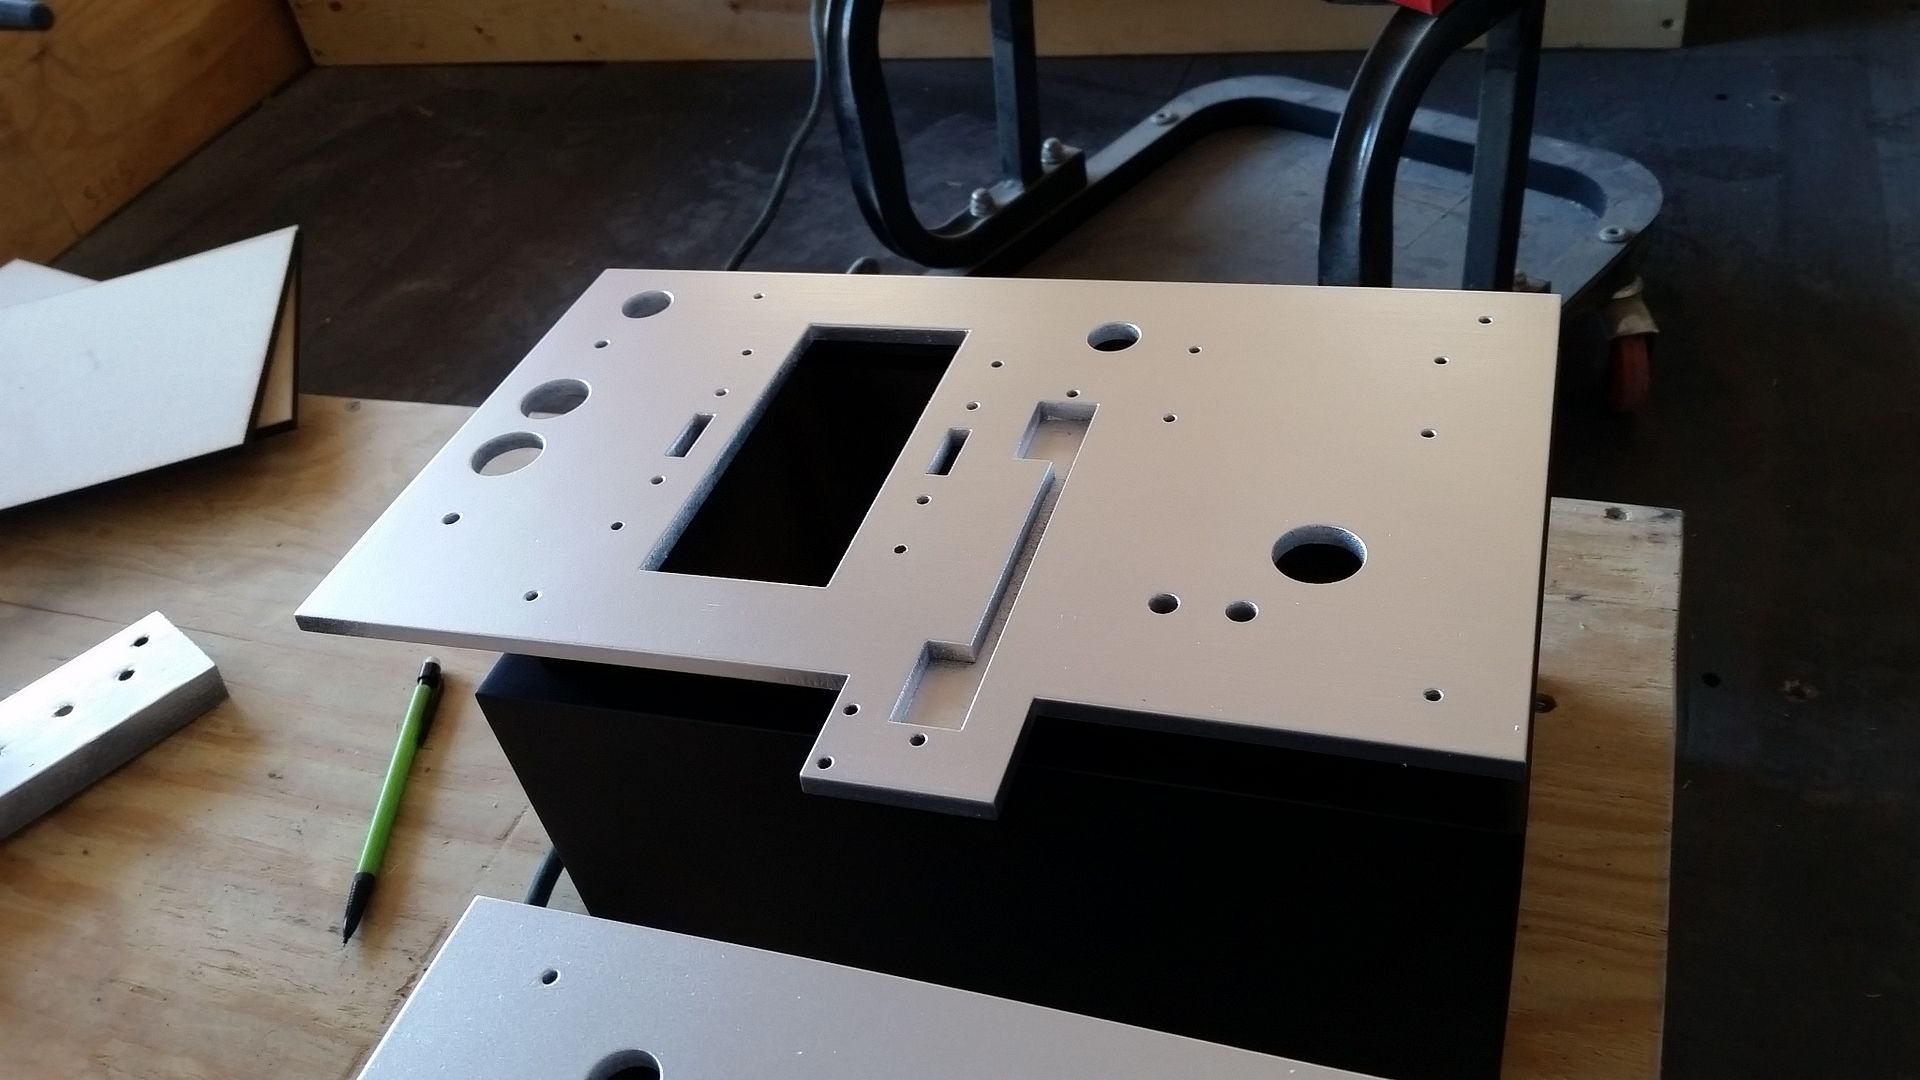
The new canopy boxes get a cover plate
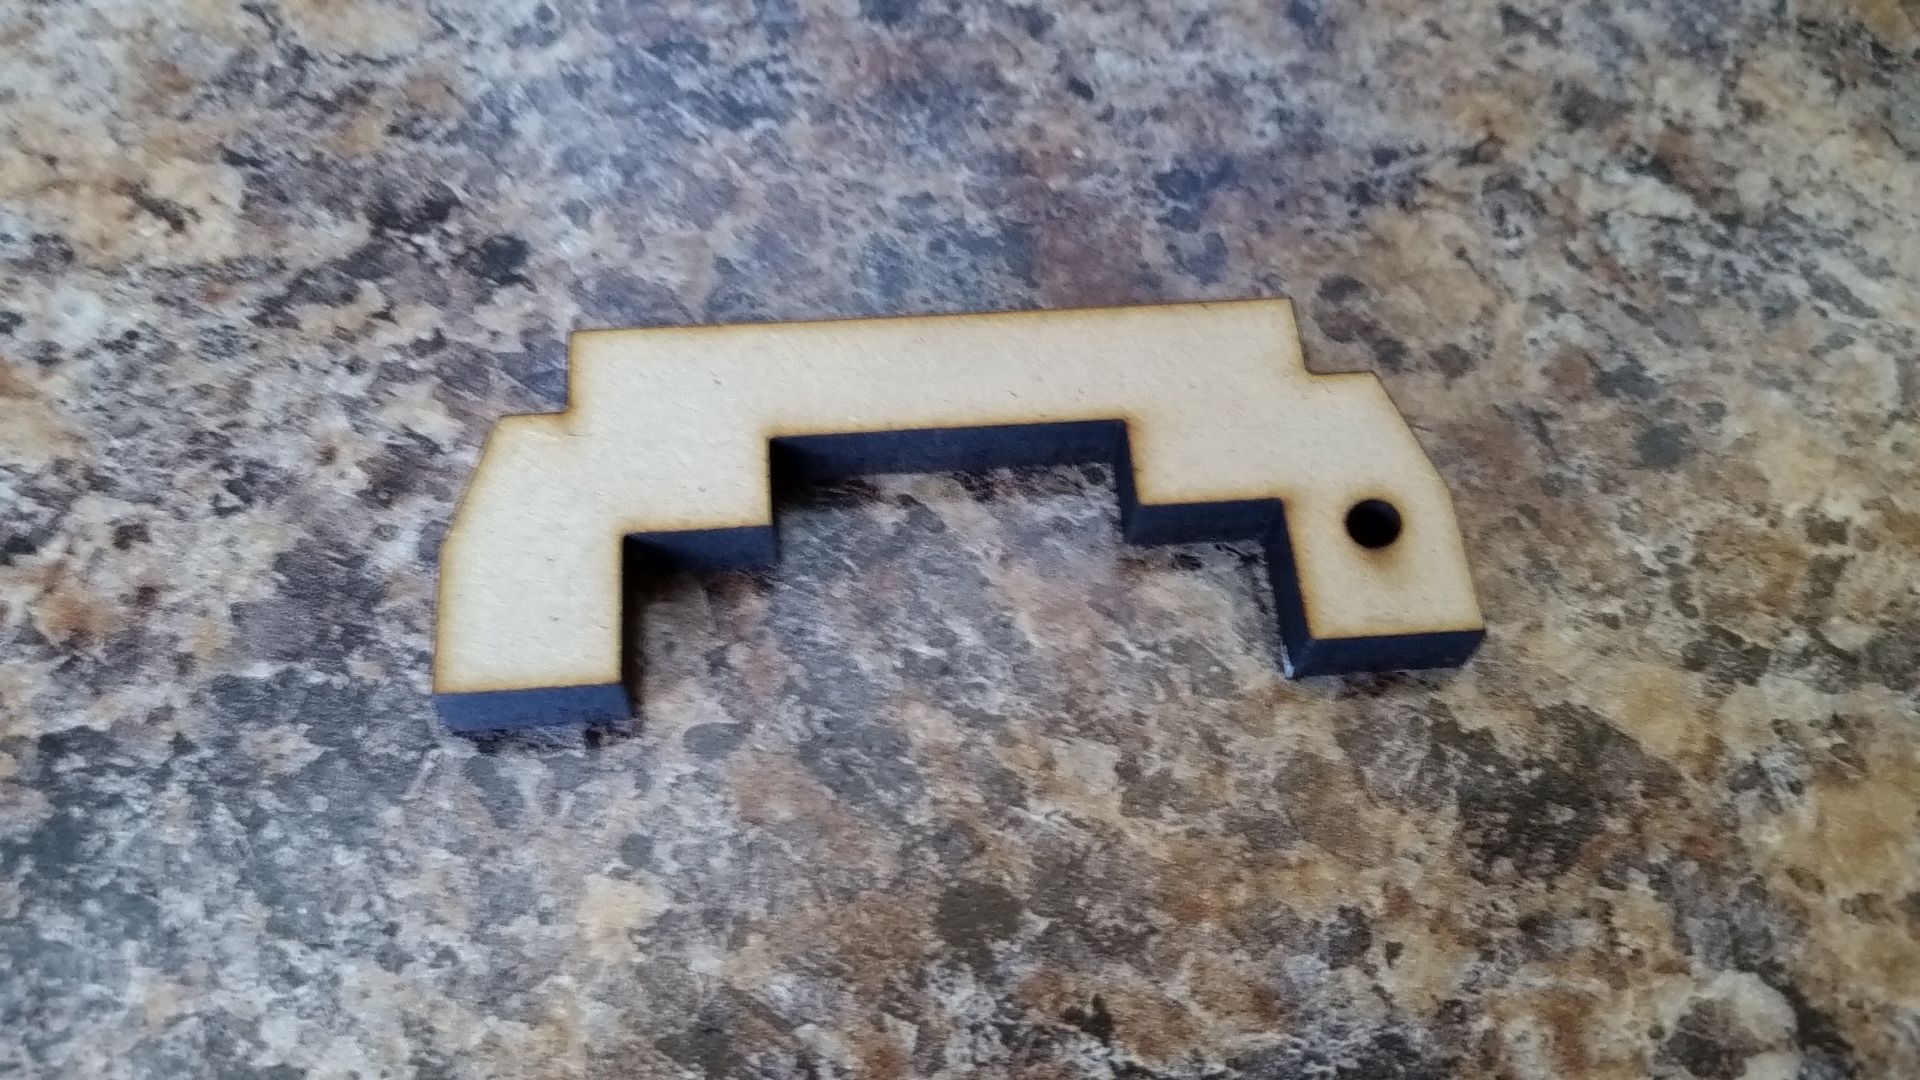
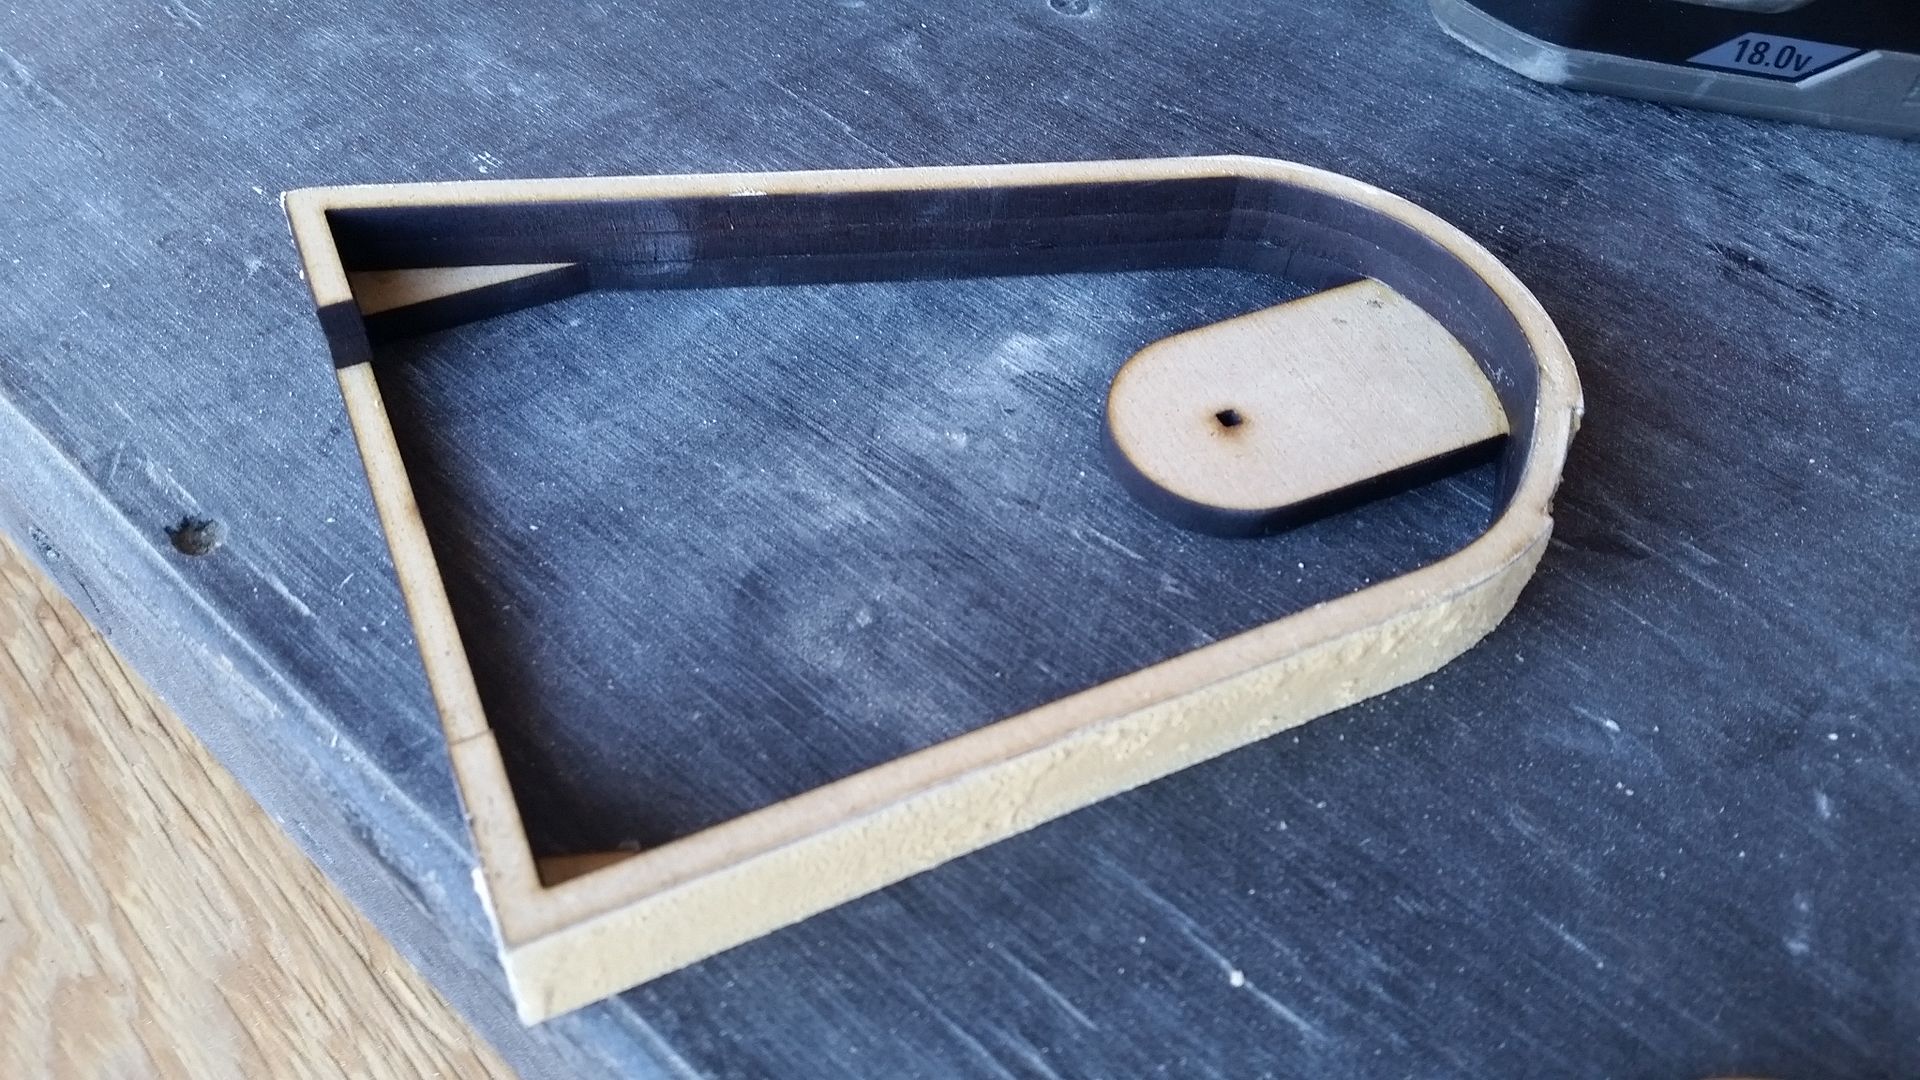
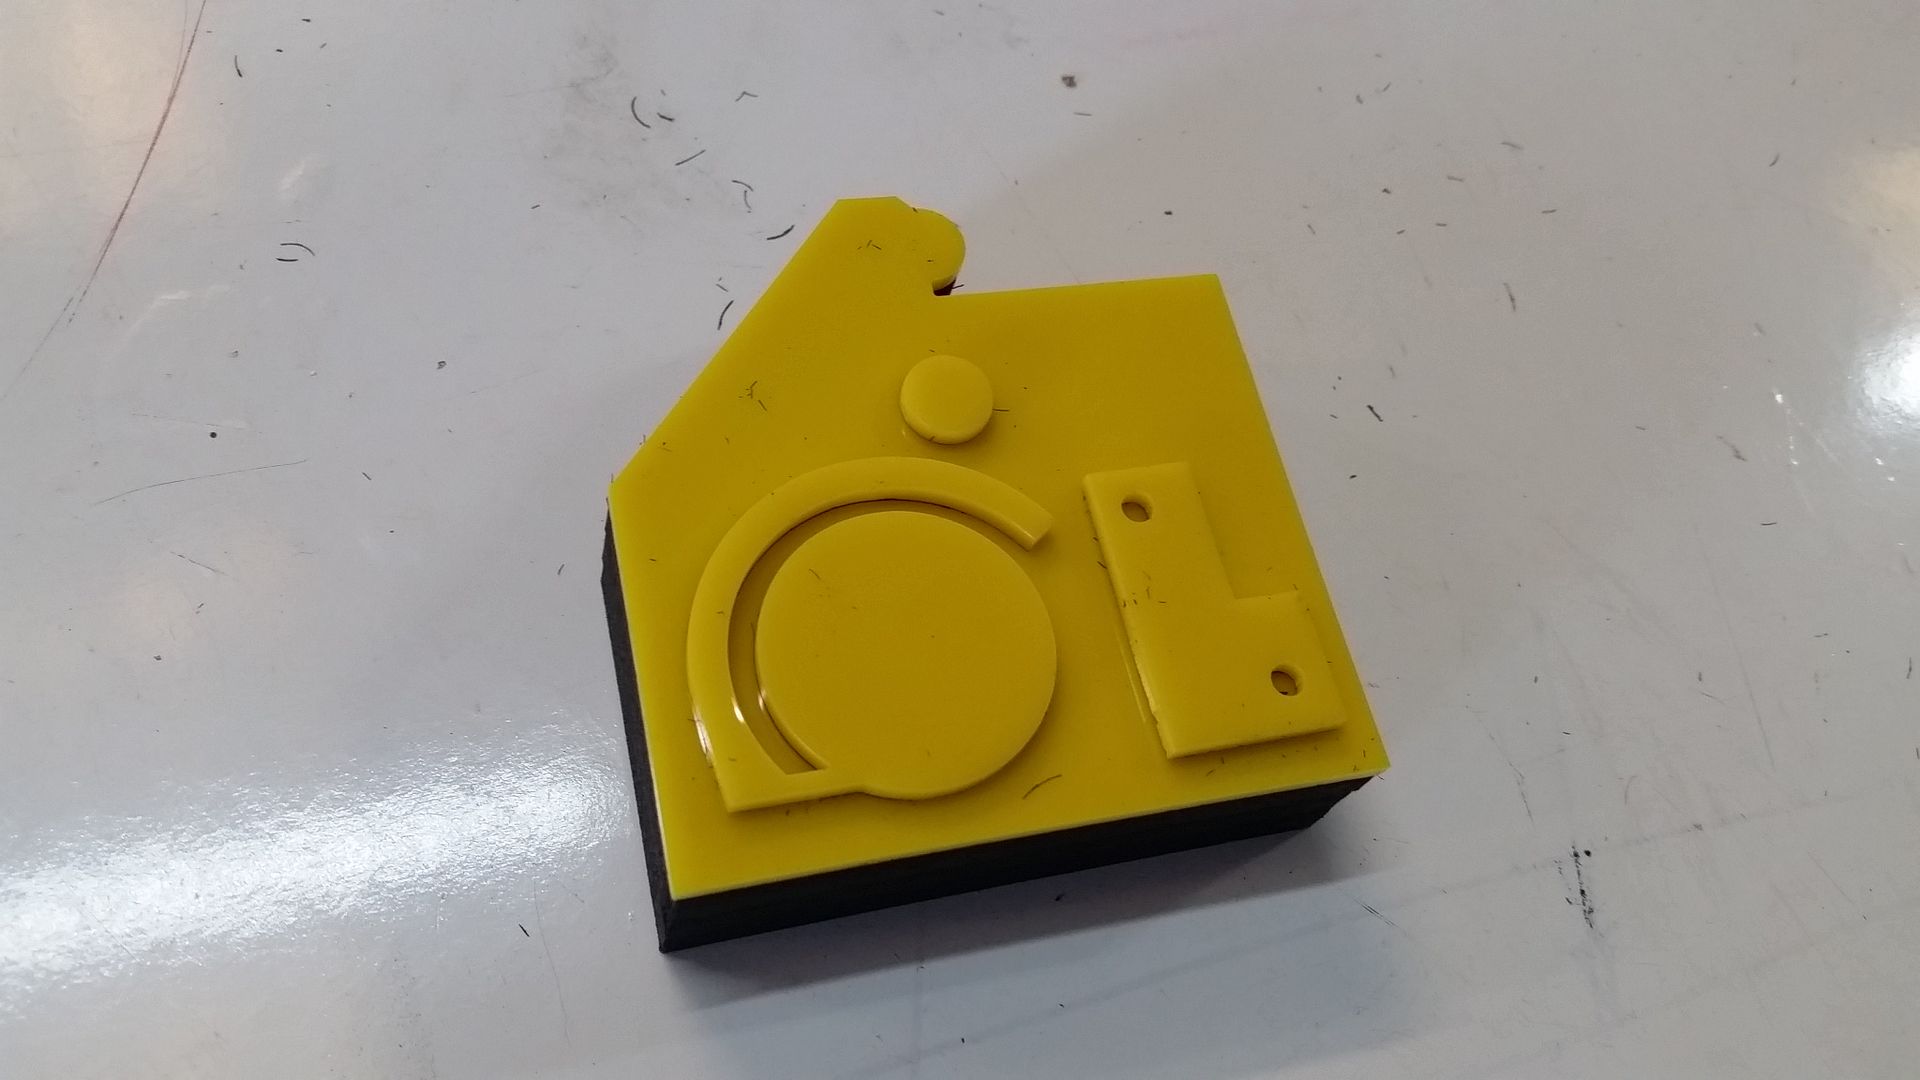
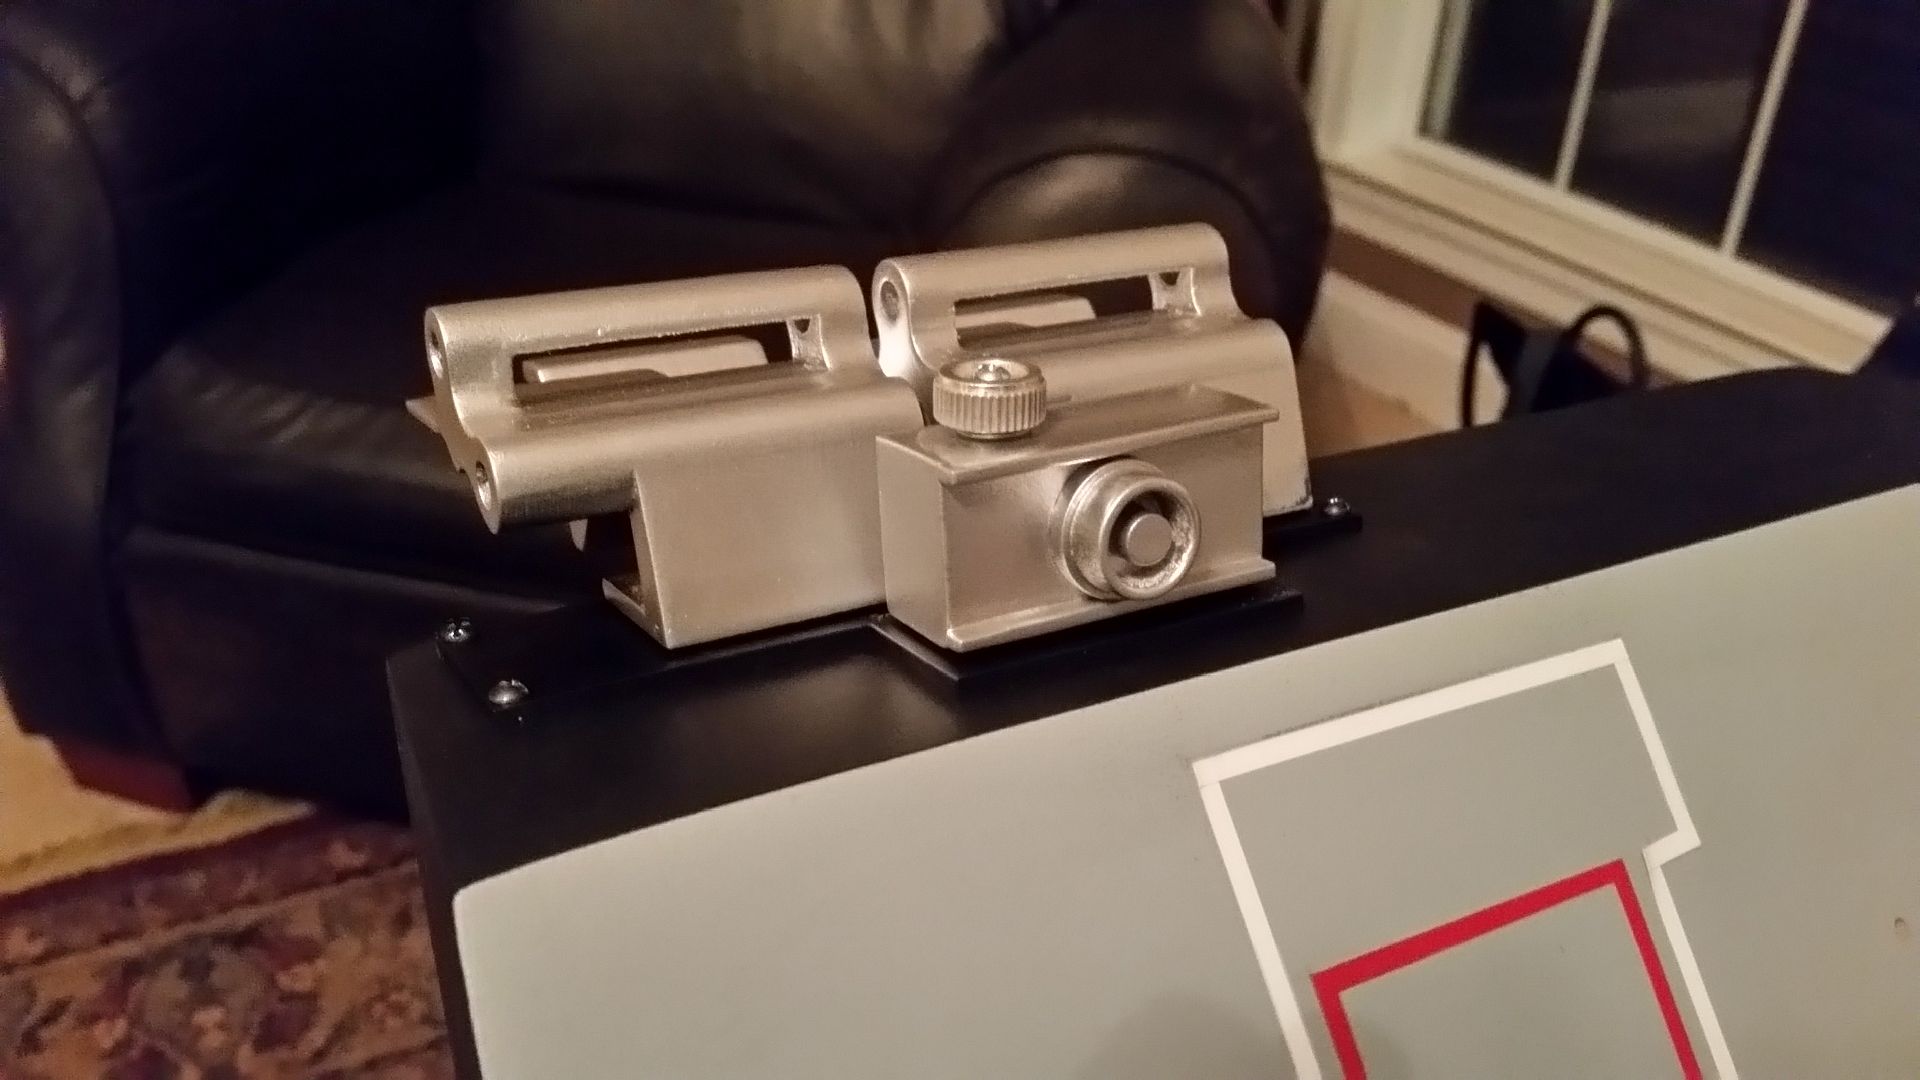
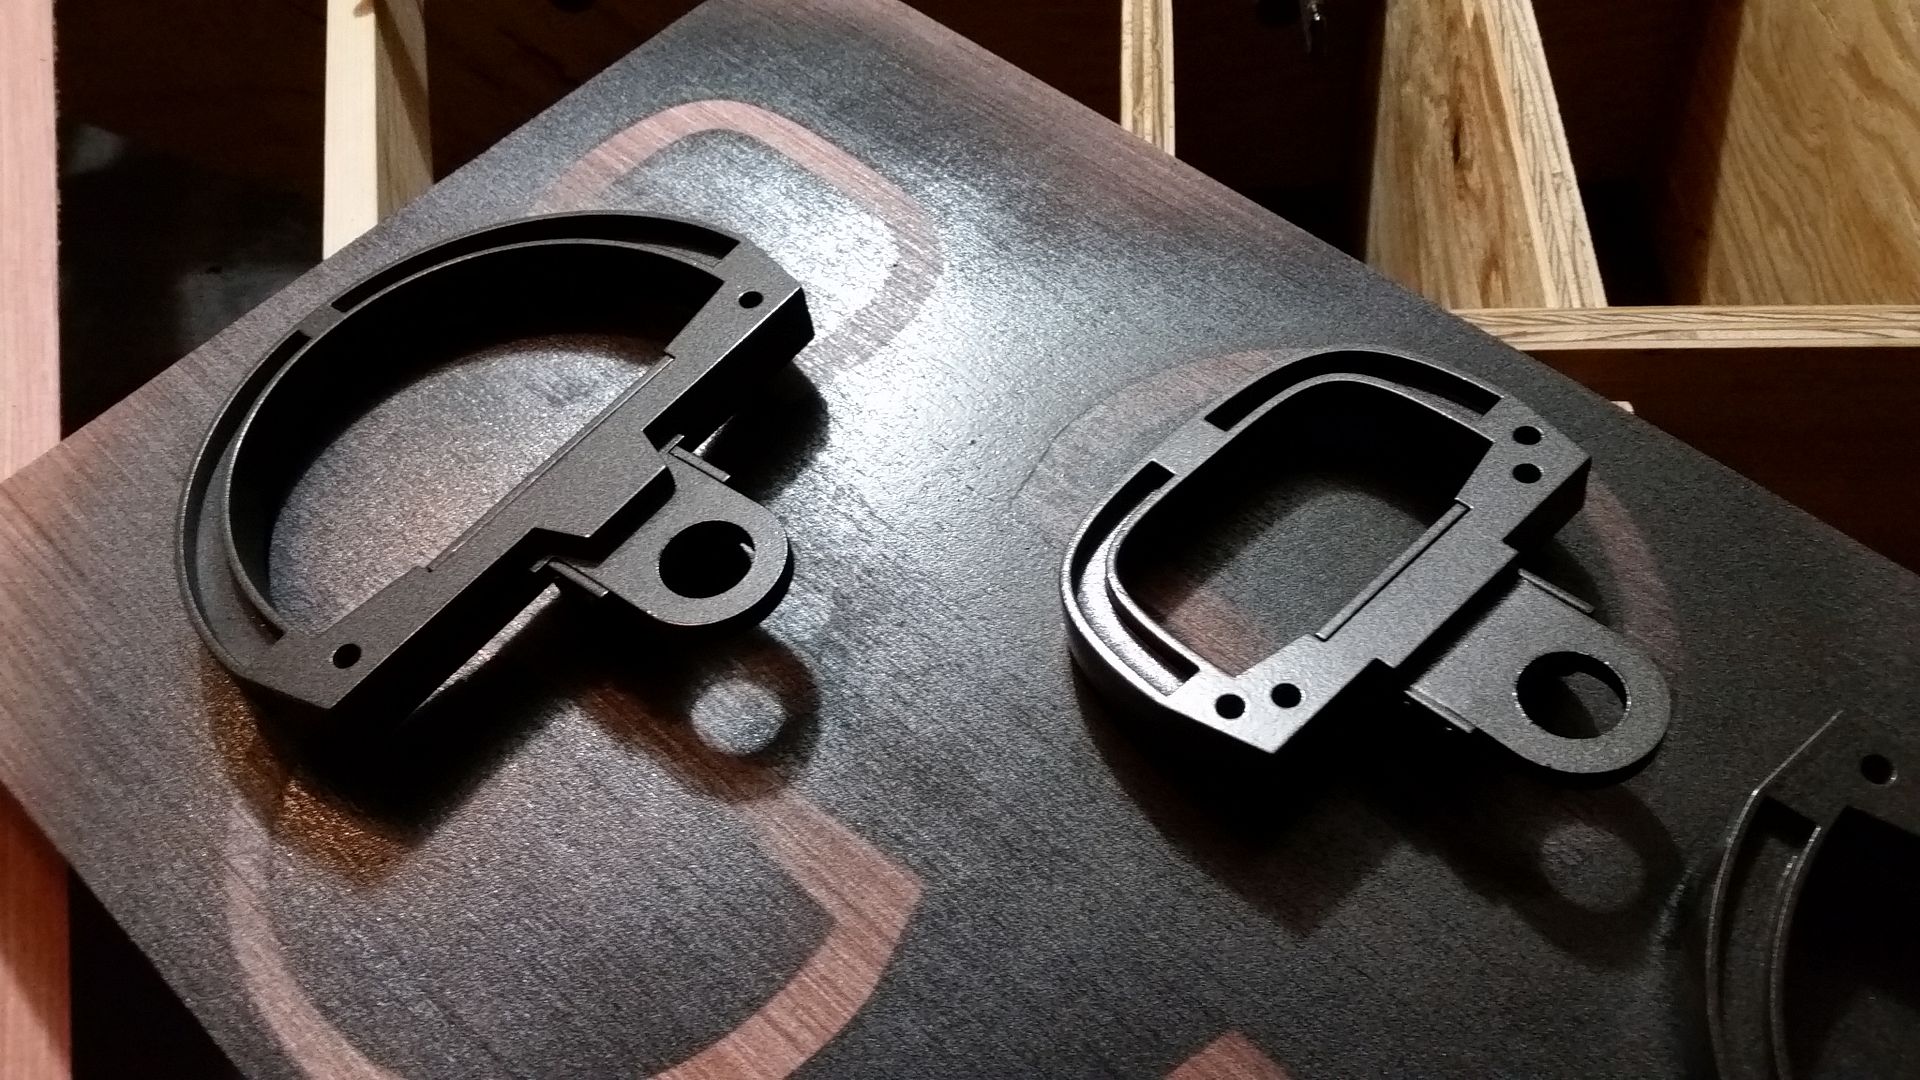
Cut these greeblies for the handles. I think I might cut them in acrylic
Adds a little bit of bulk and visual interest
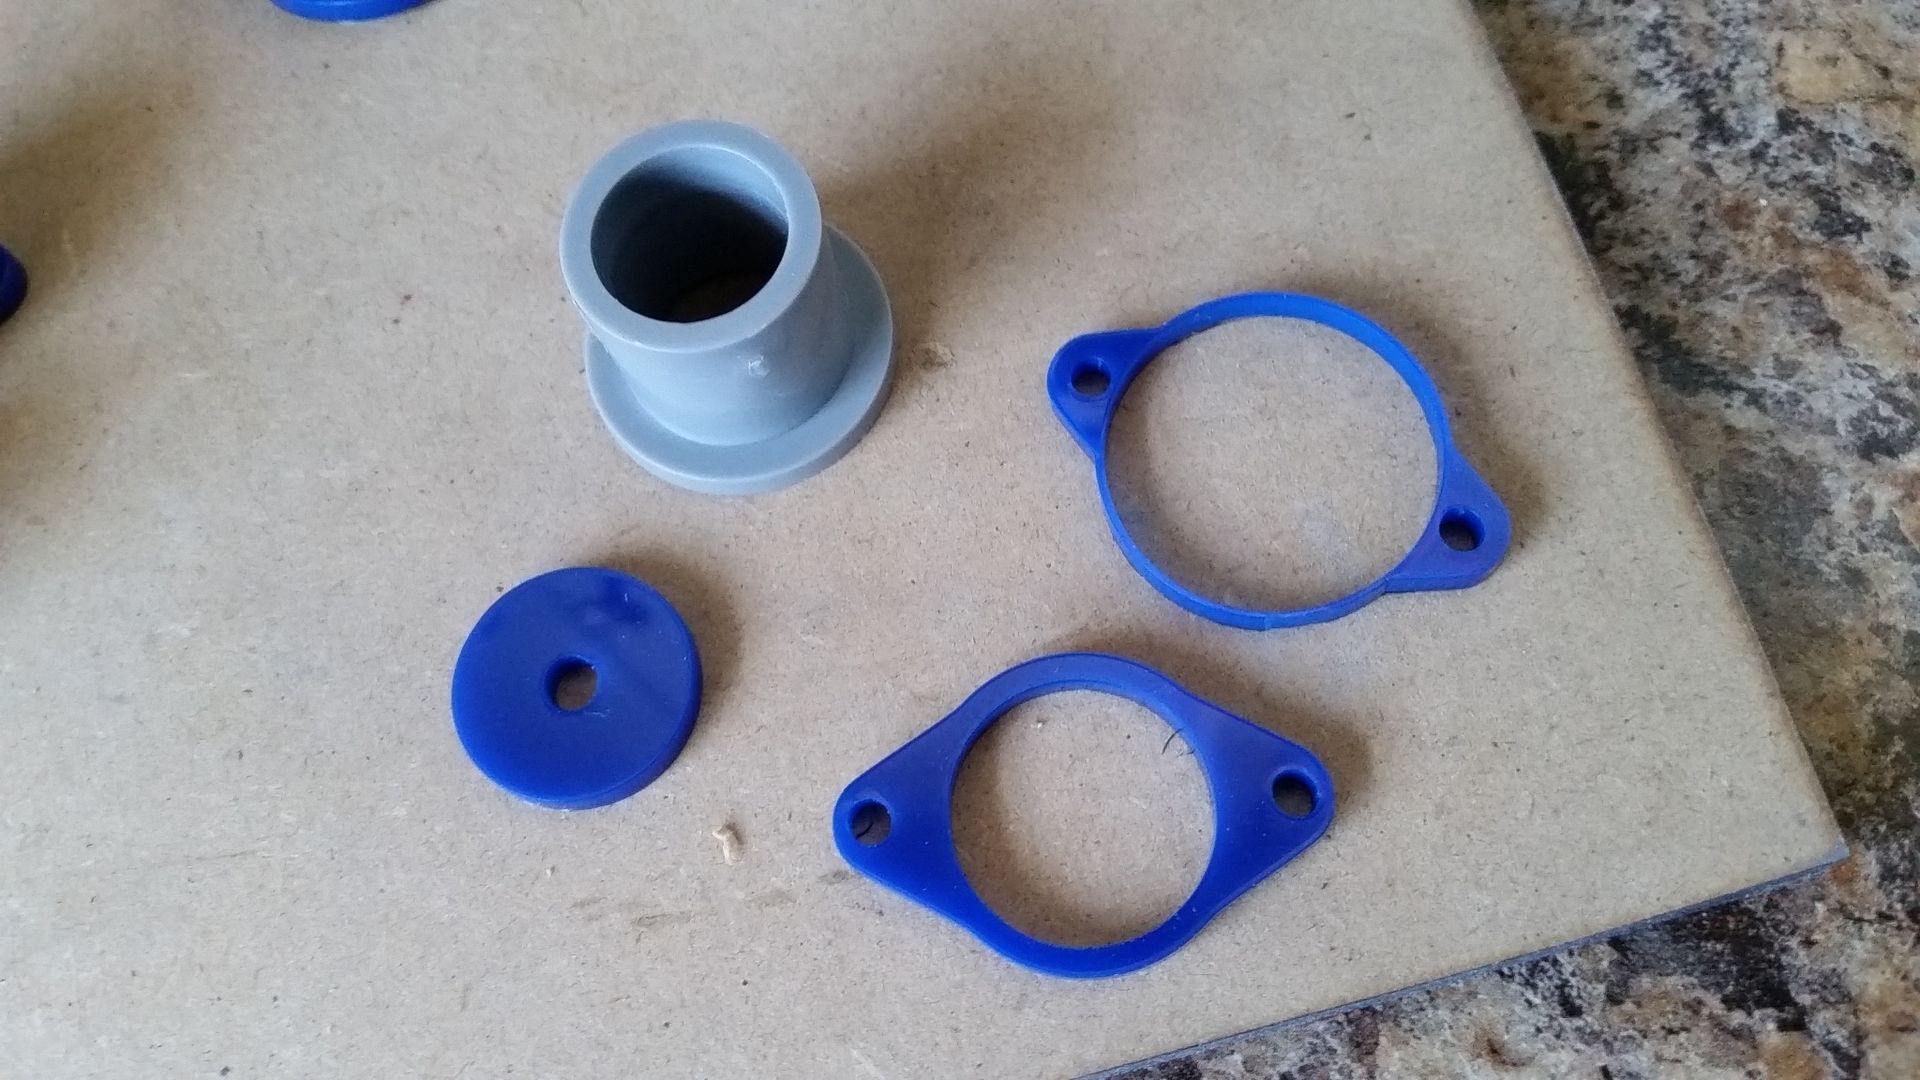
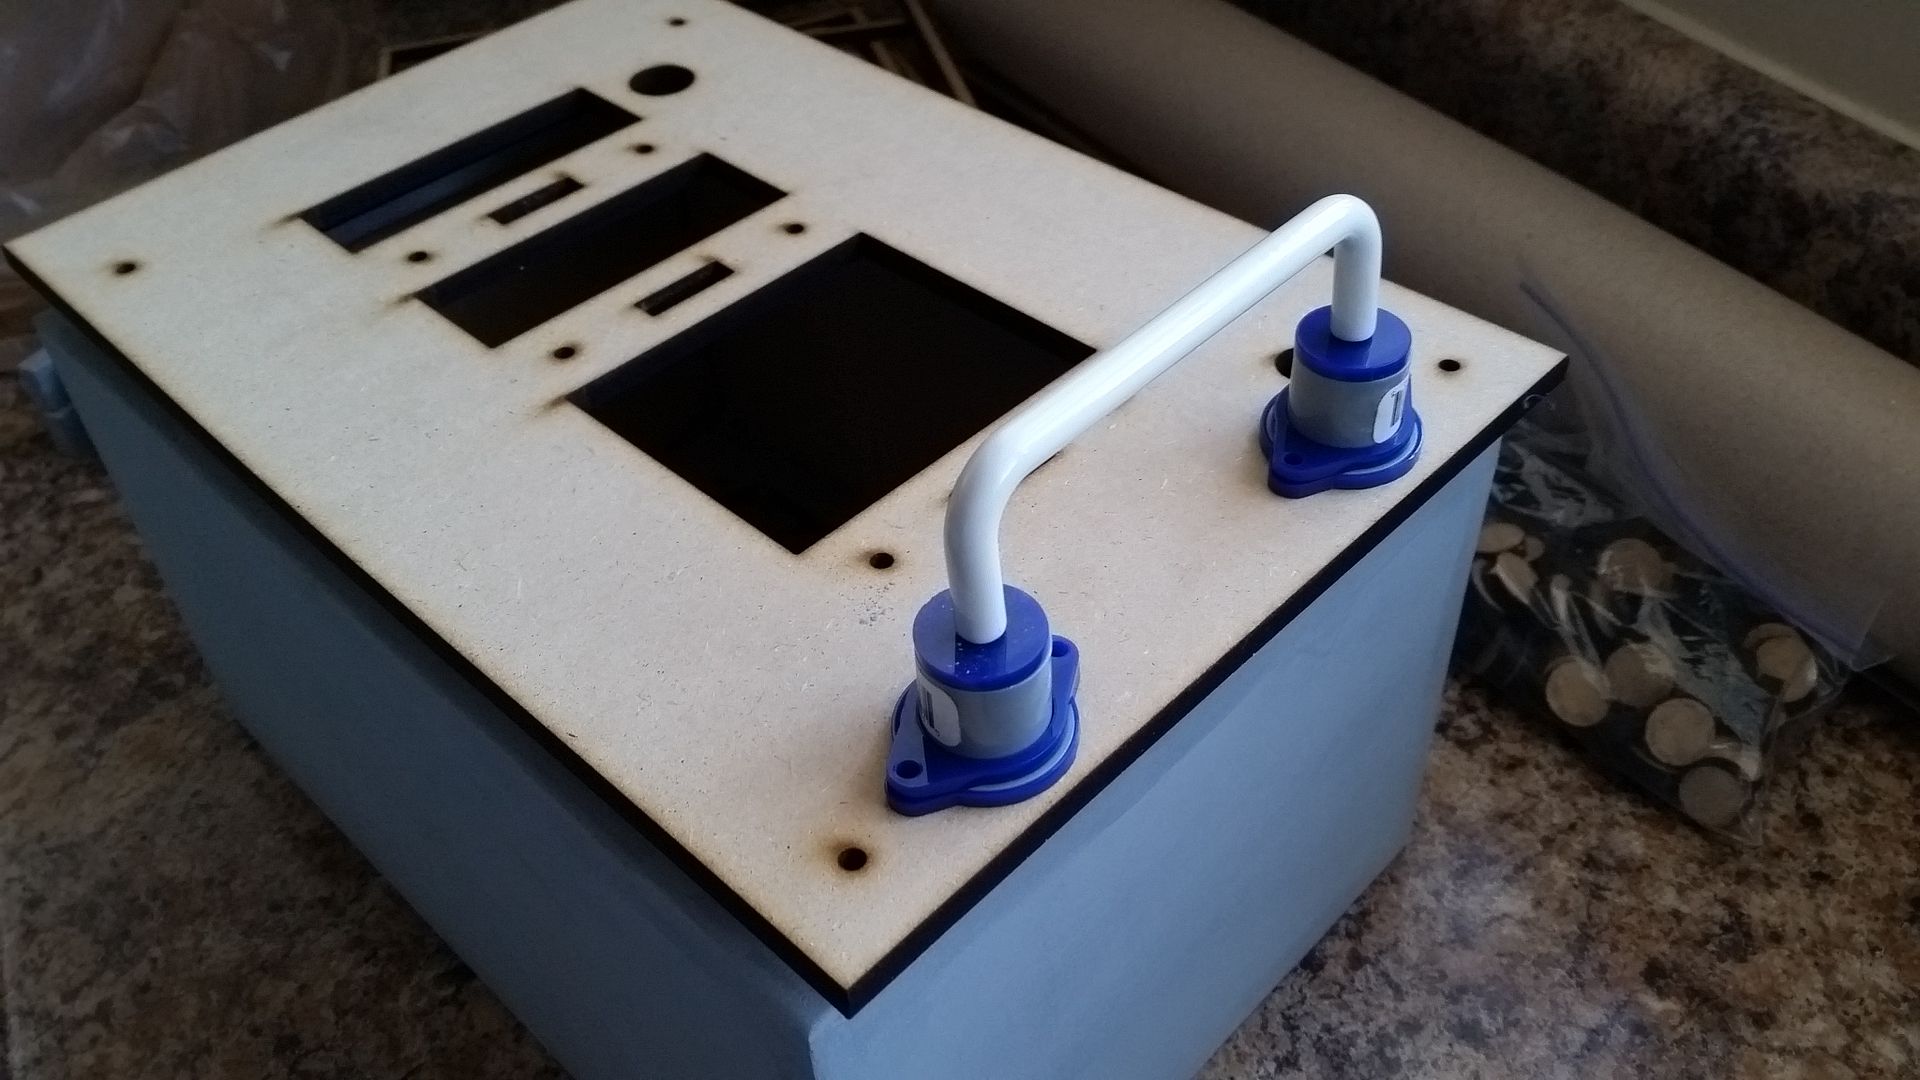
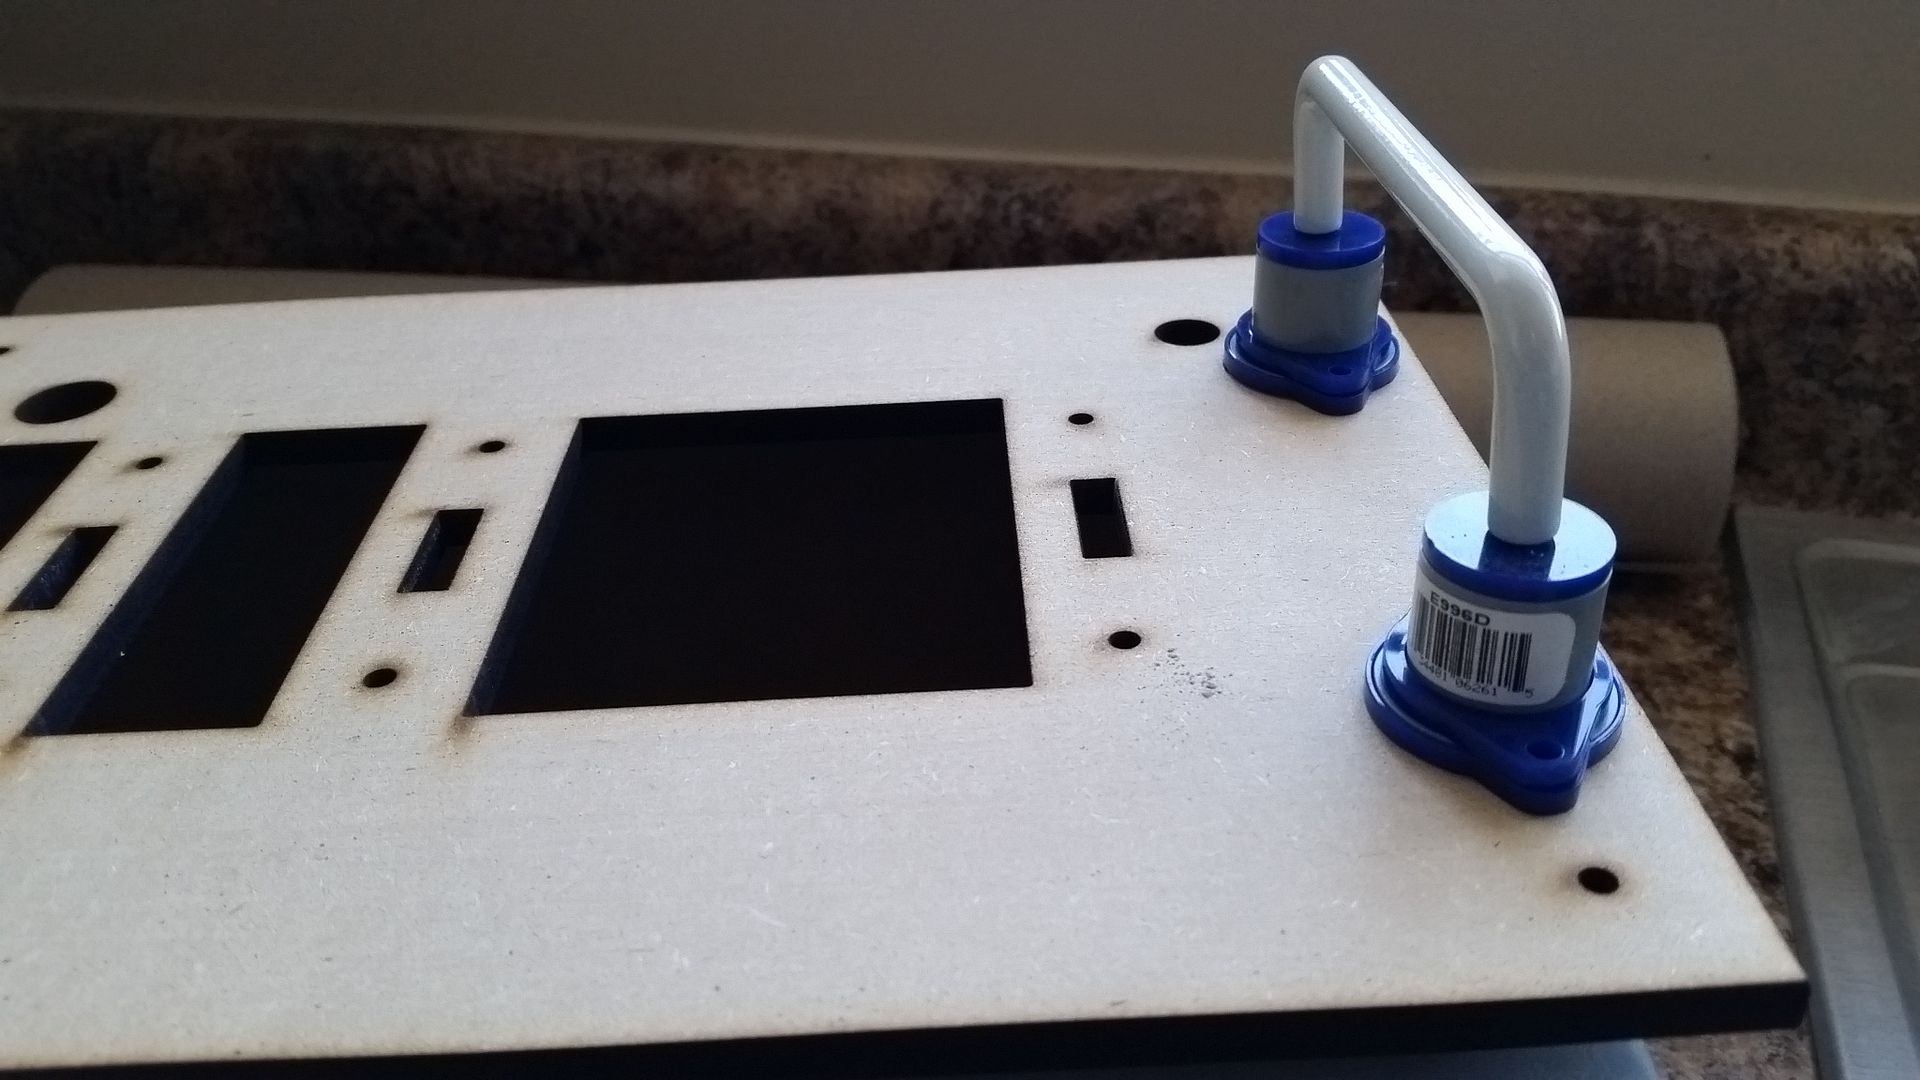
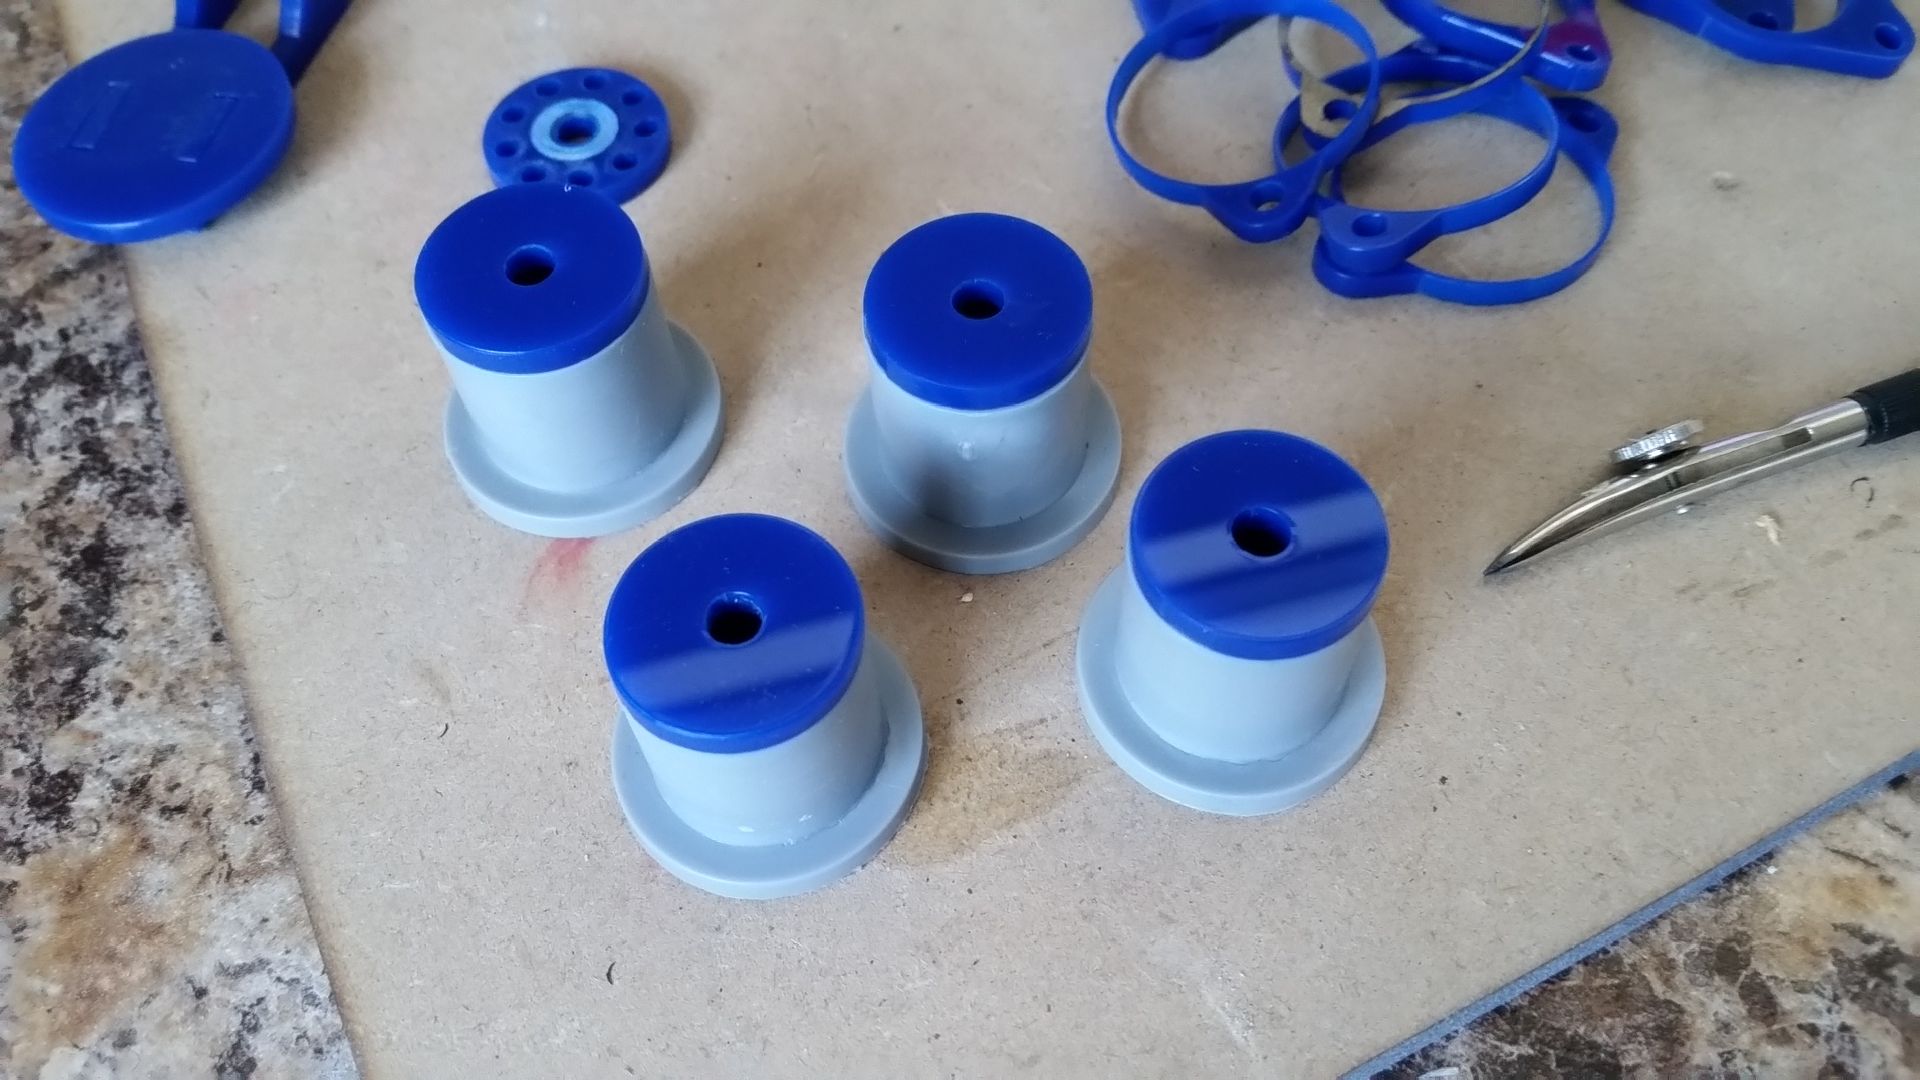
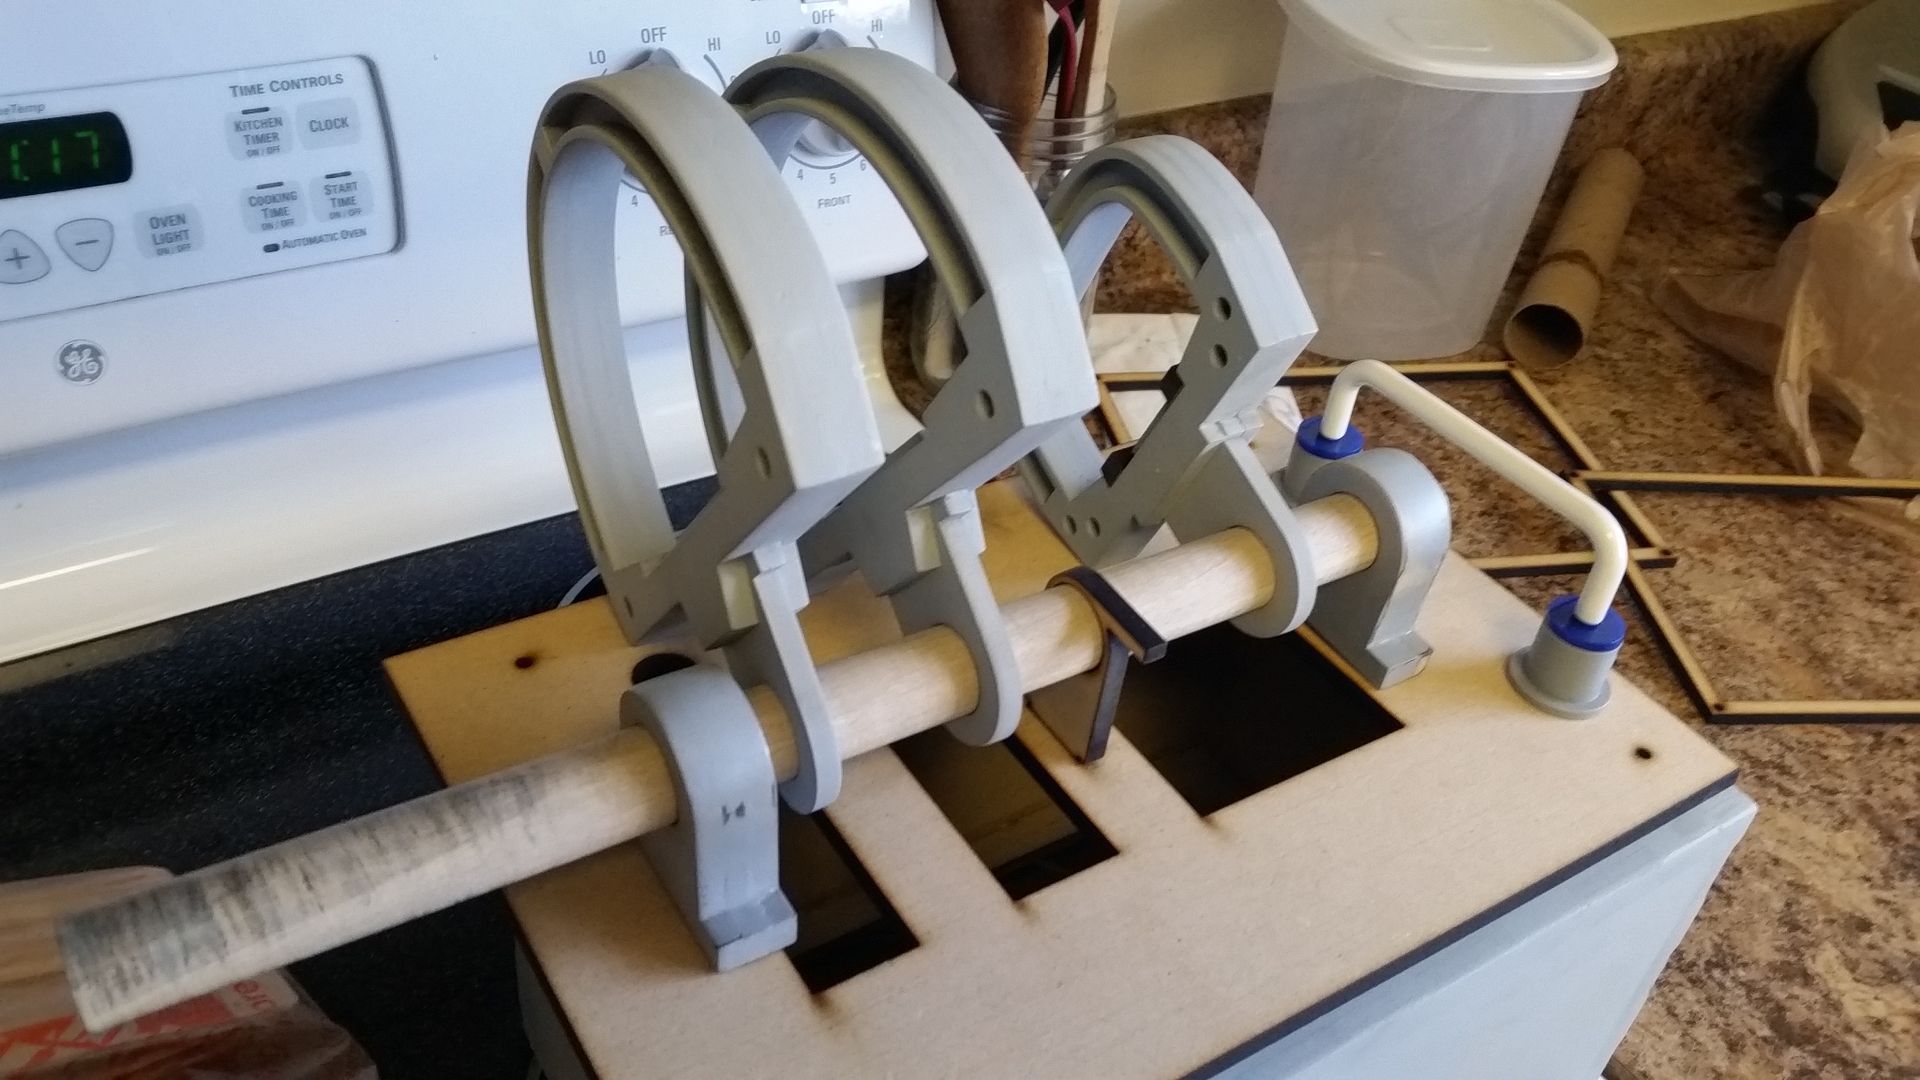
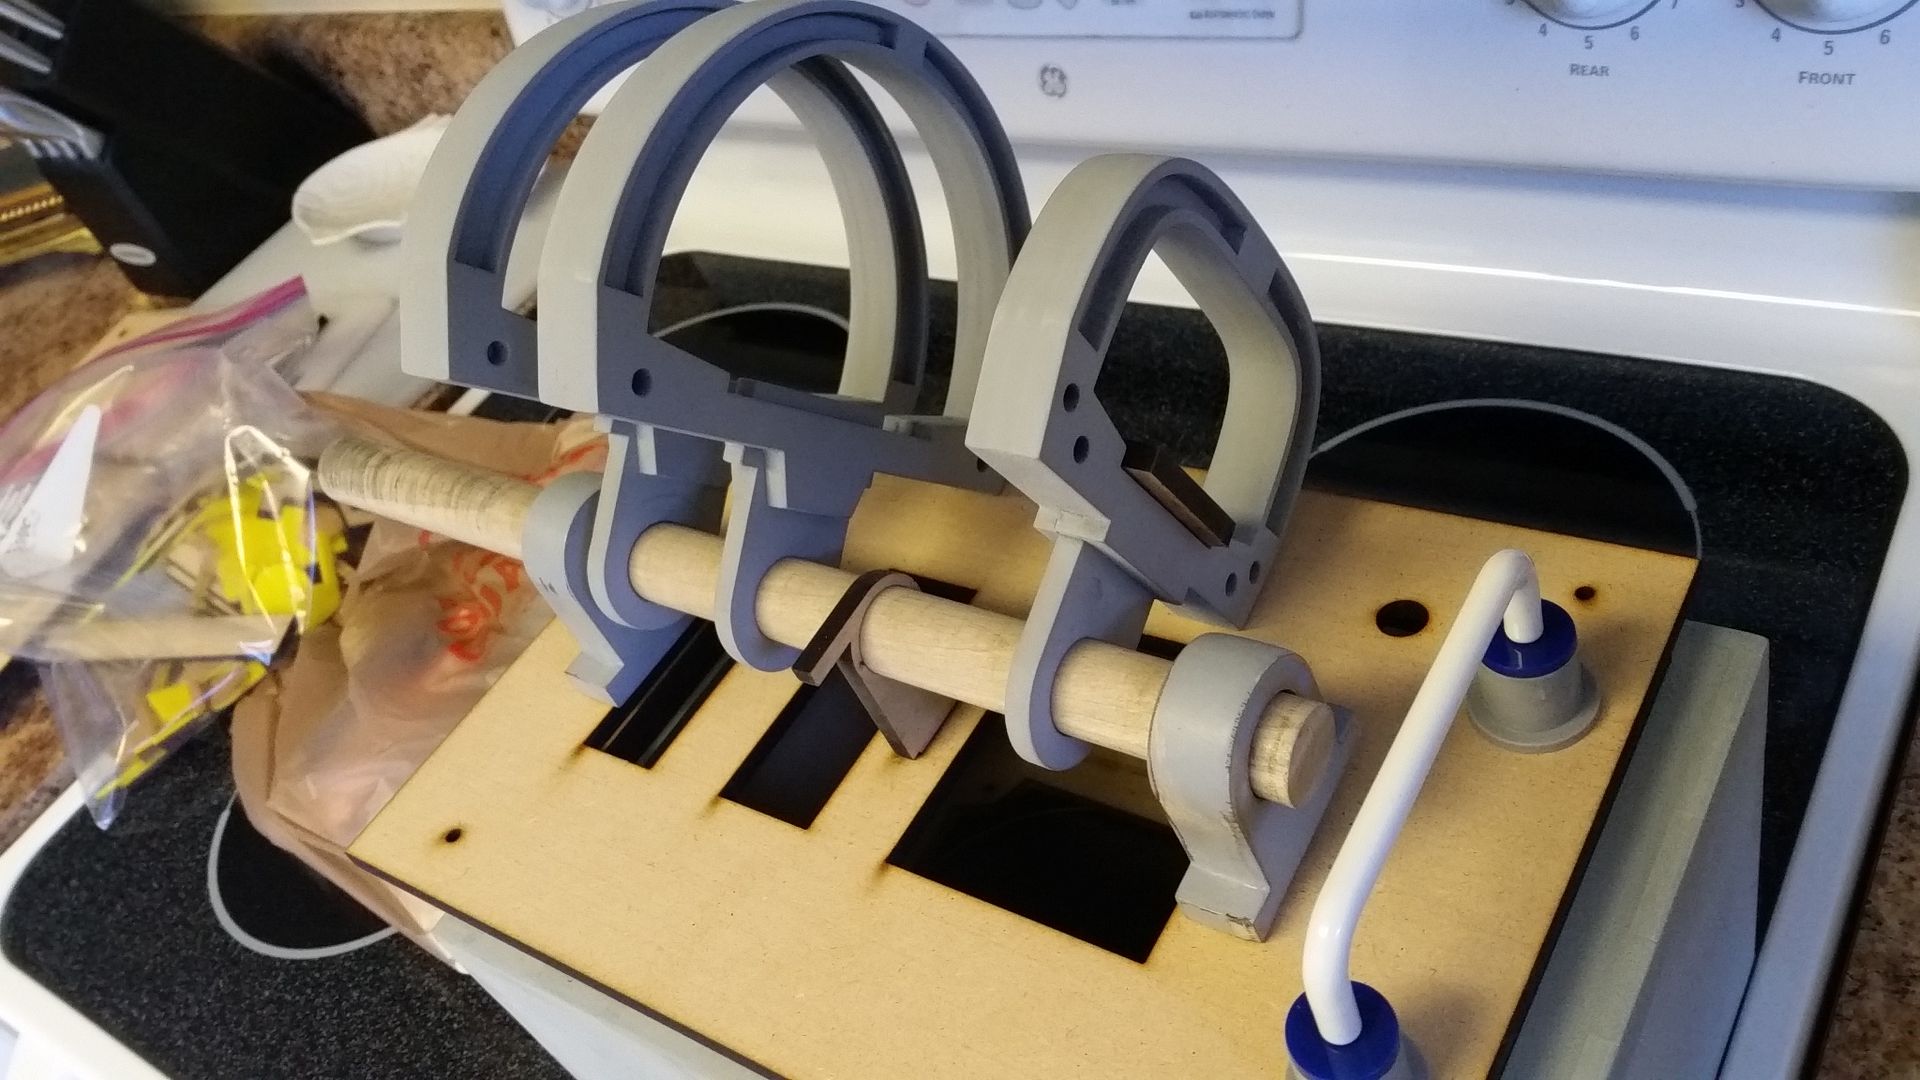
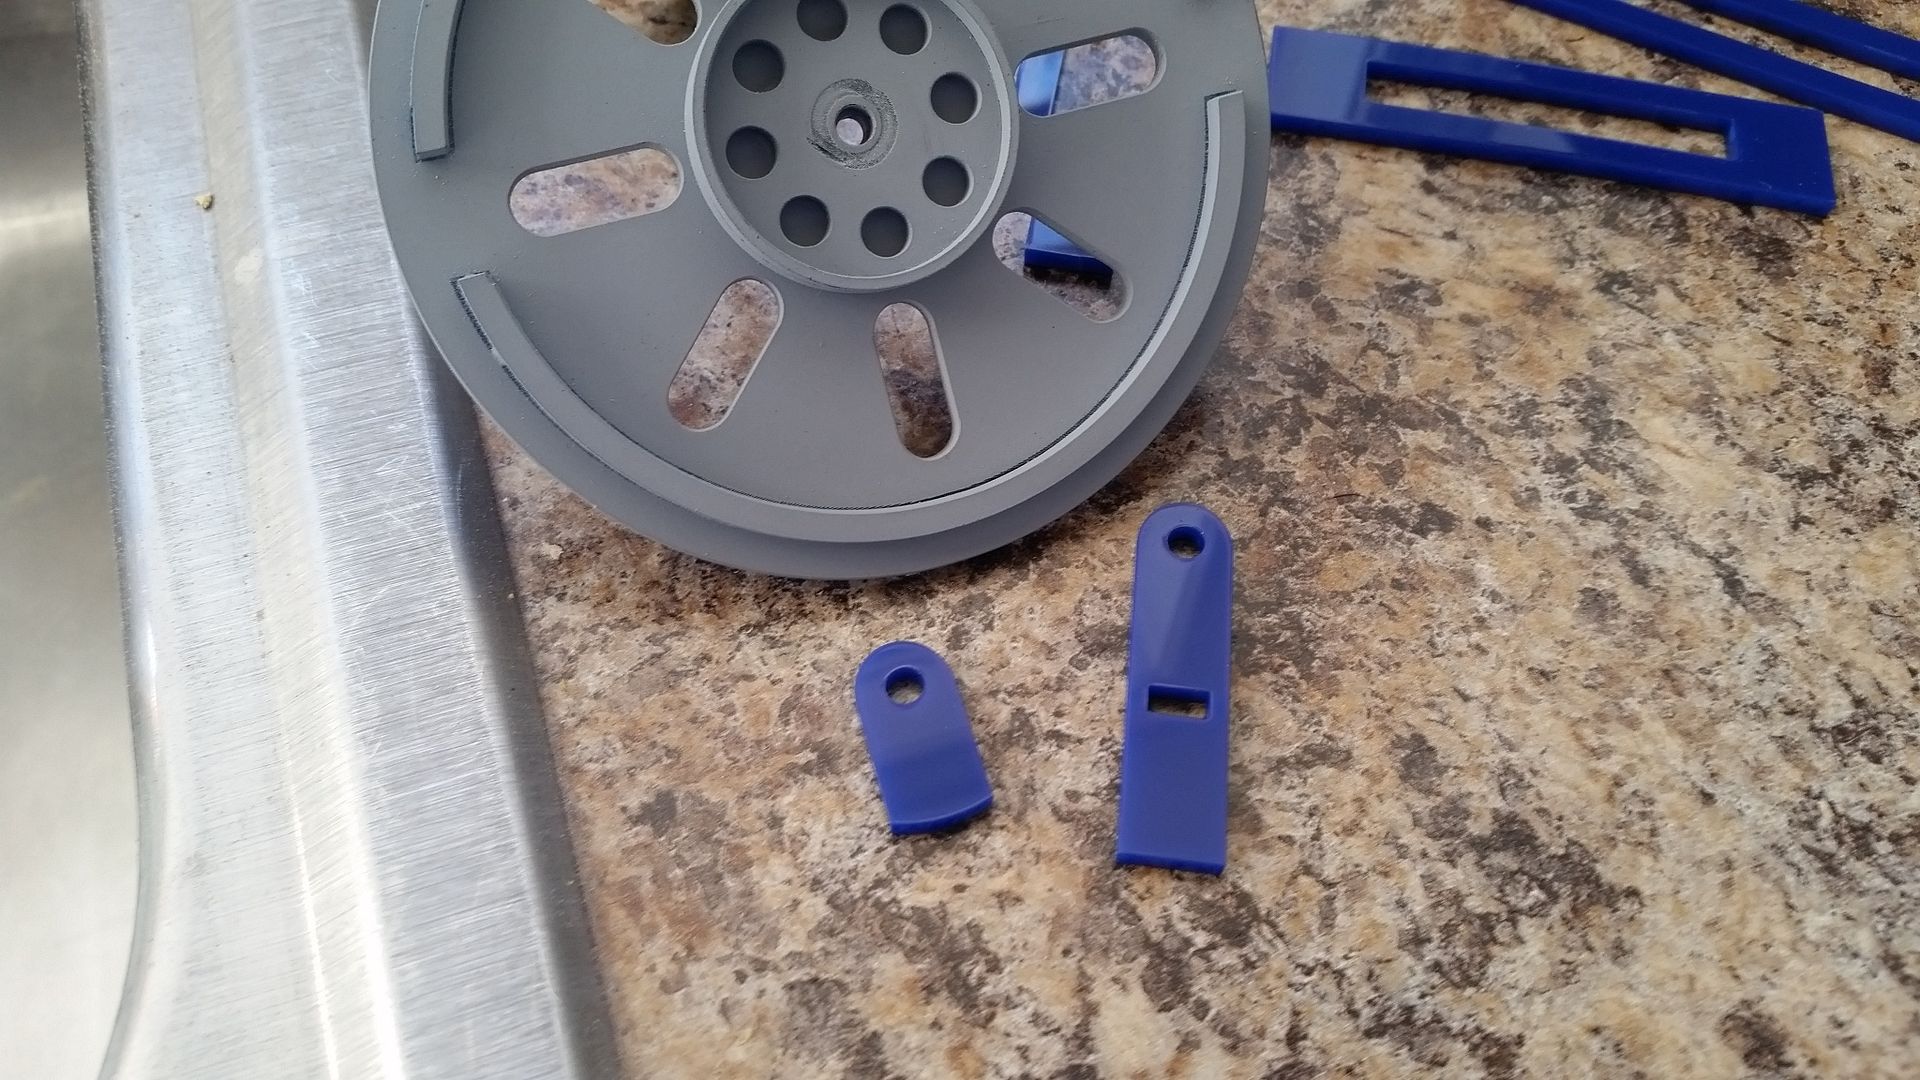
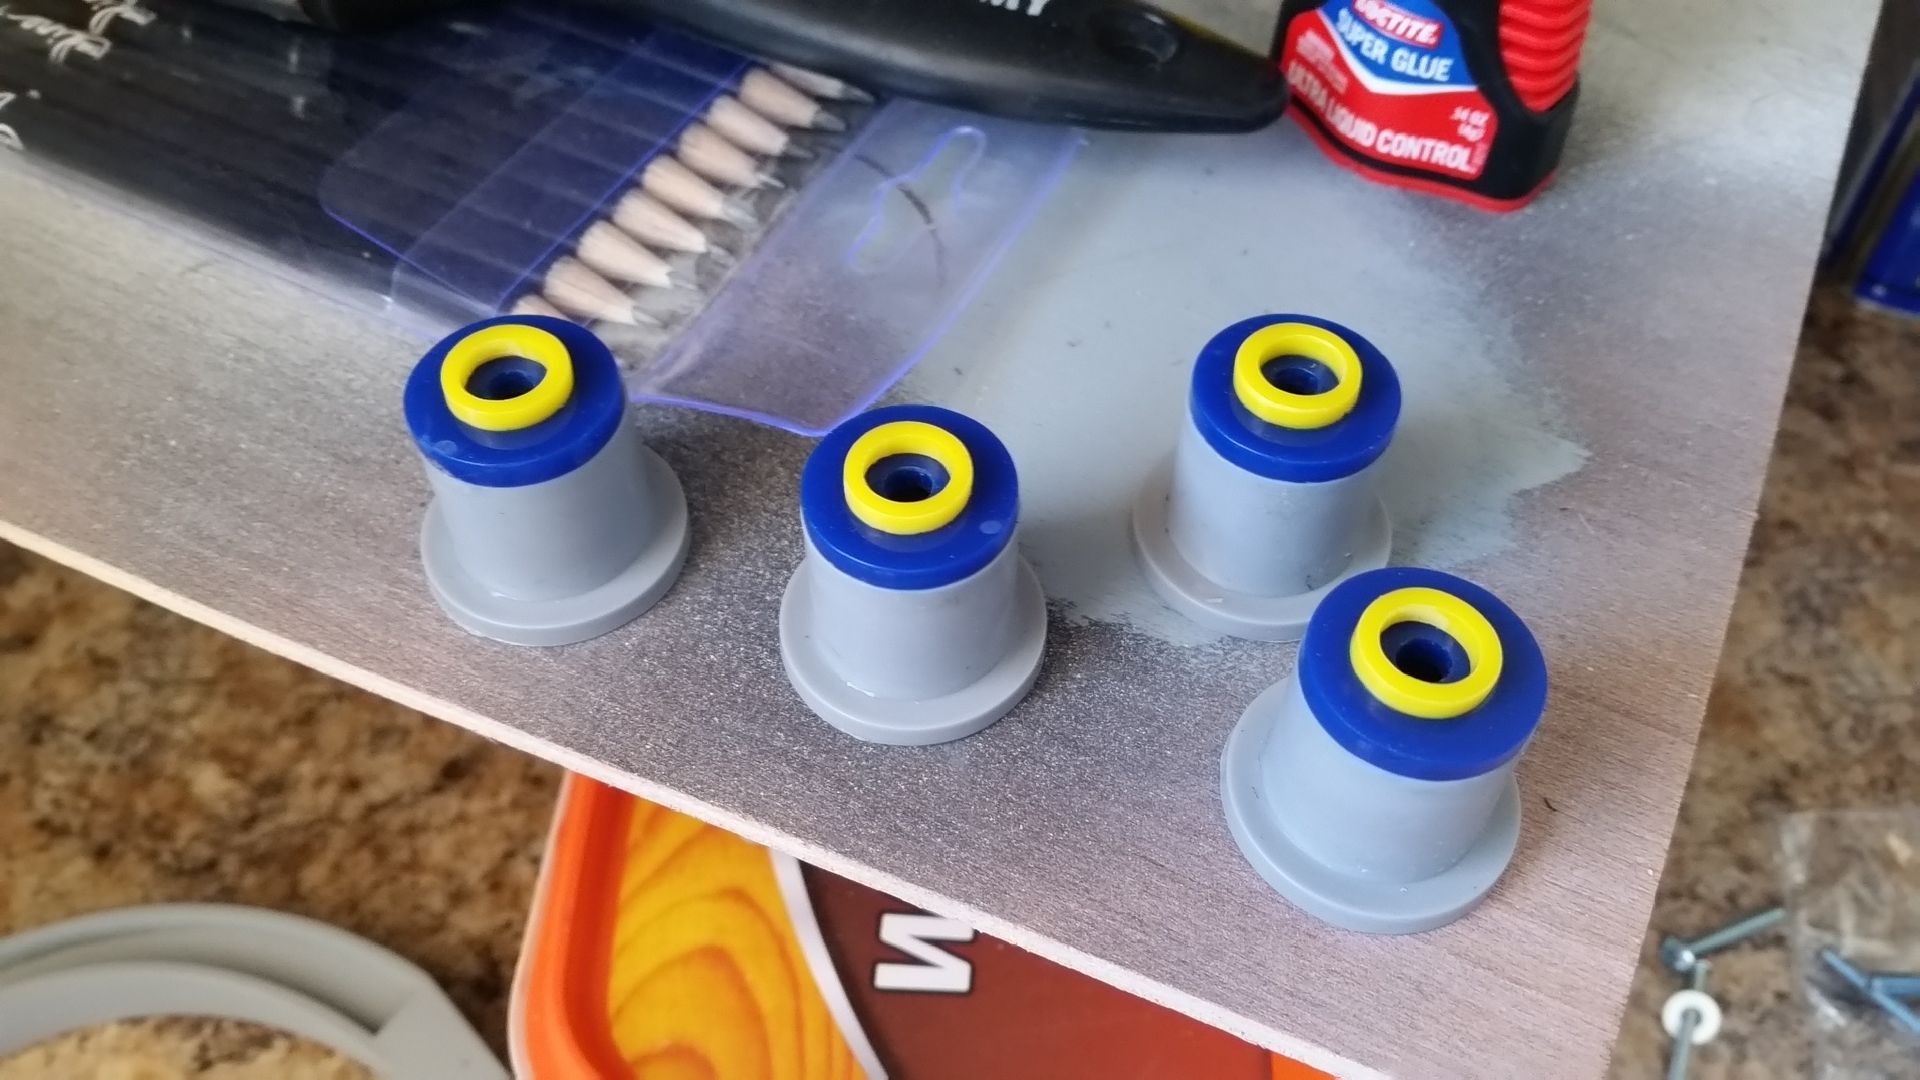
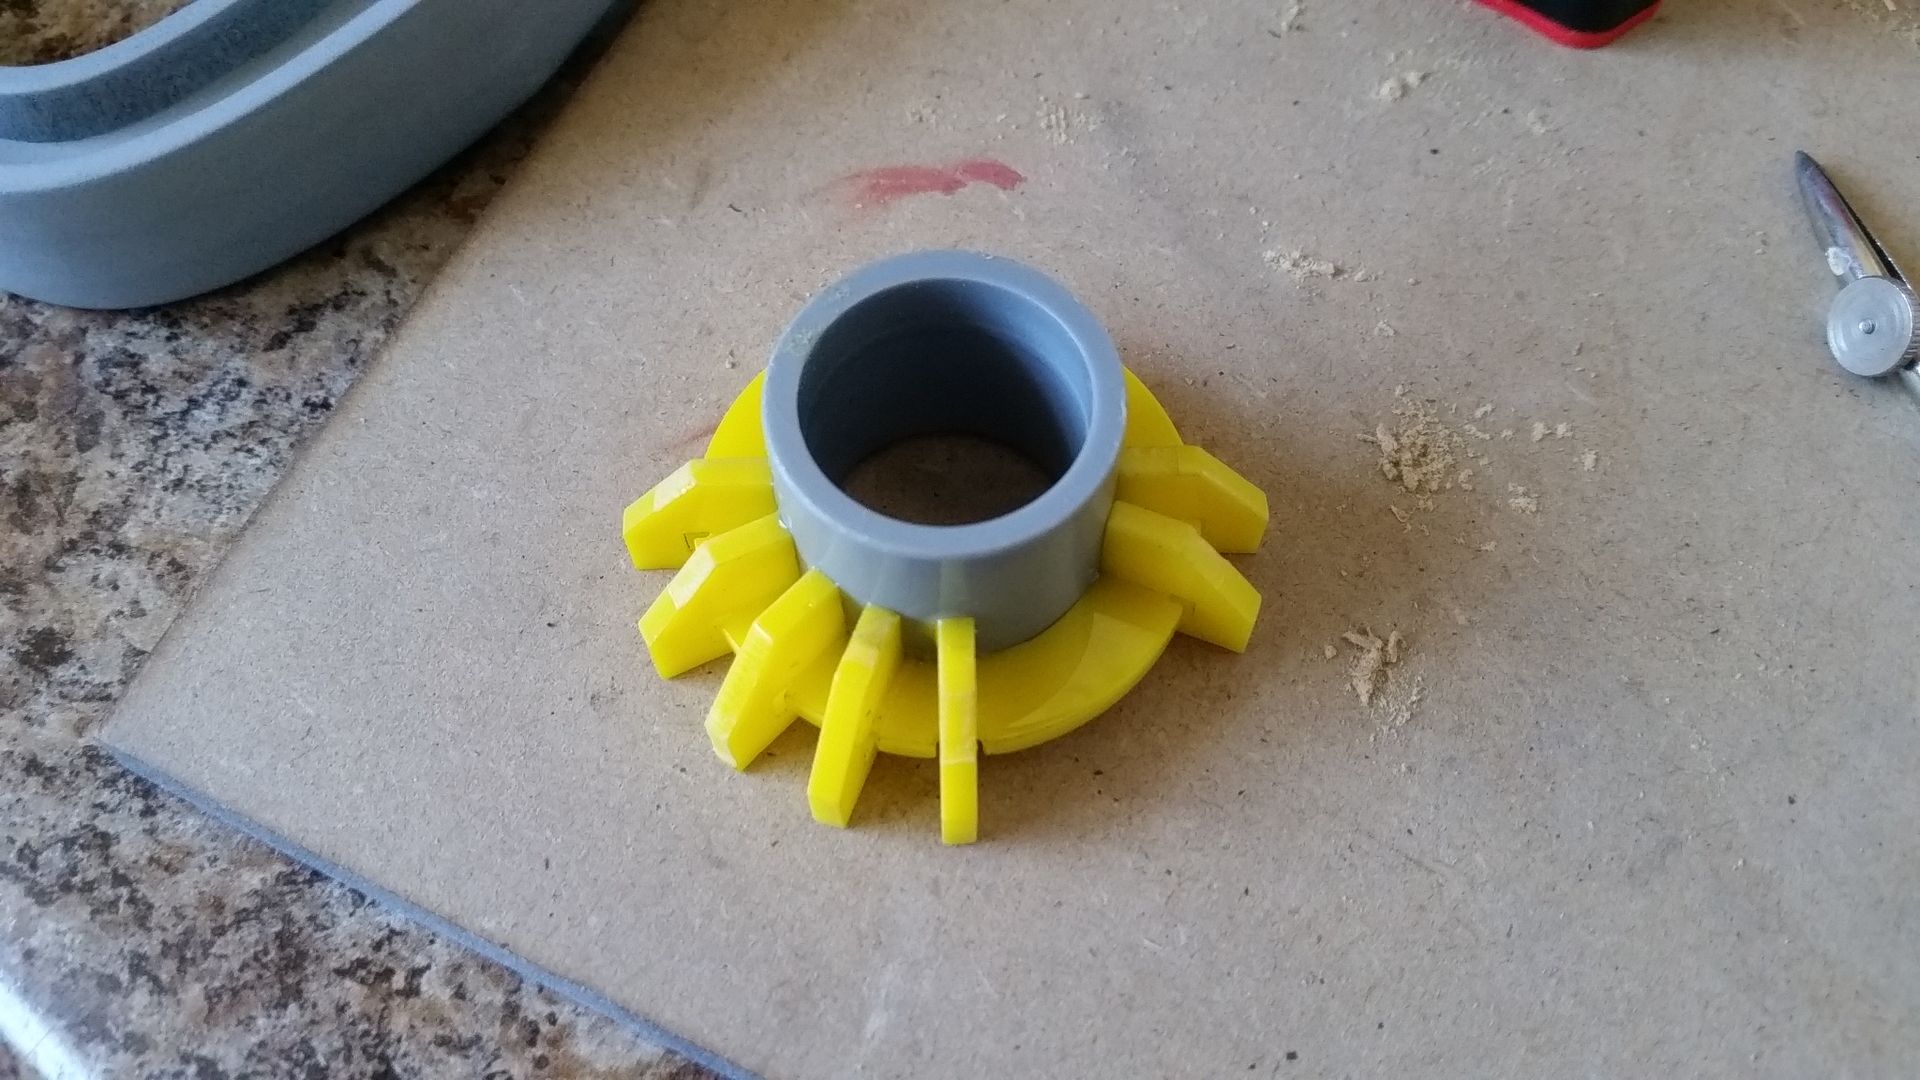
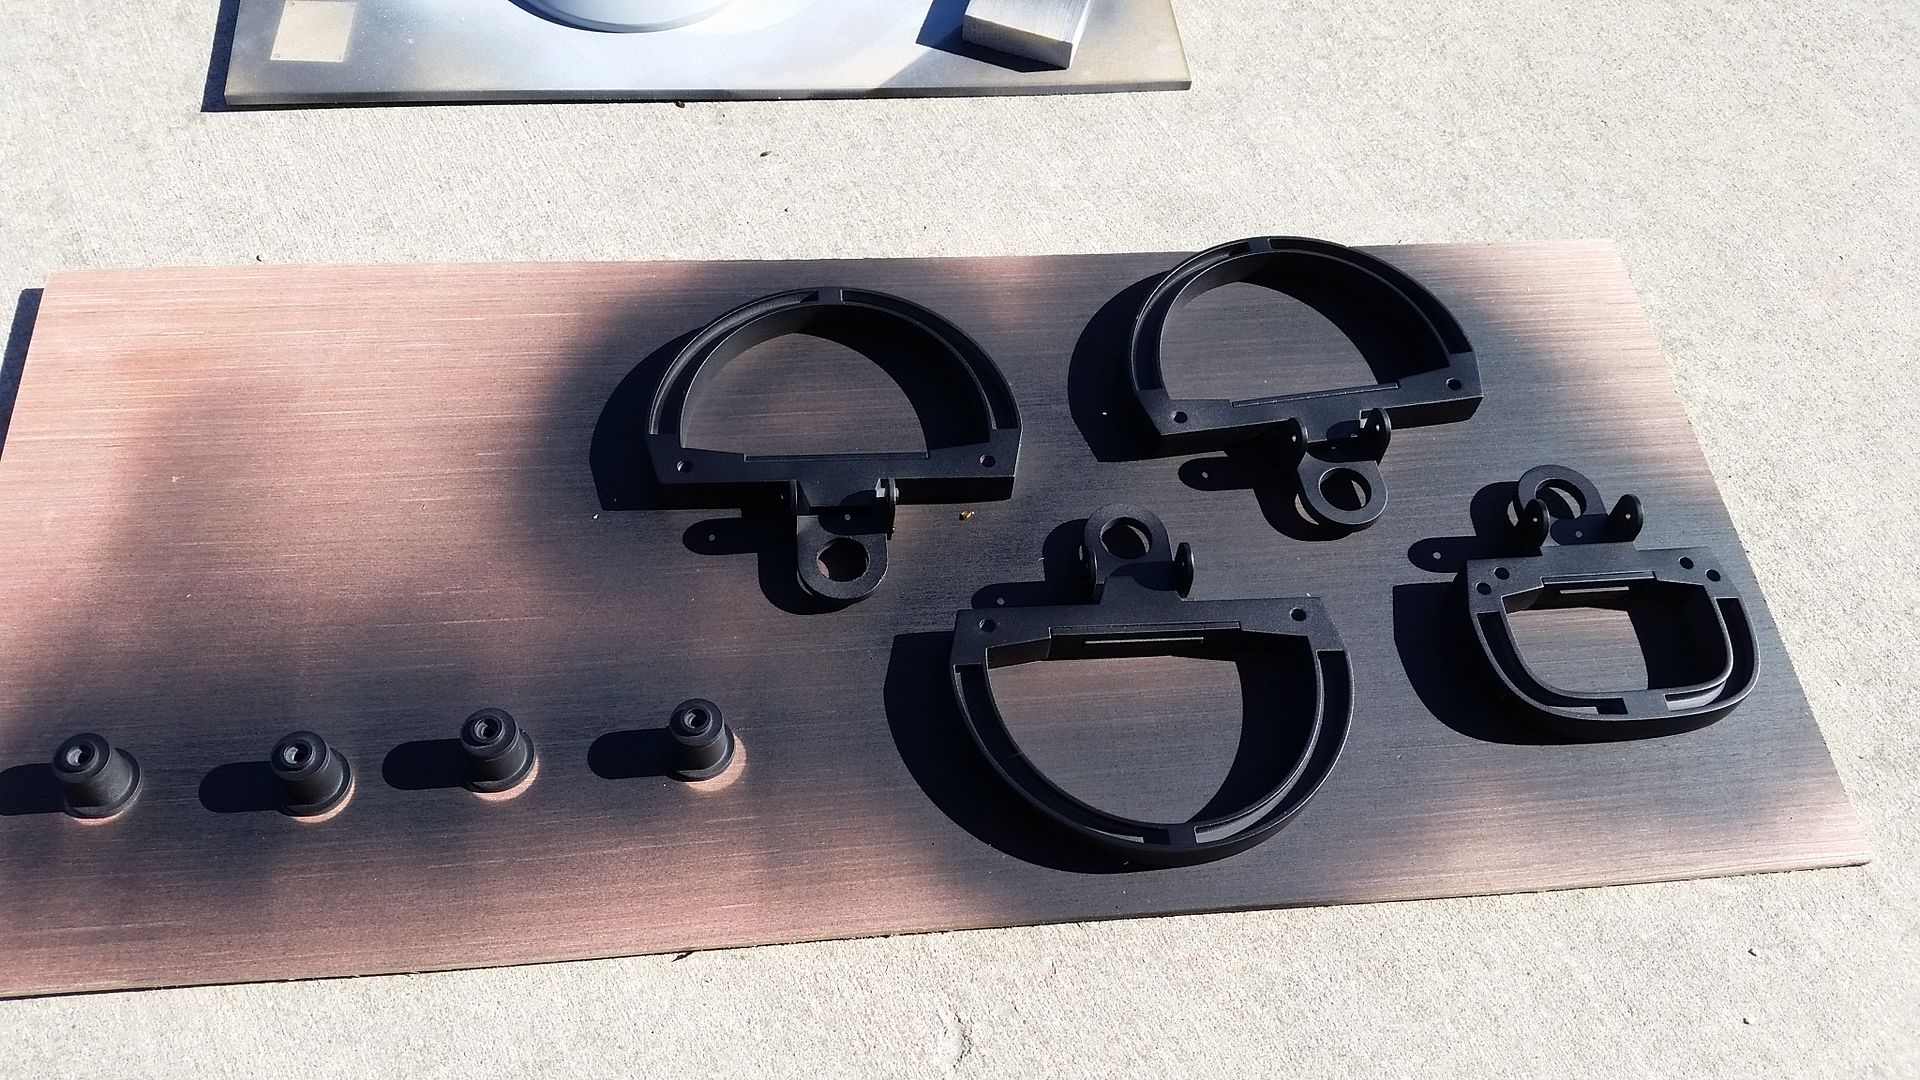
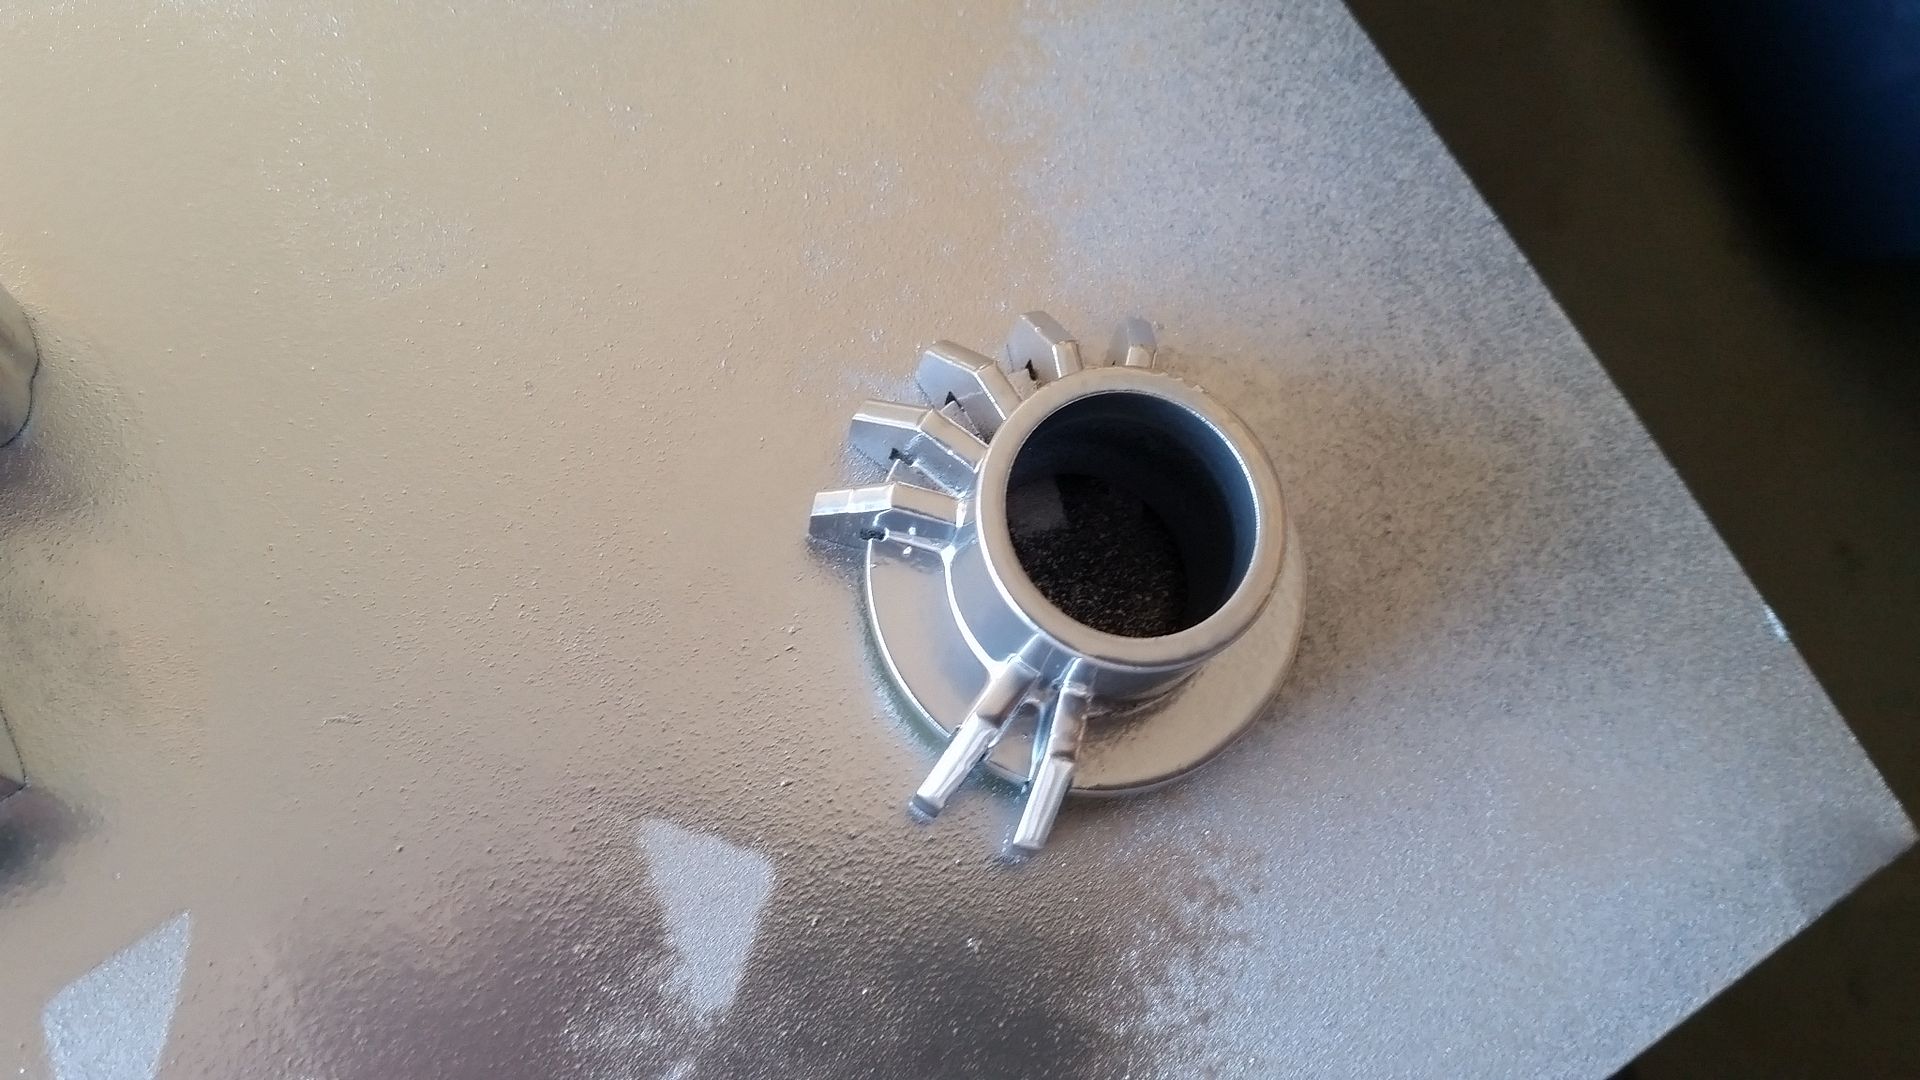
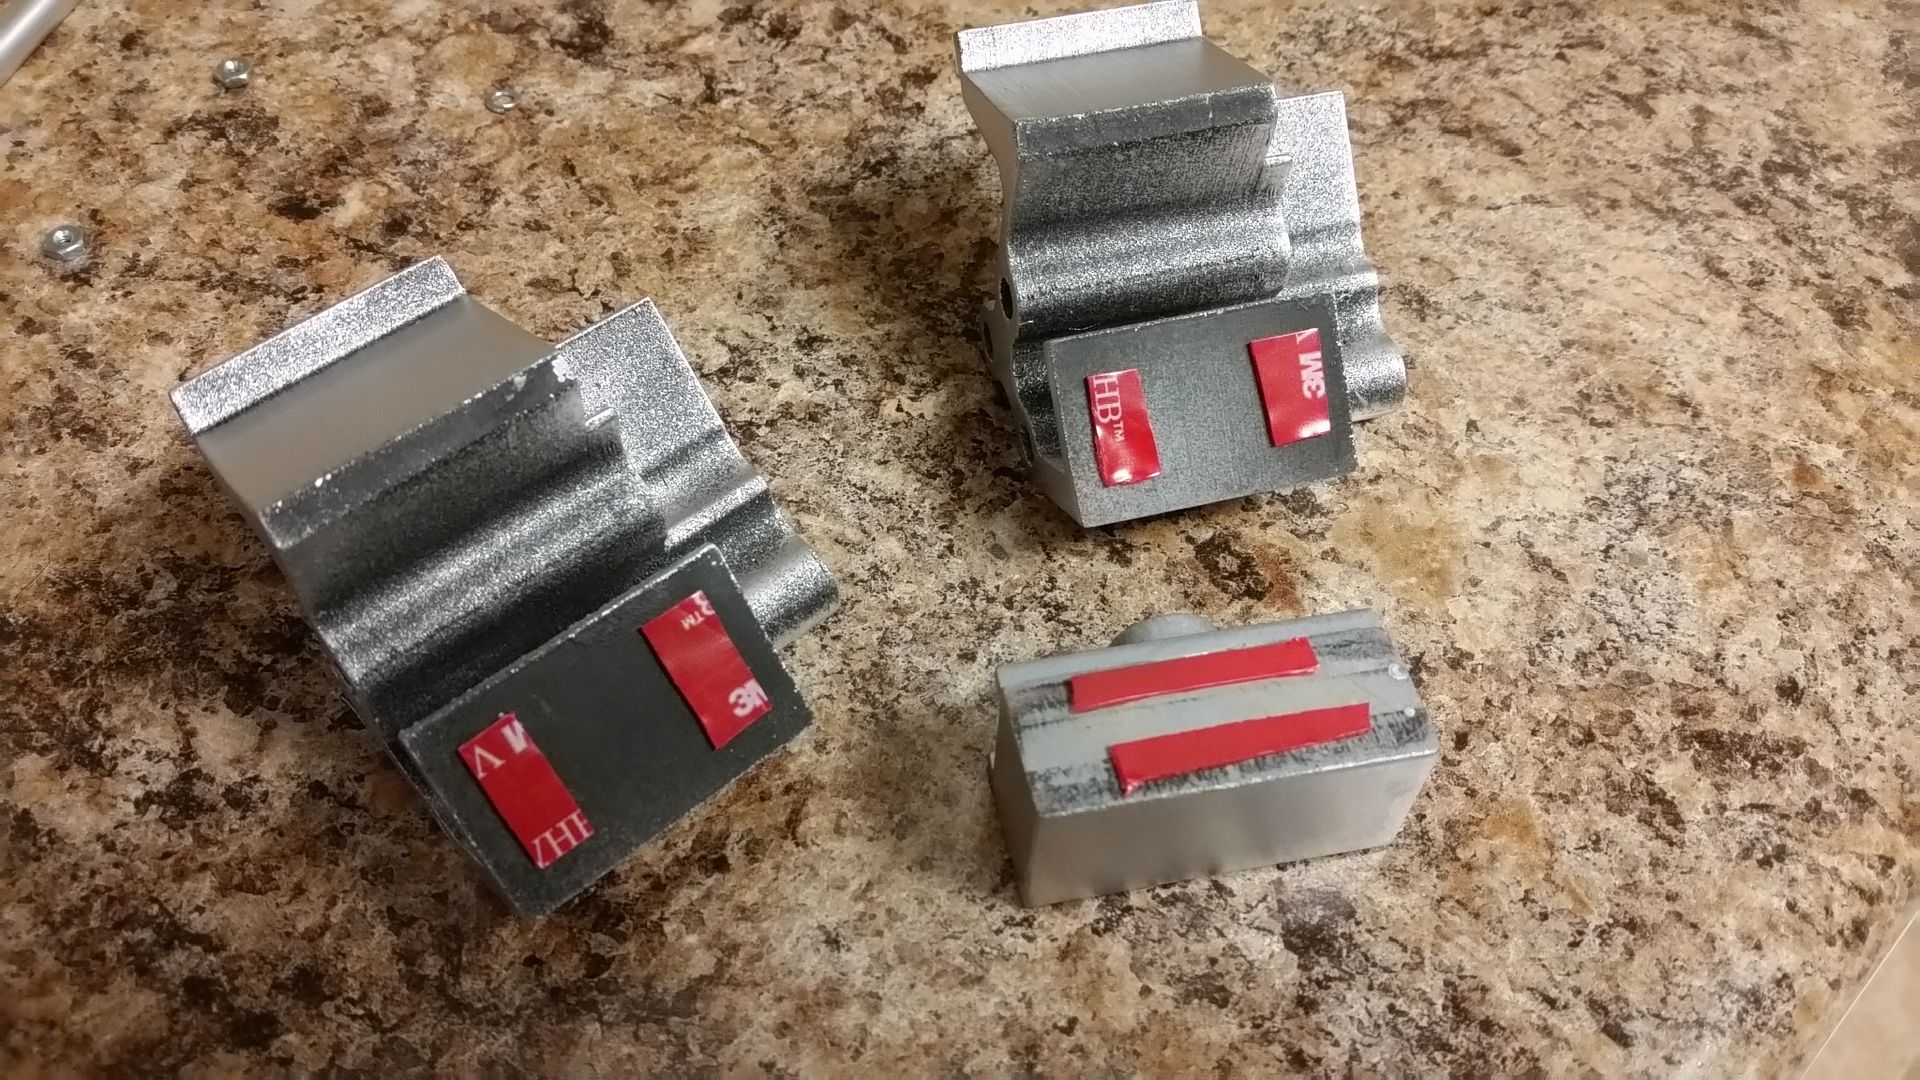
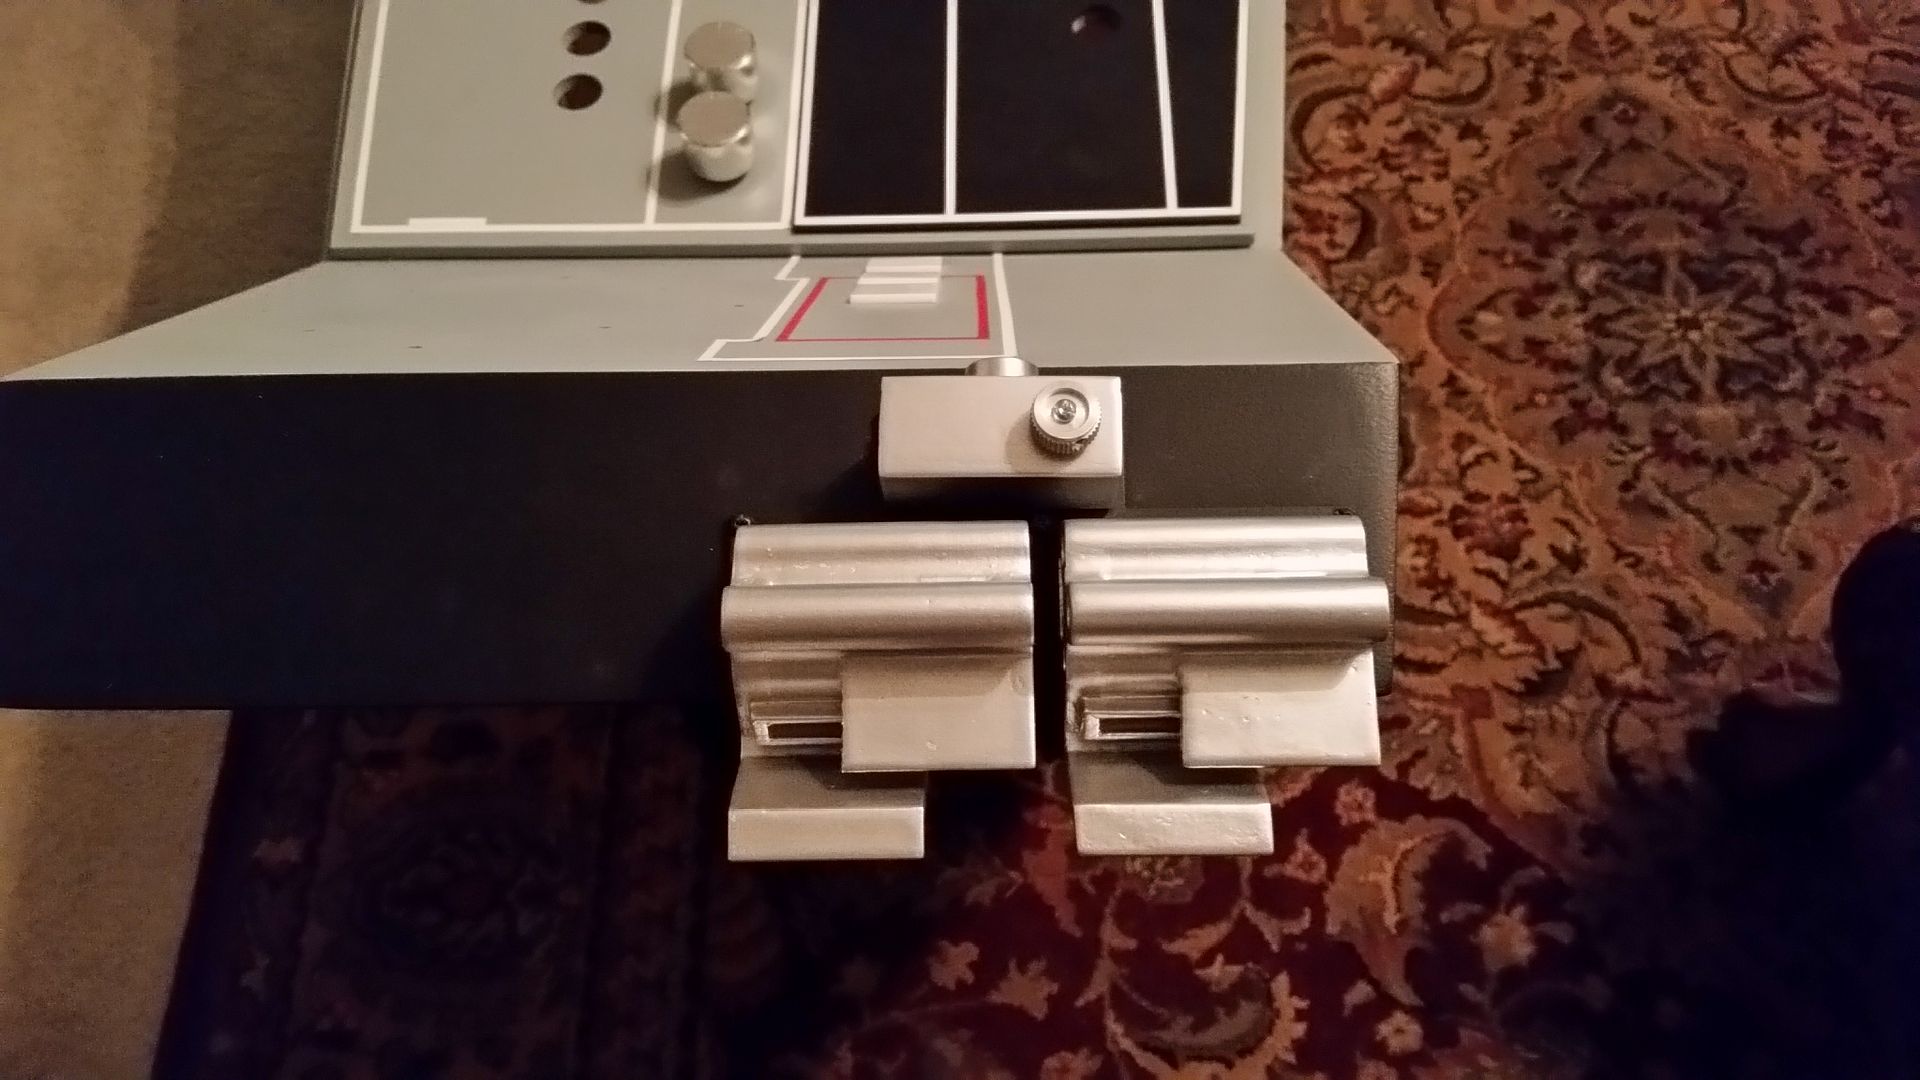
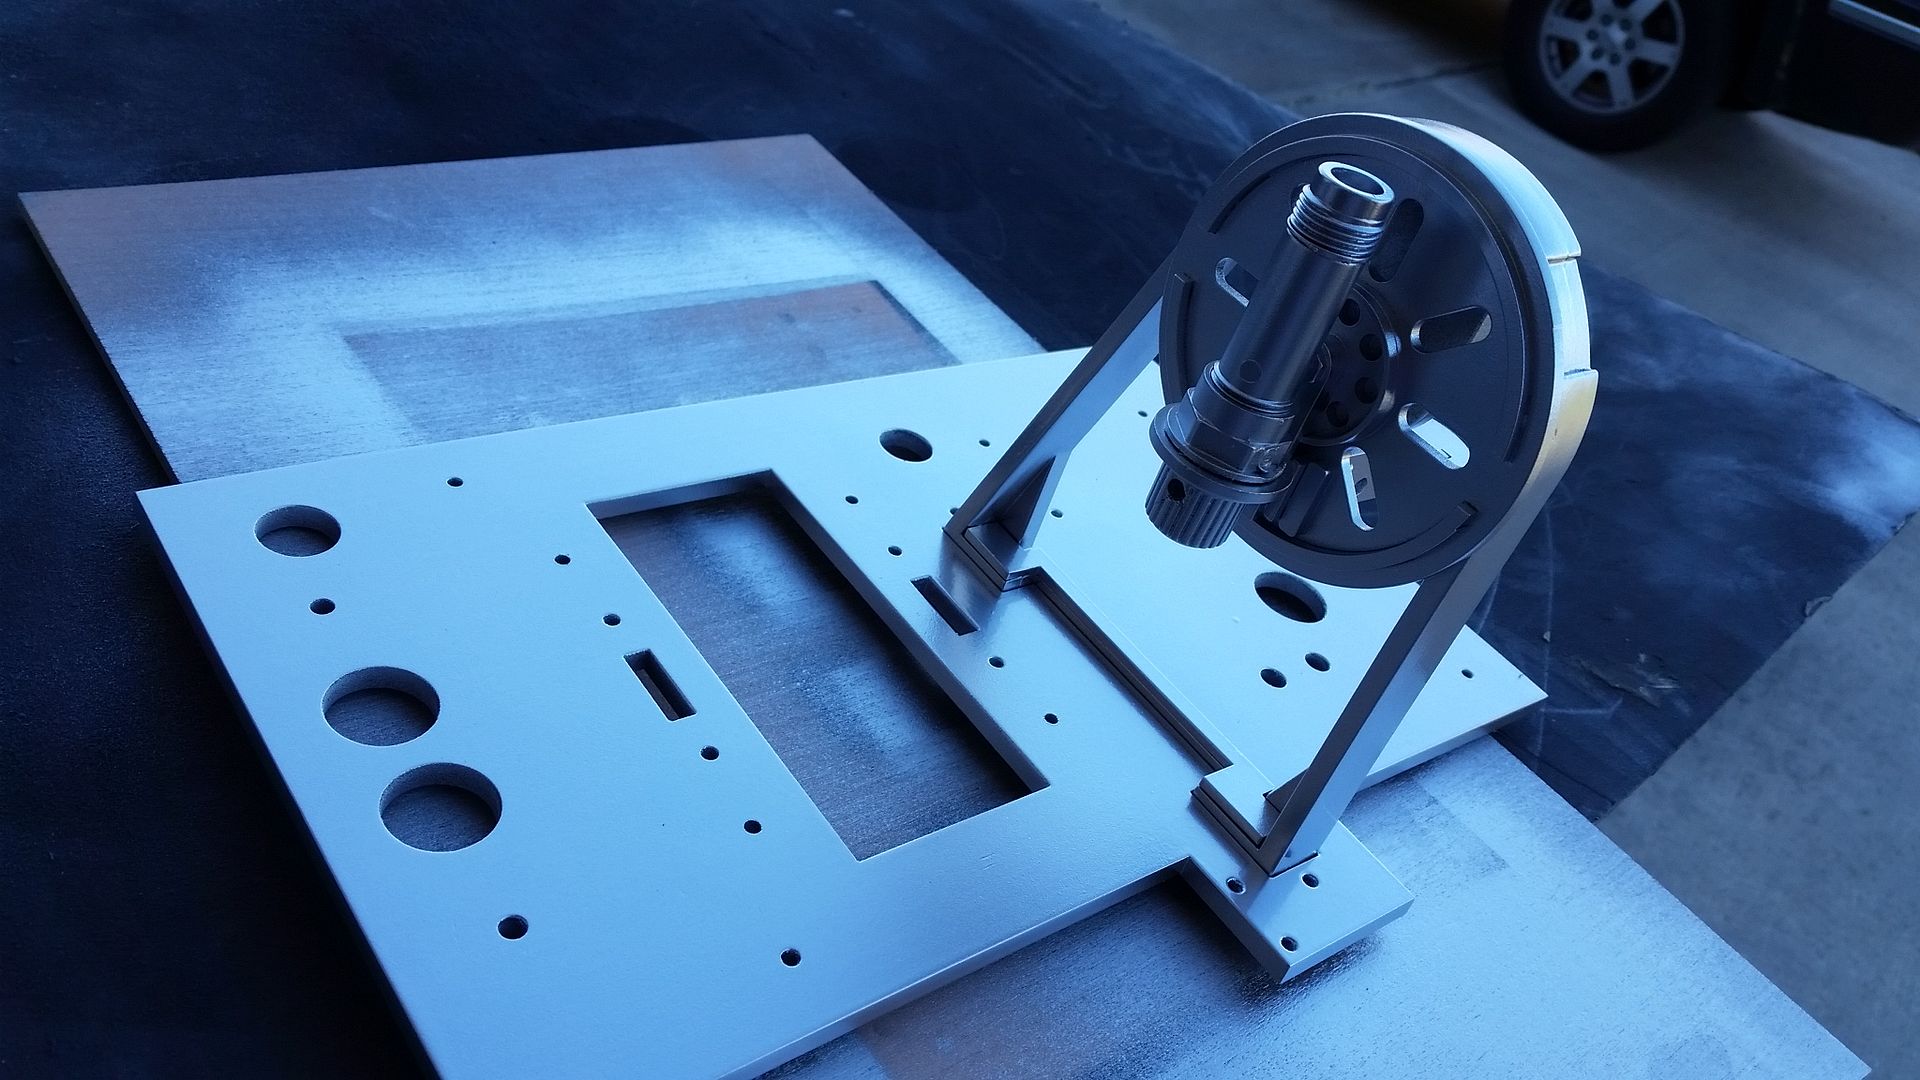
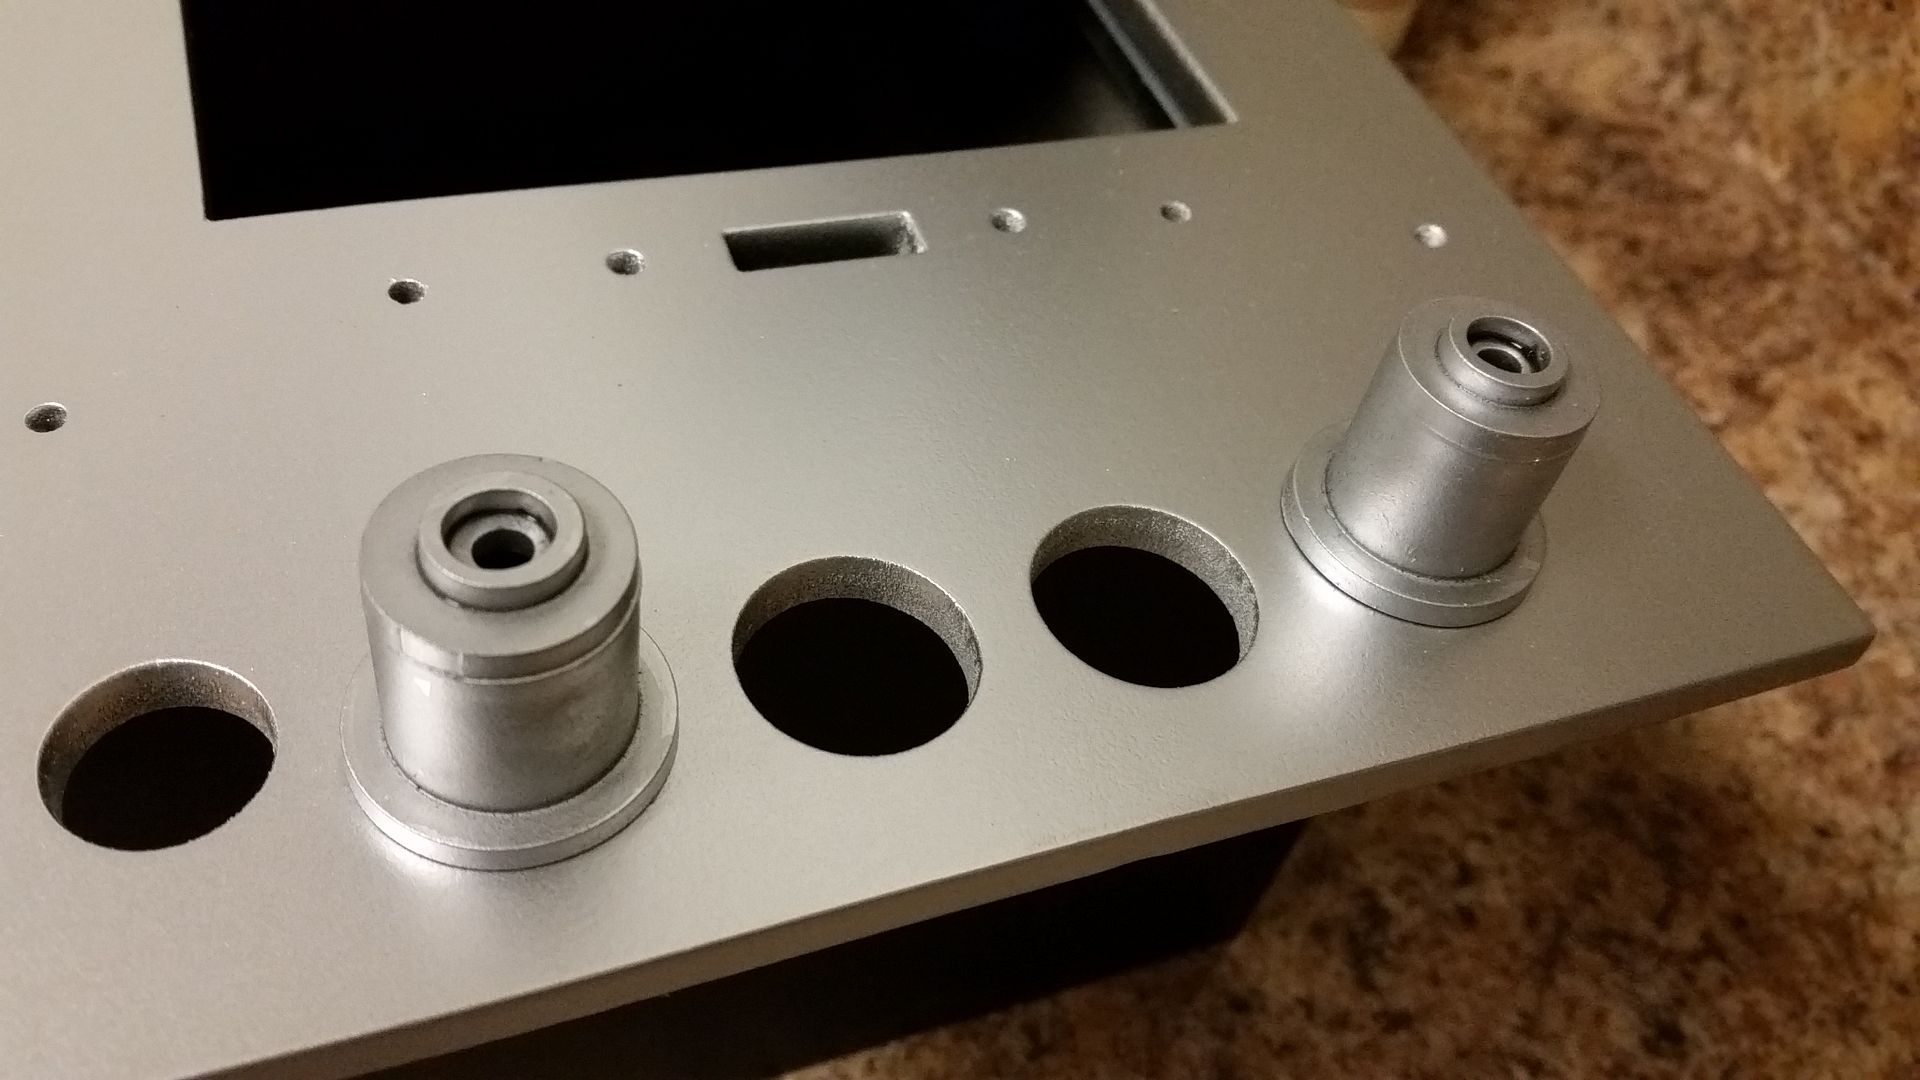
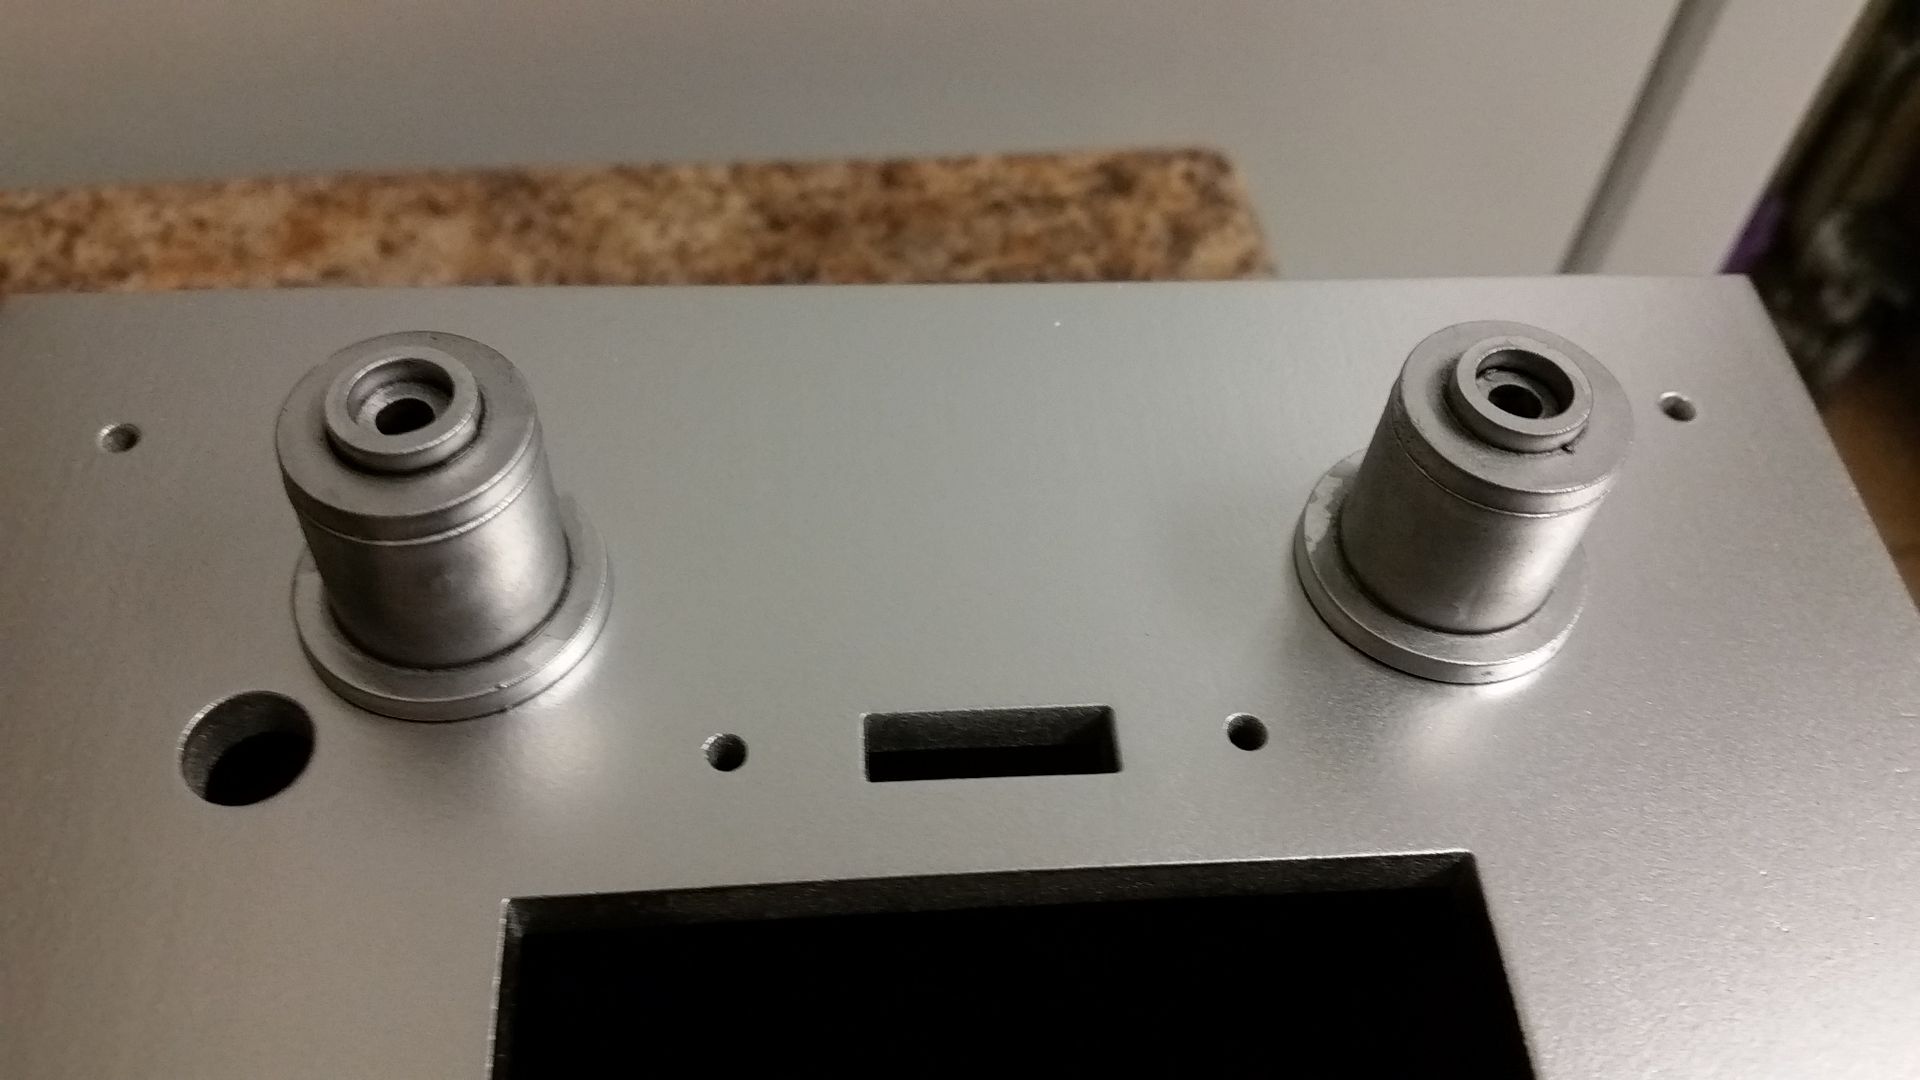
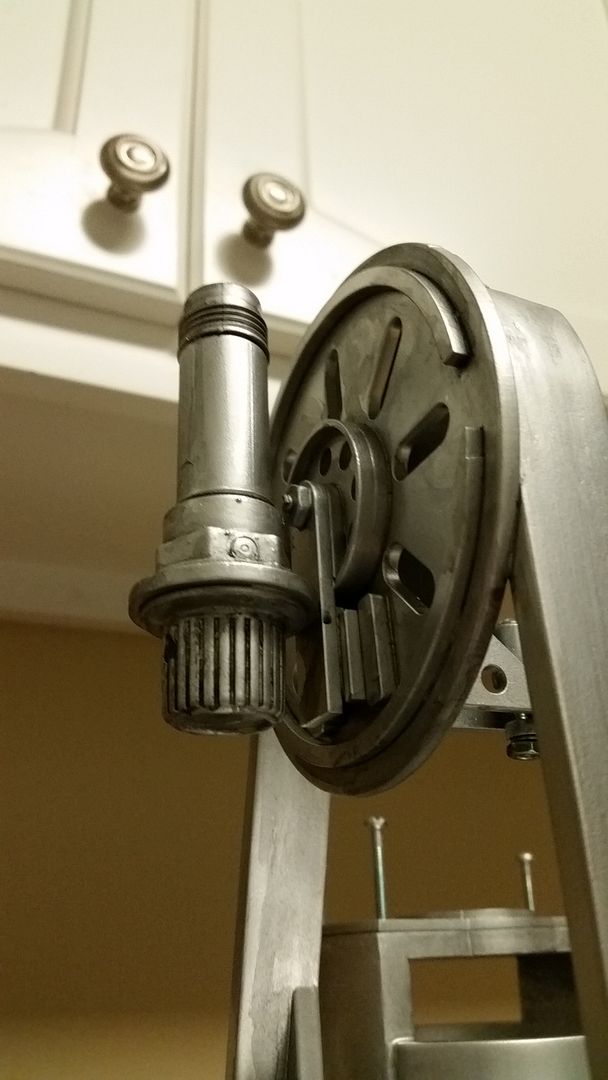
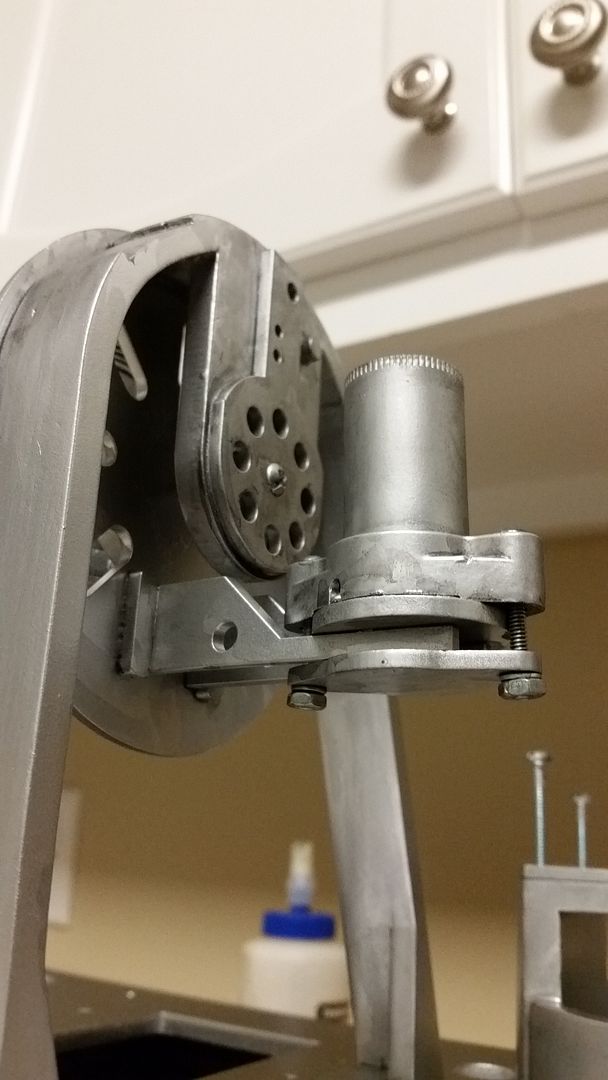
Picked up 4 pipe fittings and laser cut these odd shapes
When put together they look like this. But what's it all for you ask?
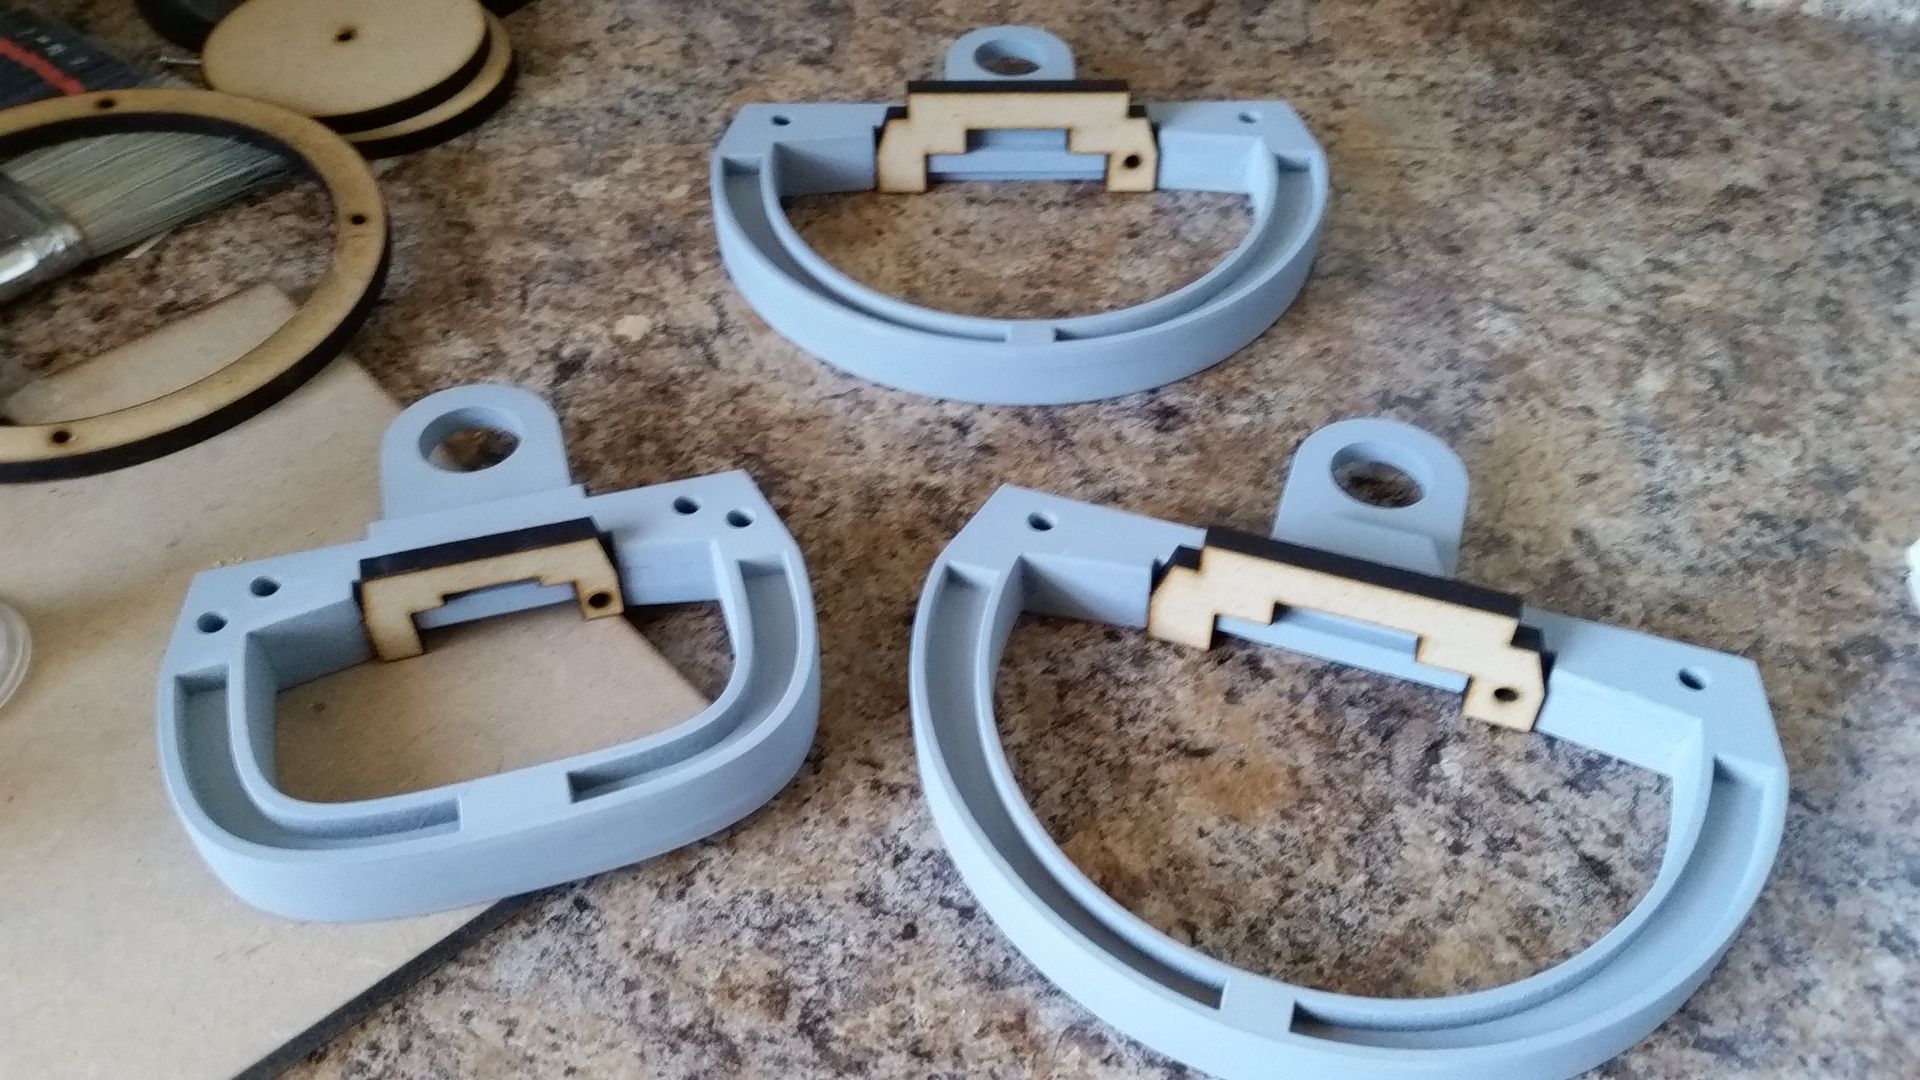
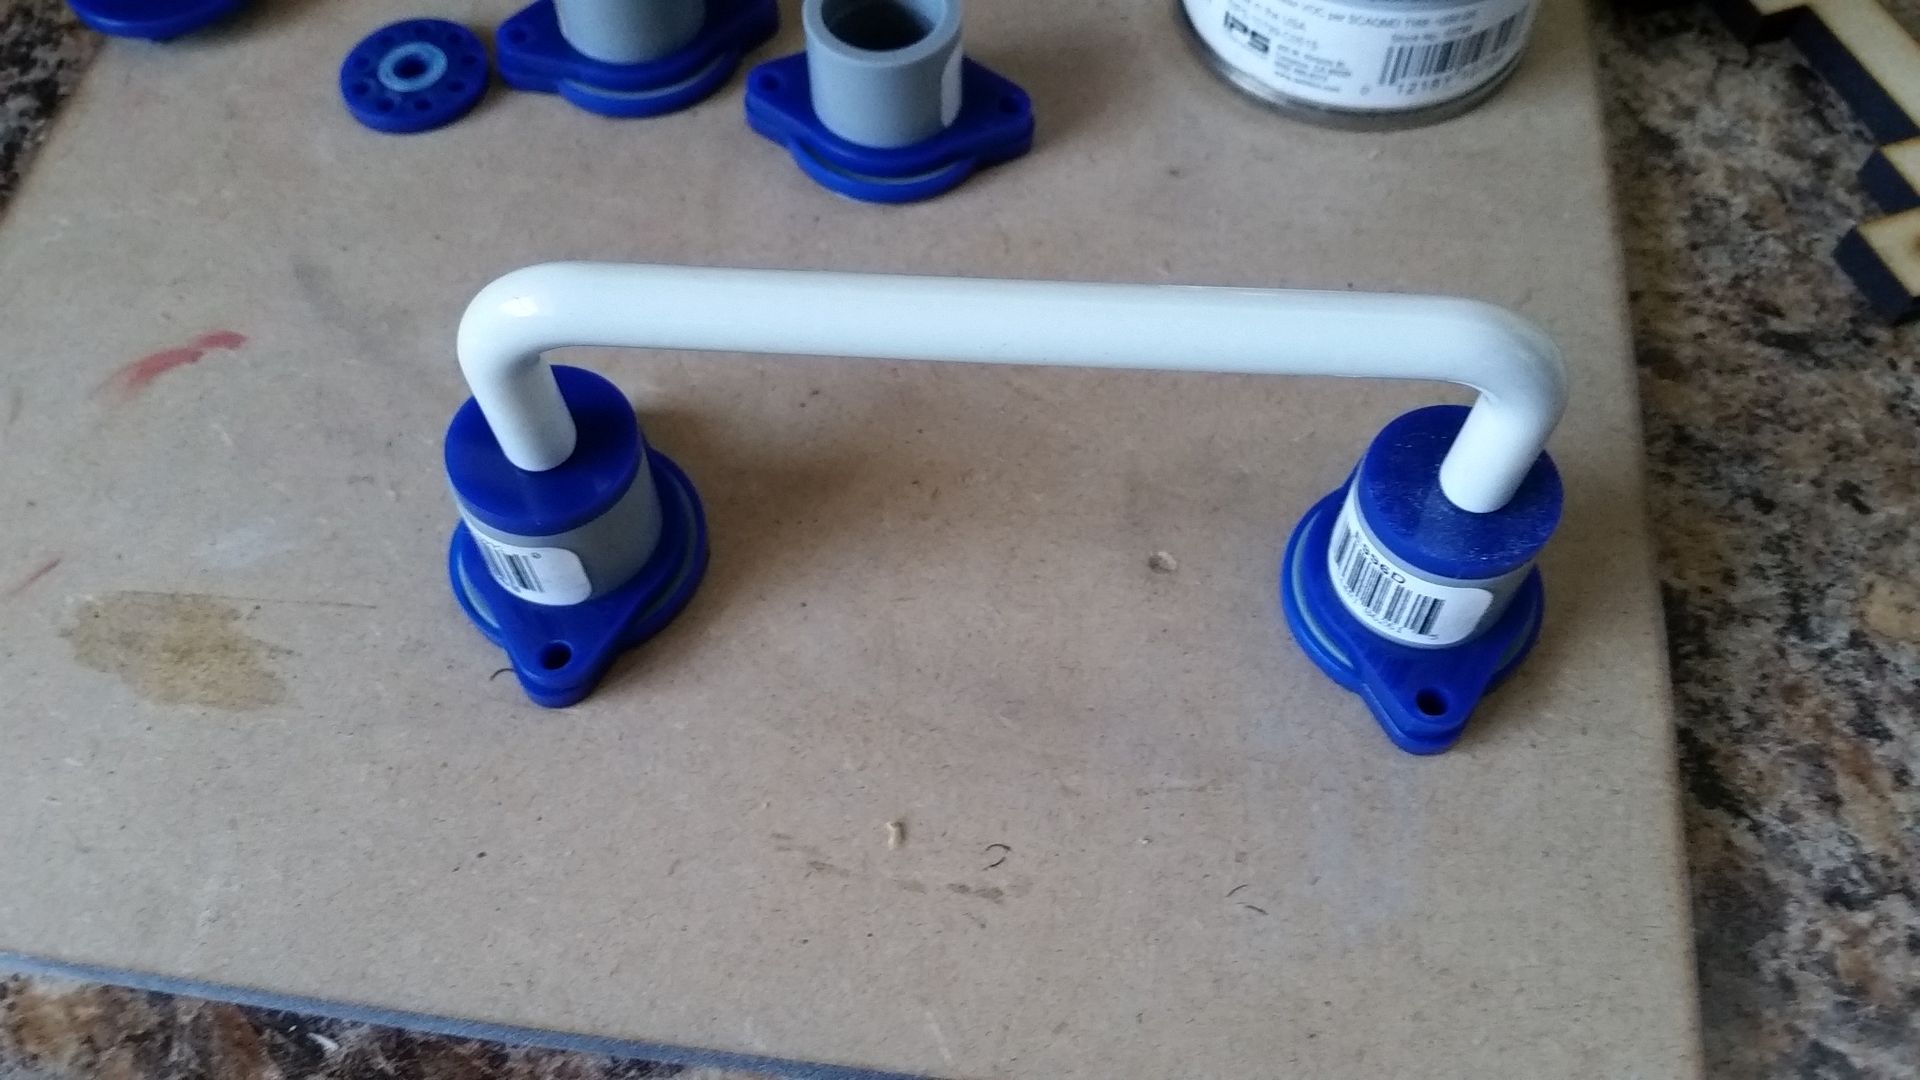
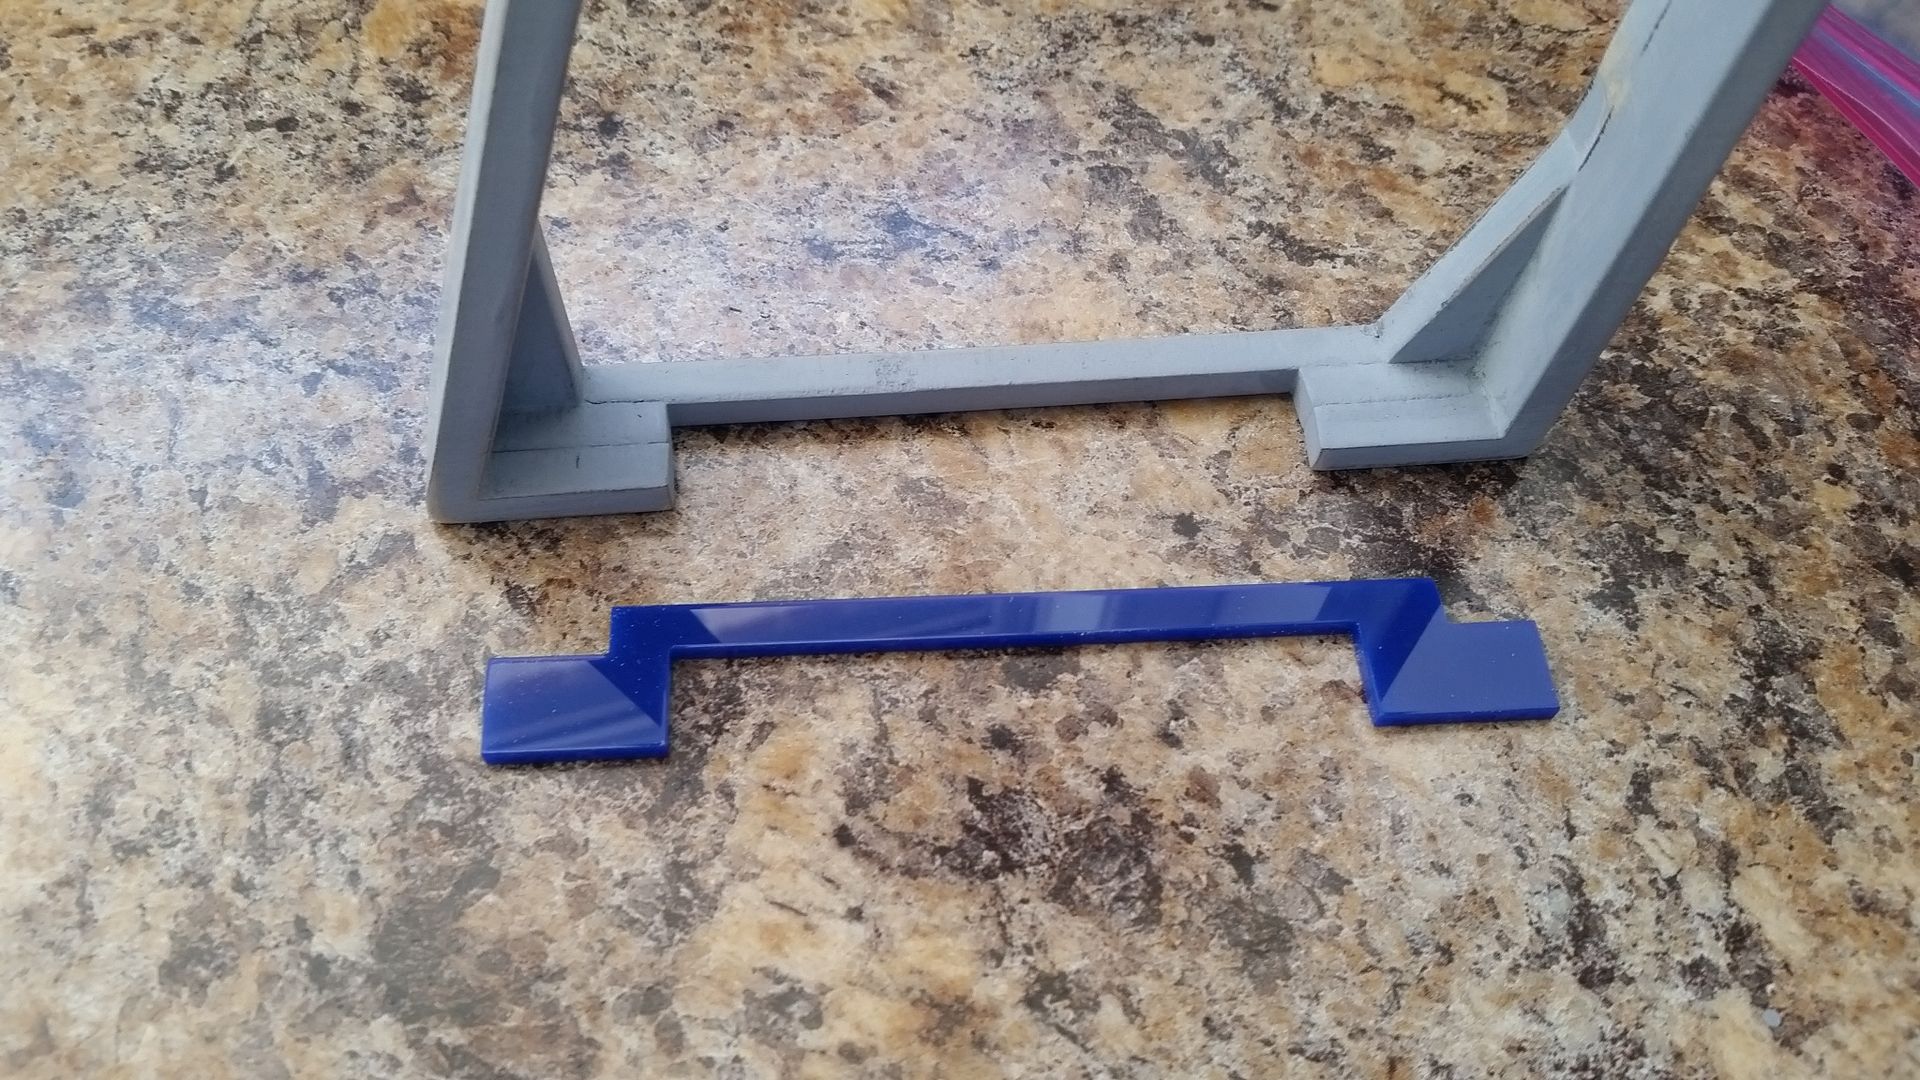
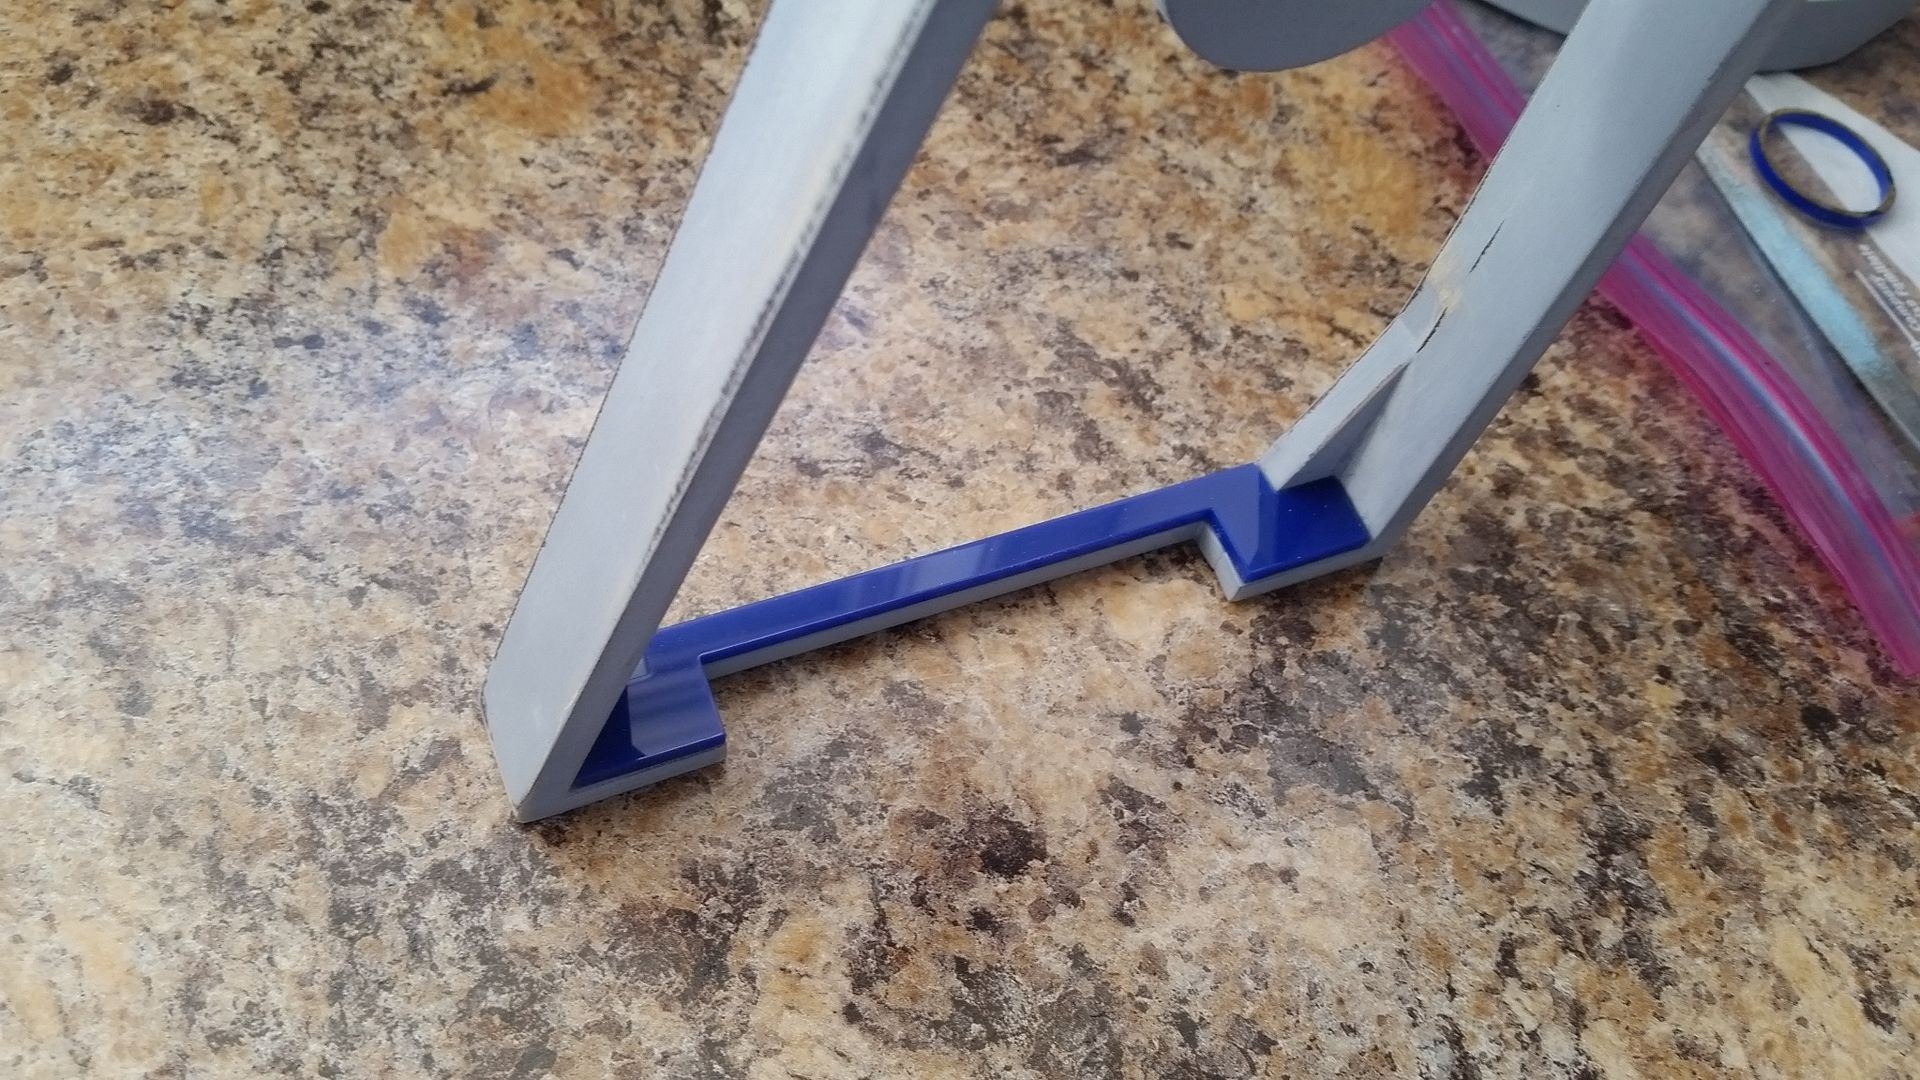
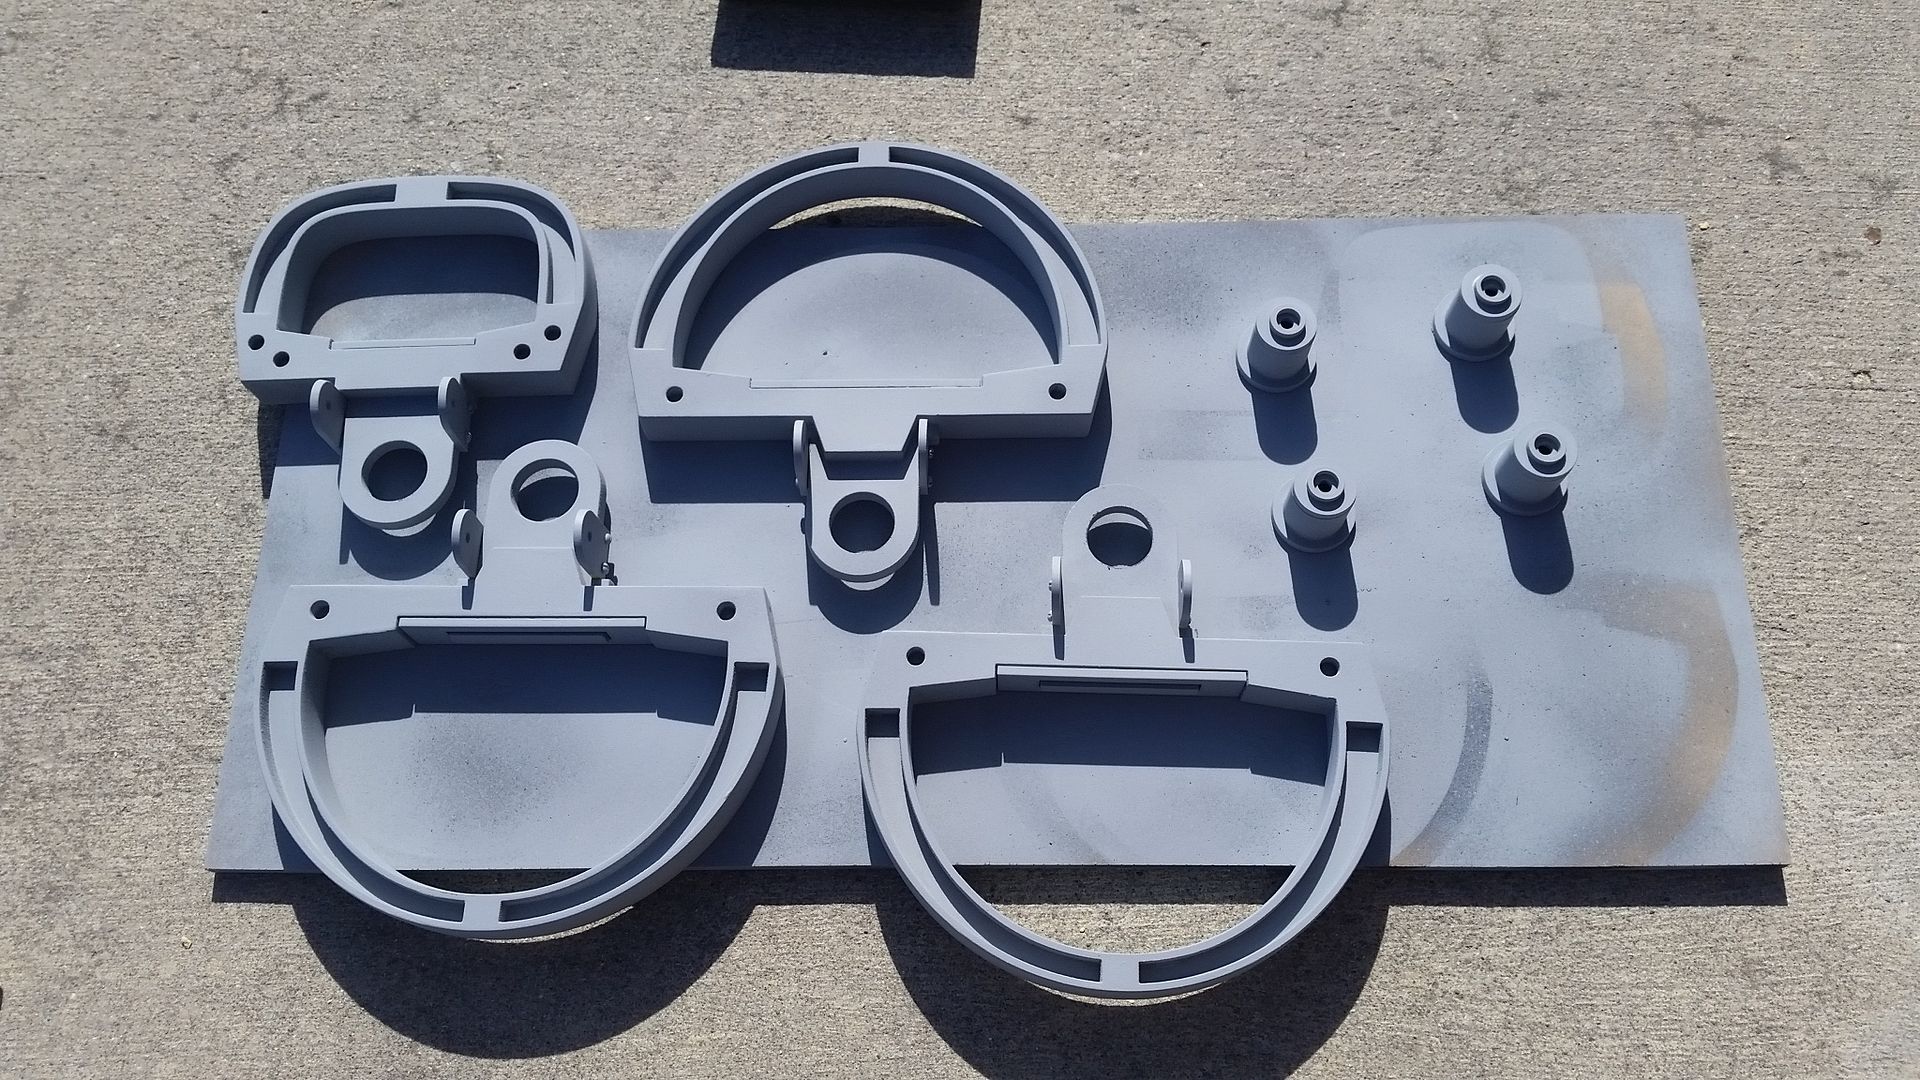
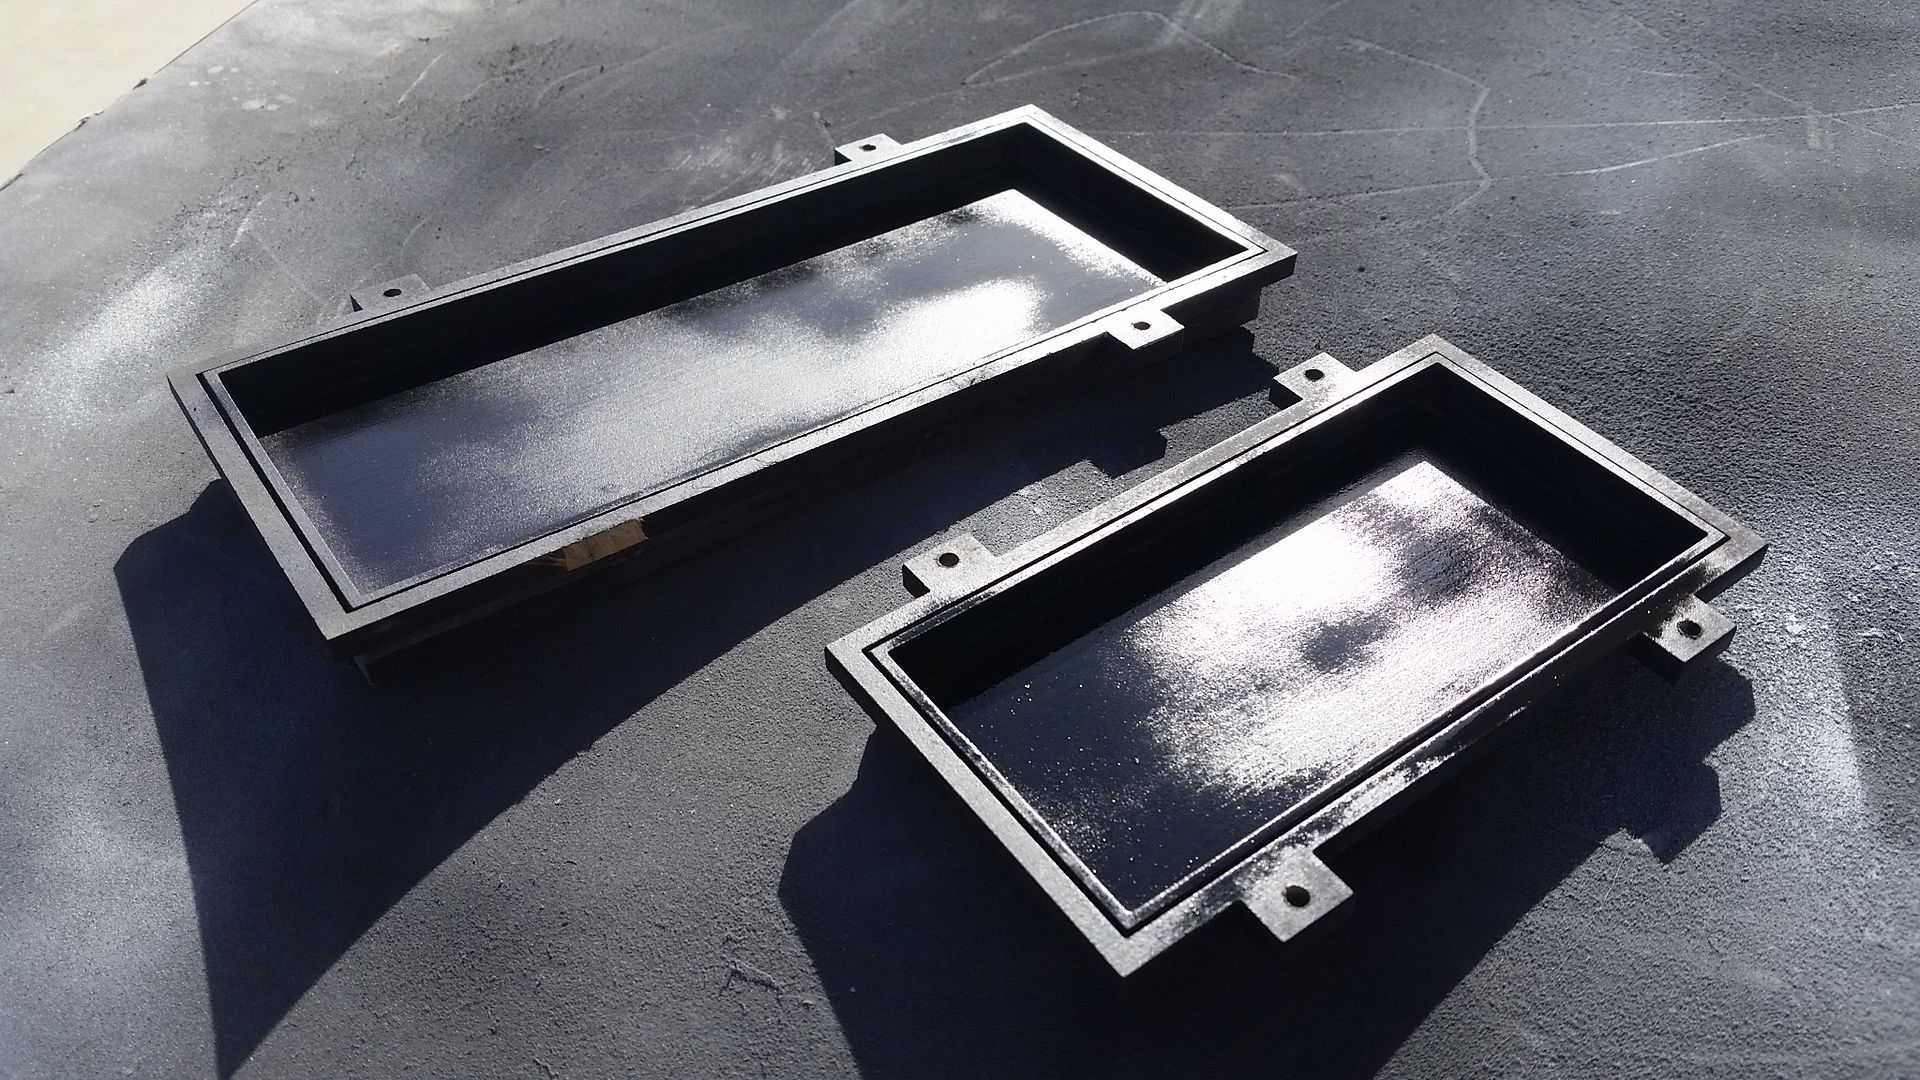
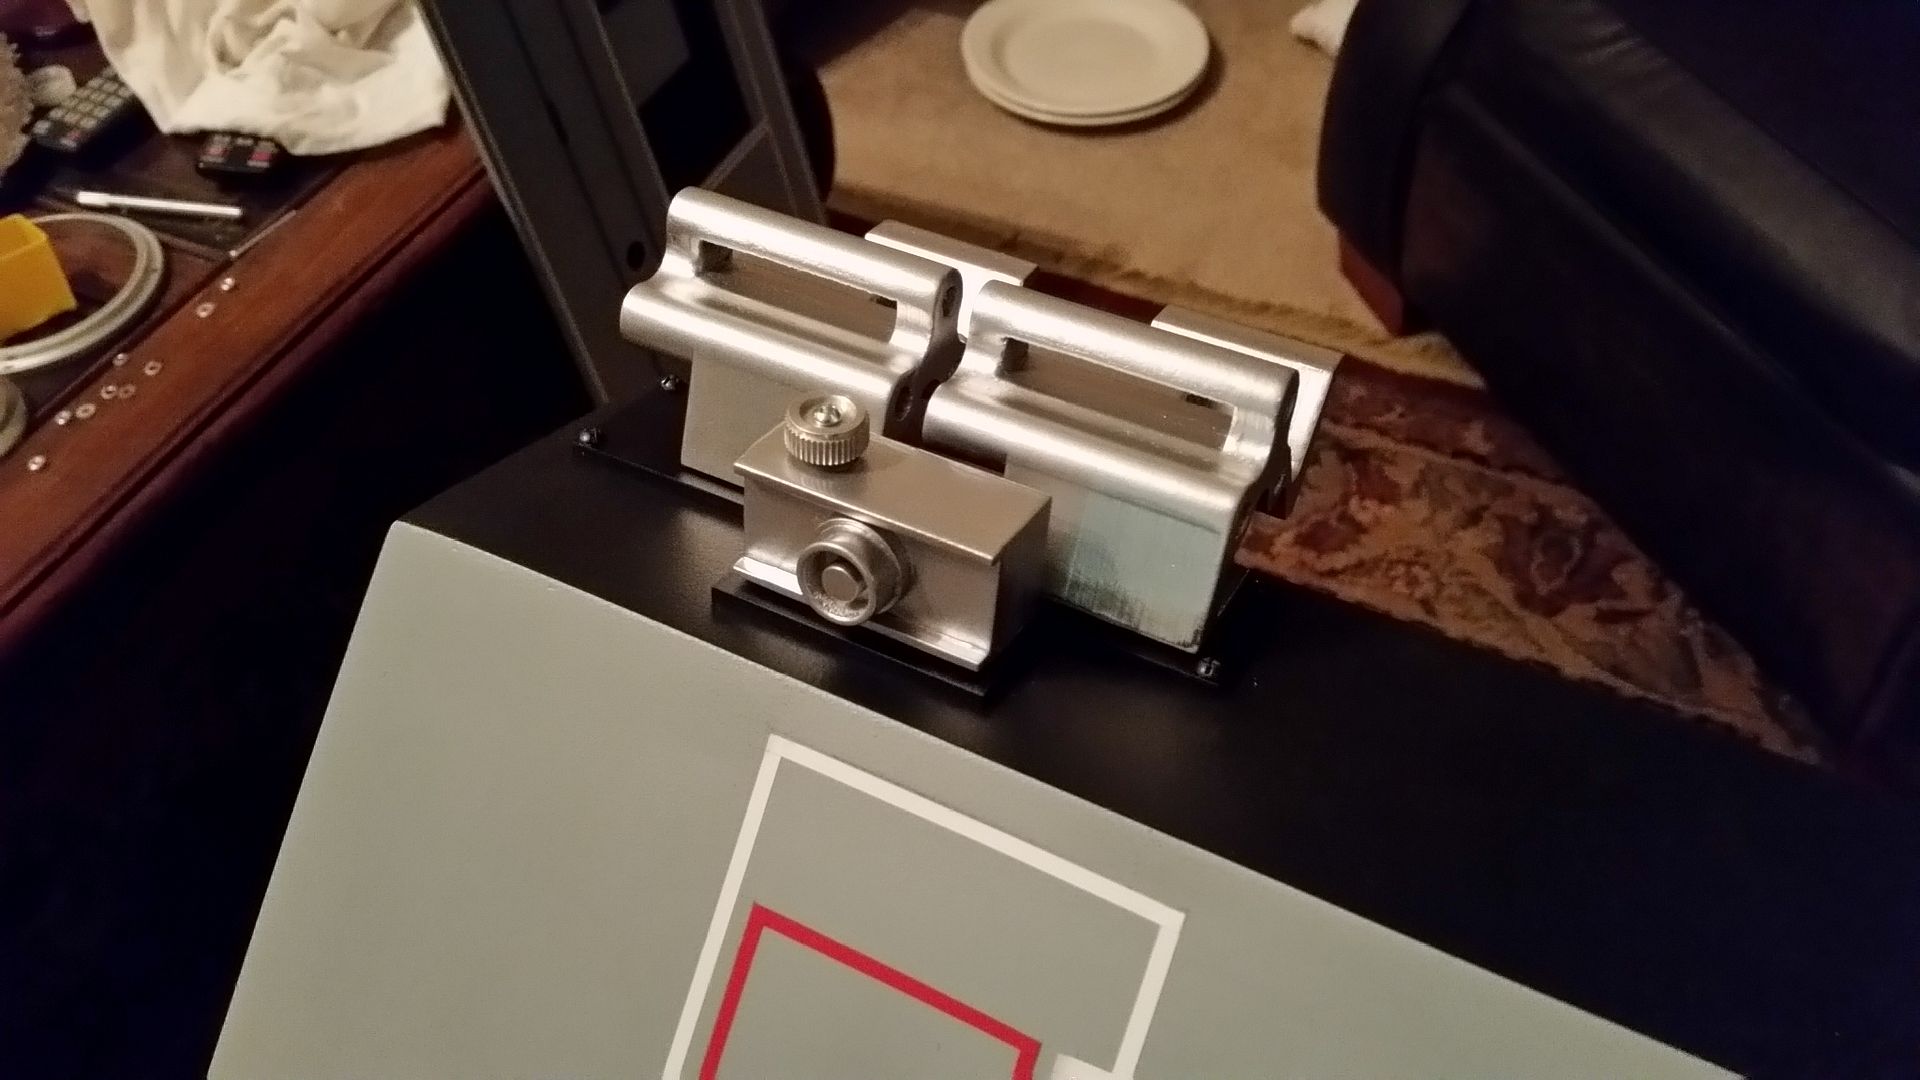
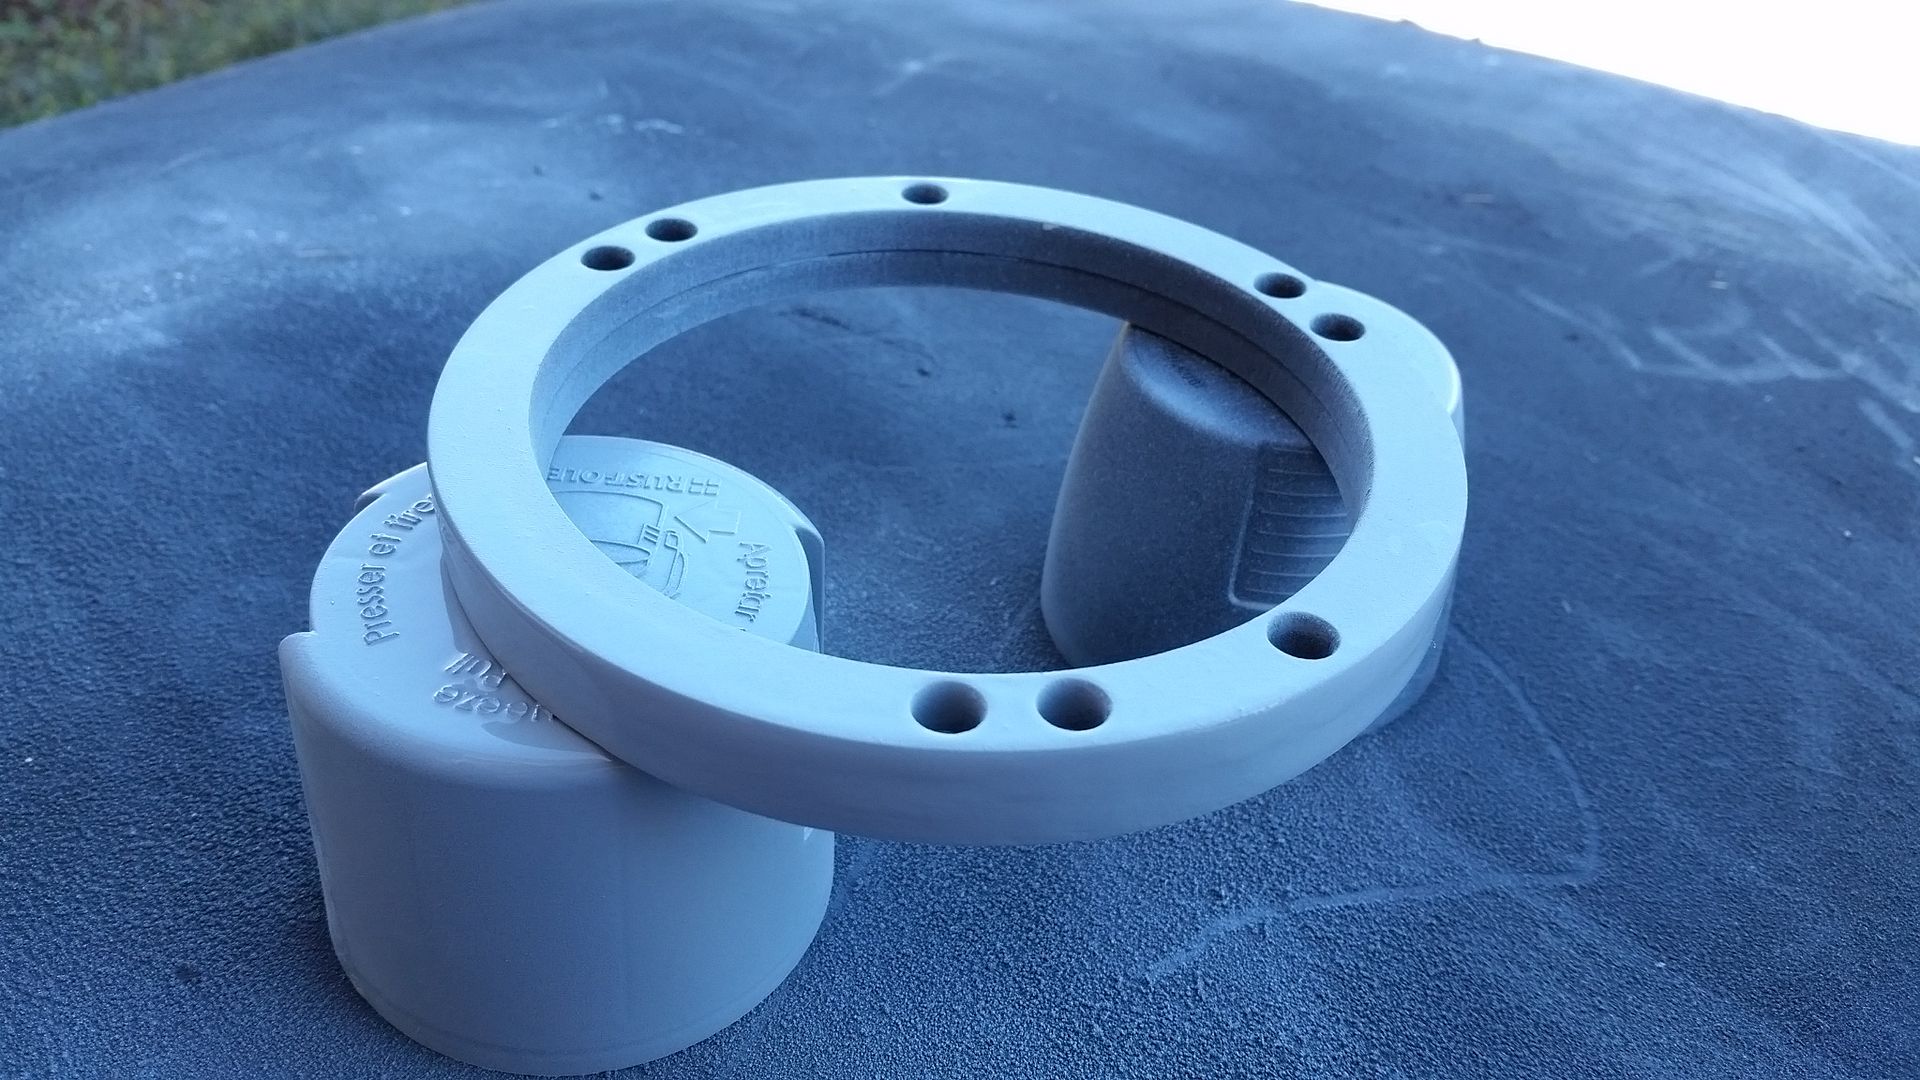
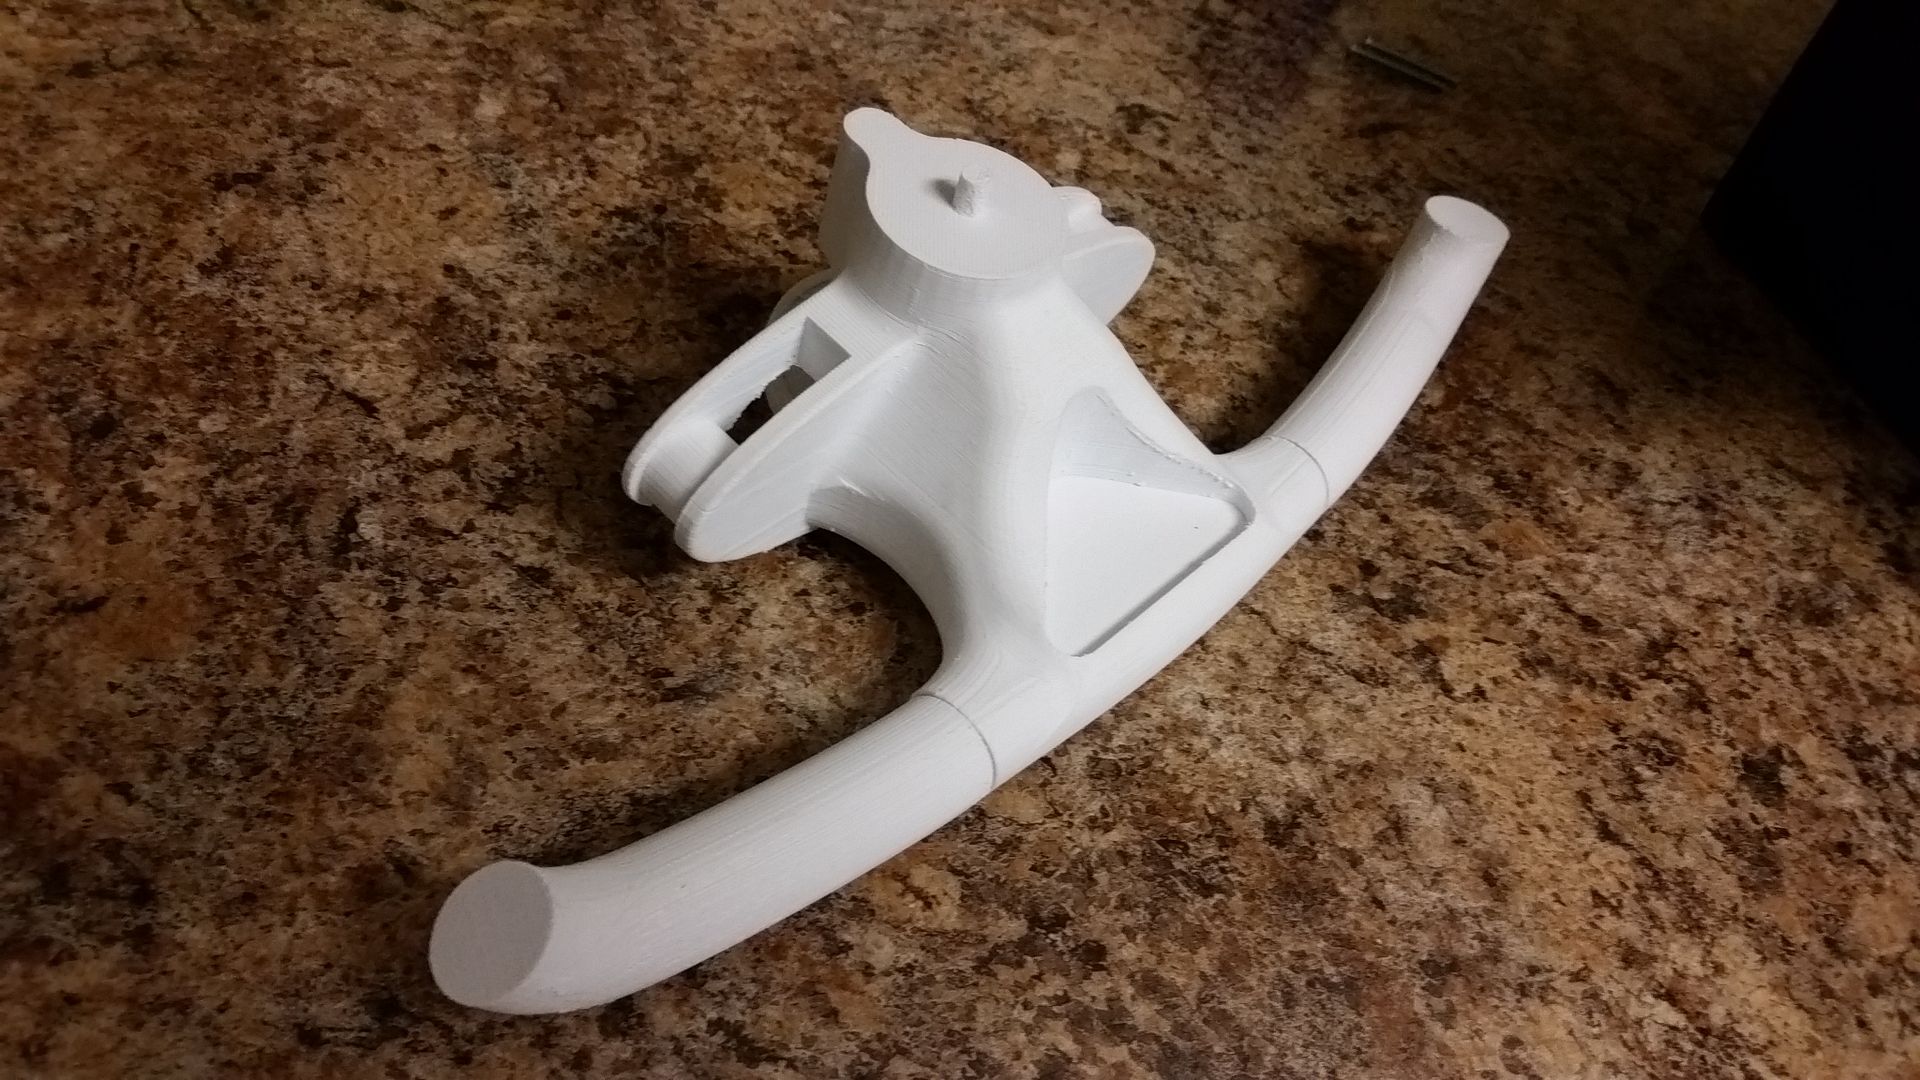
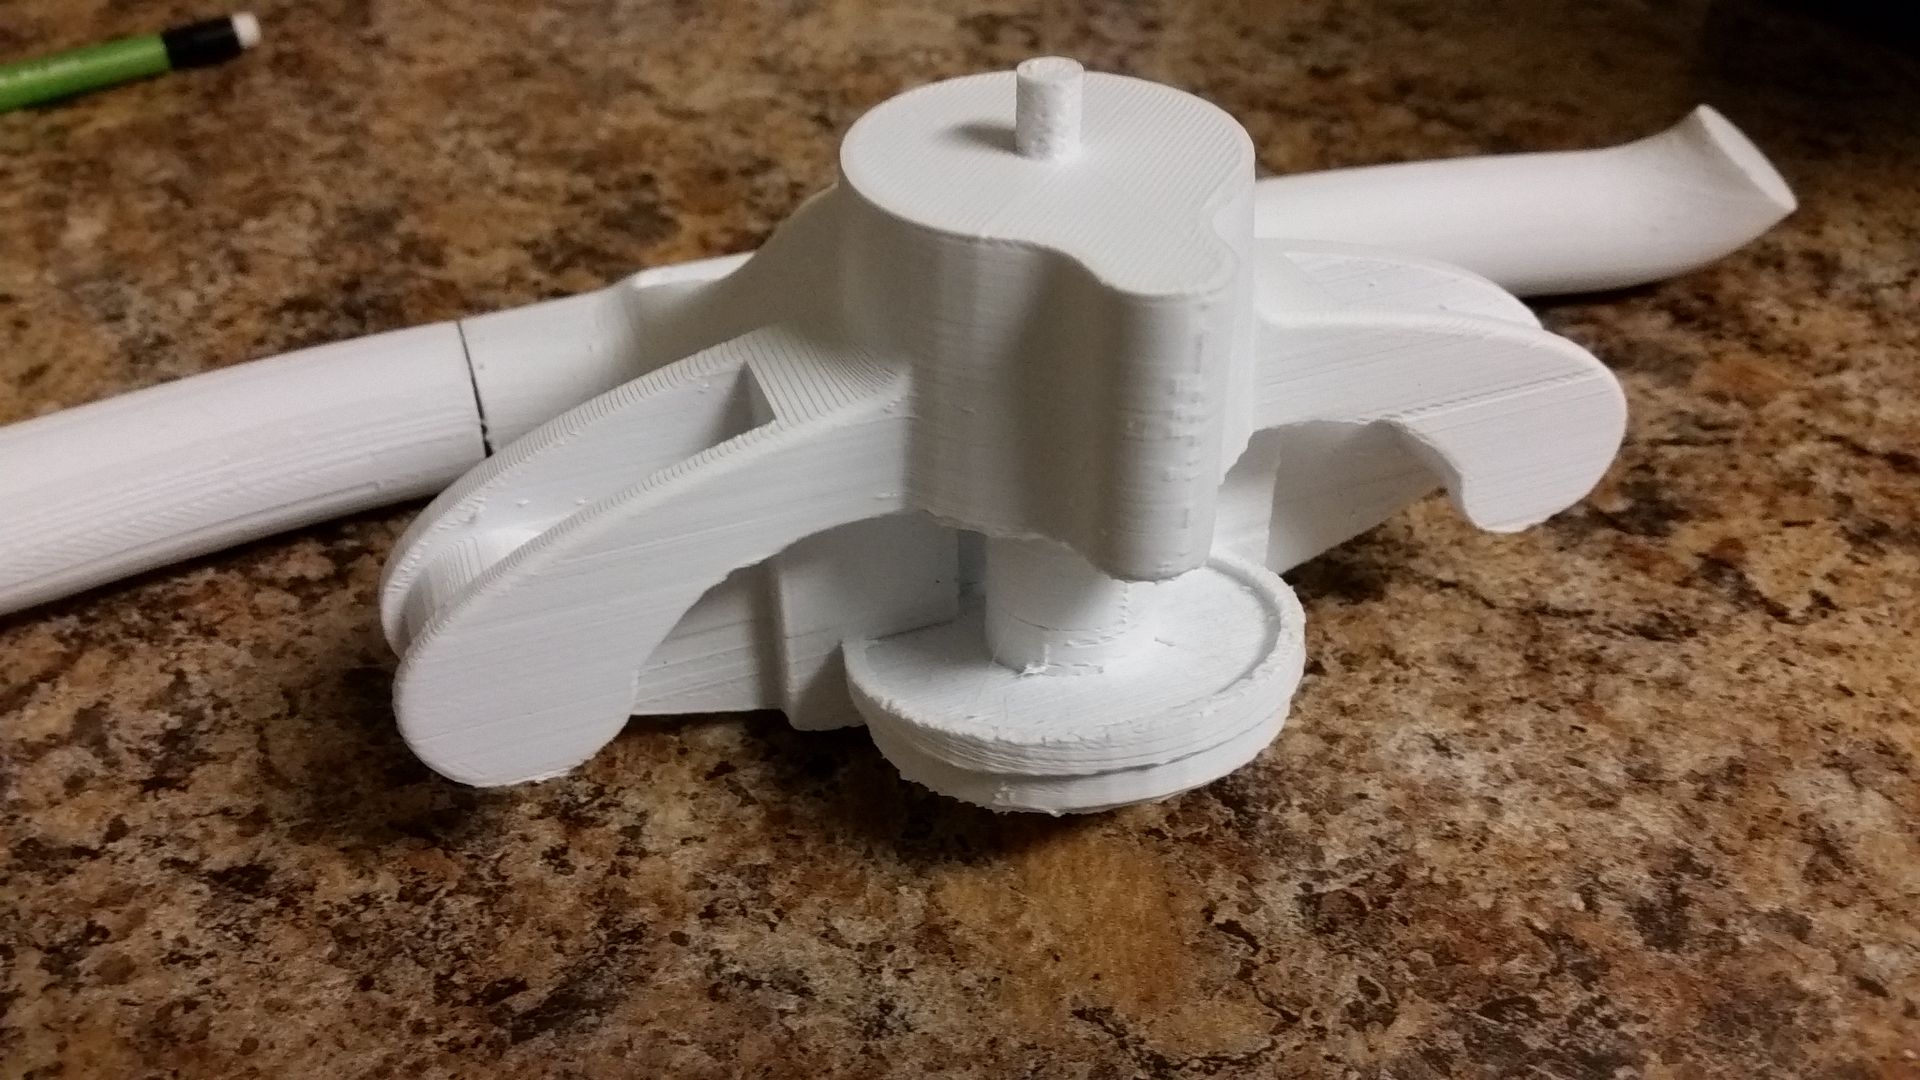
The canopy boxes have two grab handles
")
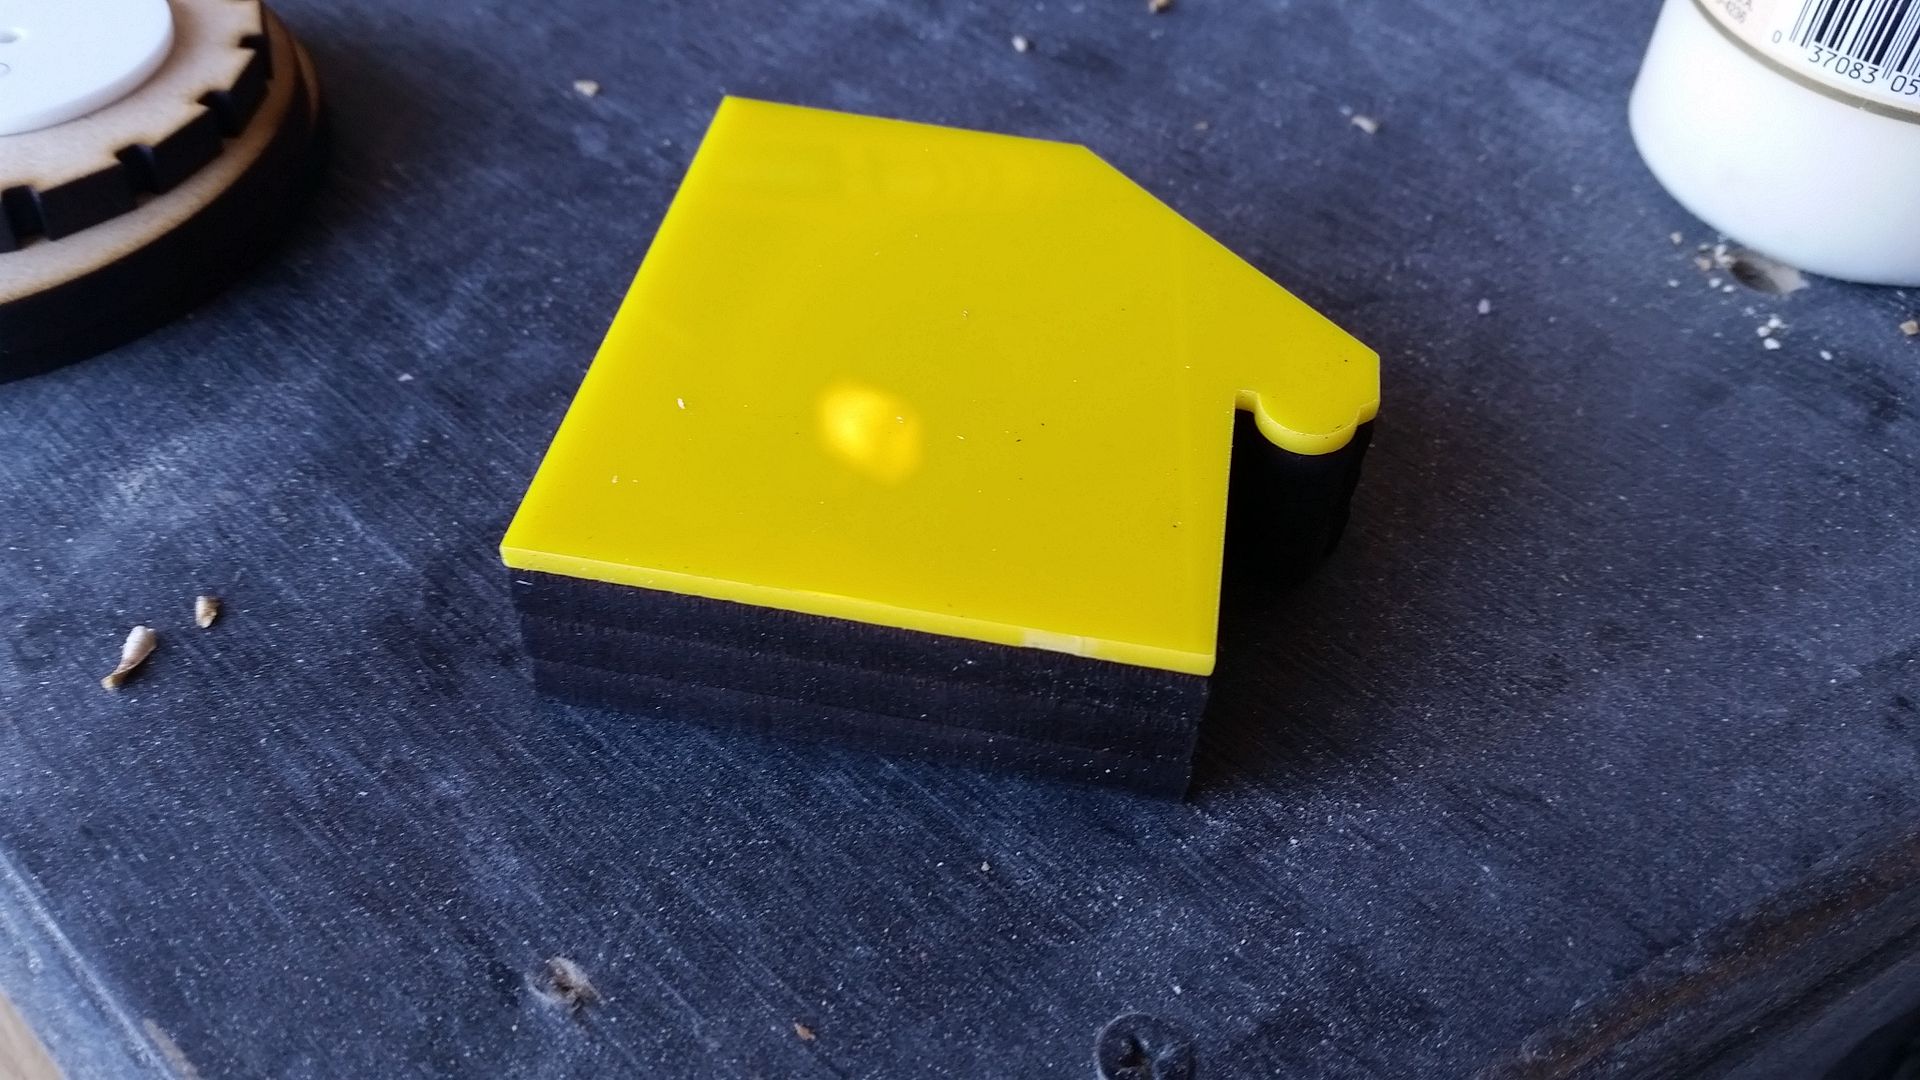
removed the sticker and adhered the acrylic tops - still deciding on the bottoms
Let's see... what else did I do?
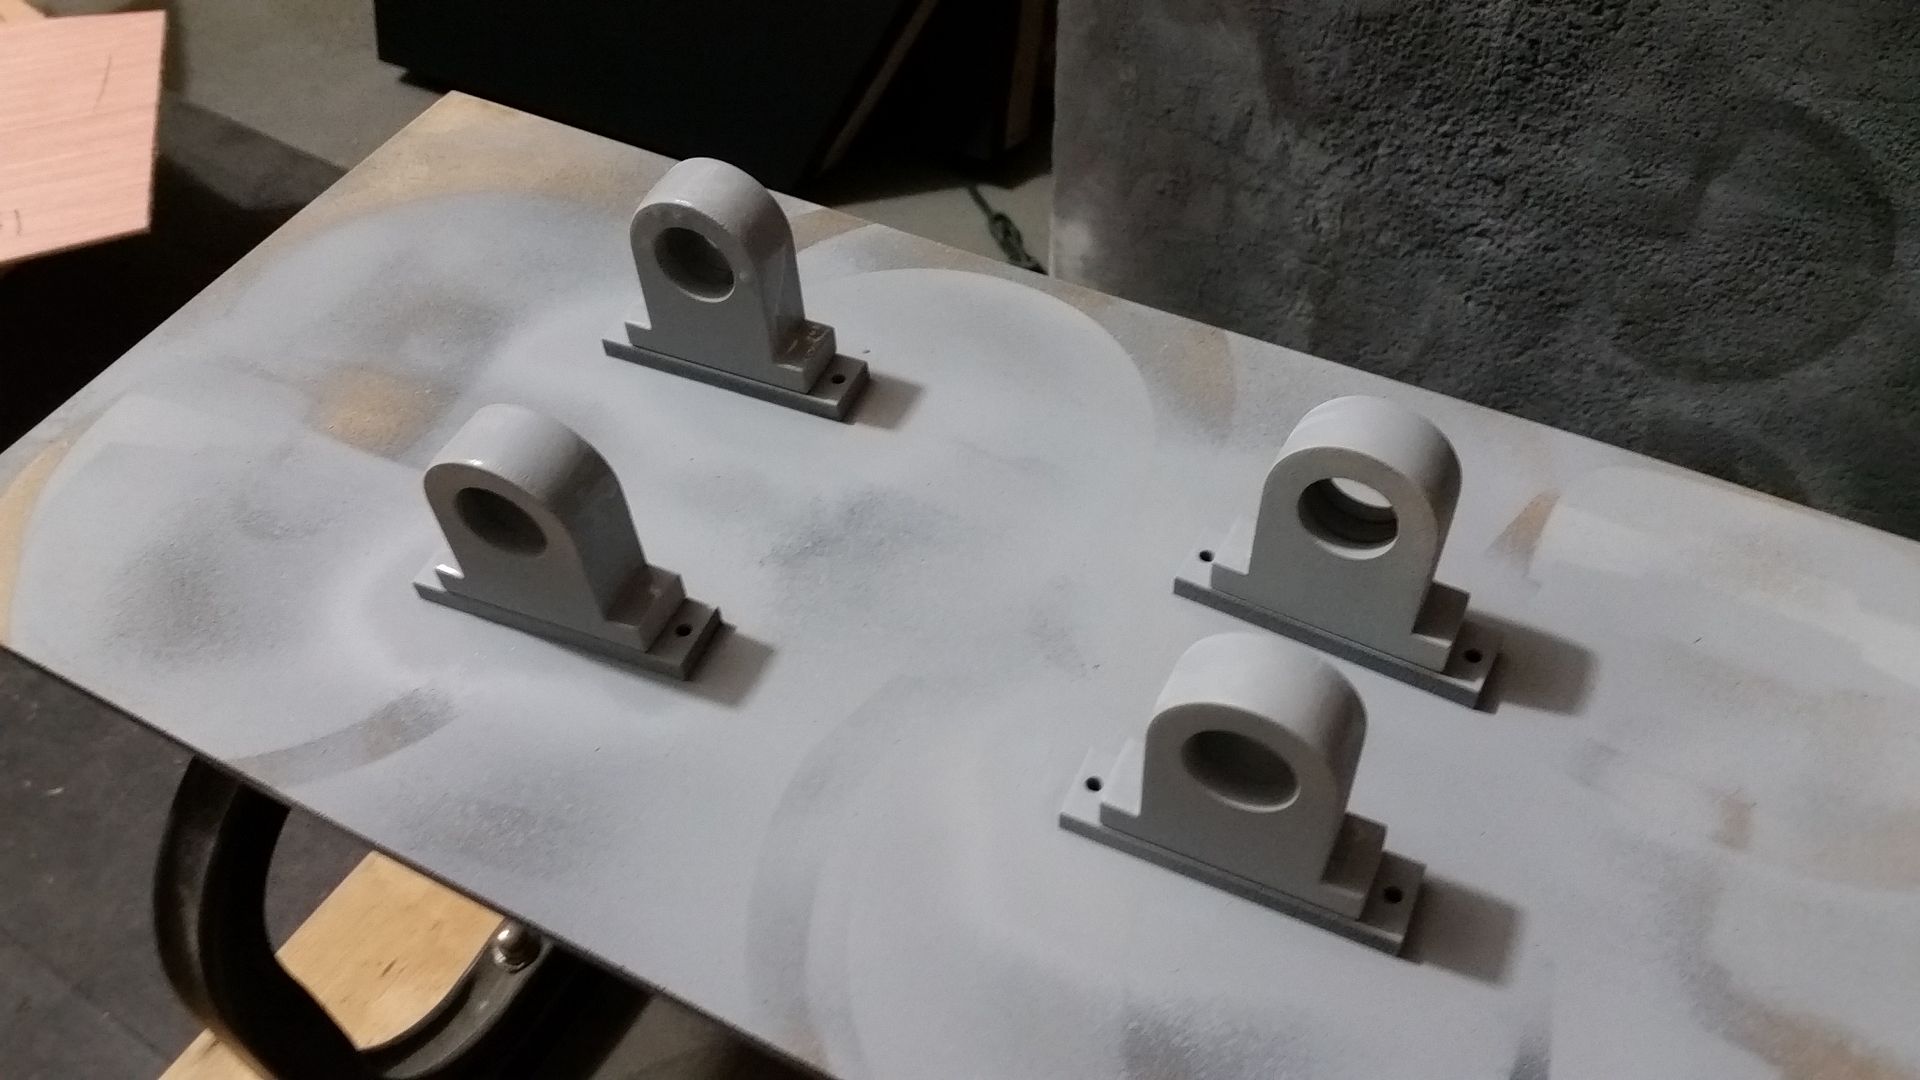
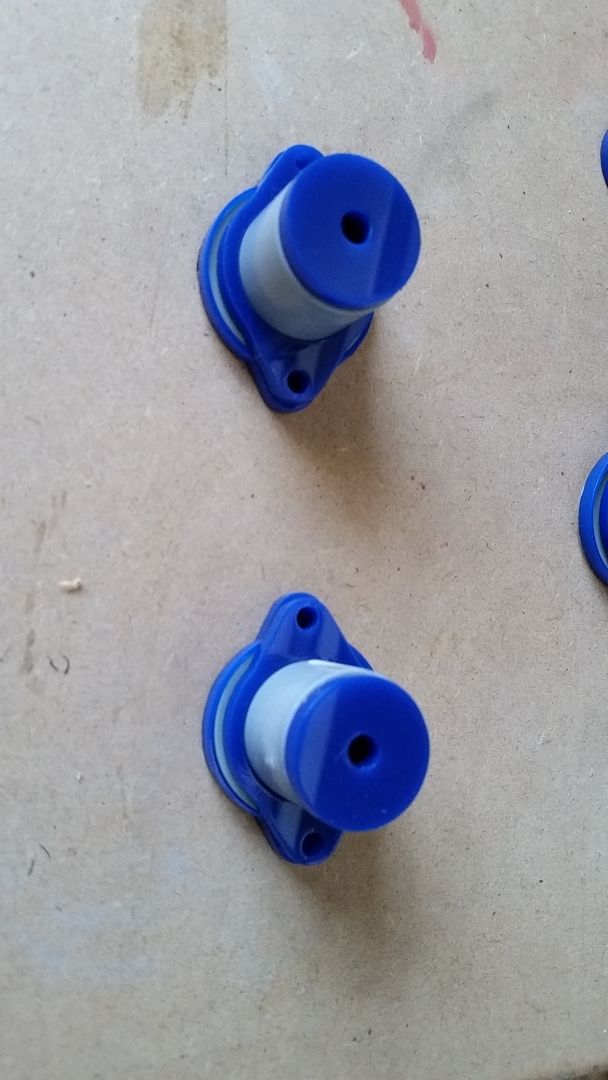
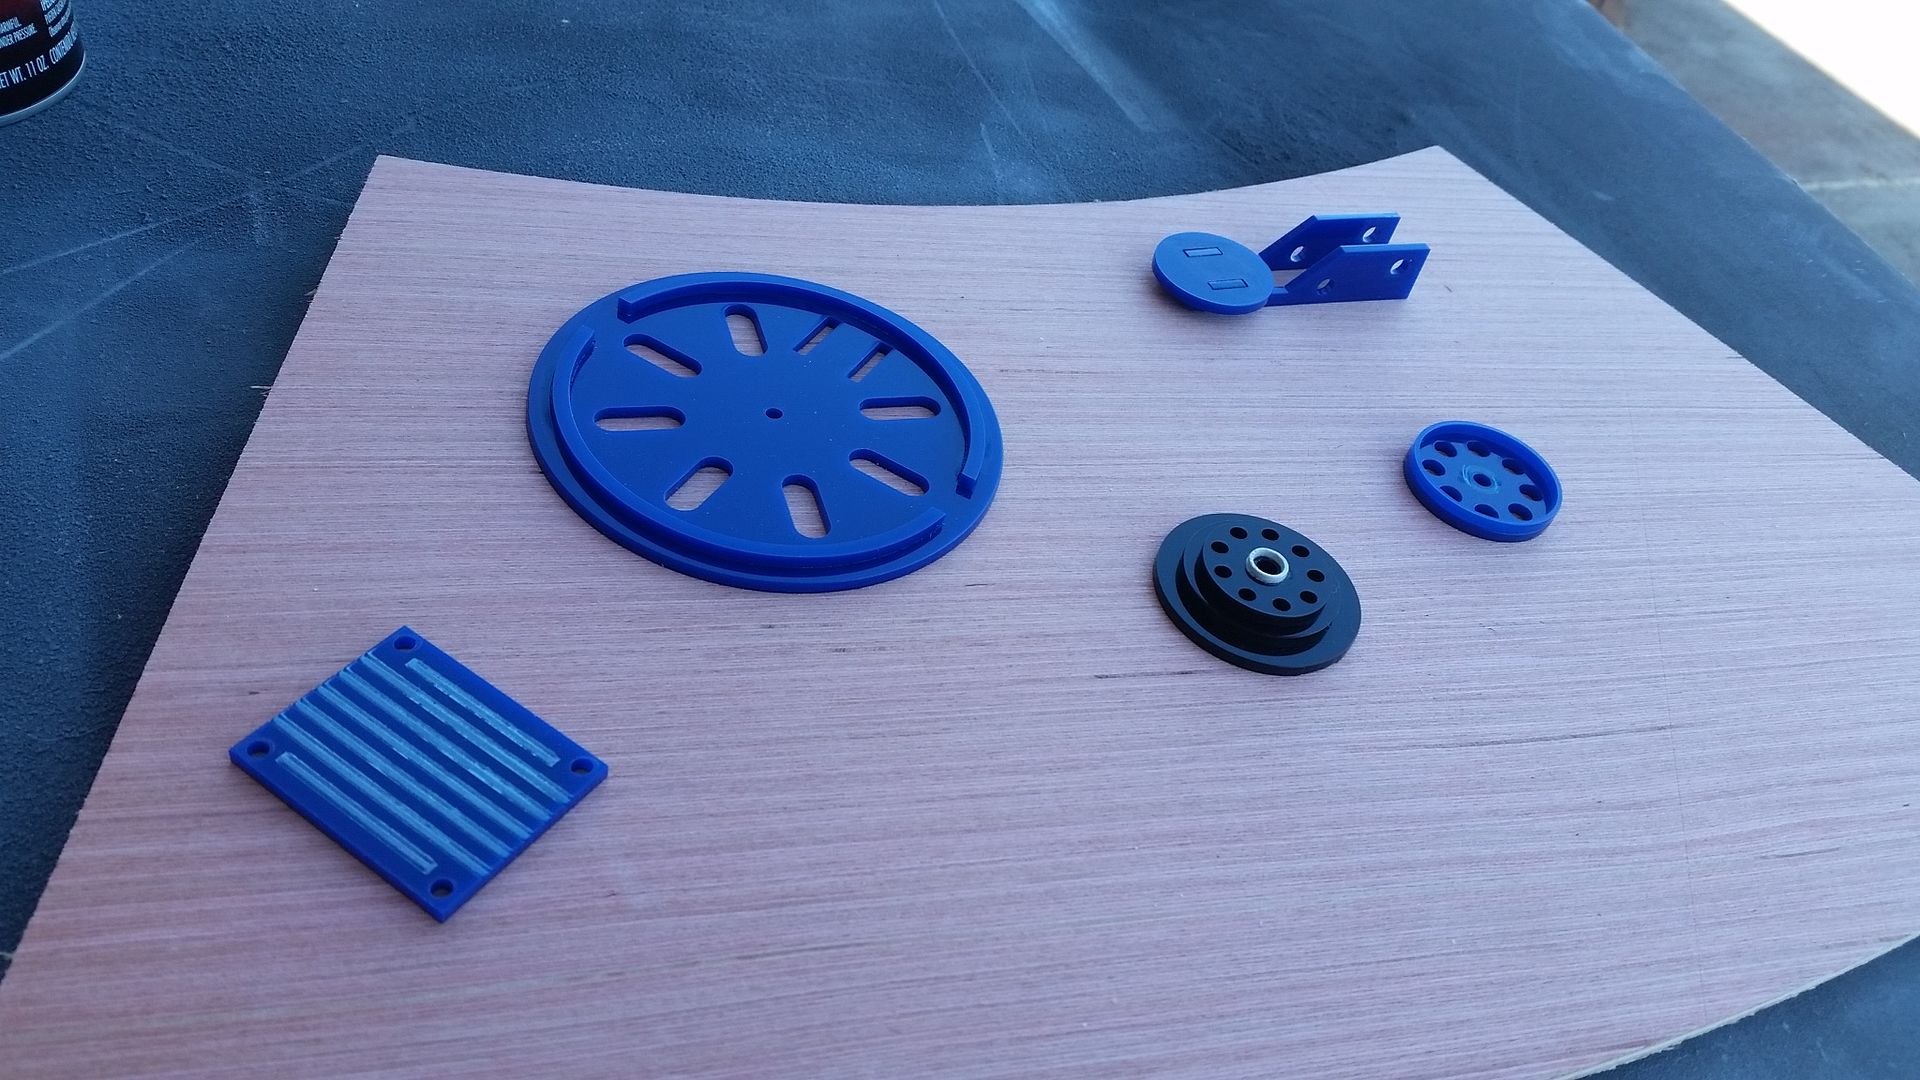
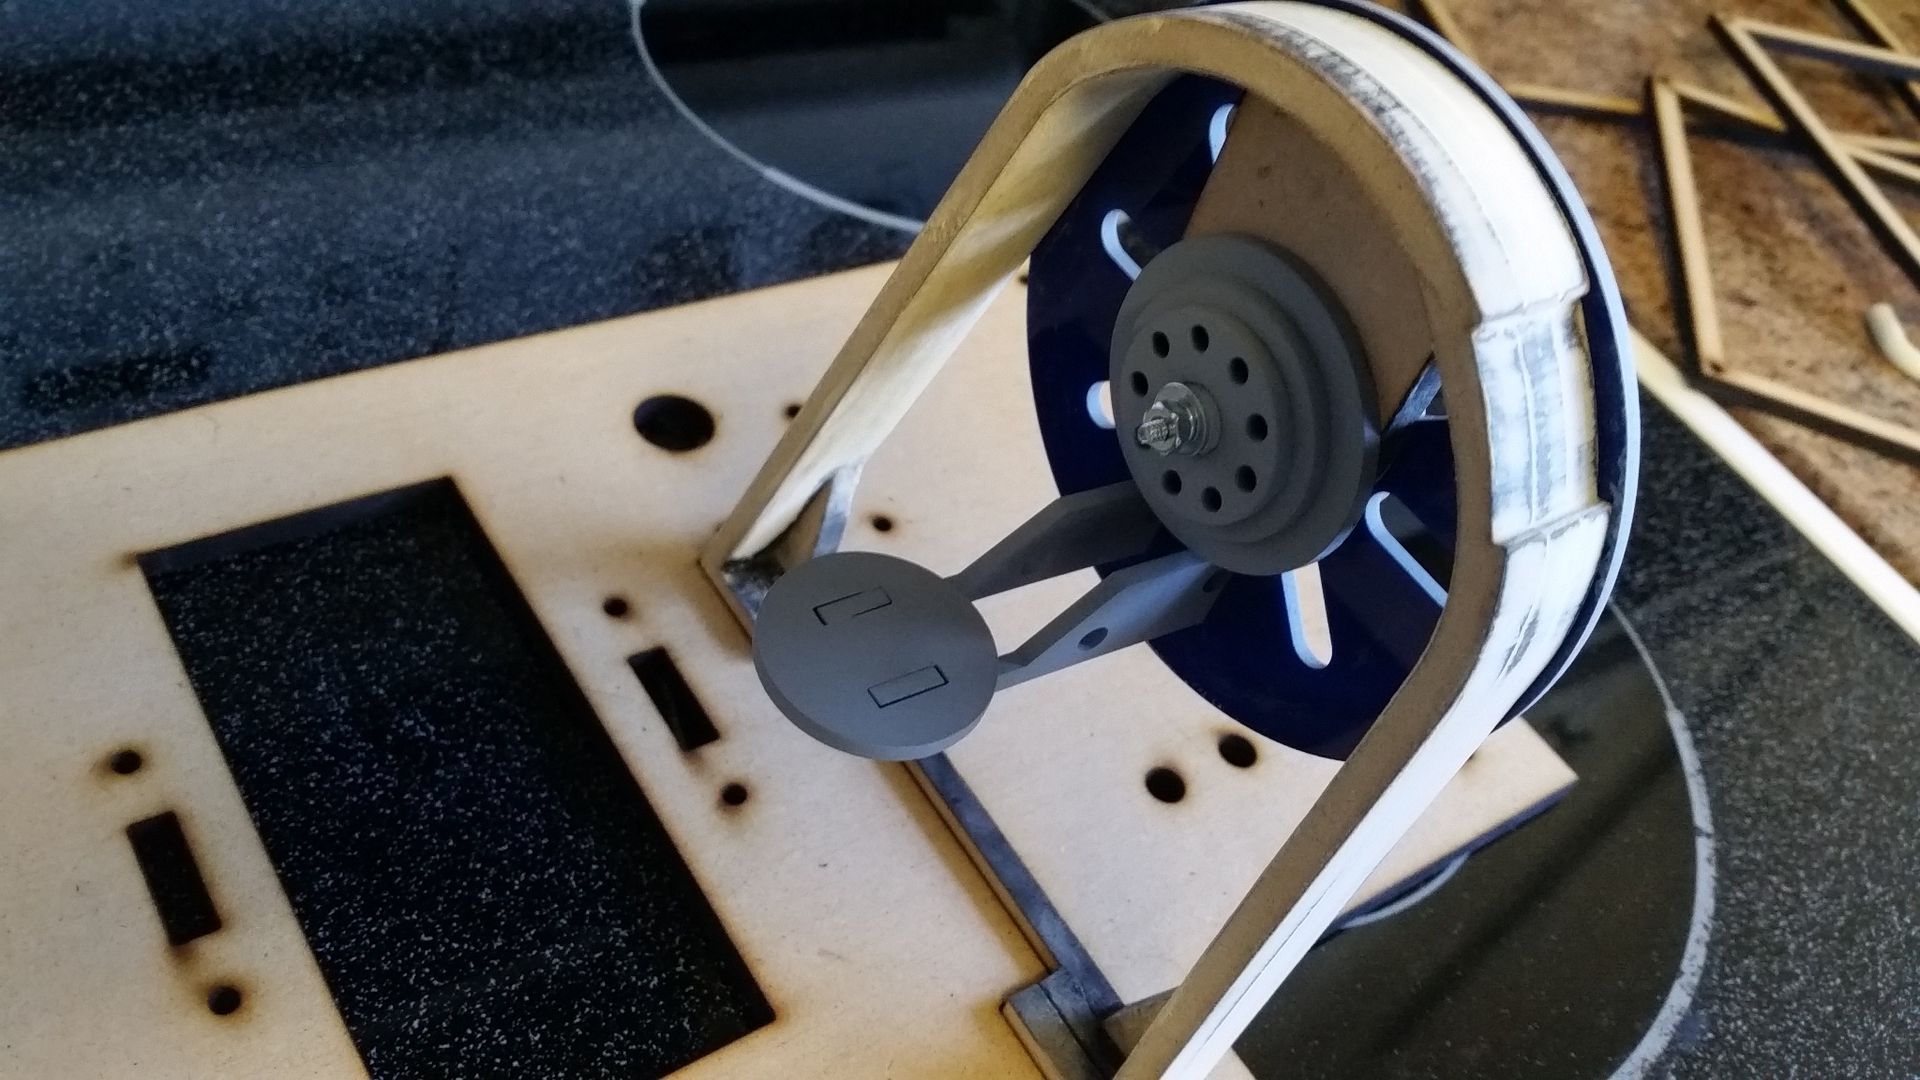
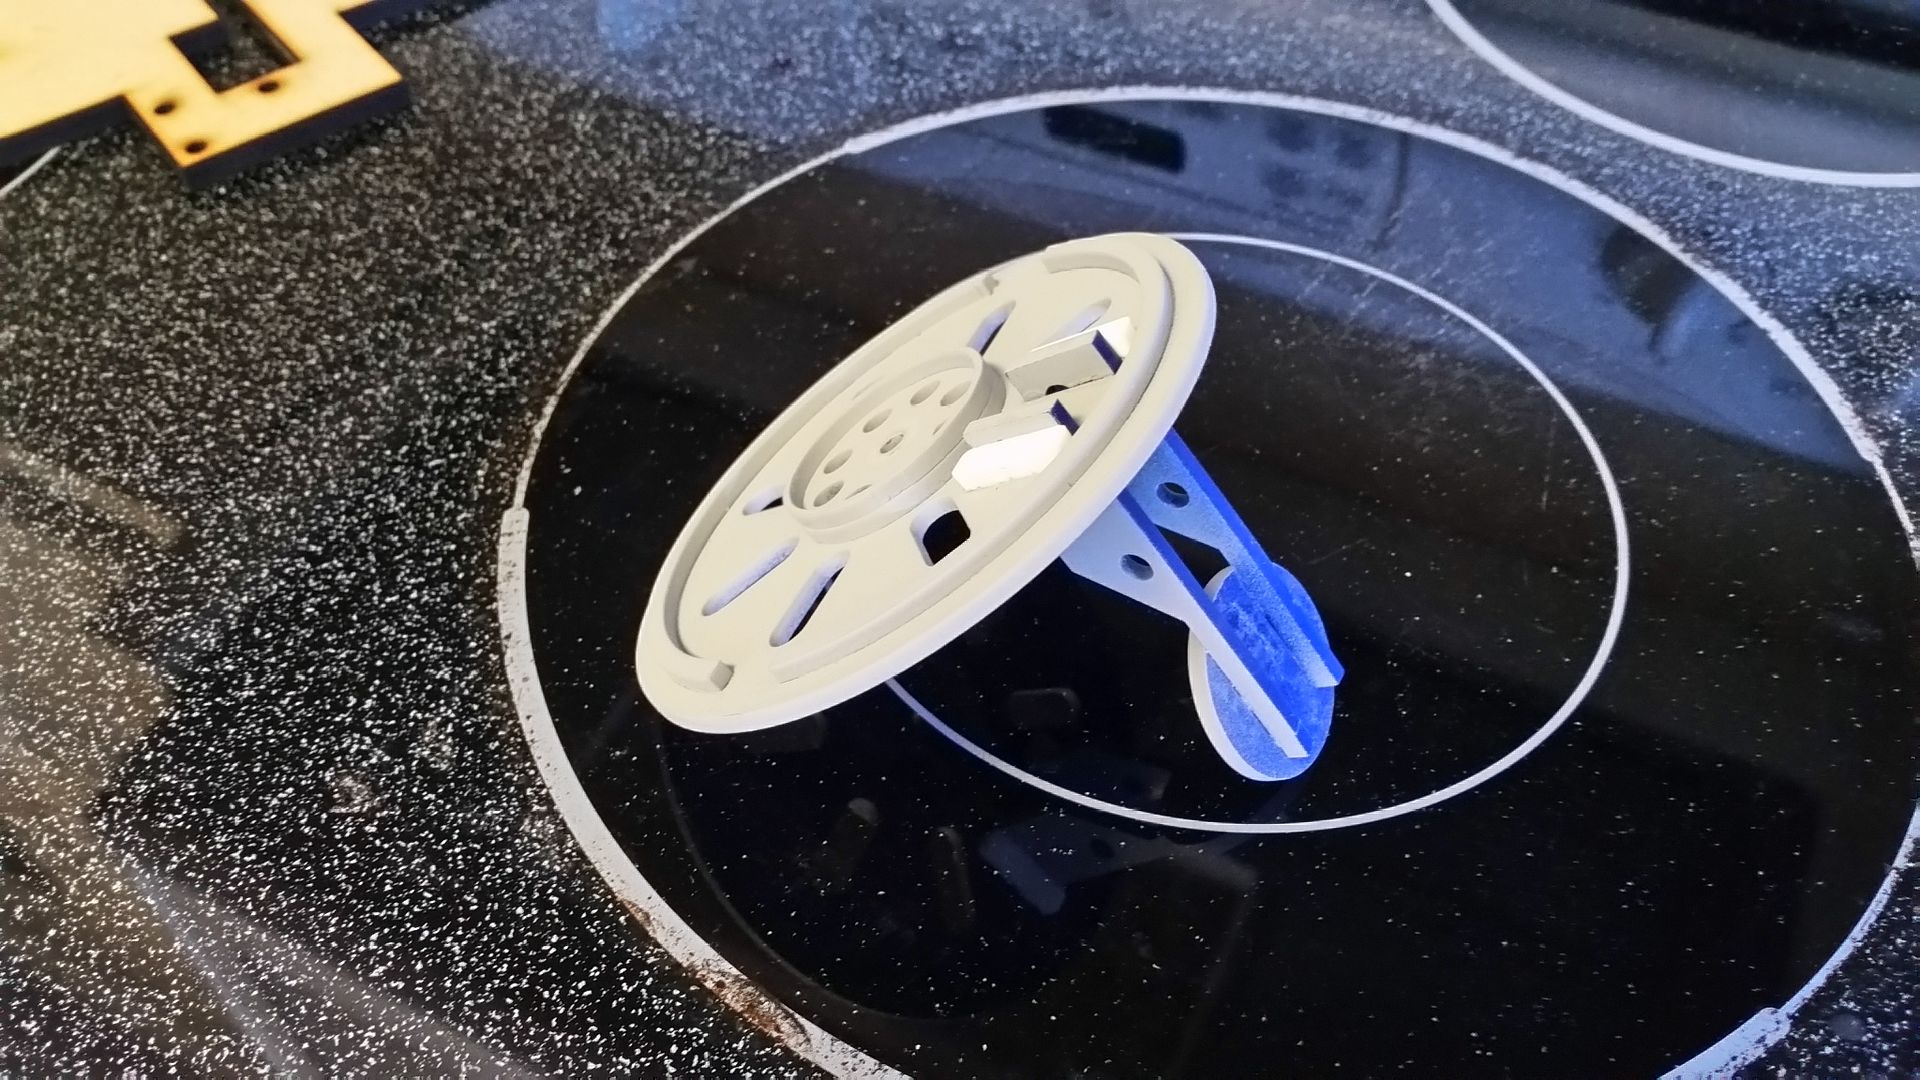
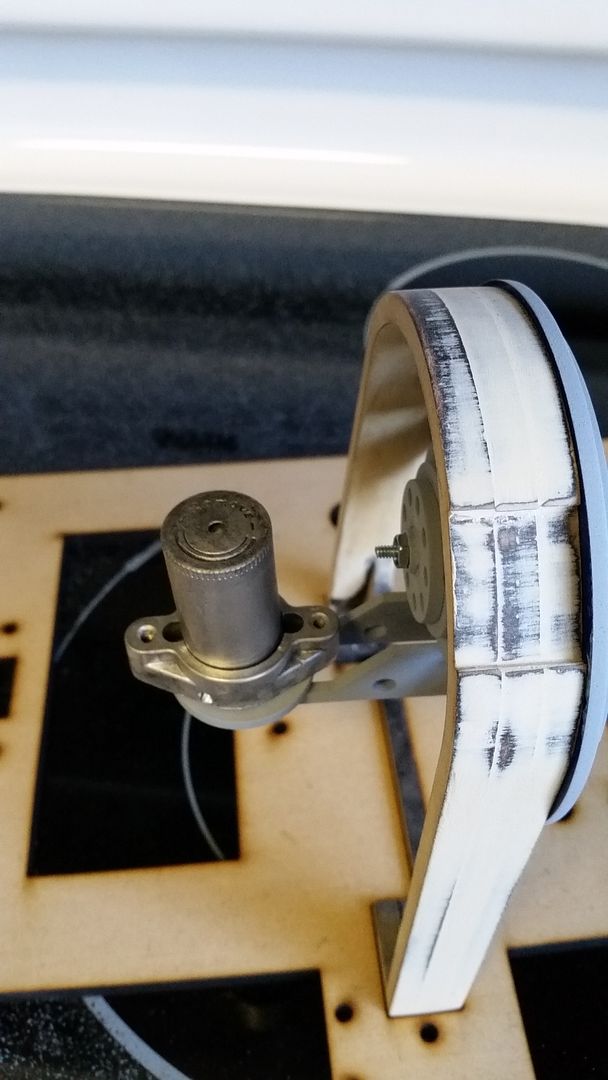
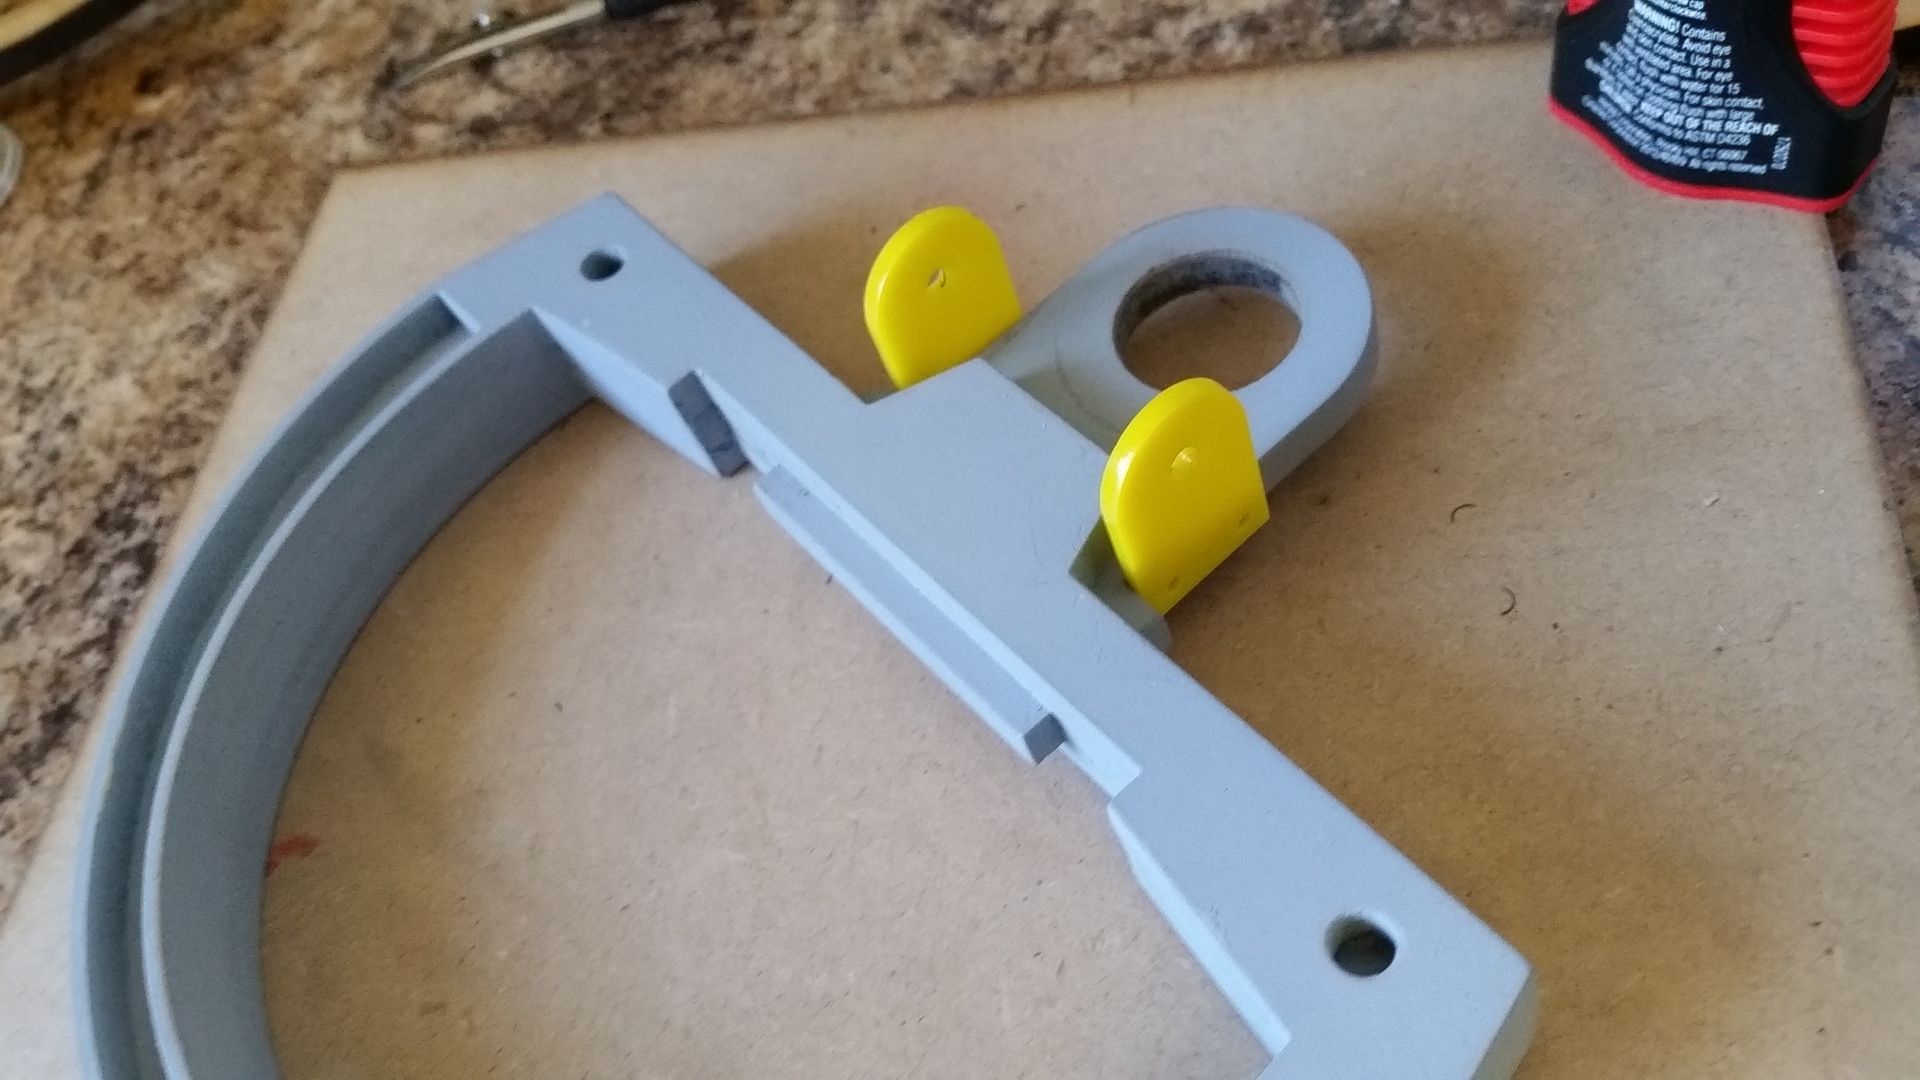
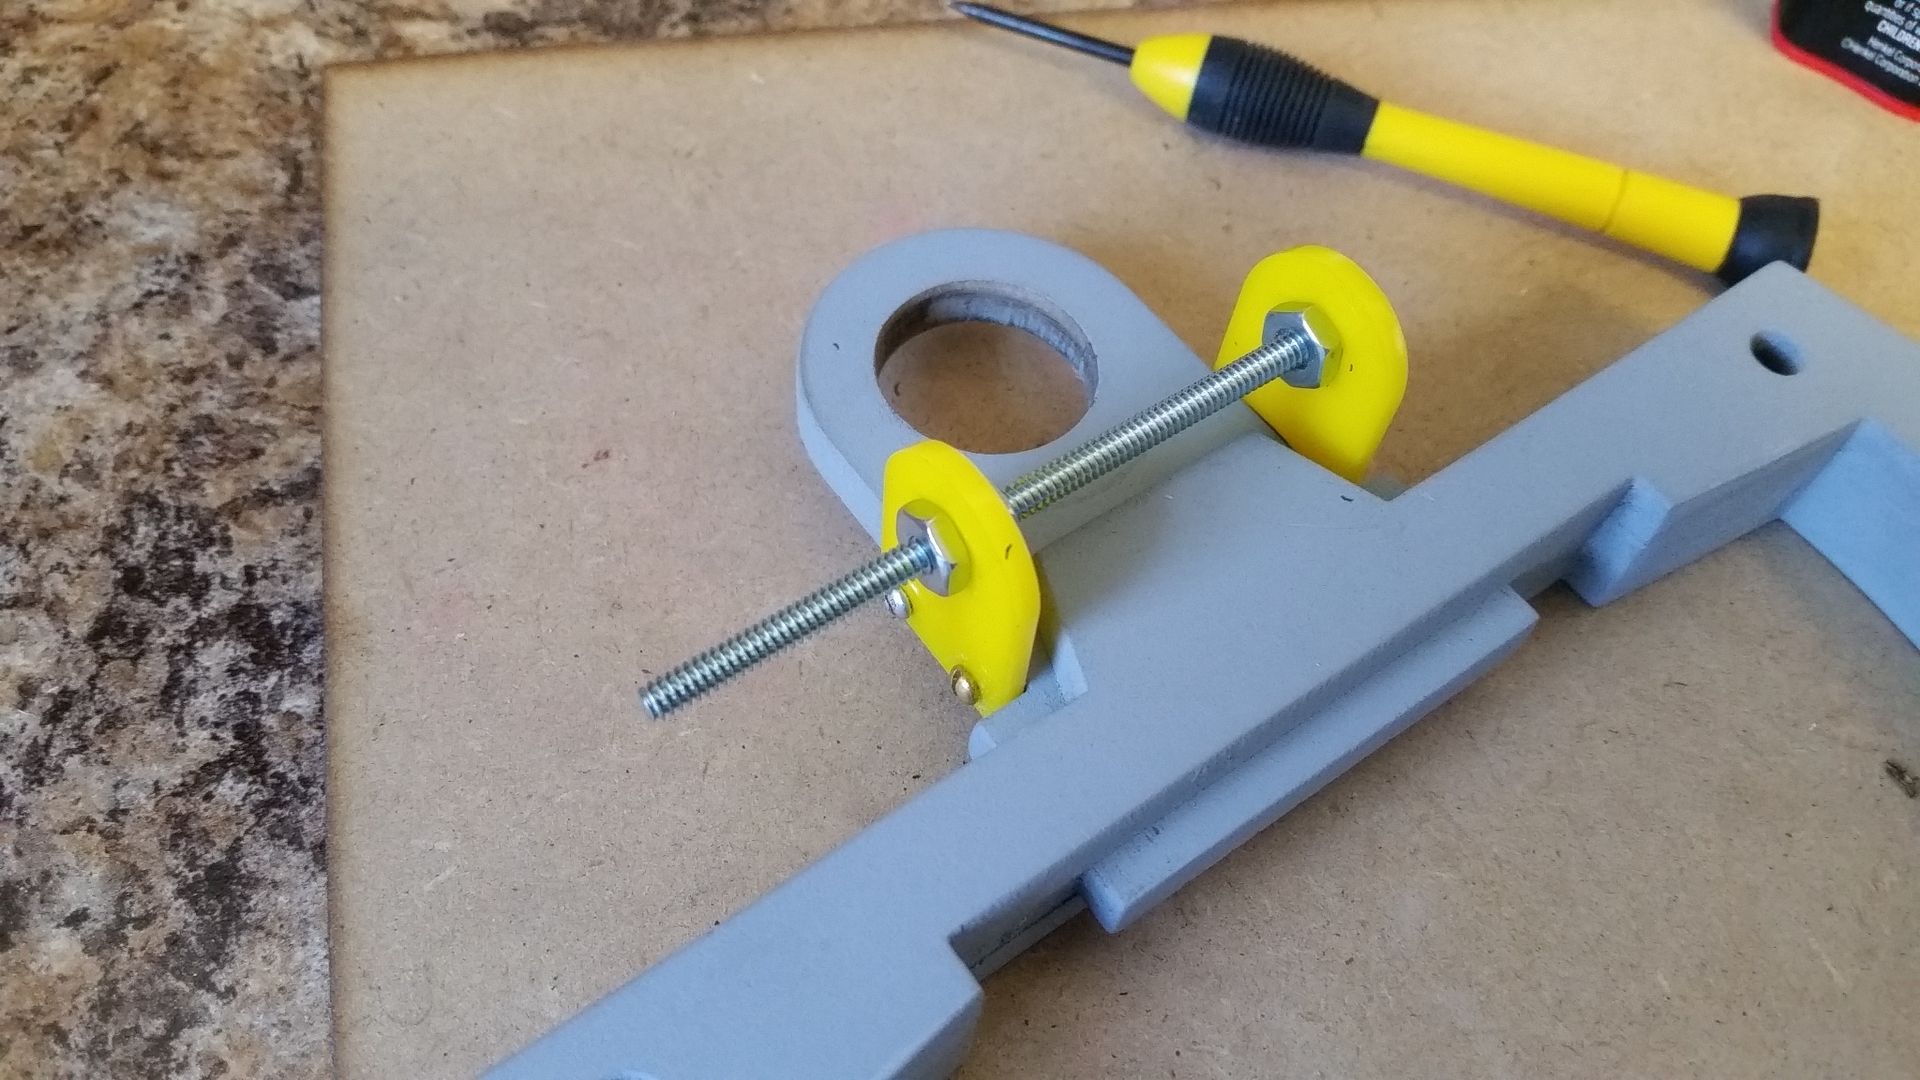
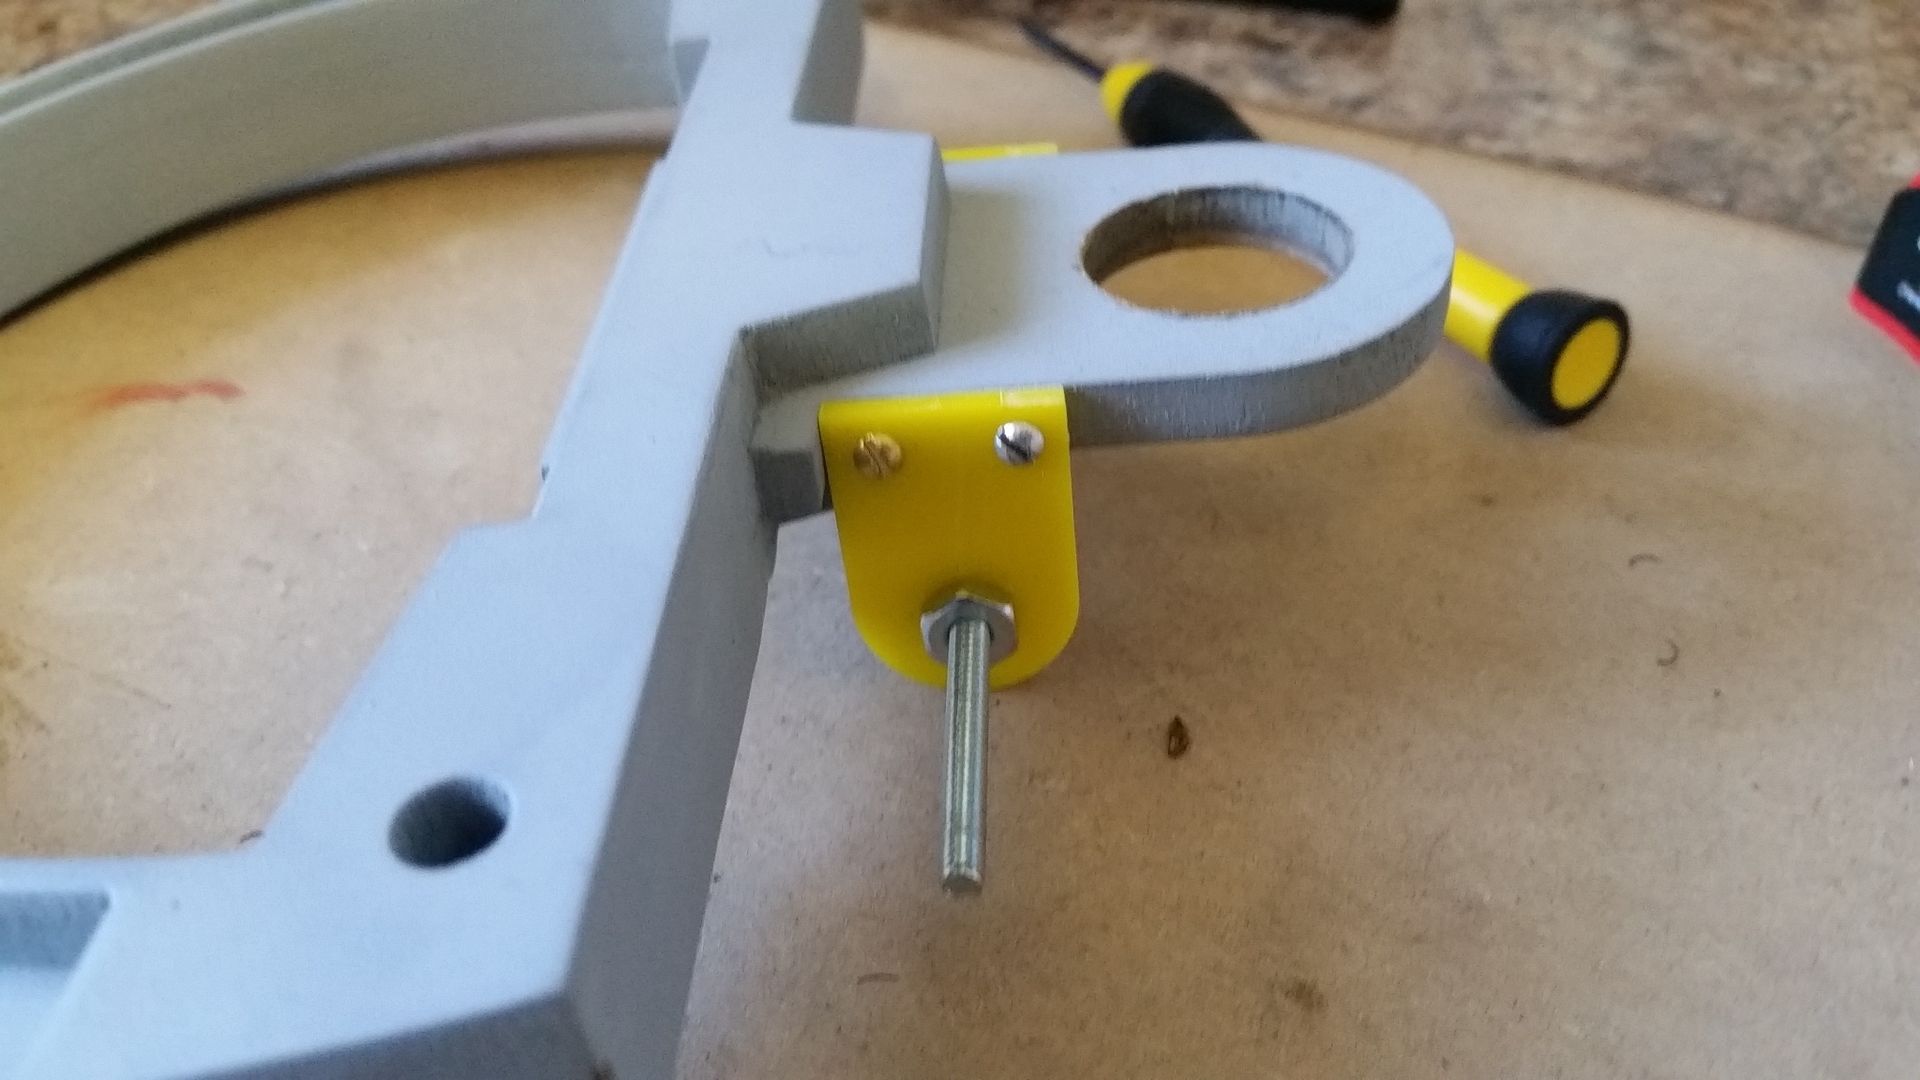
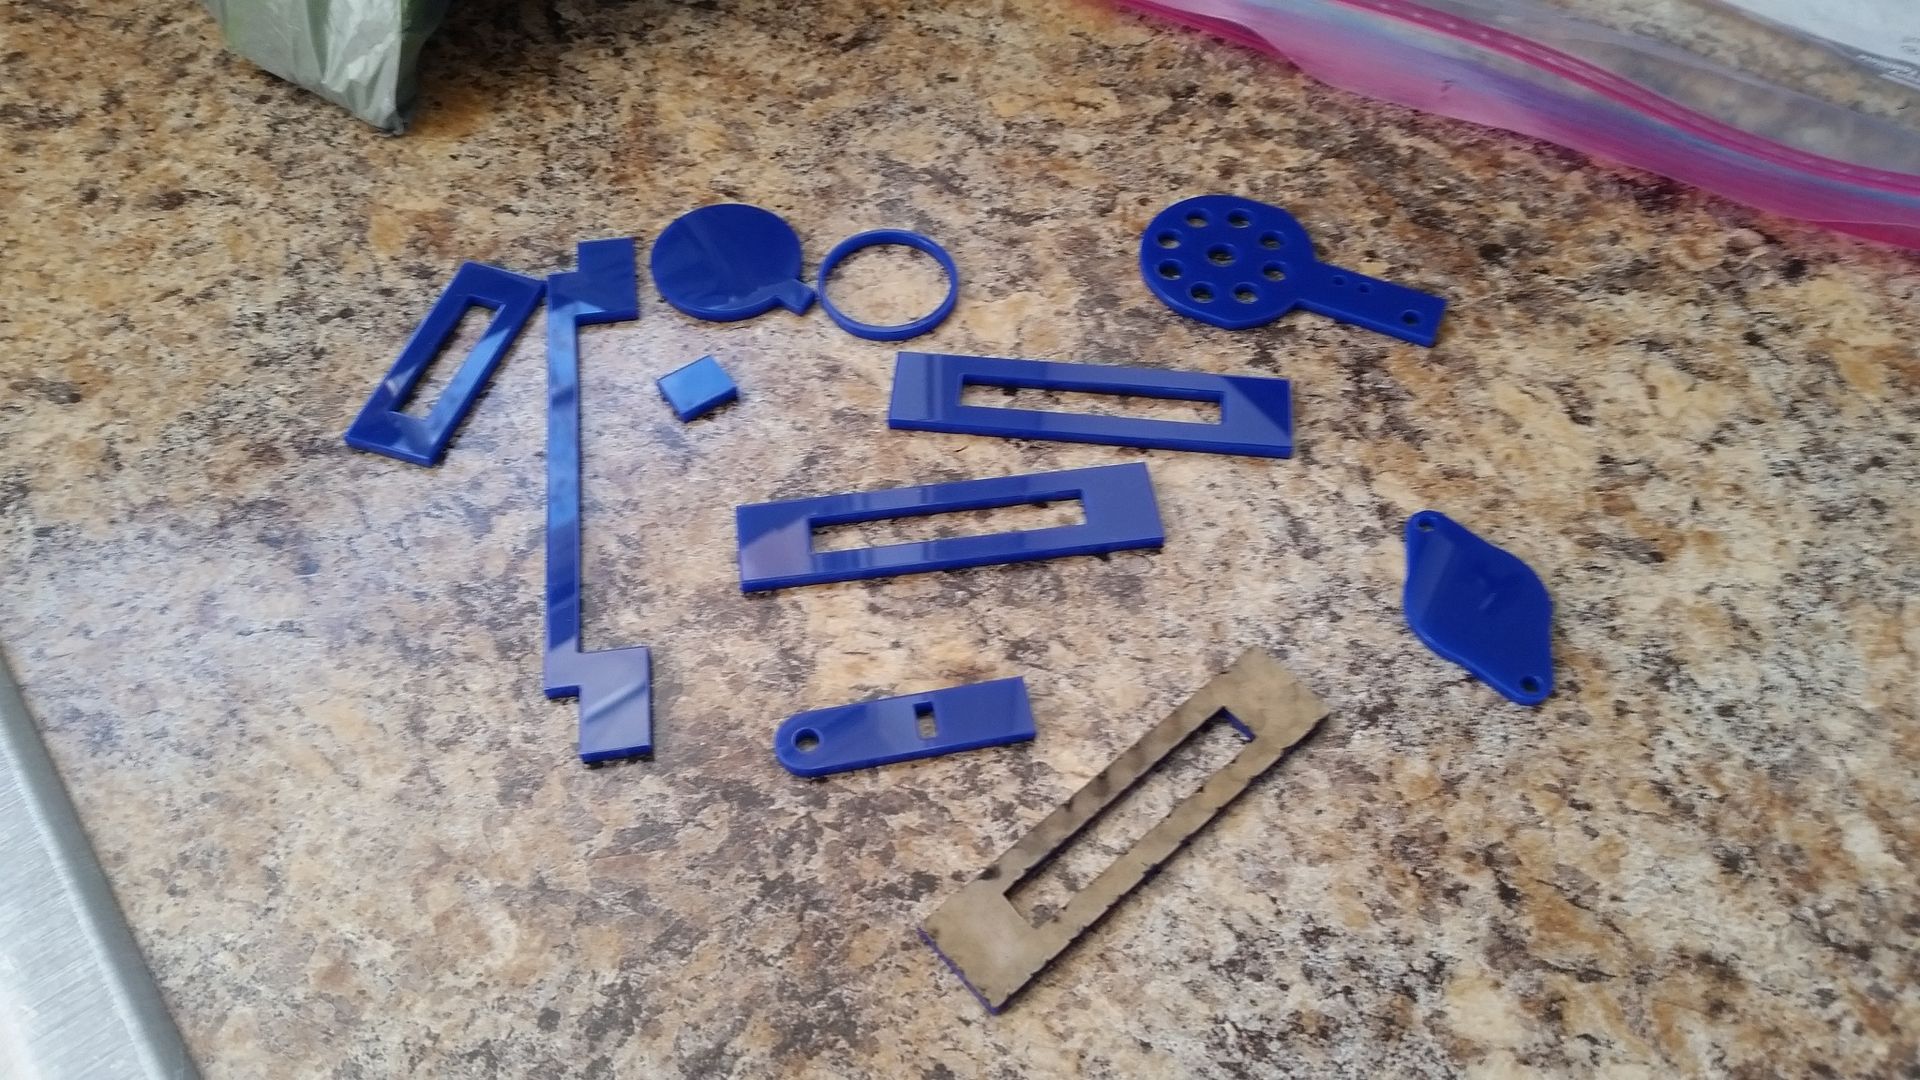
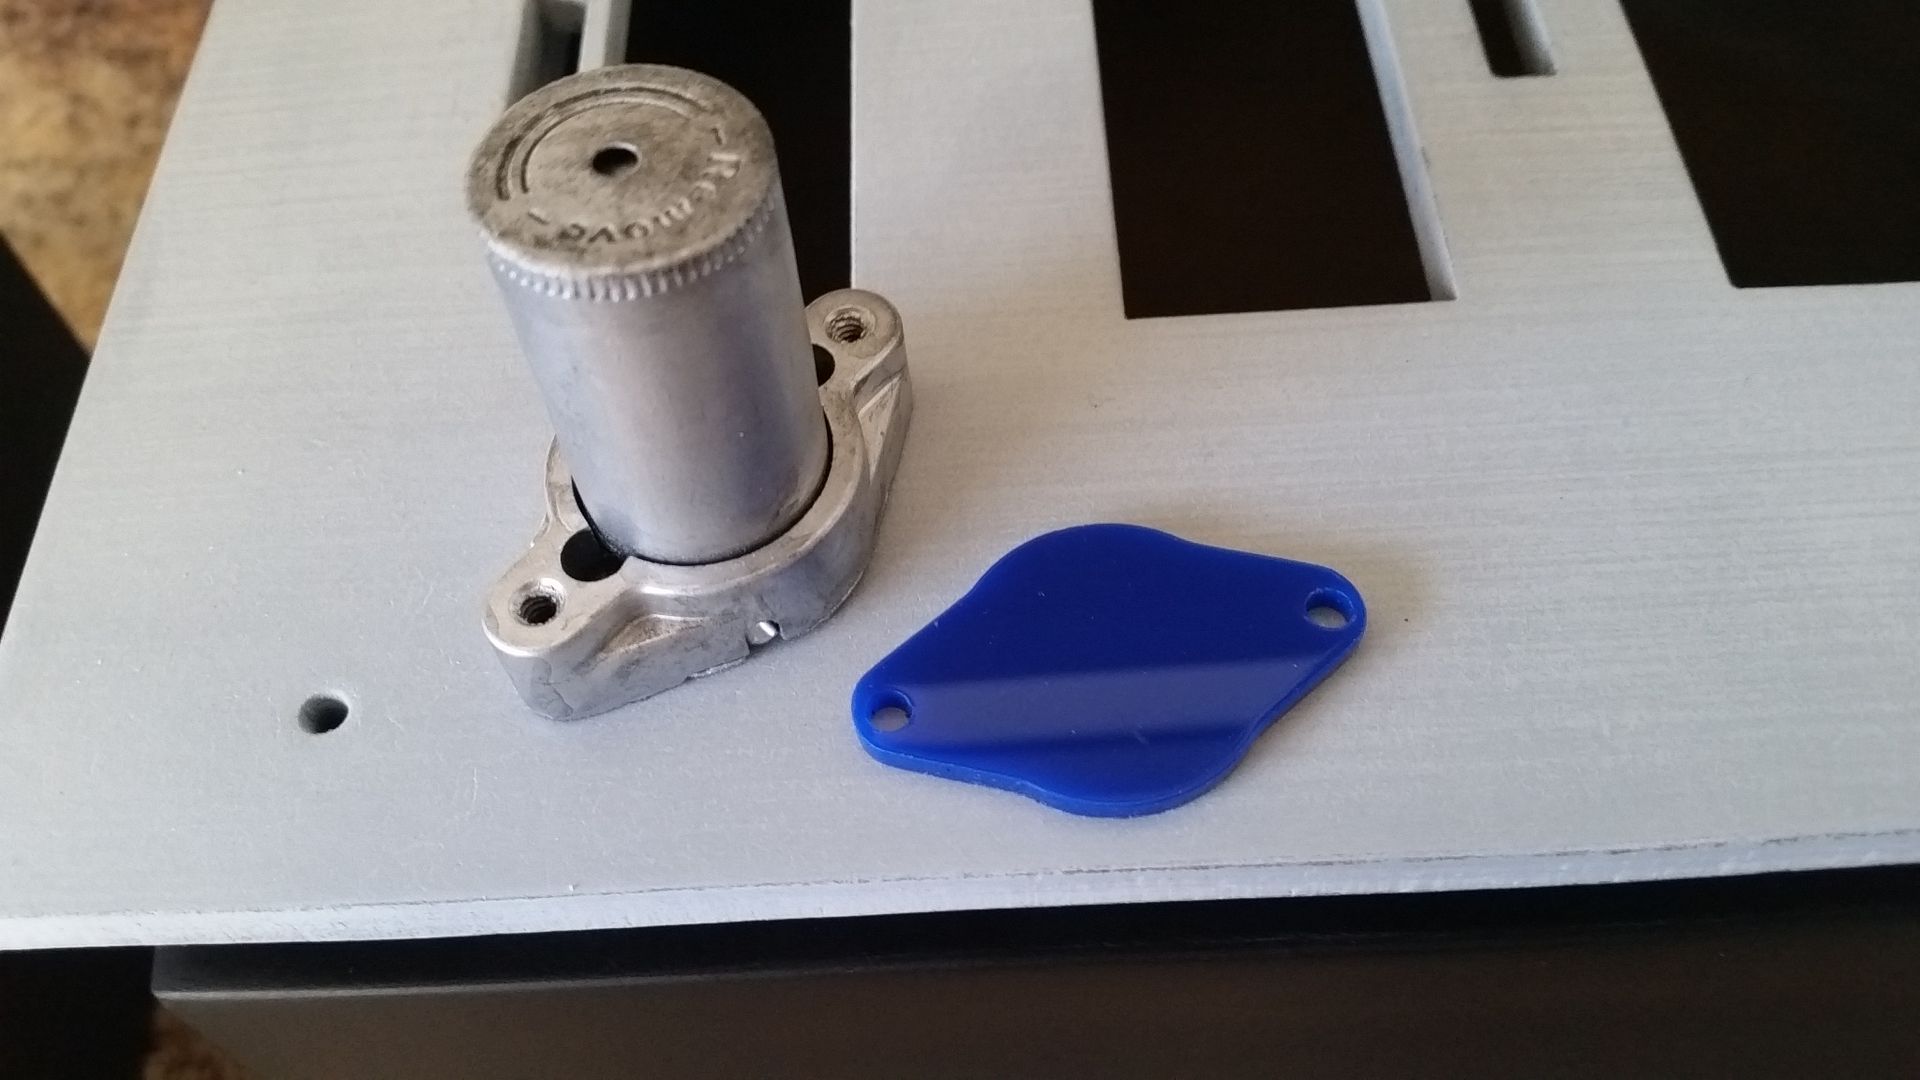
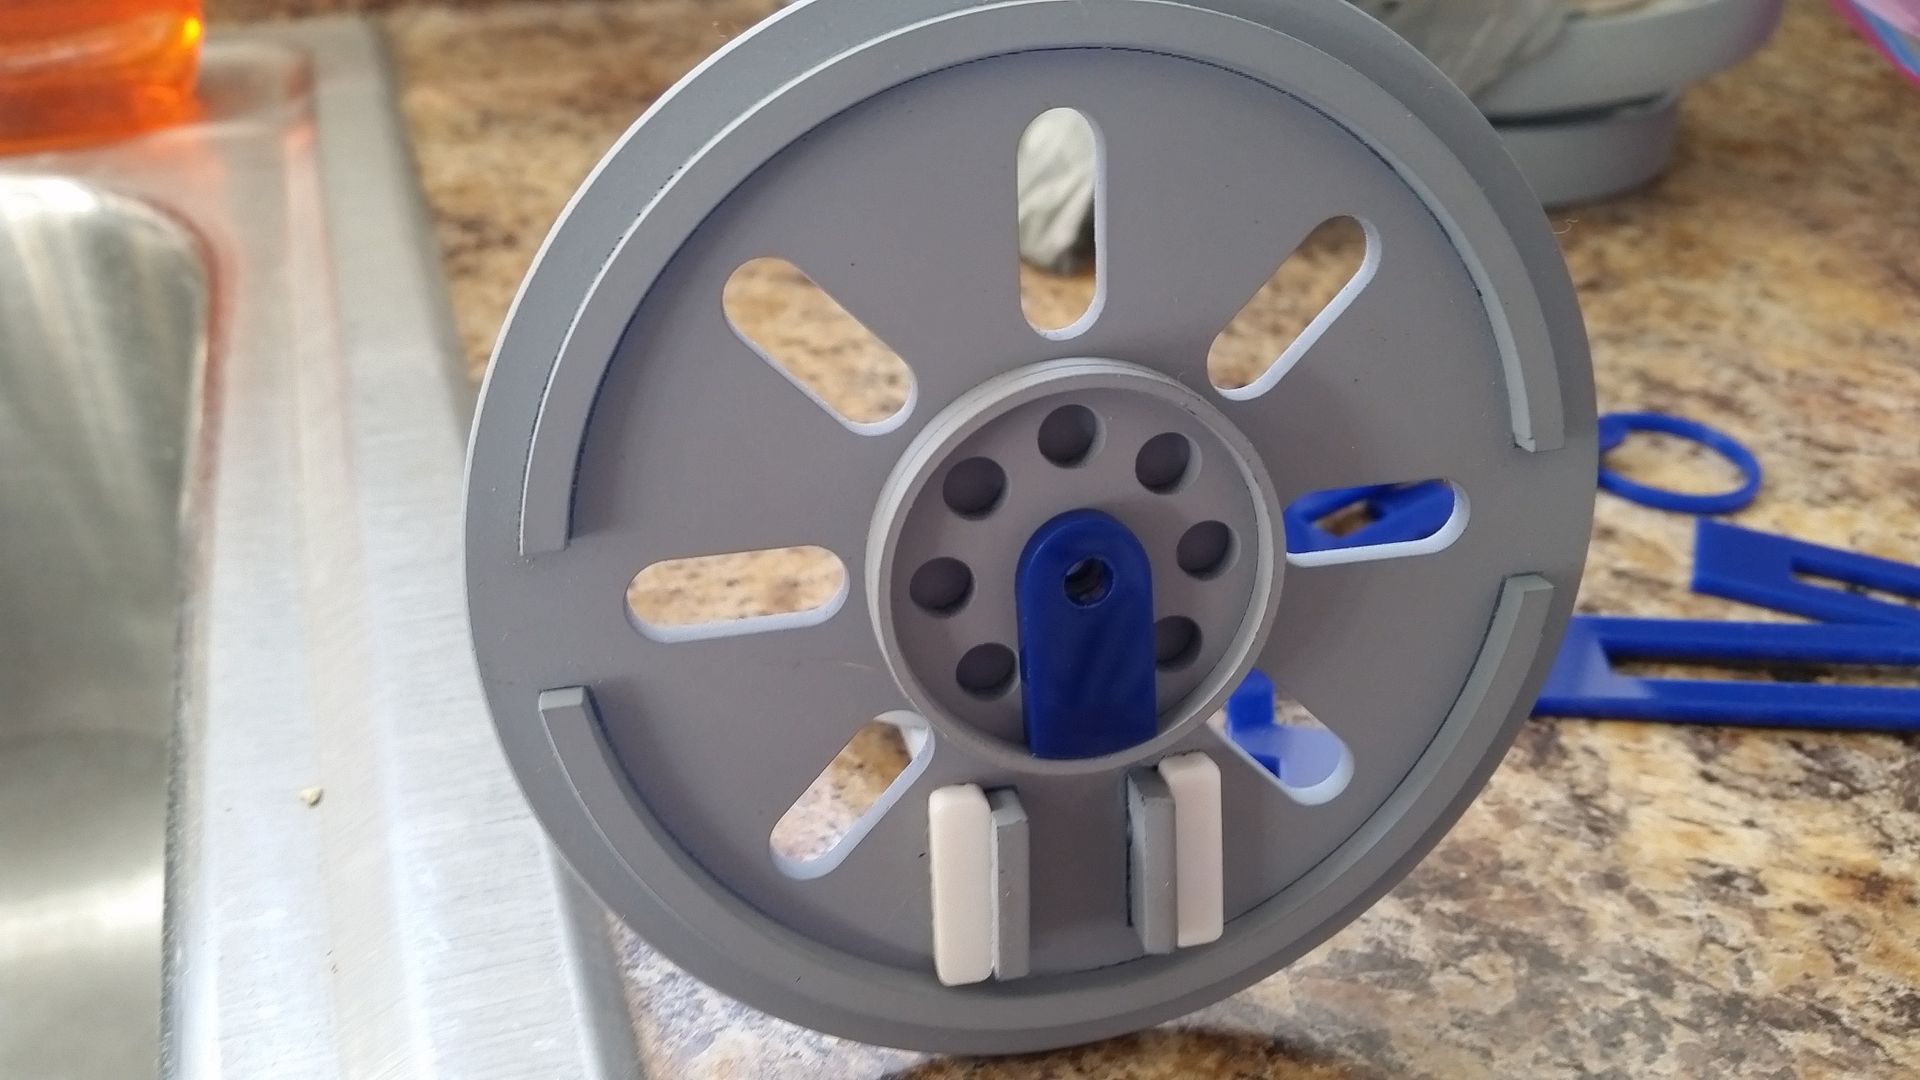
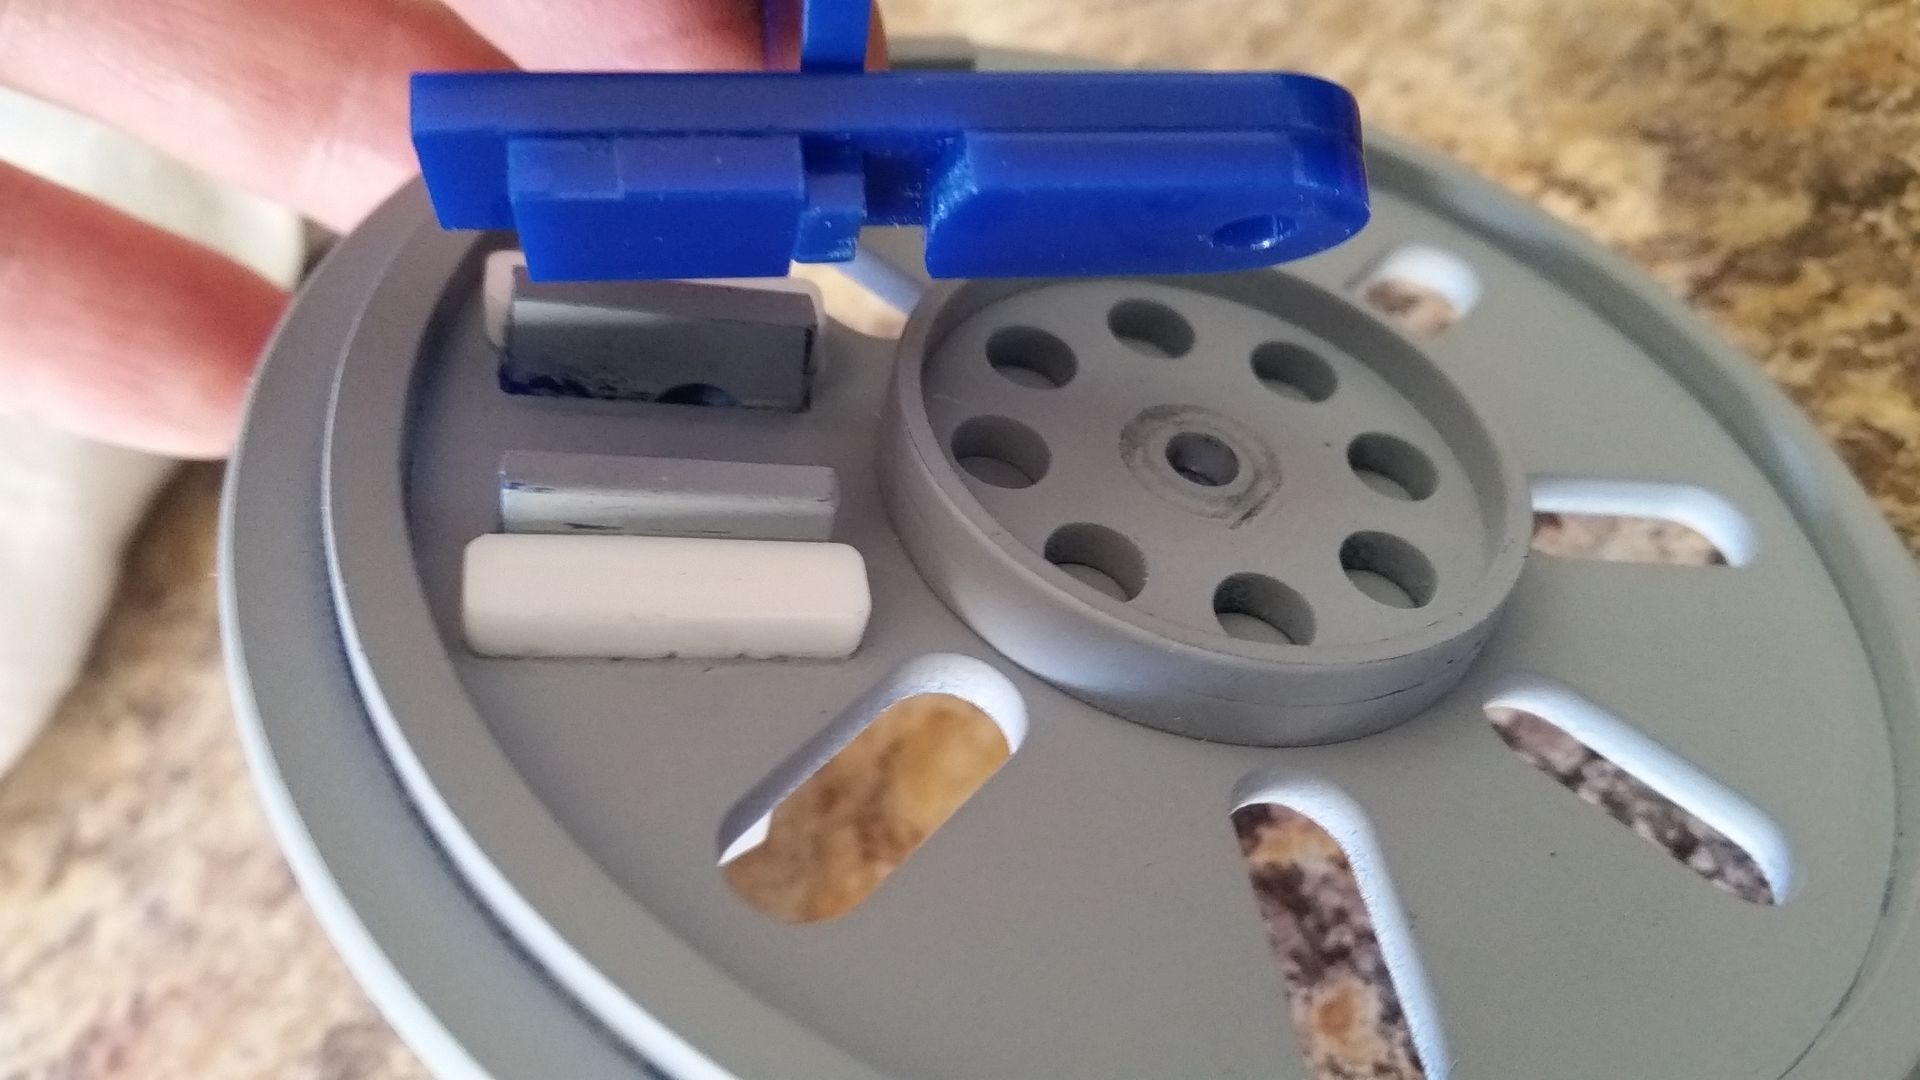
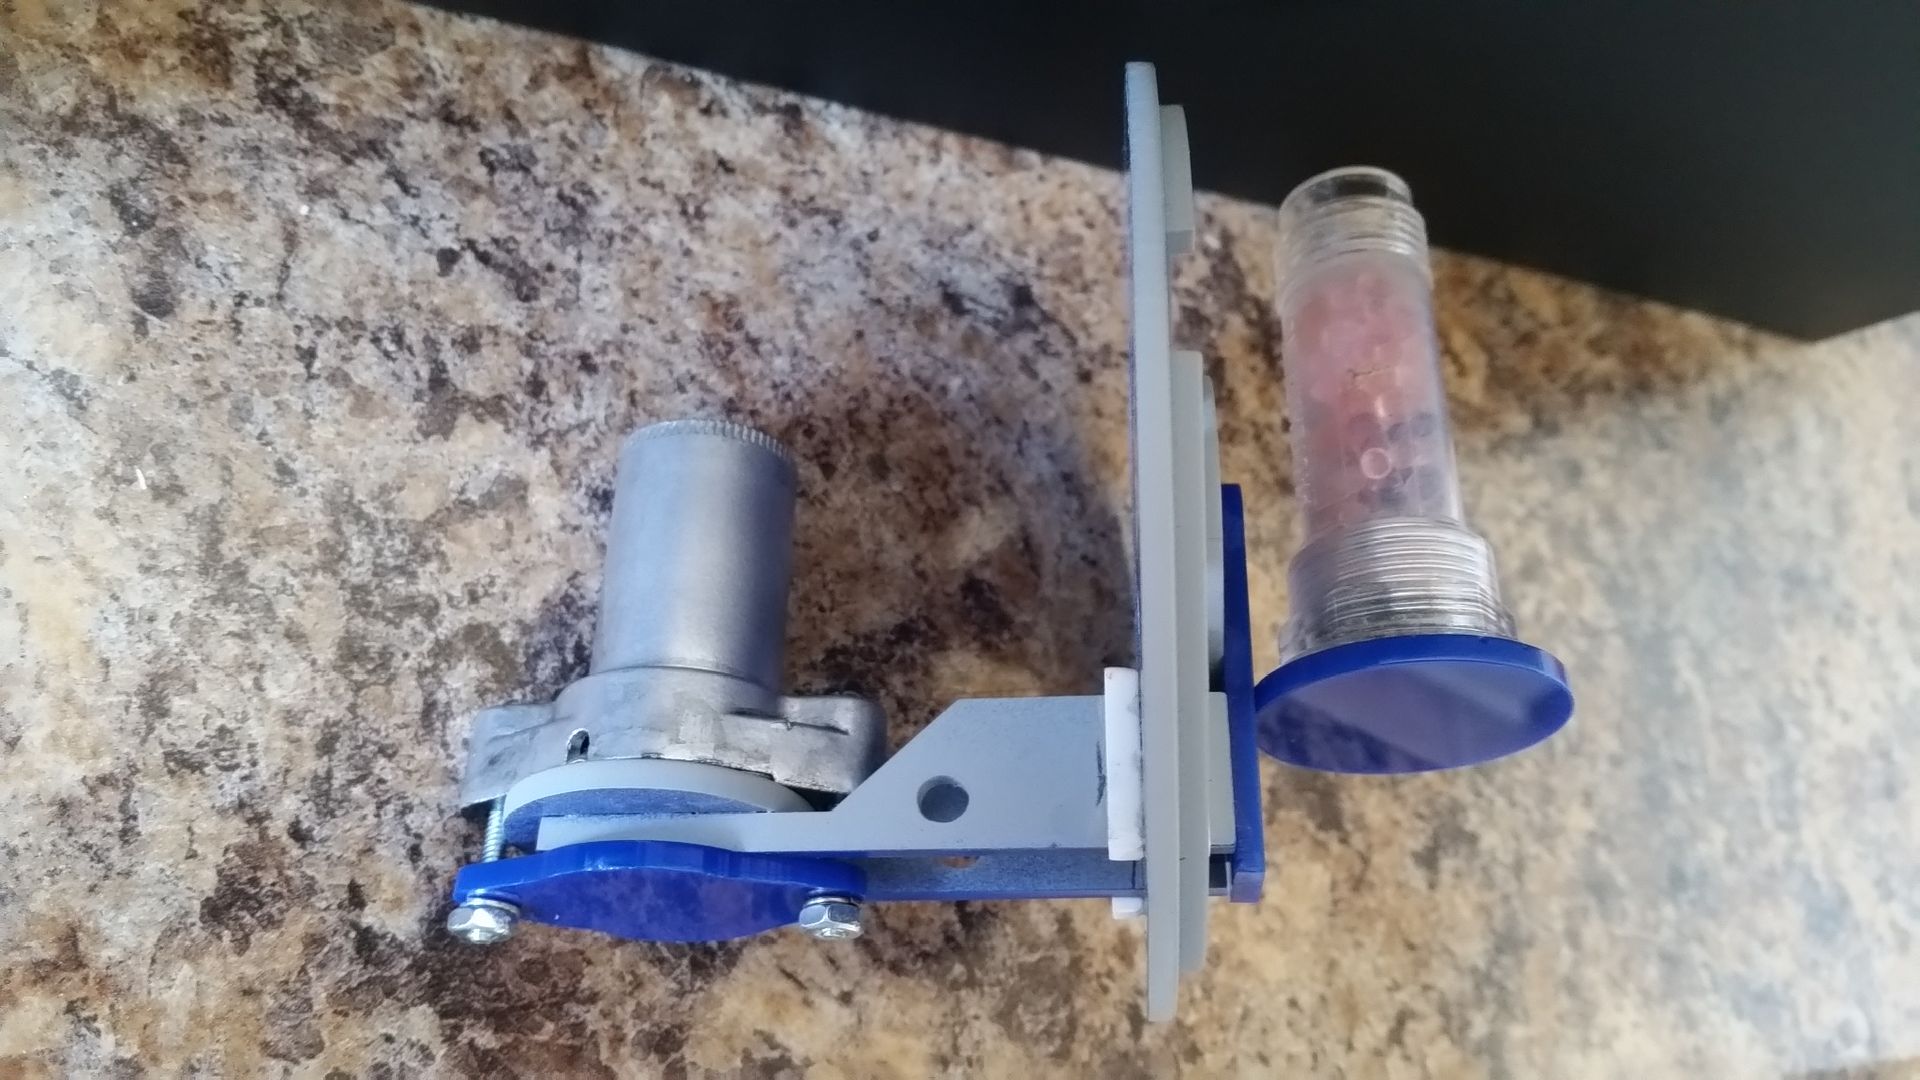
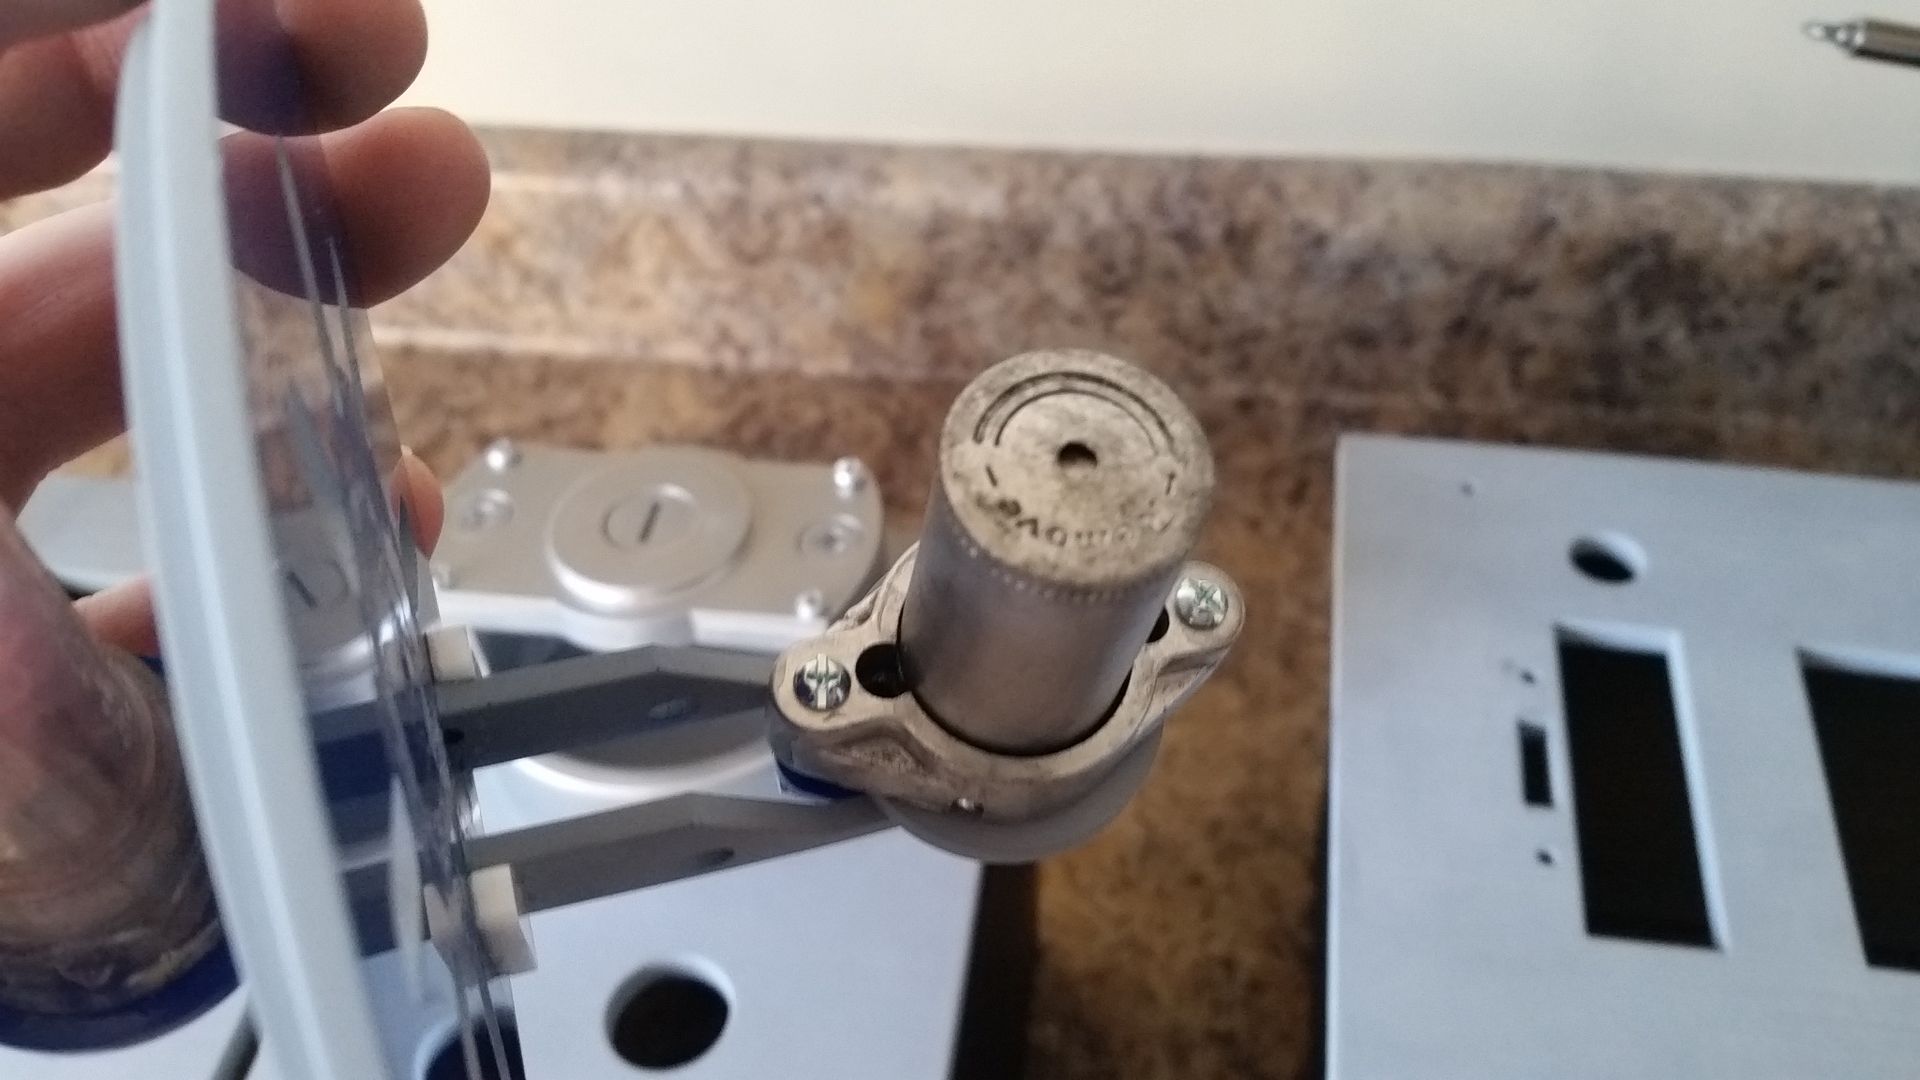
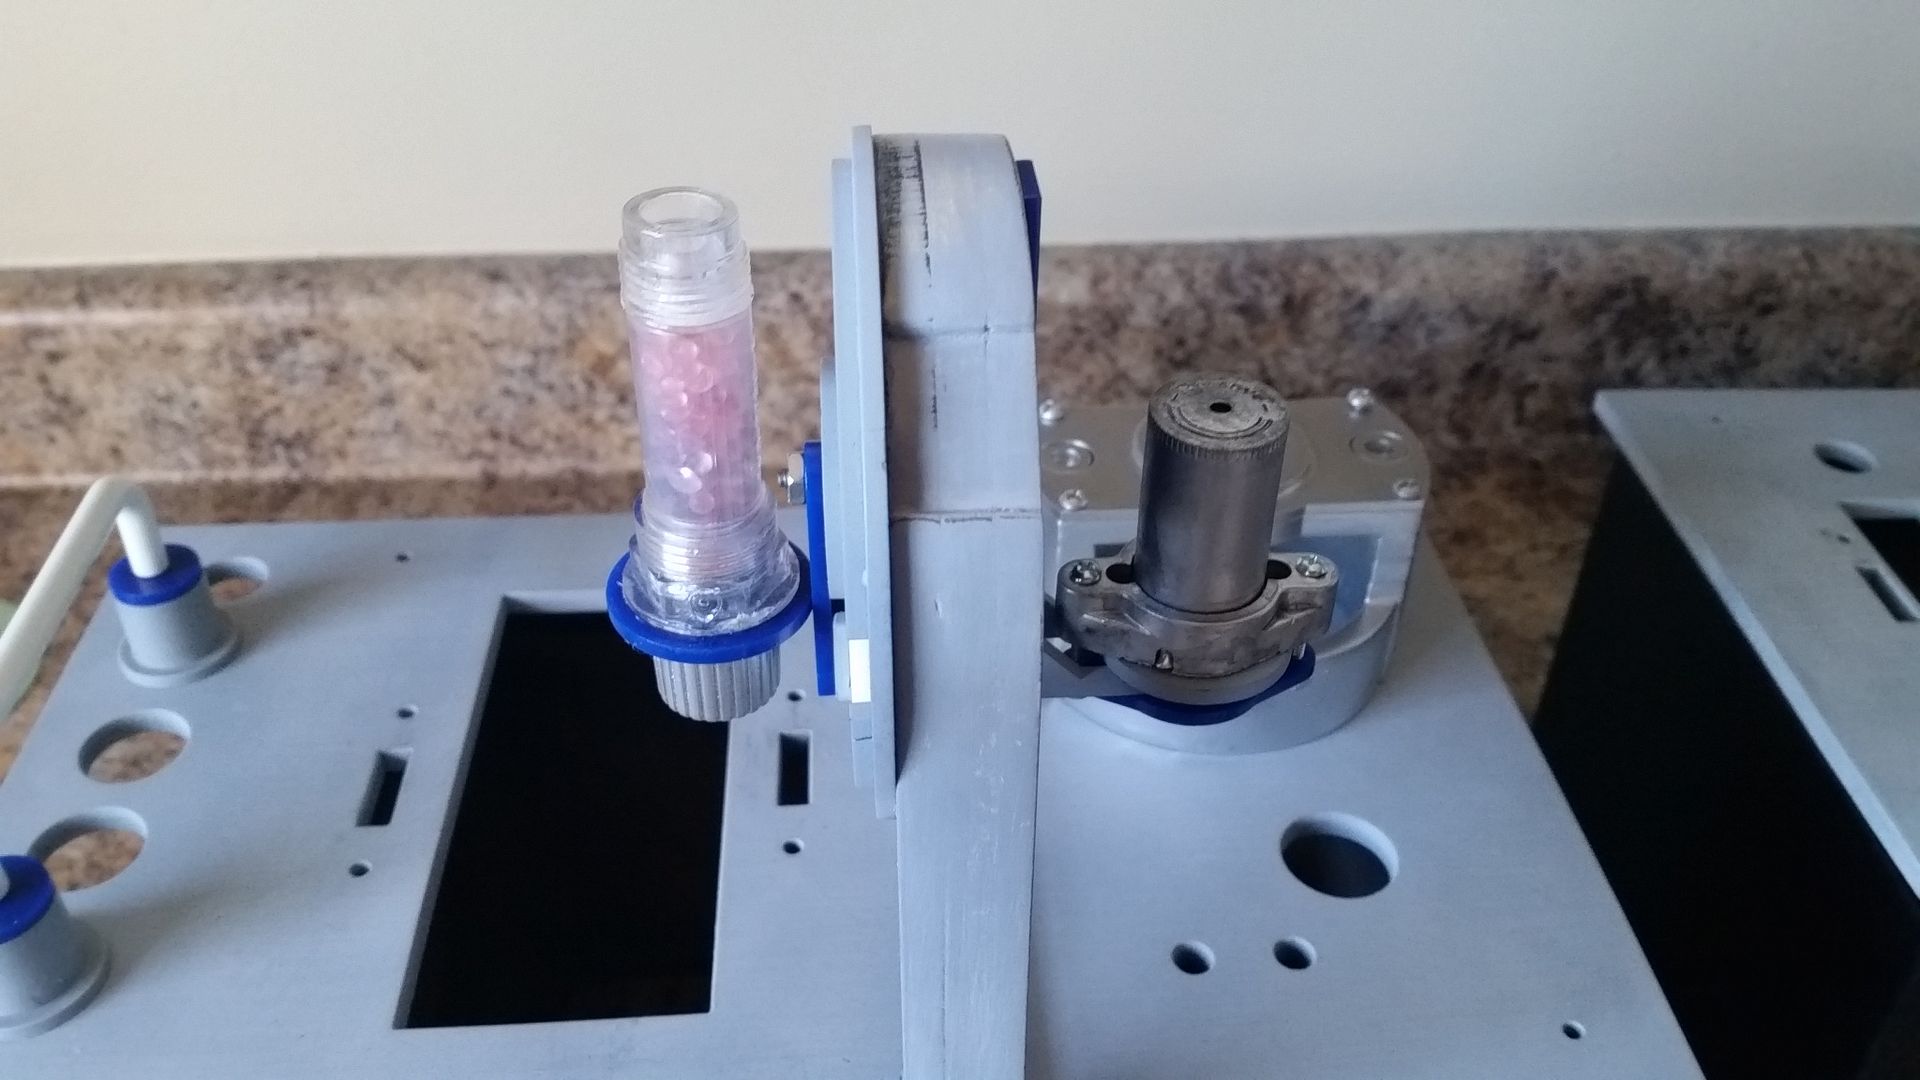
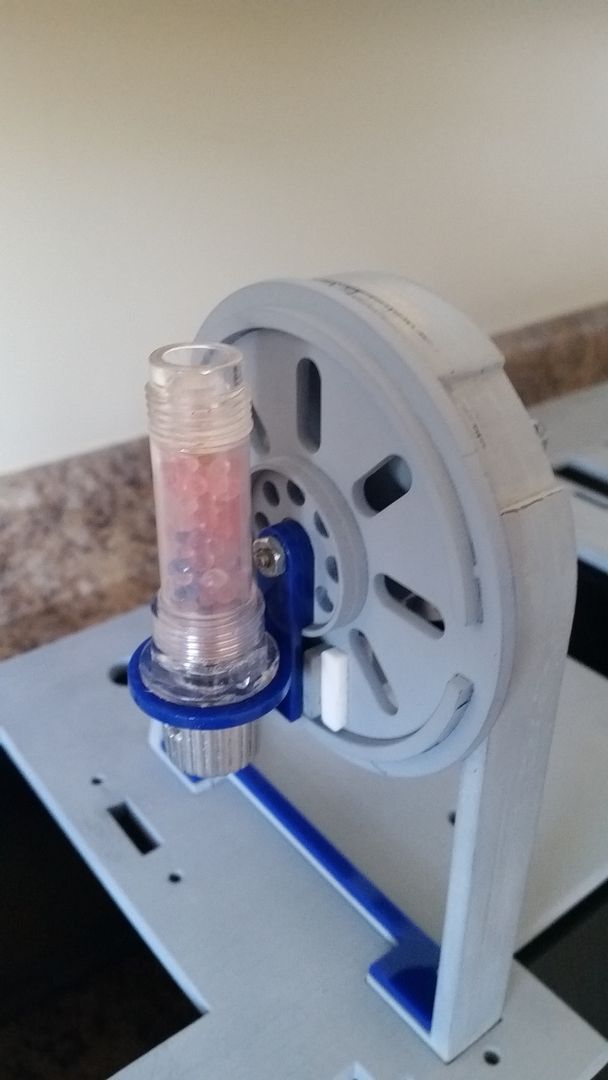
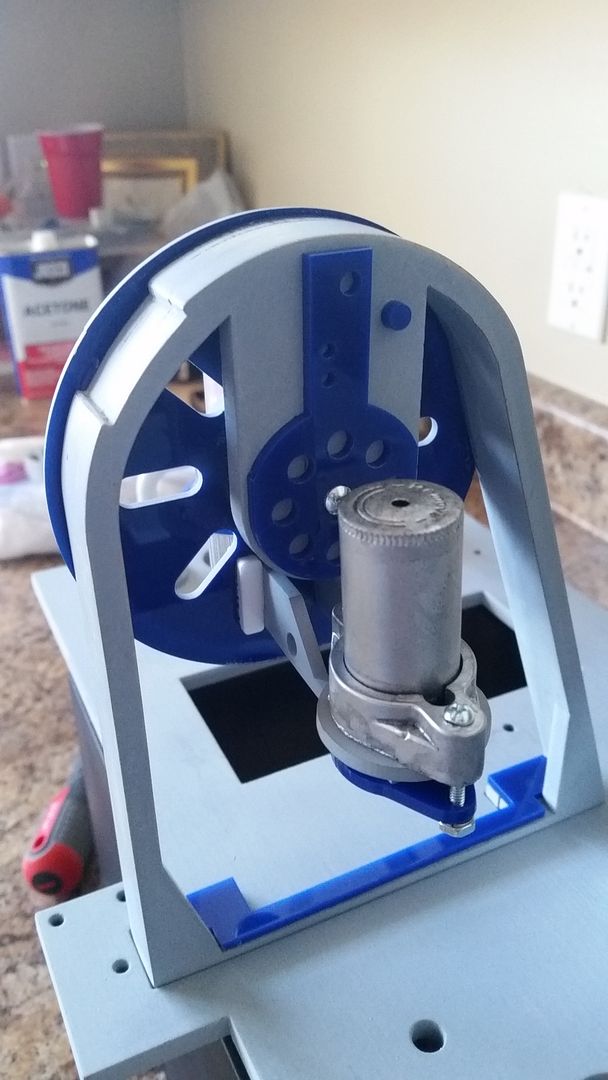
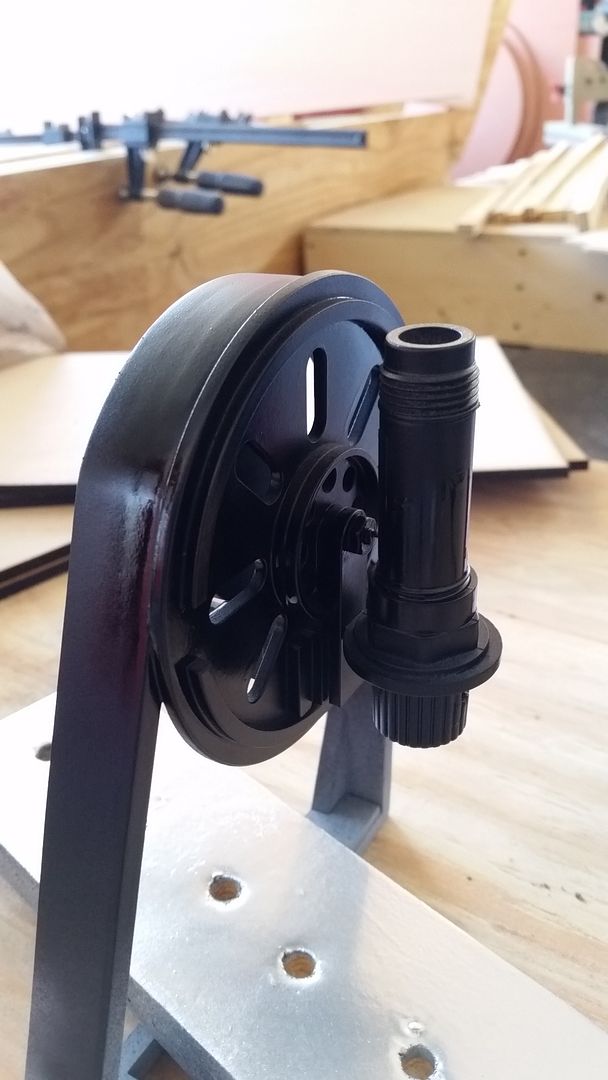
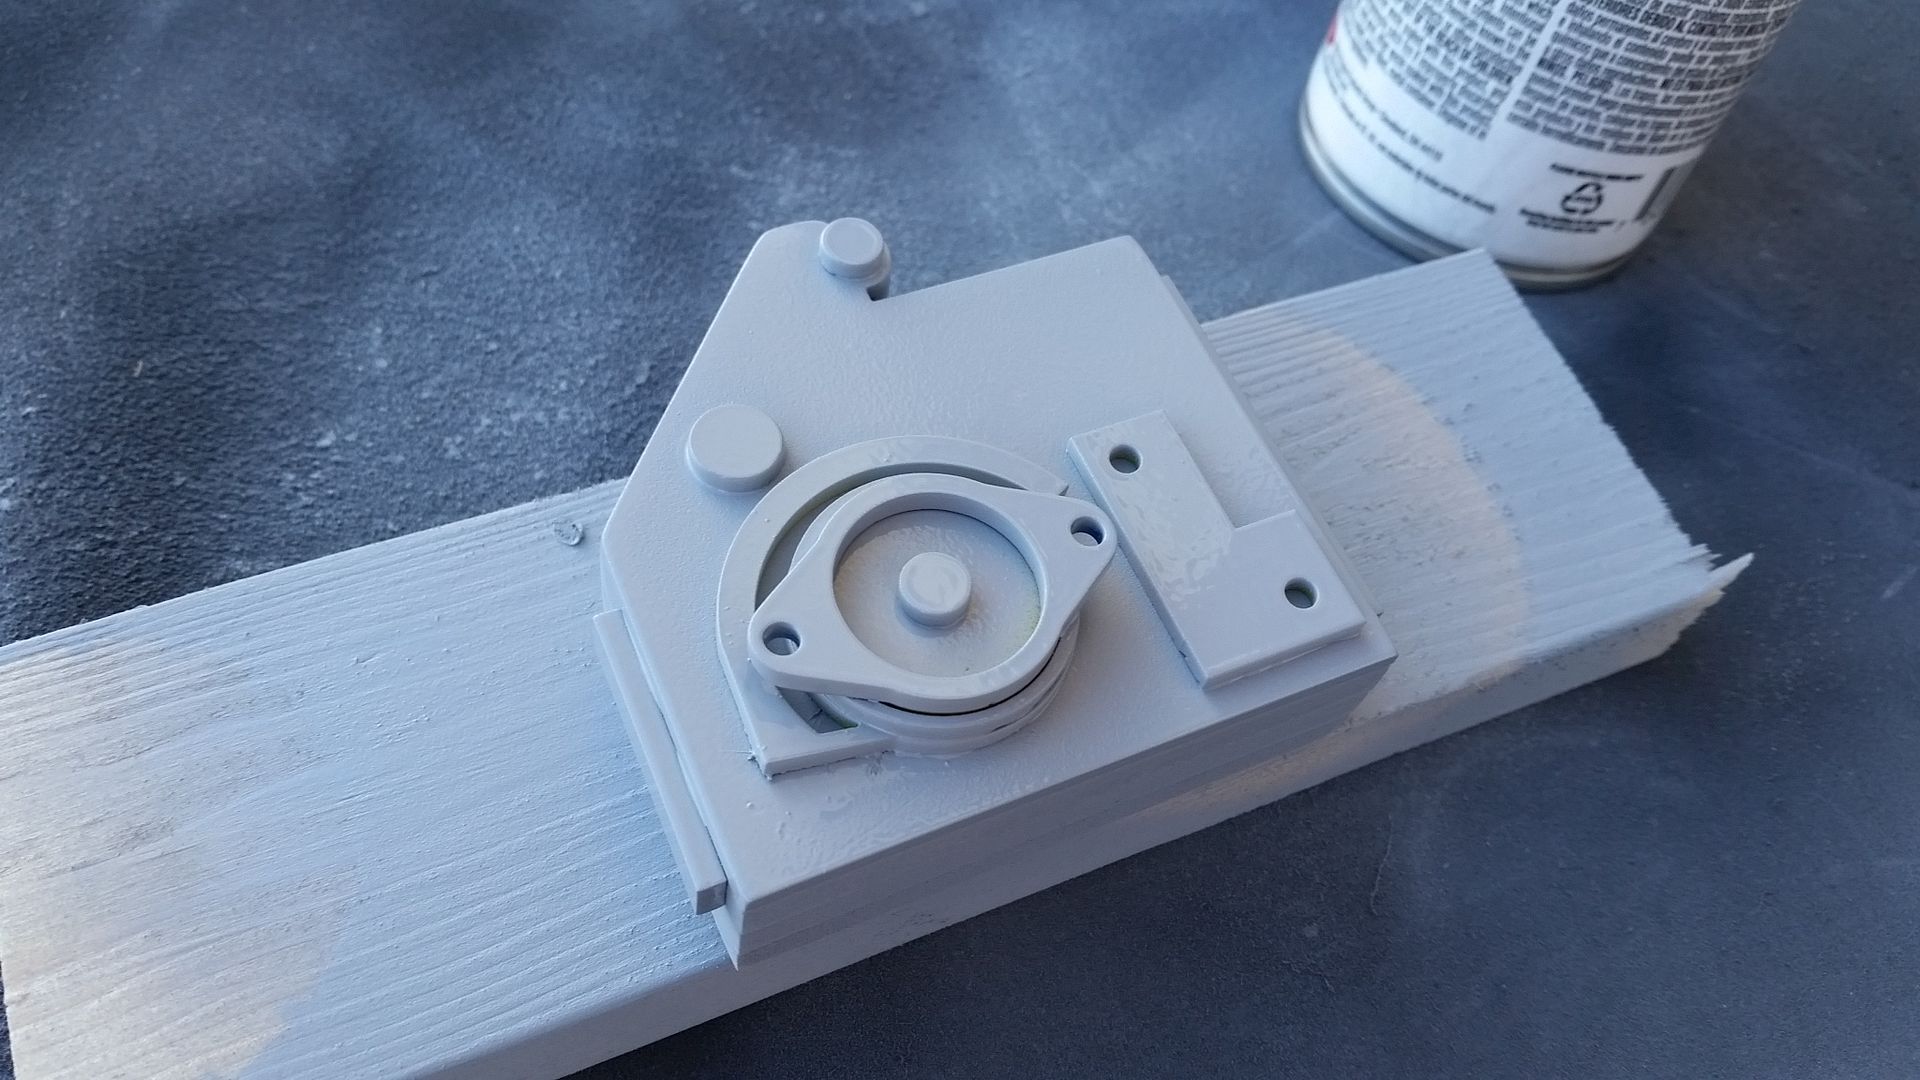
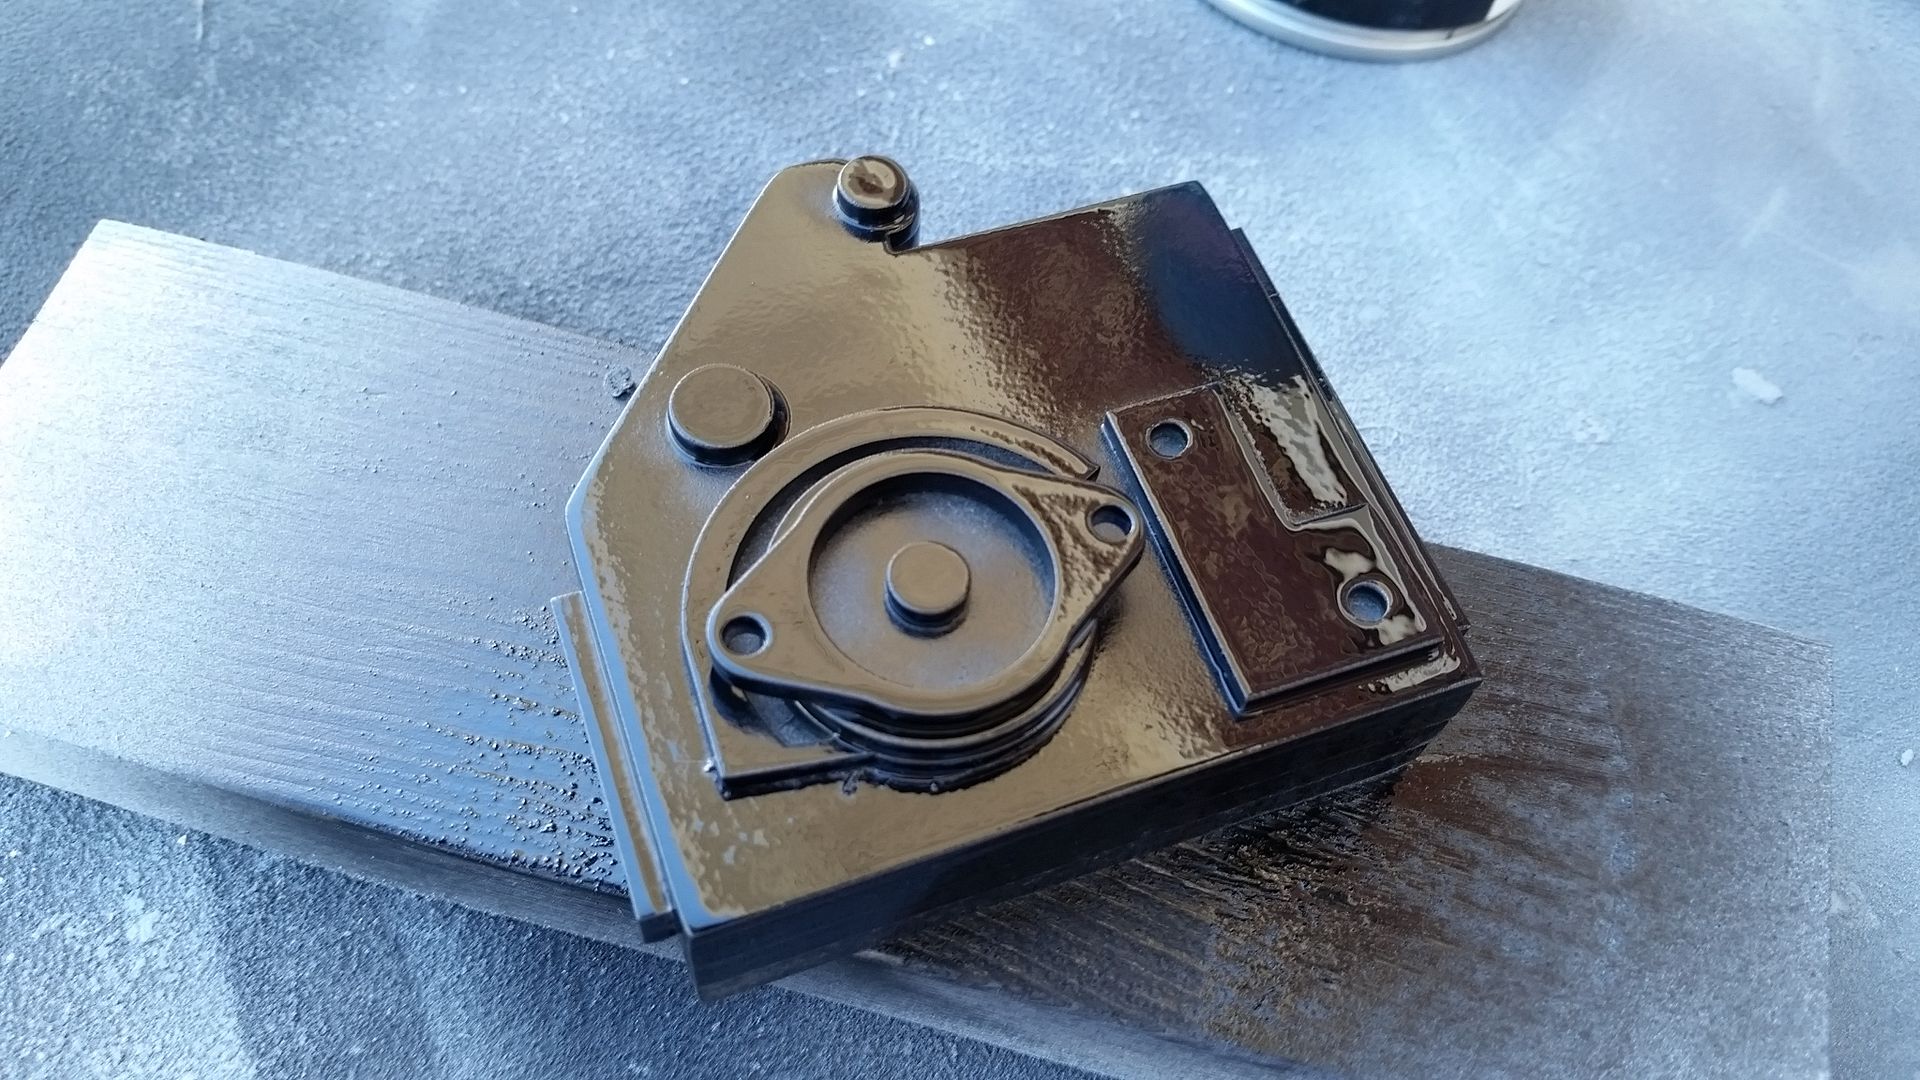
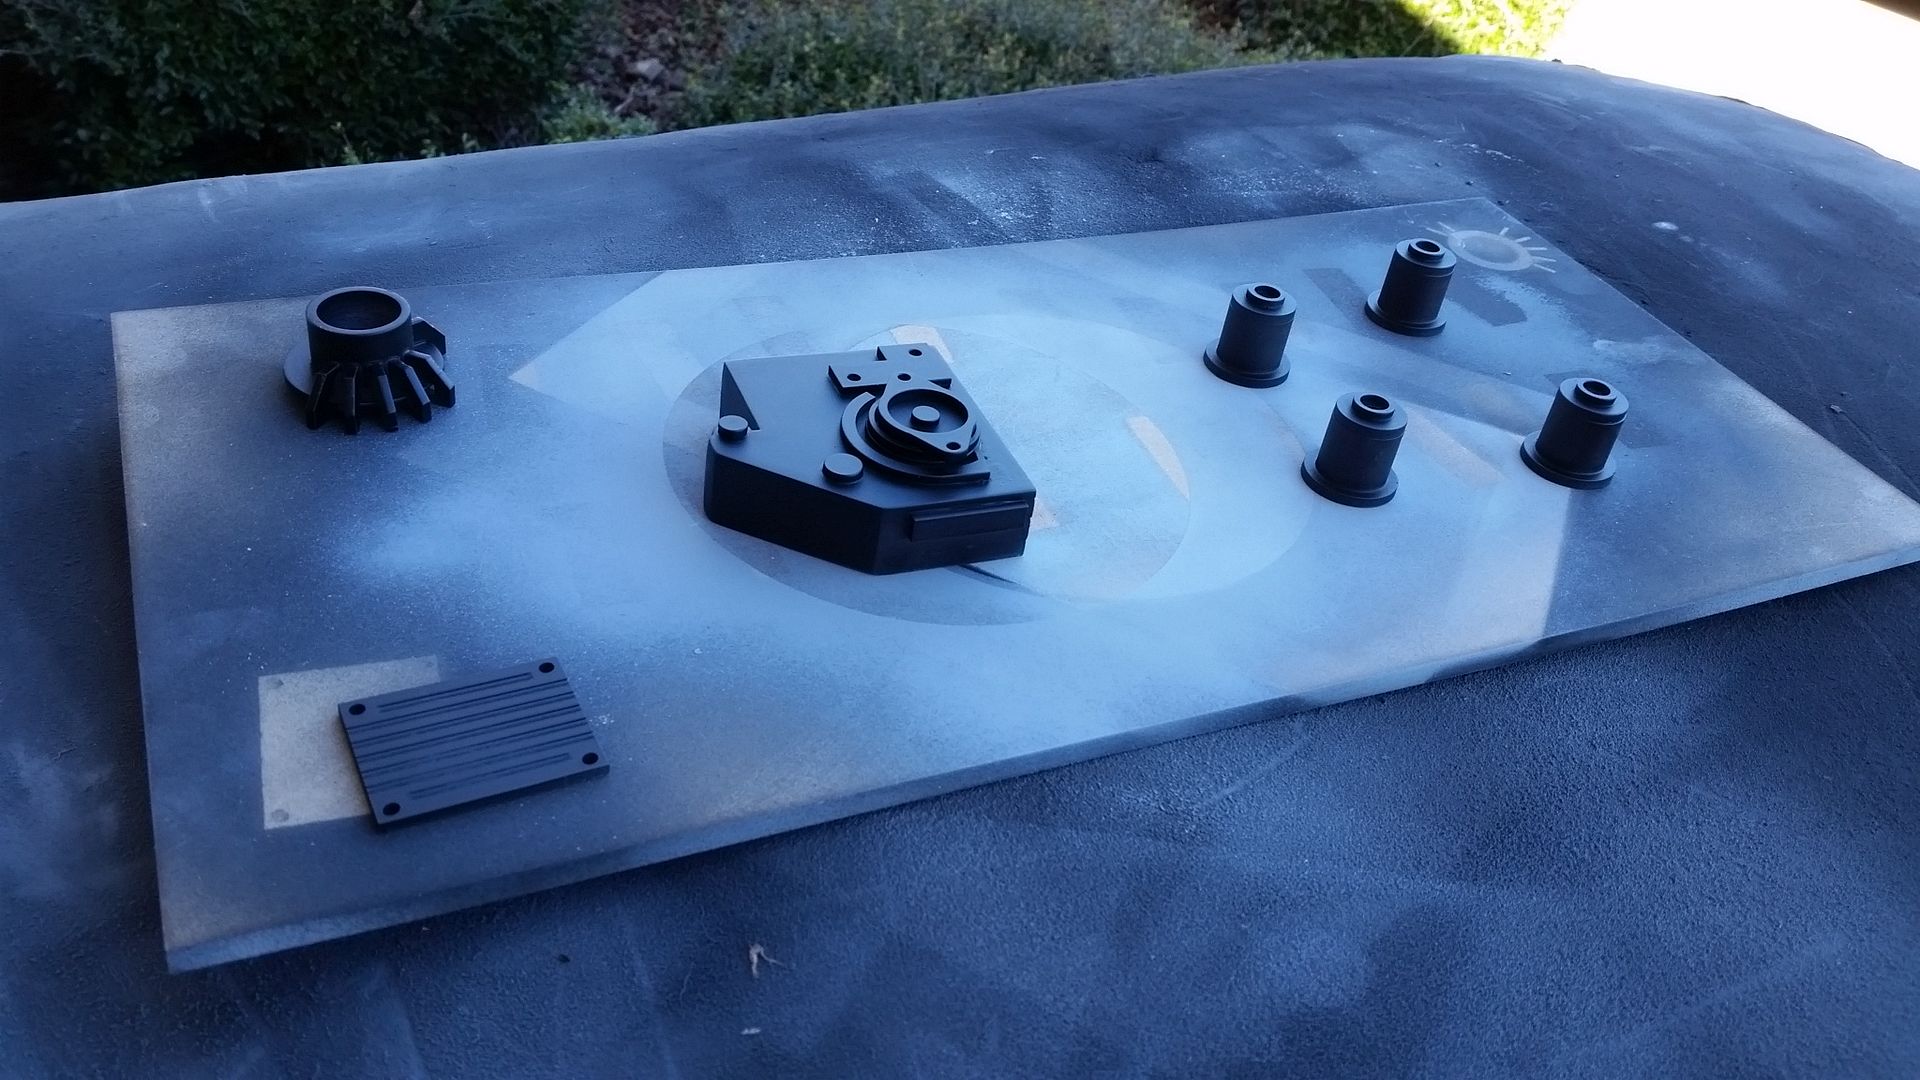
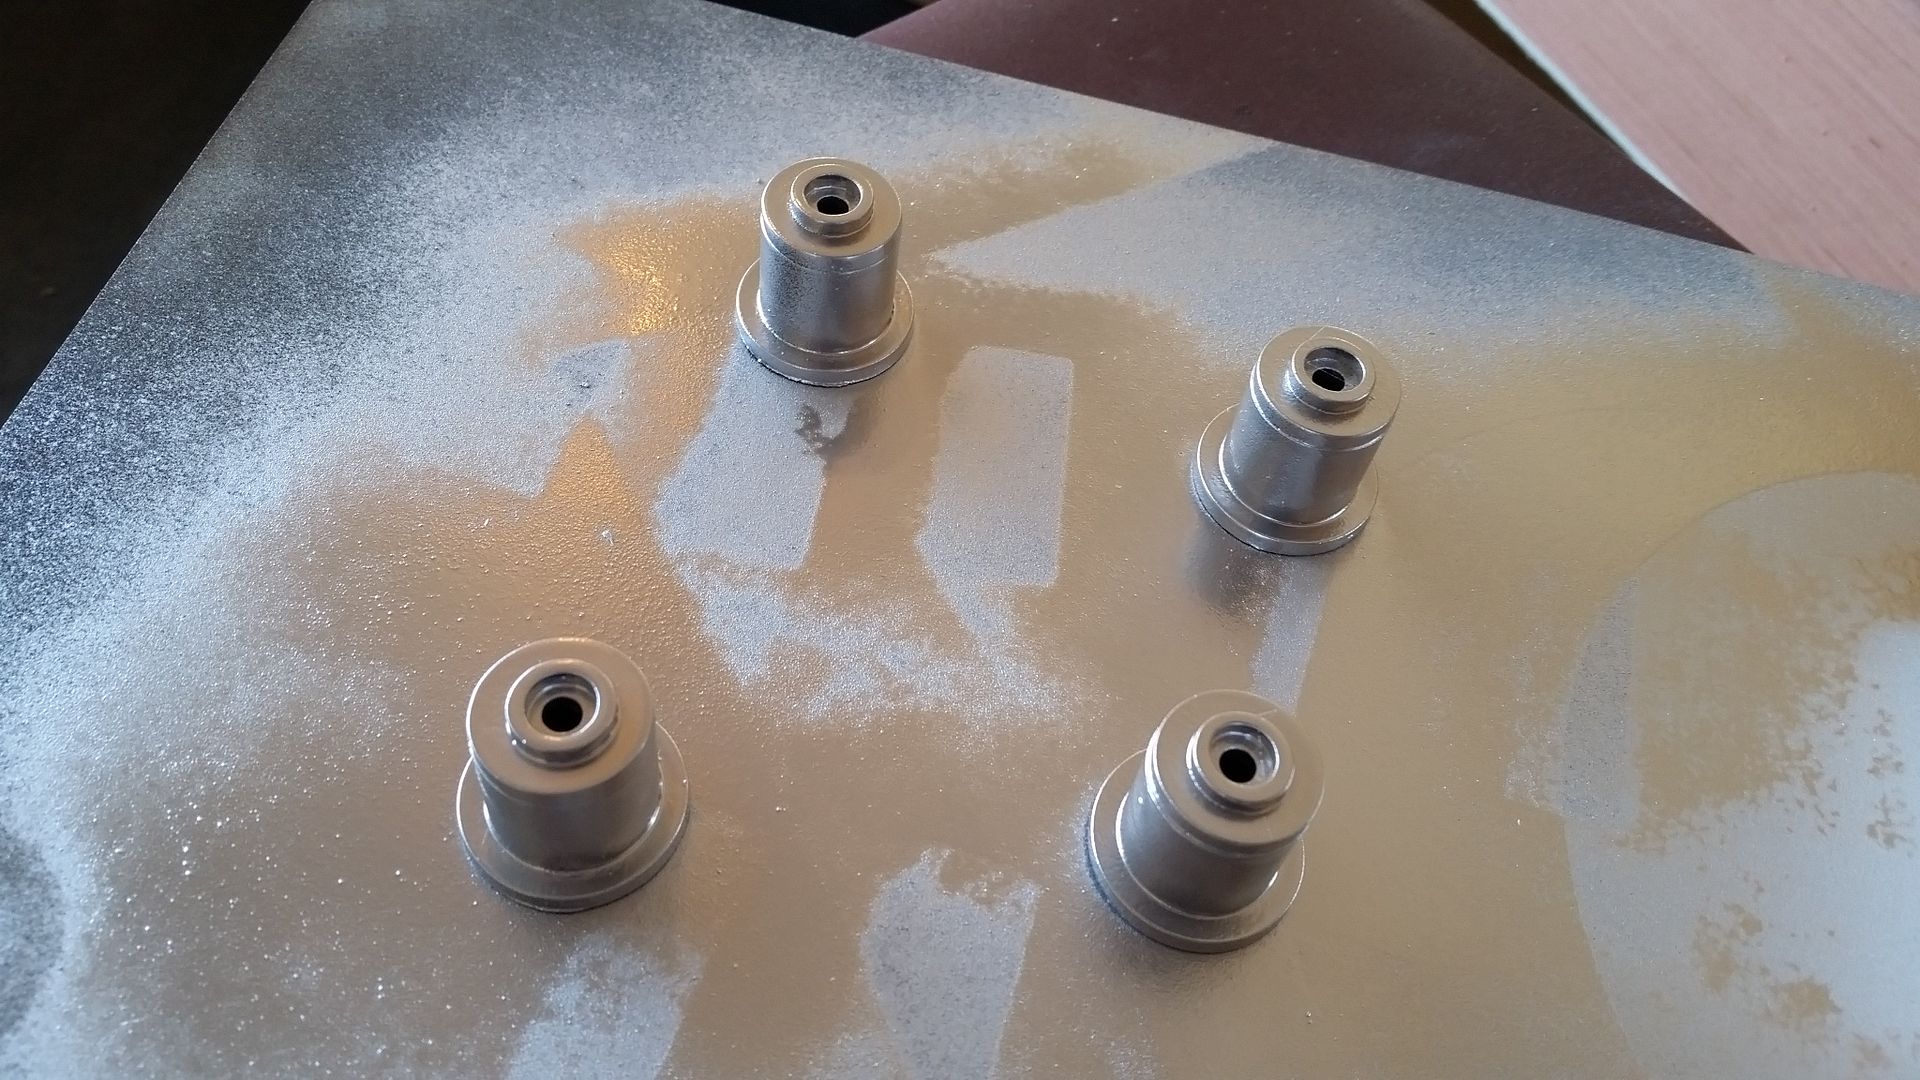
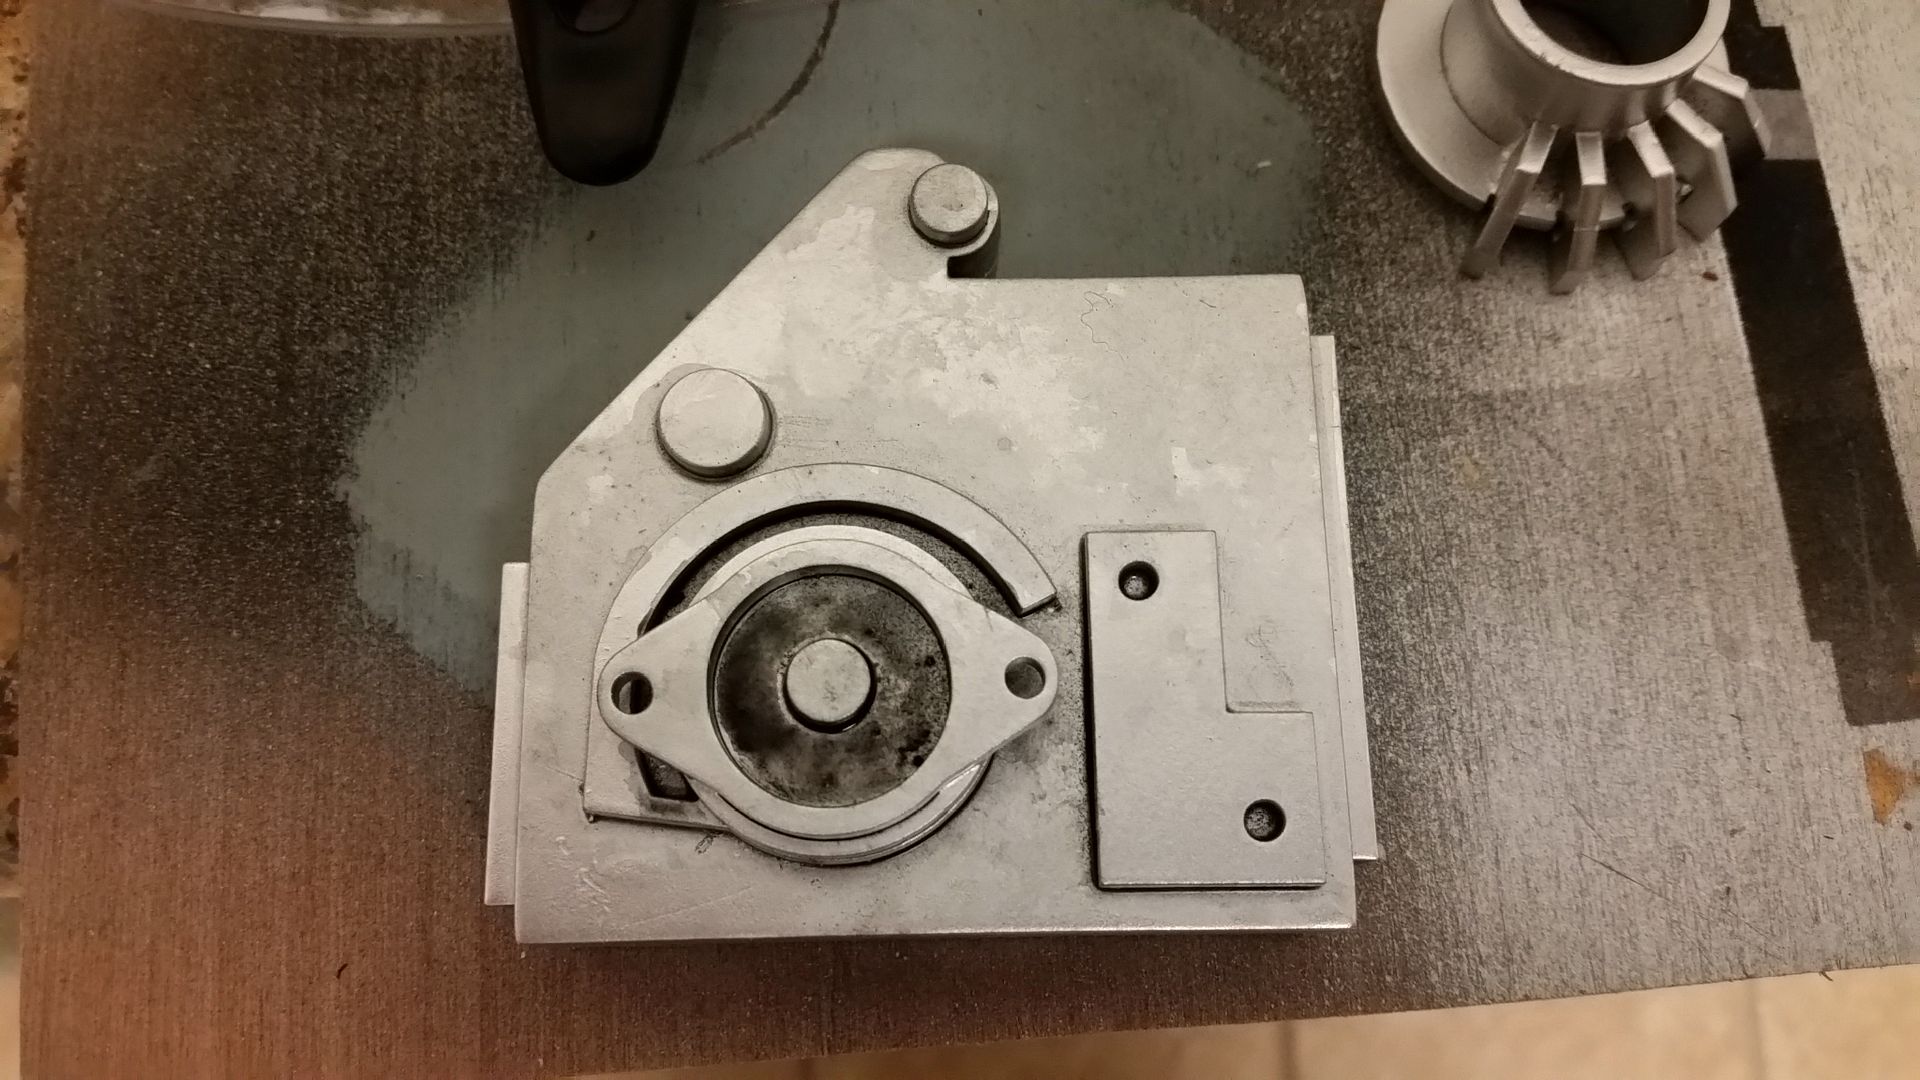
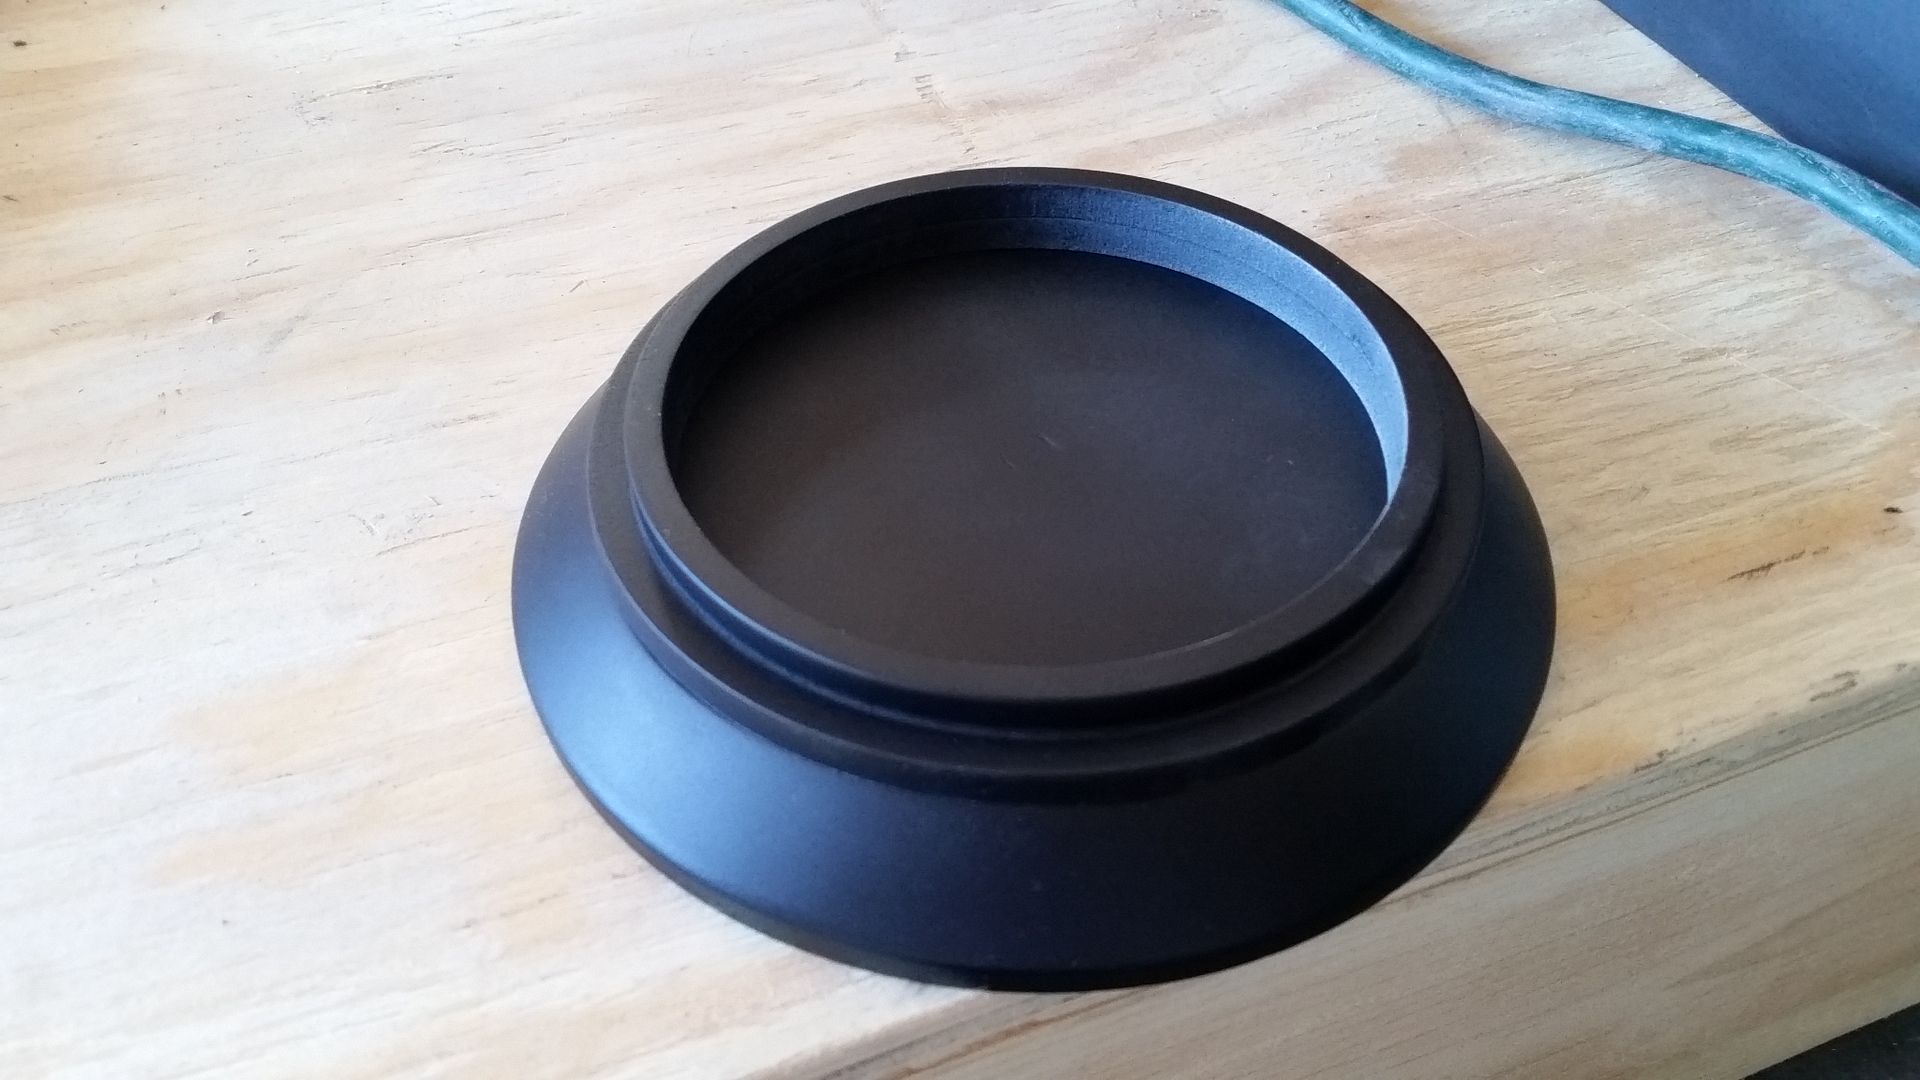
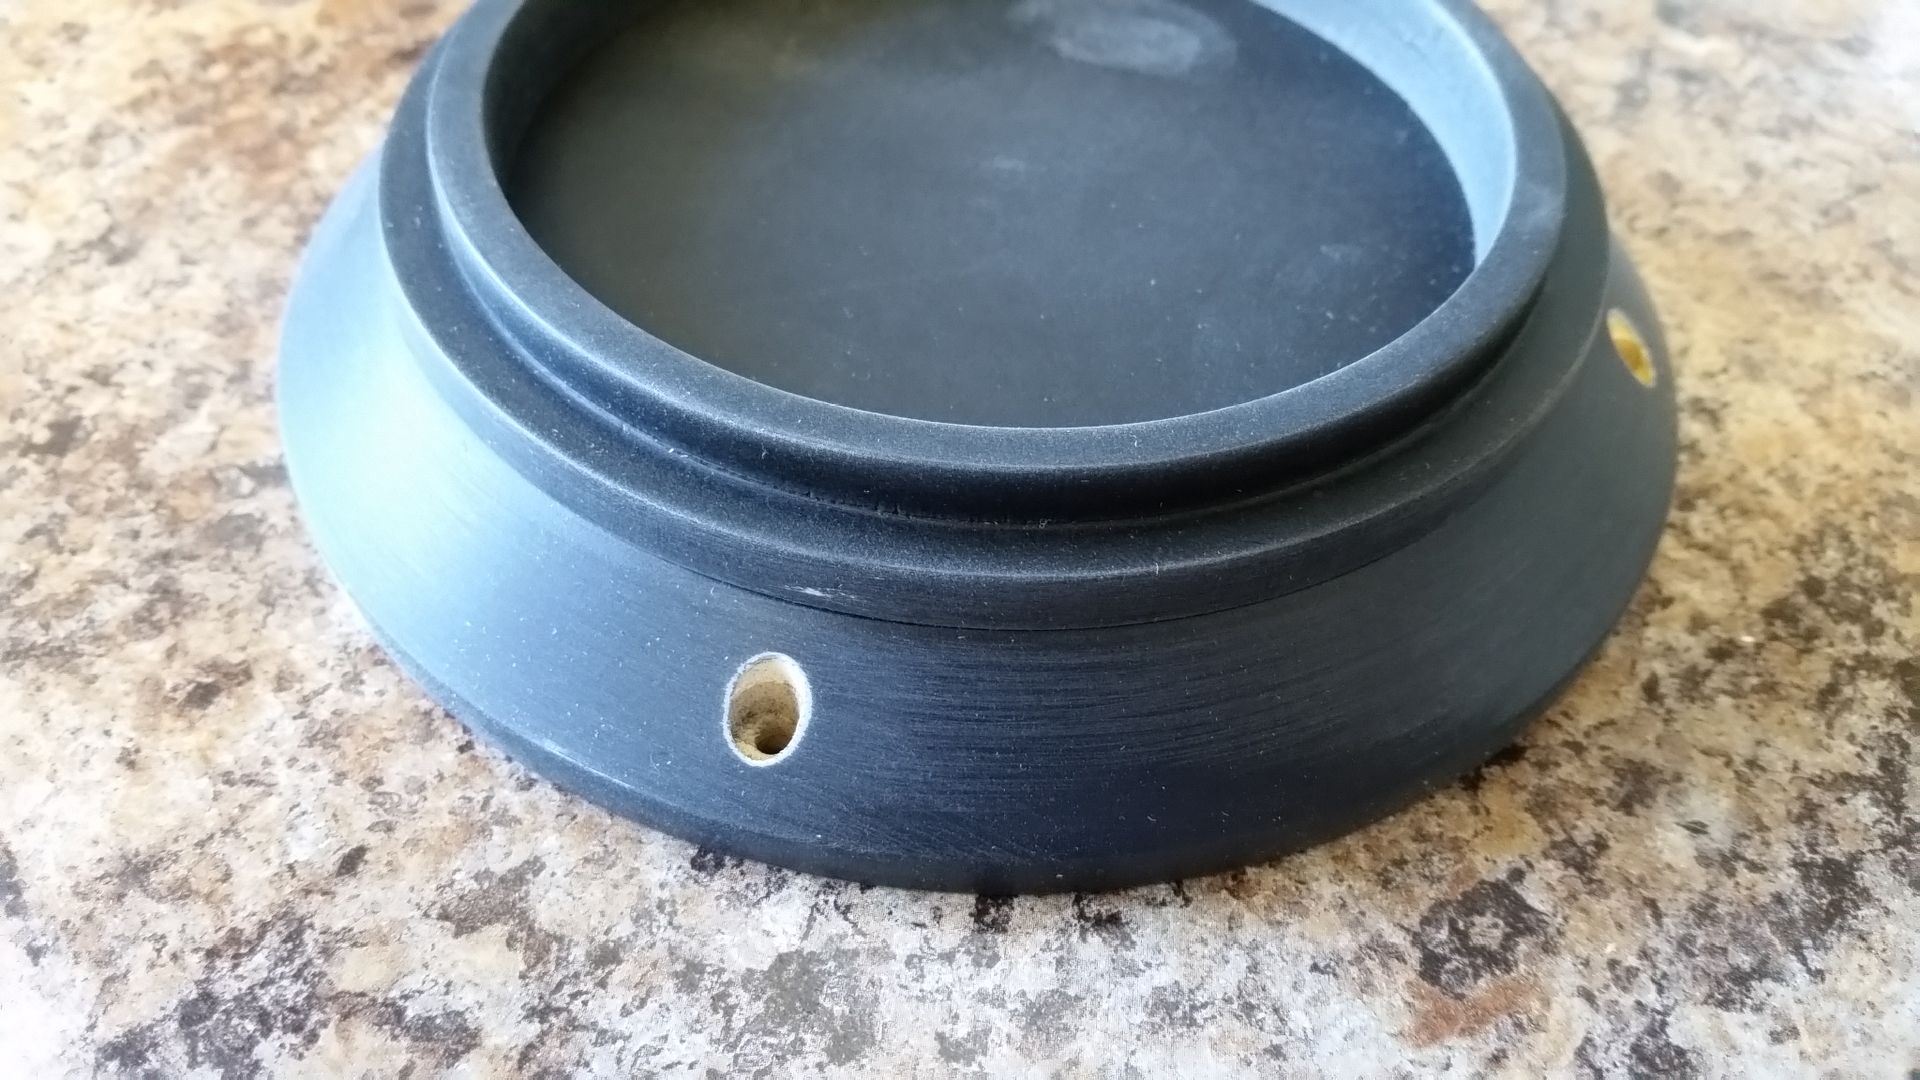
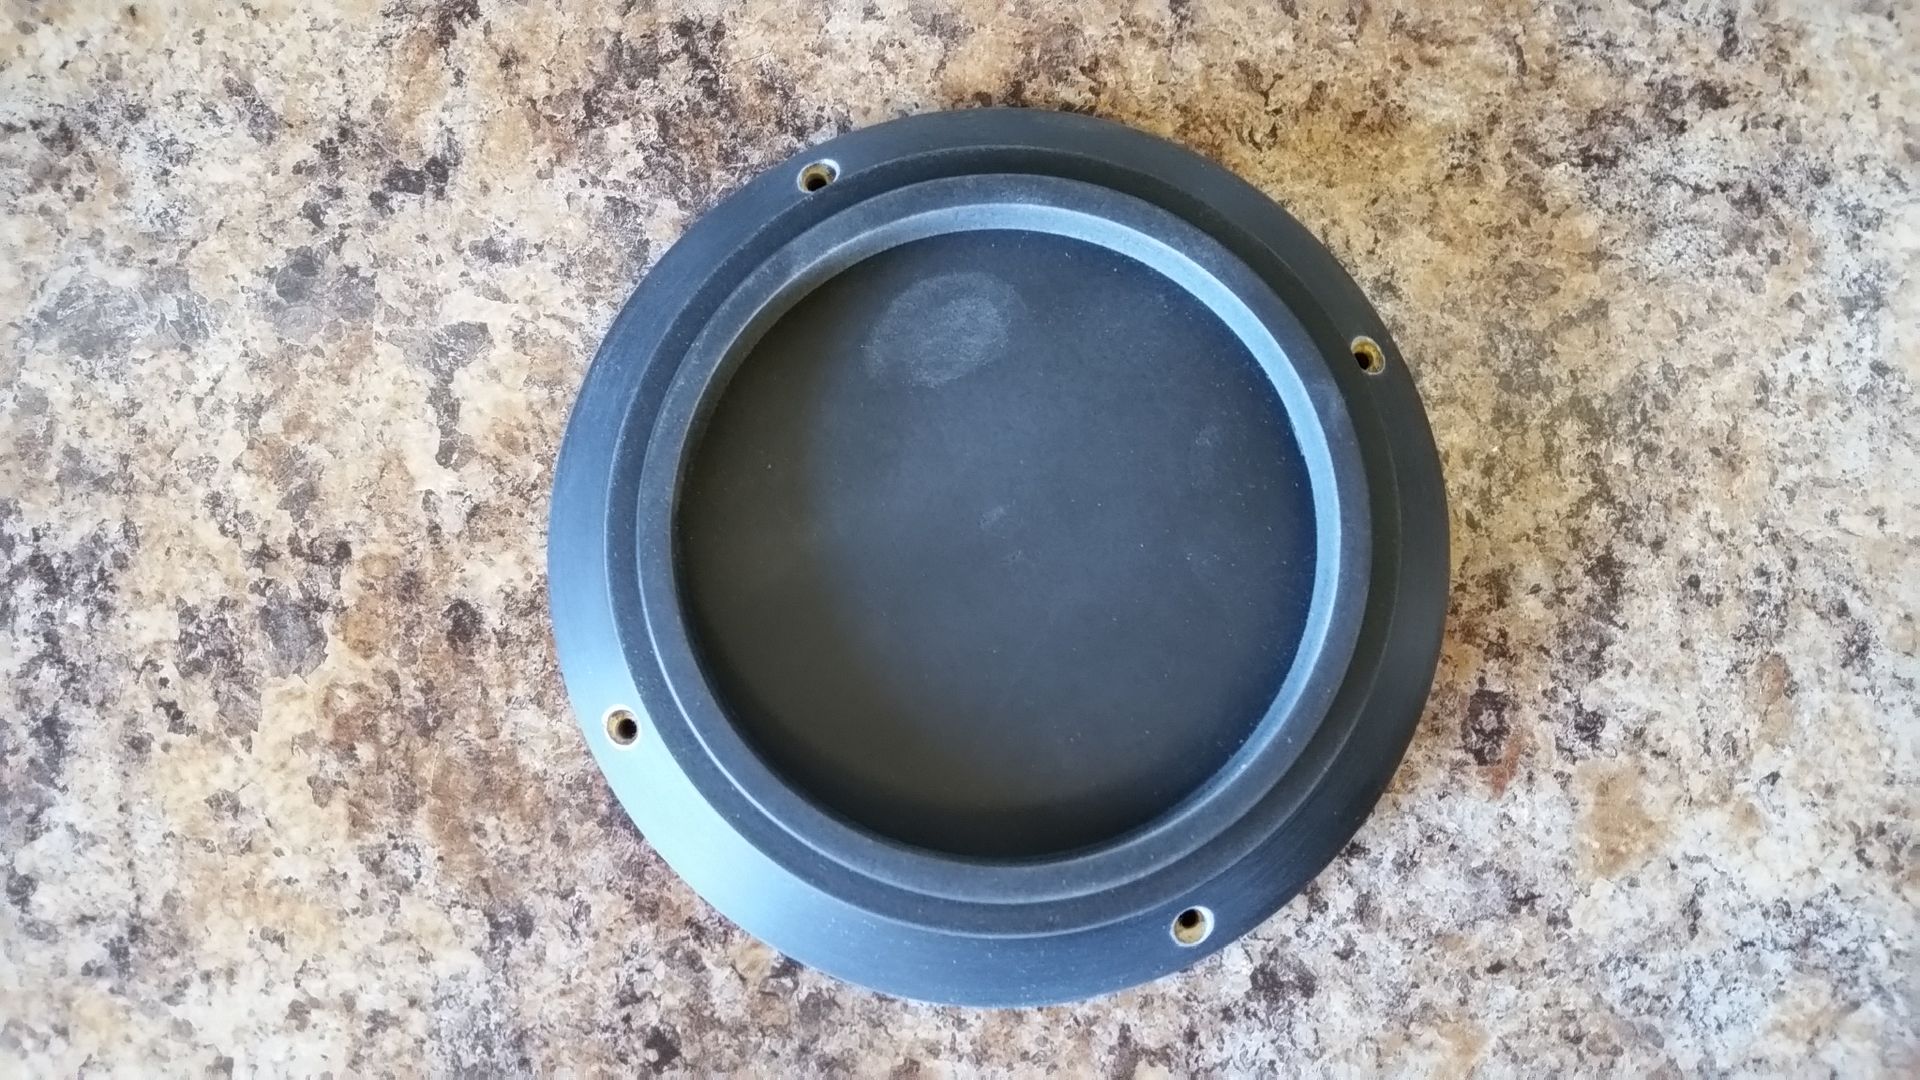
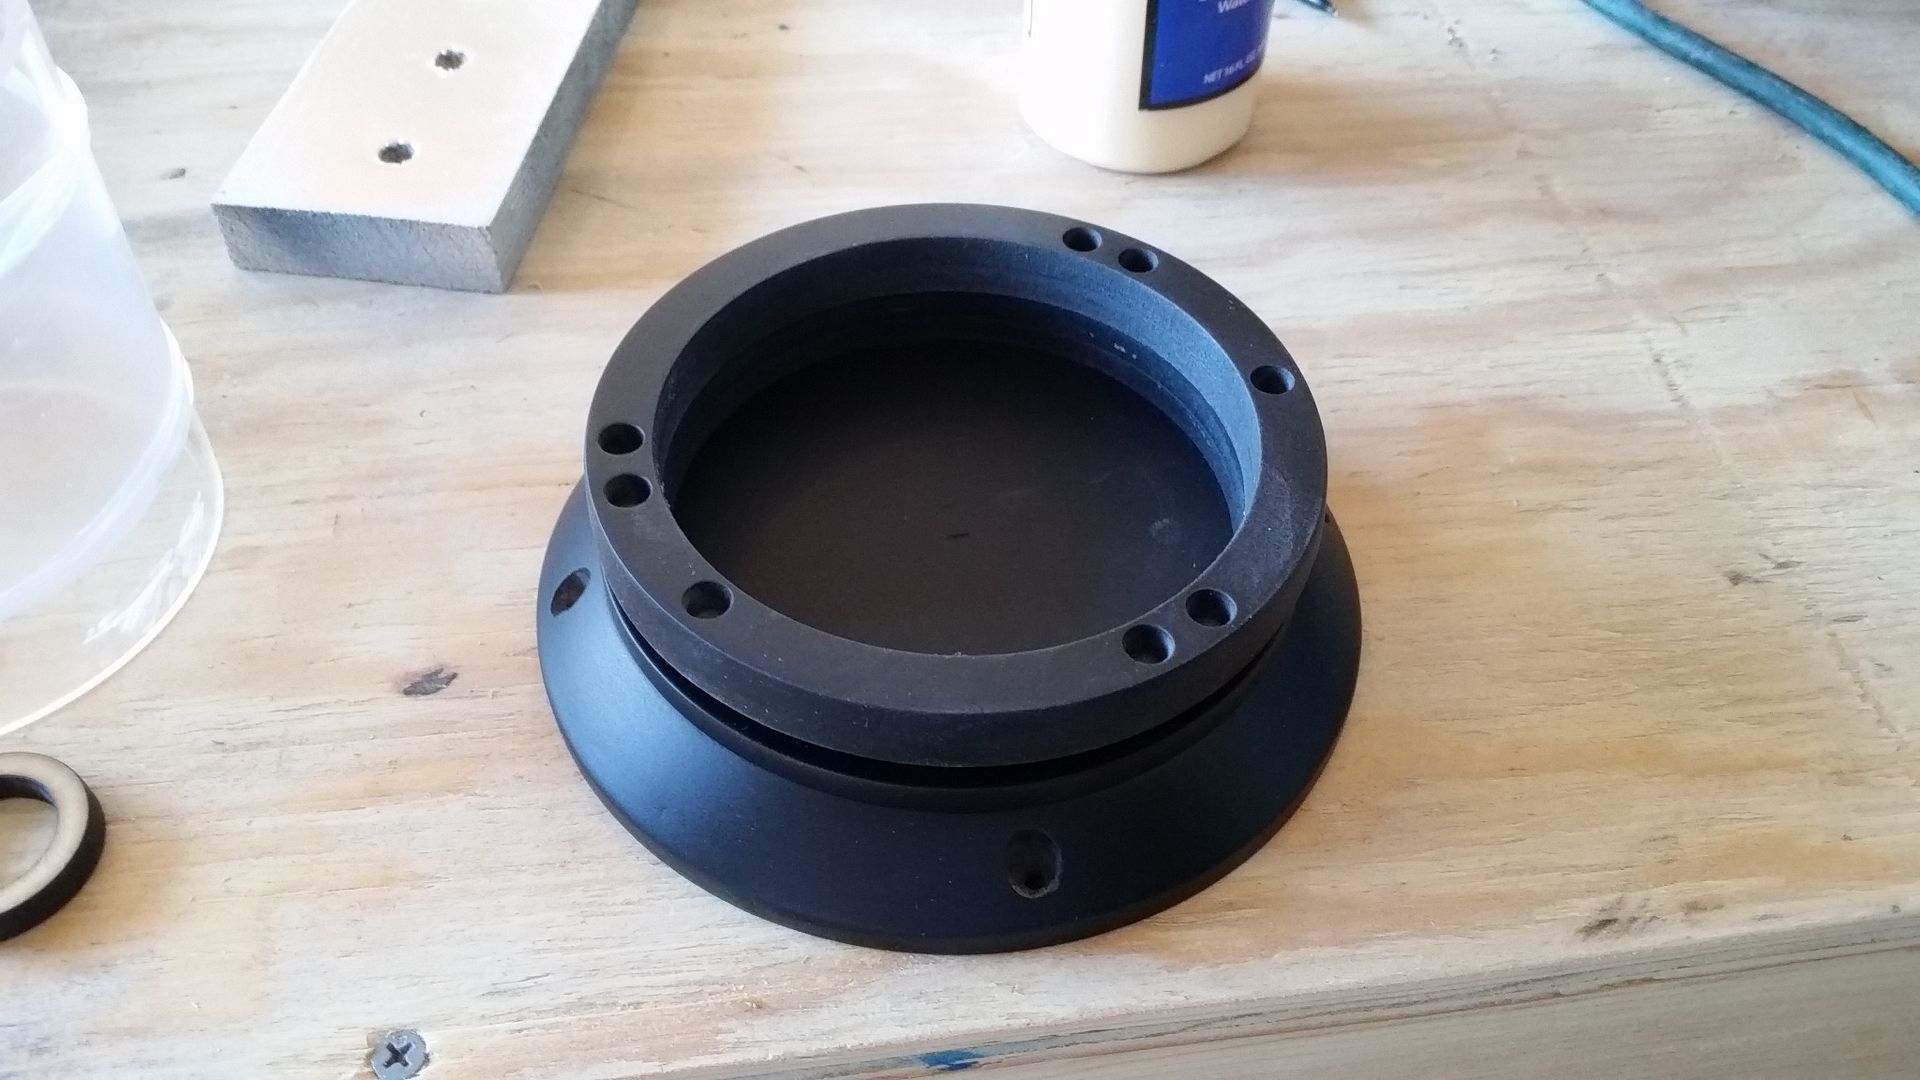
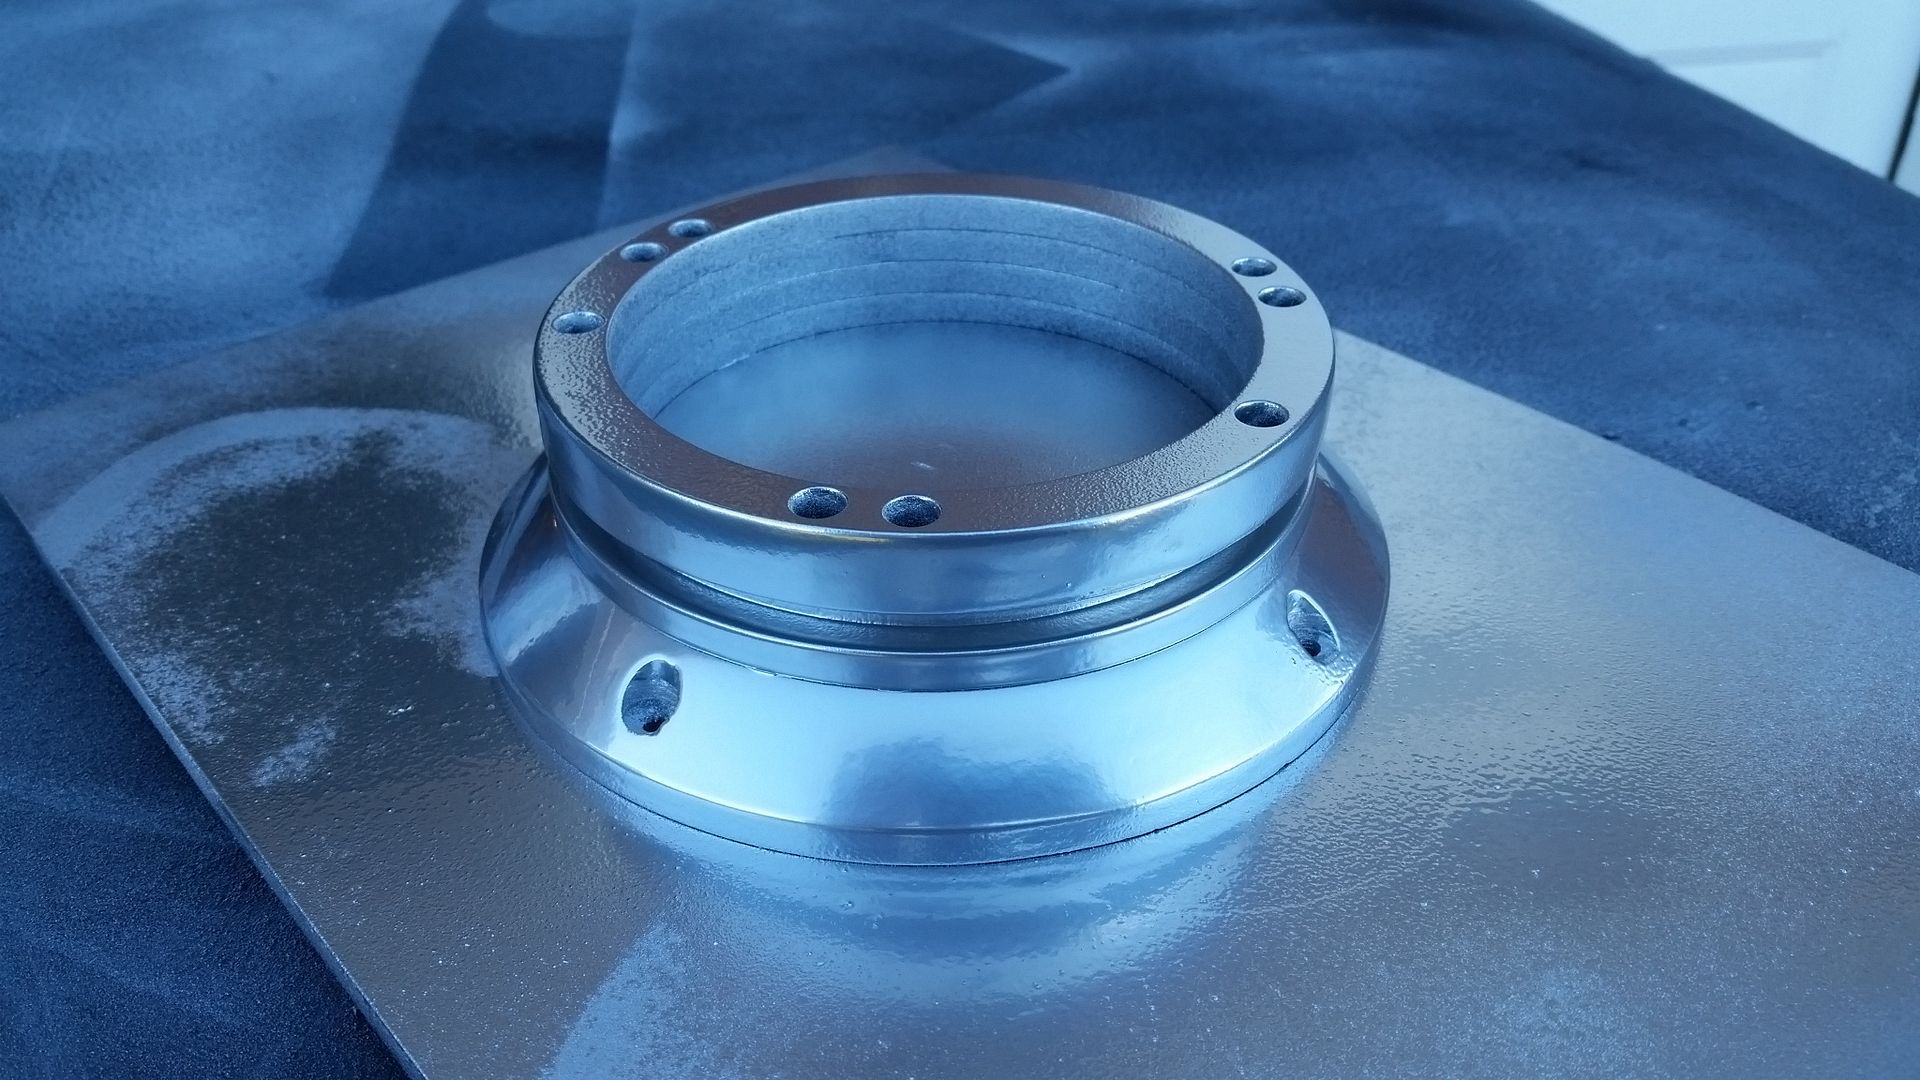
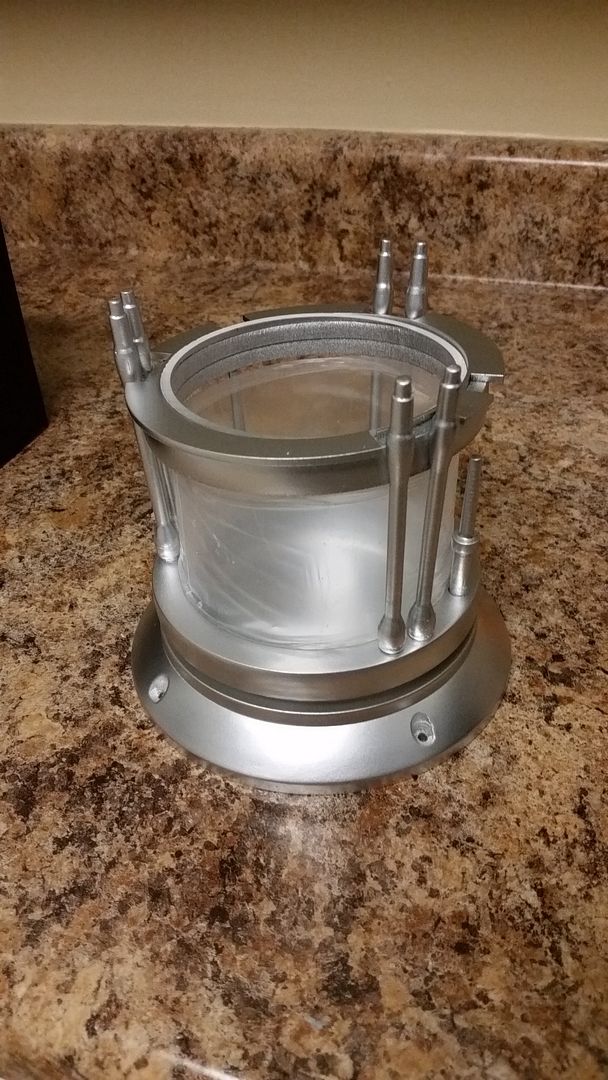
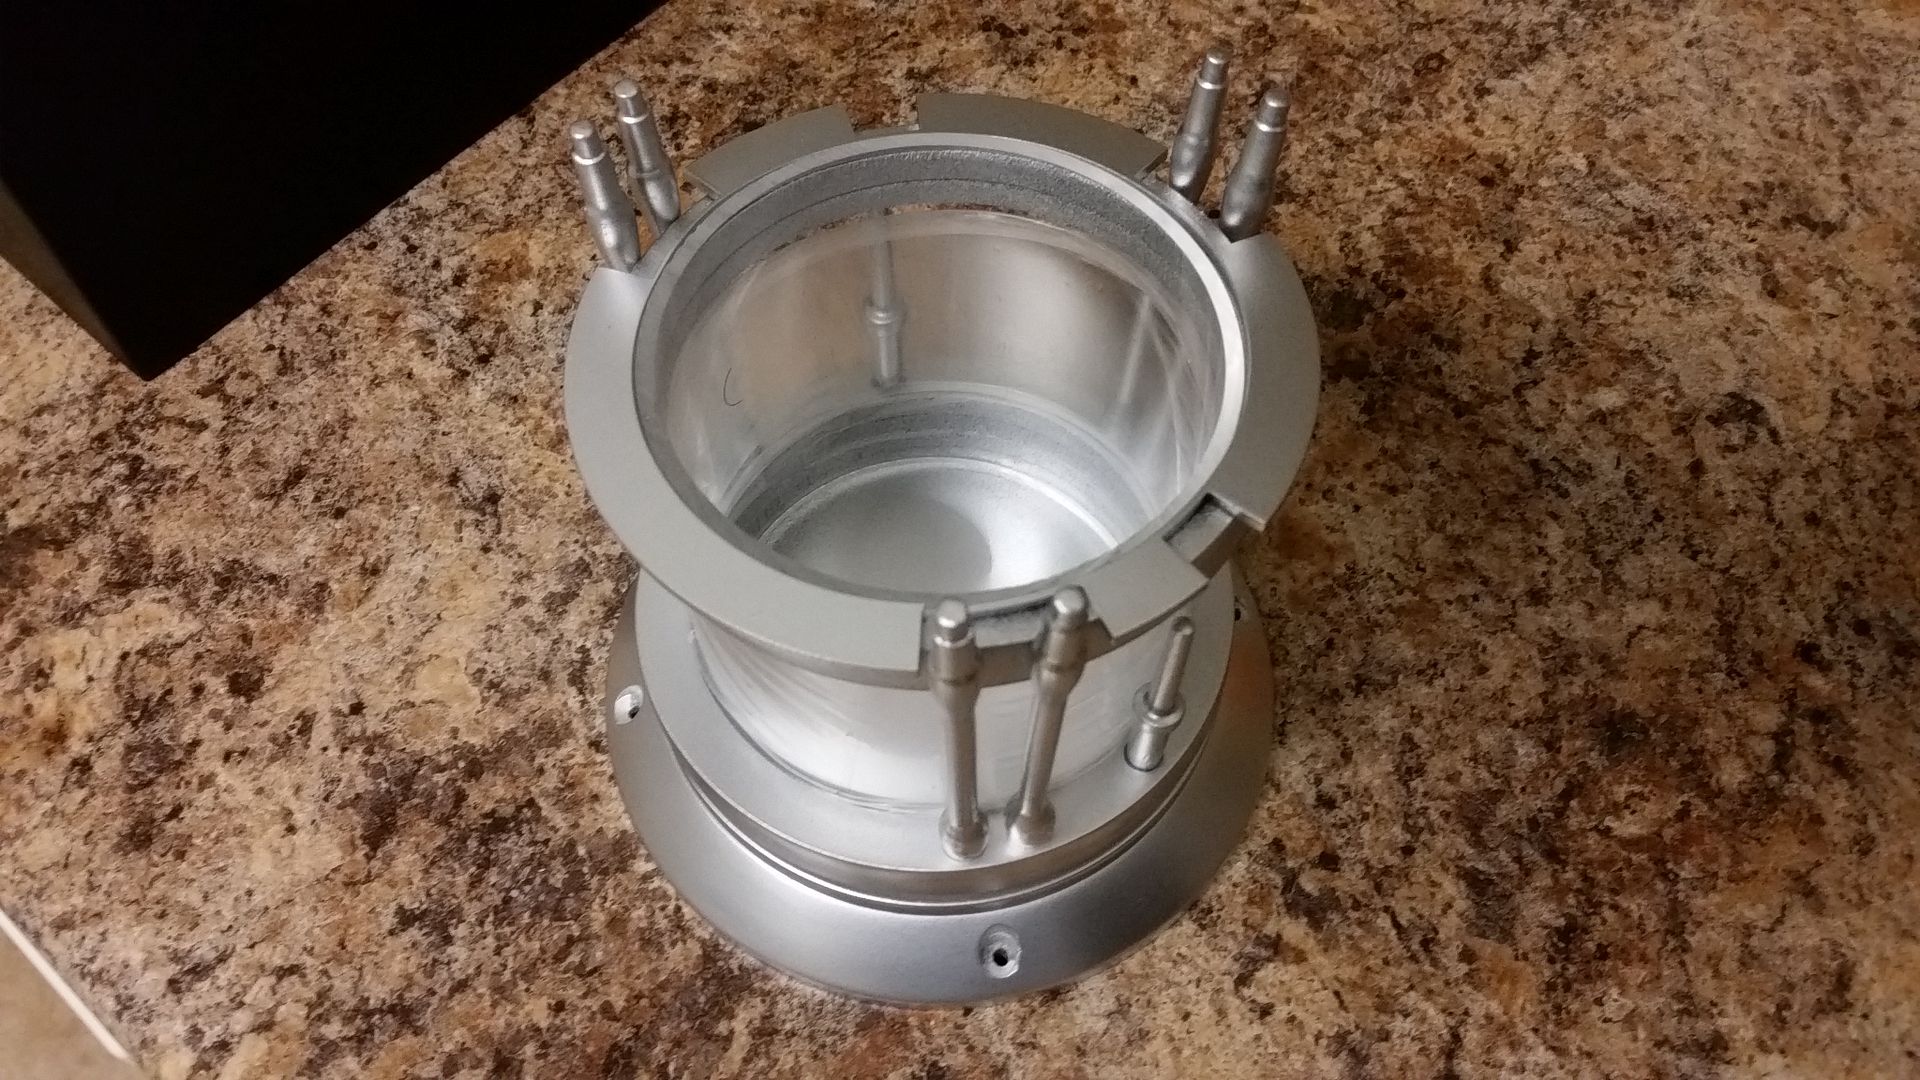
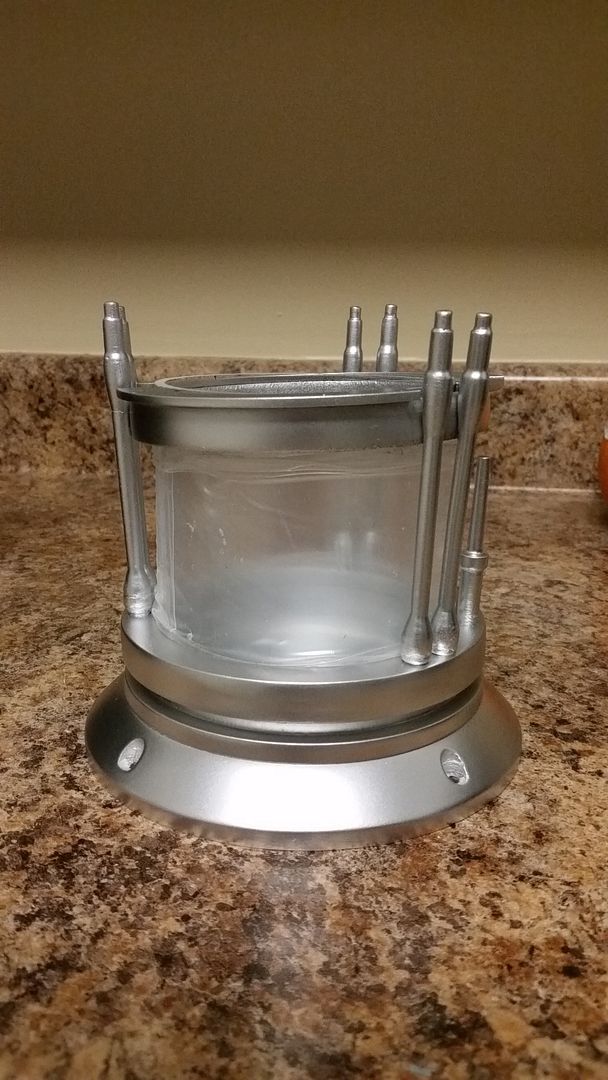
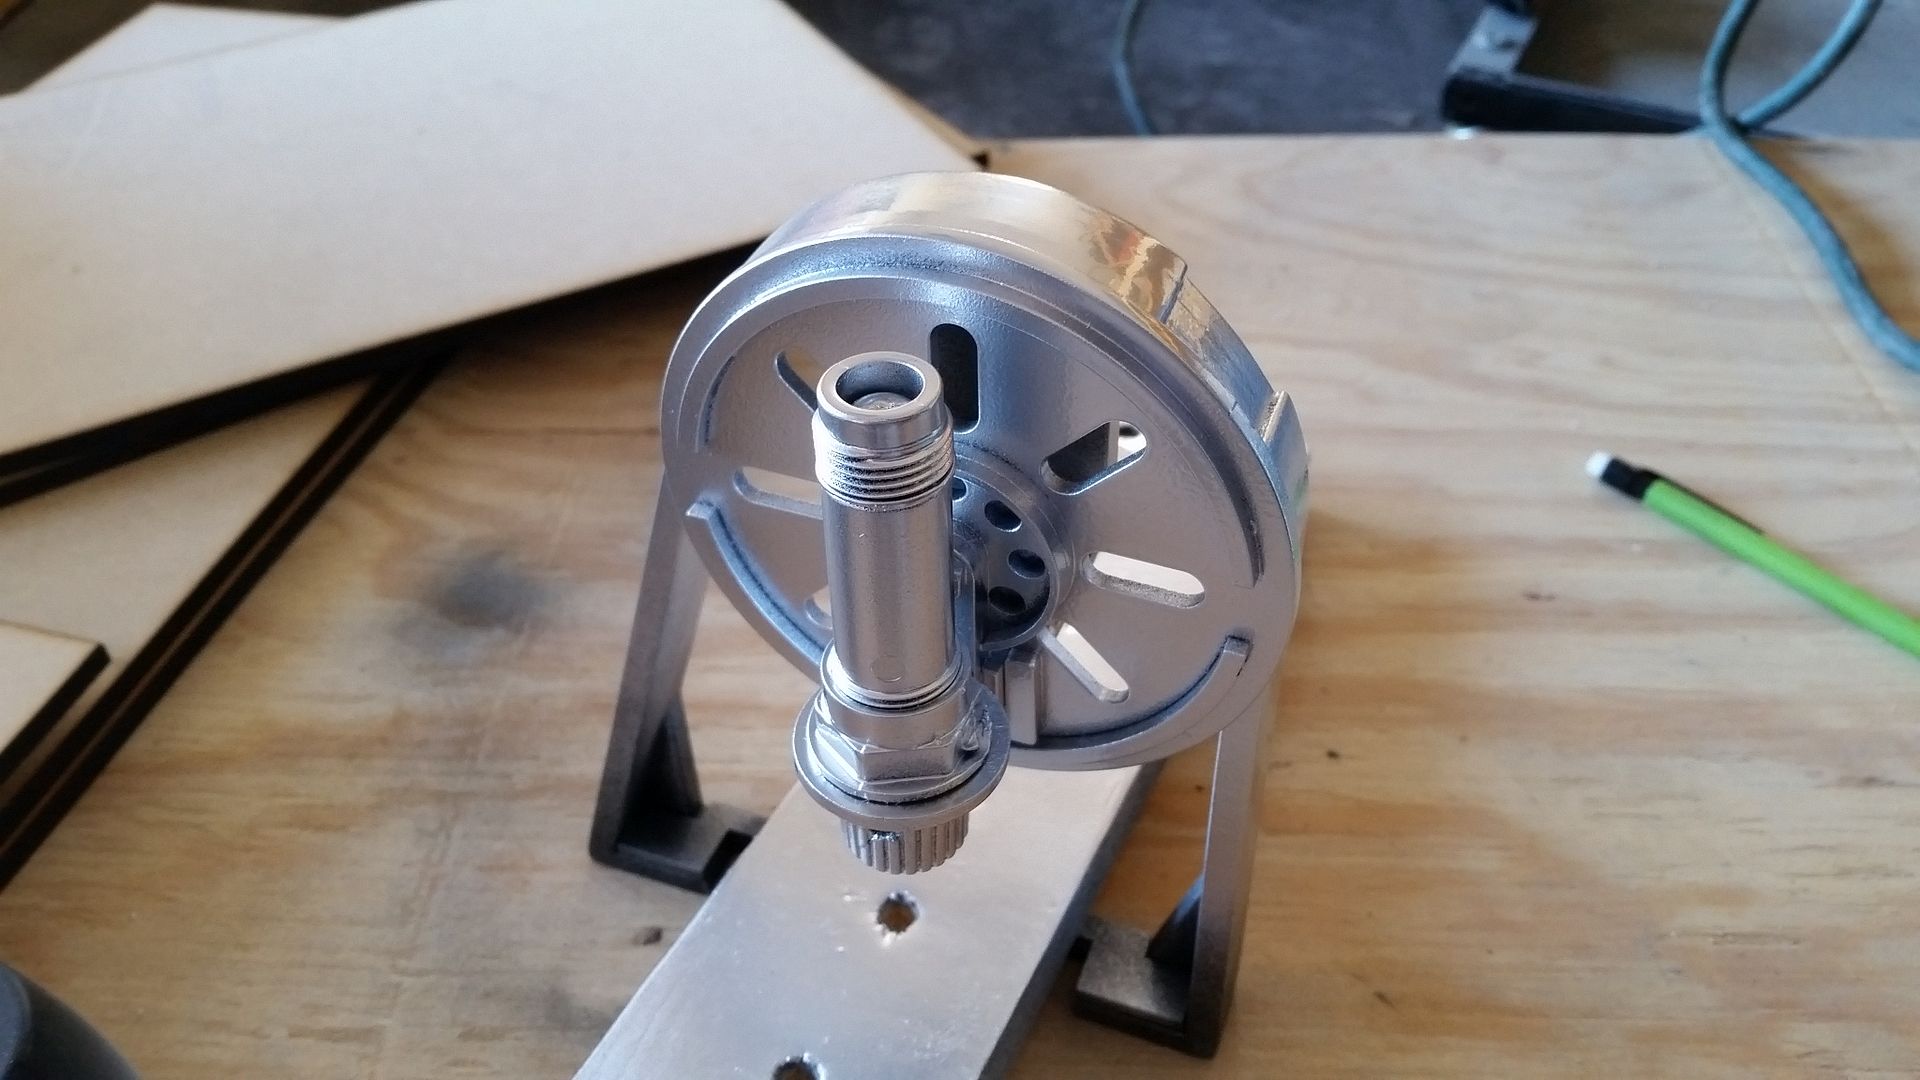
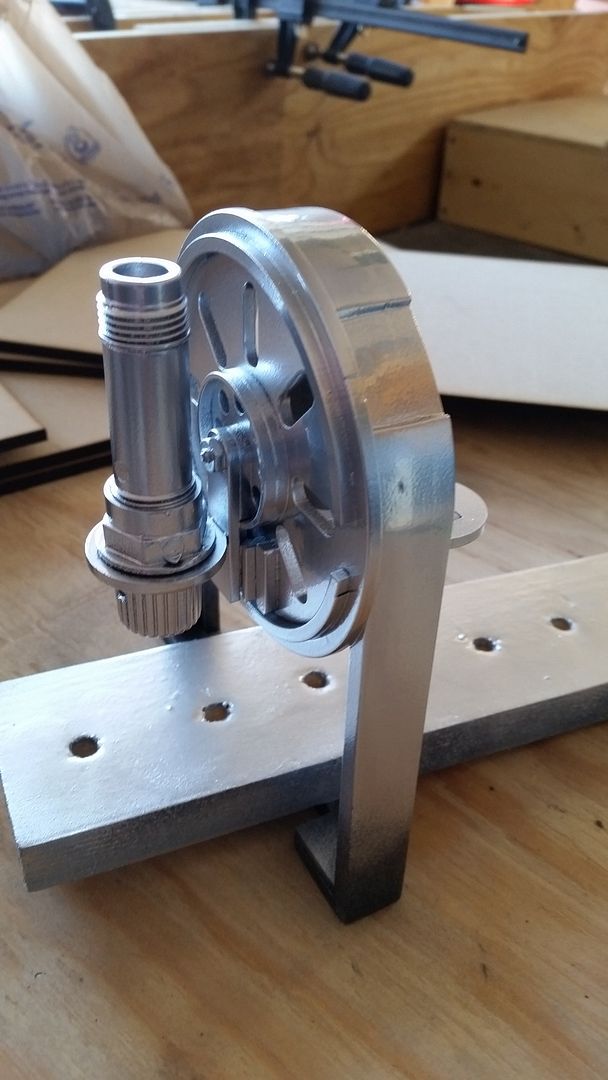
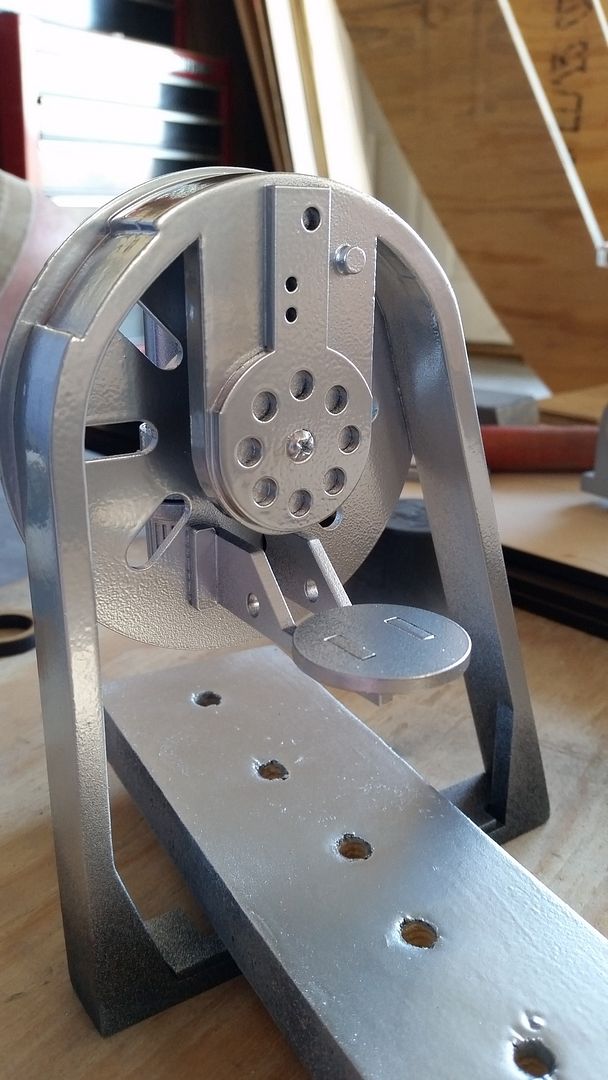
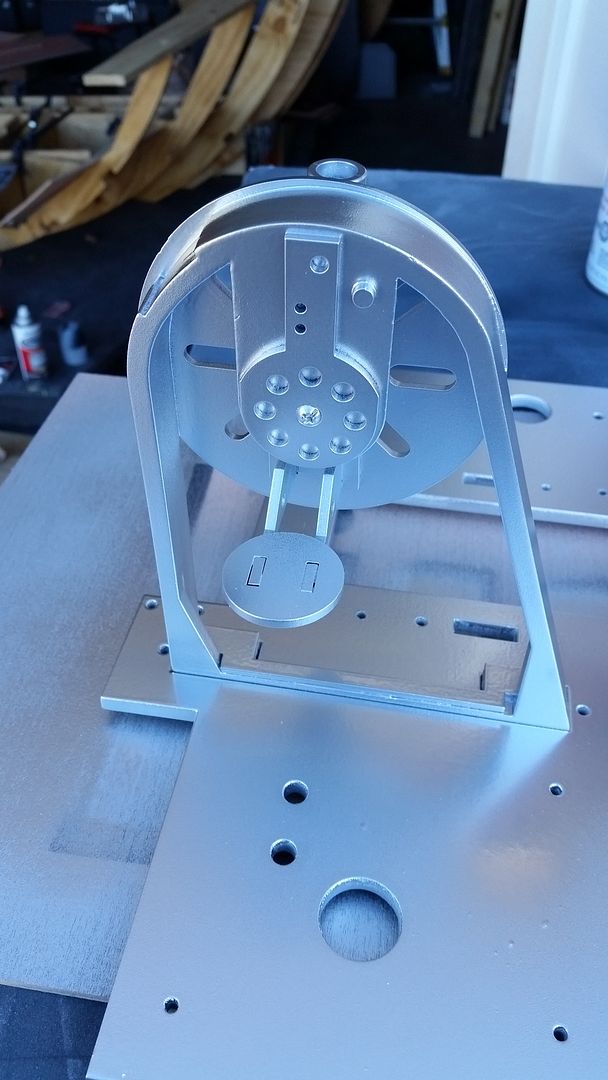
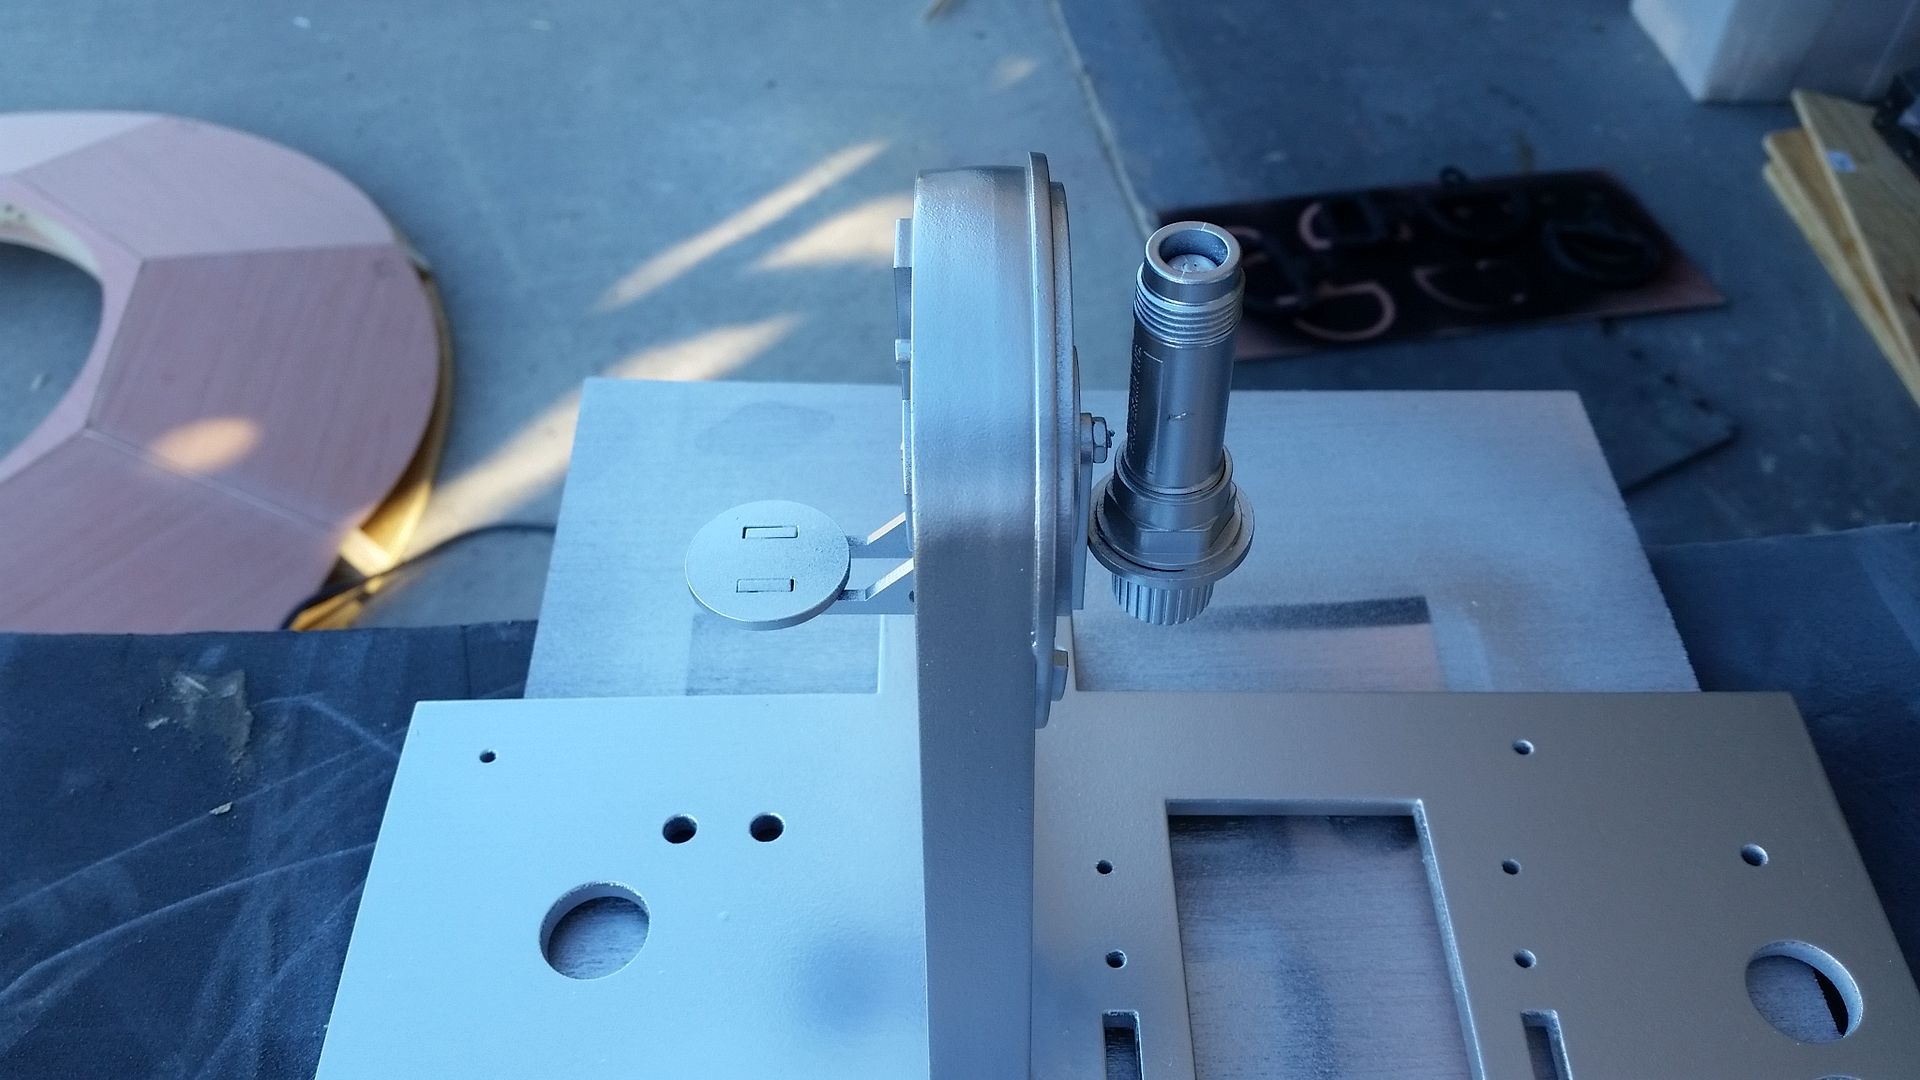
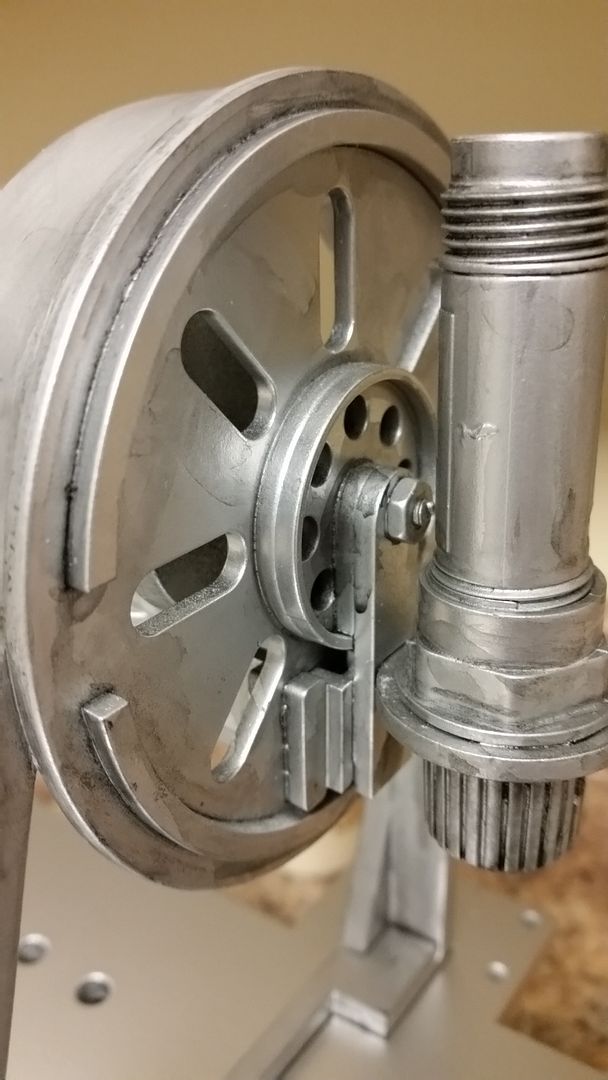
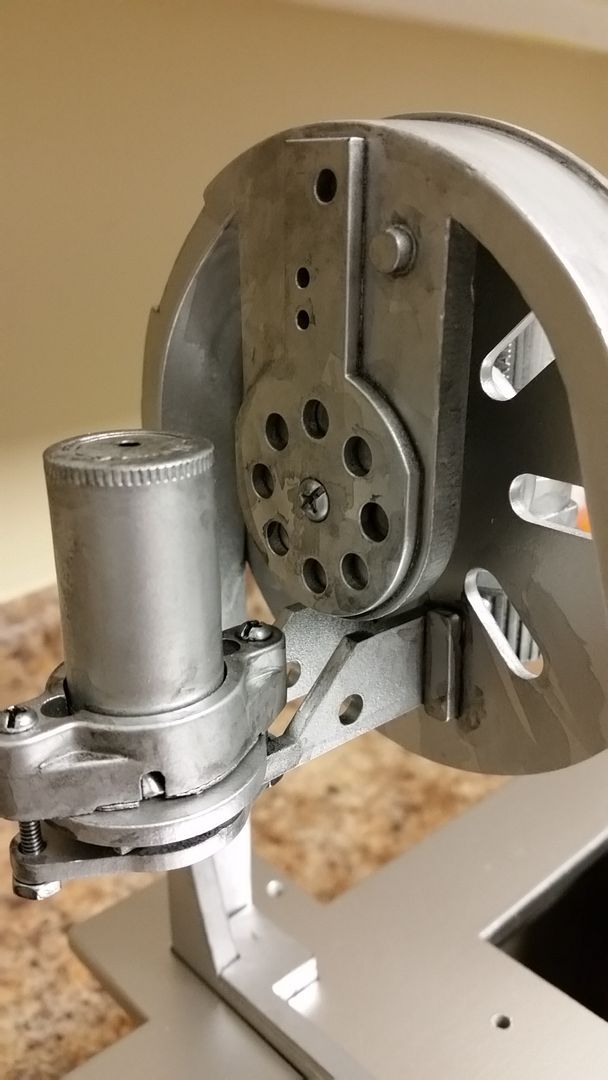
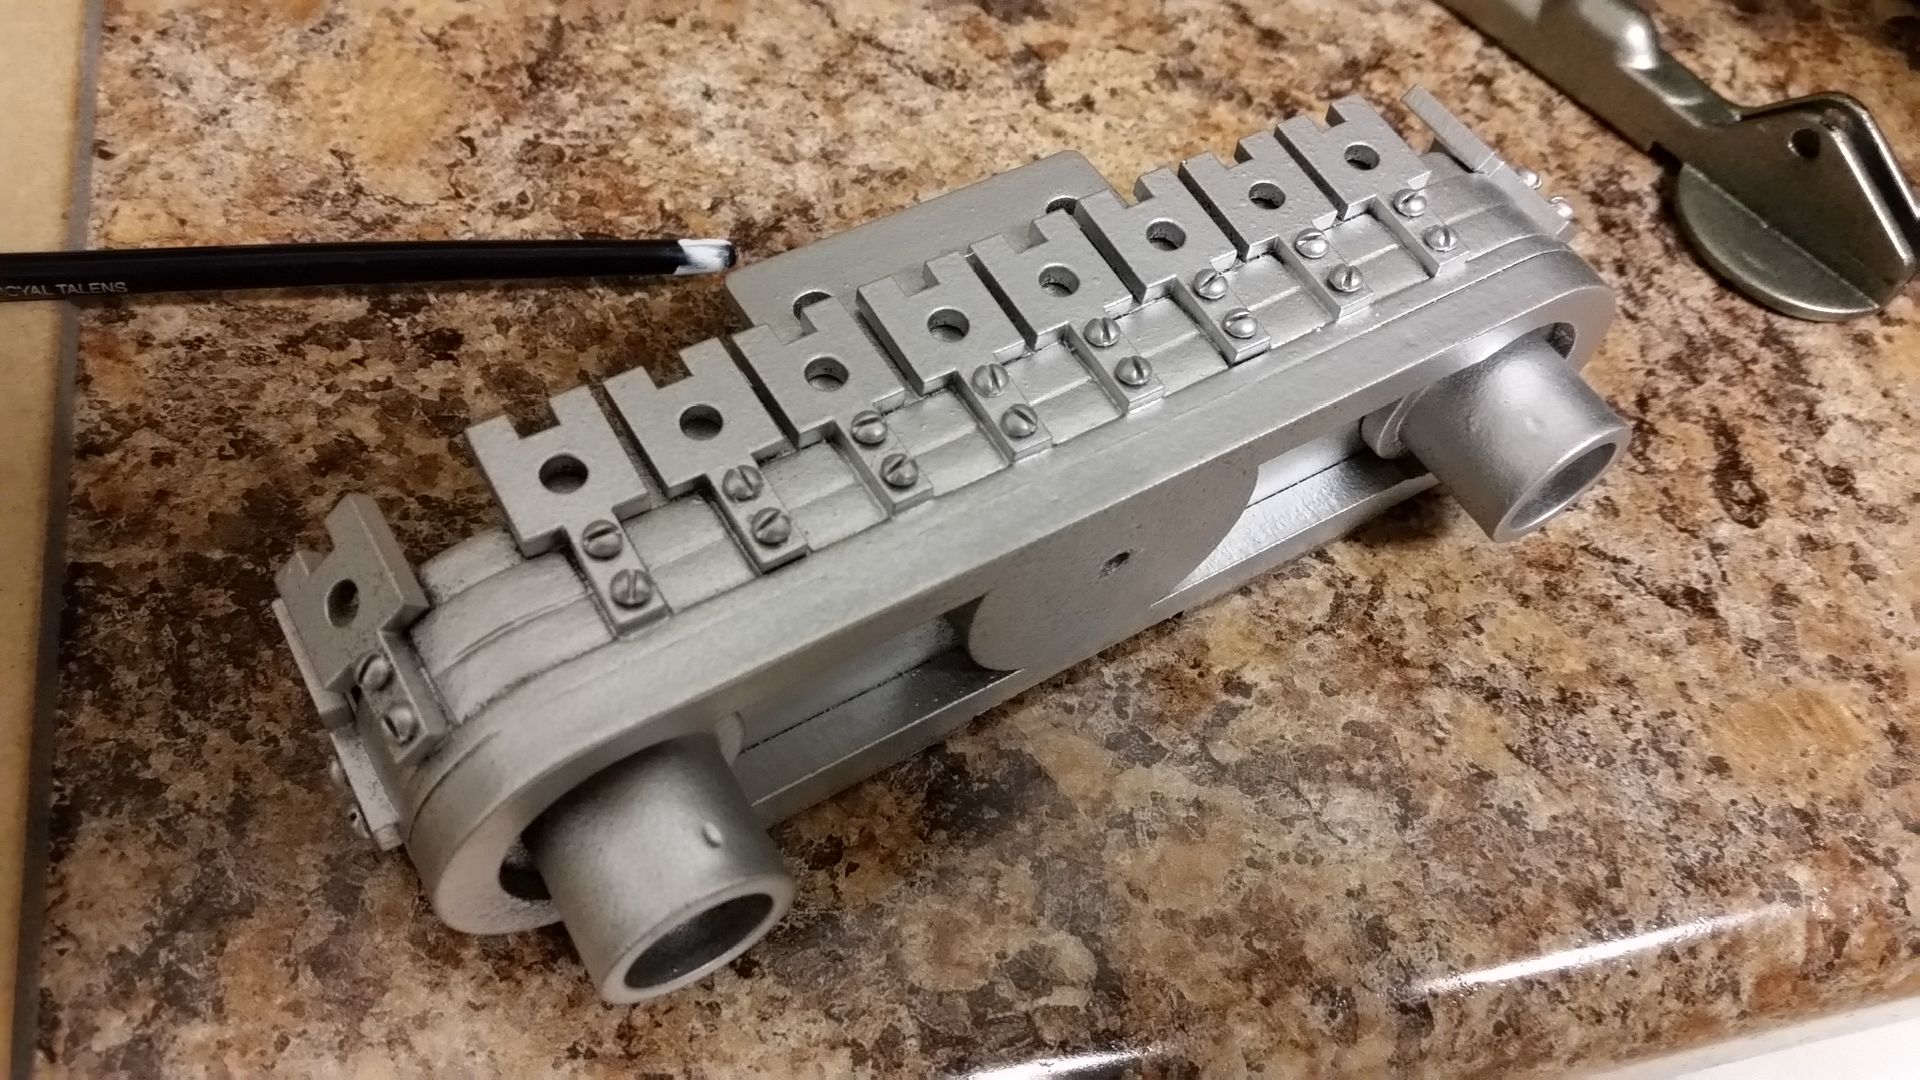
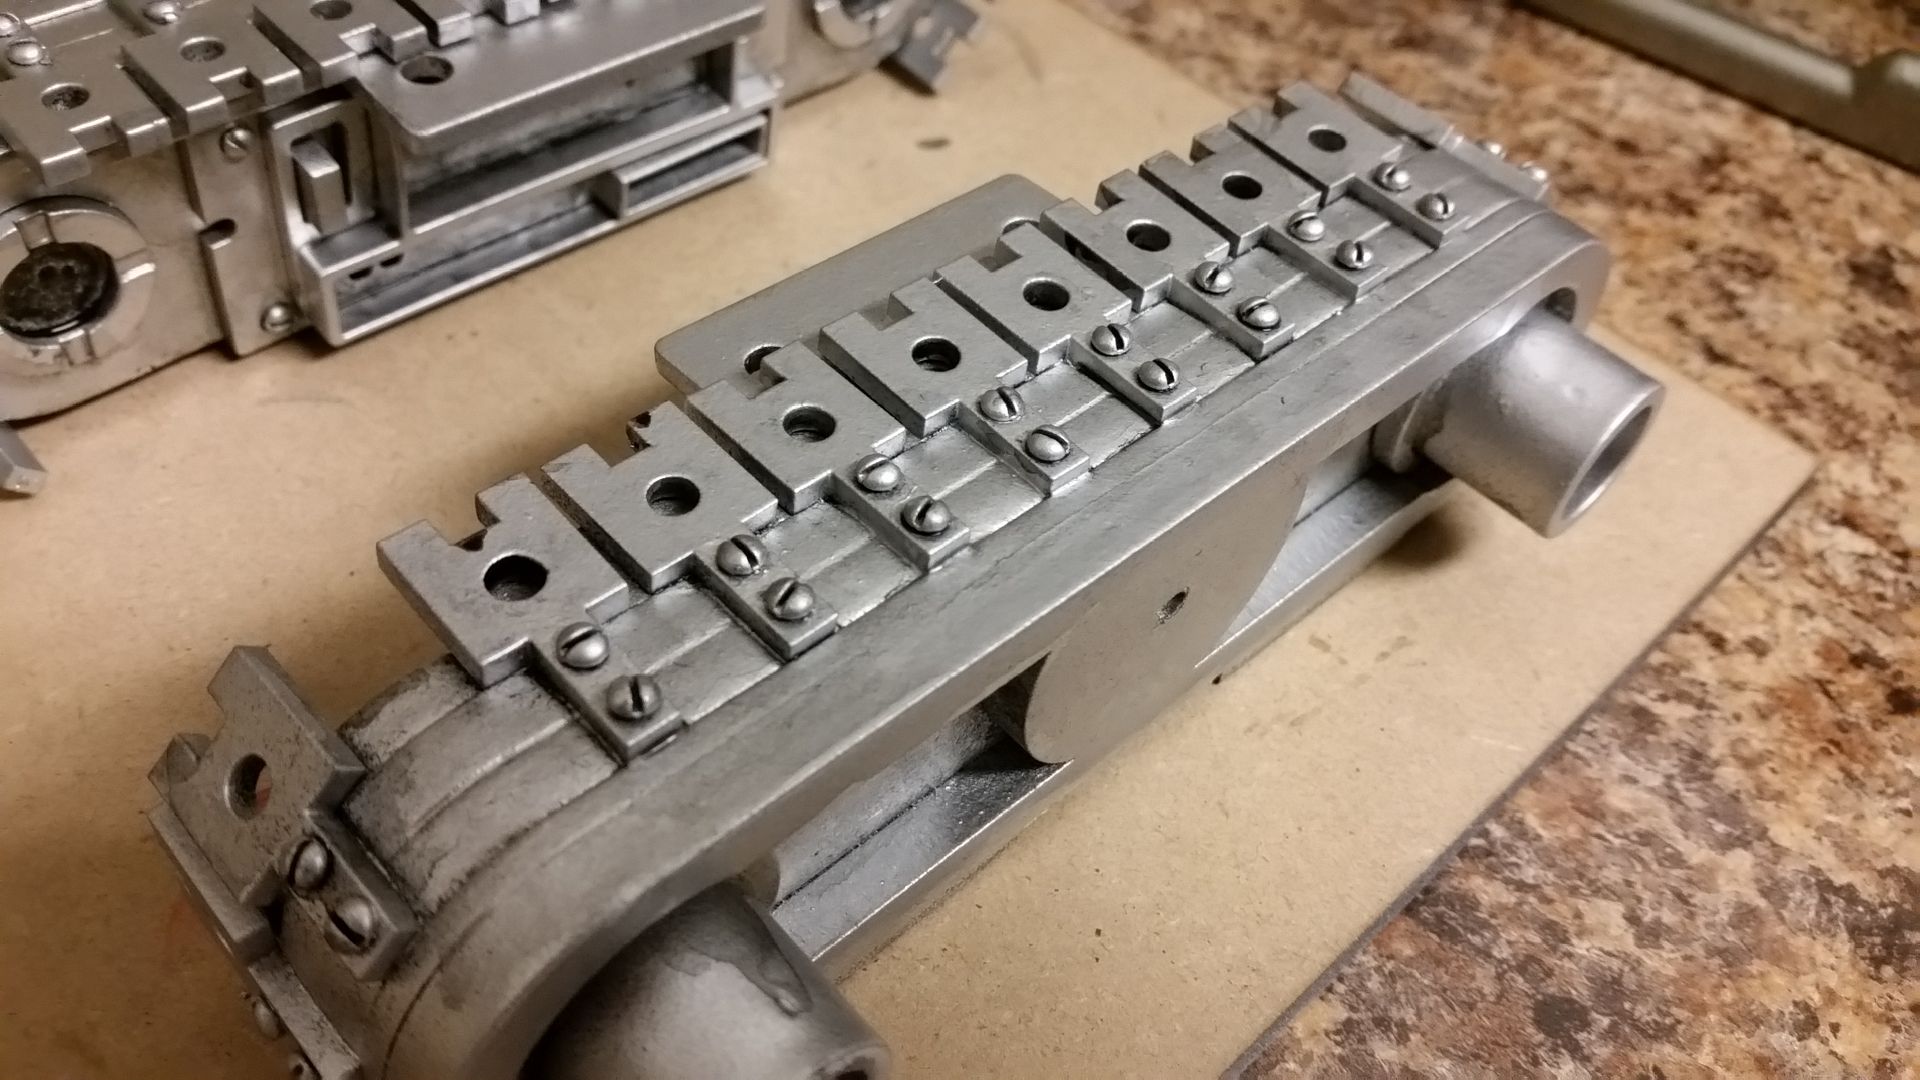
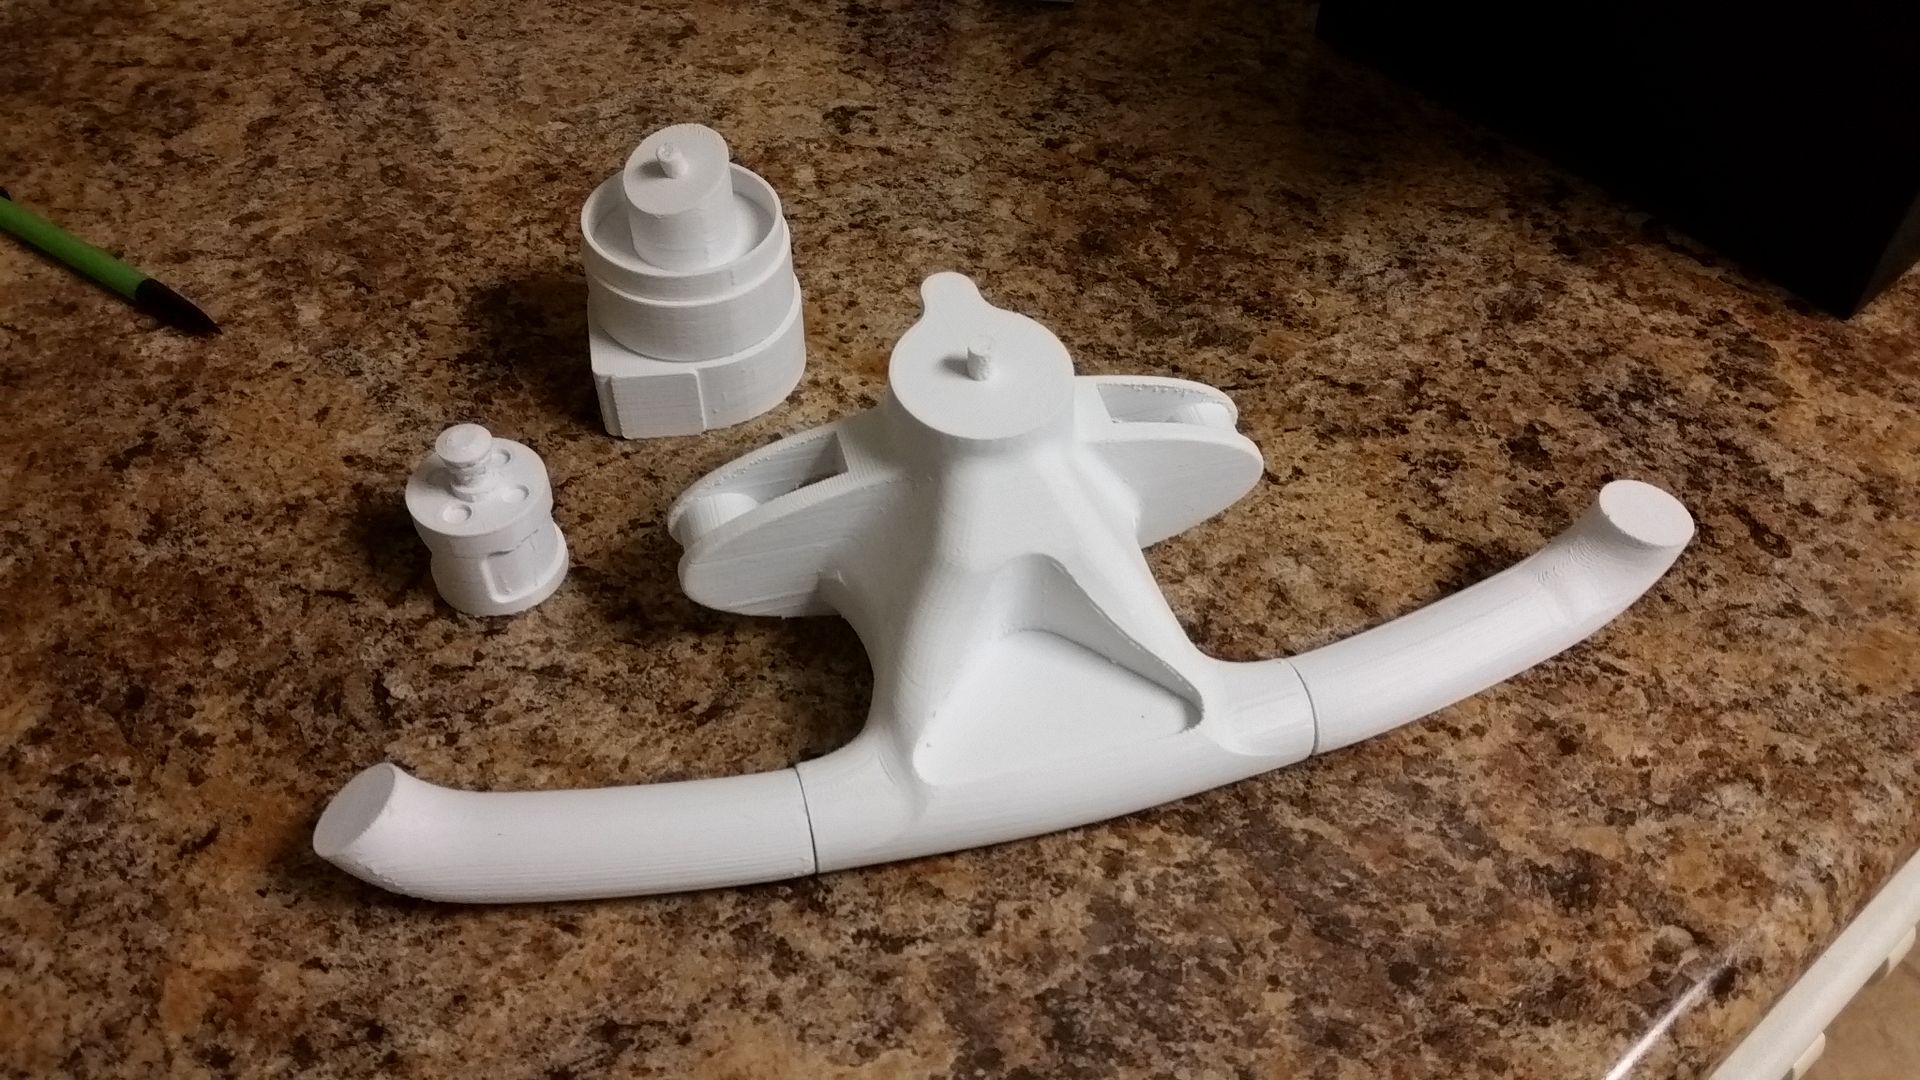
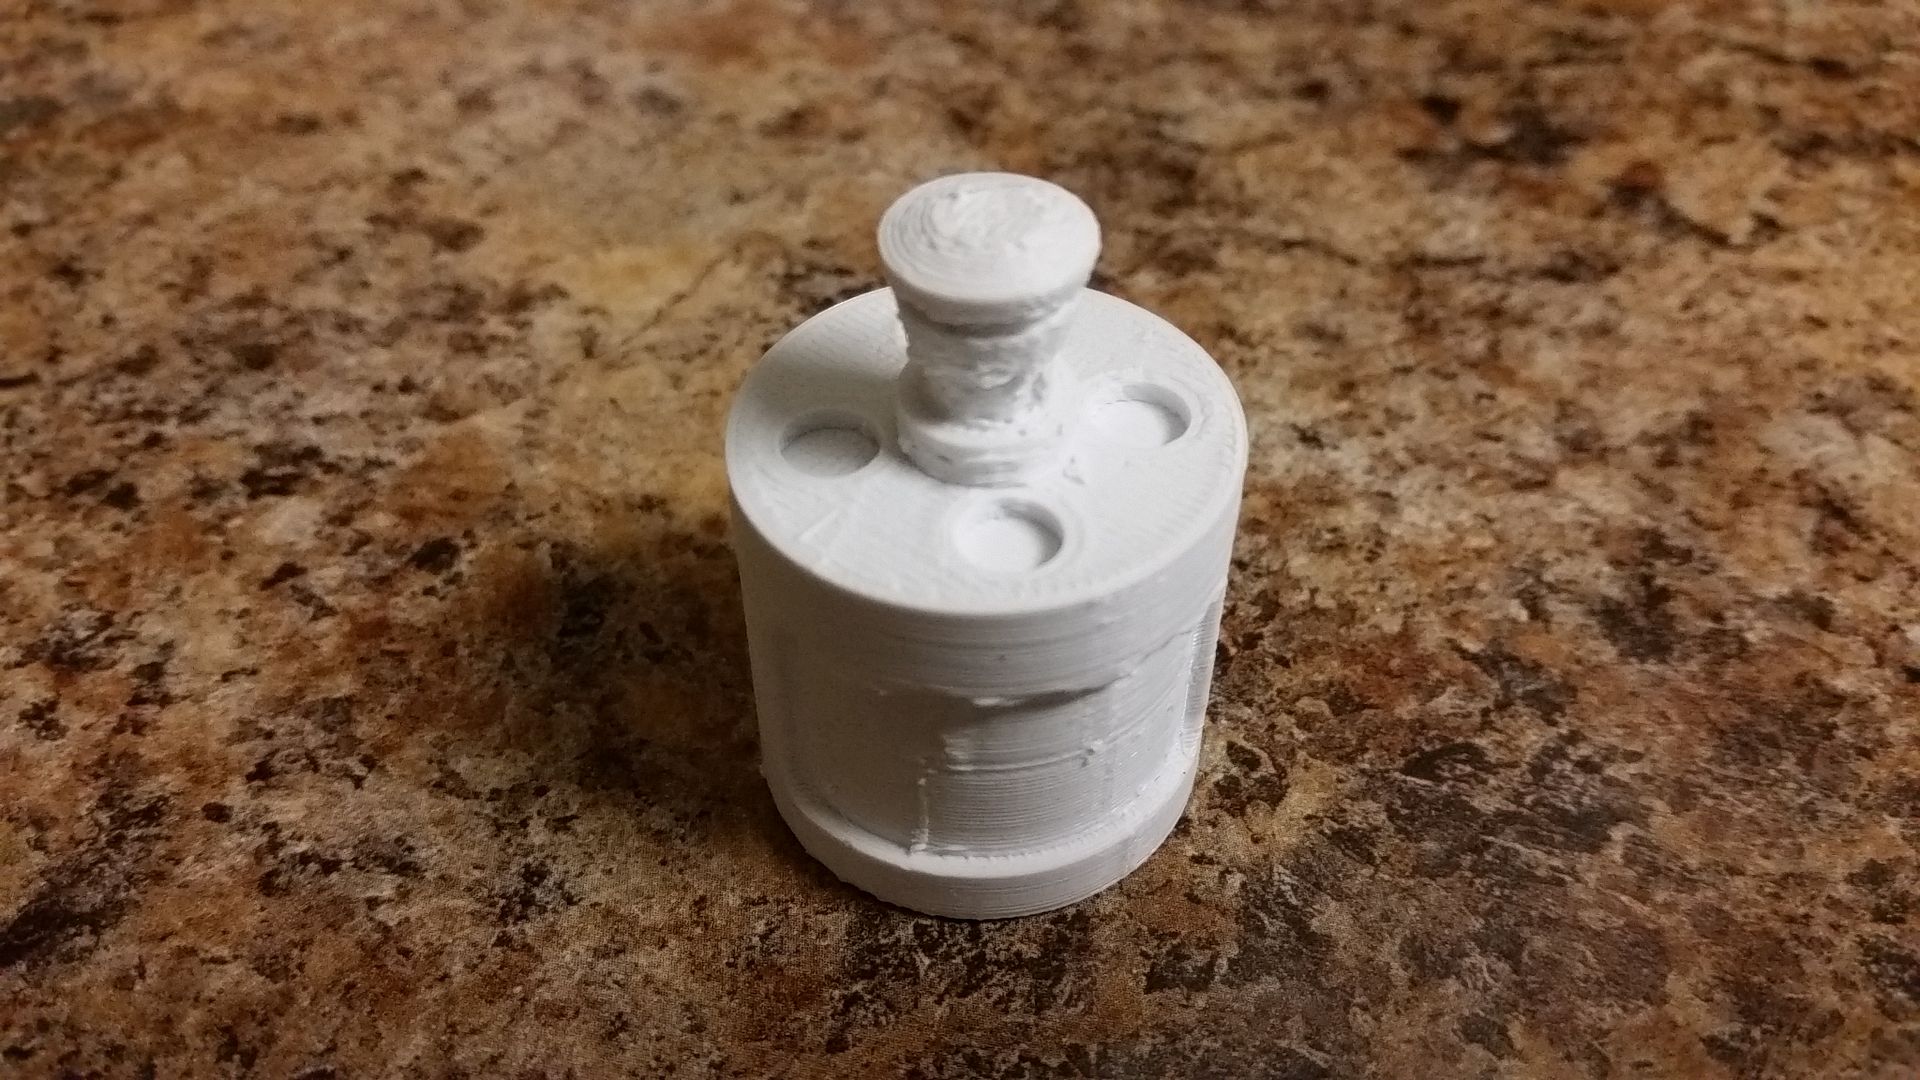
Do these look familiar?
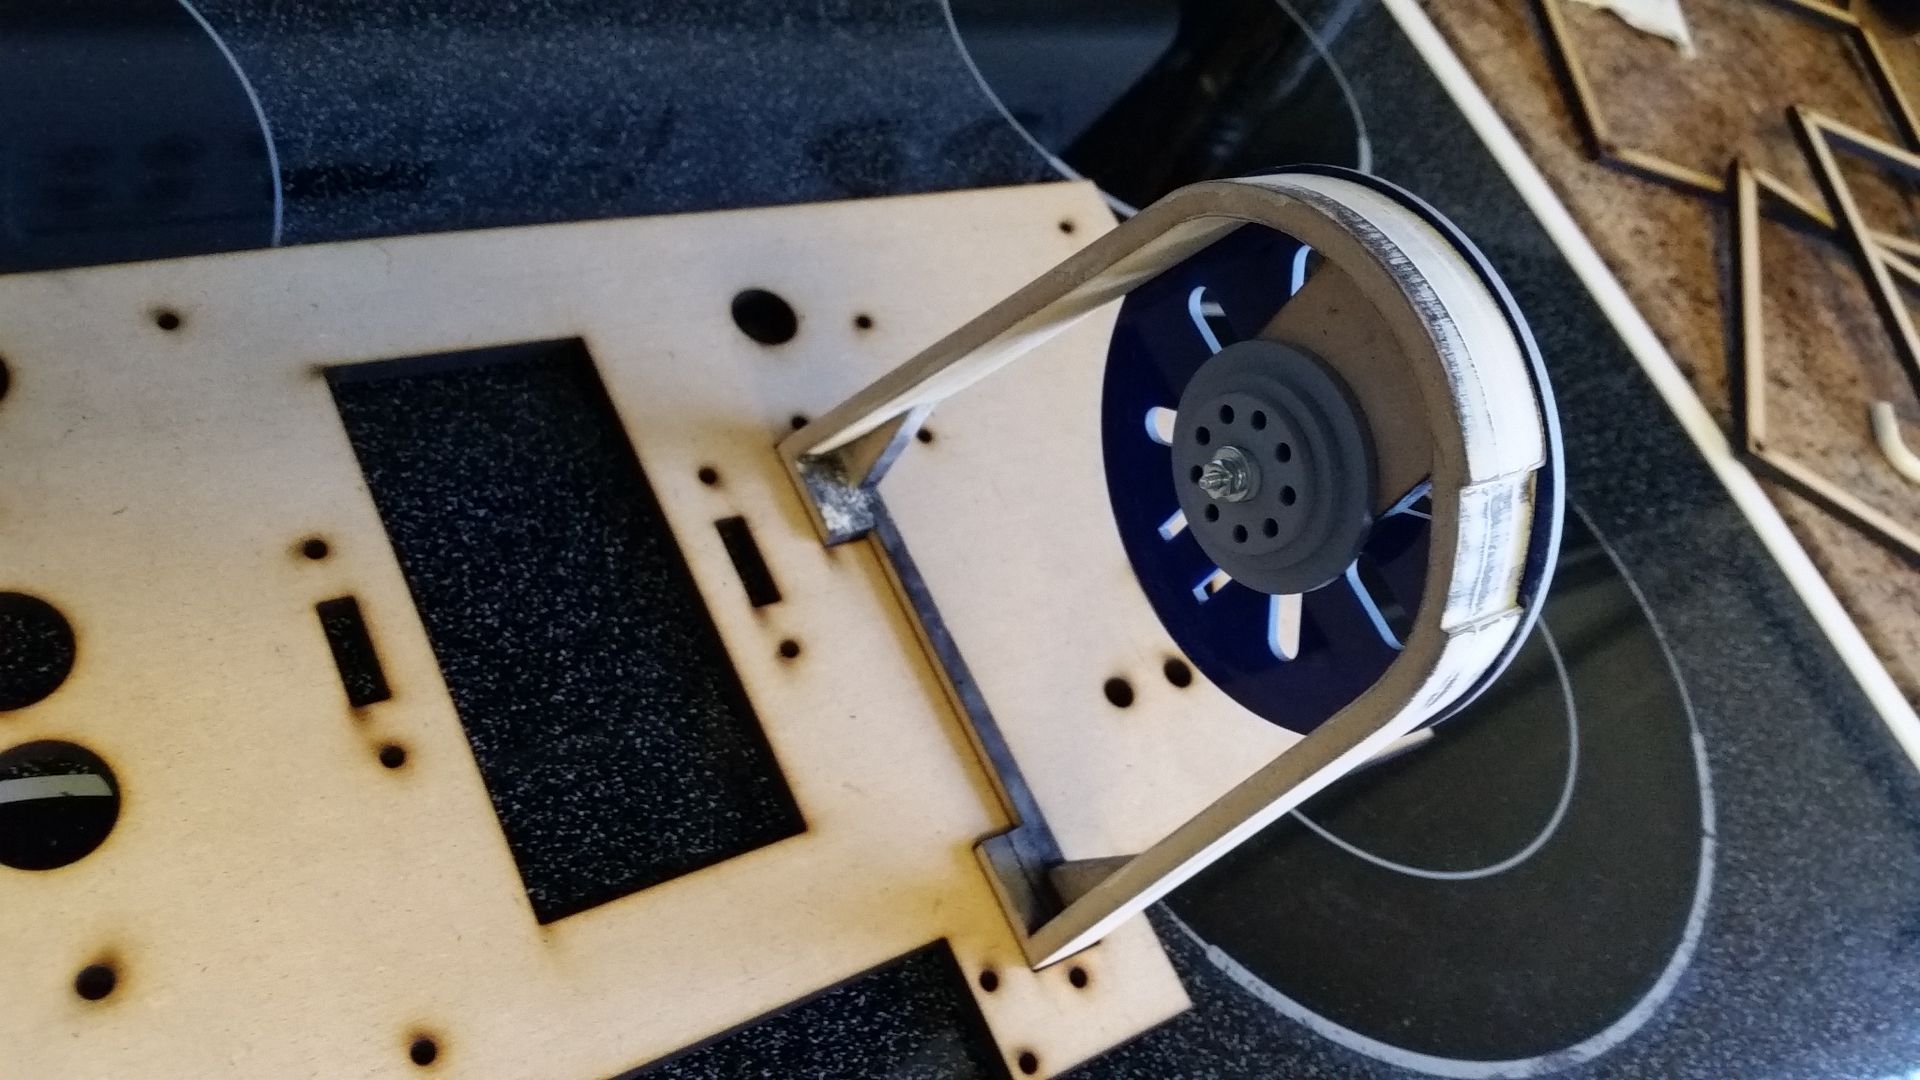
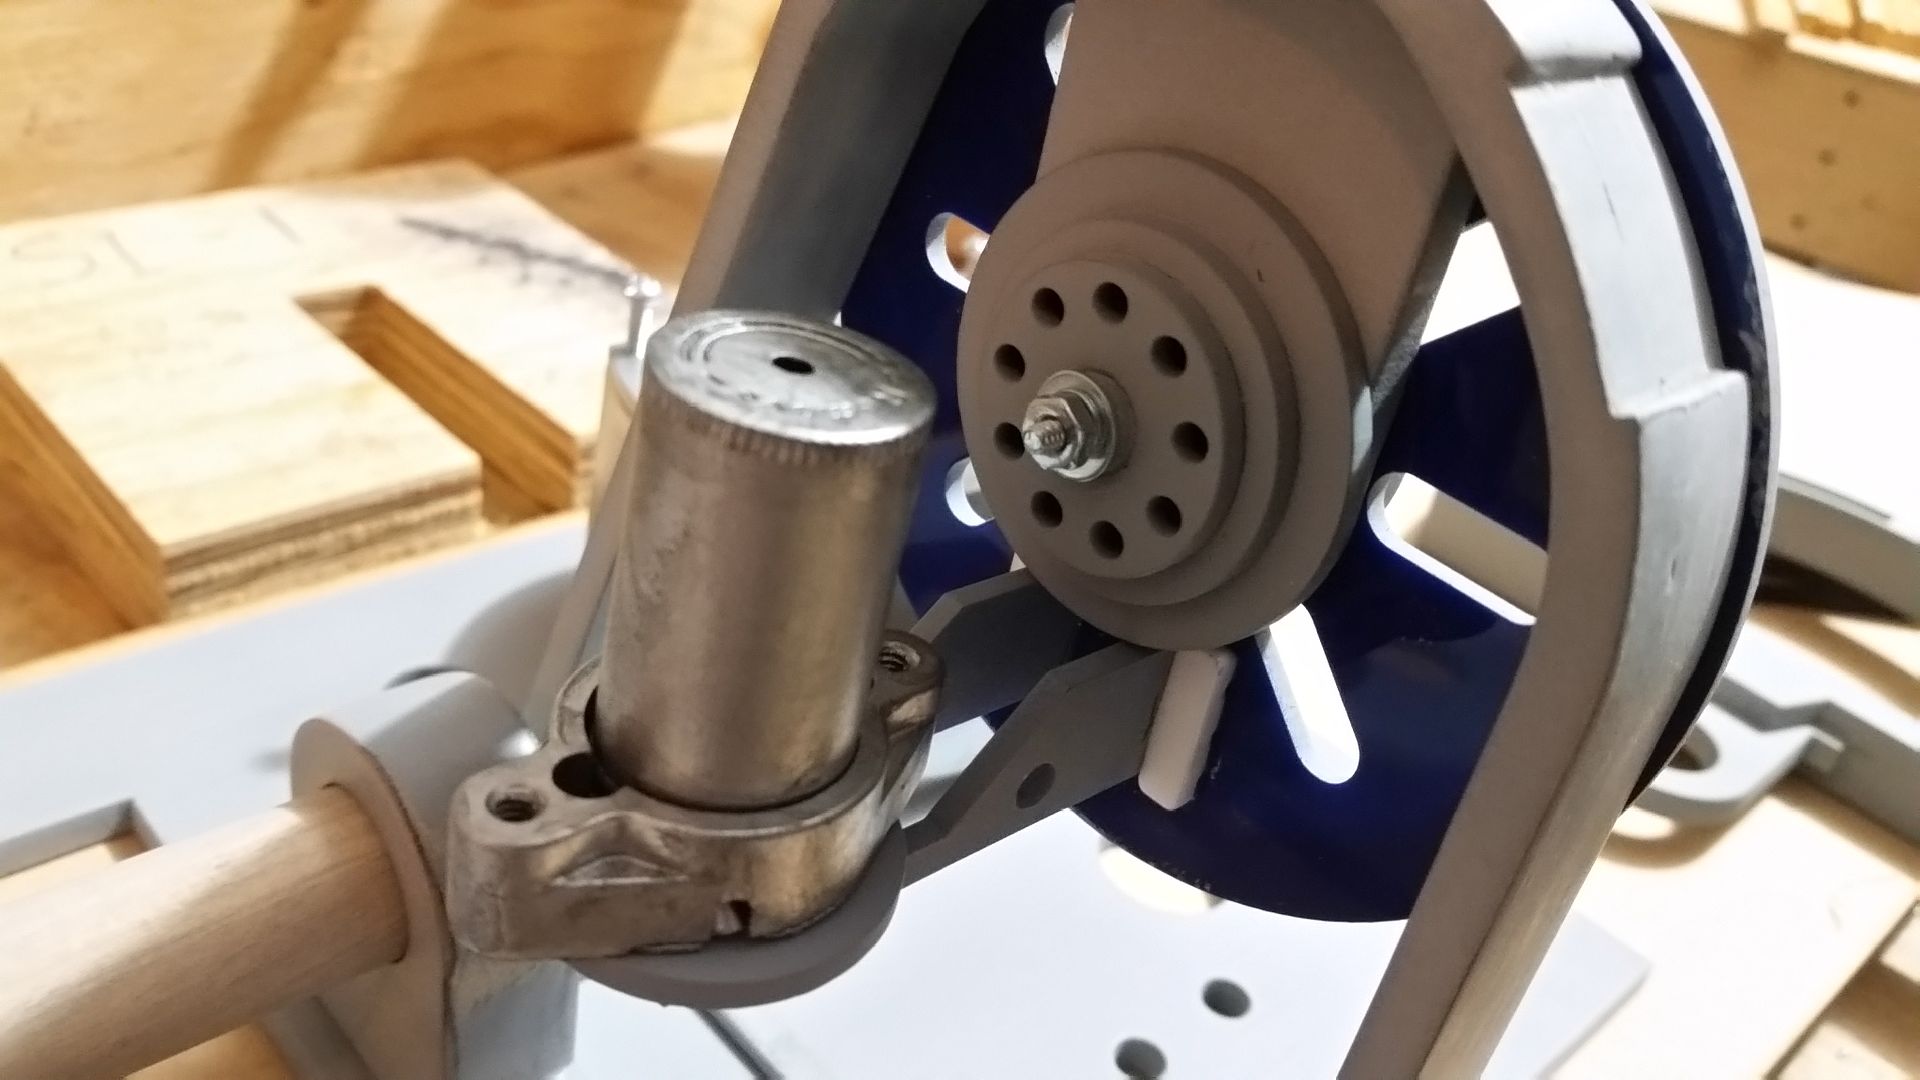
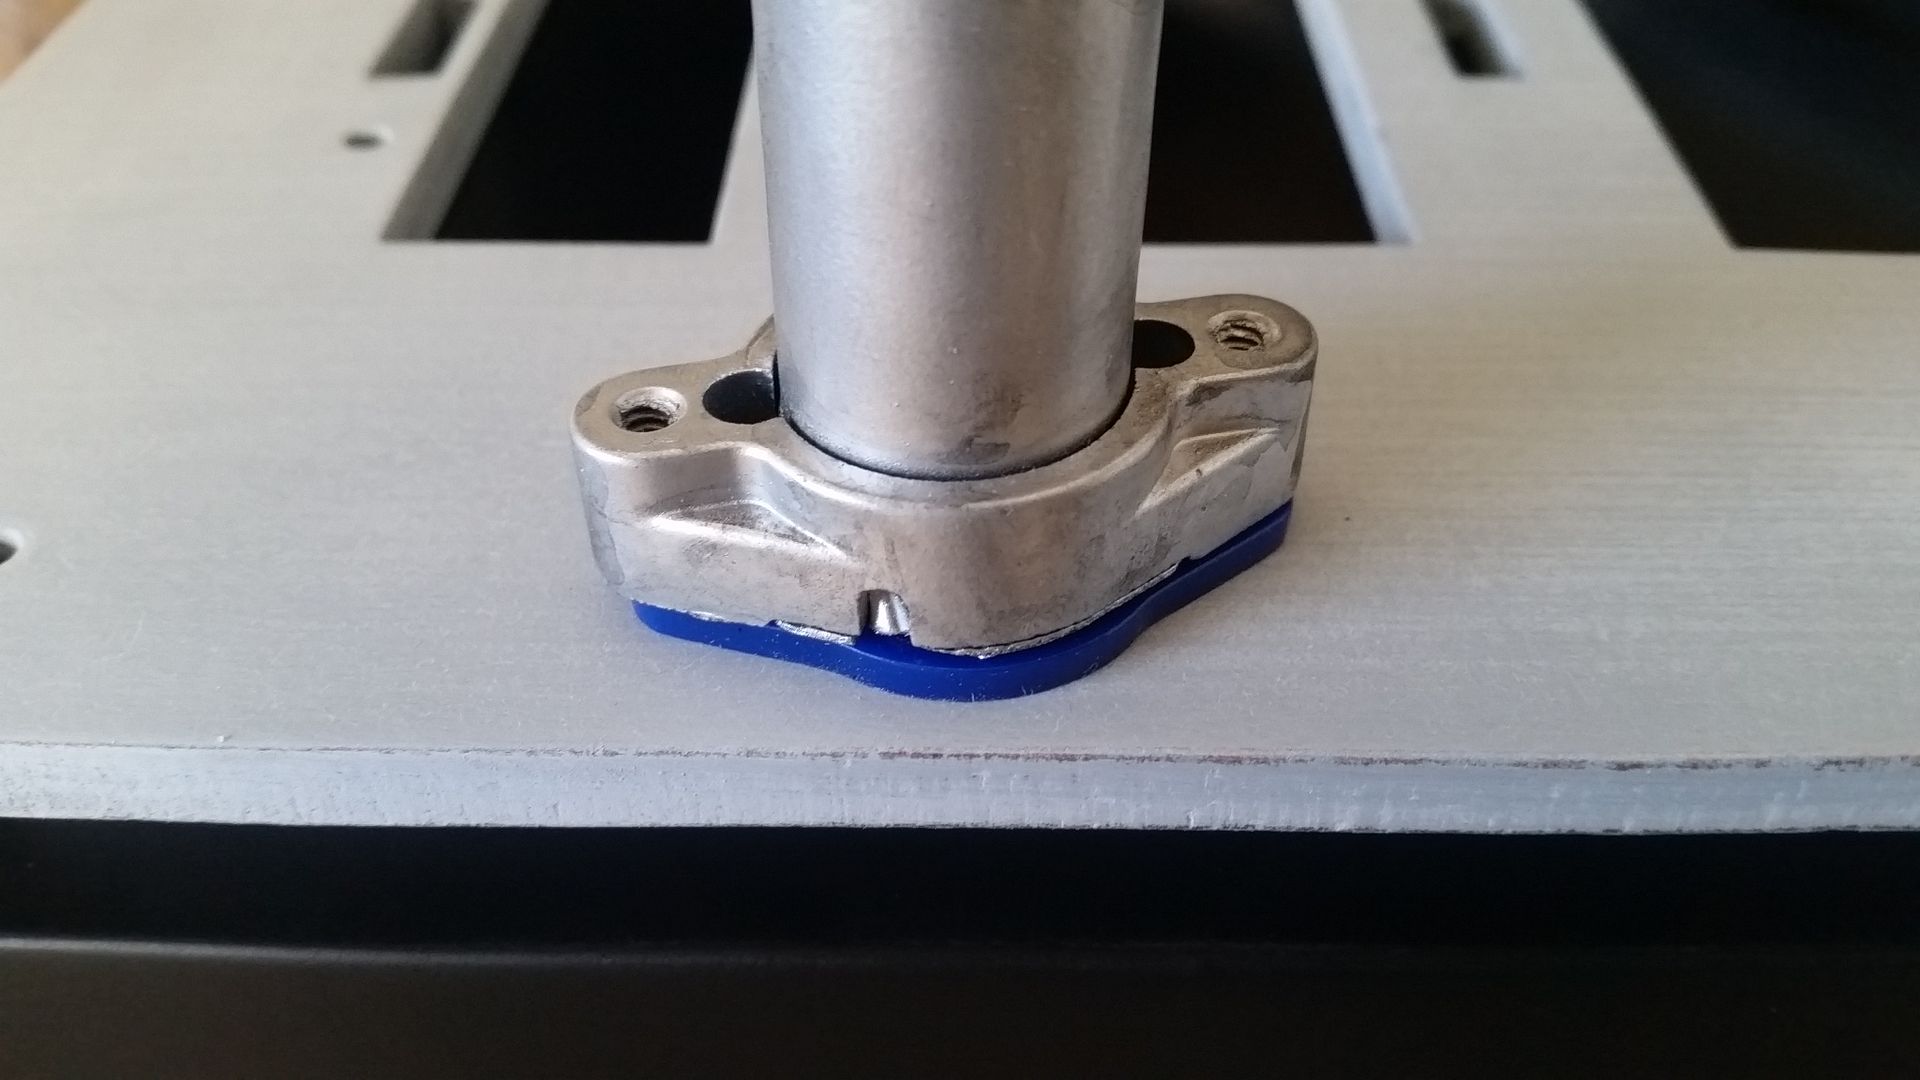
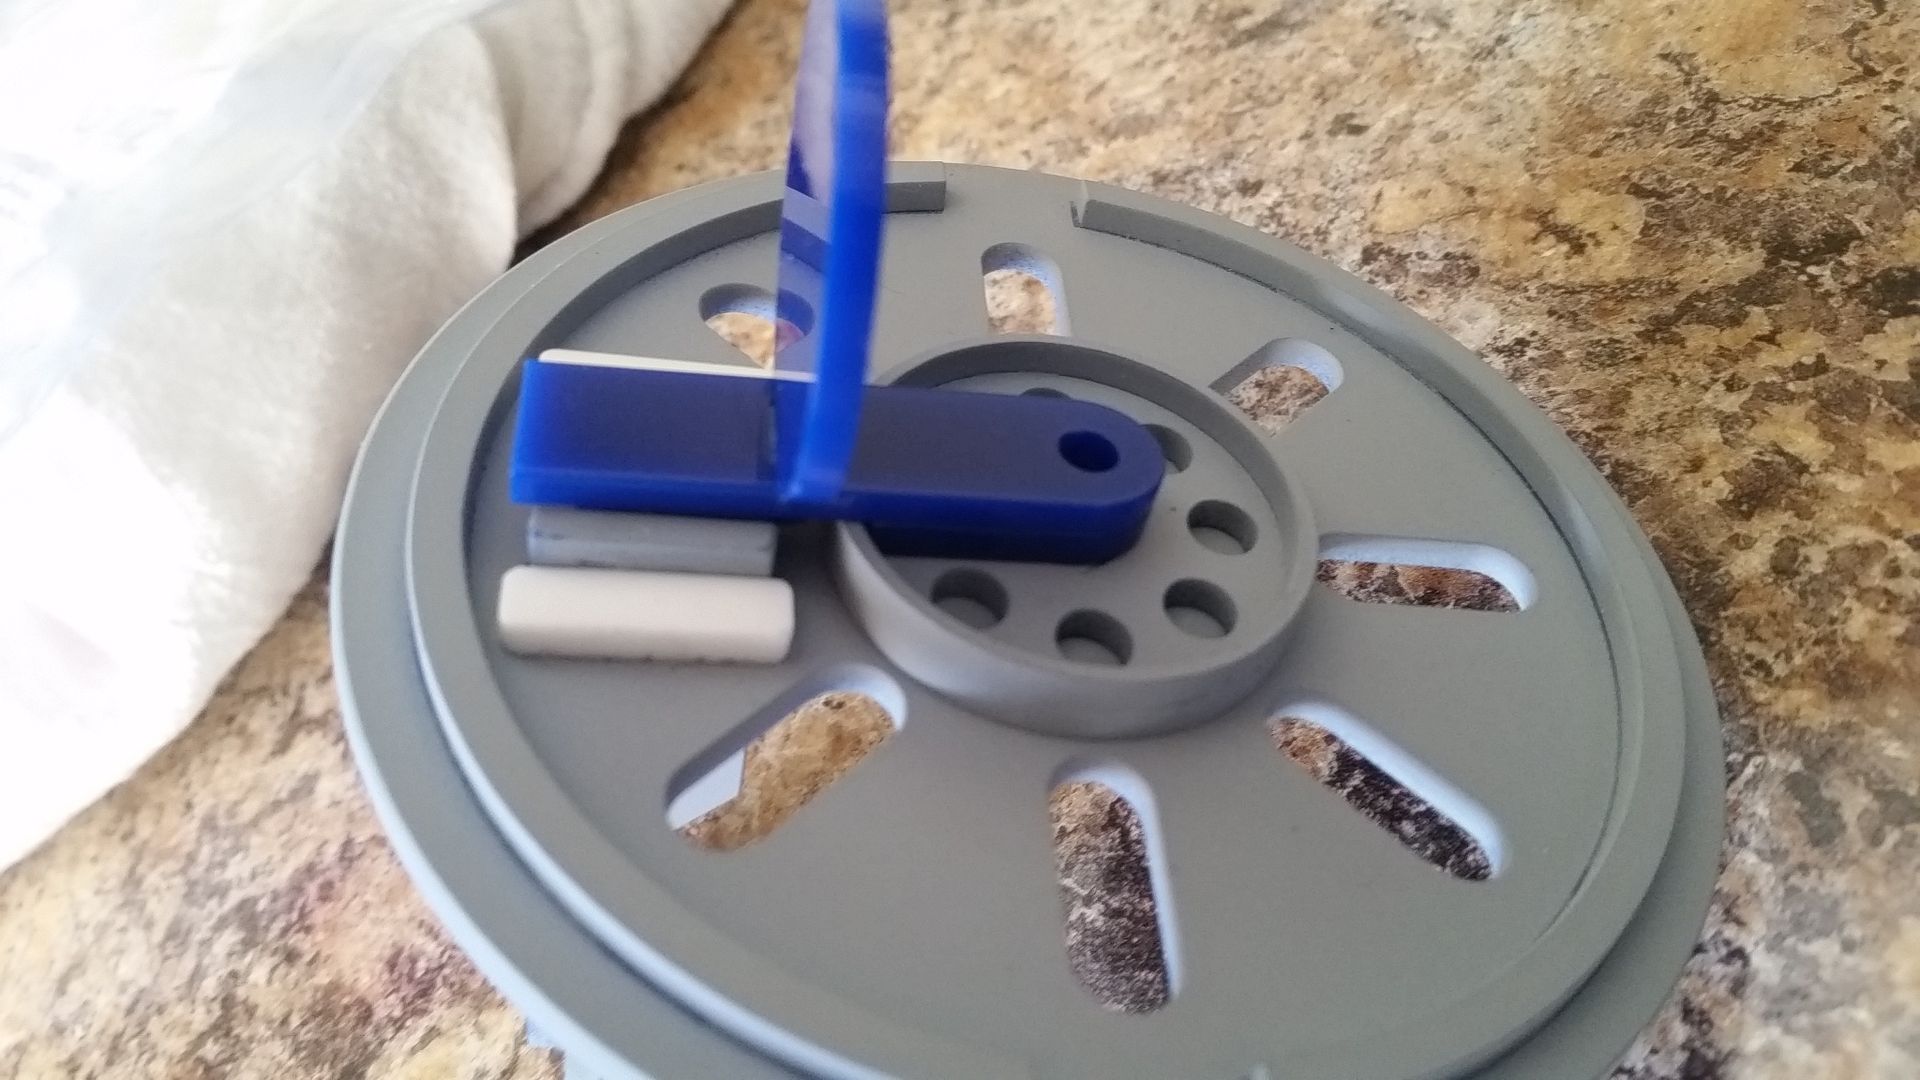
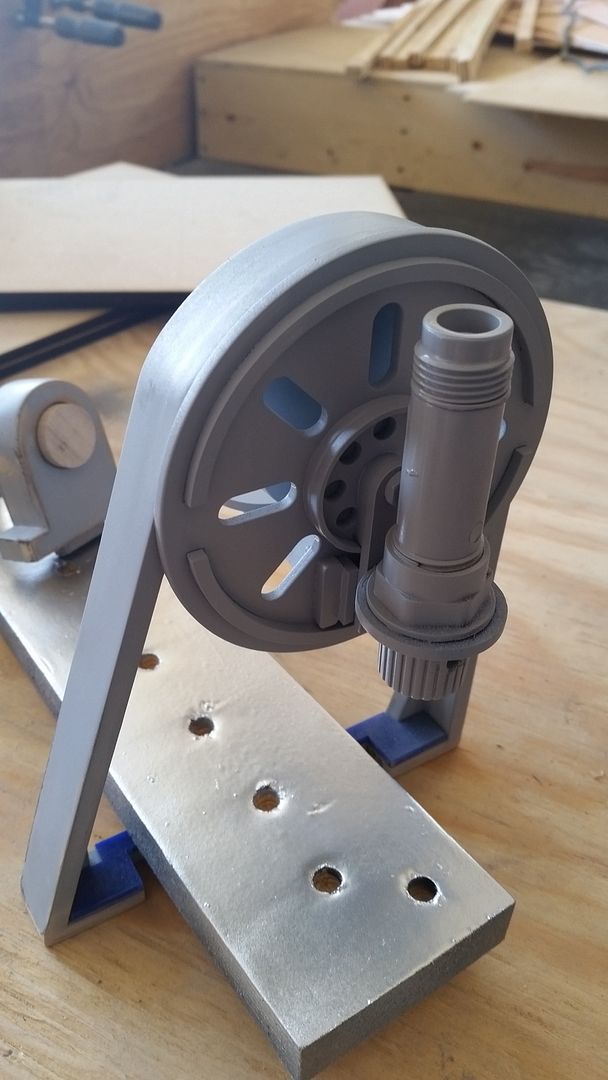
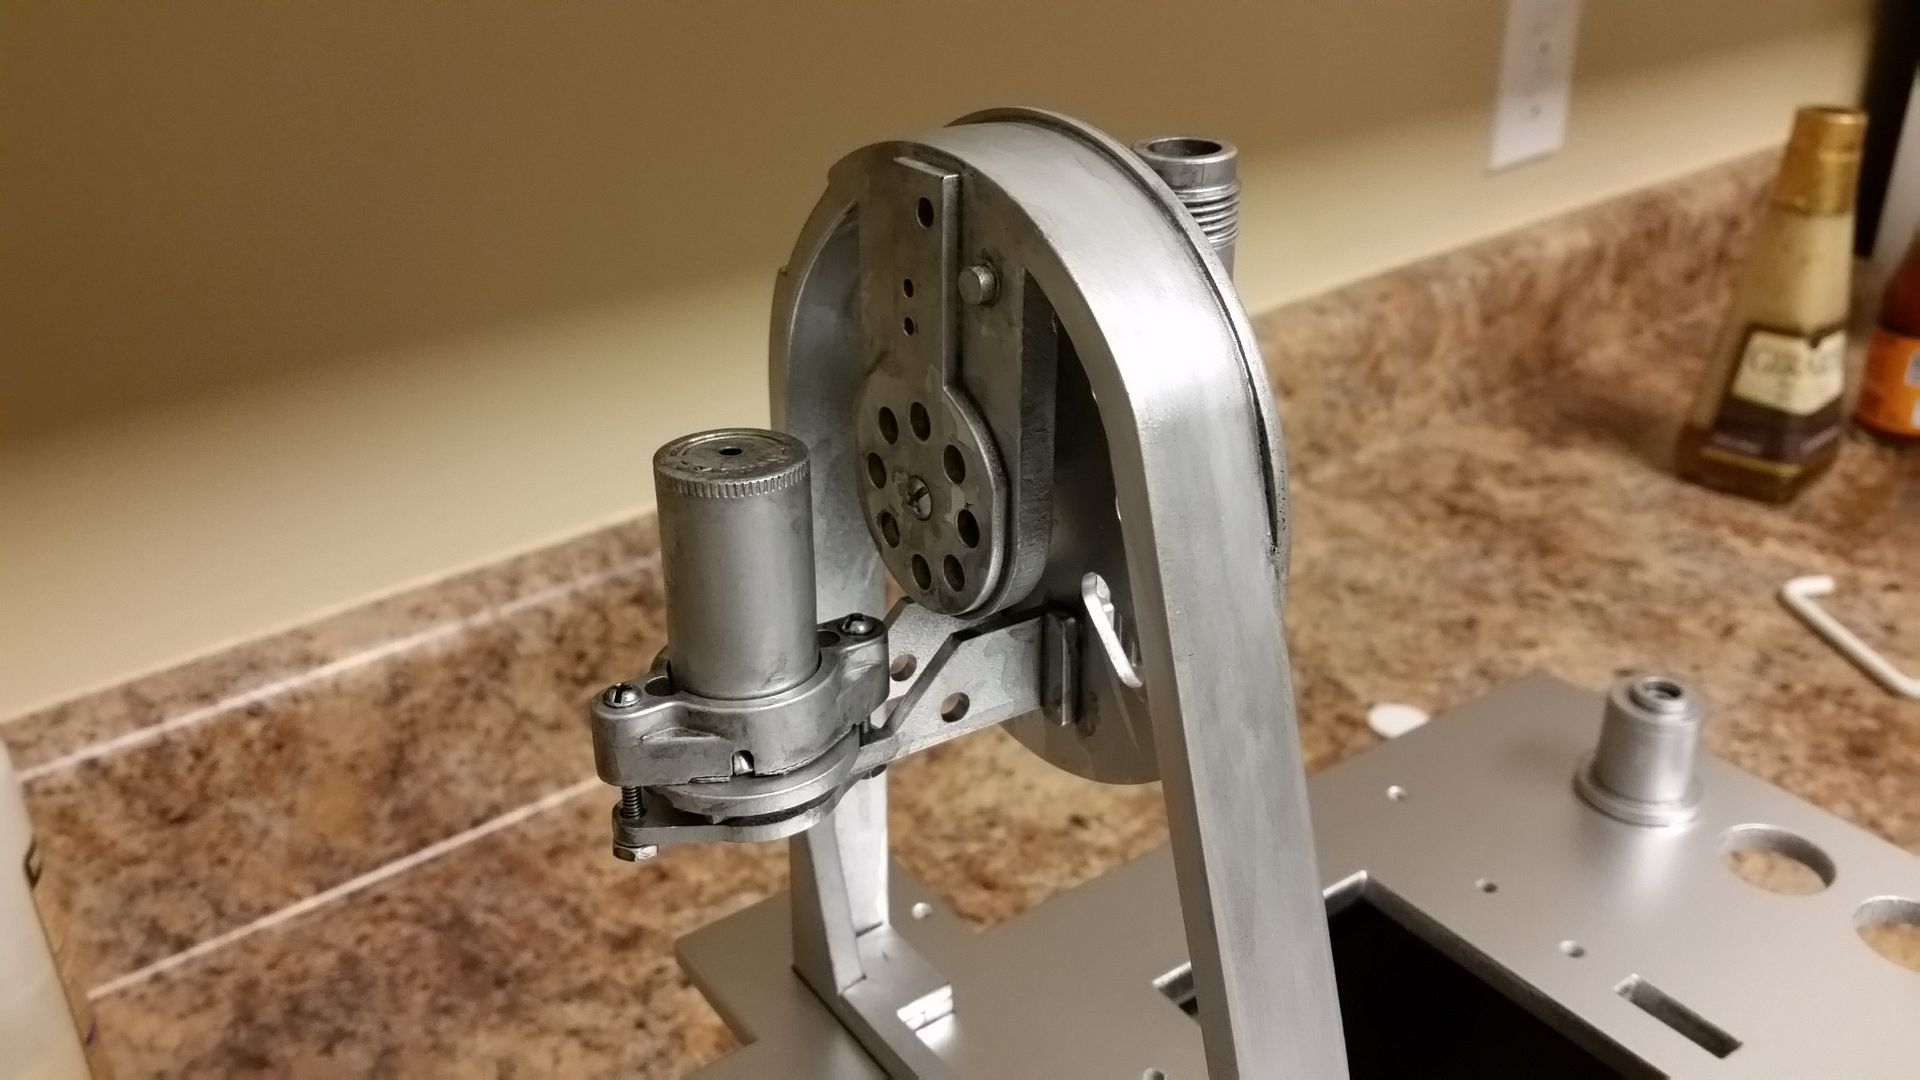
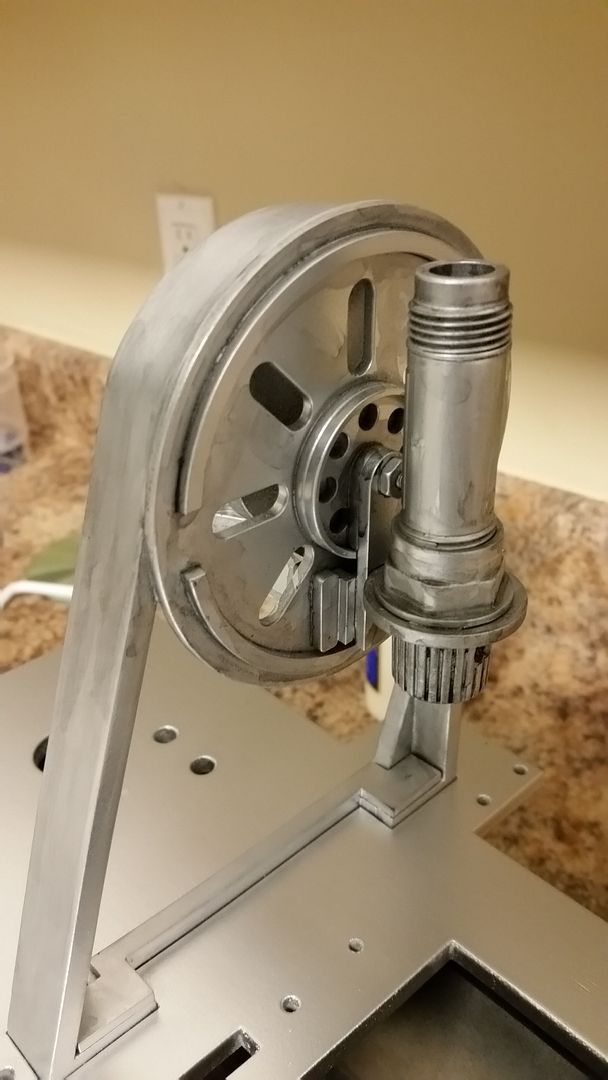
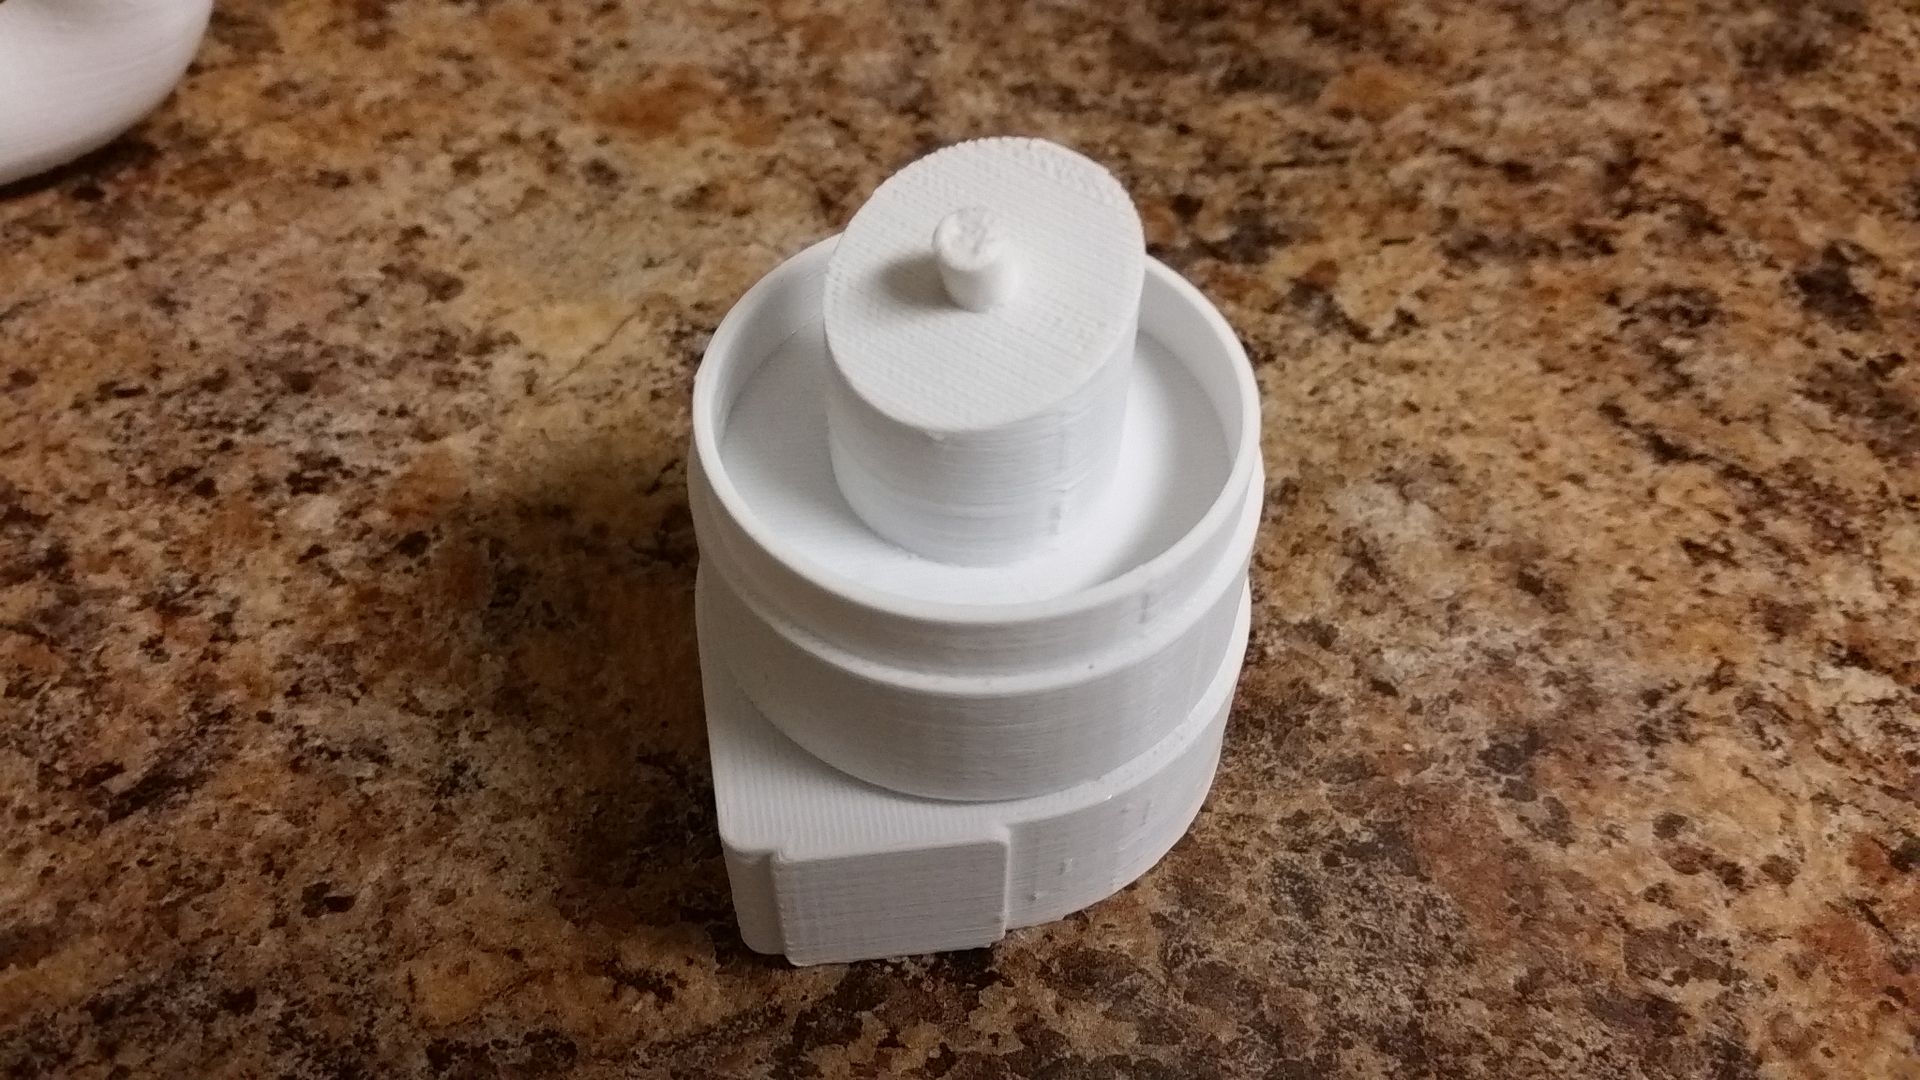
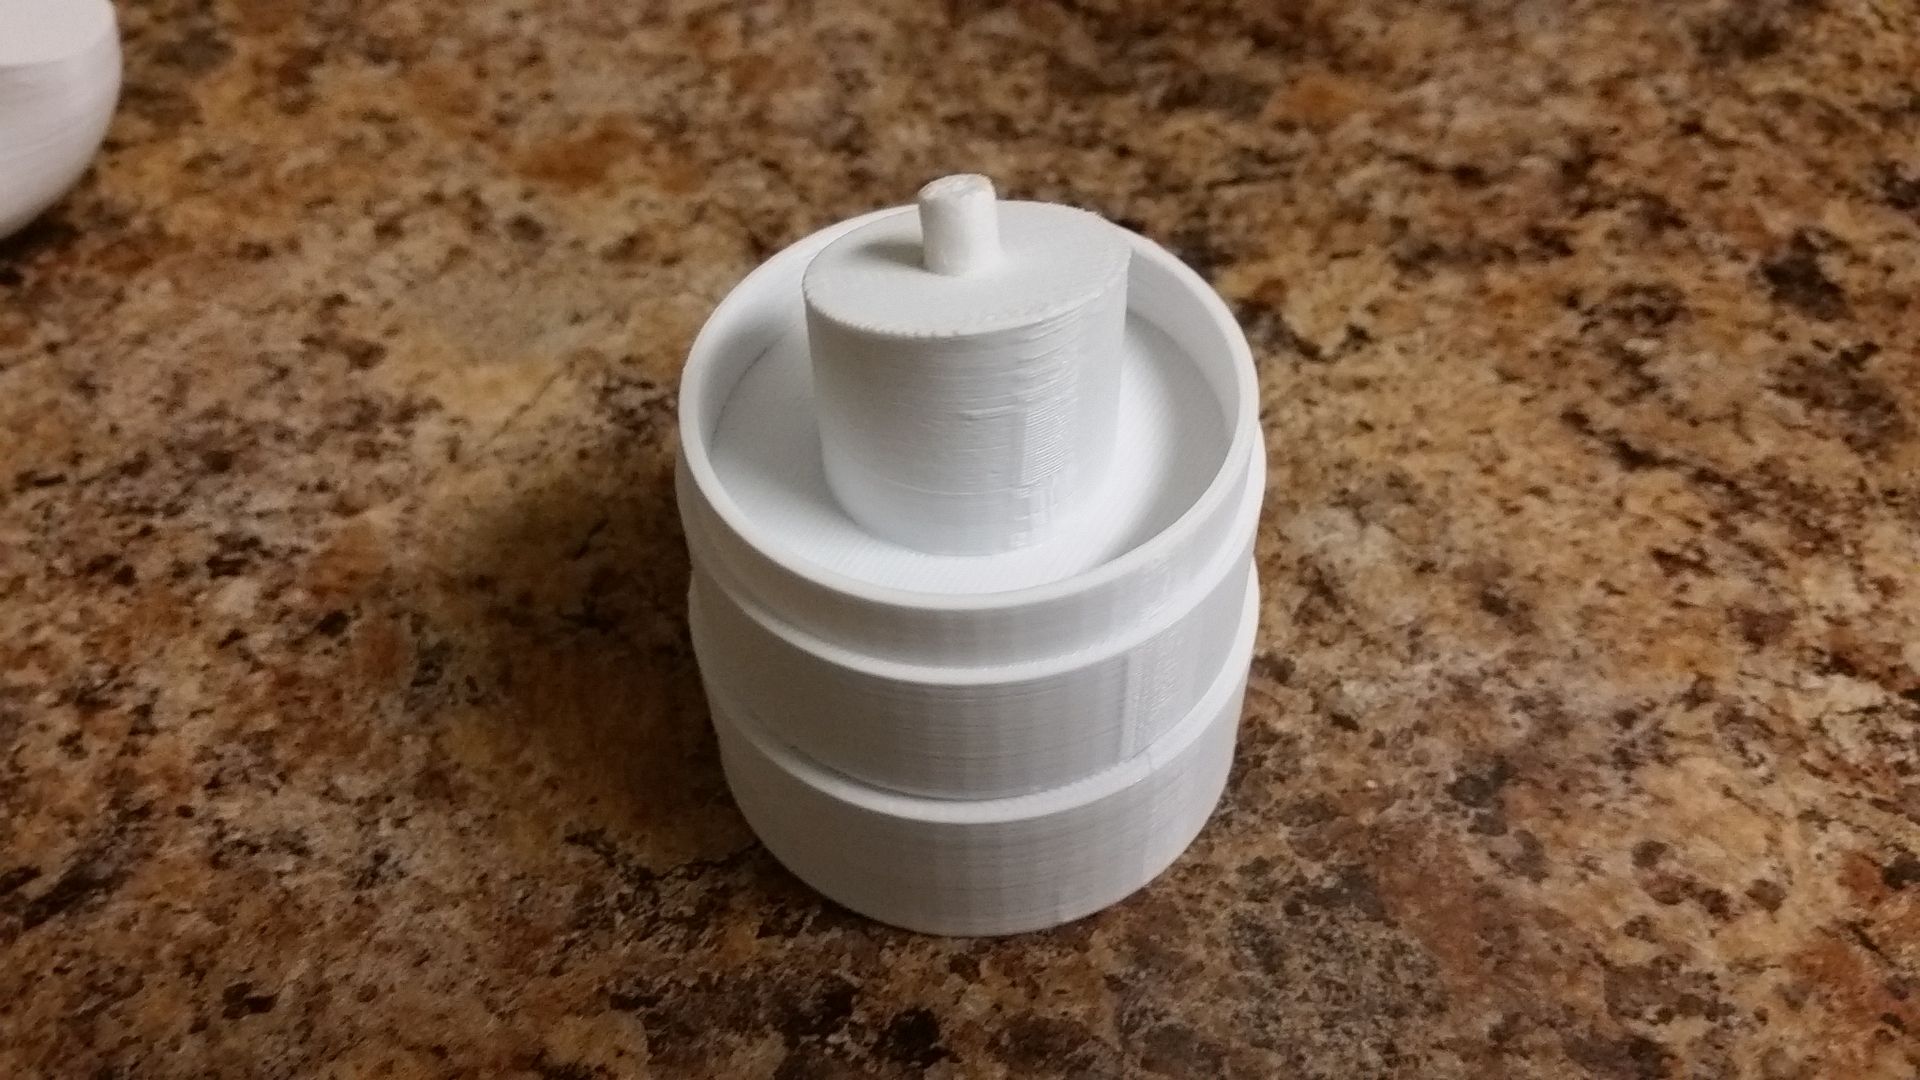
Well, they attach to this
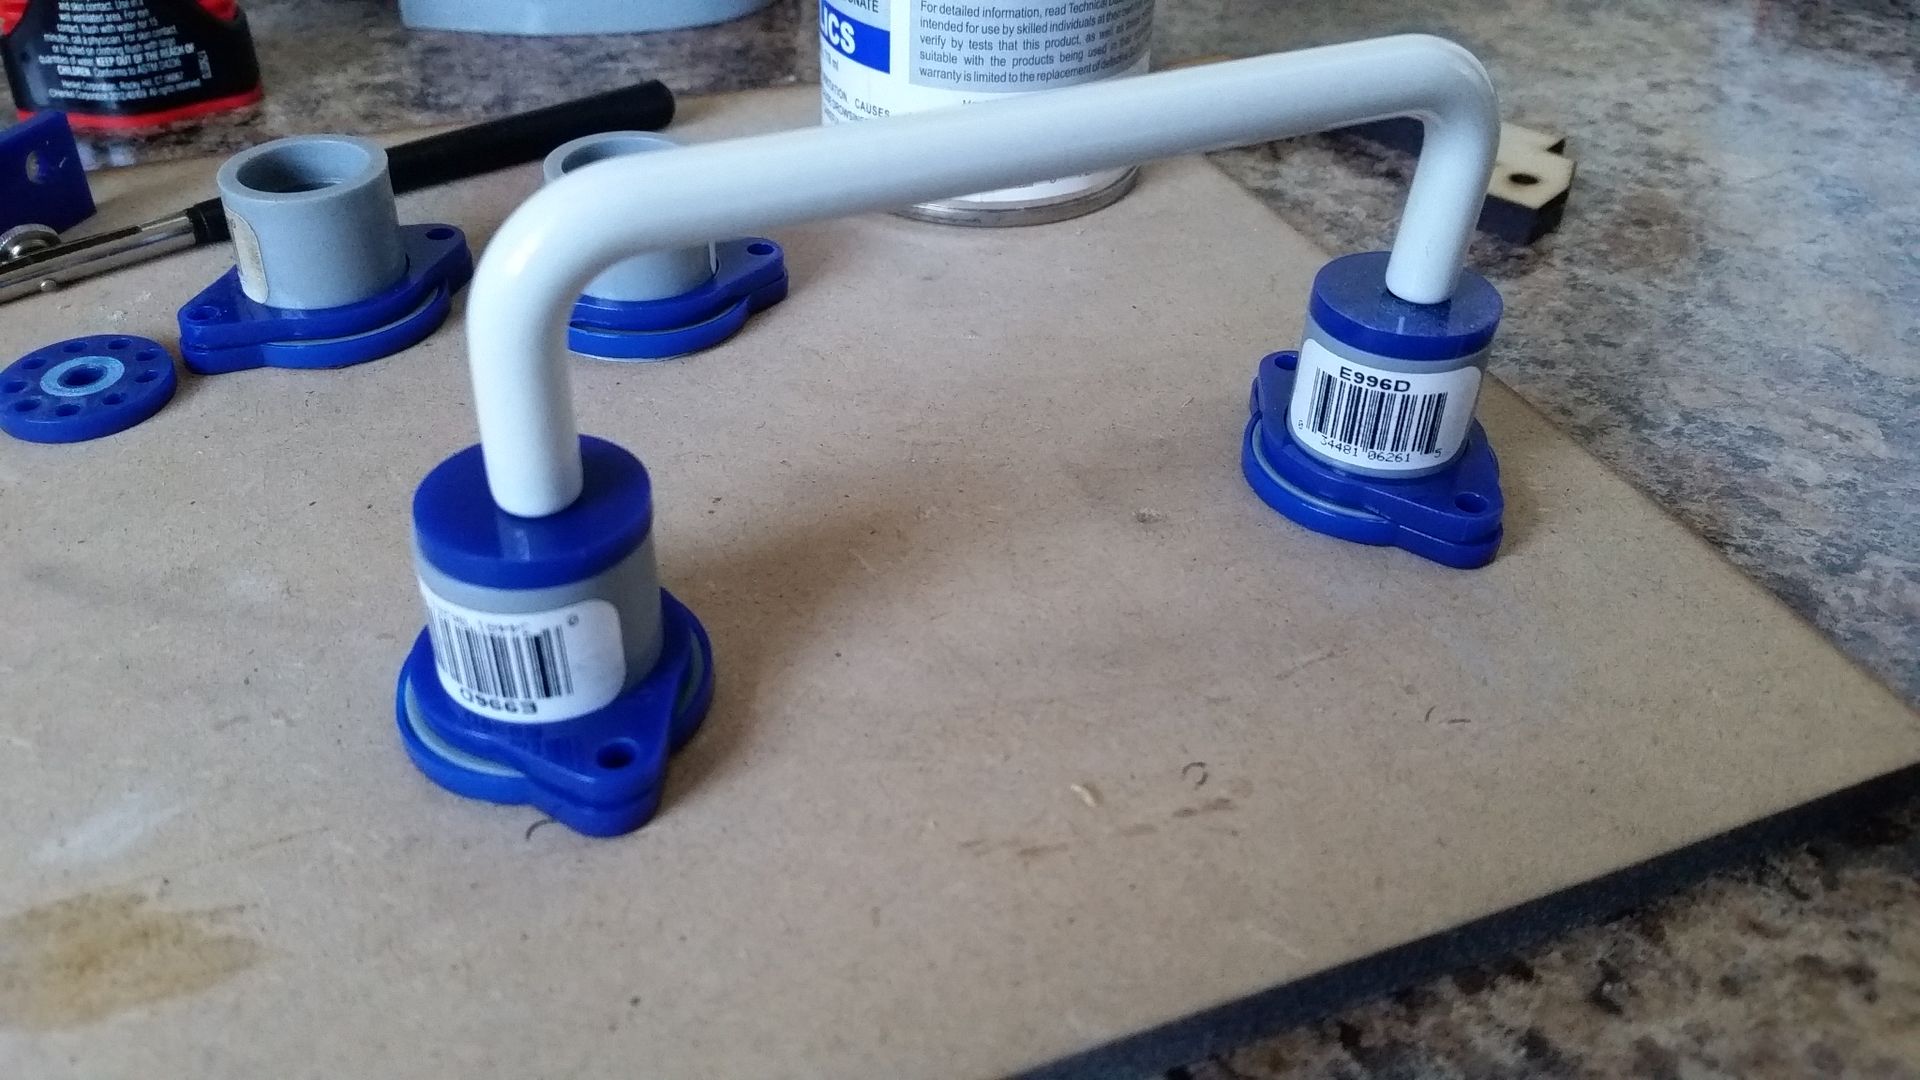
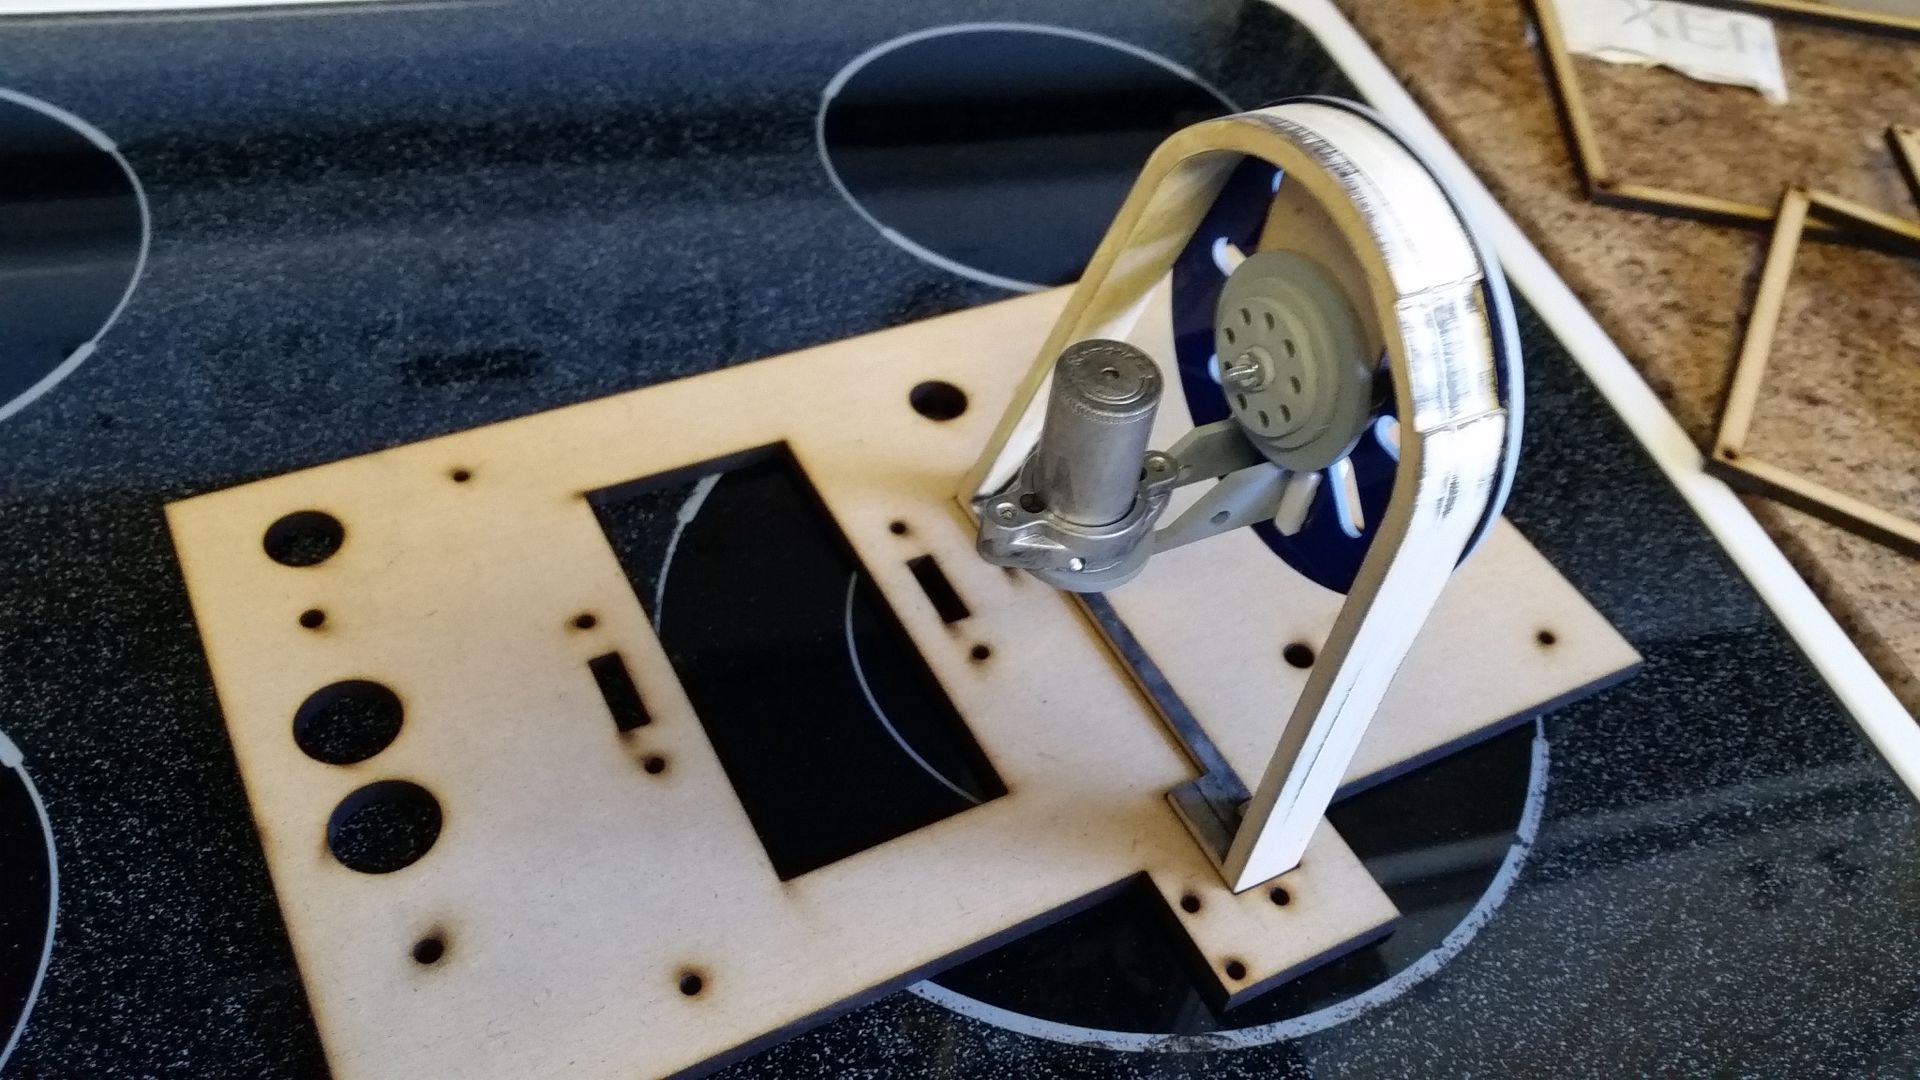
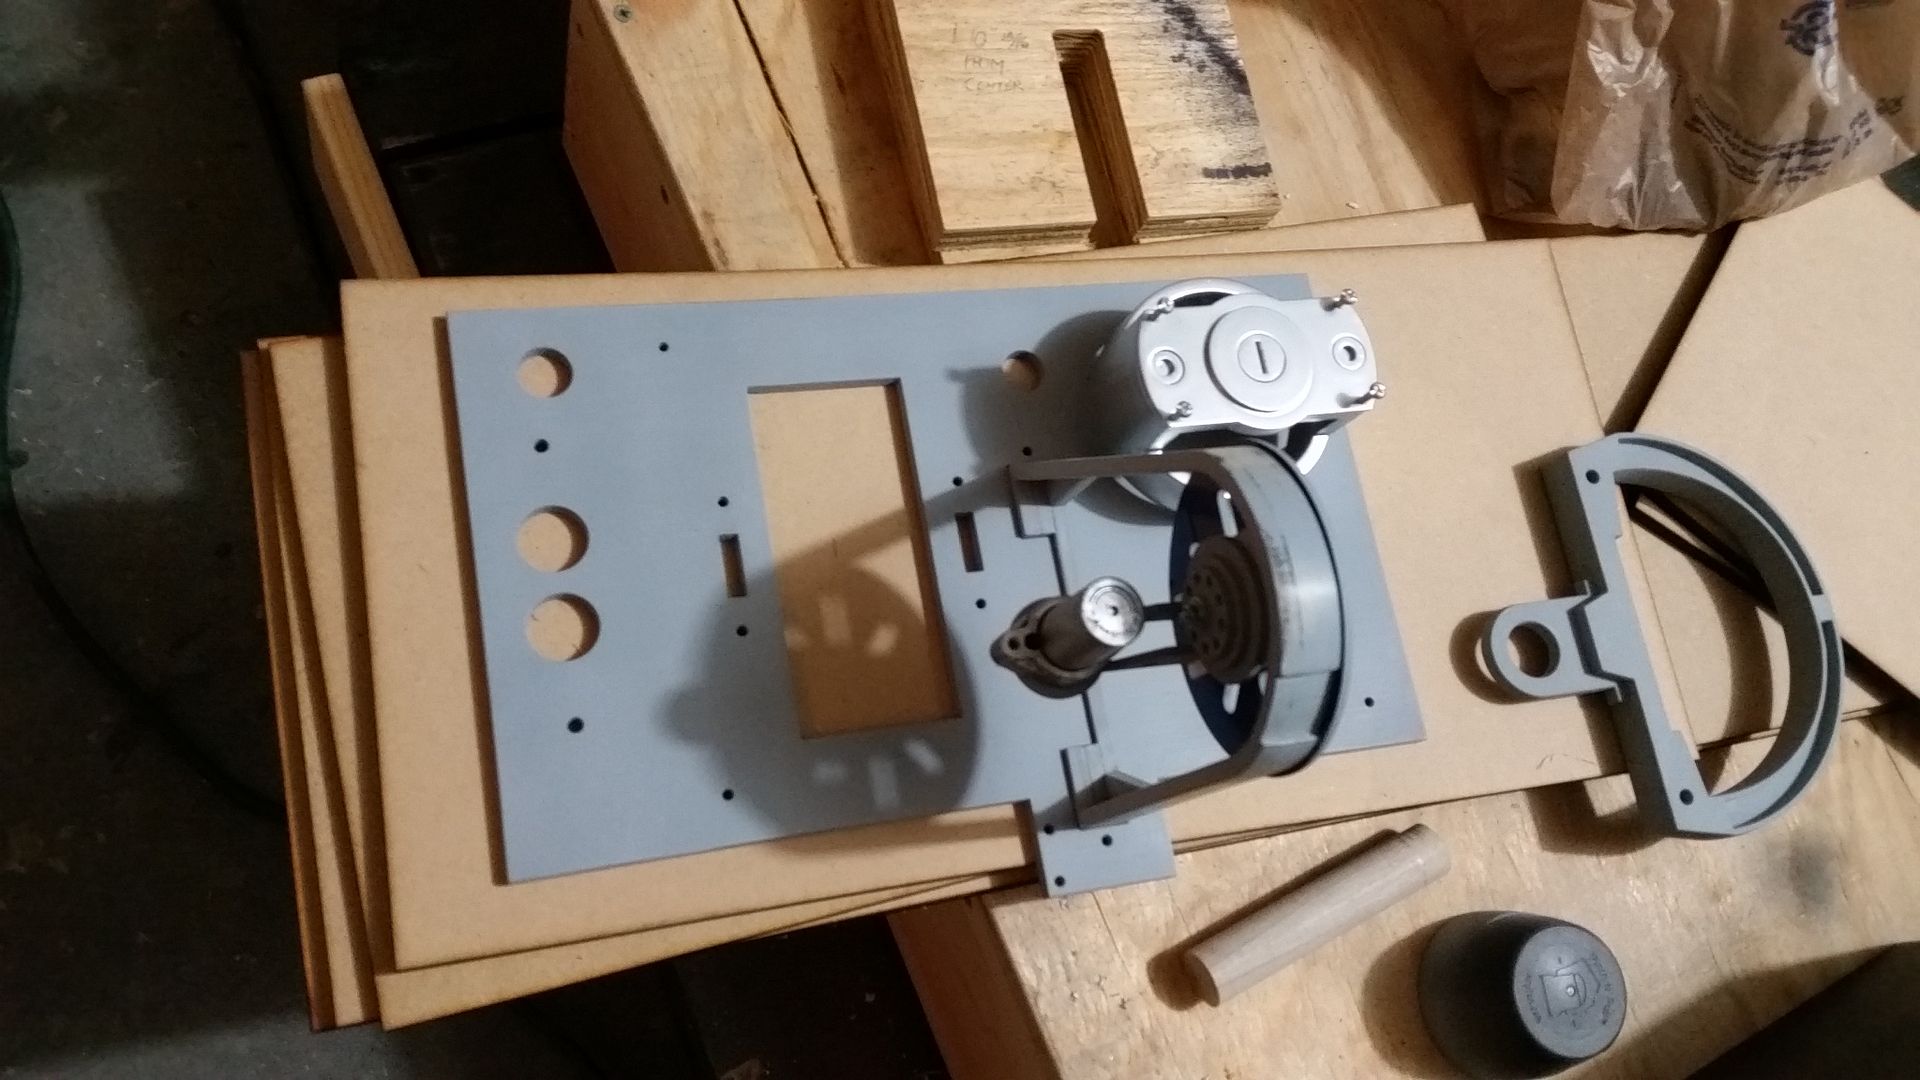
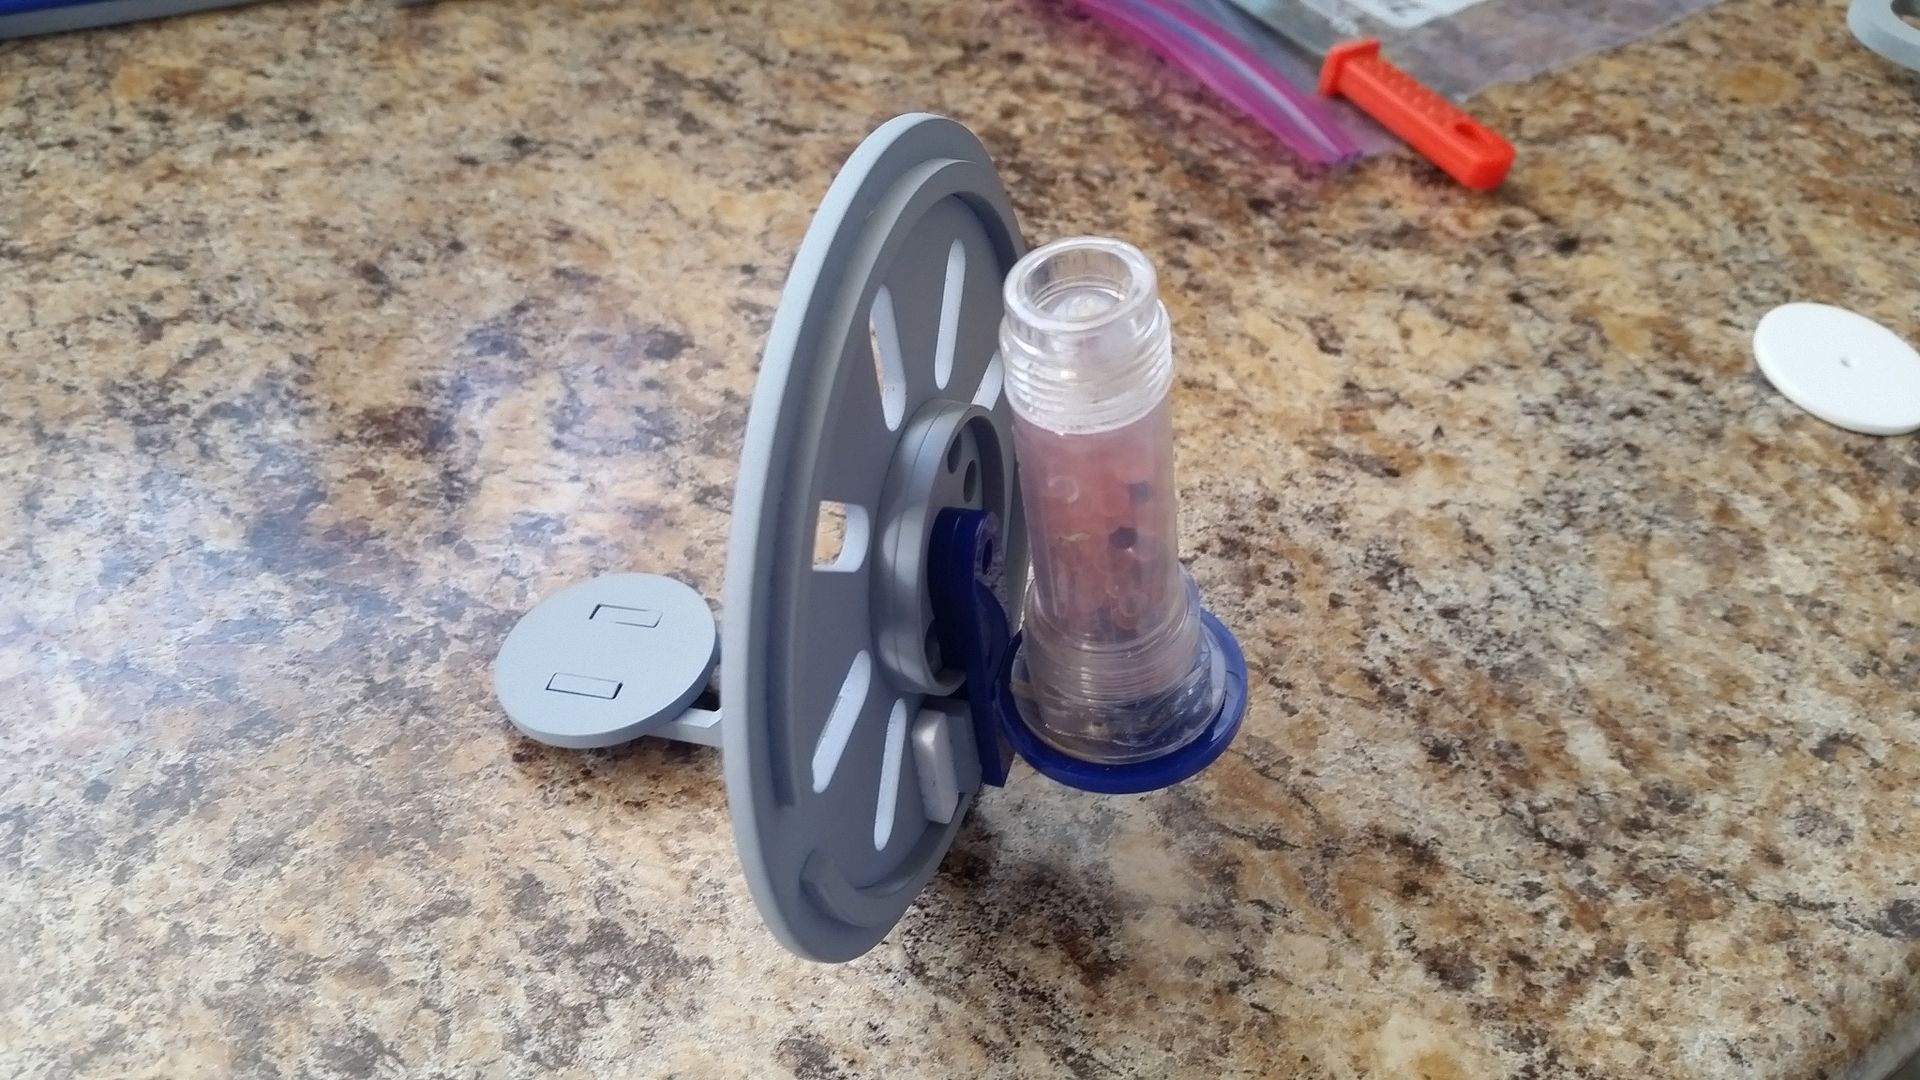
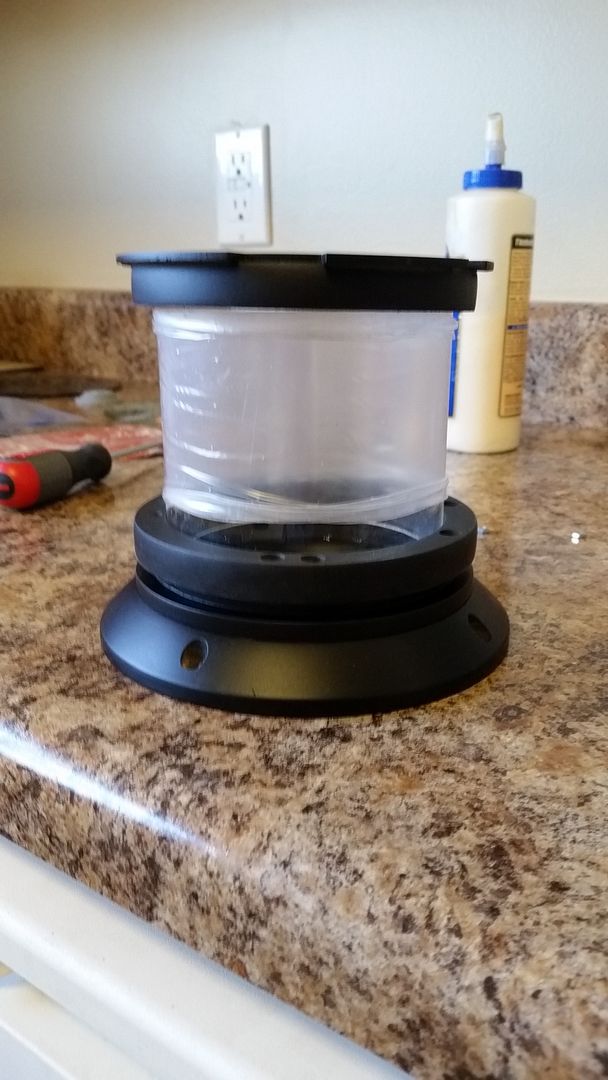
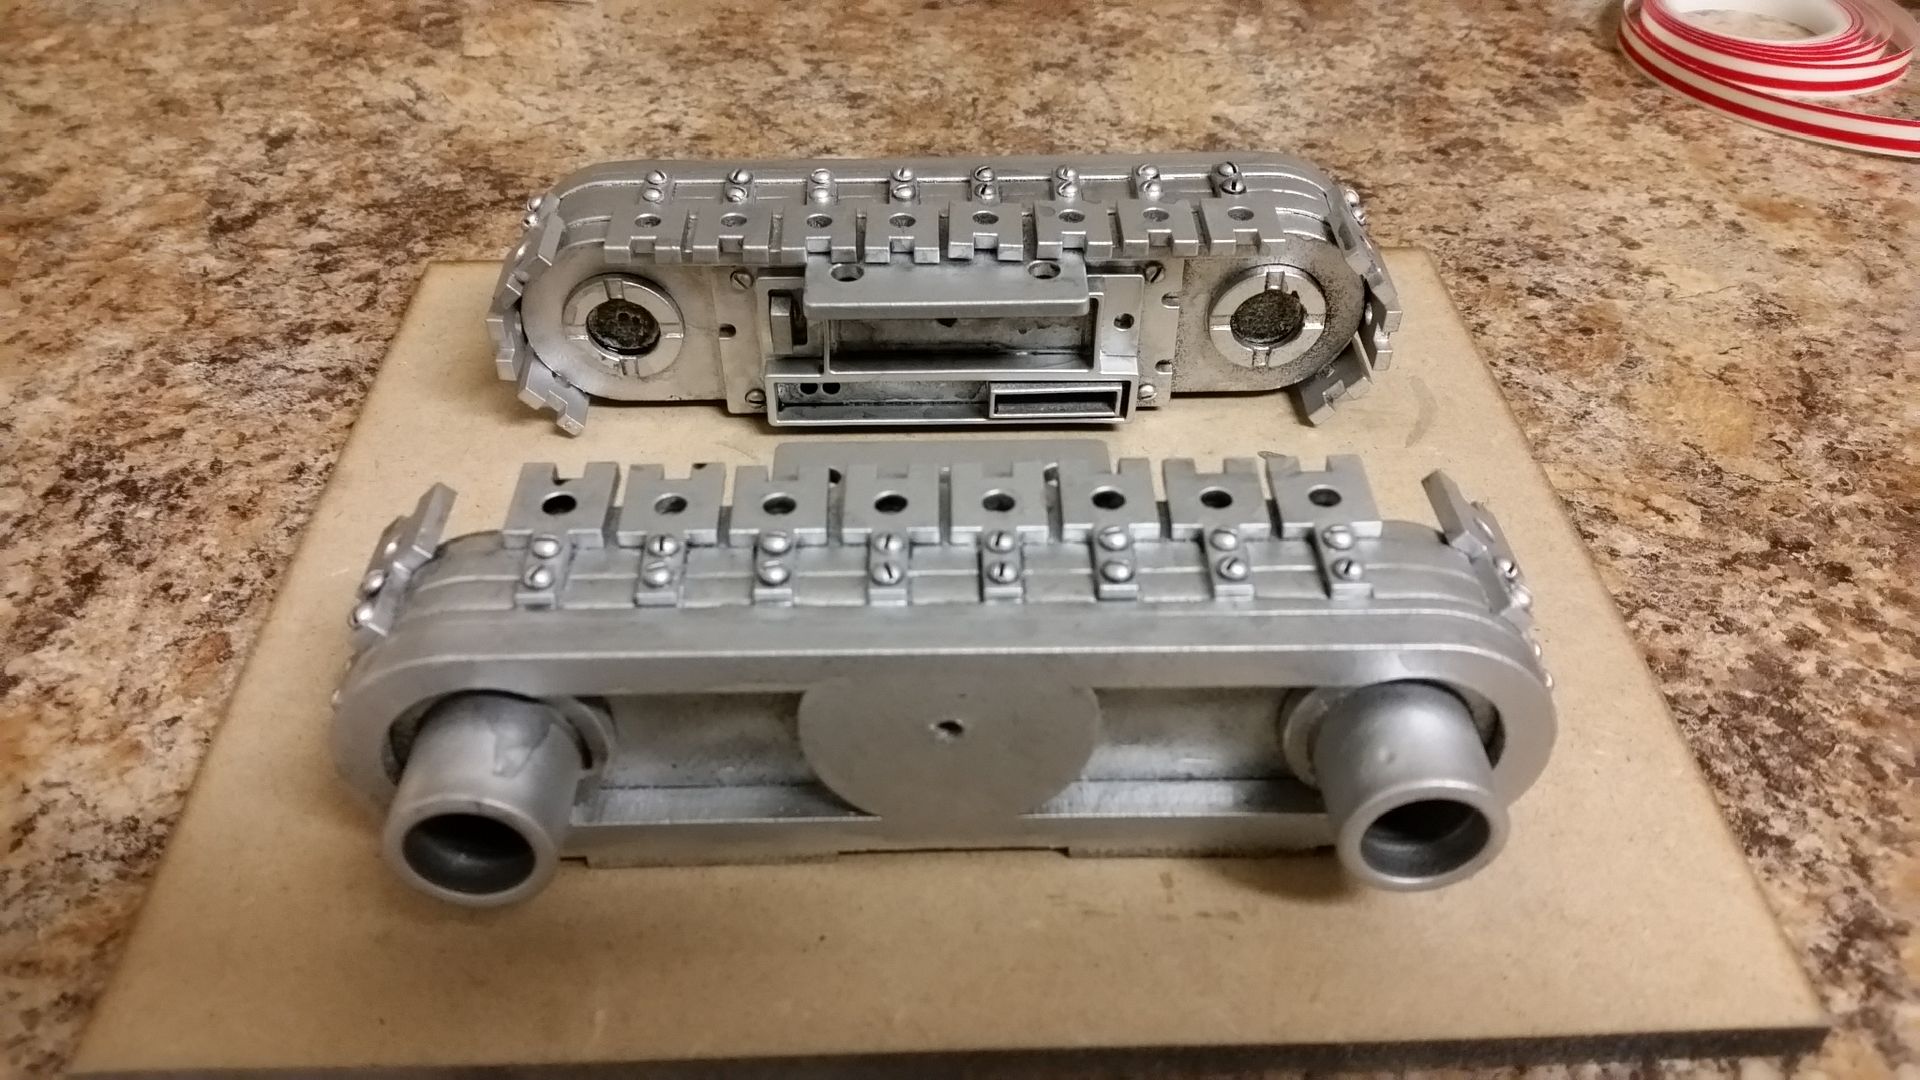
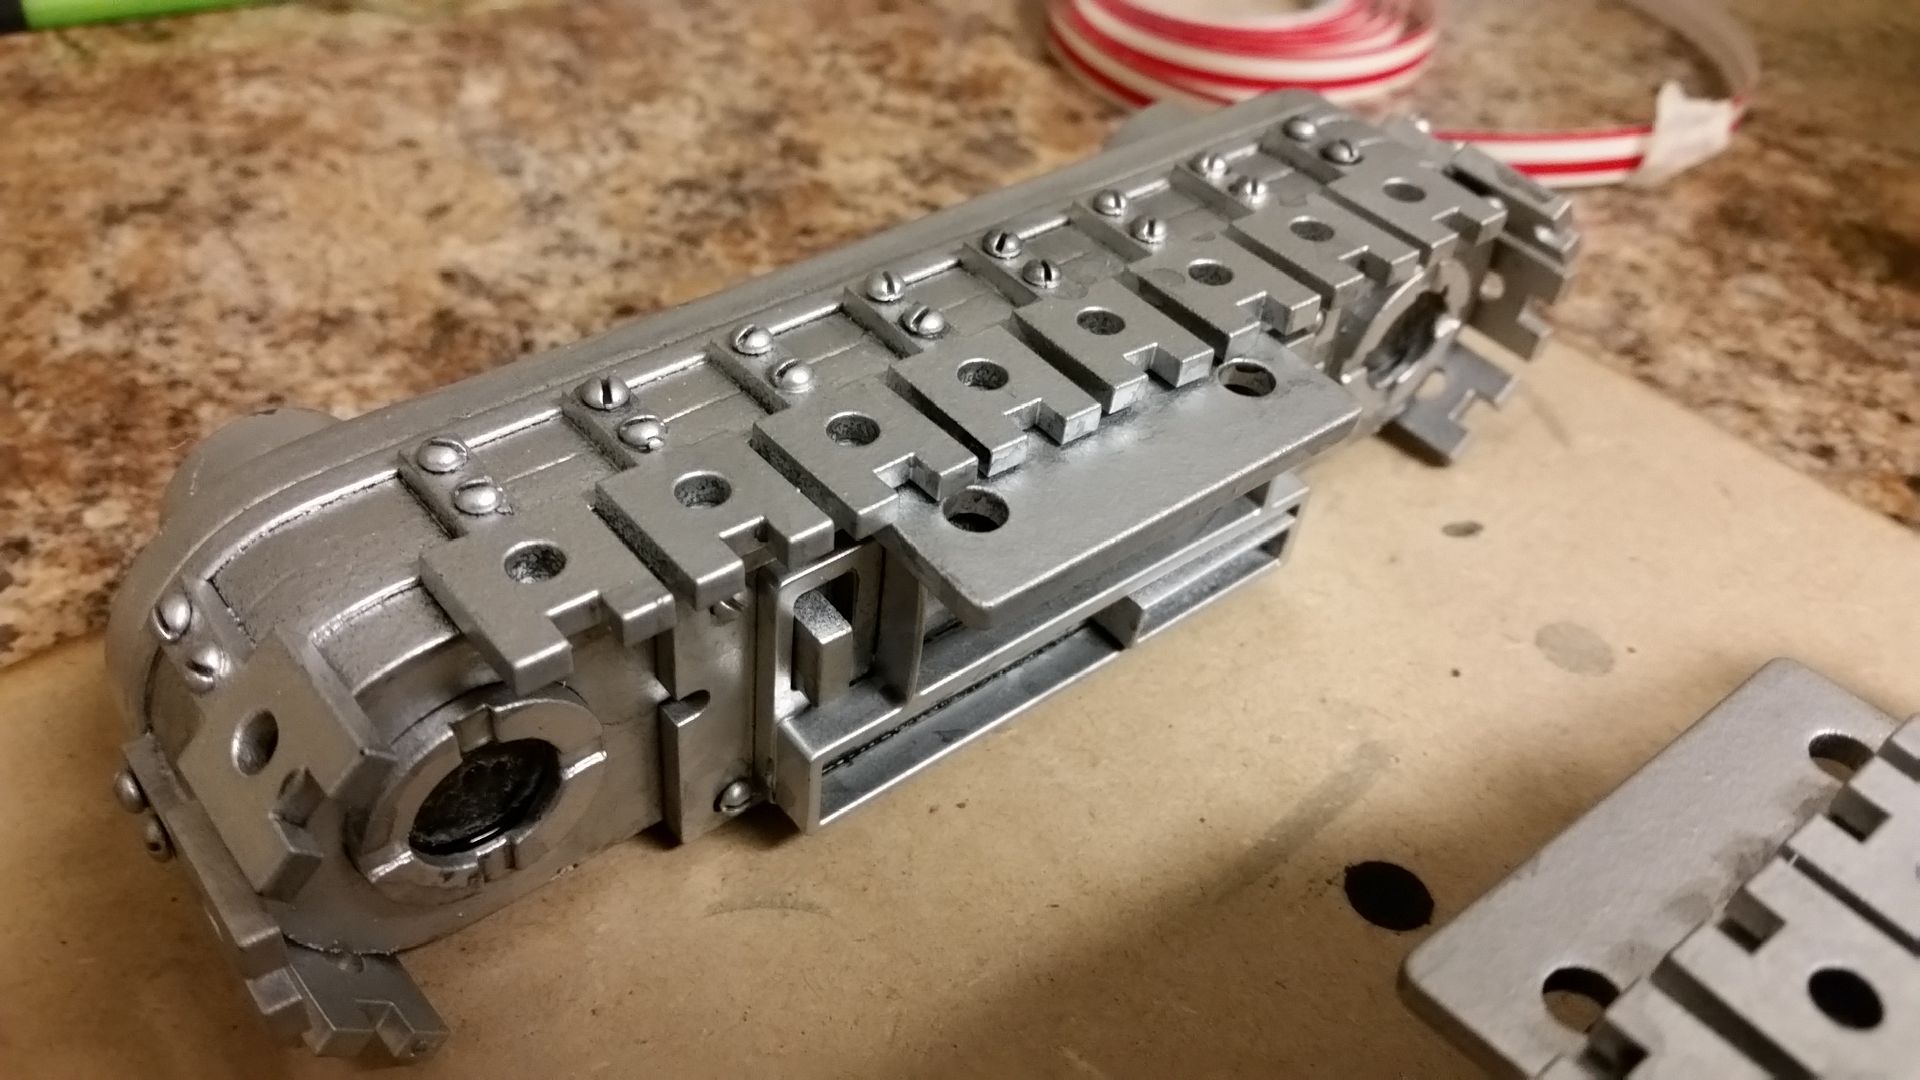
All boxed in
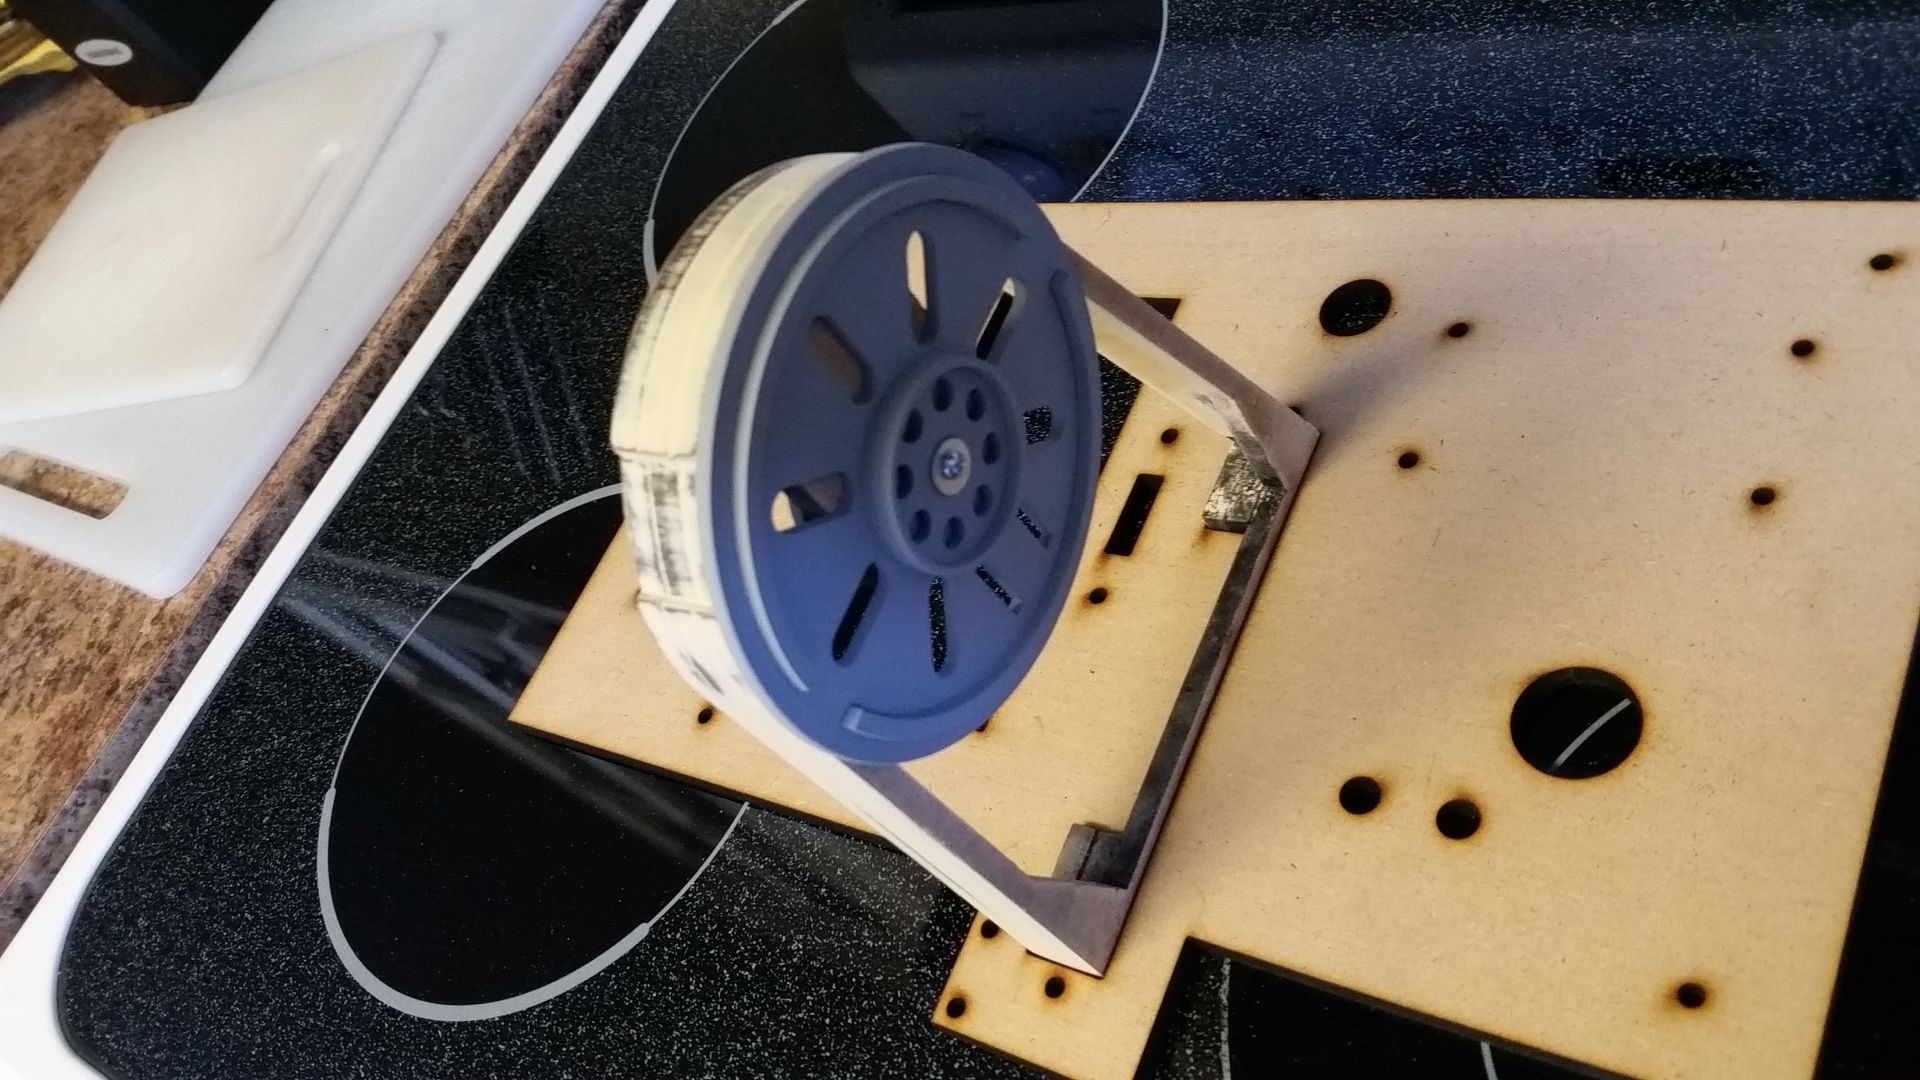
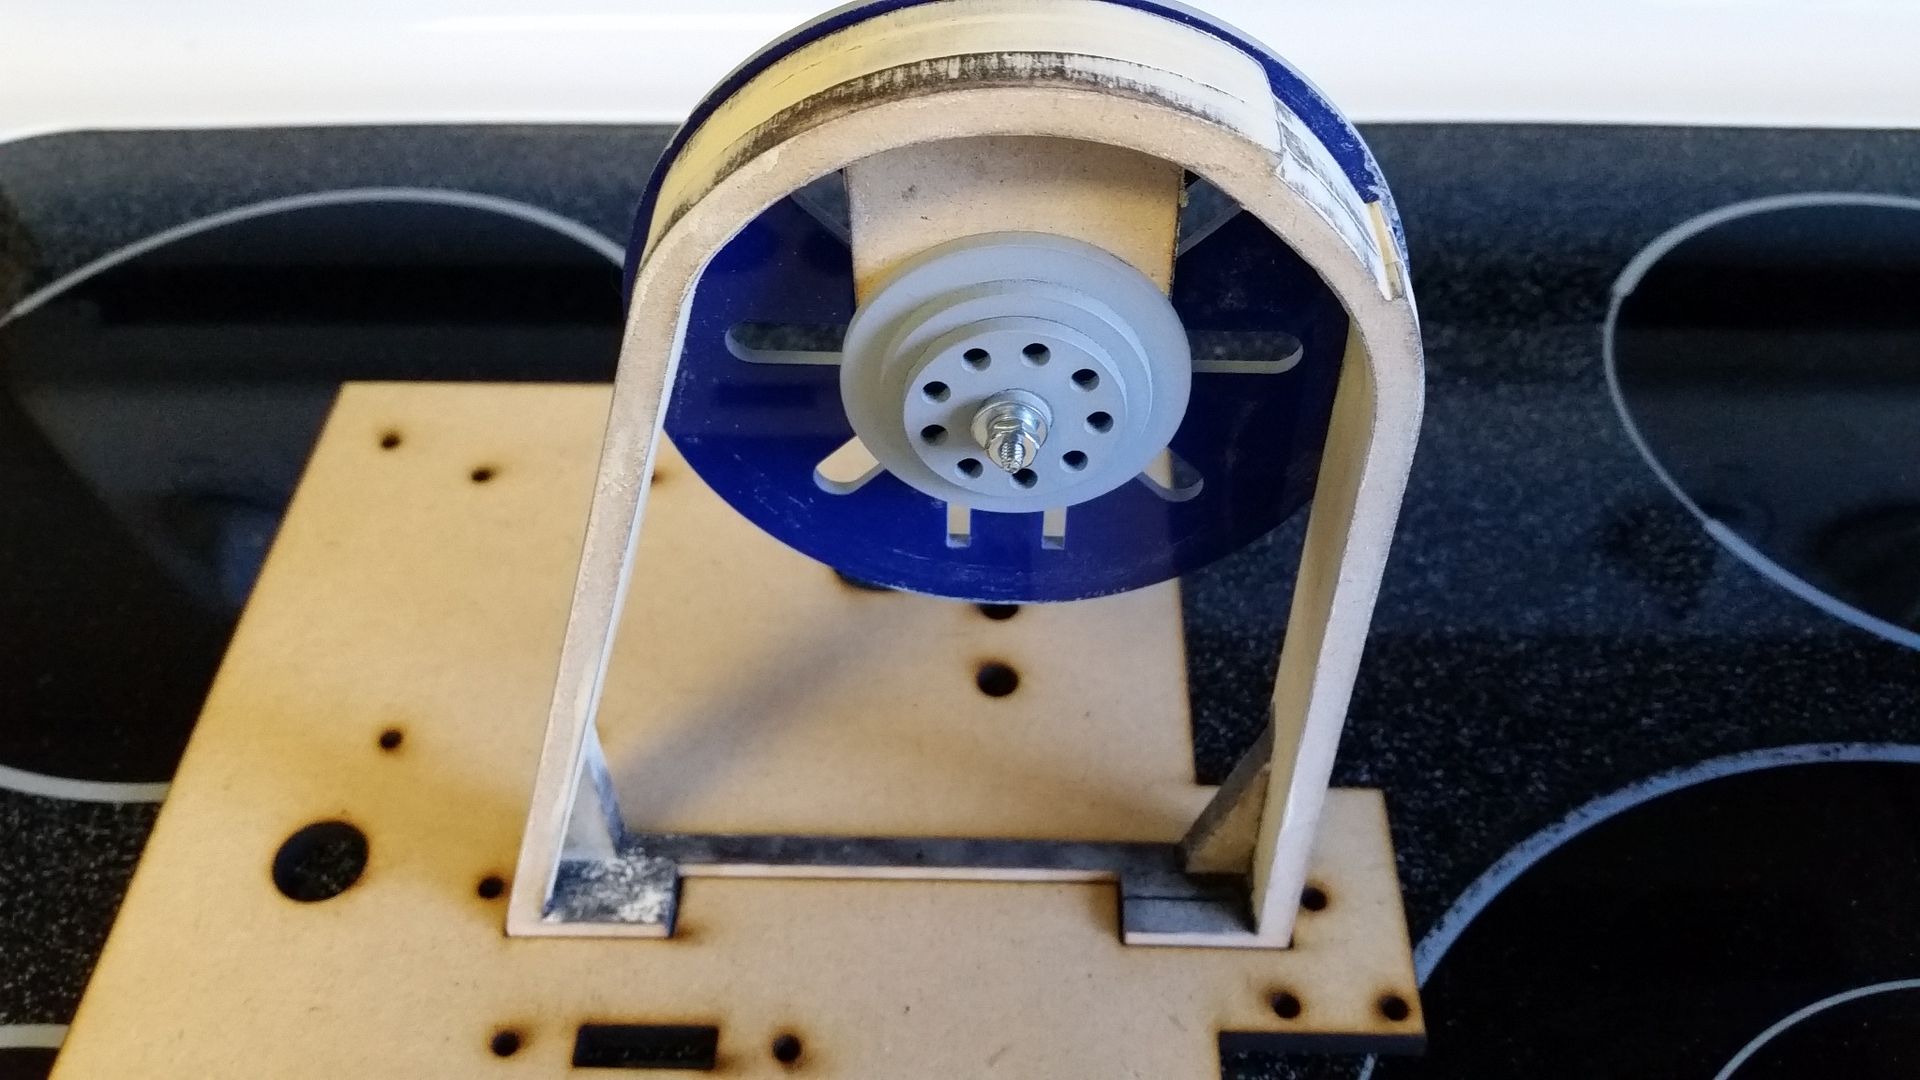
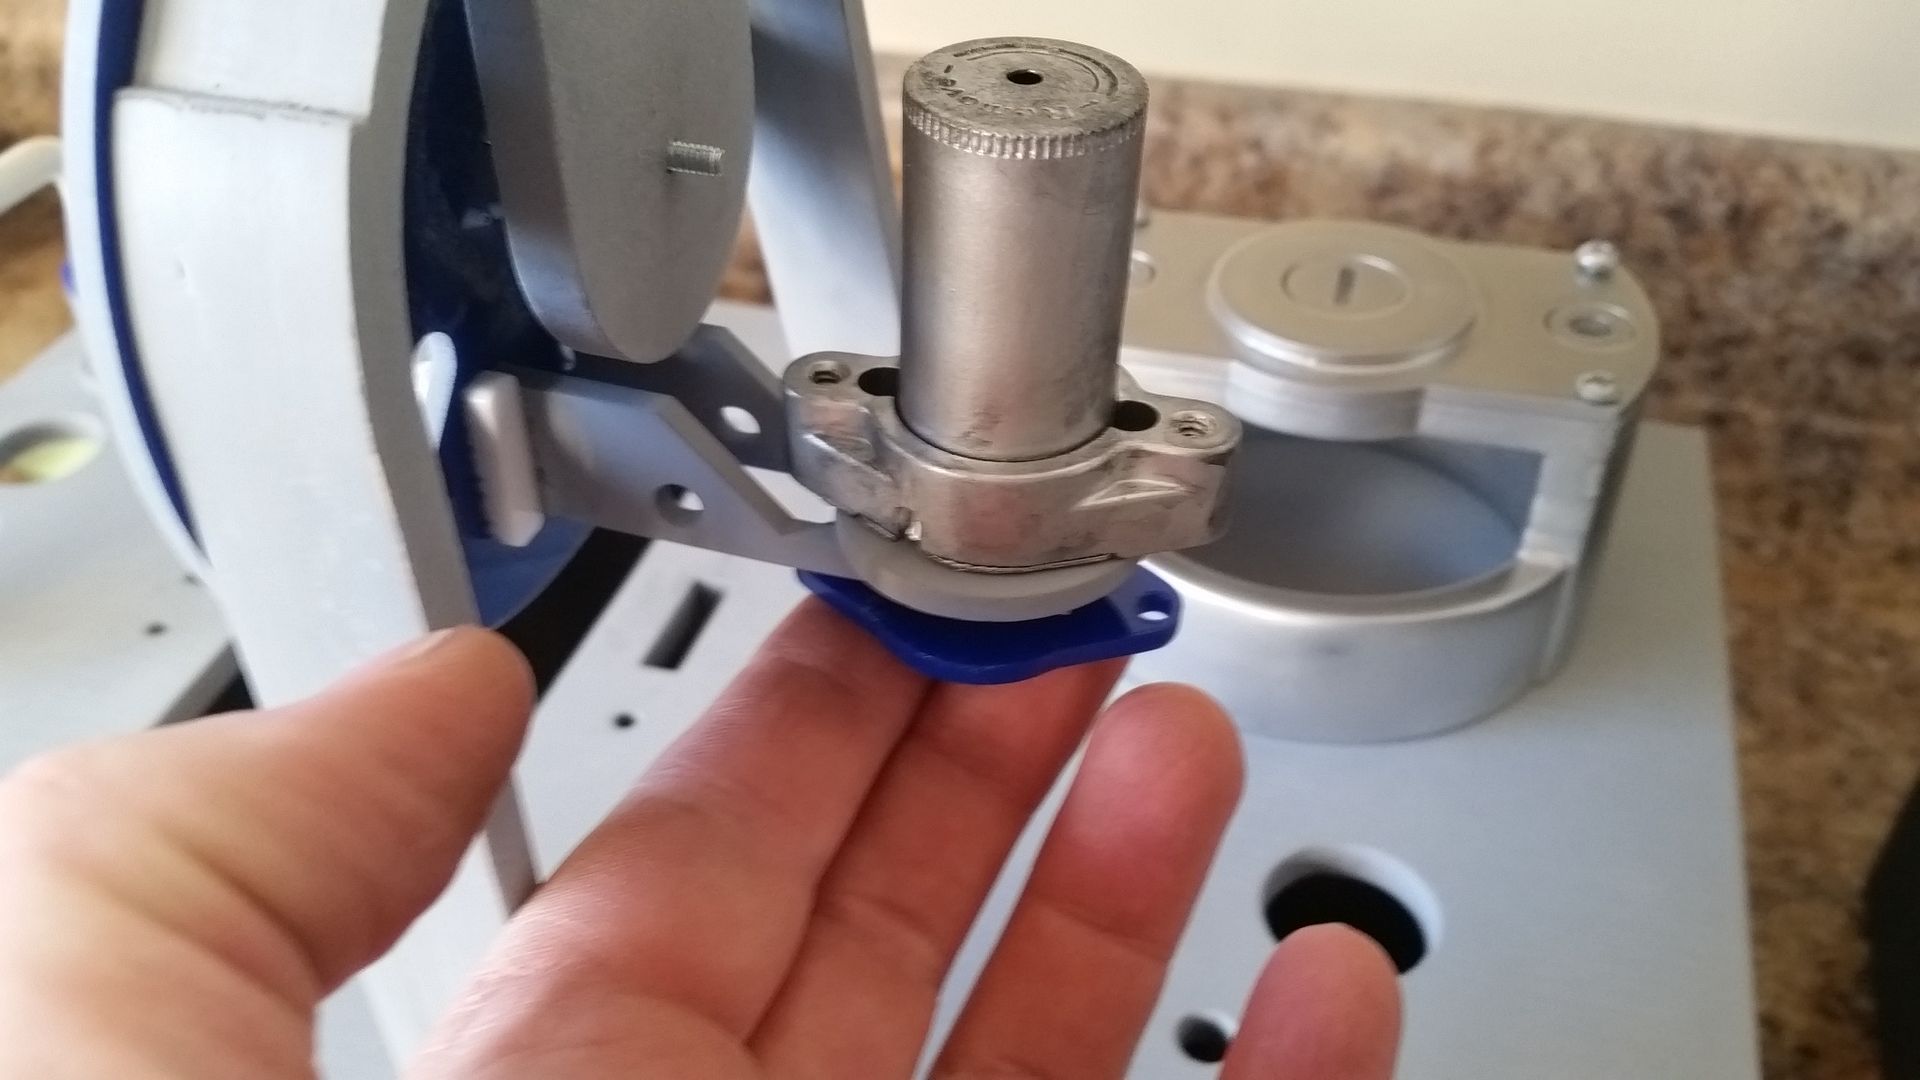
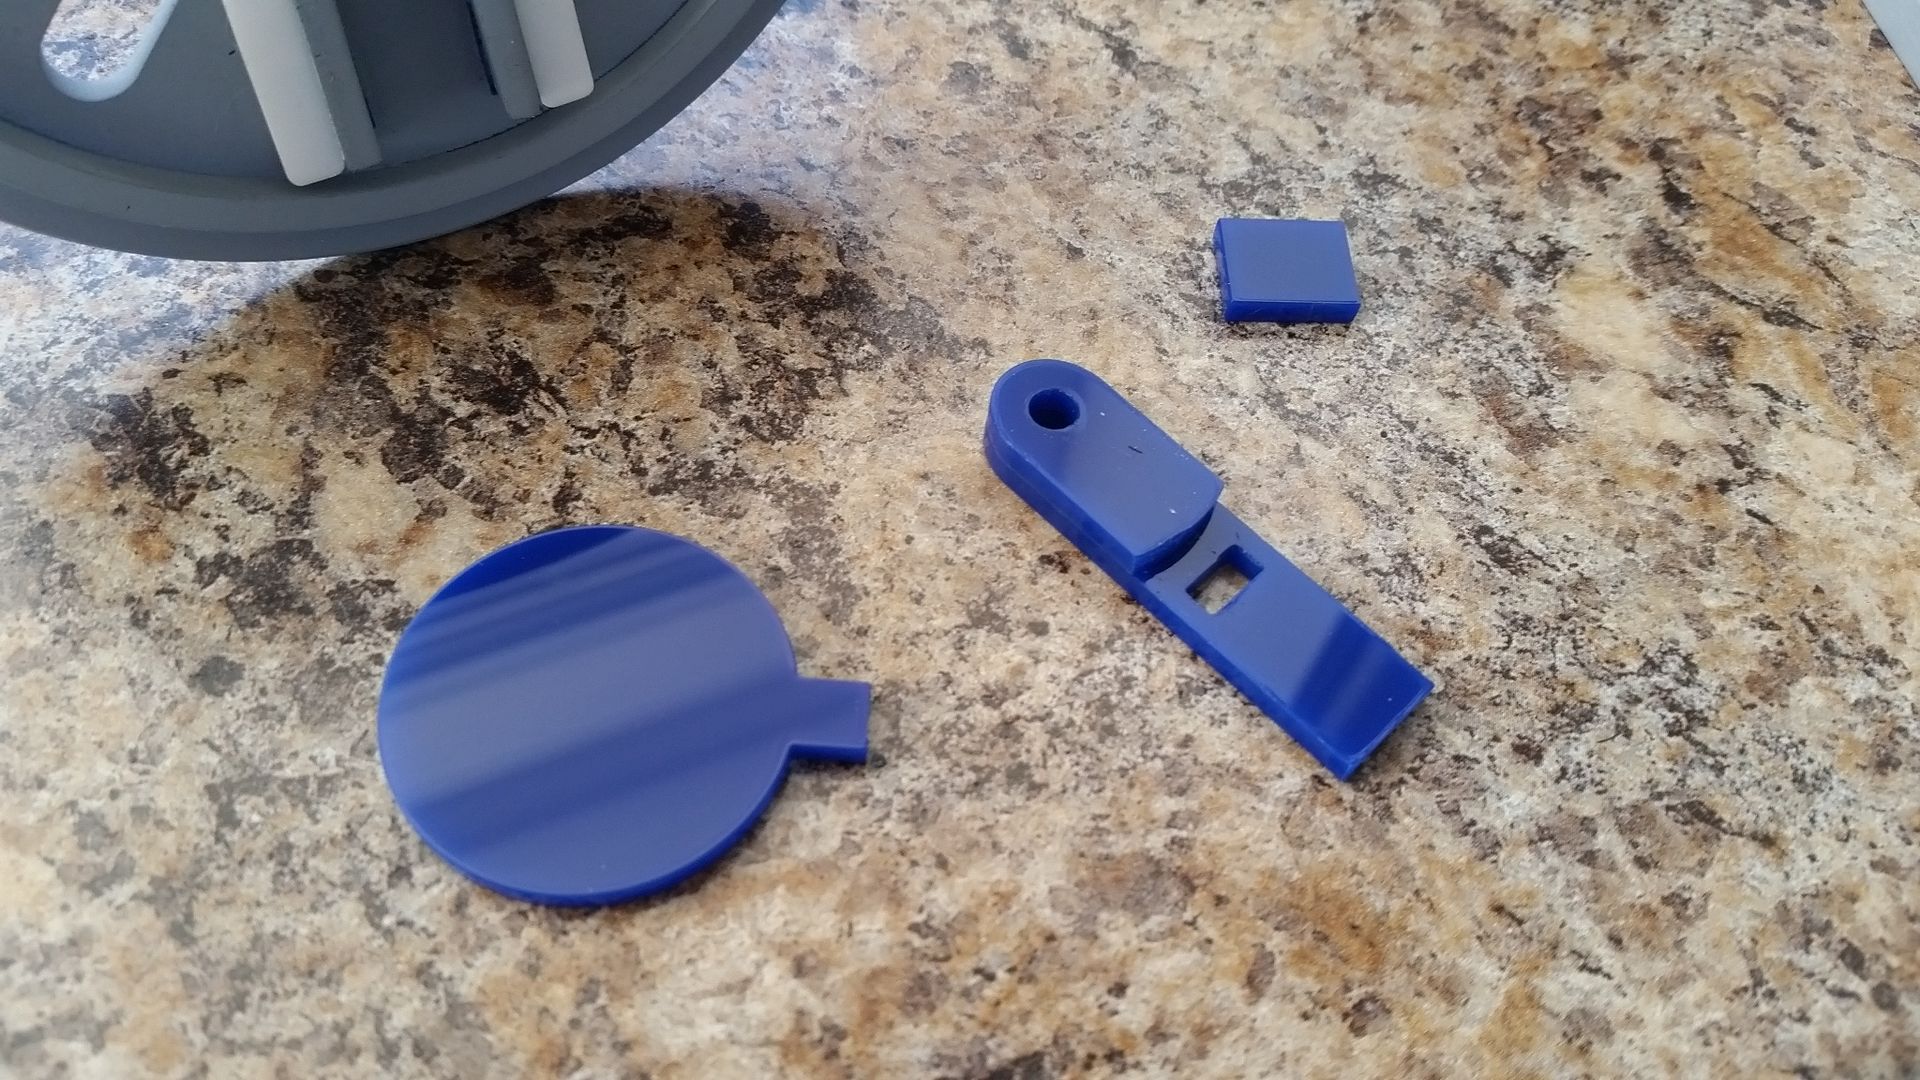
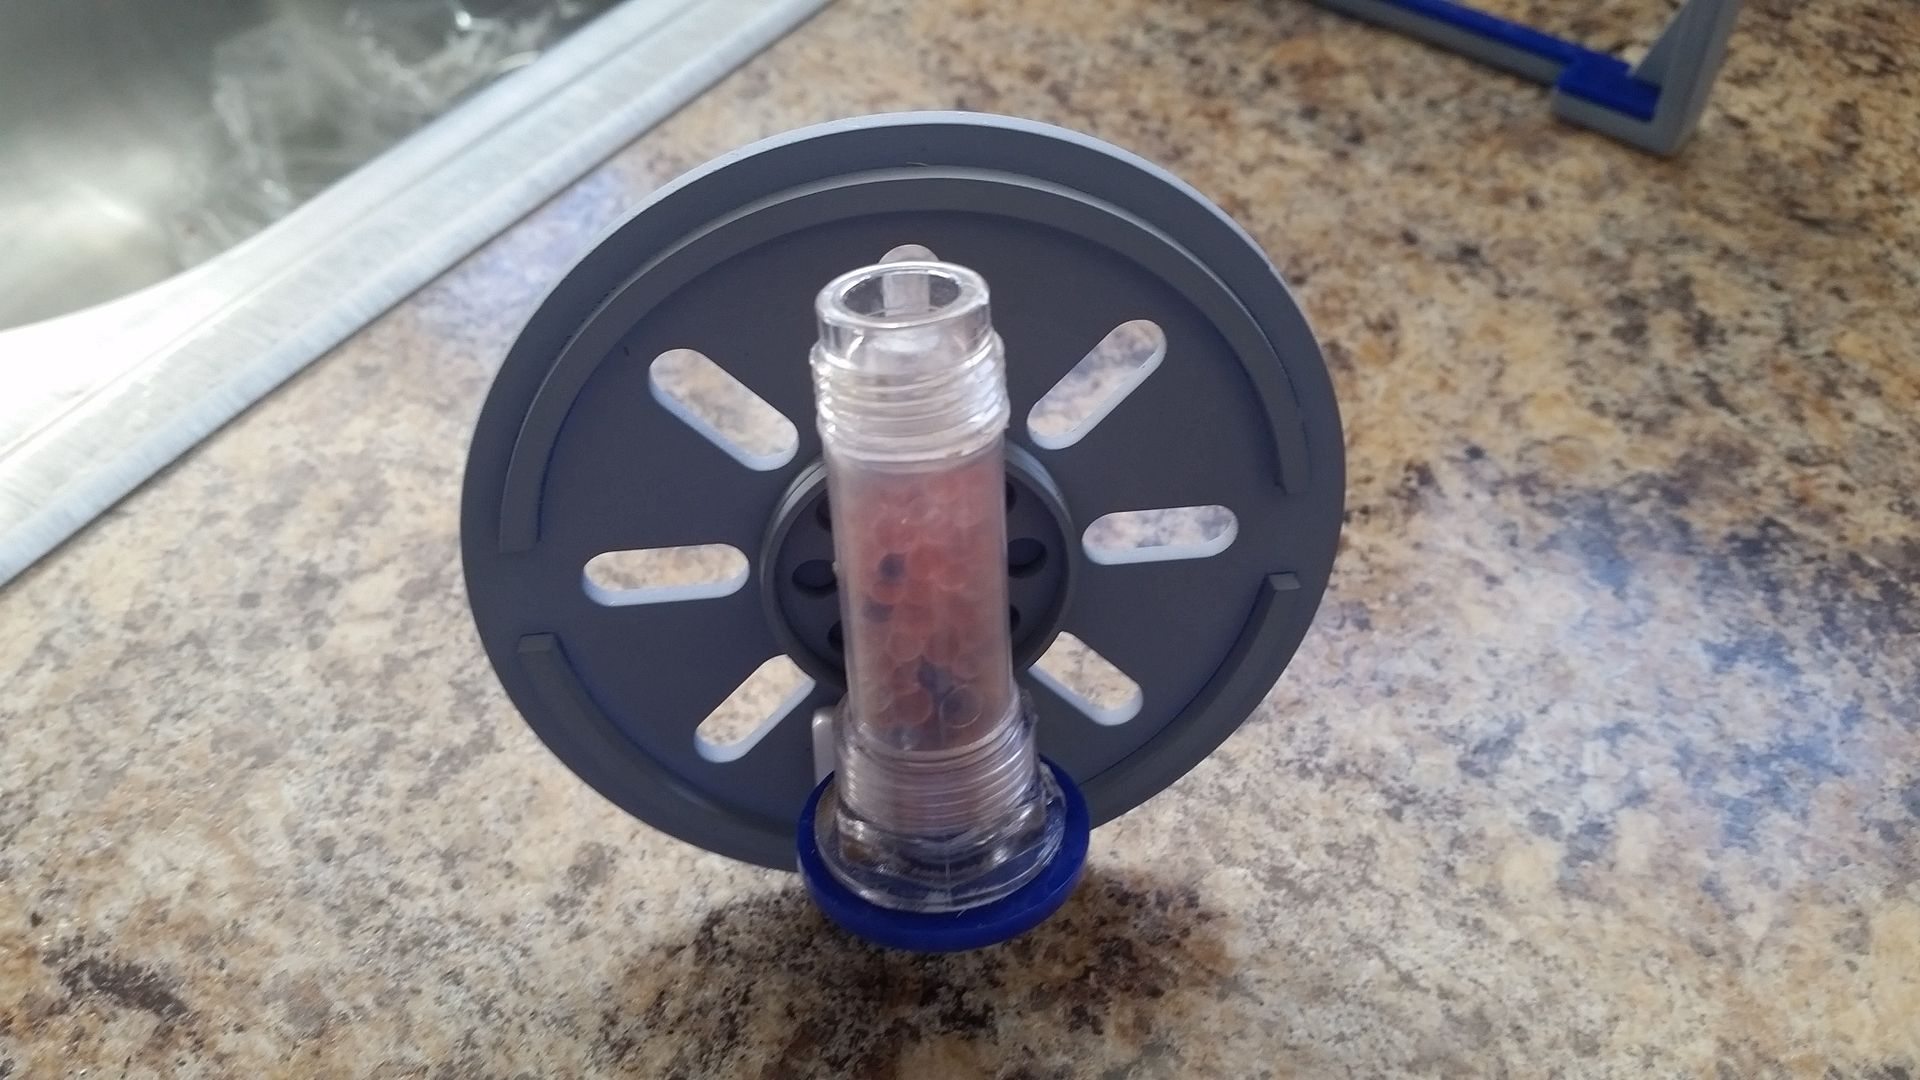
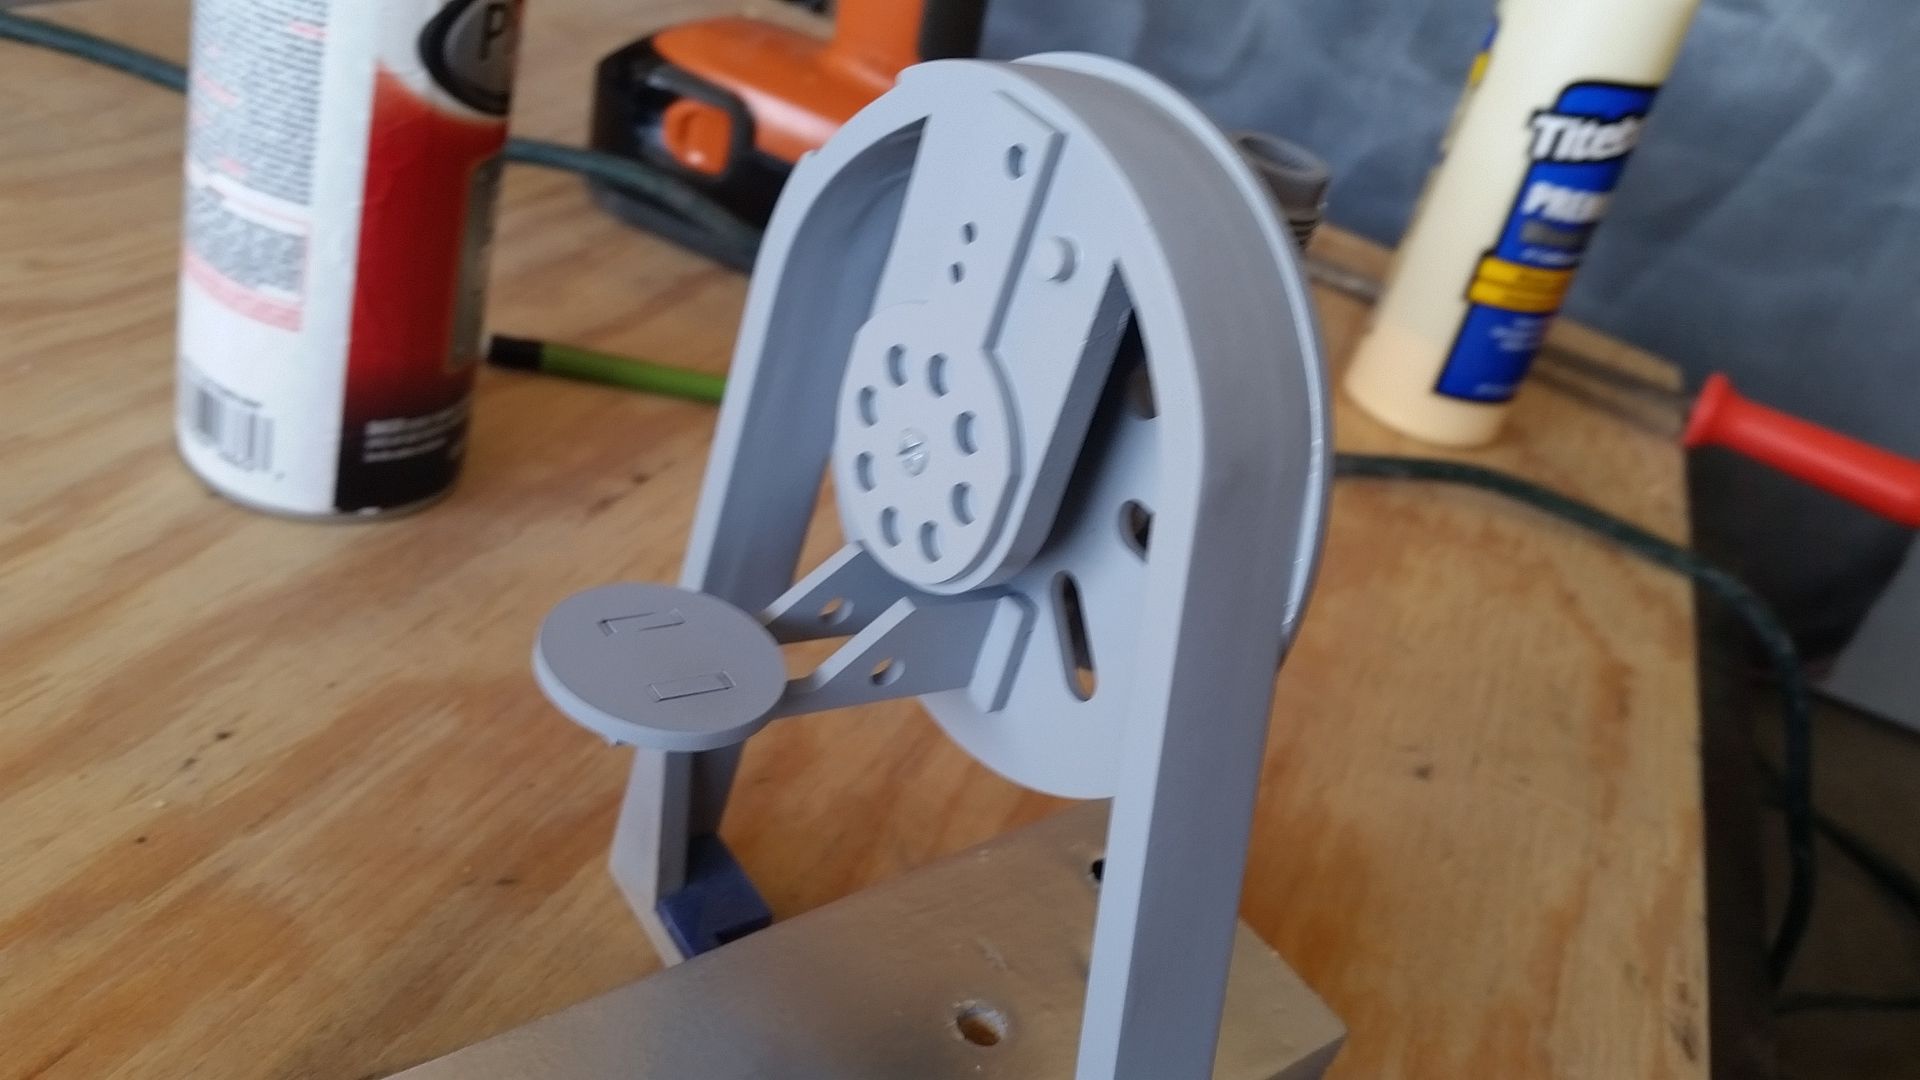
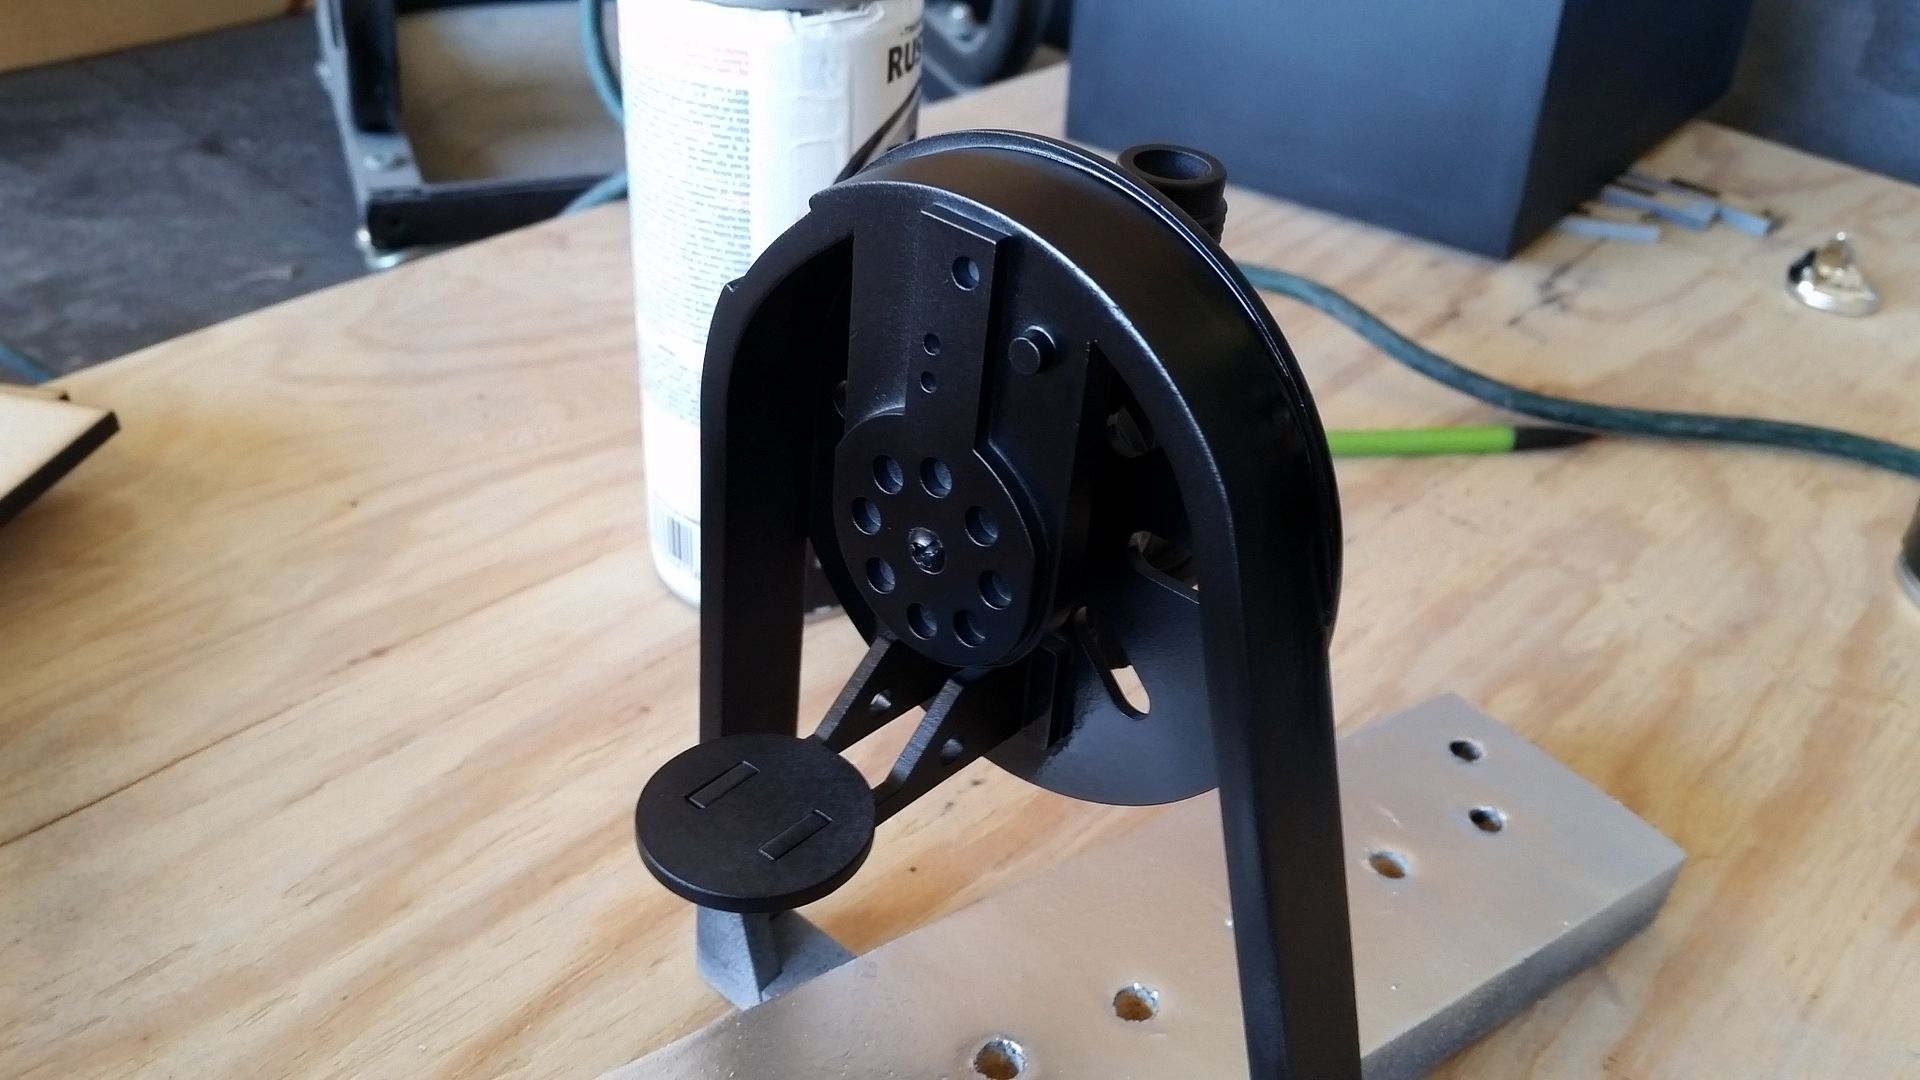
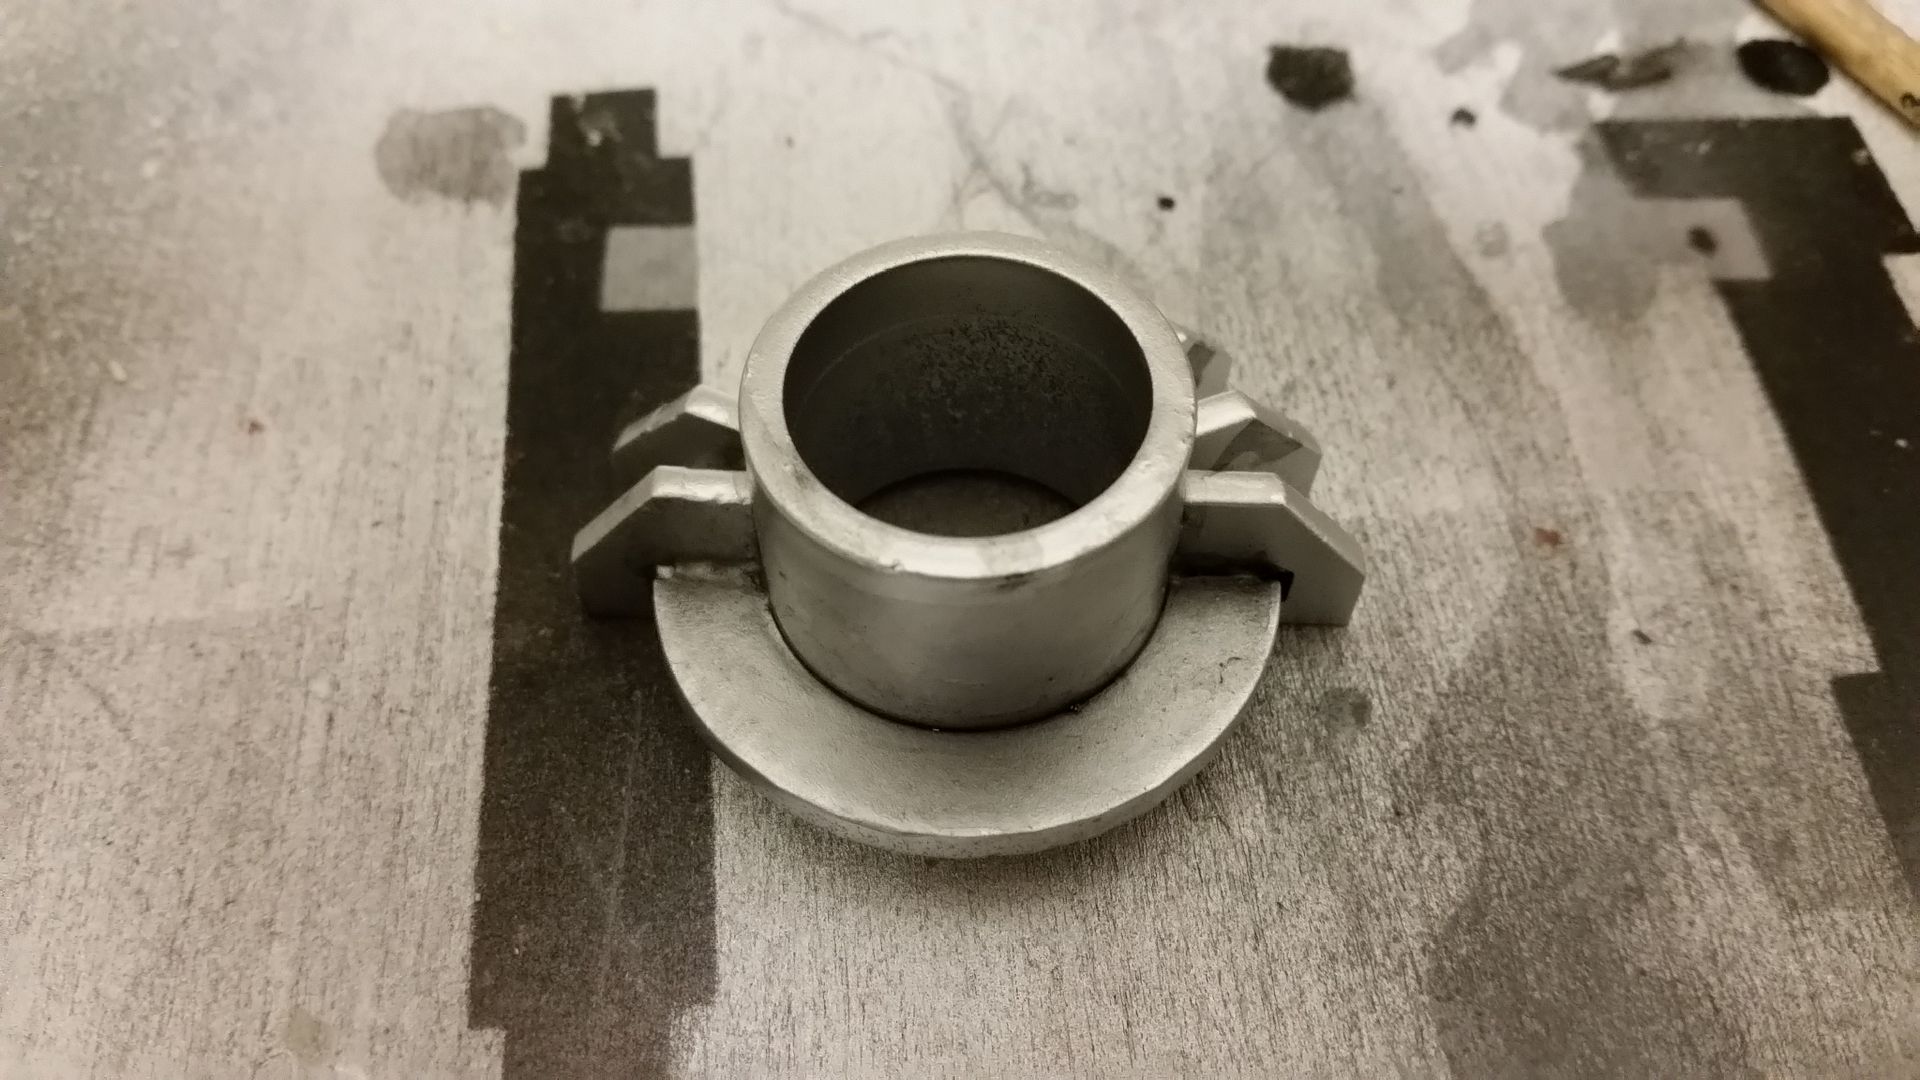
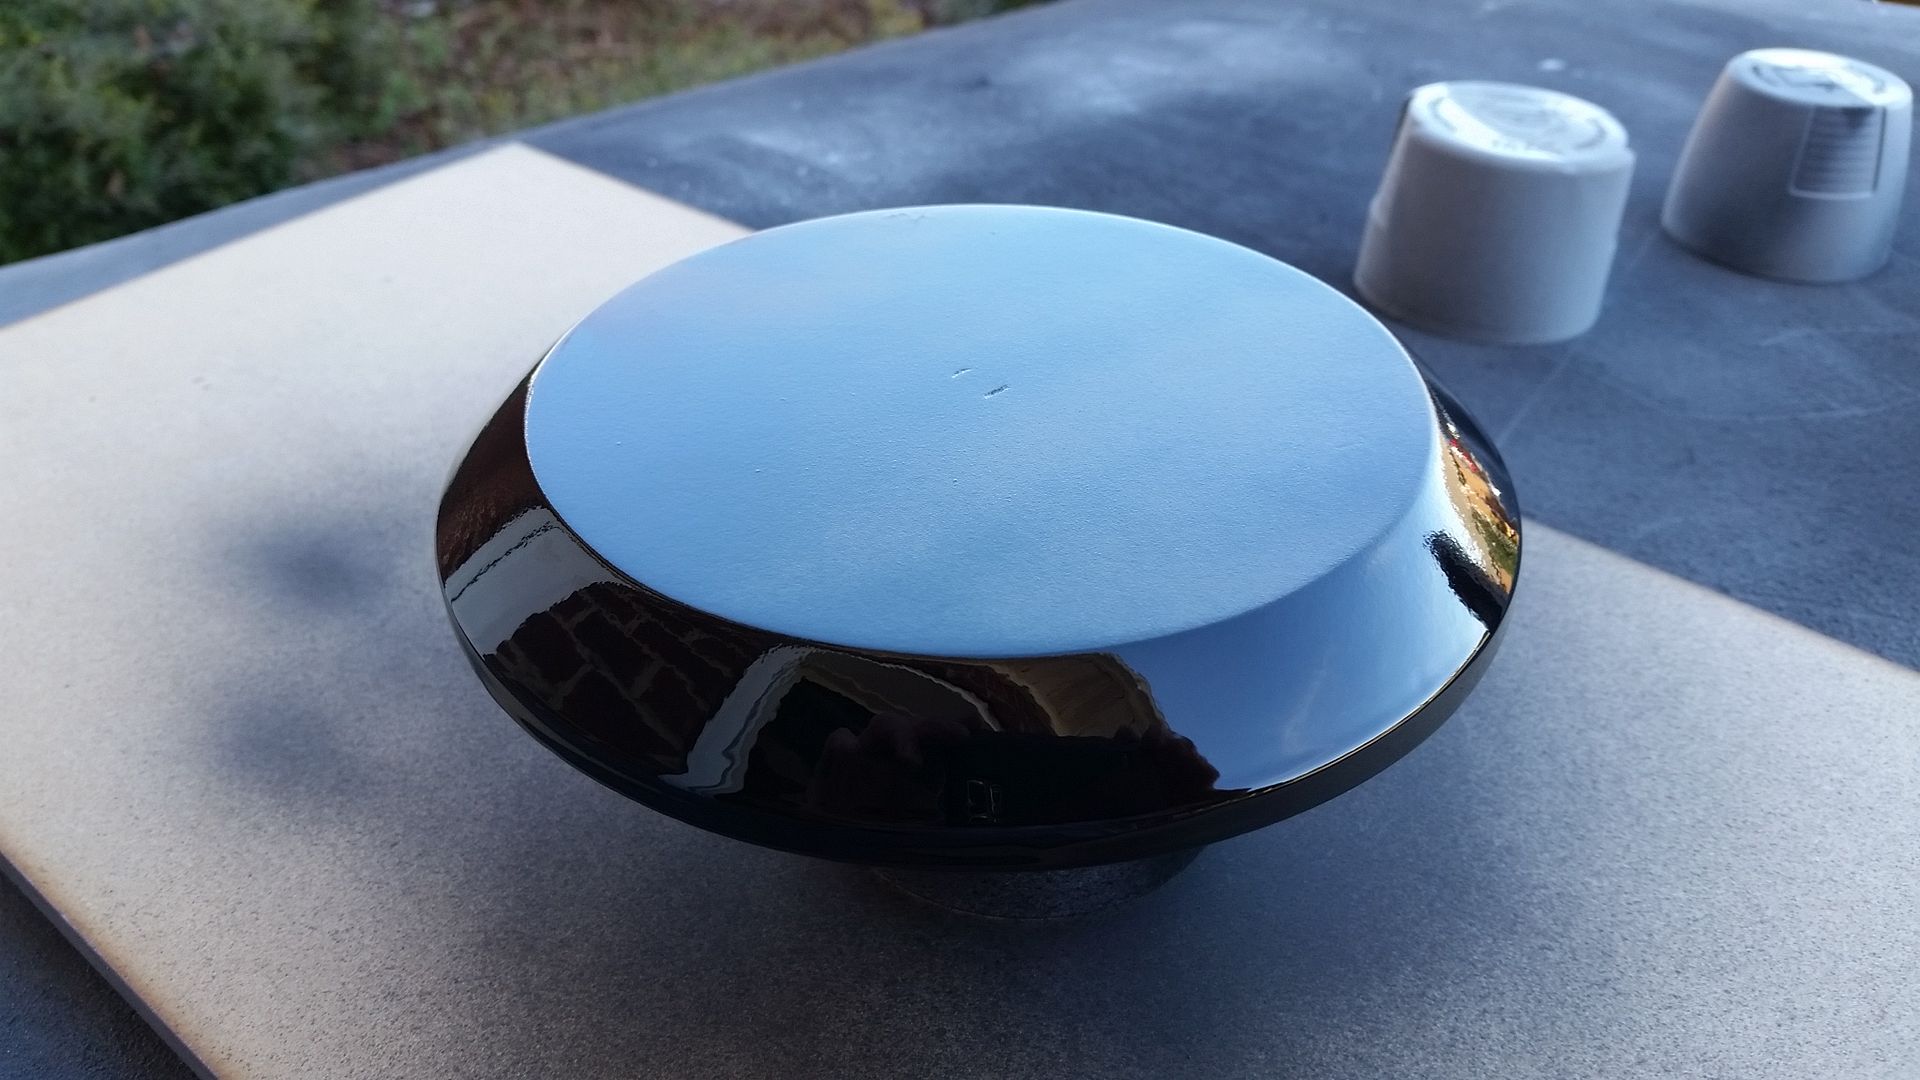
Cool... what is it?
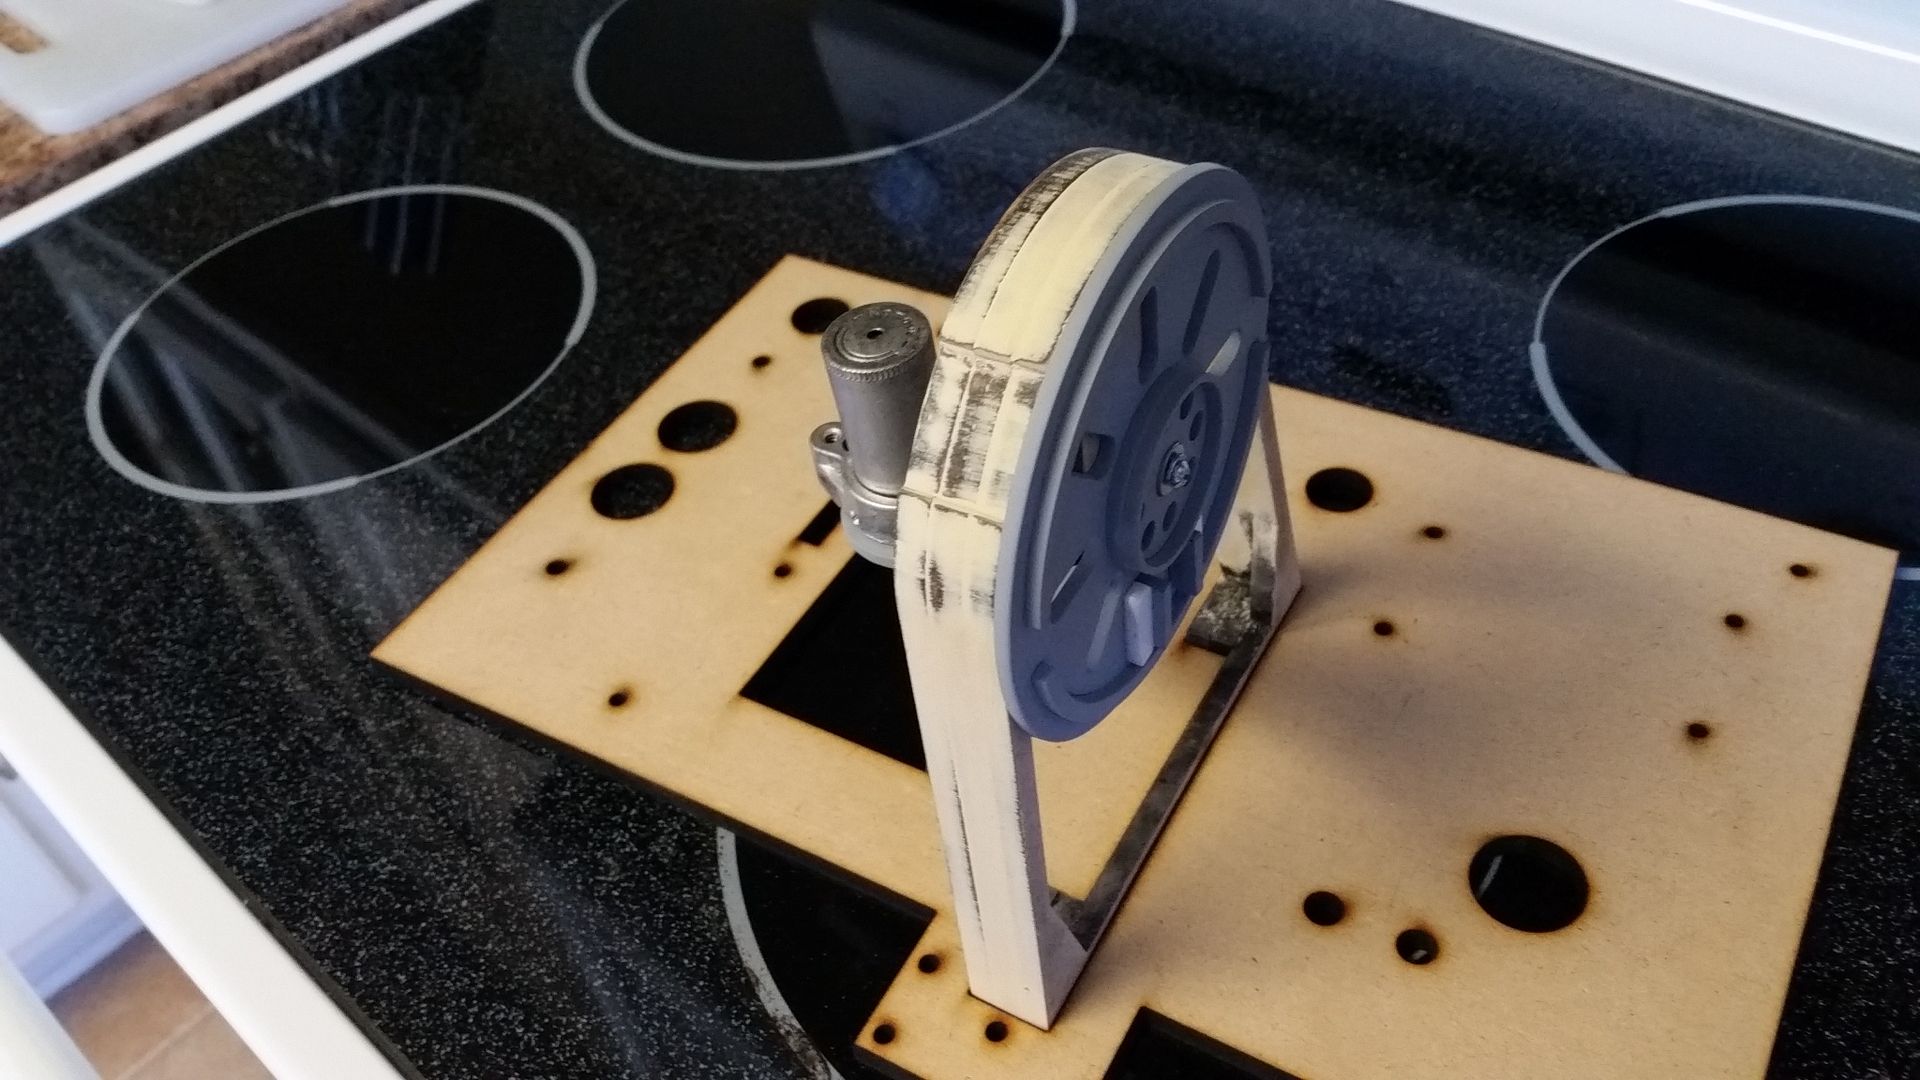
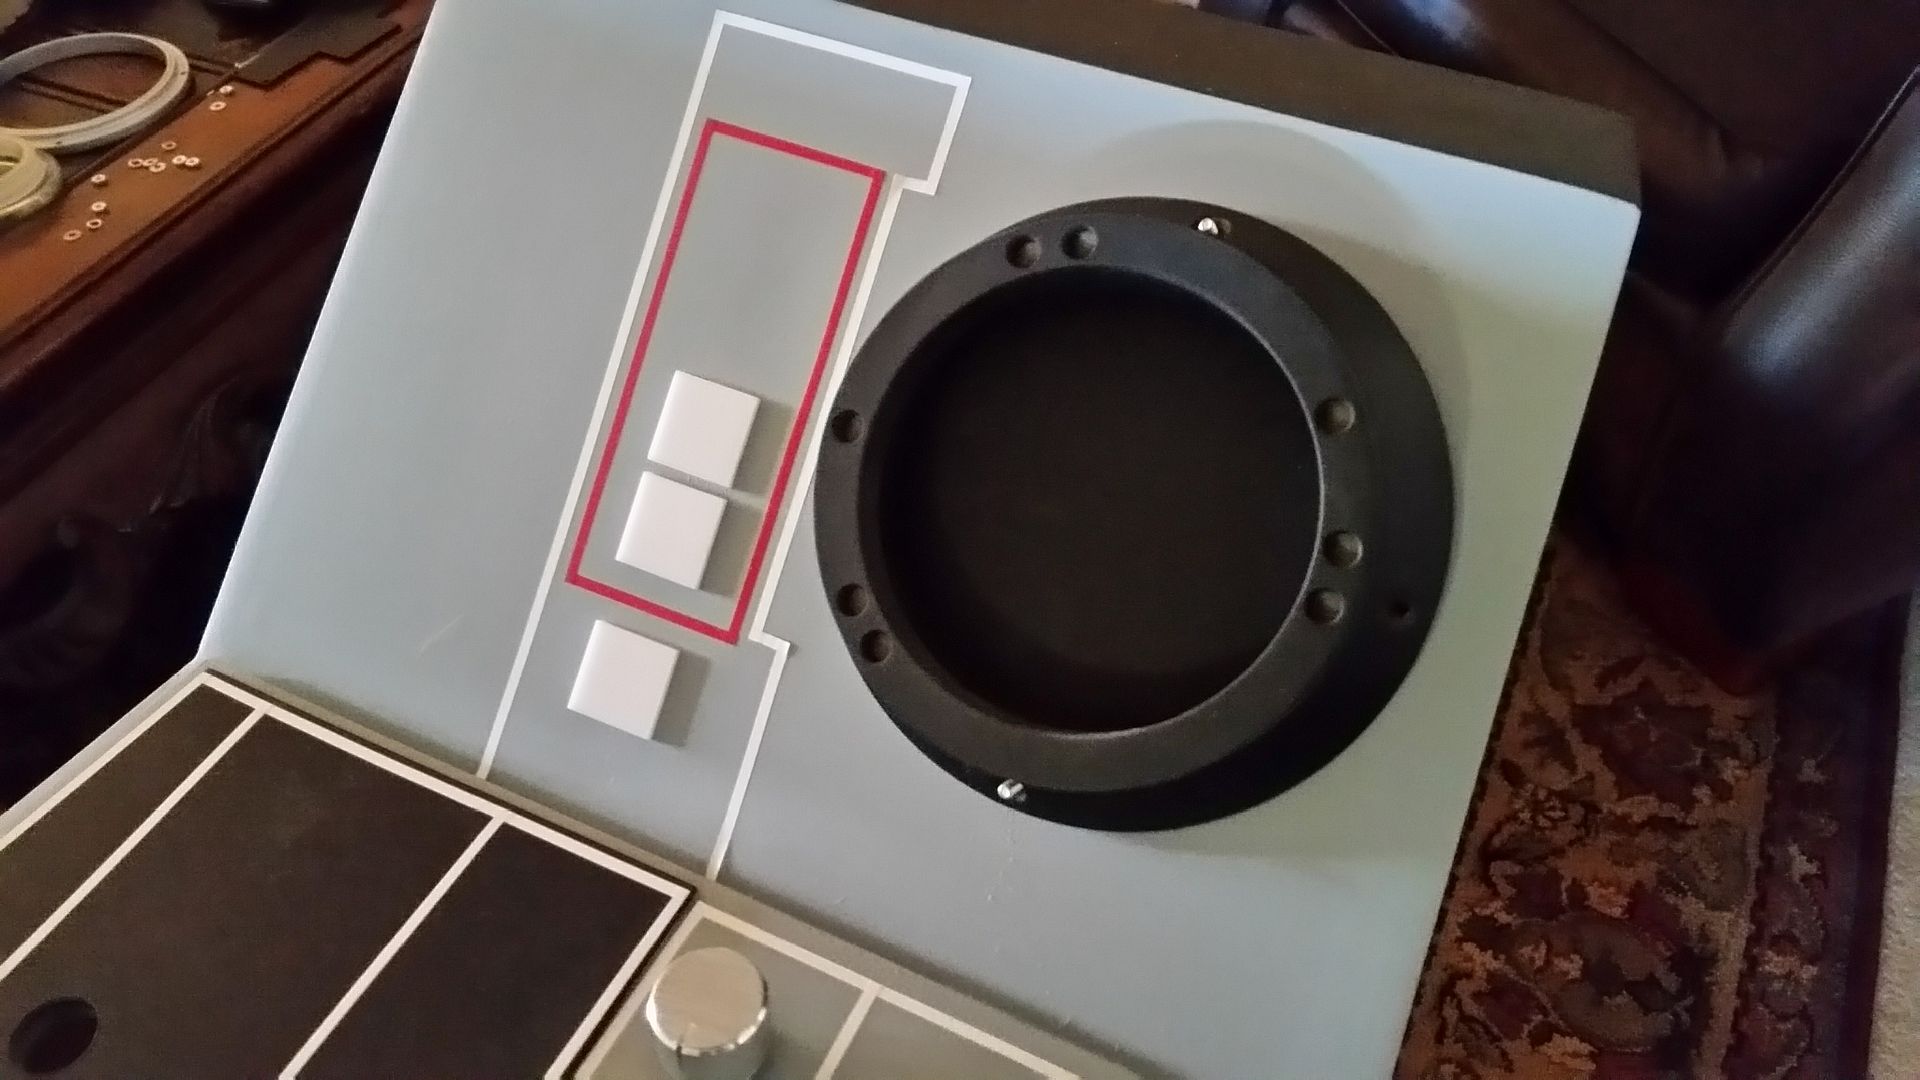
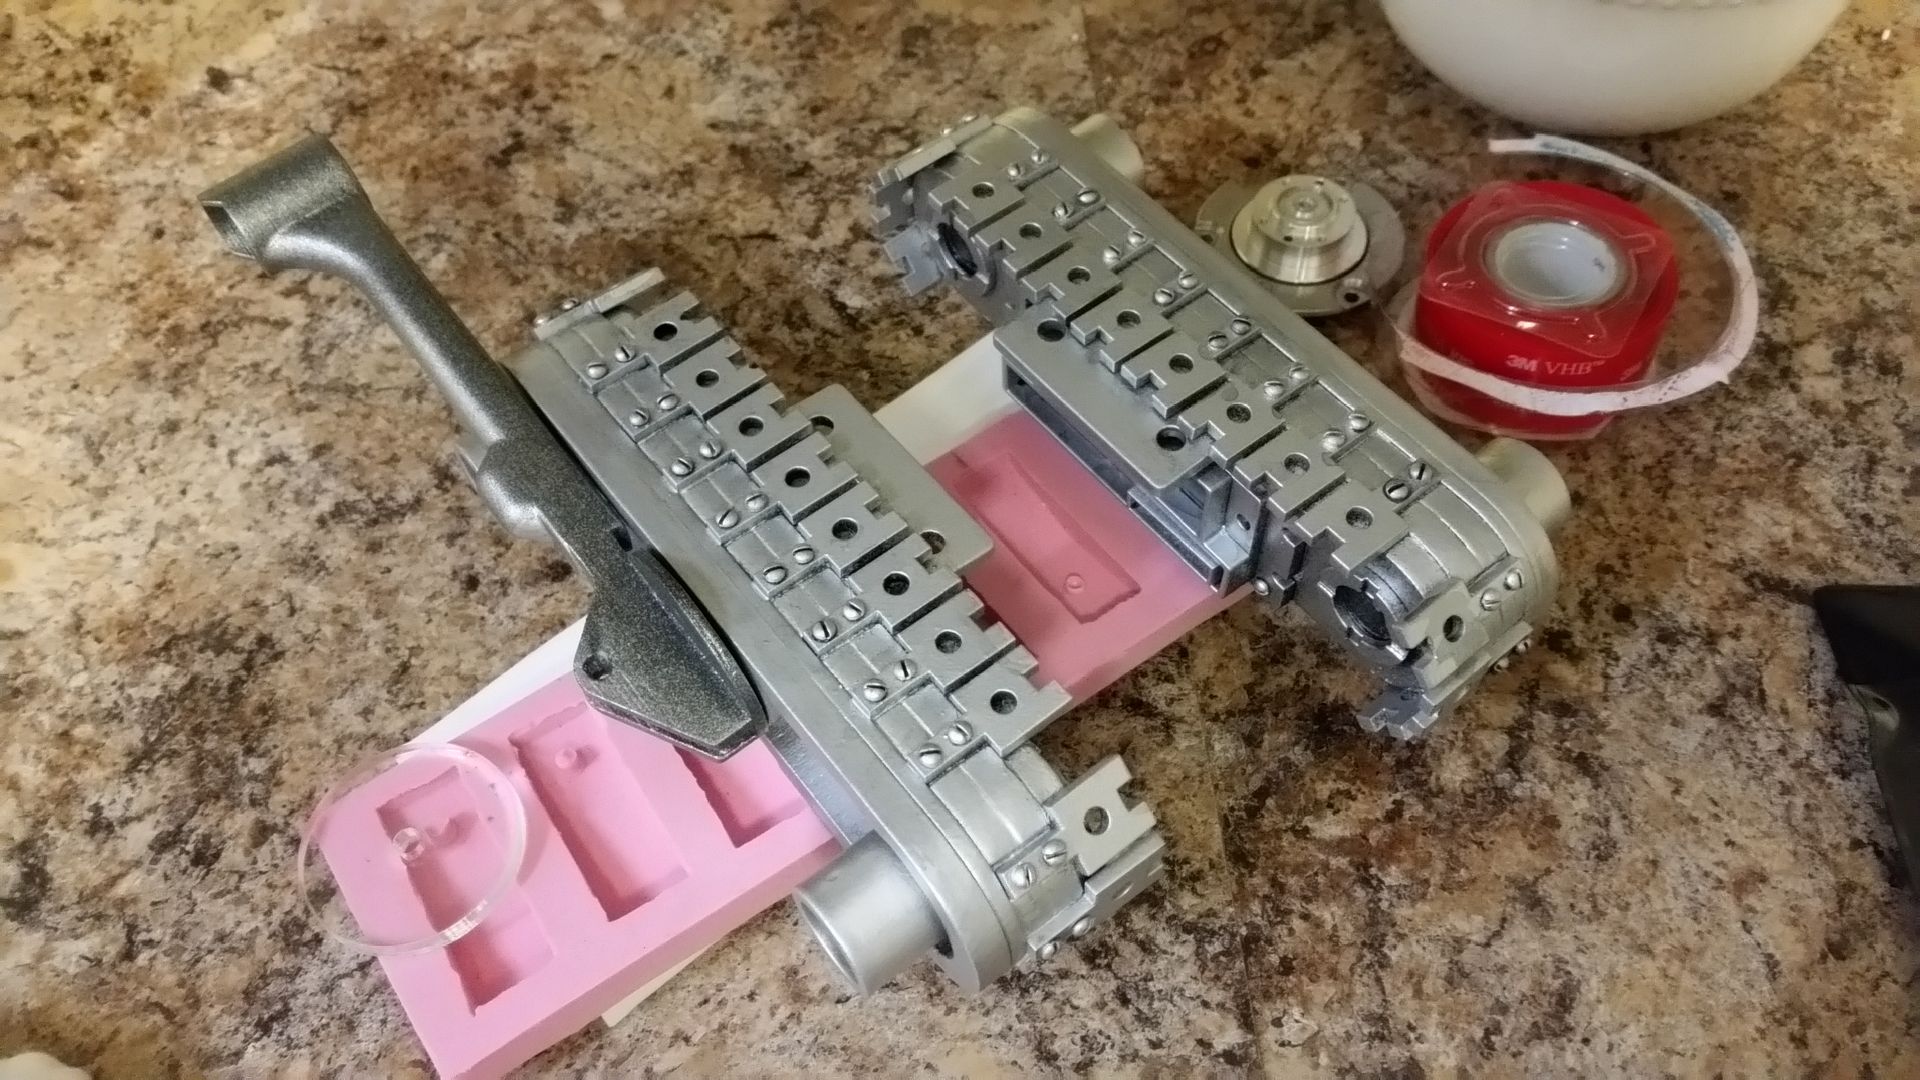
That looks familiar...
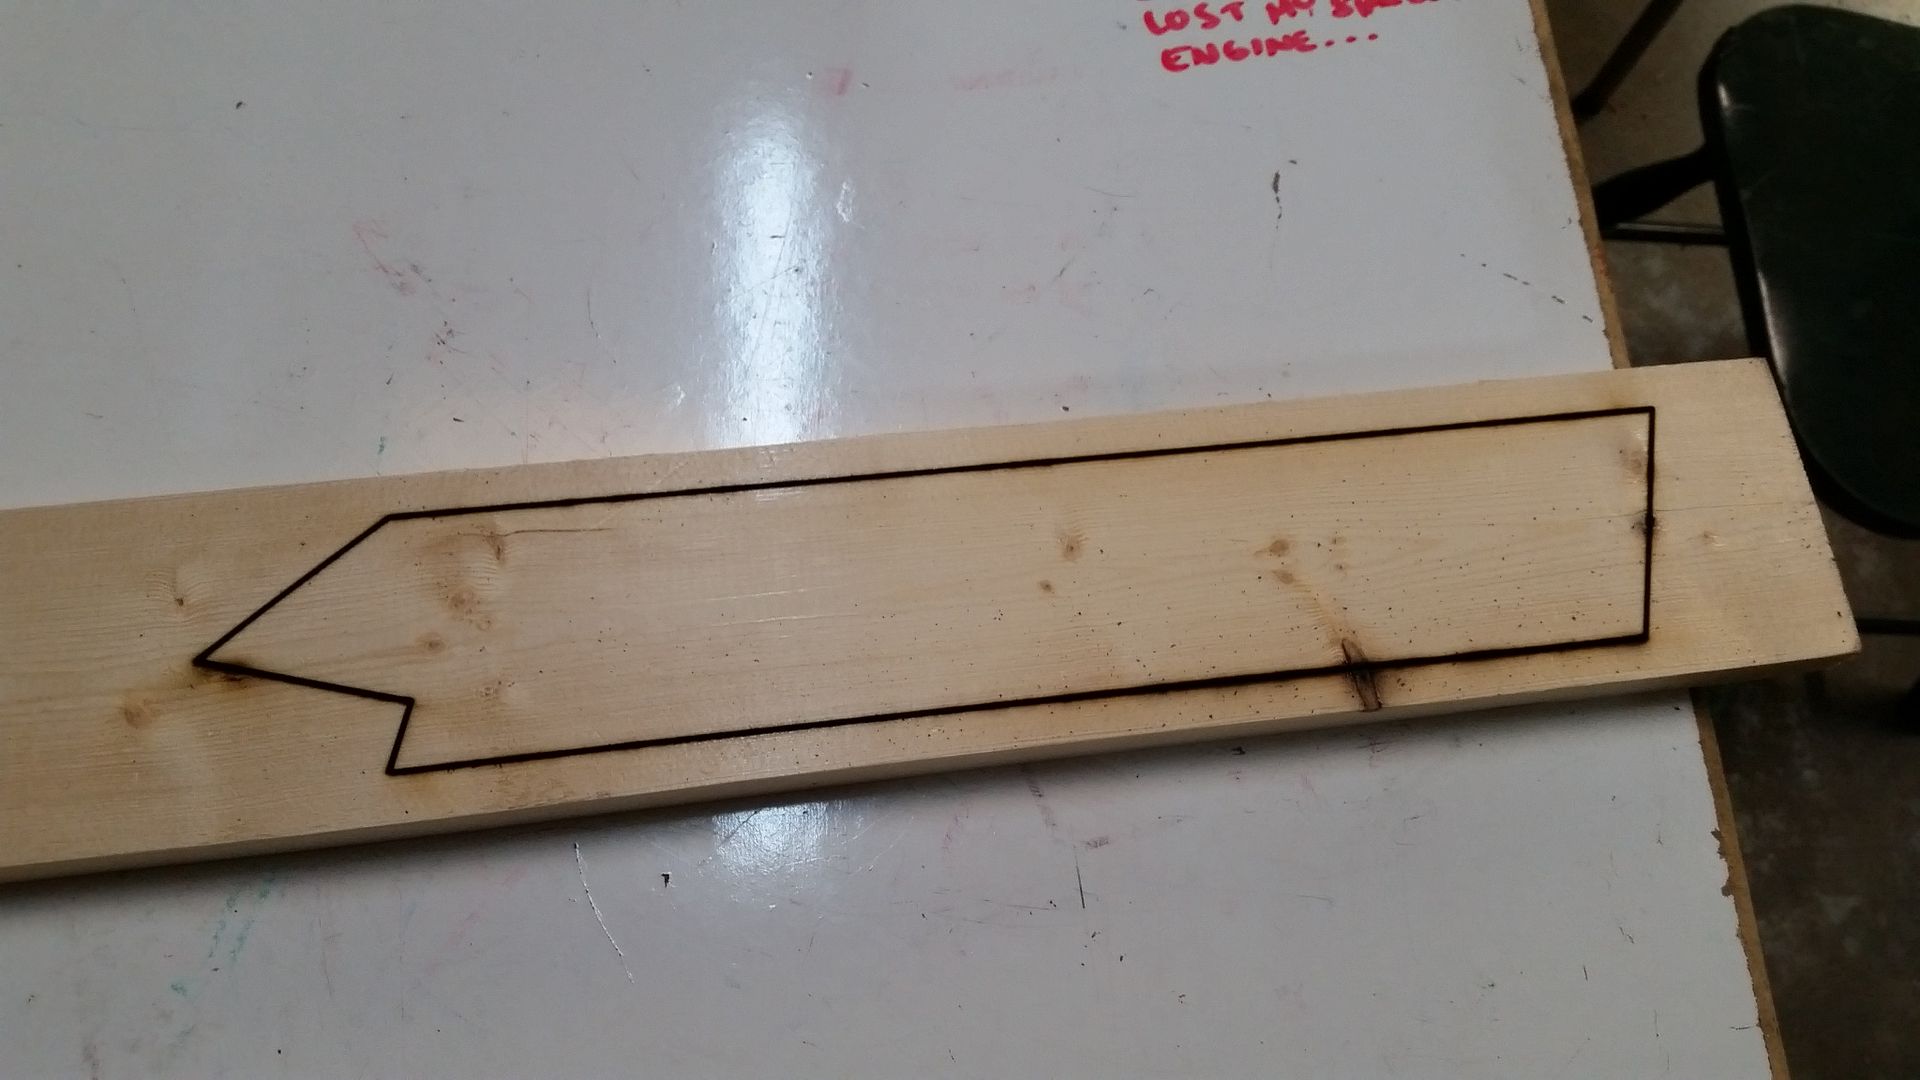
My laser cutter adventure this morning started with me trying to laser cut these shapes. Unfortunately the laser wouldn't cut through the wood
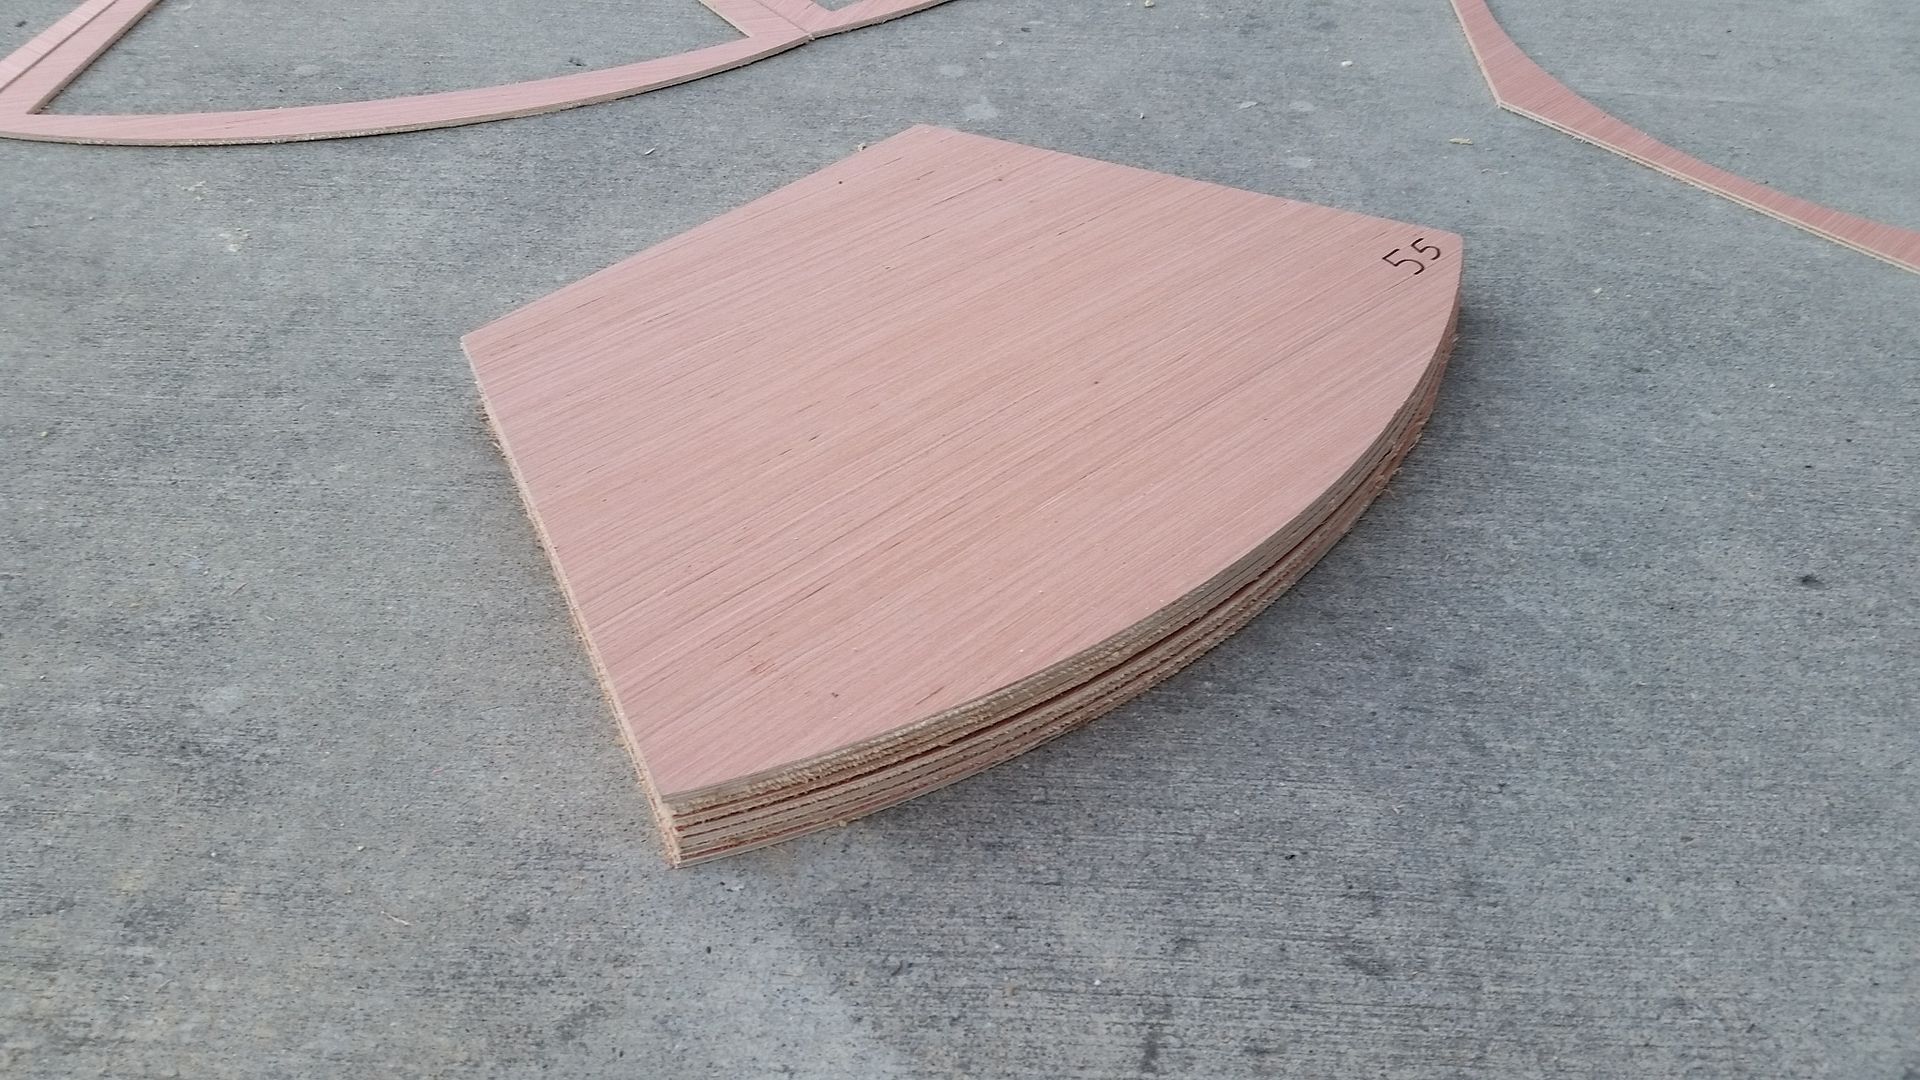
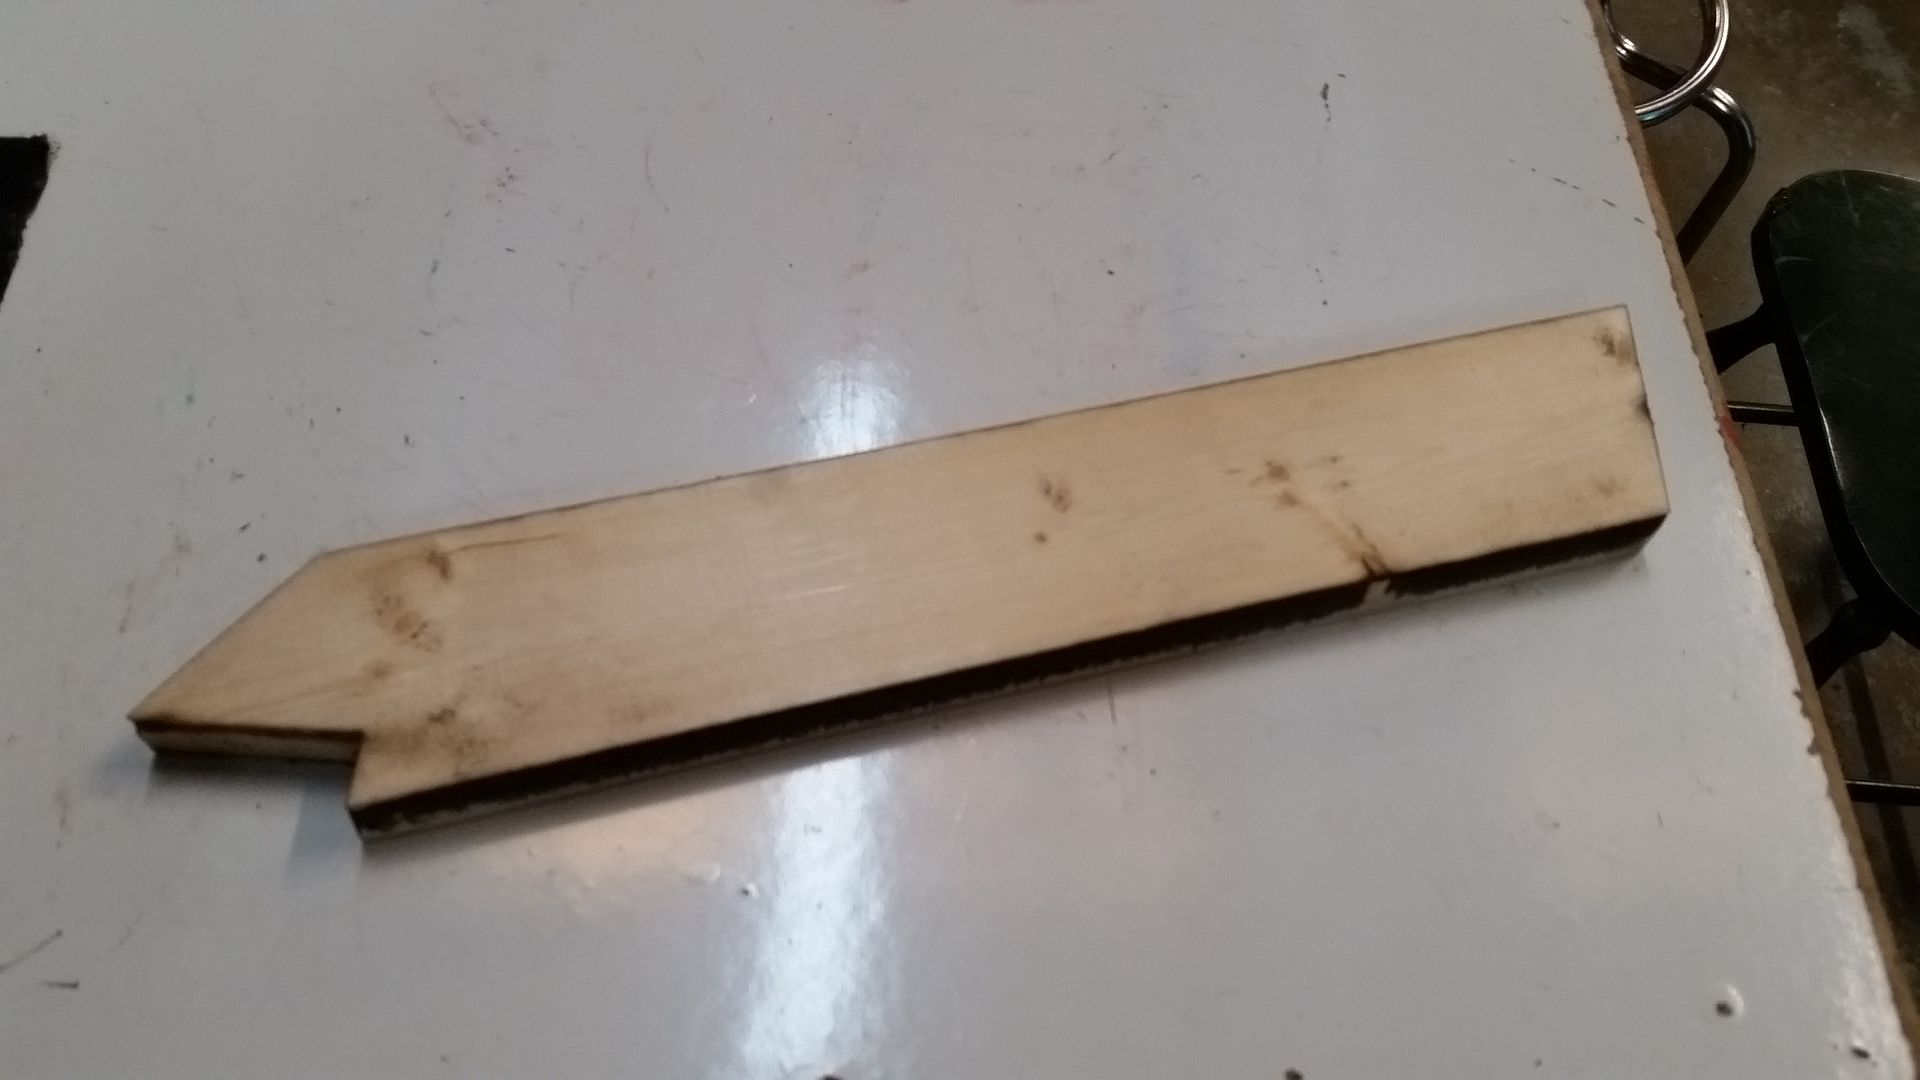
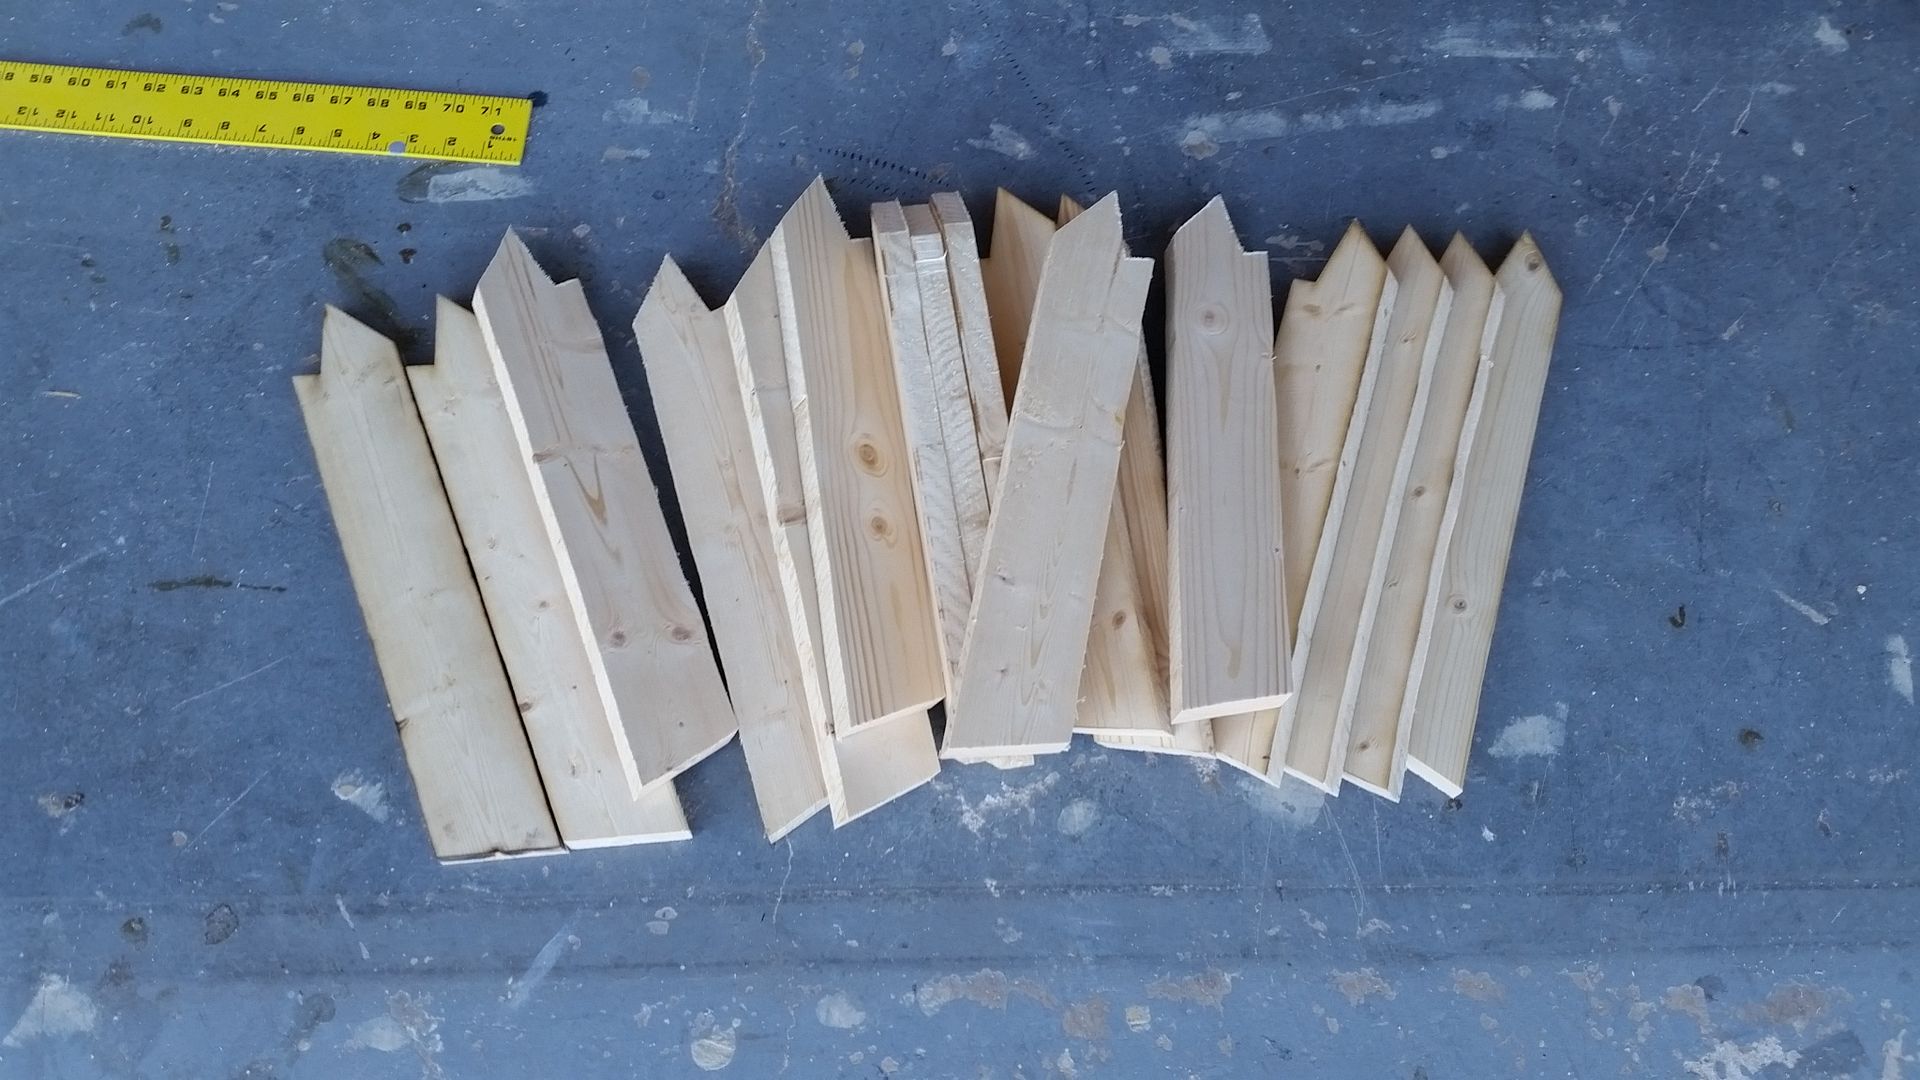
I used the band saw to cut
With the wood being too thick for the laser cutter I dd the next best thing. I etched the shape I wanted instead!
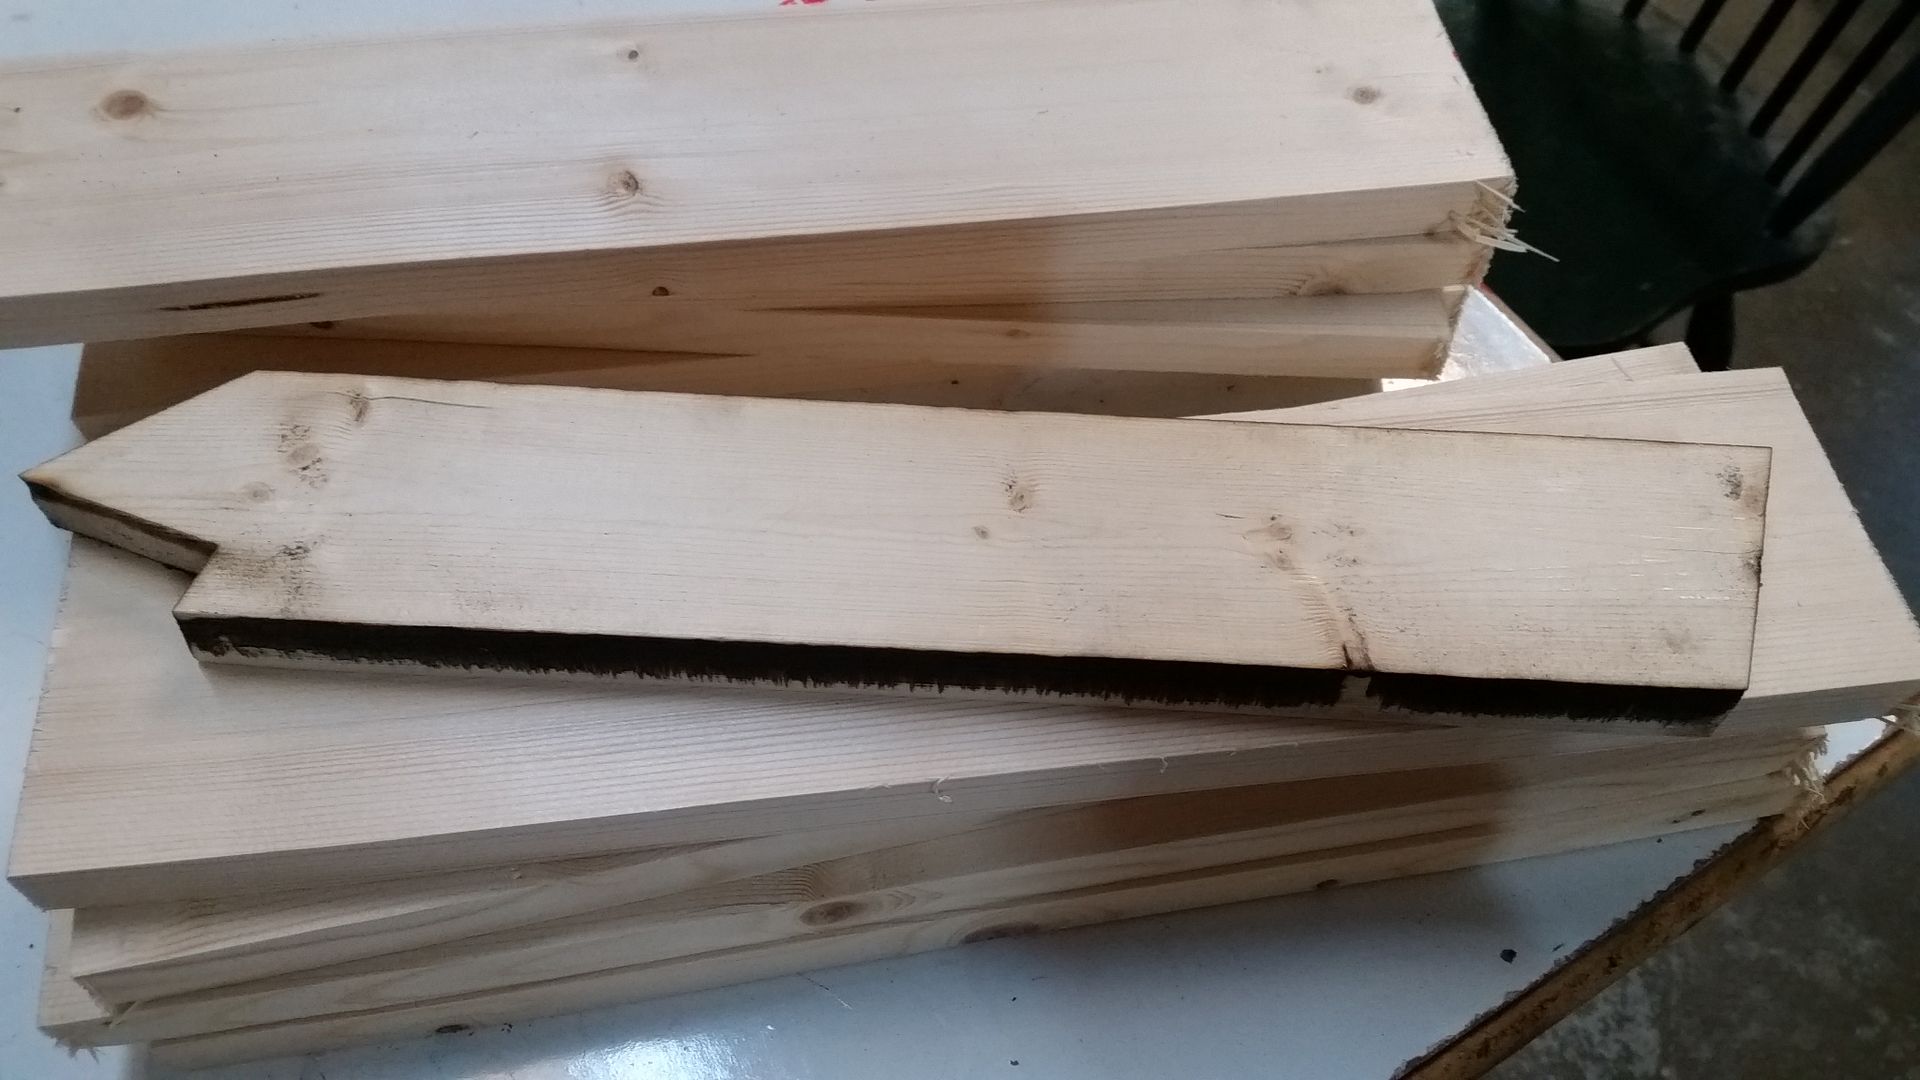
Getting them ready on the laser cutter bed
Now that my pattern is etched we can cut them out! Off to the band saw!
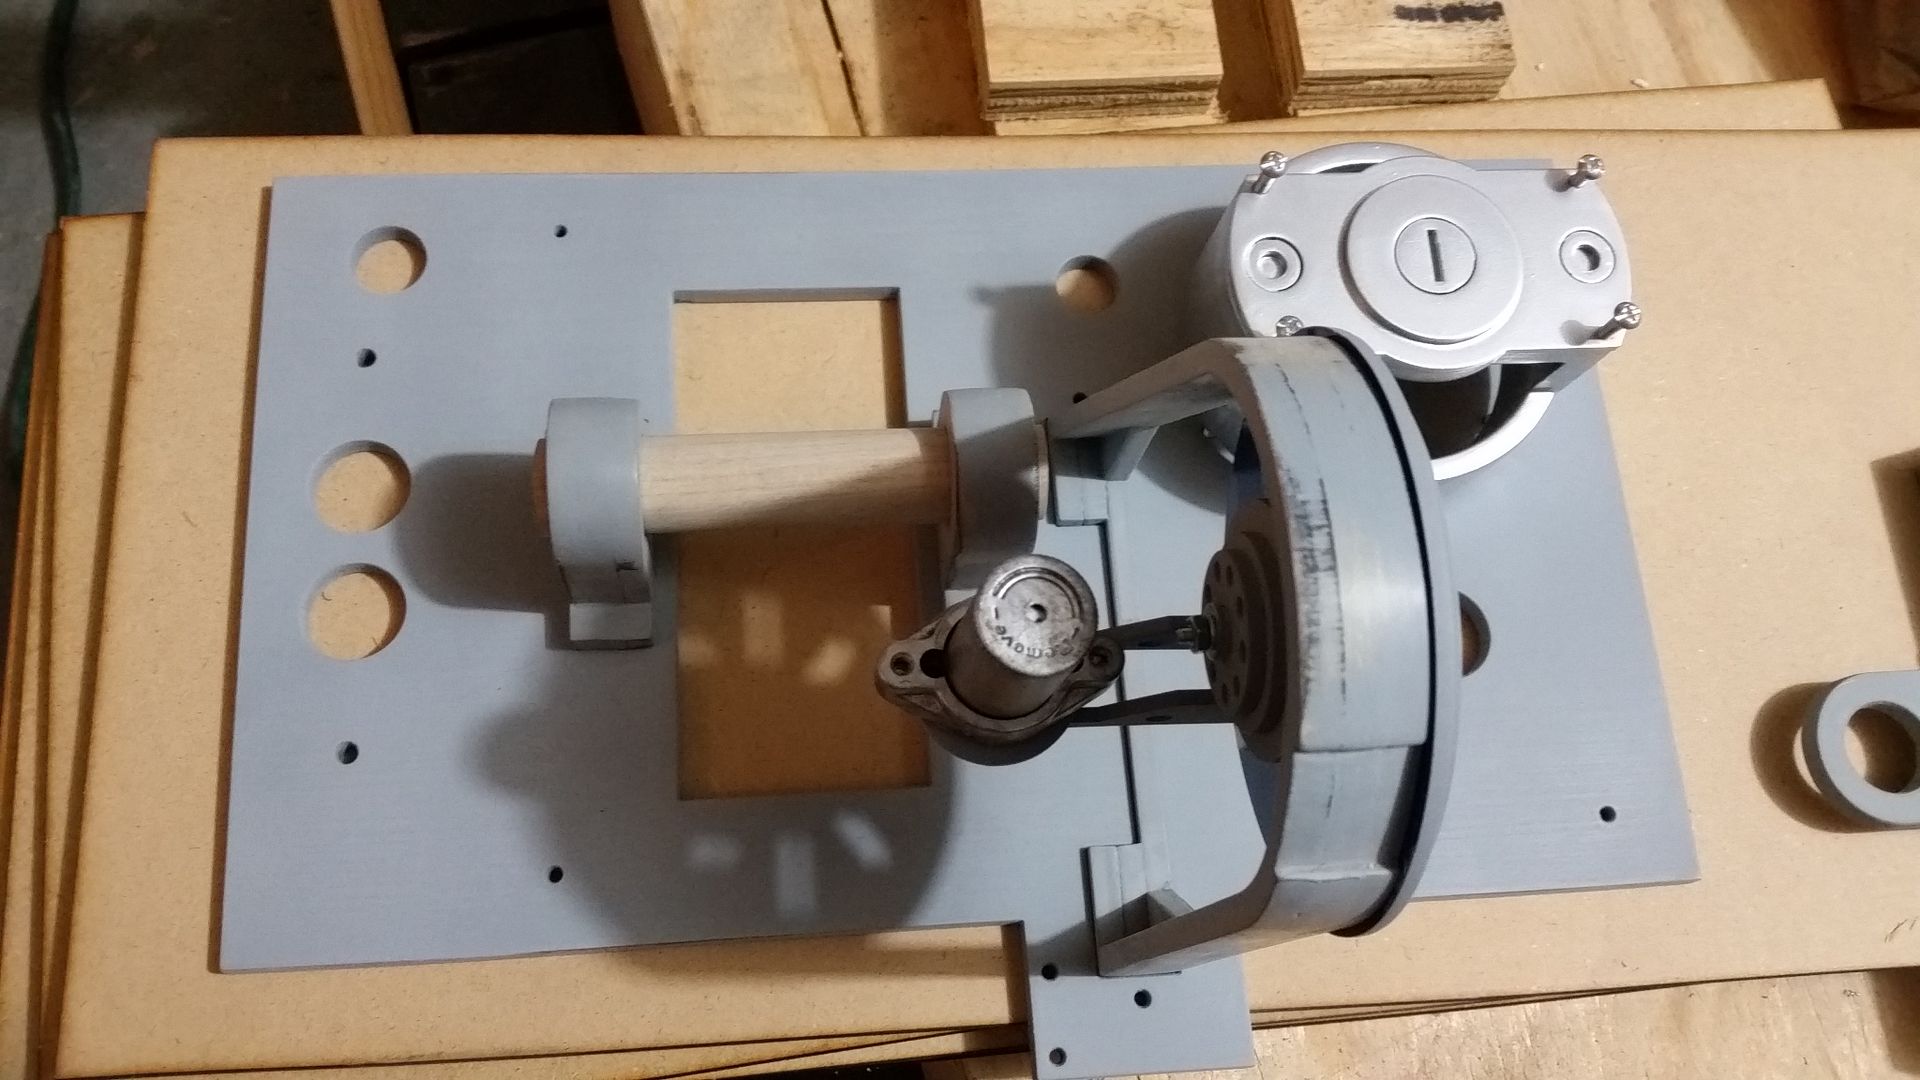
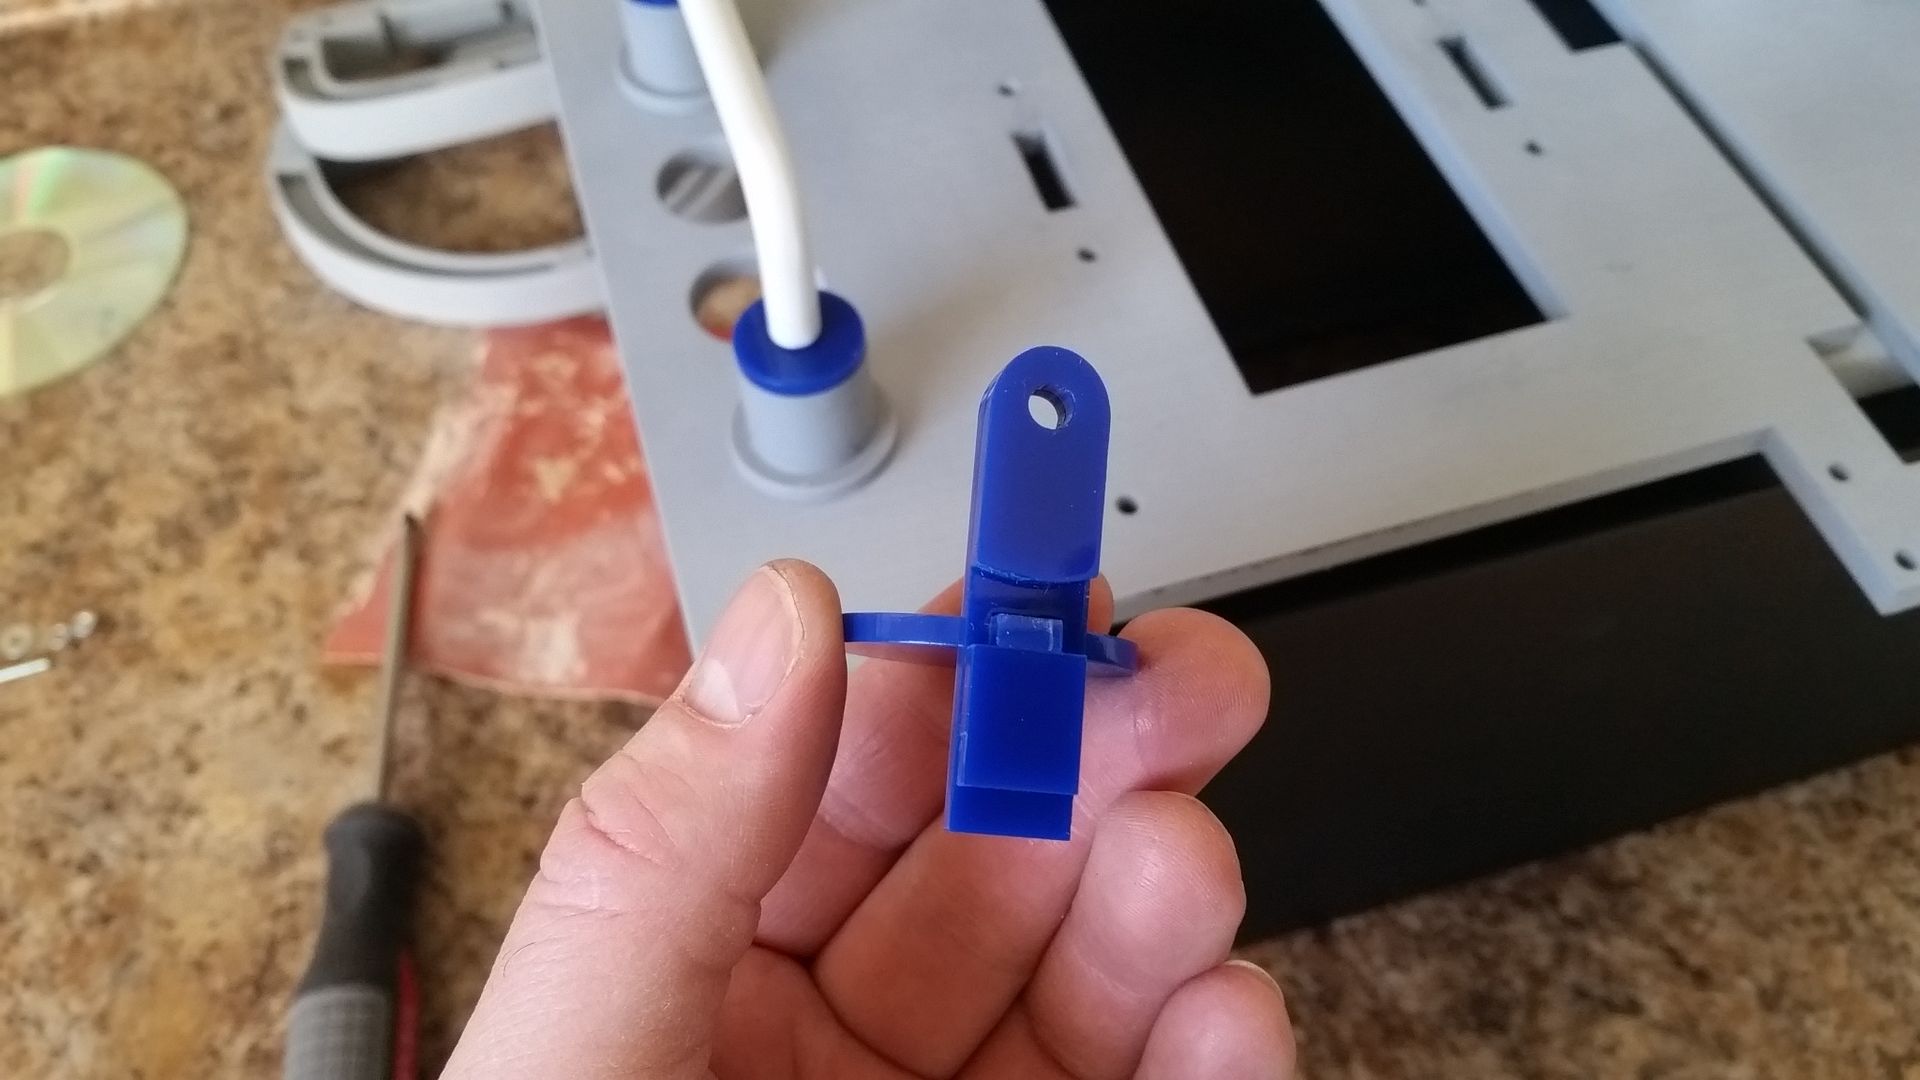
But what are these things for you ask?
I think they go around here
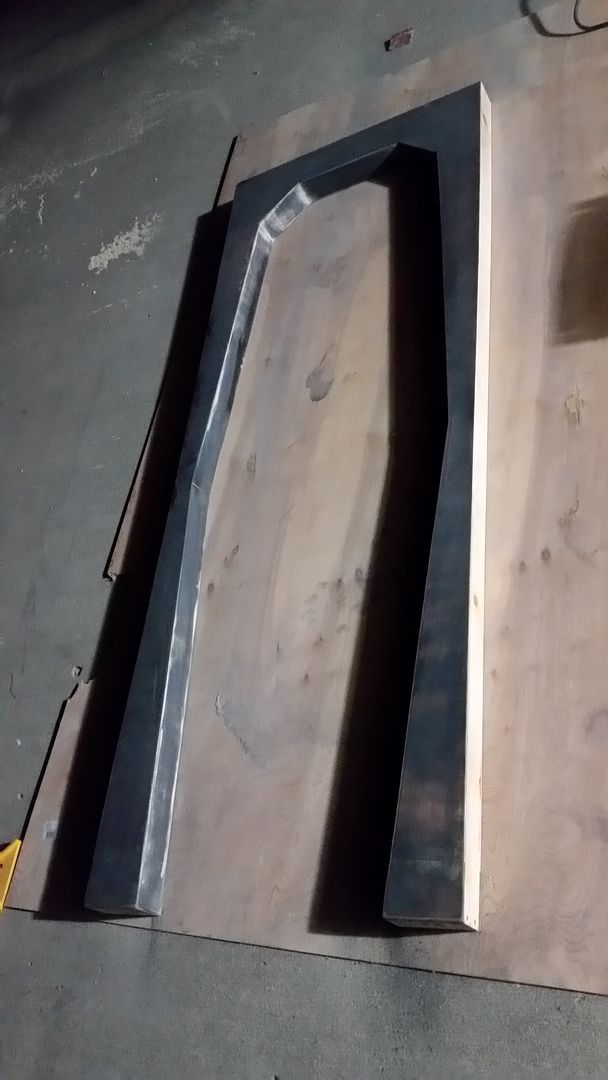
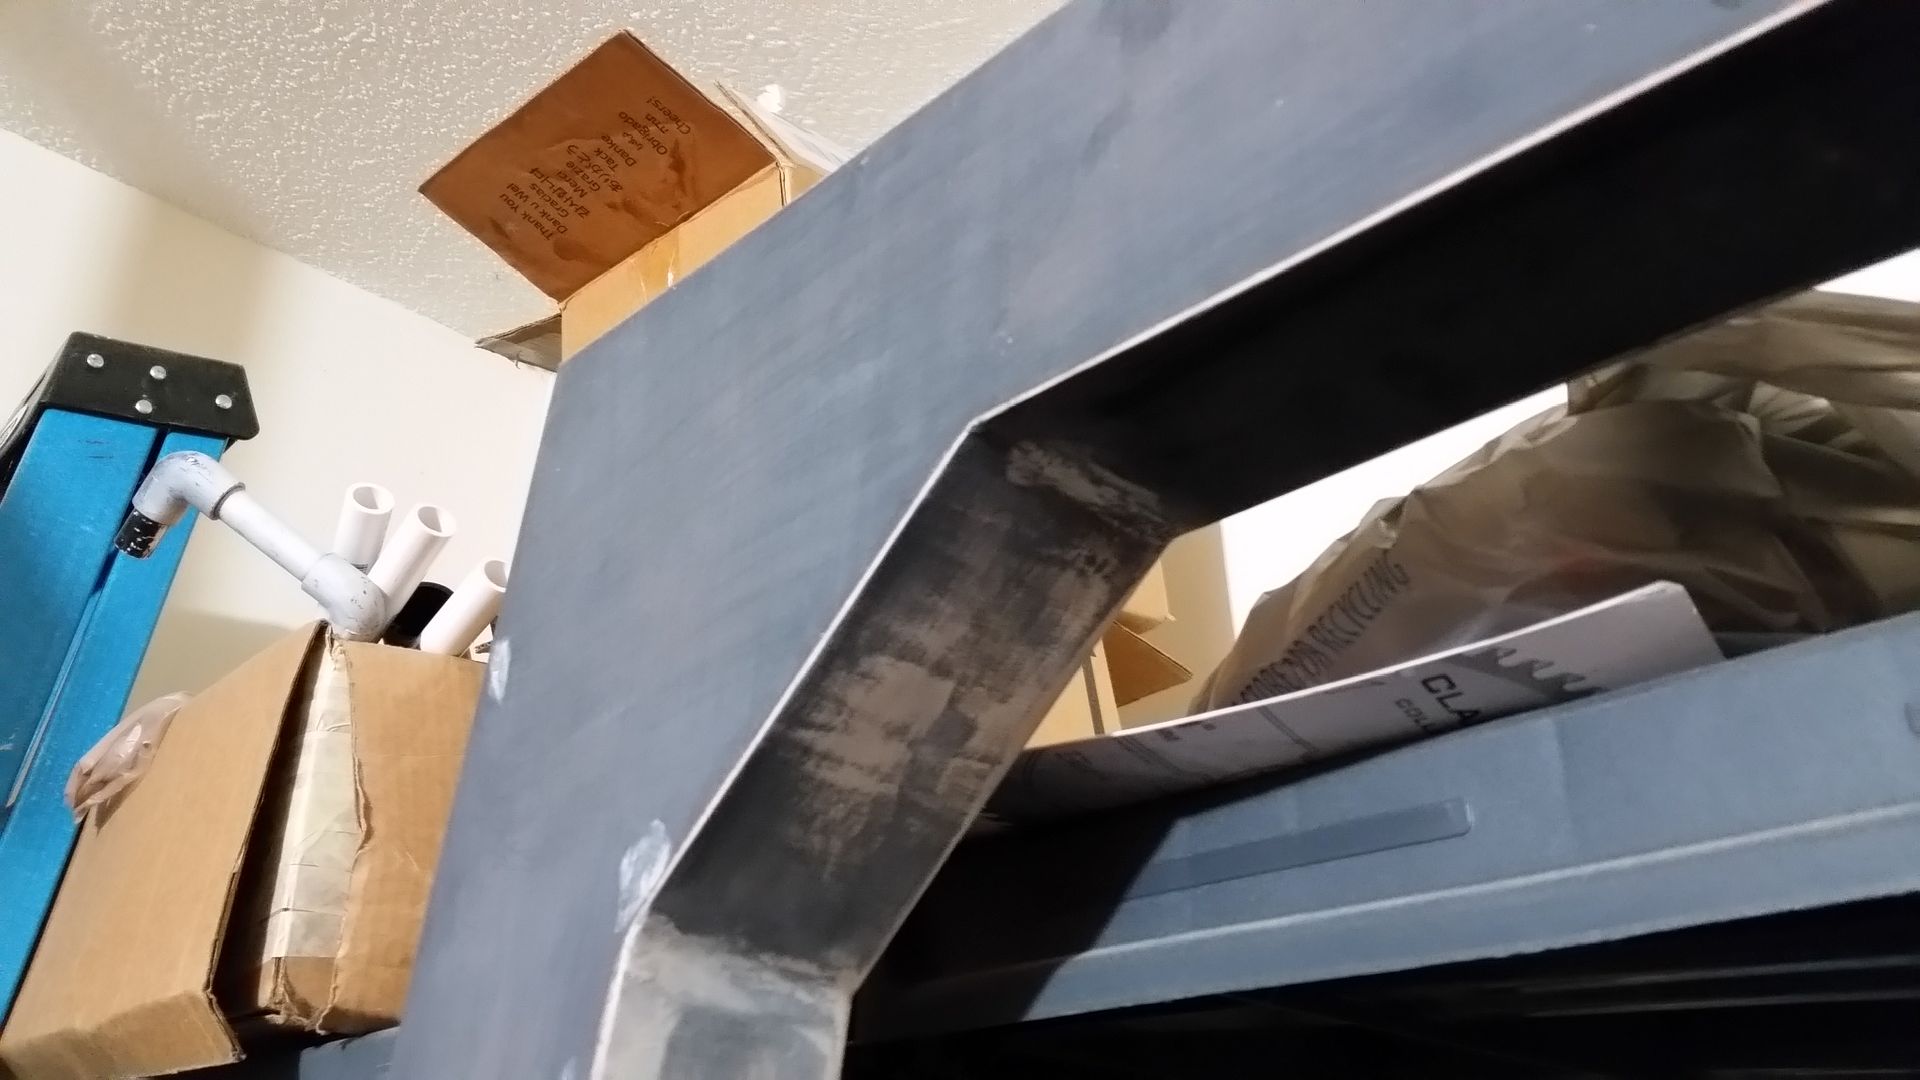
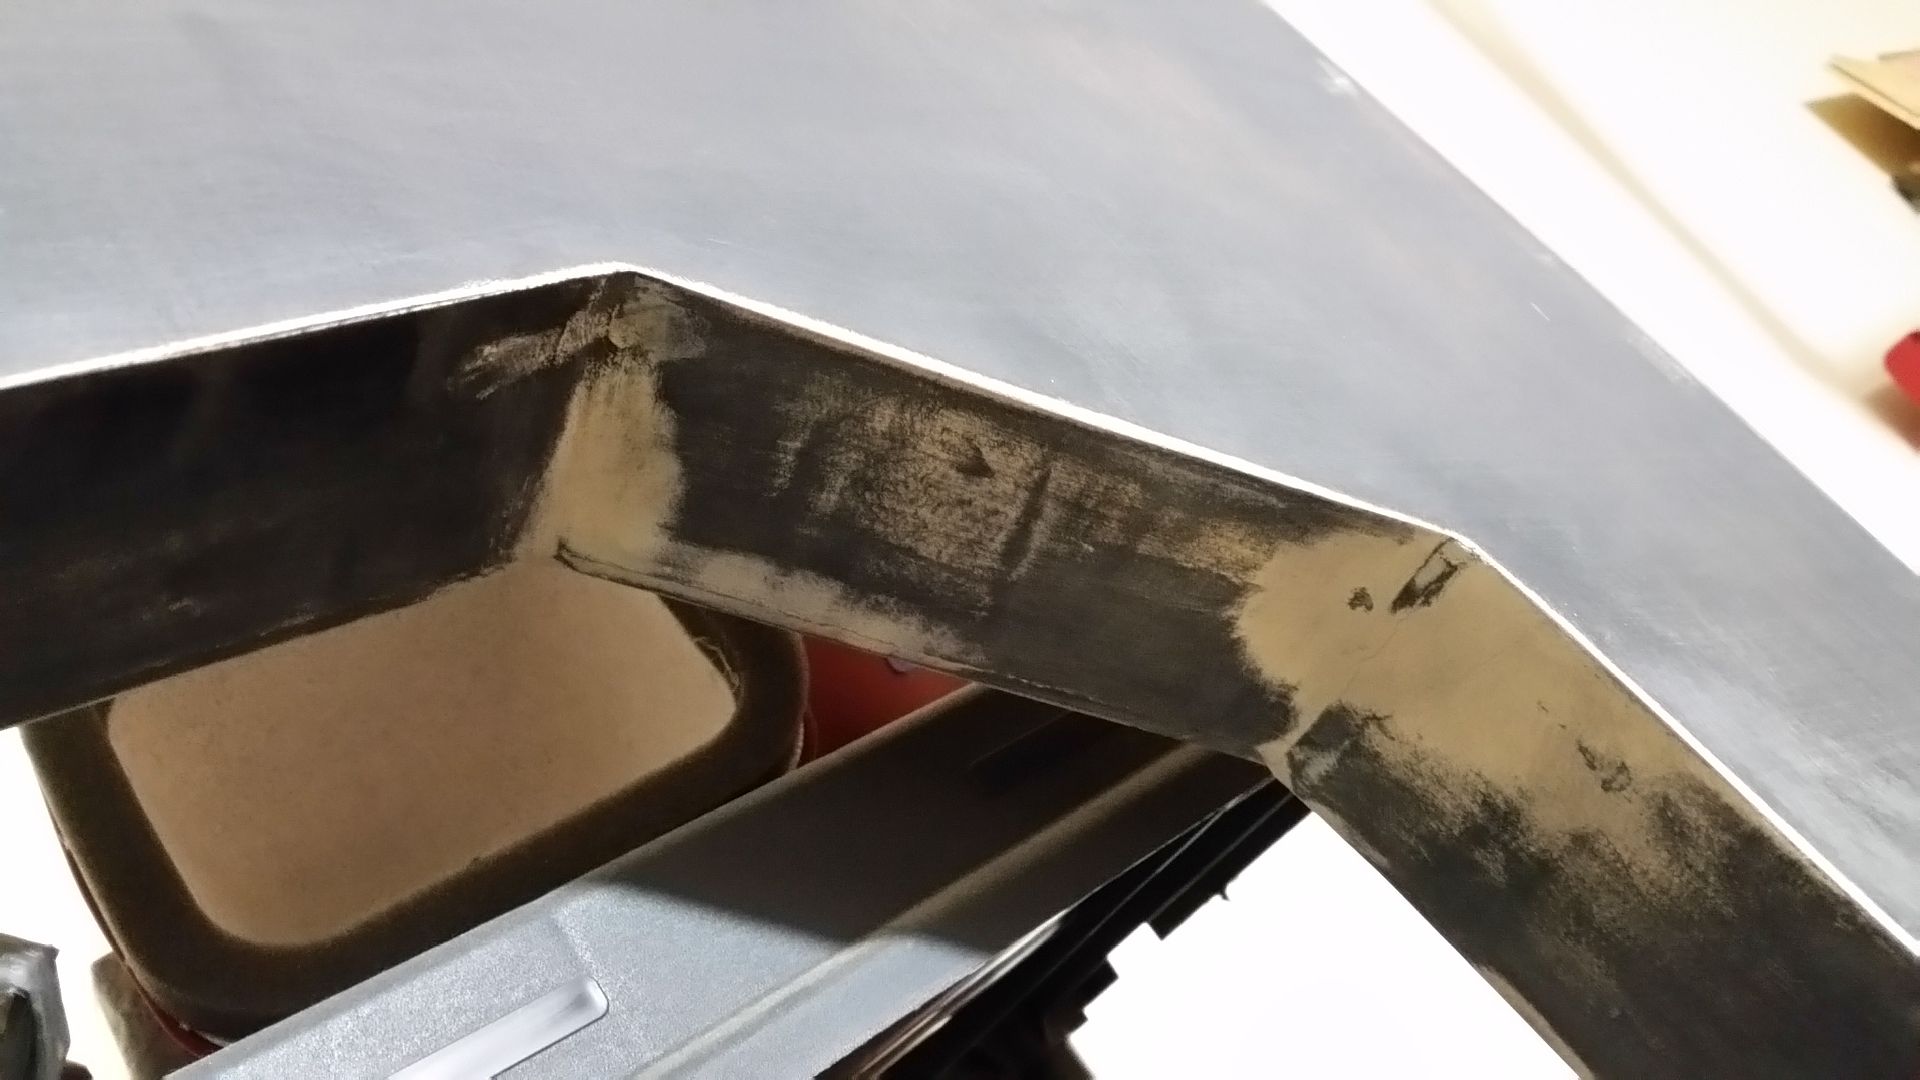
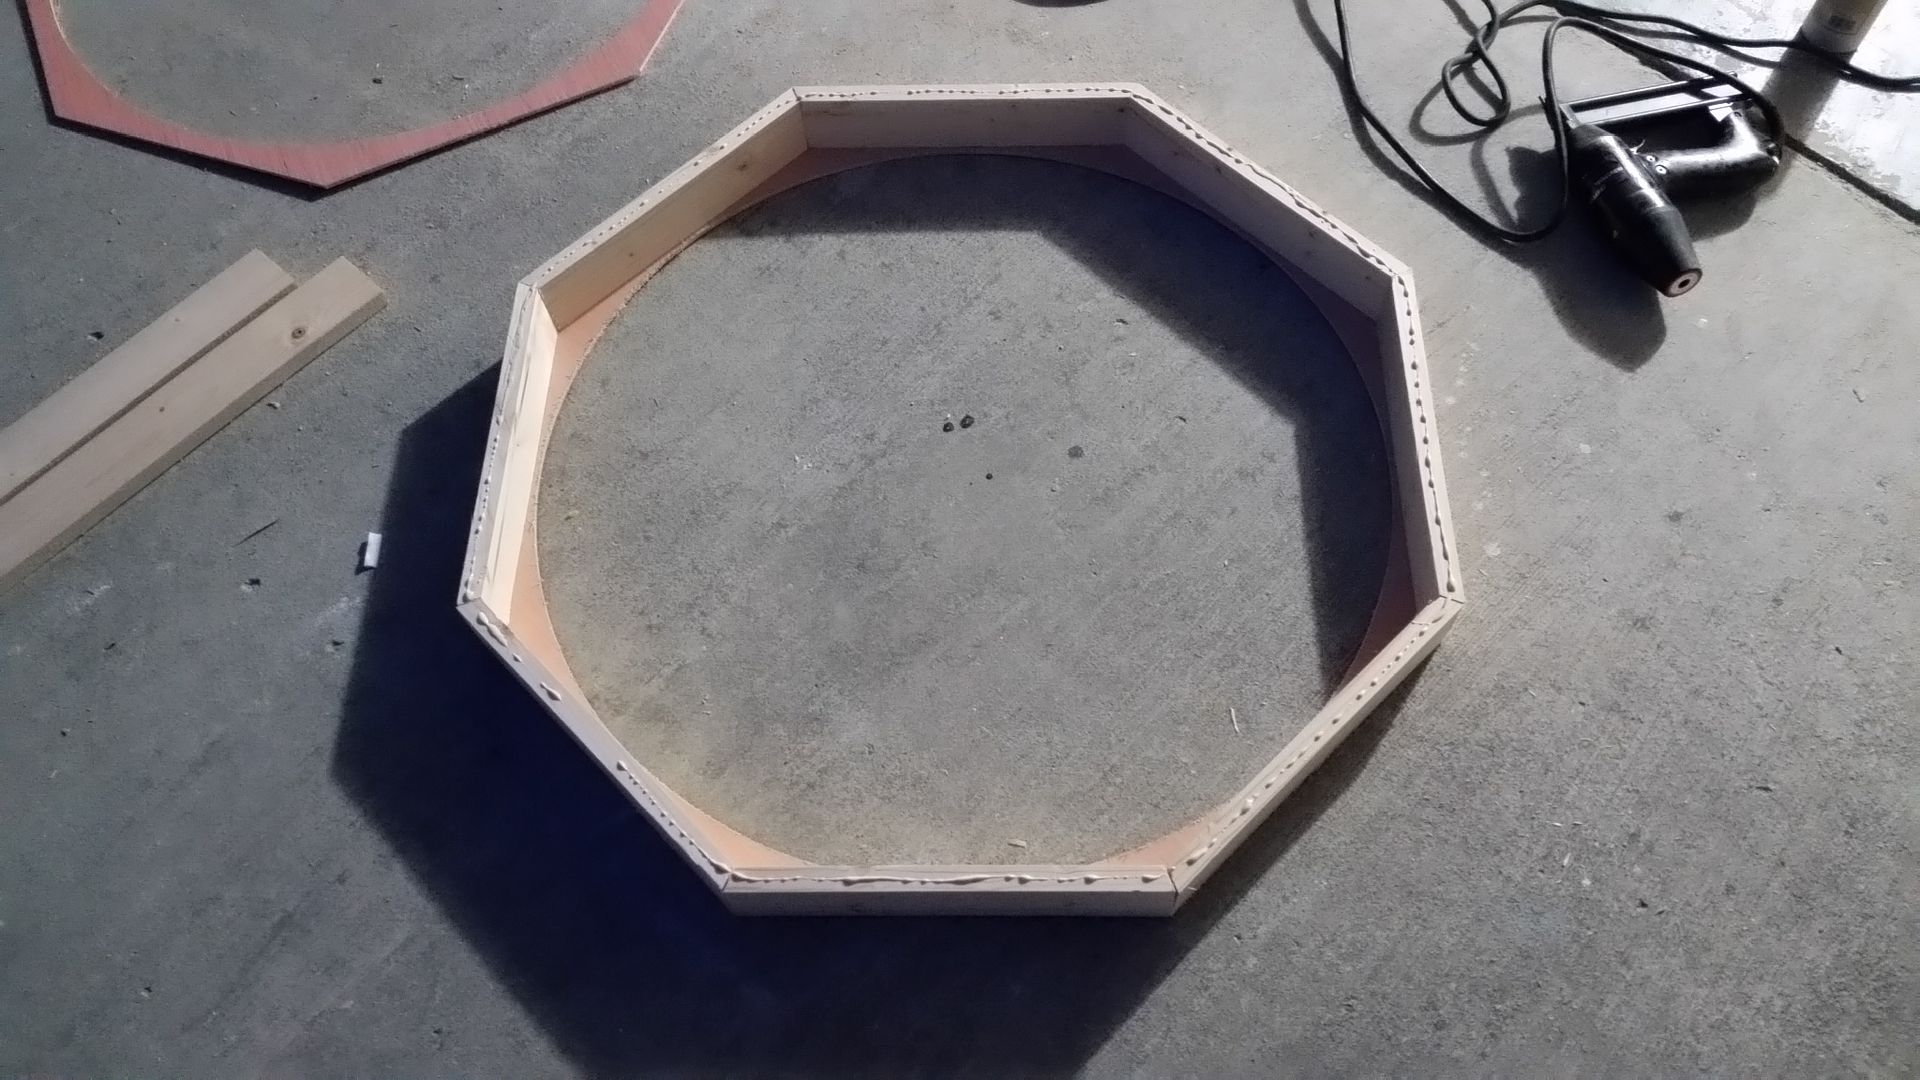
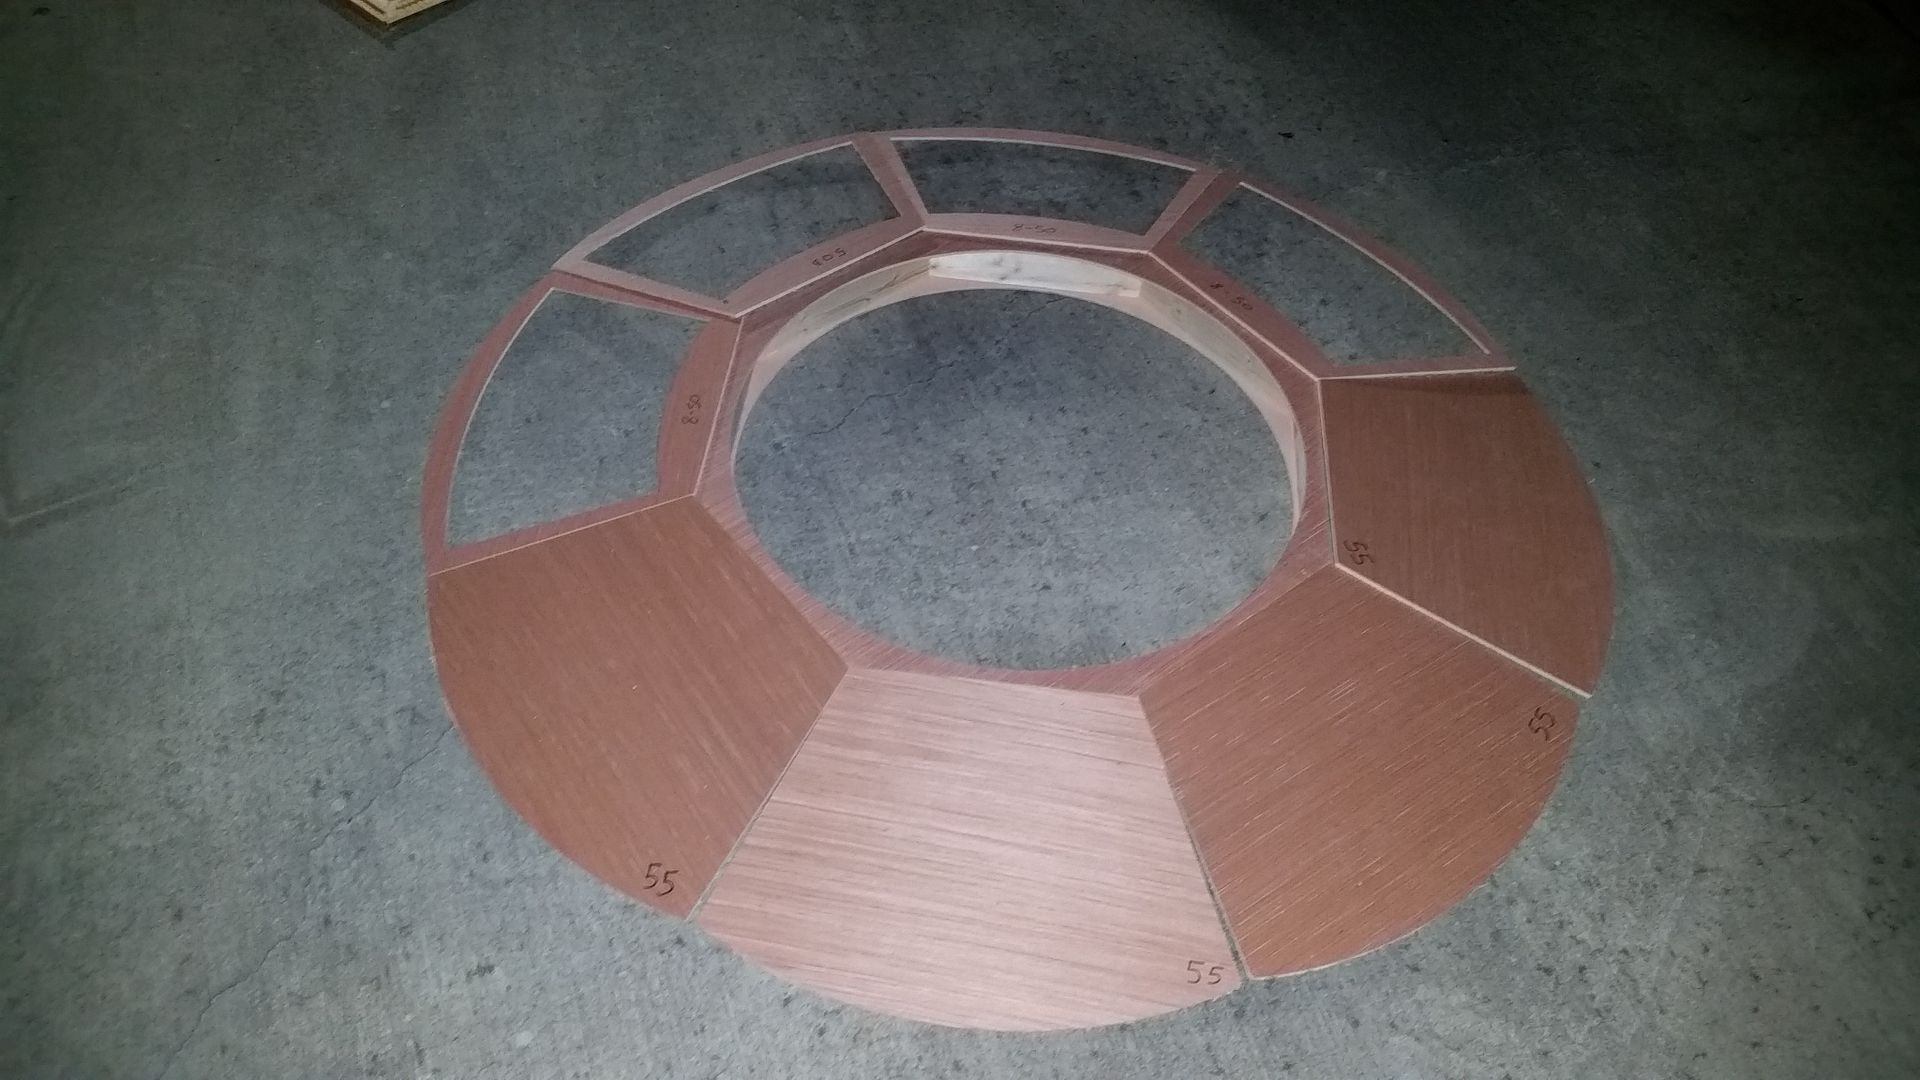
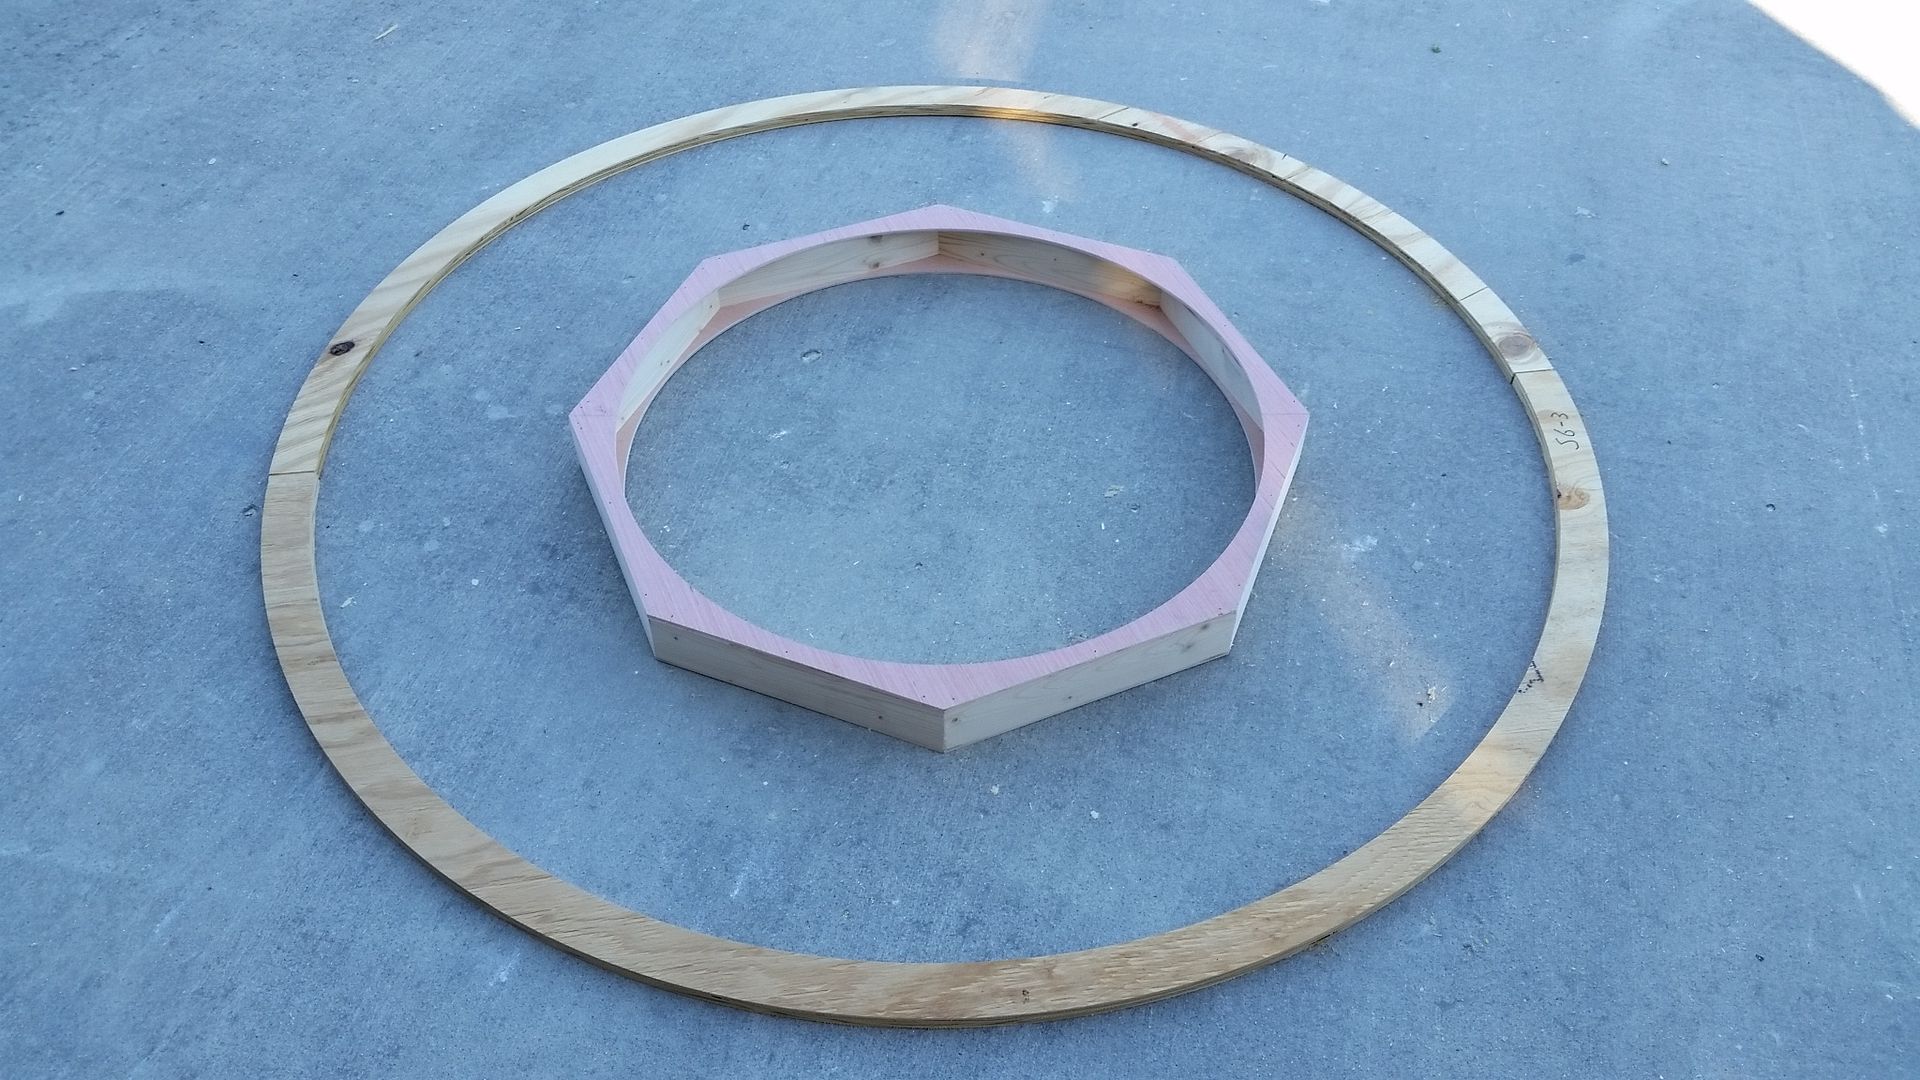
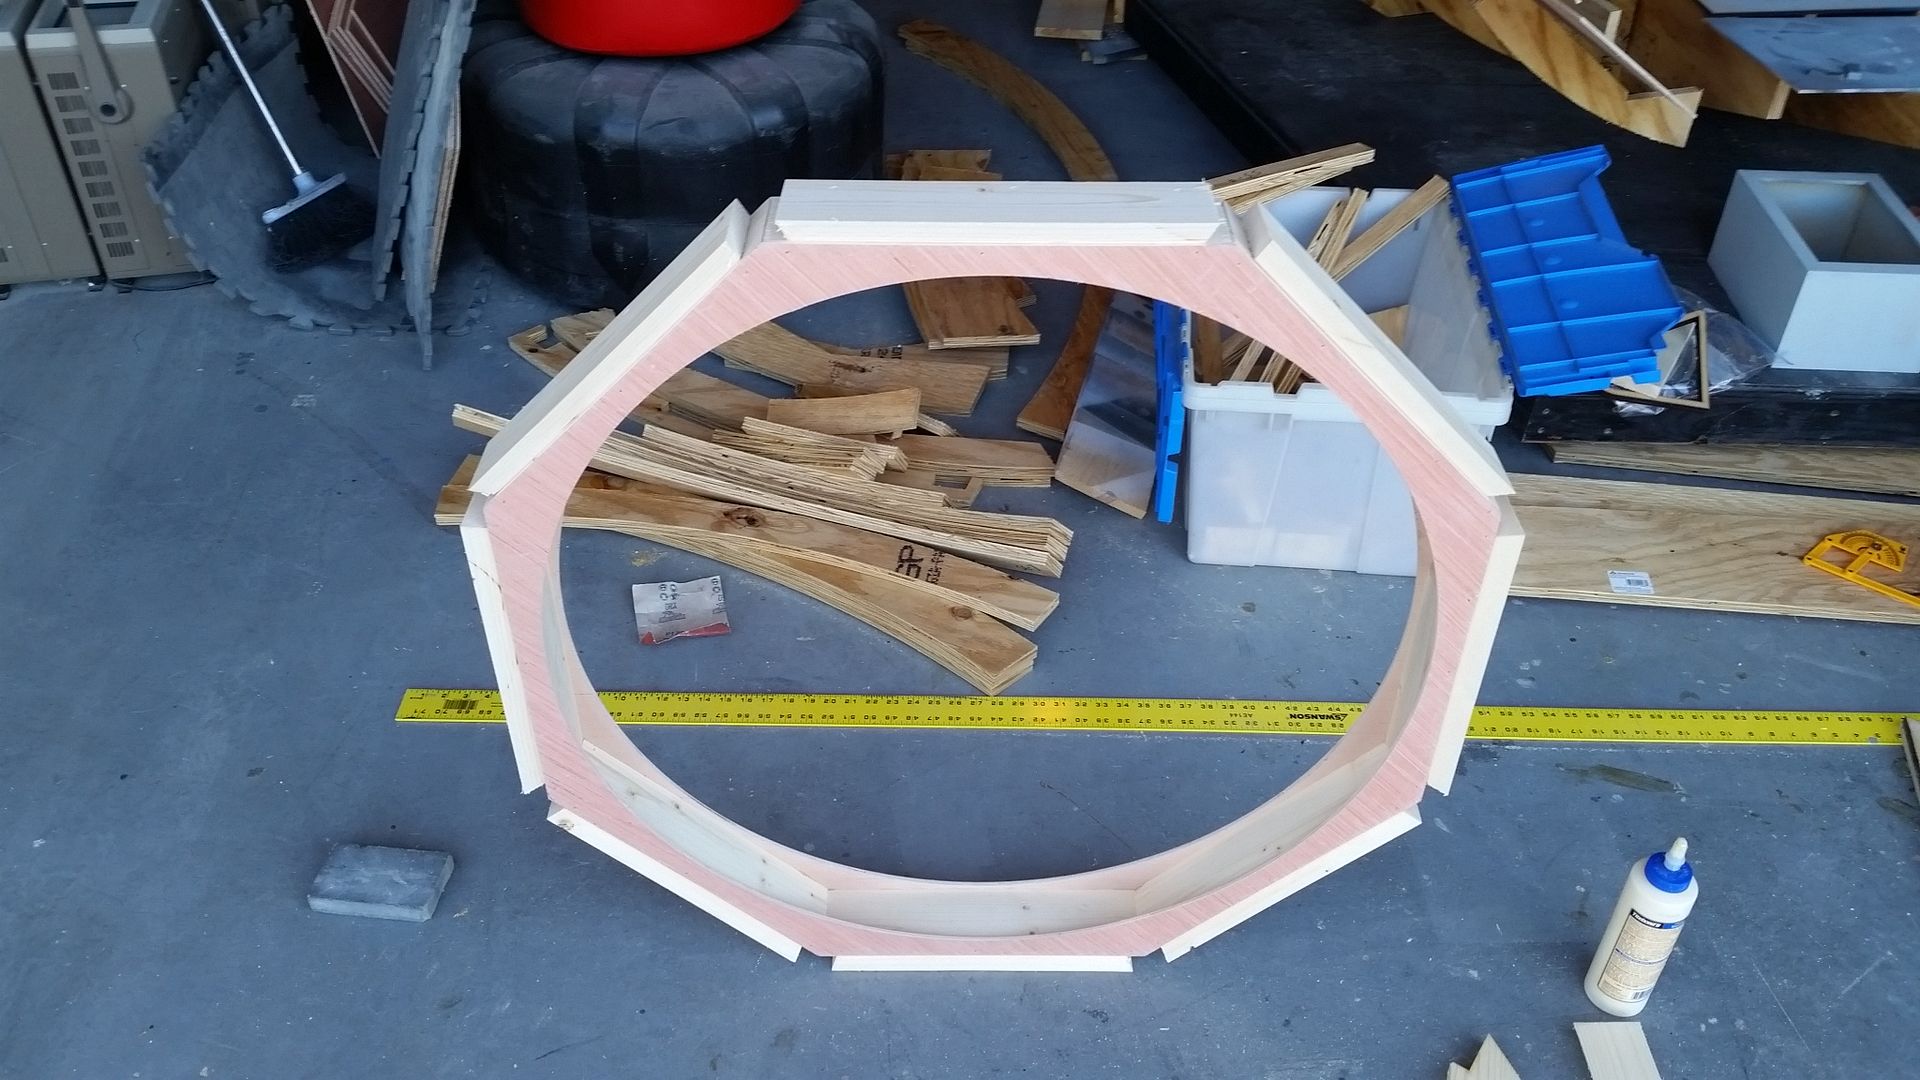
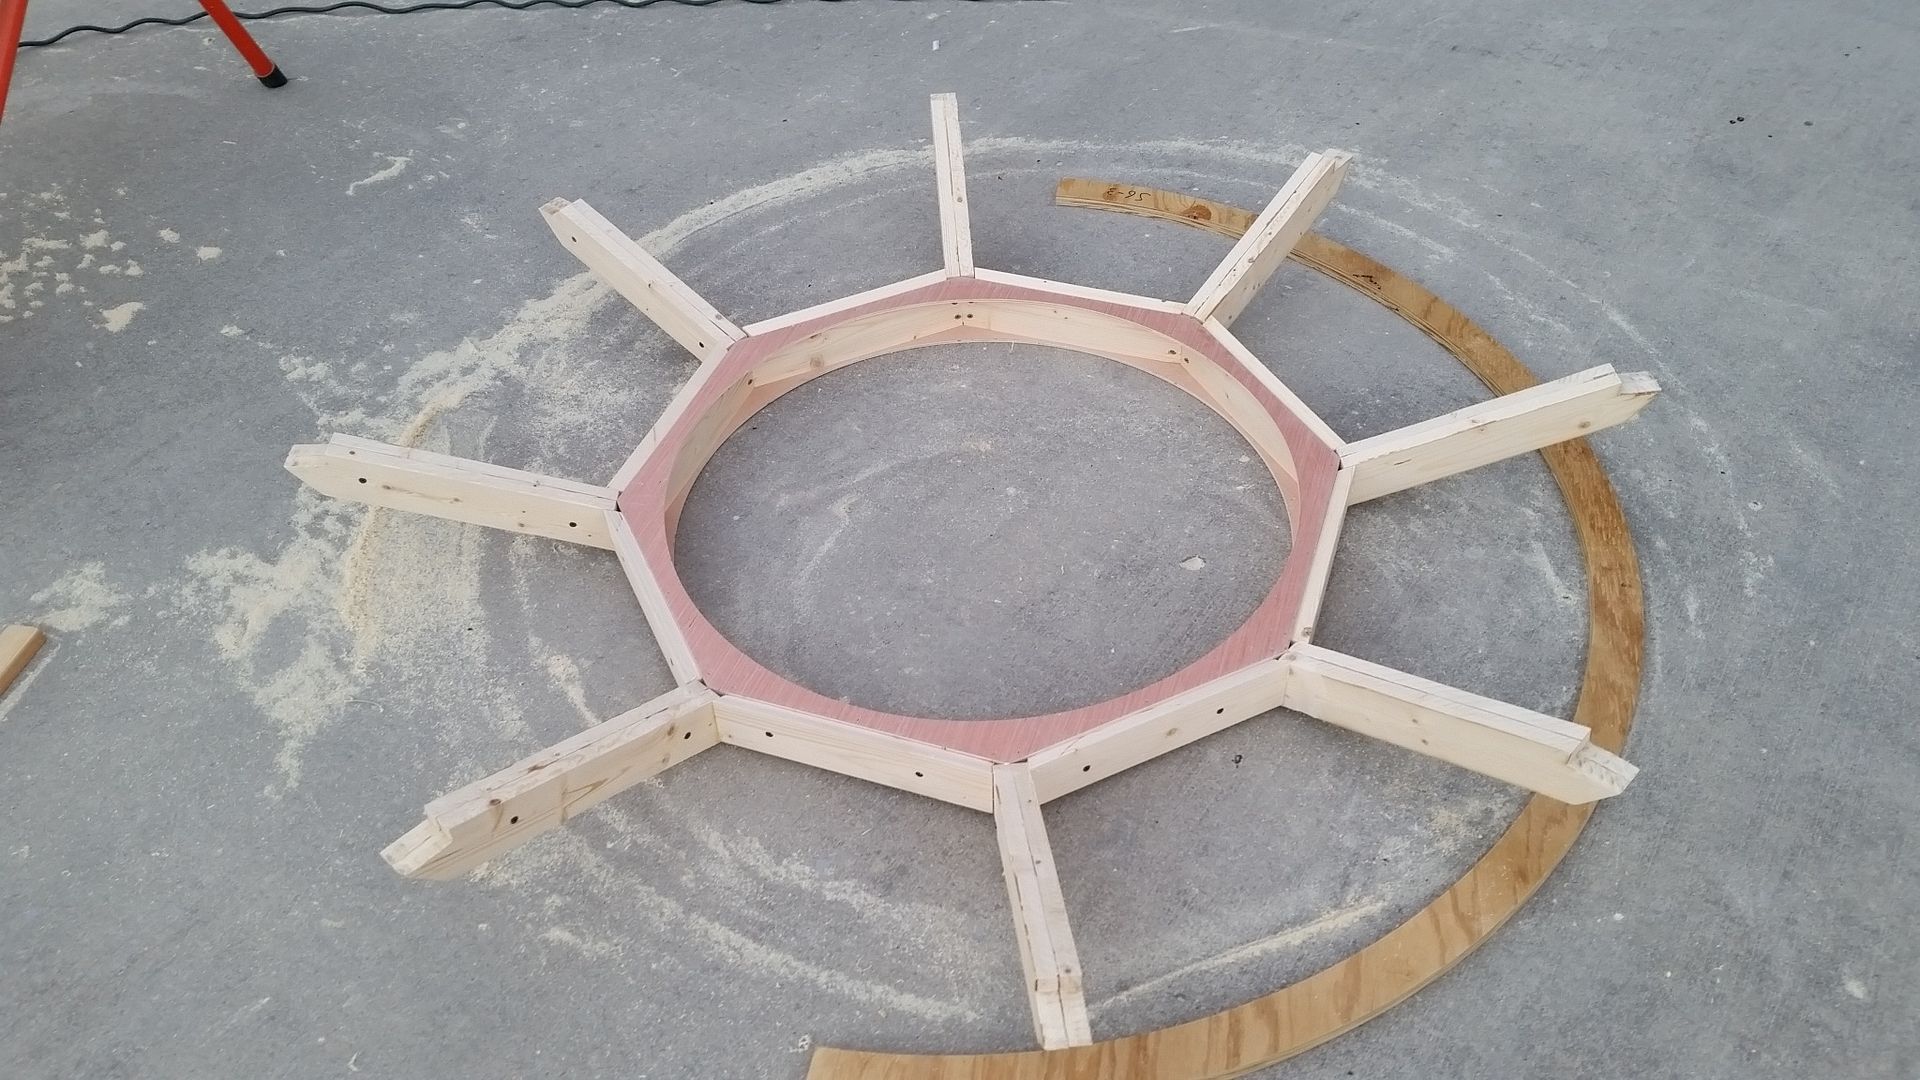
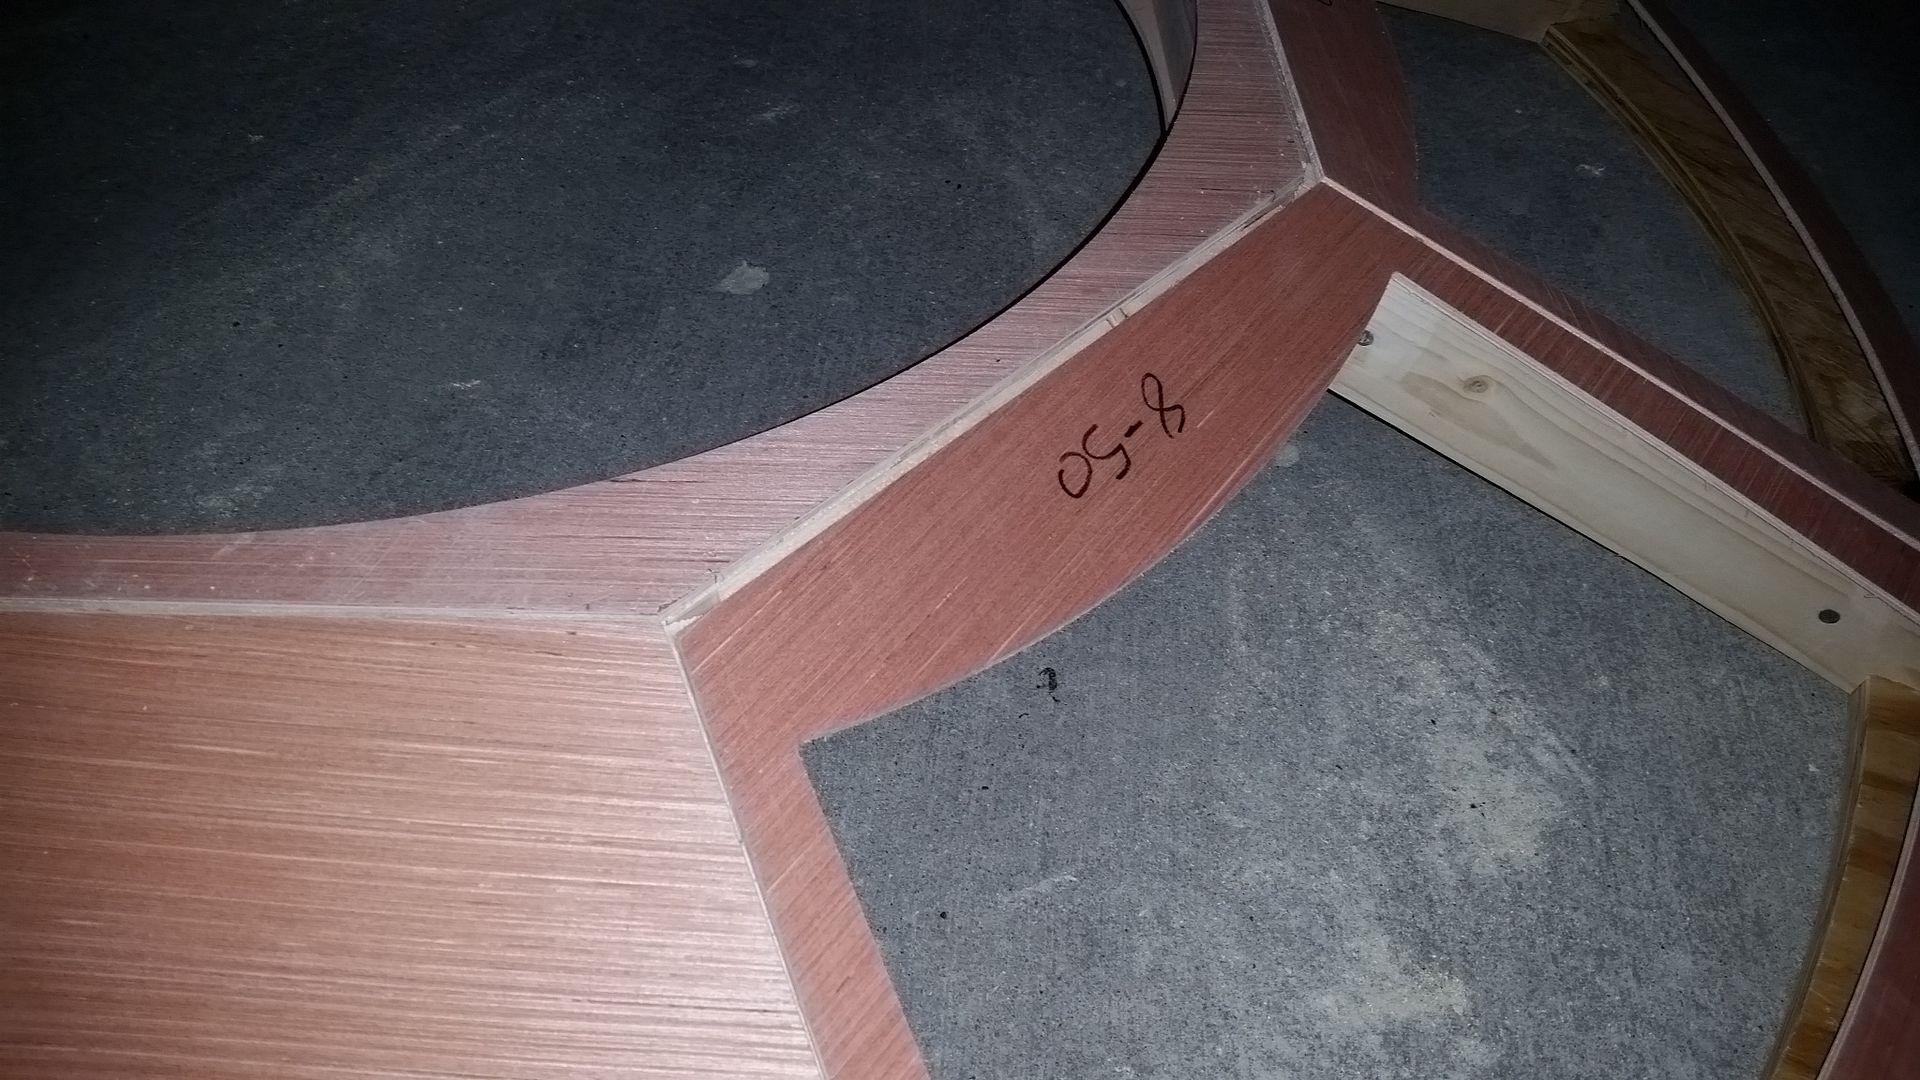
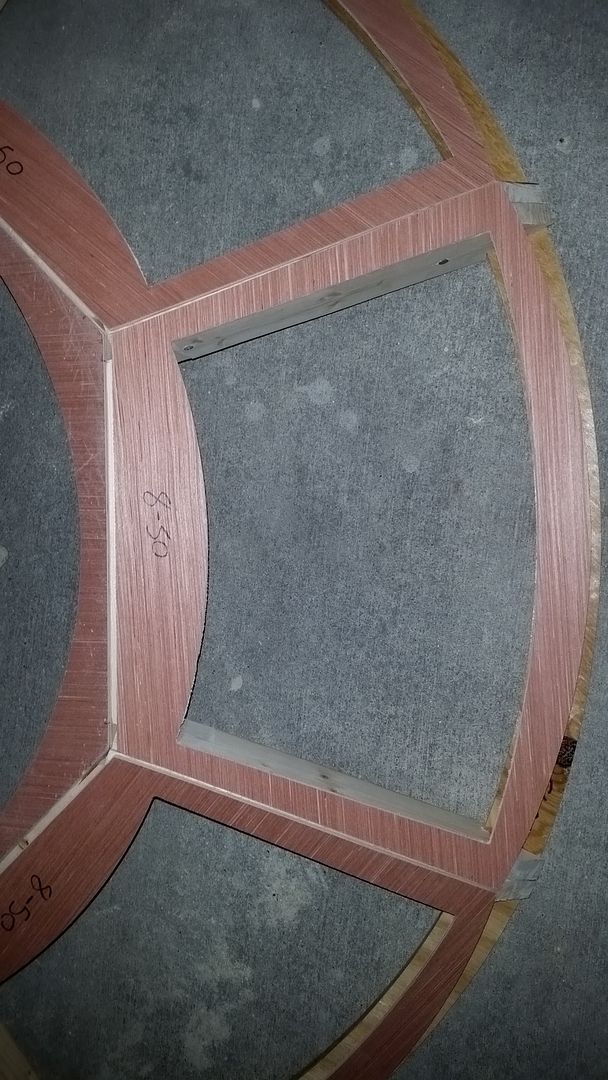
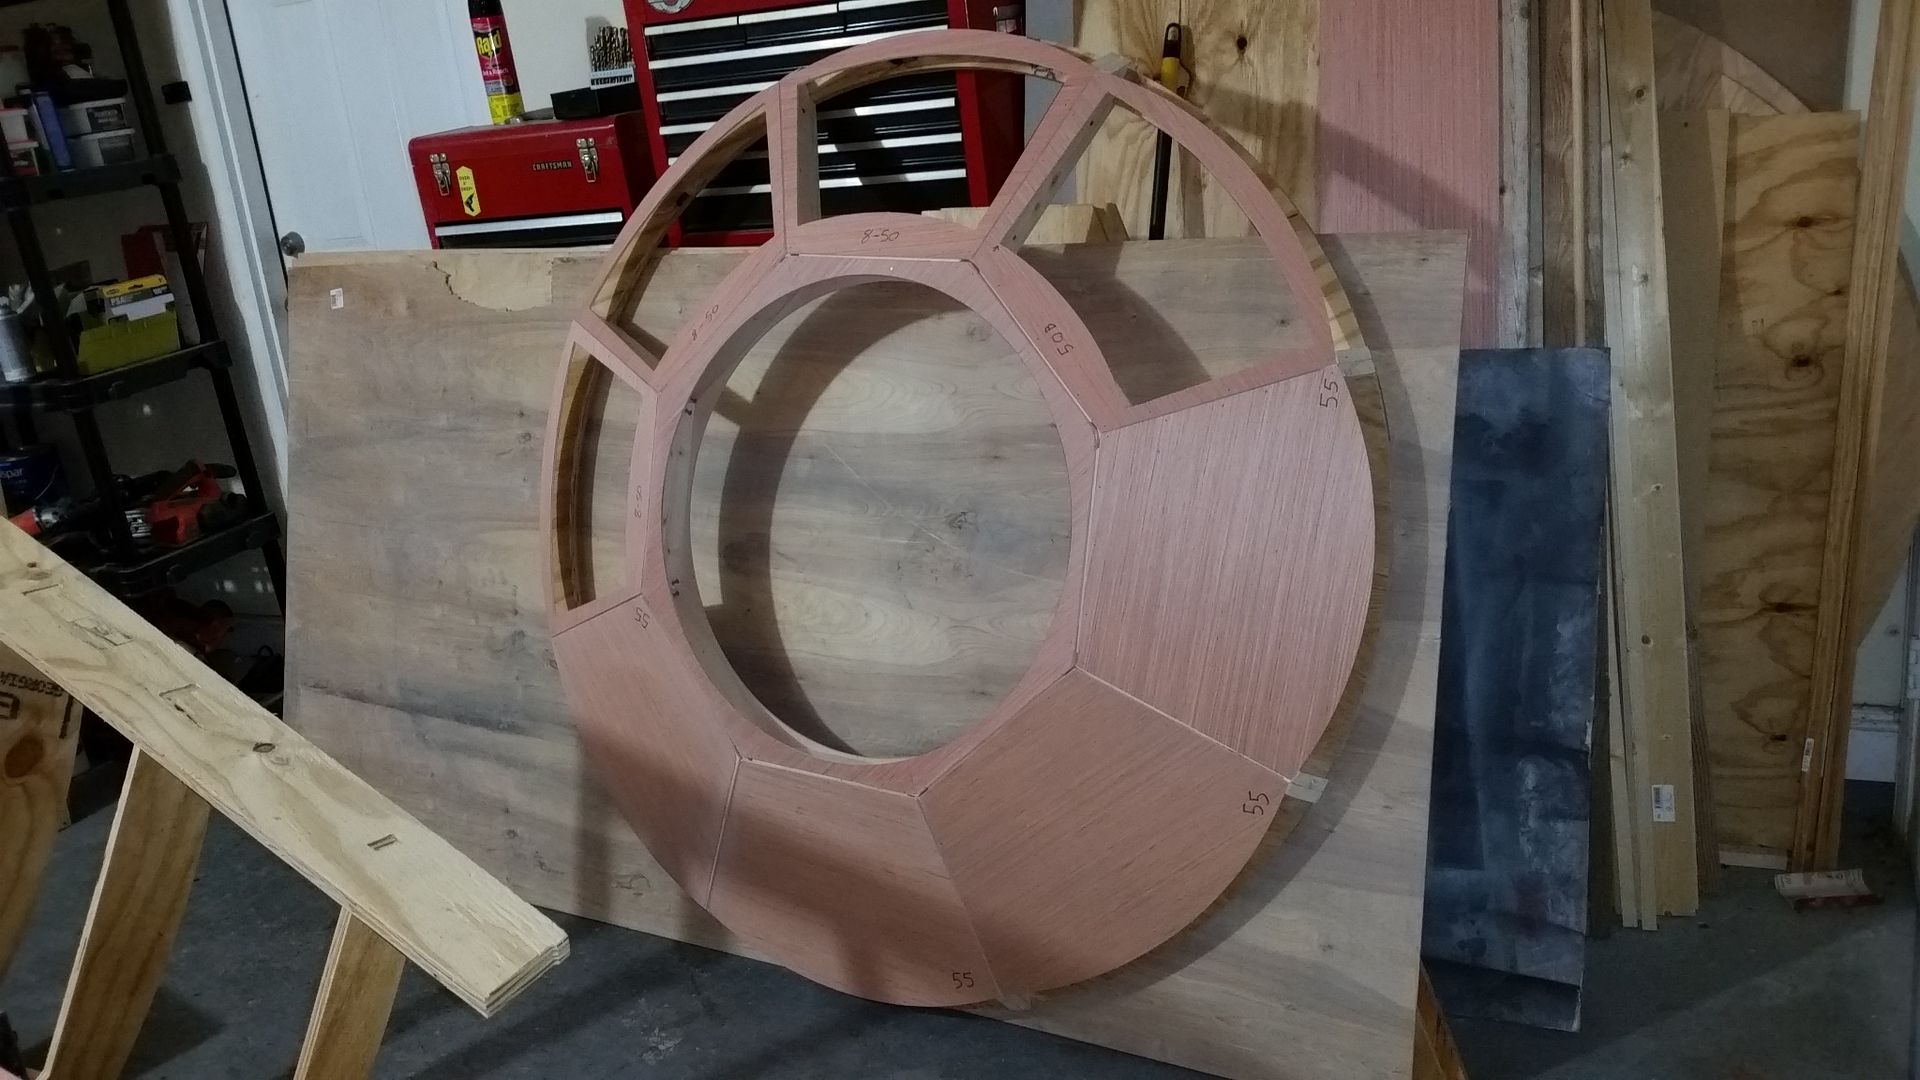
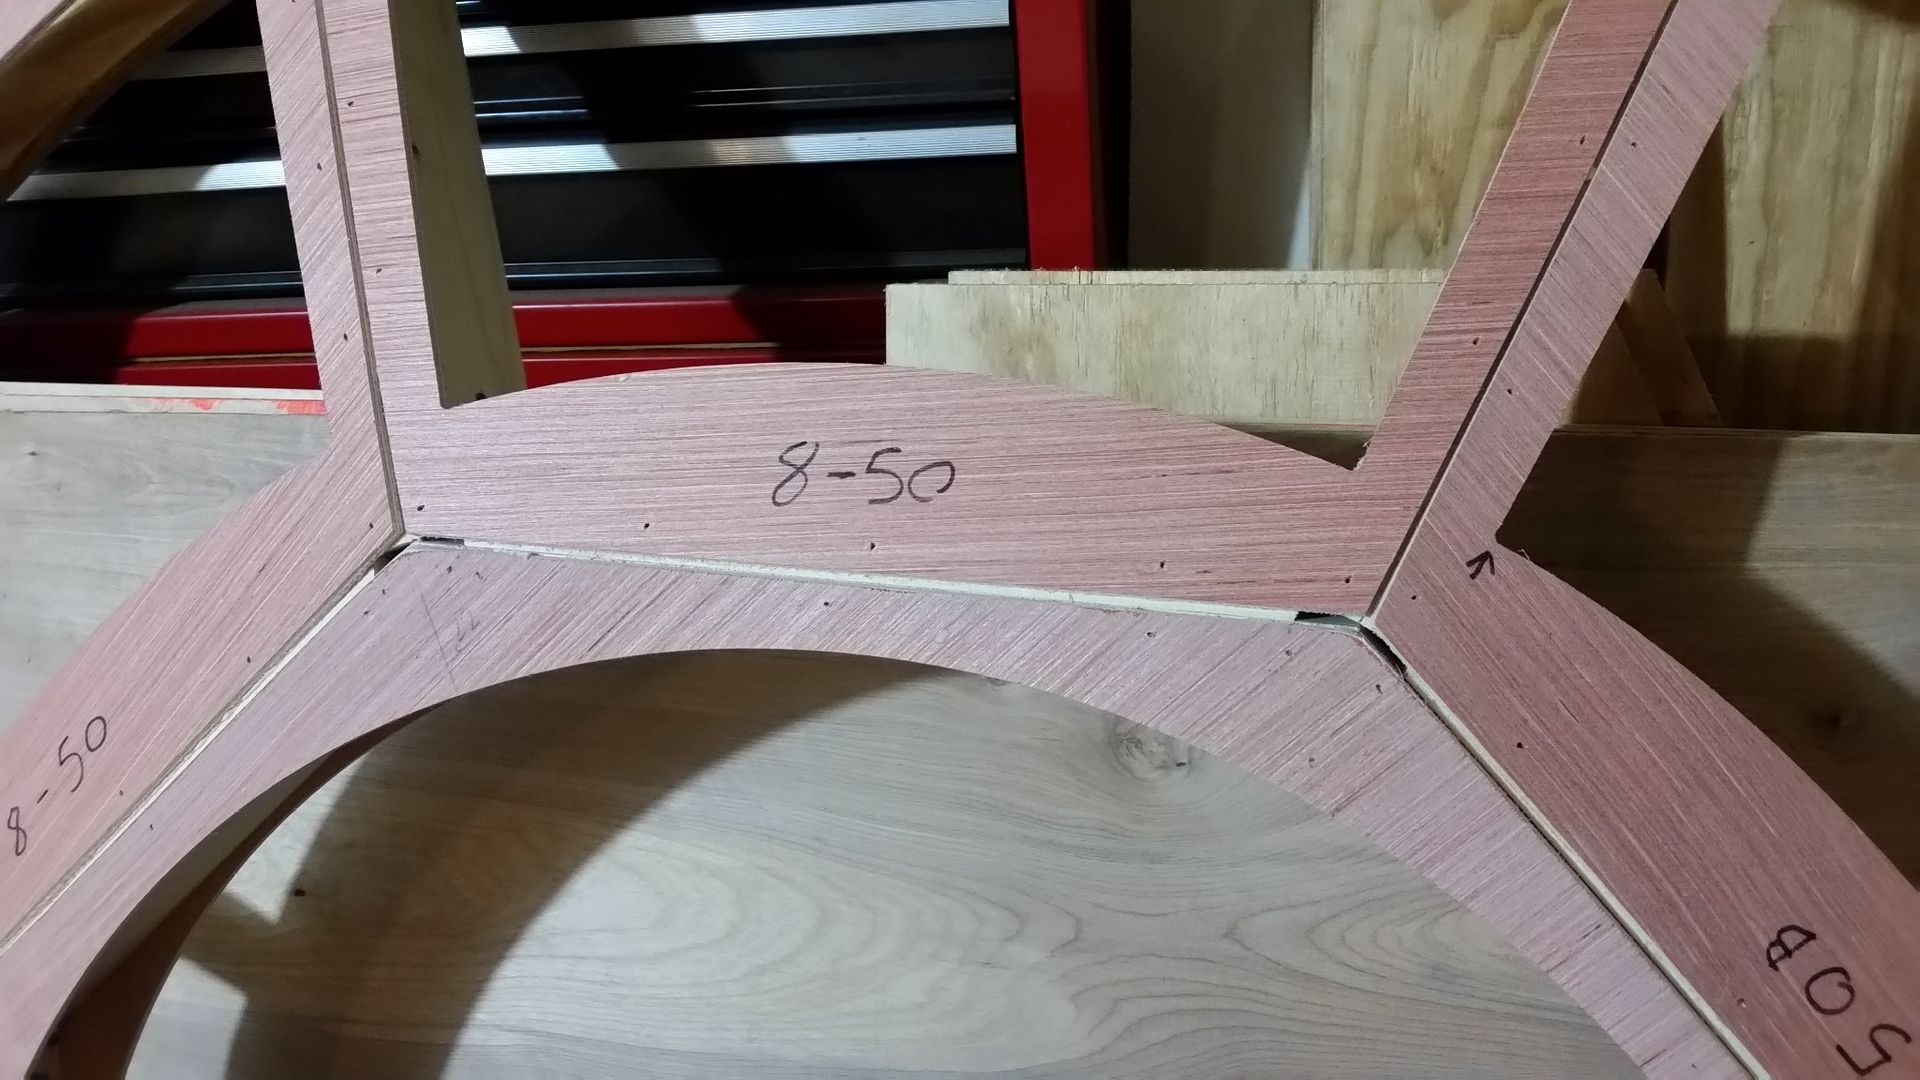
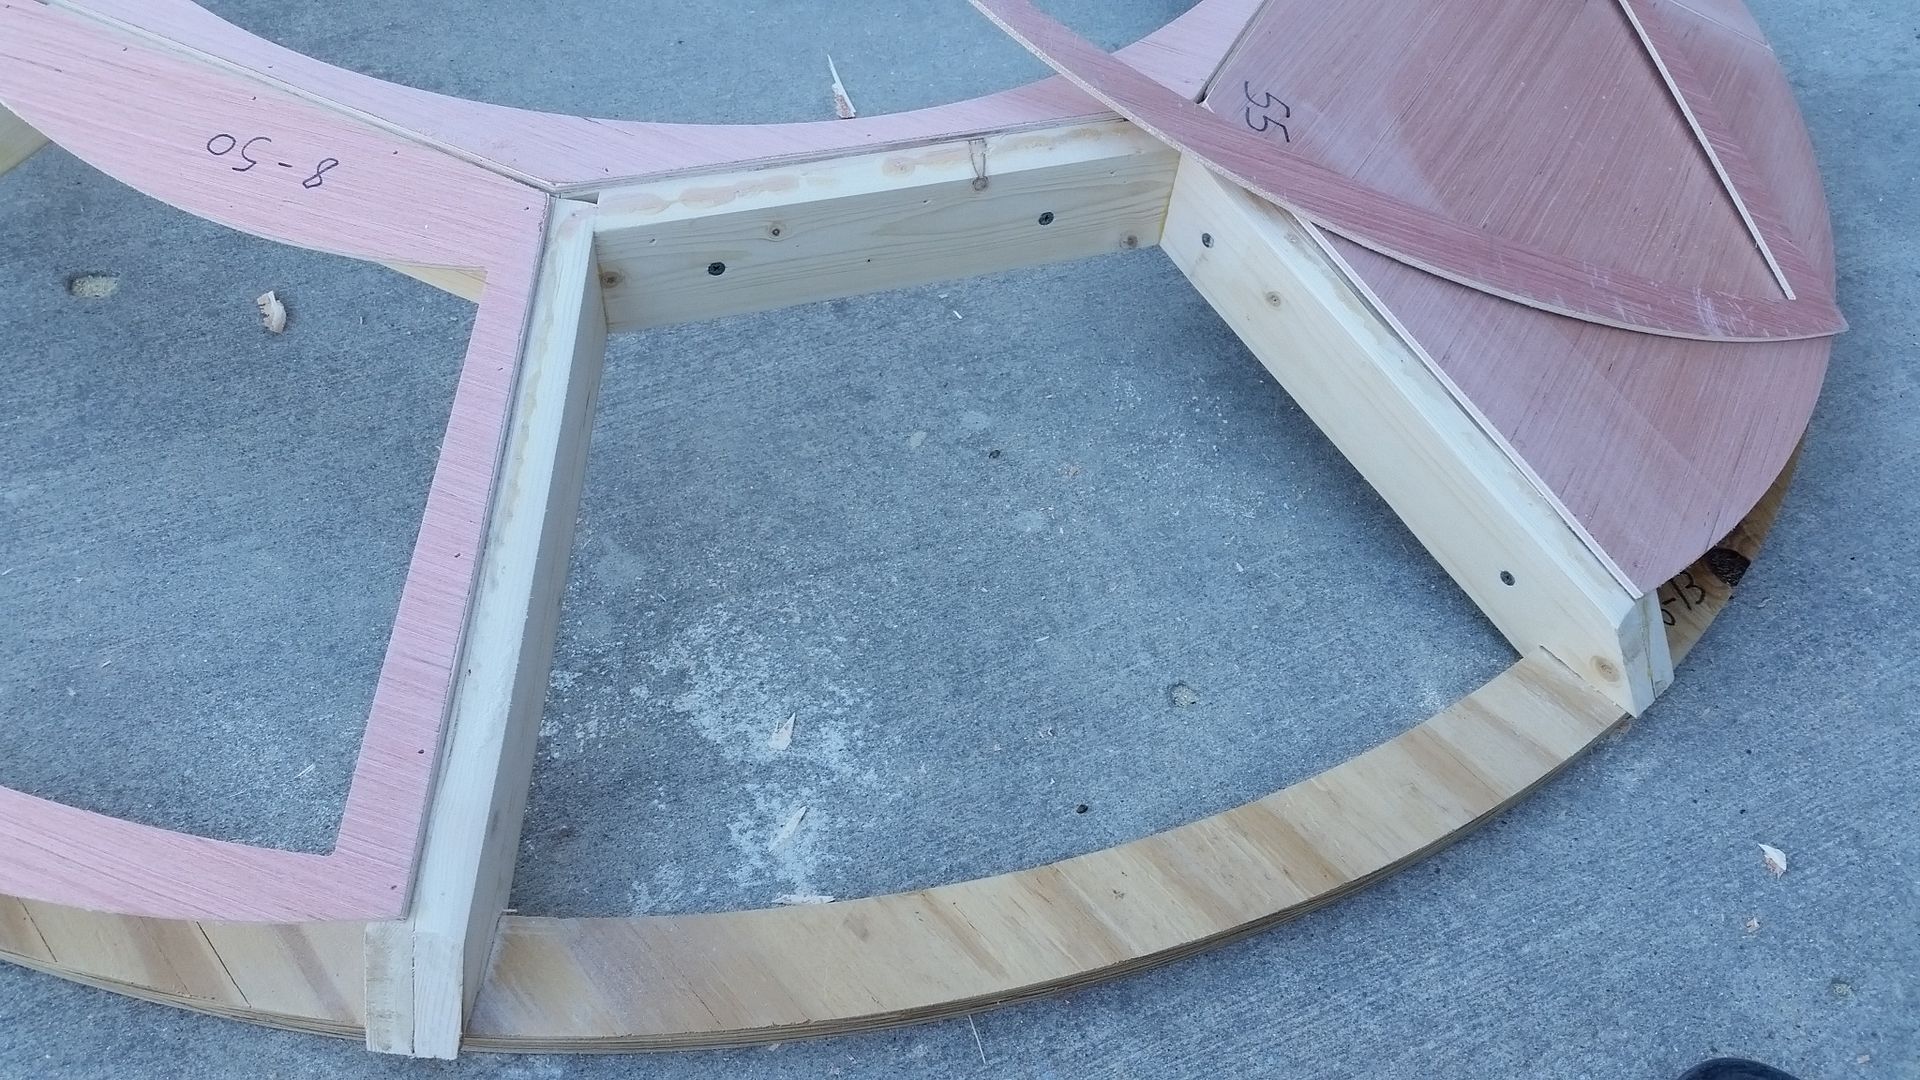
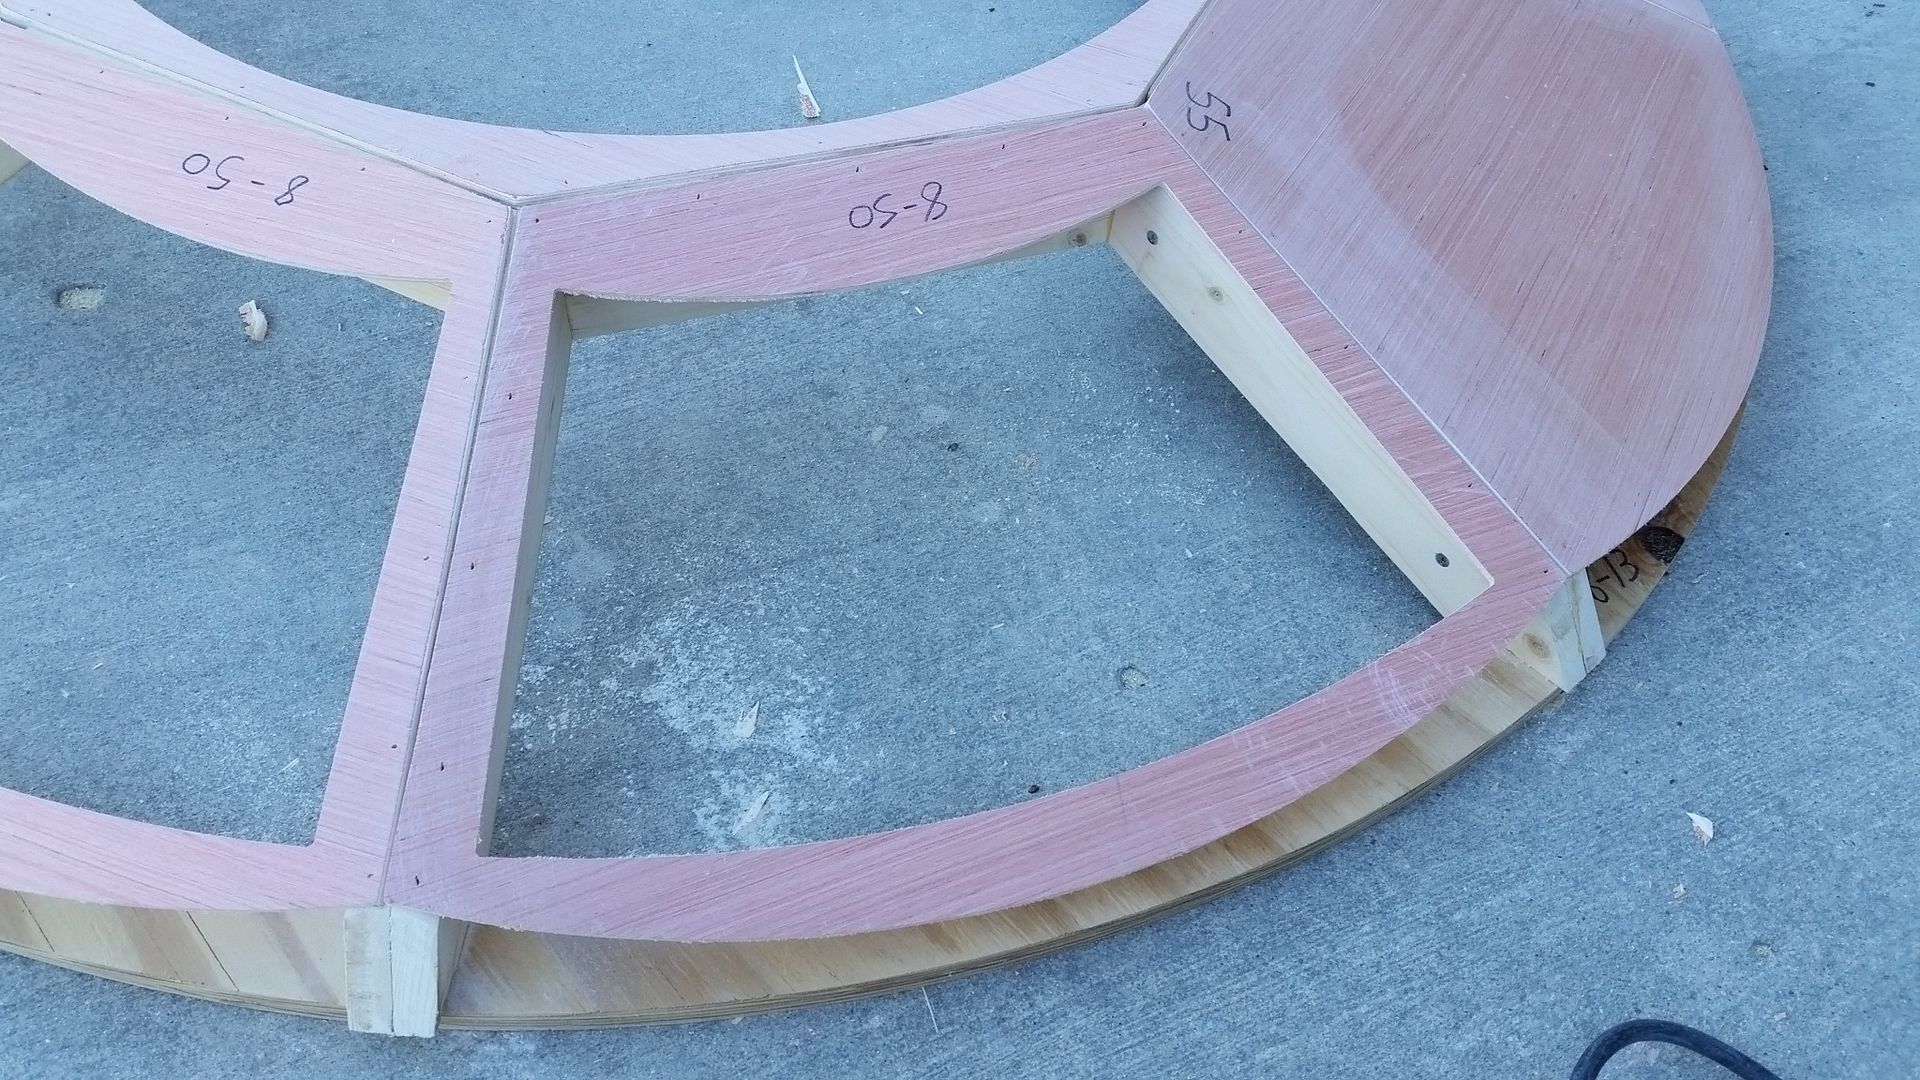
This was a very tedious build. Lots of angles and miter cuts
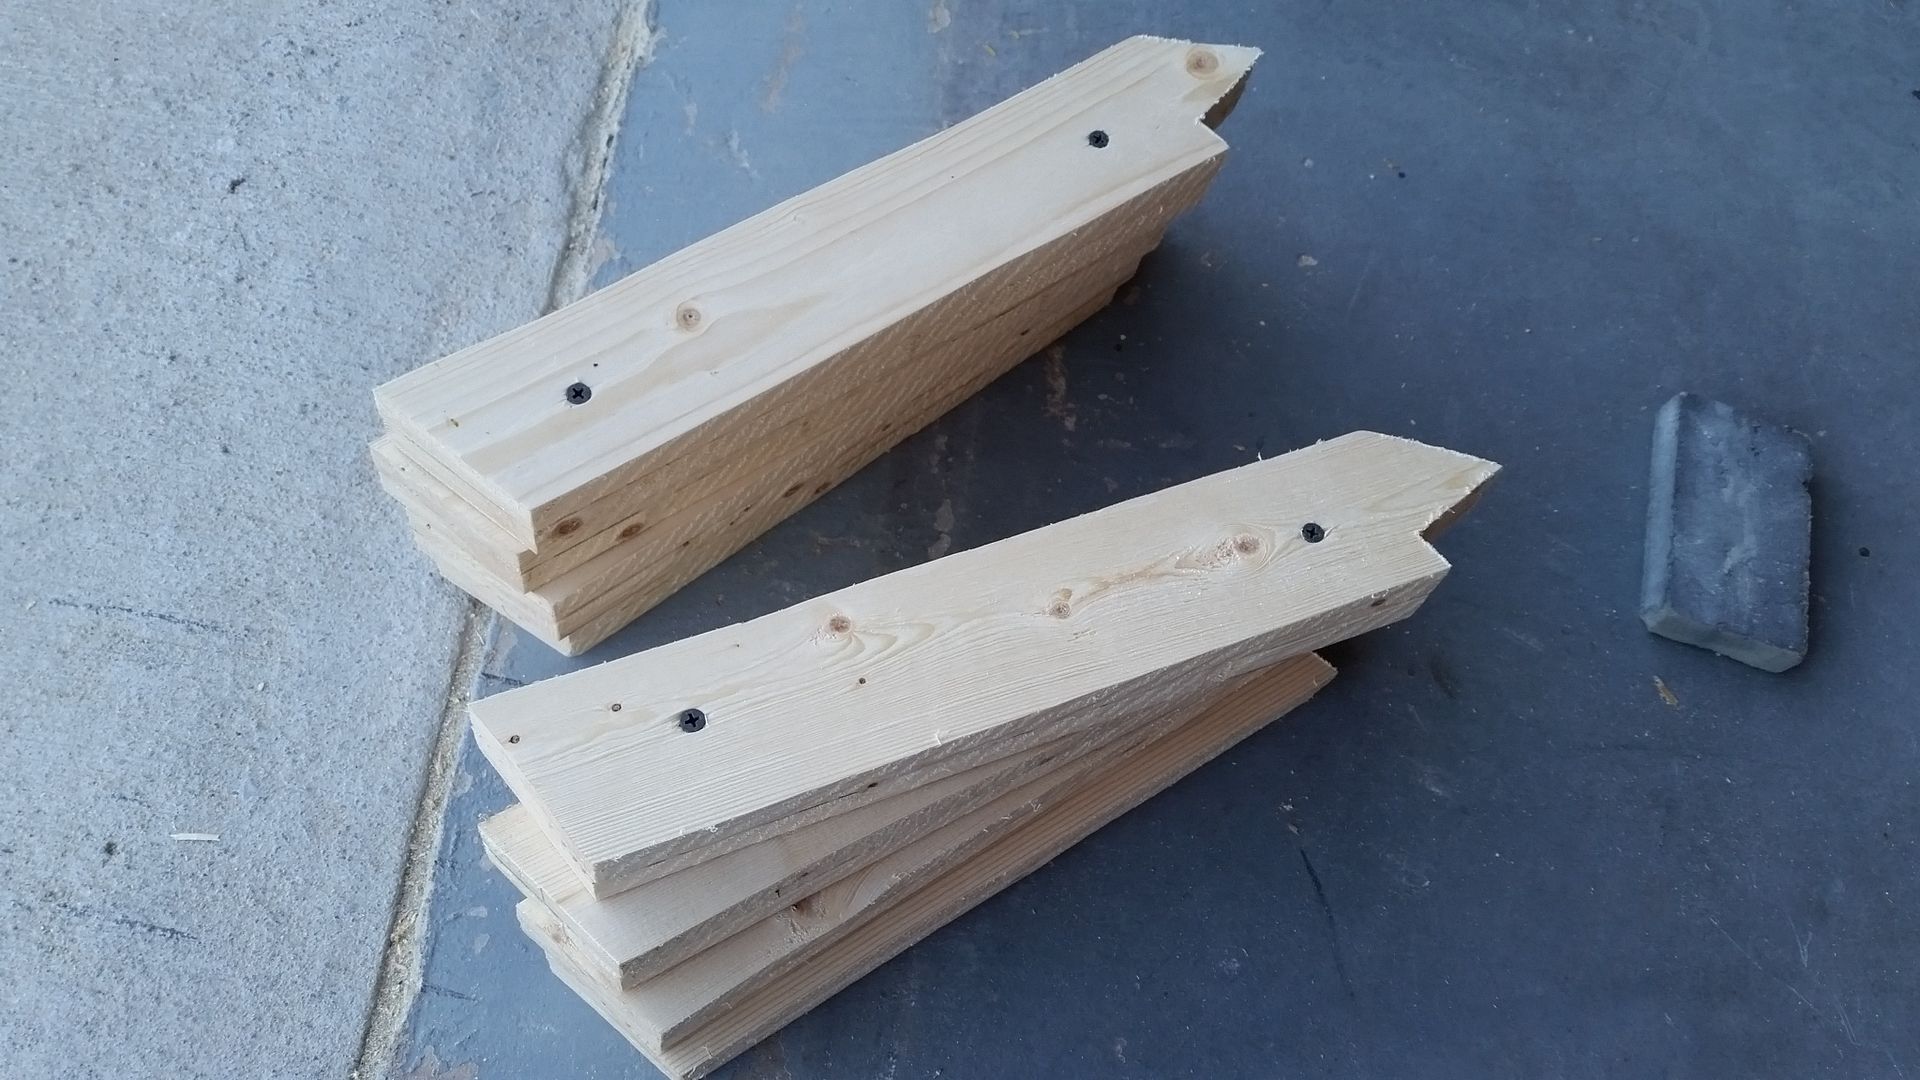
I then adhered and screwed the original 16 pieces together creating 8 separate parts
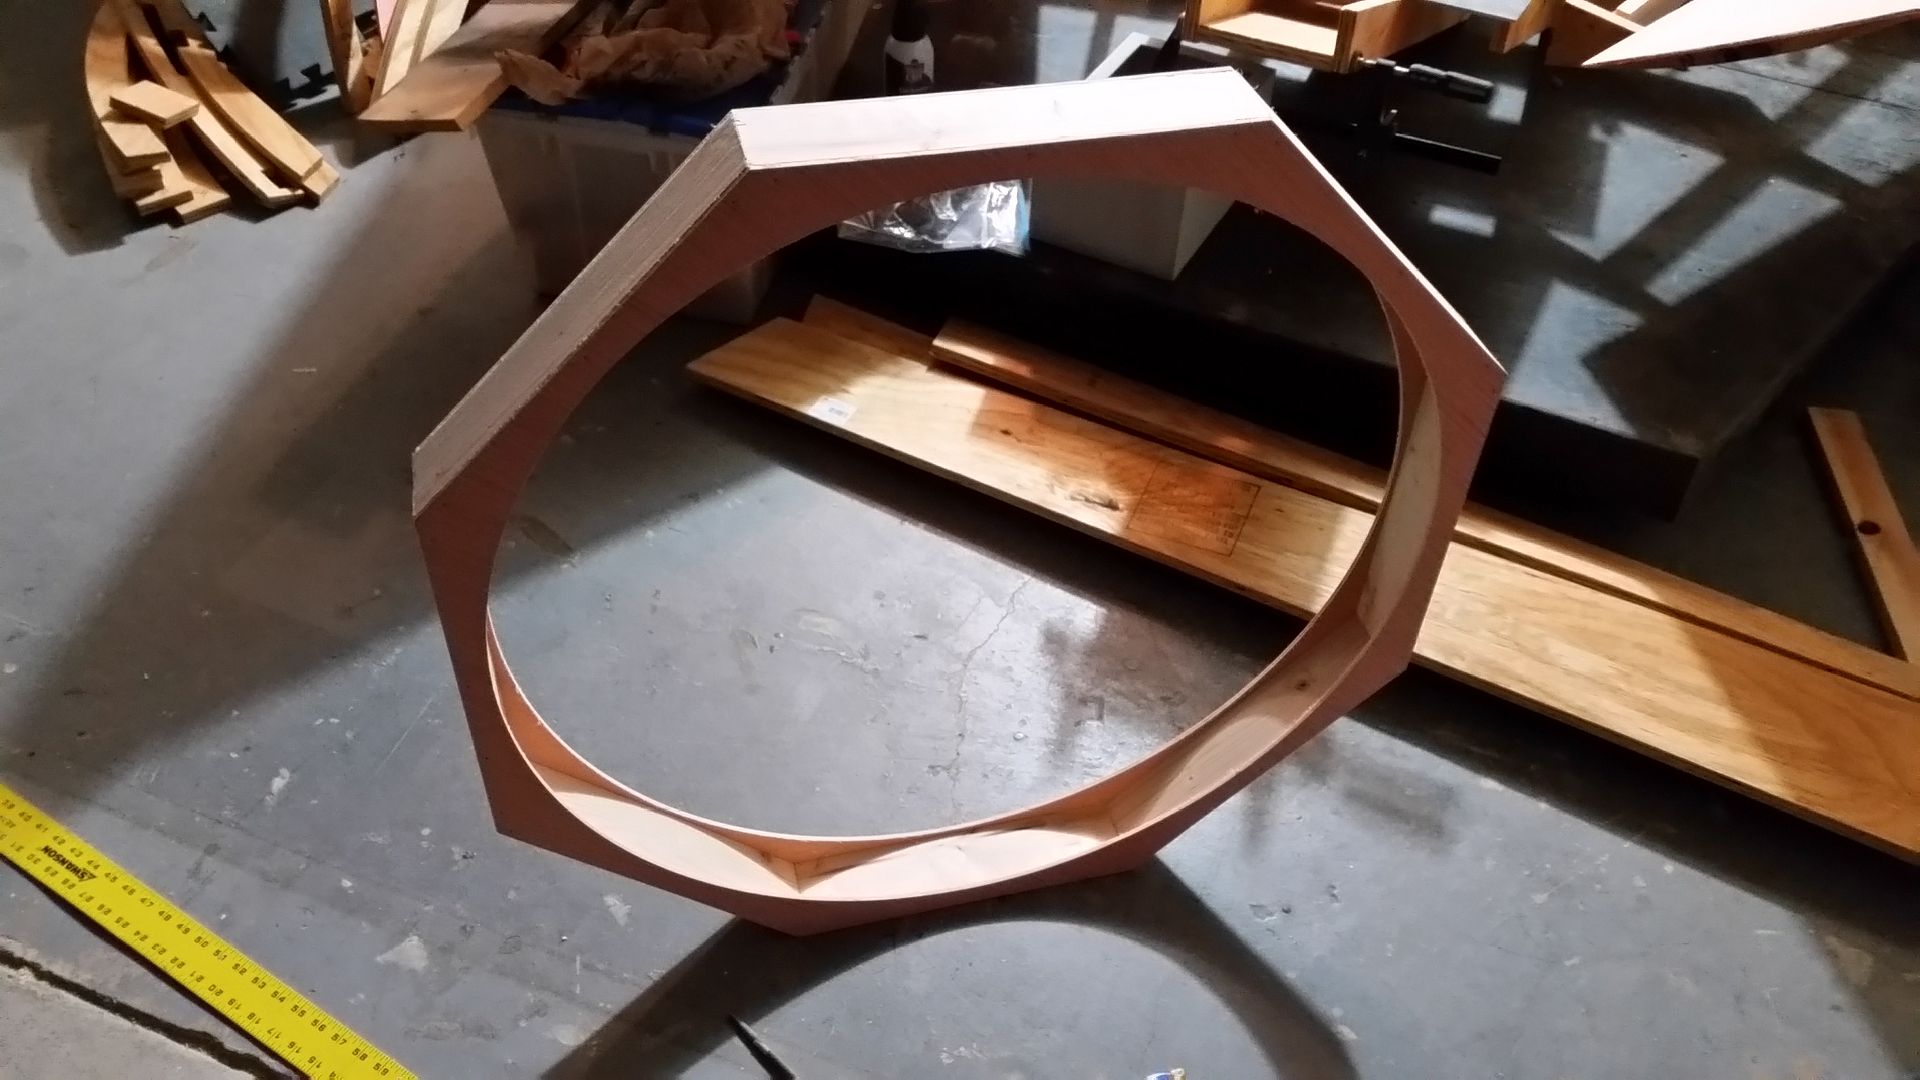
Slowly coming together
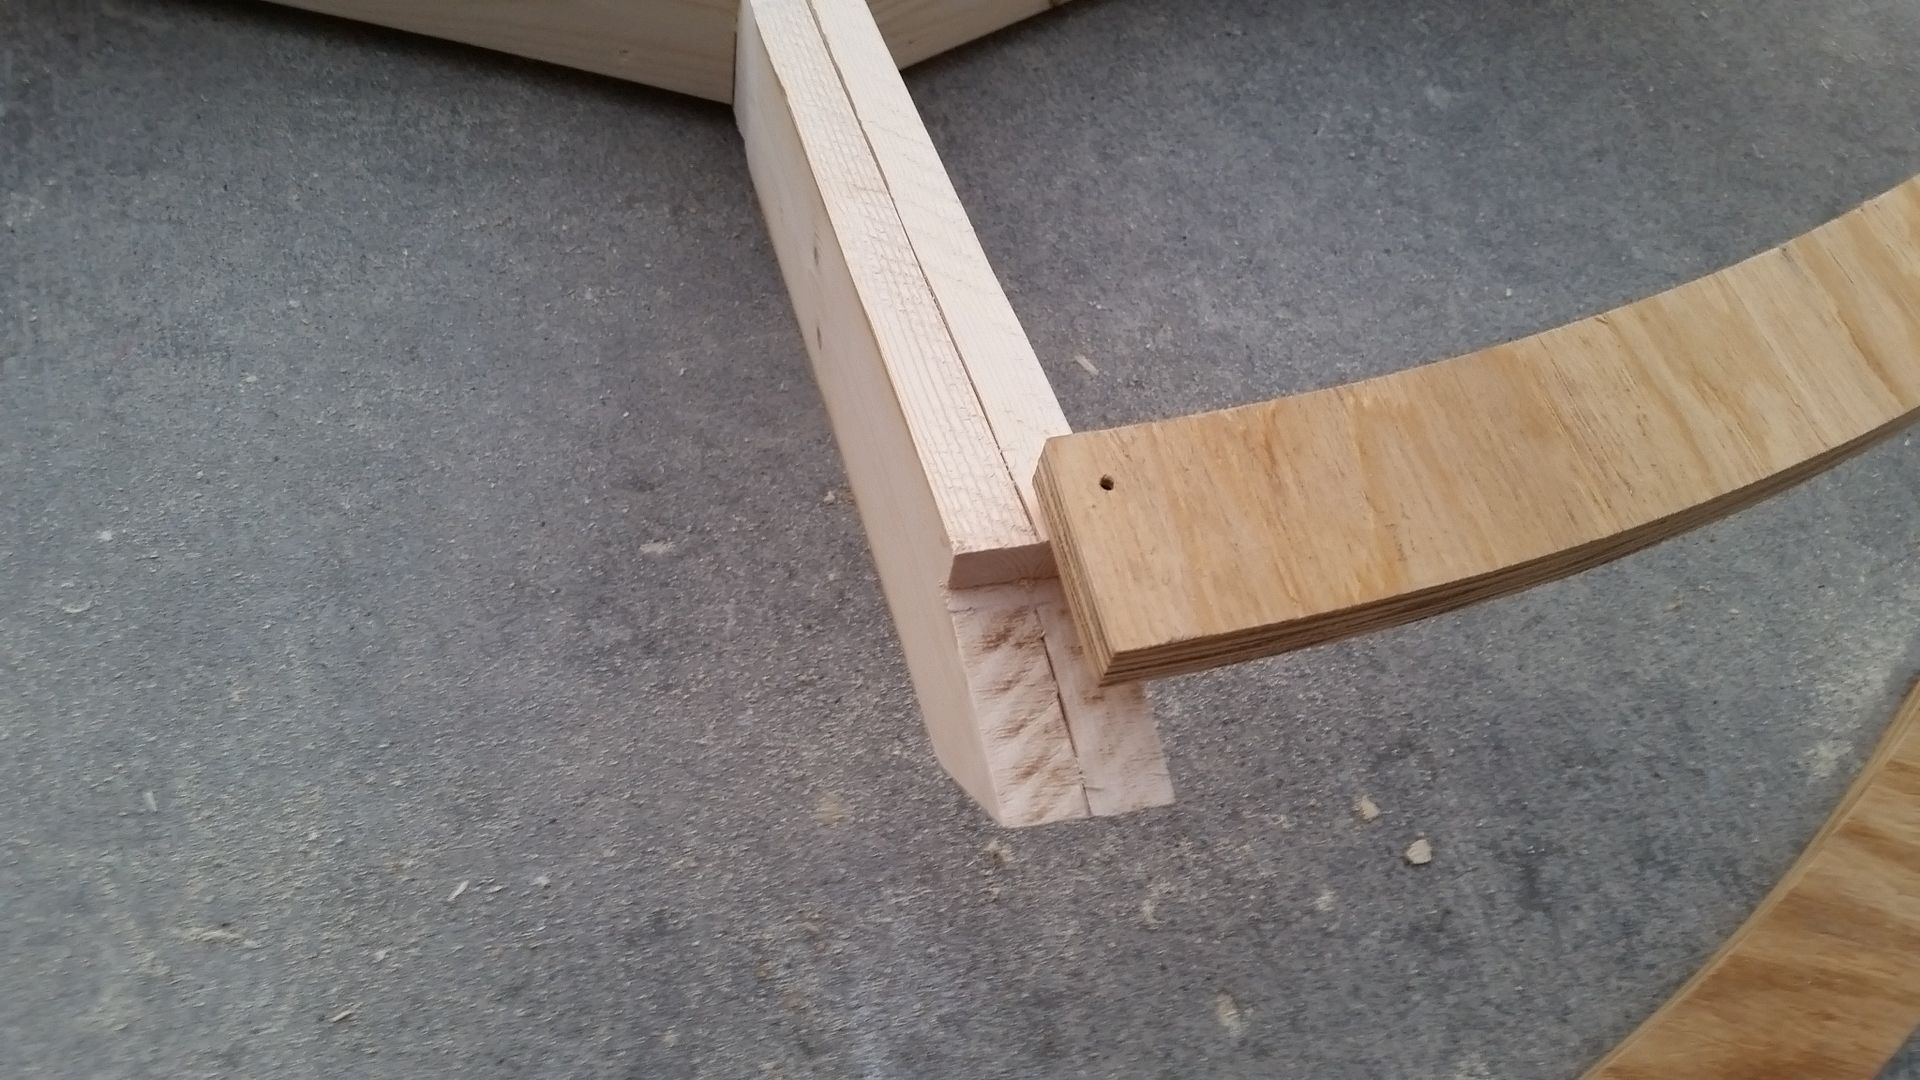
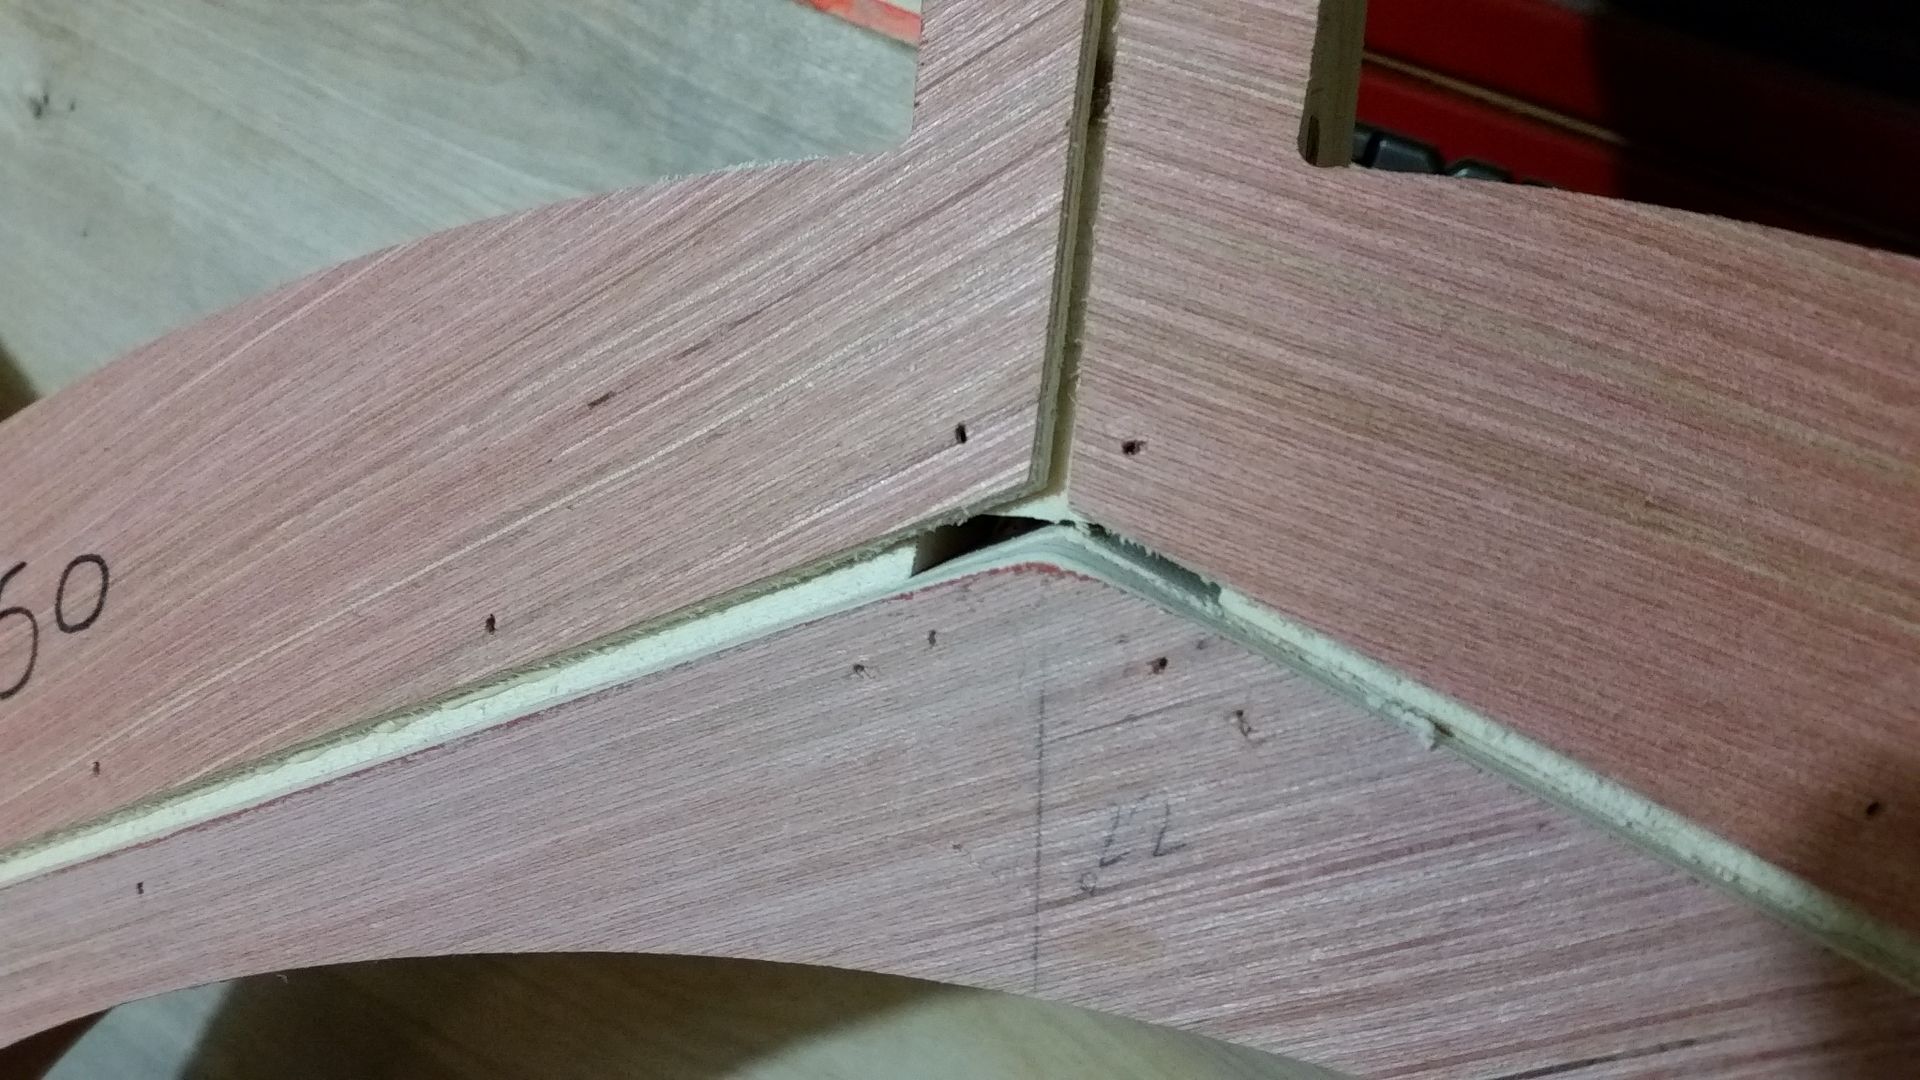
UH OH
FIXED!
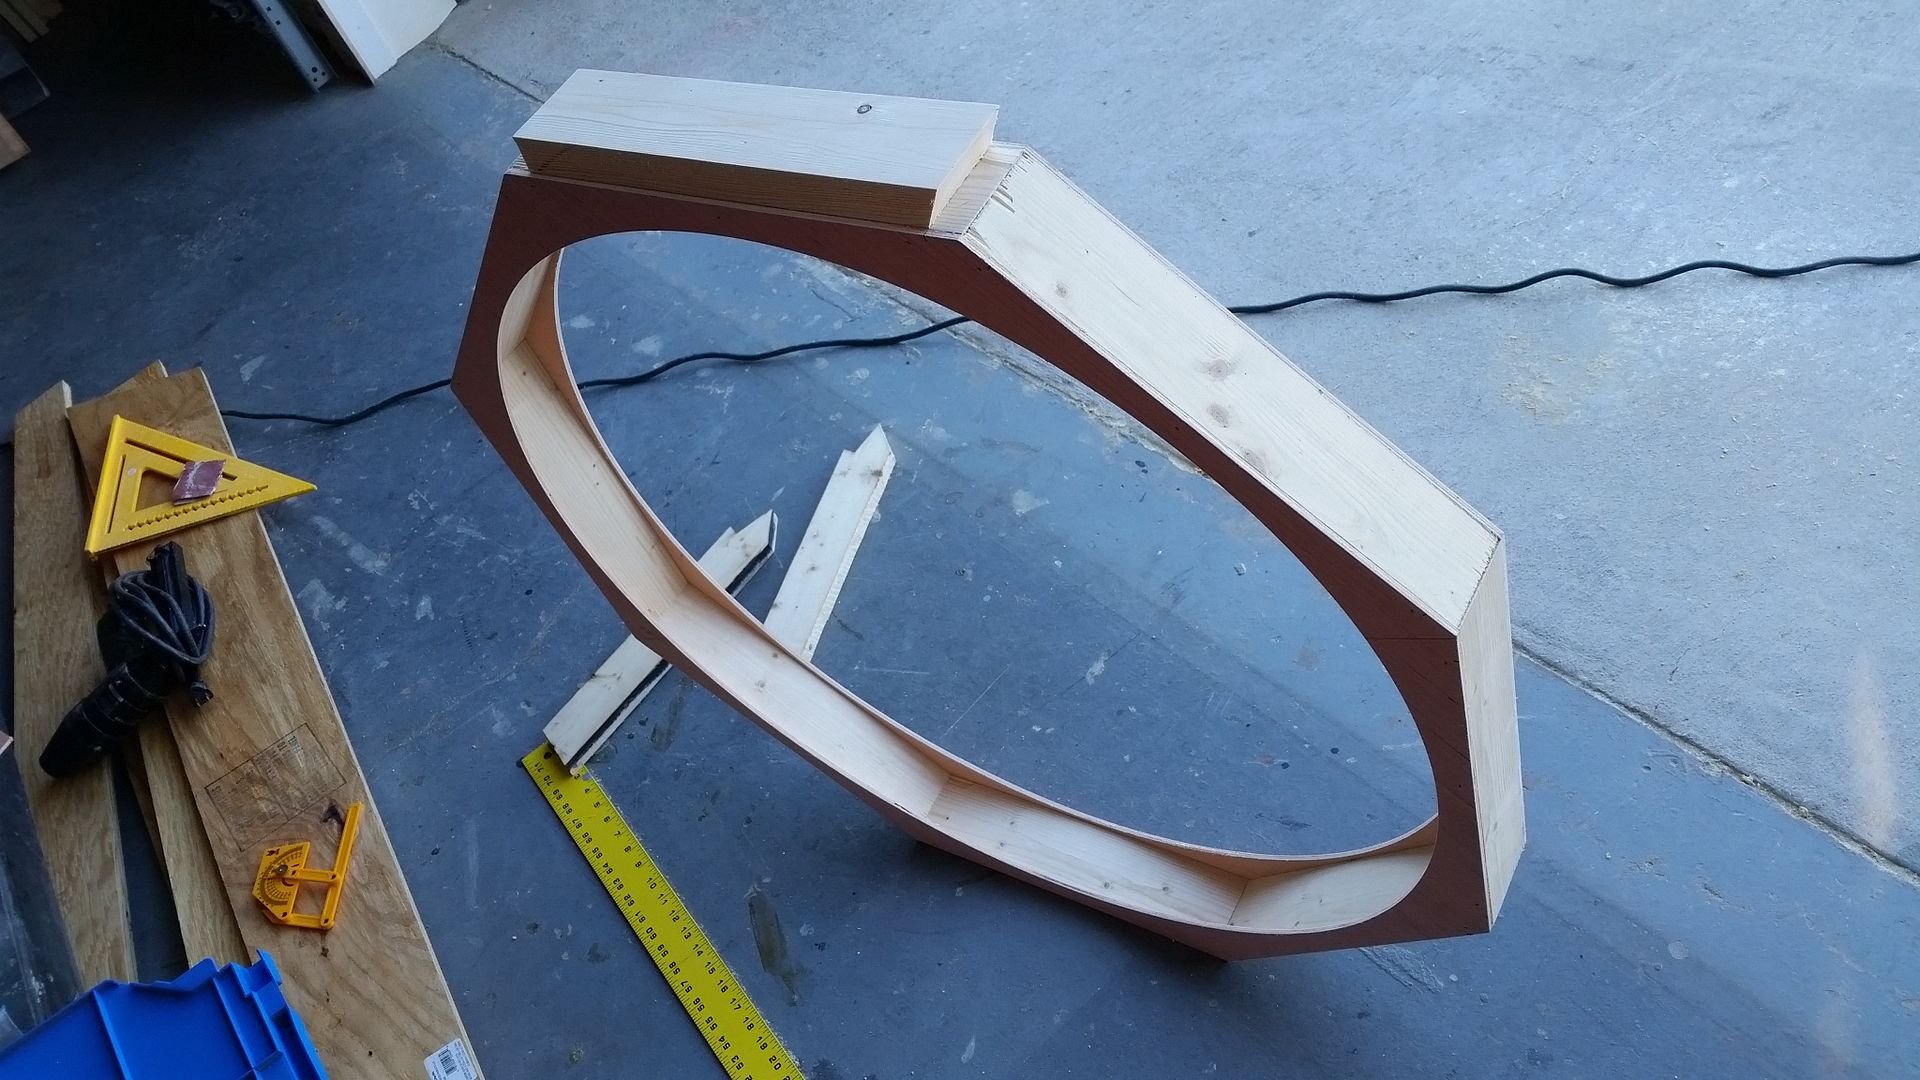
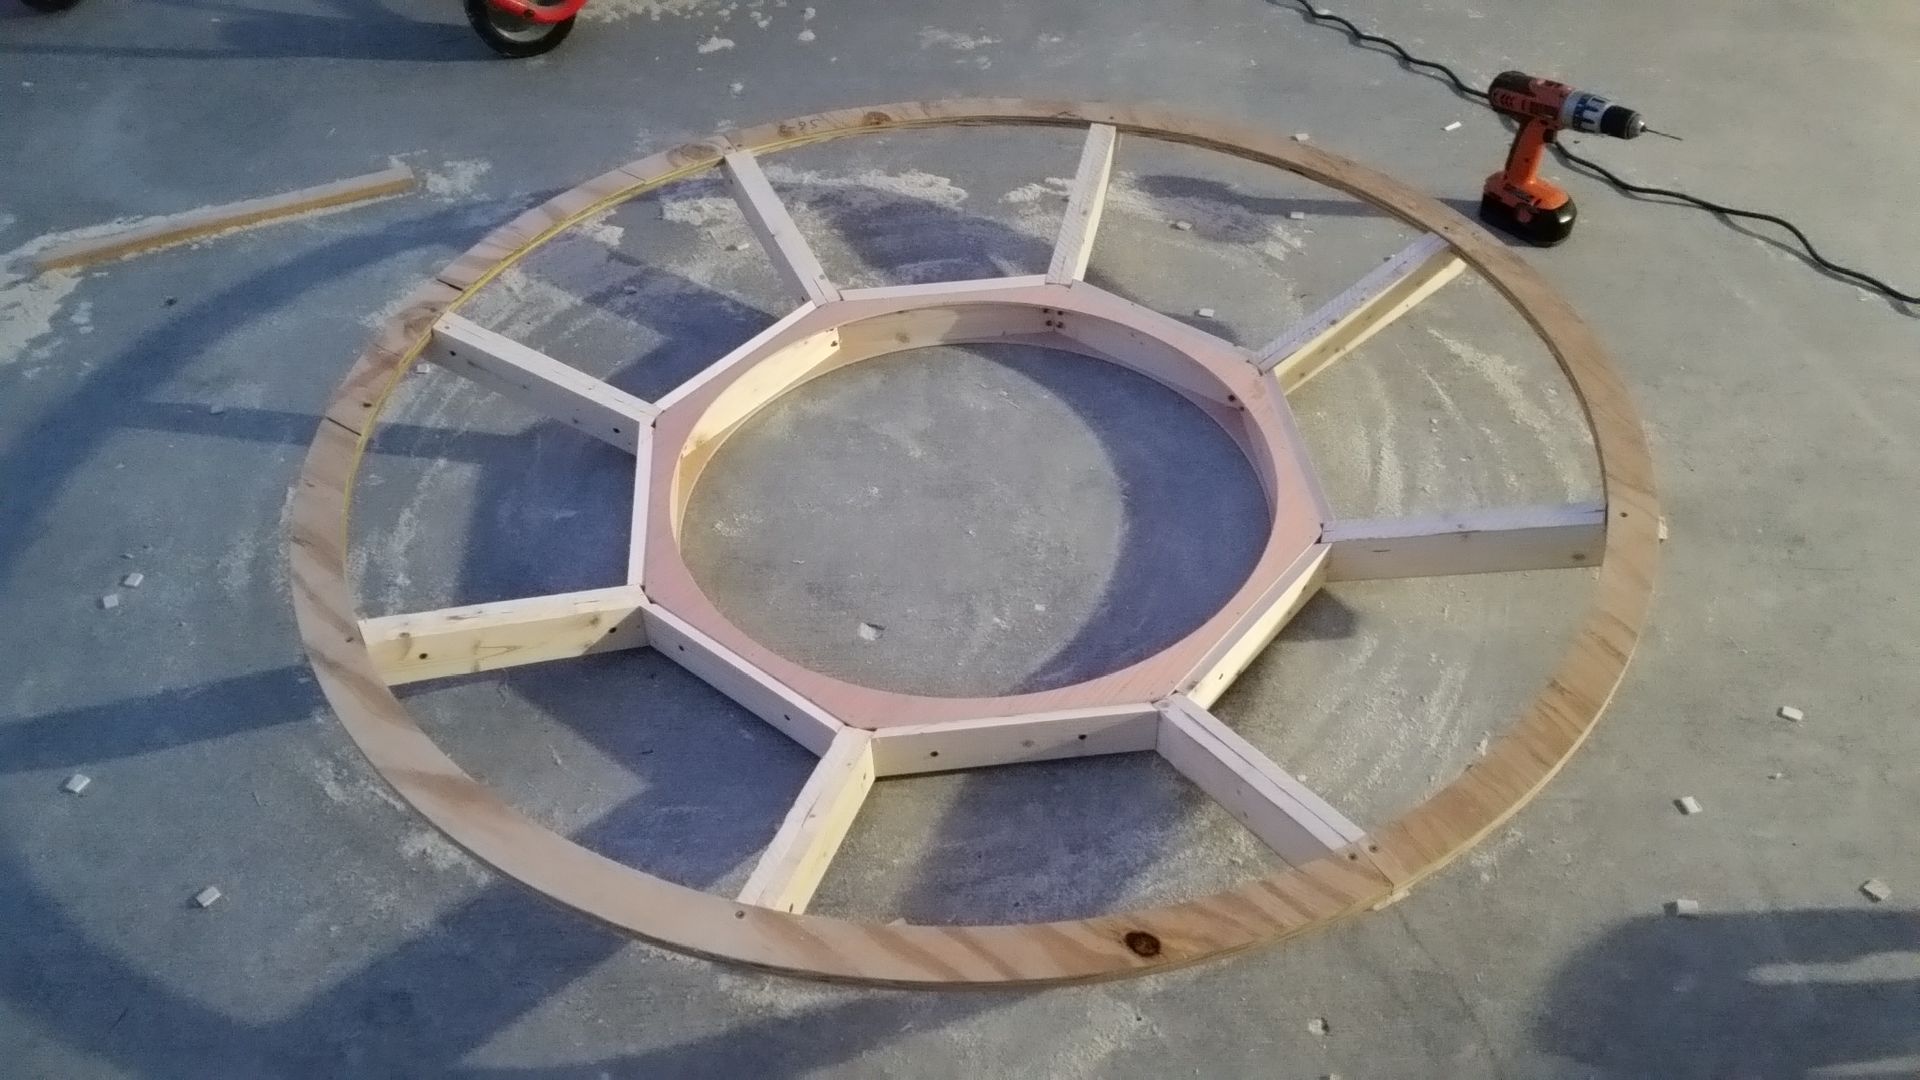
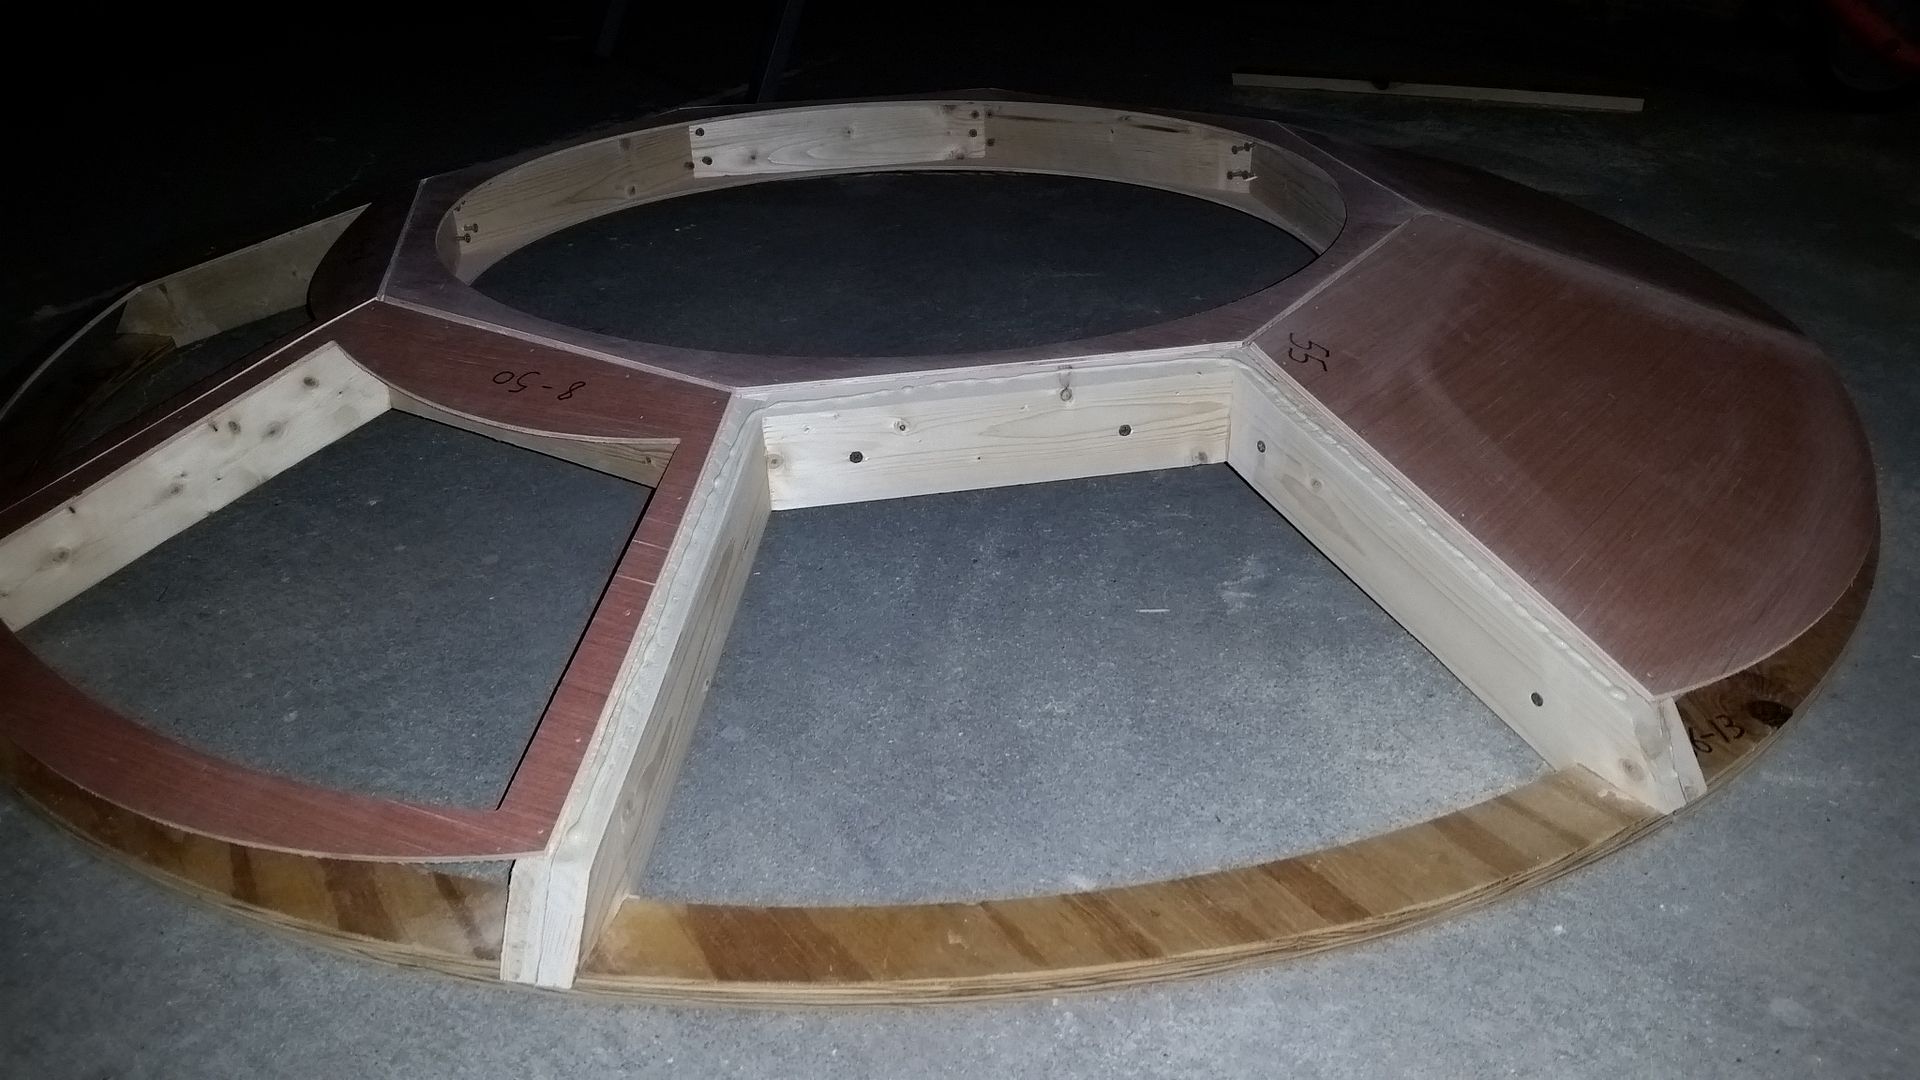
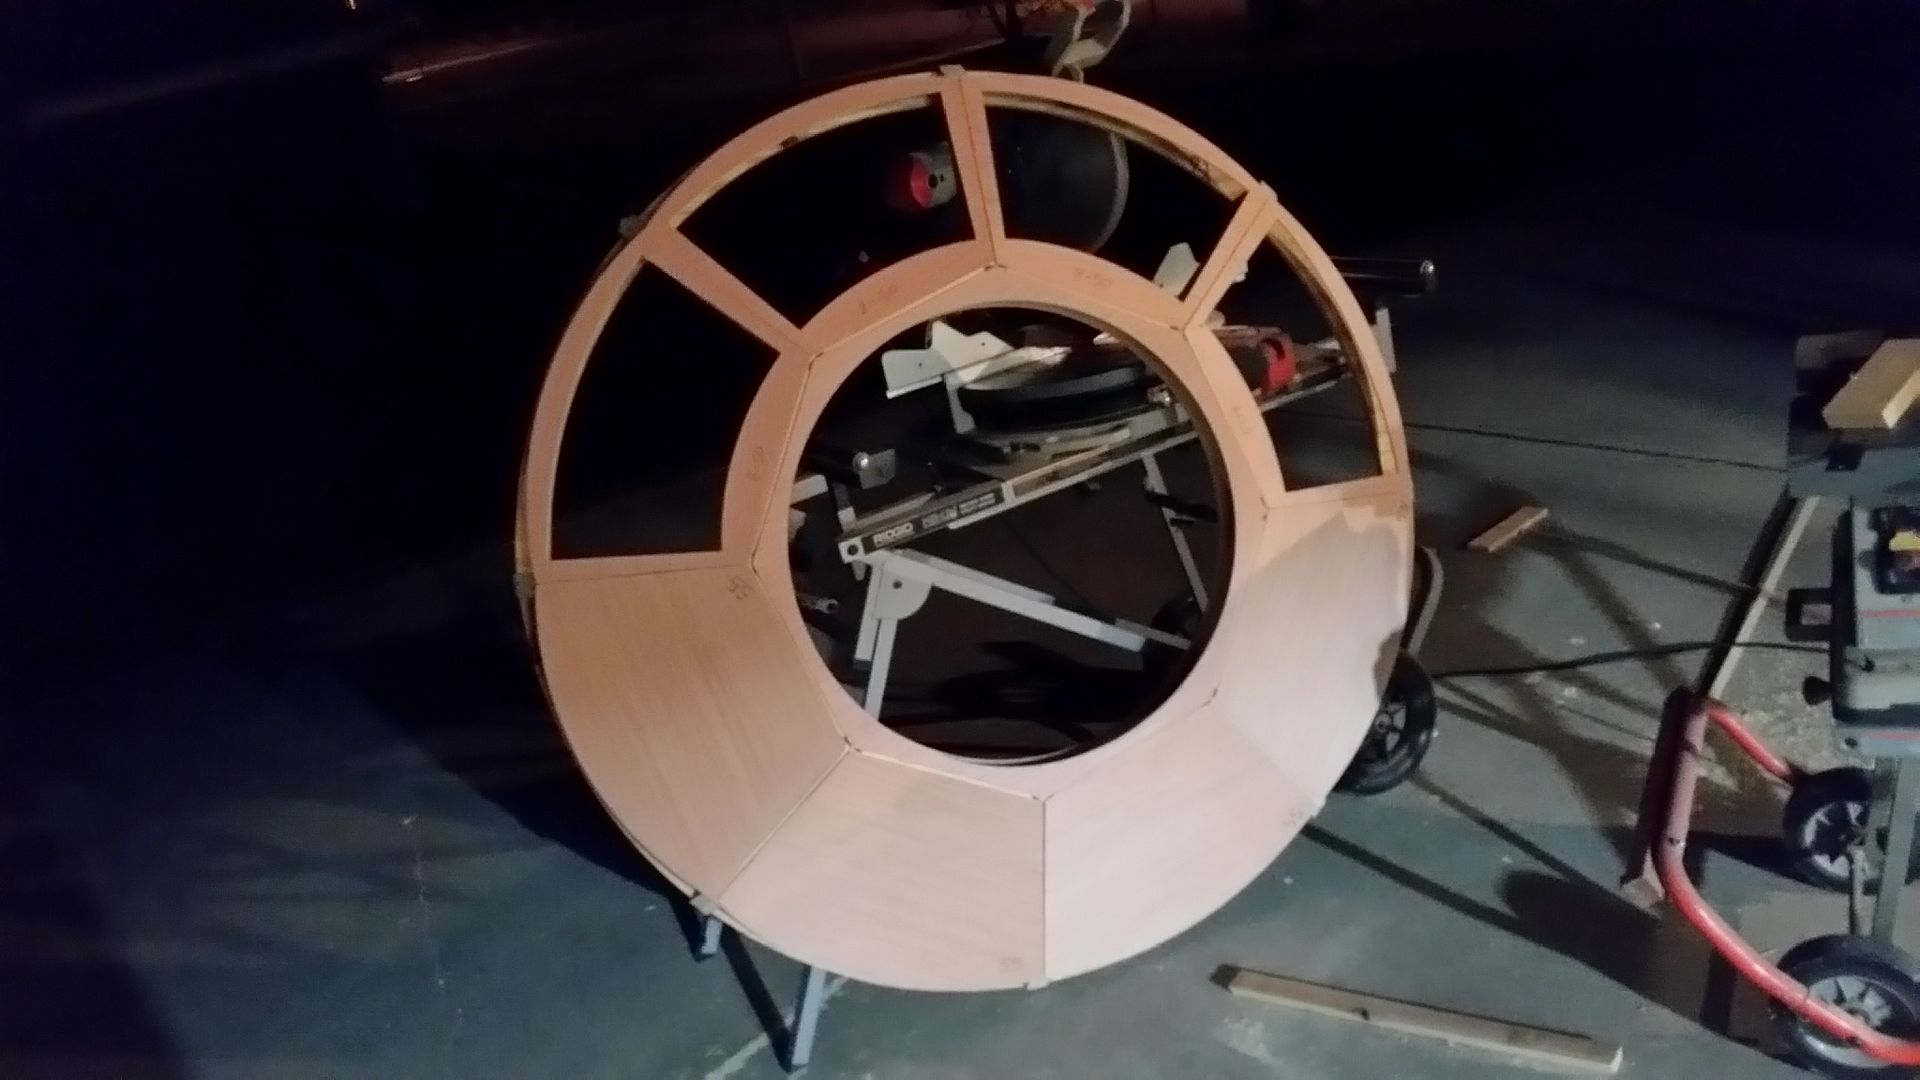
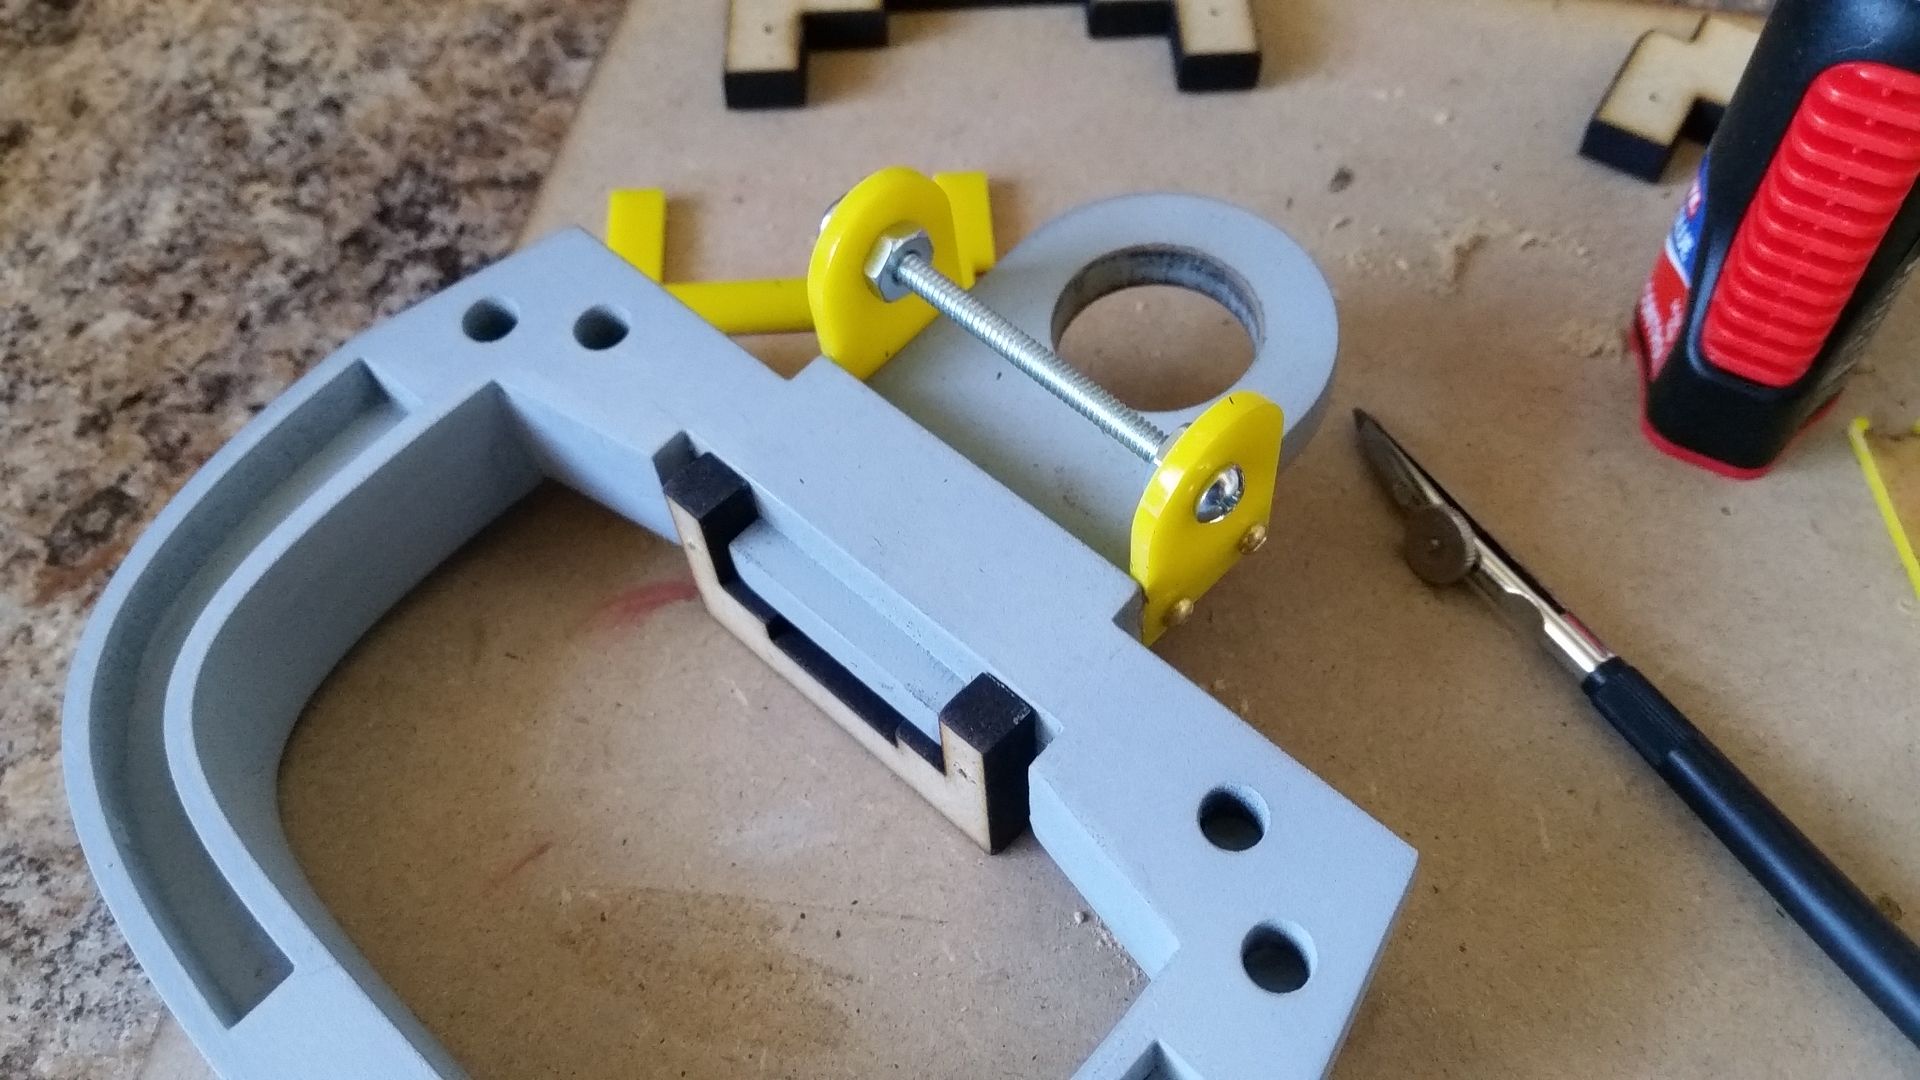
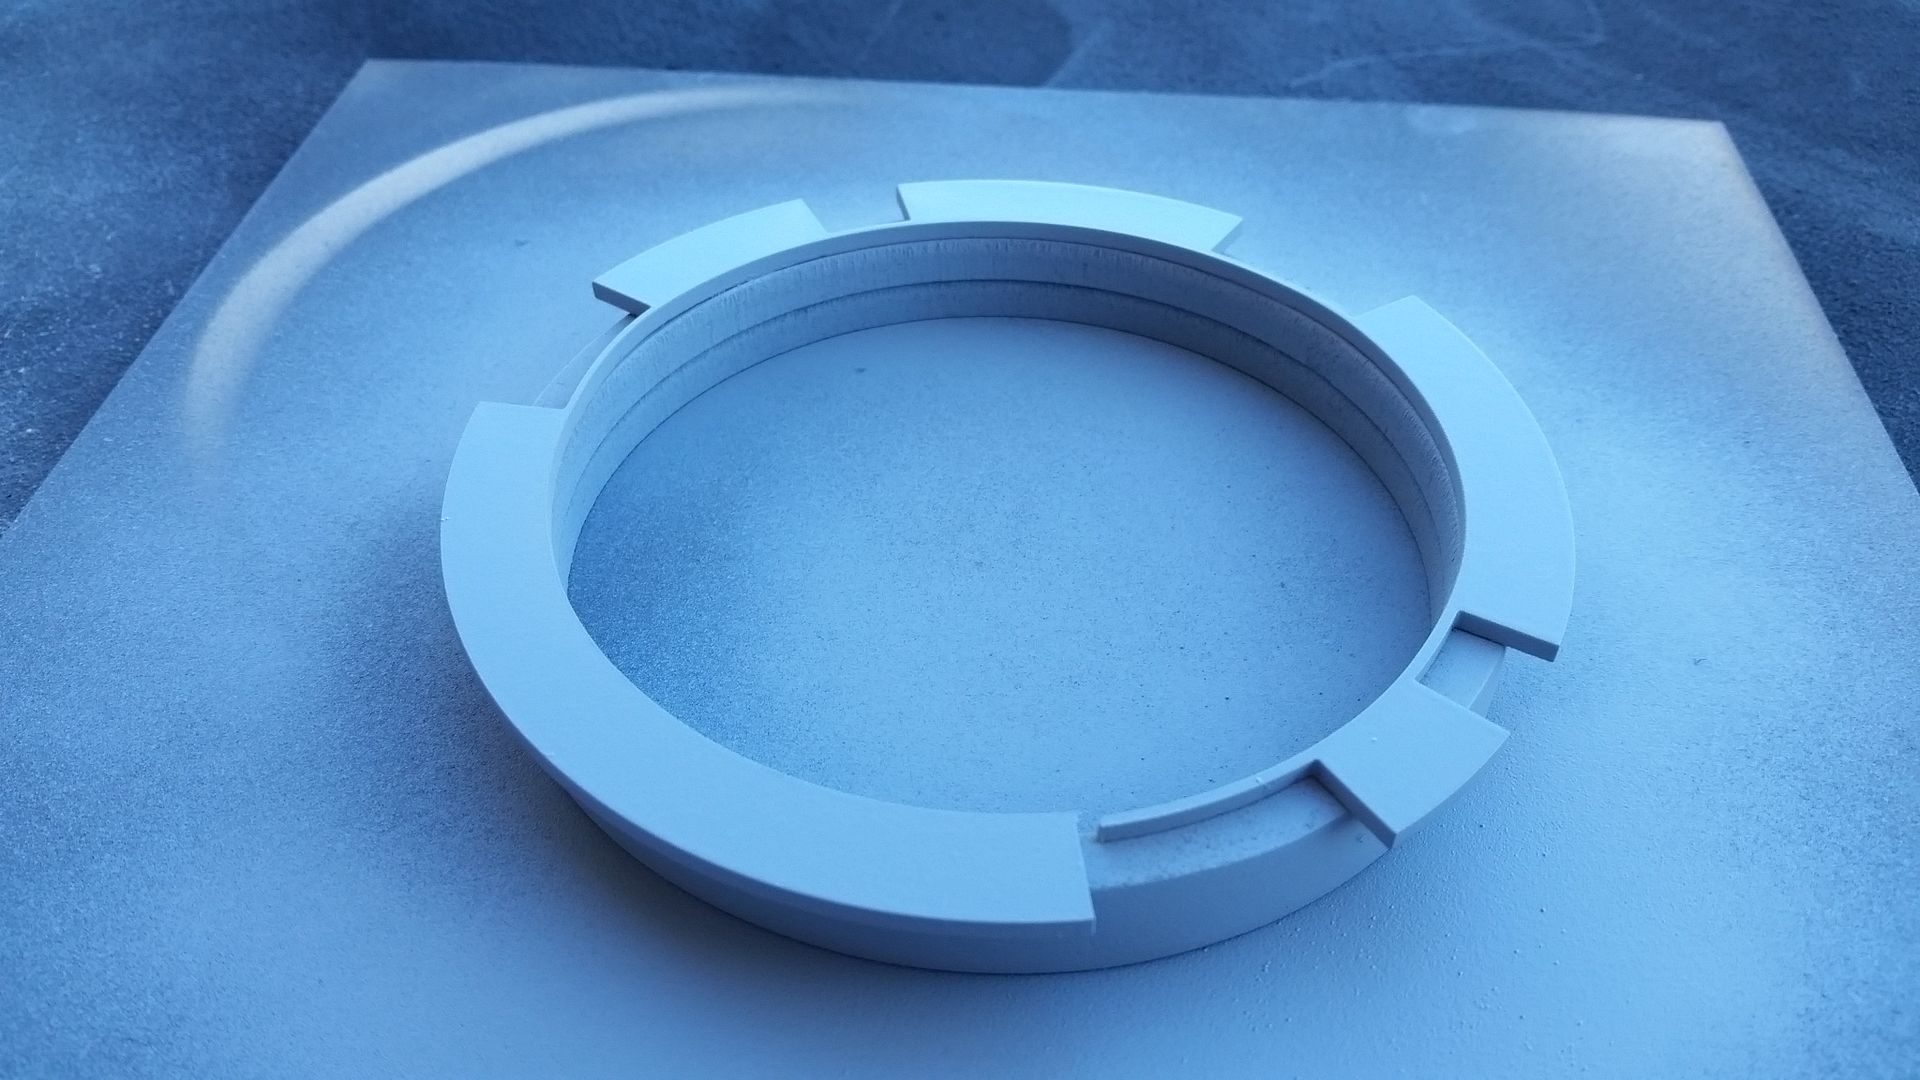
We have ourselves a front window, guys!
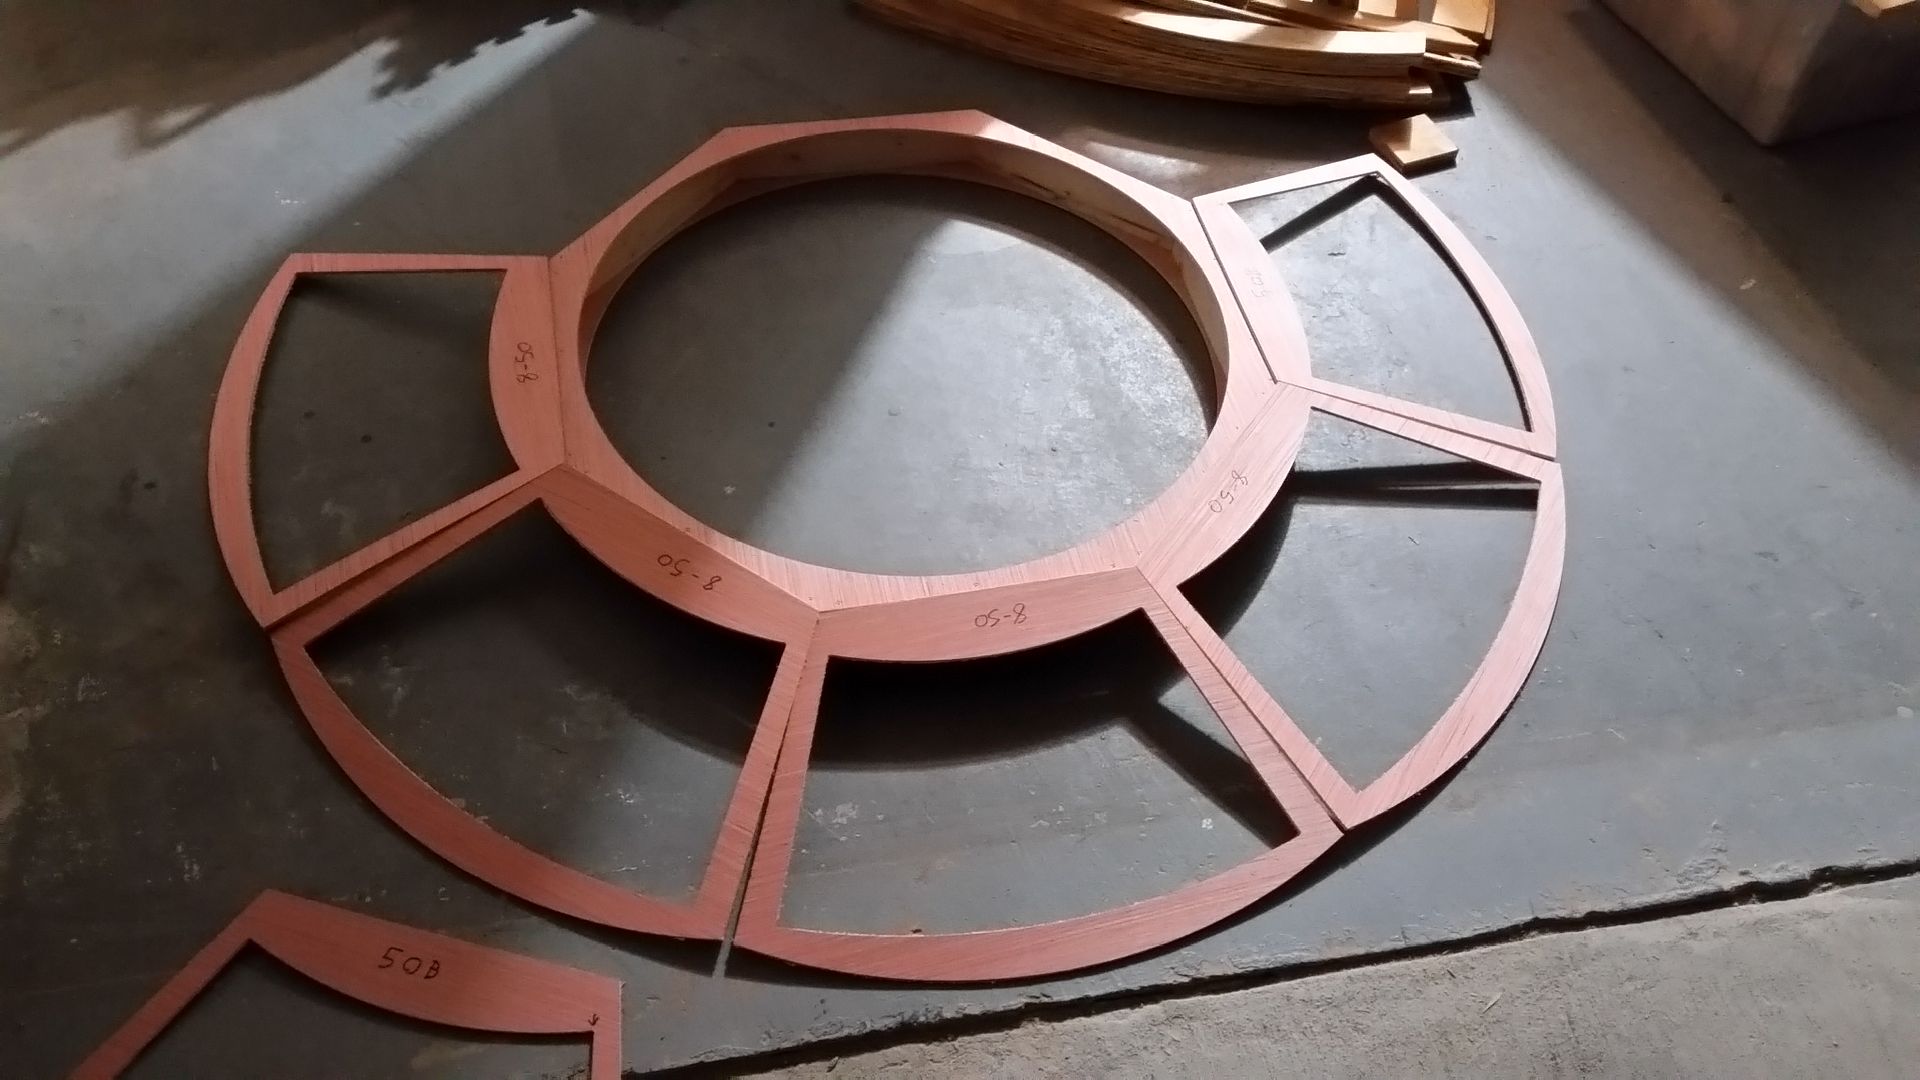
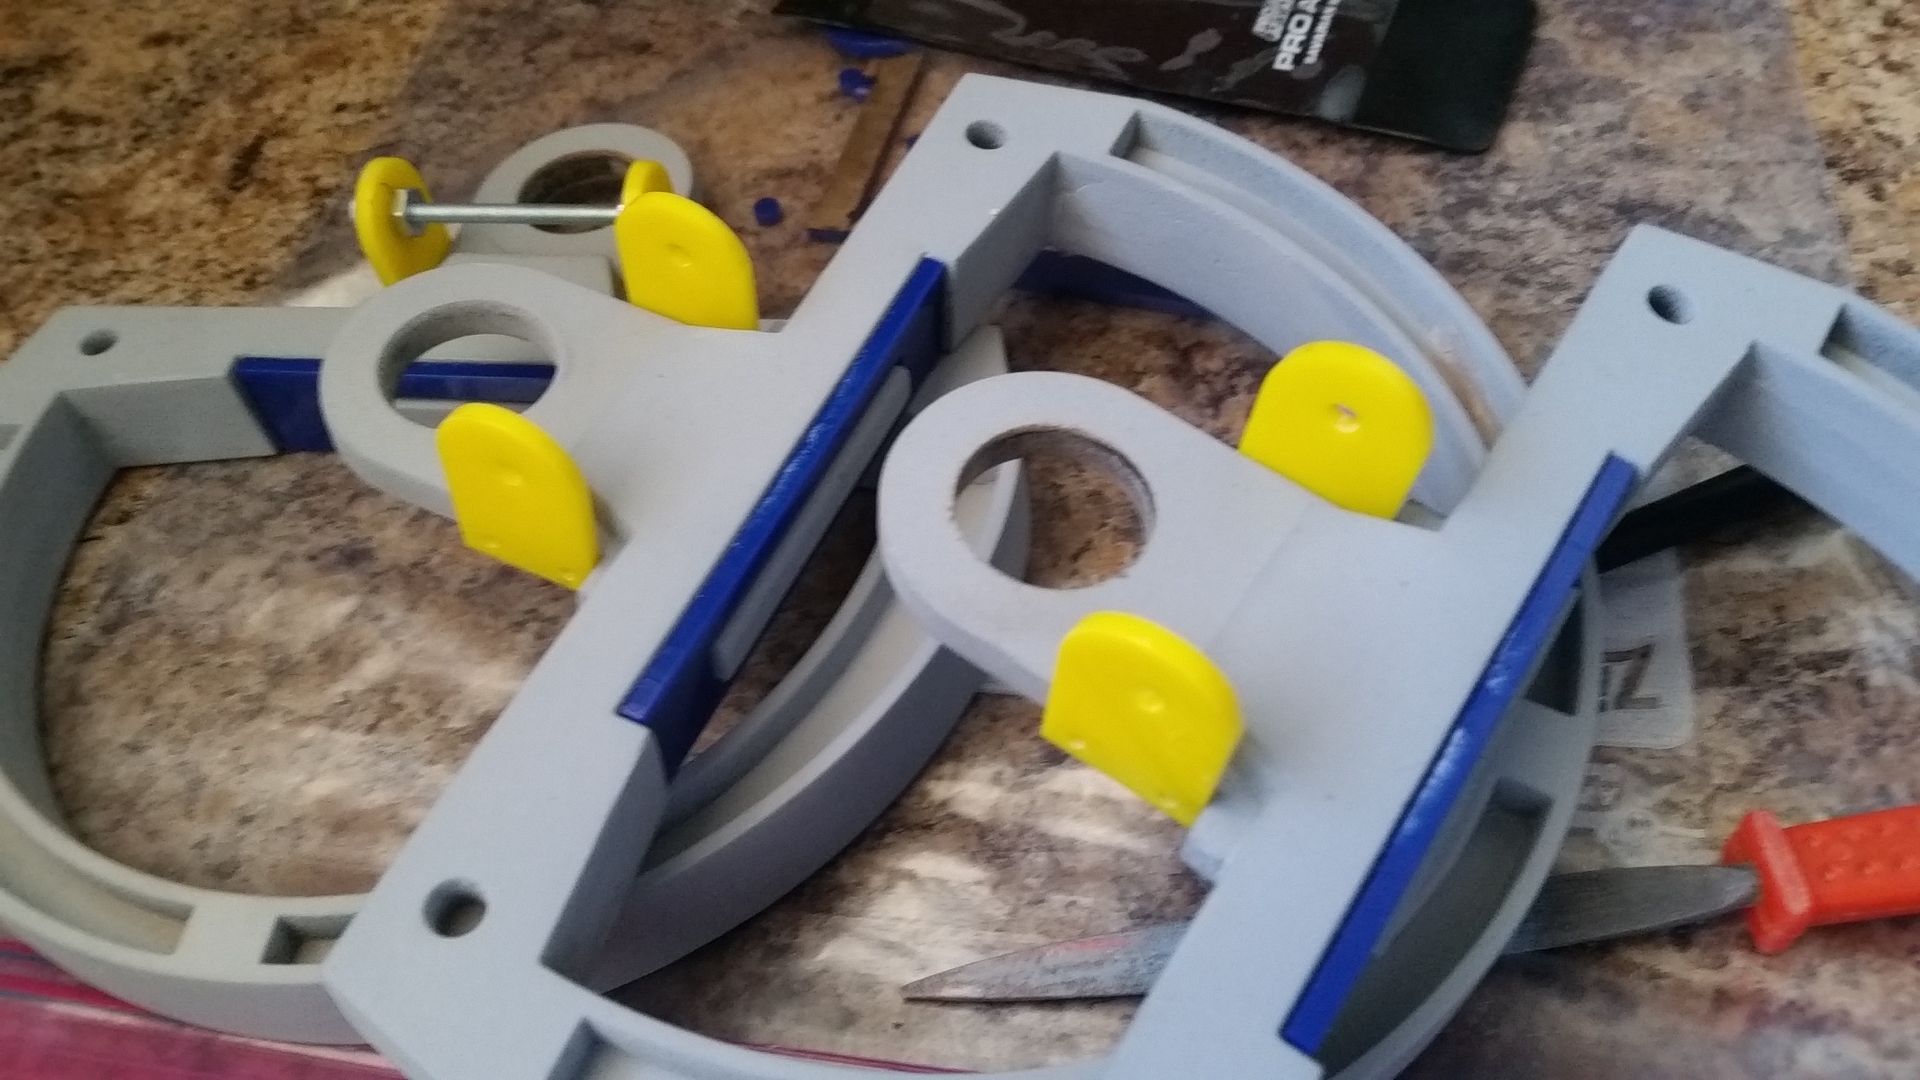
Remember these?
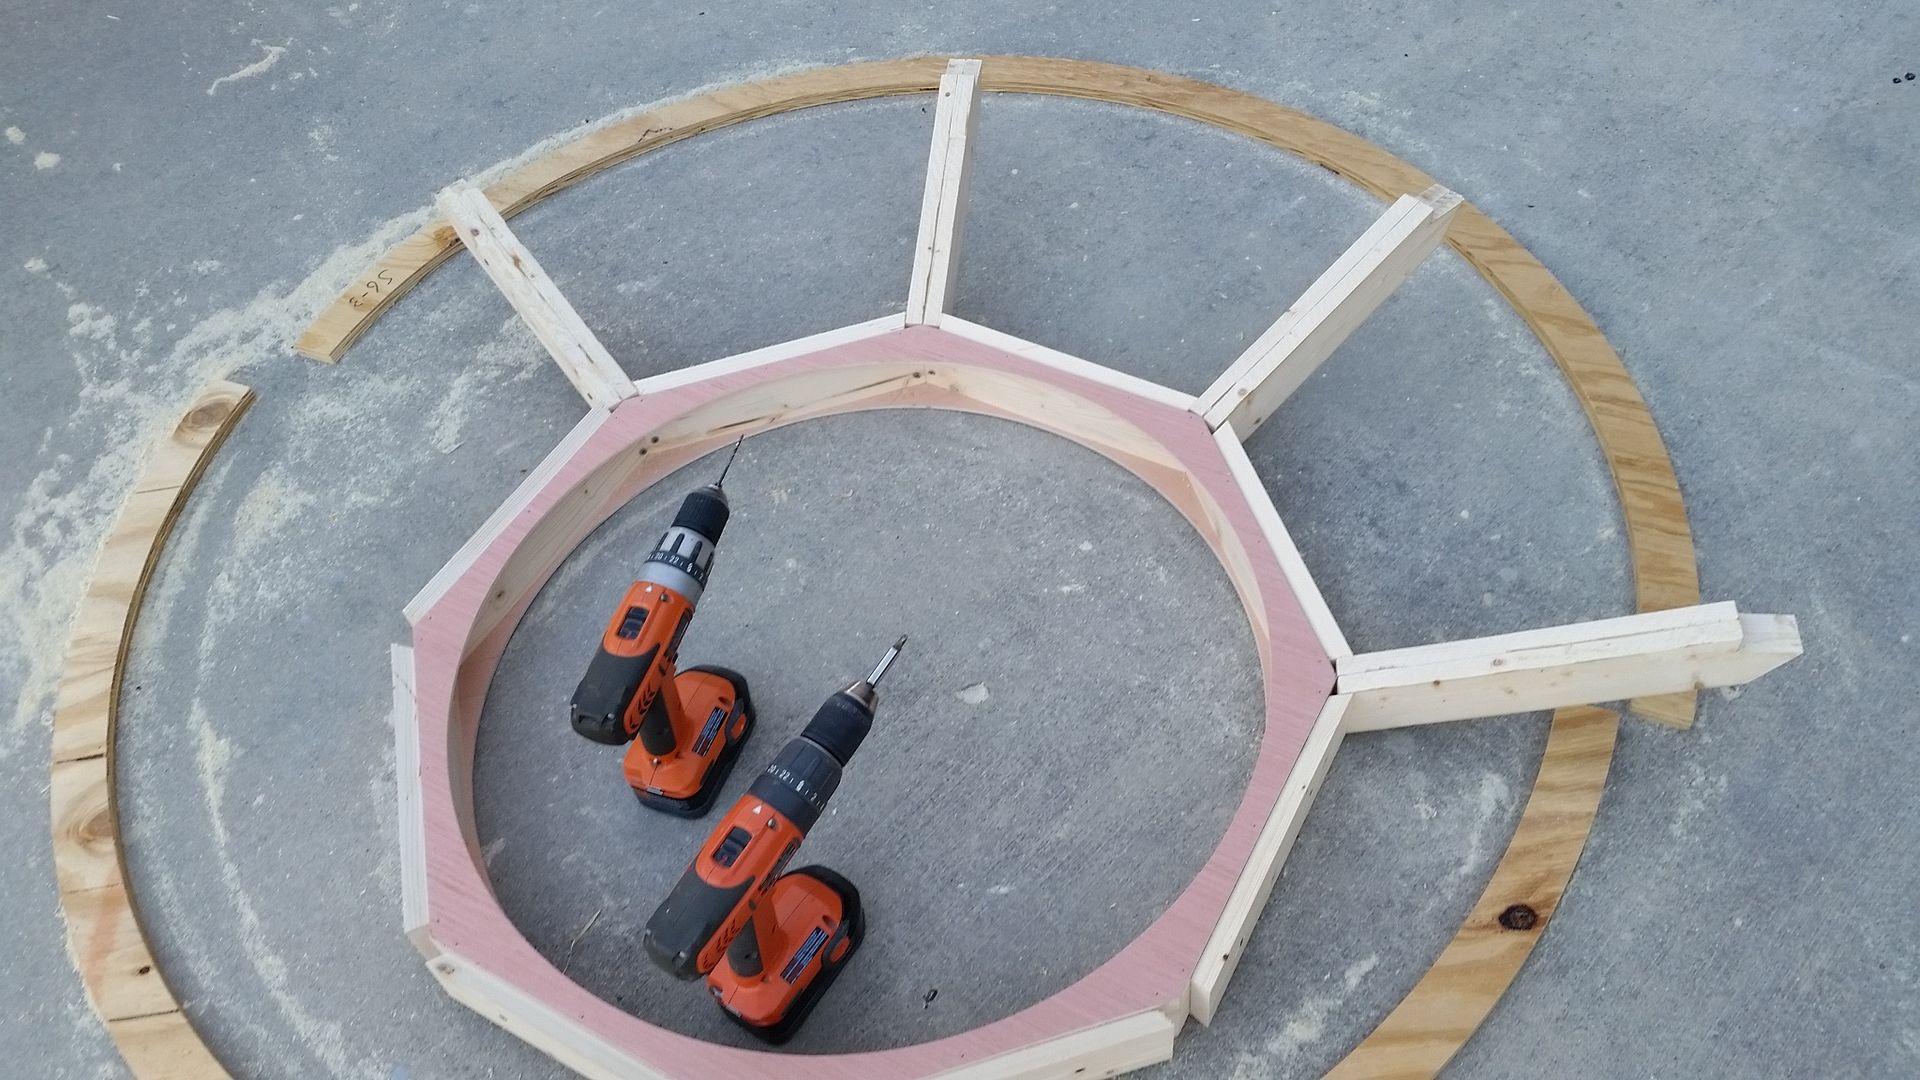
This was the most tedious part. I aligned the tops of the window "petals" with the flat edges of the inner circle. Unscrewed one arm and wiggled it until it aligned it with the edges of the petals. Once aligned I adhered into place and then turned the window to the next petal and repeated the same process each time until ALL the petals and arms were perfectly aligned with each other
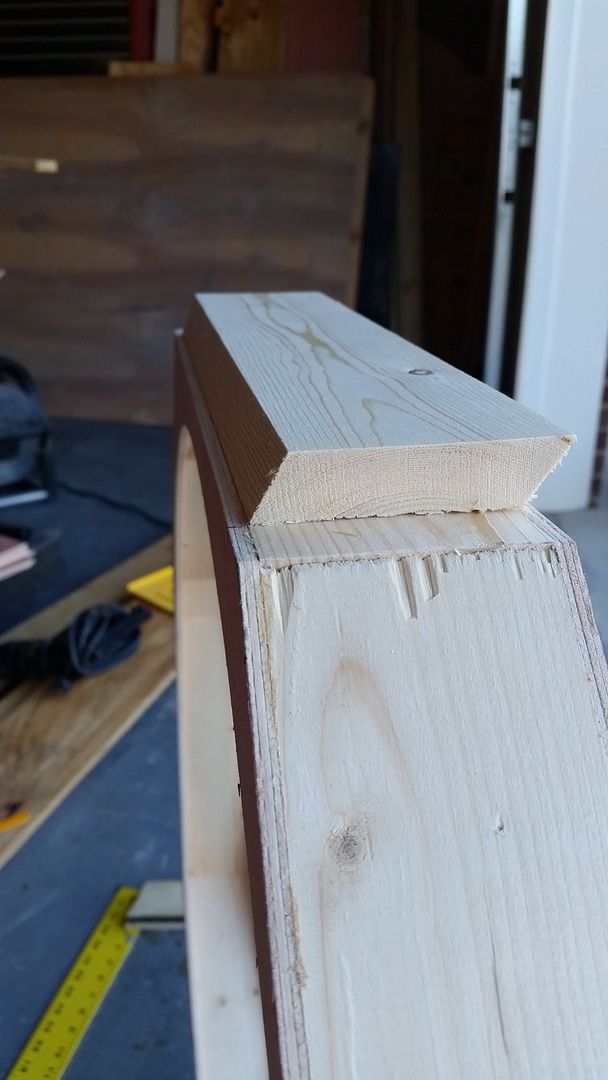
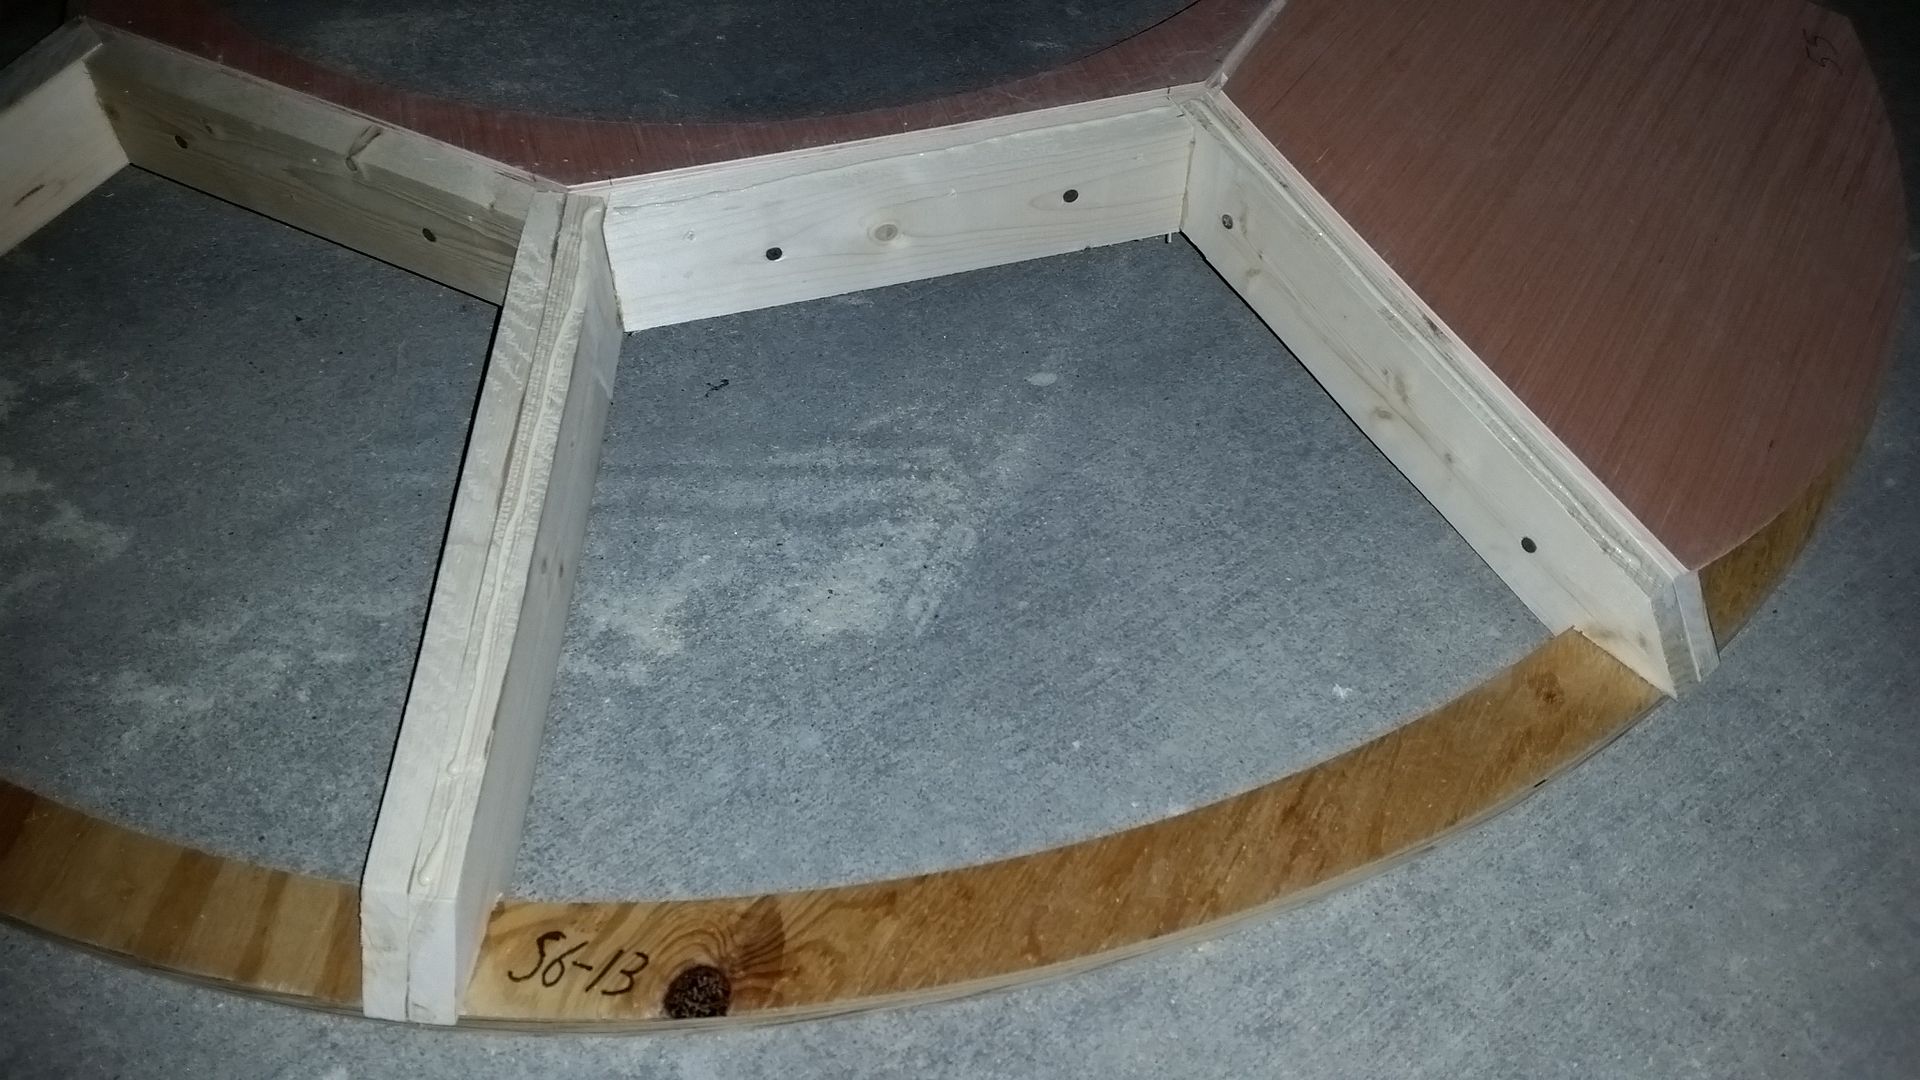
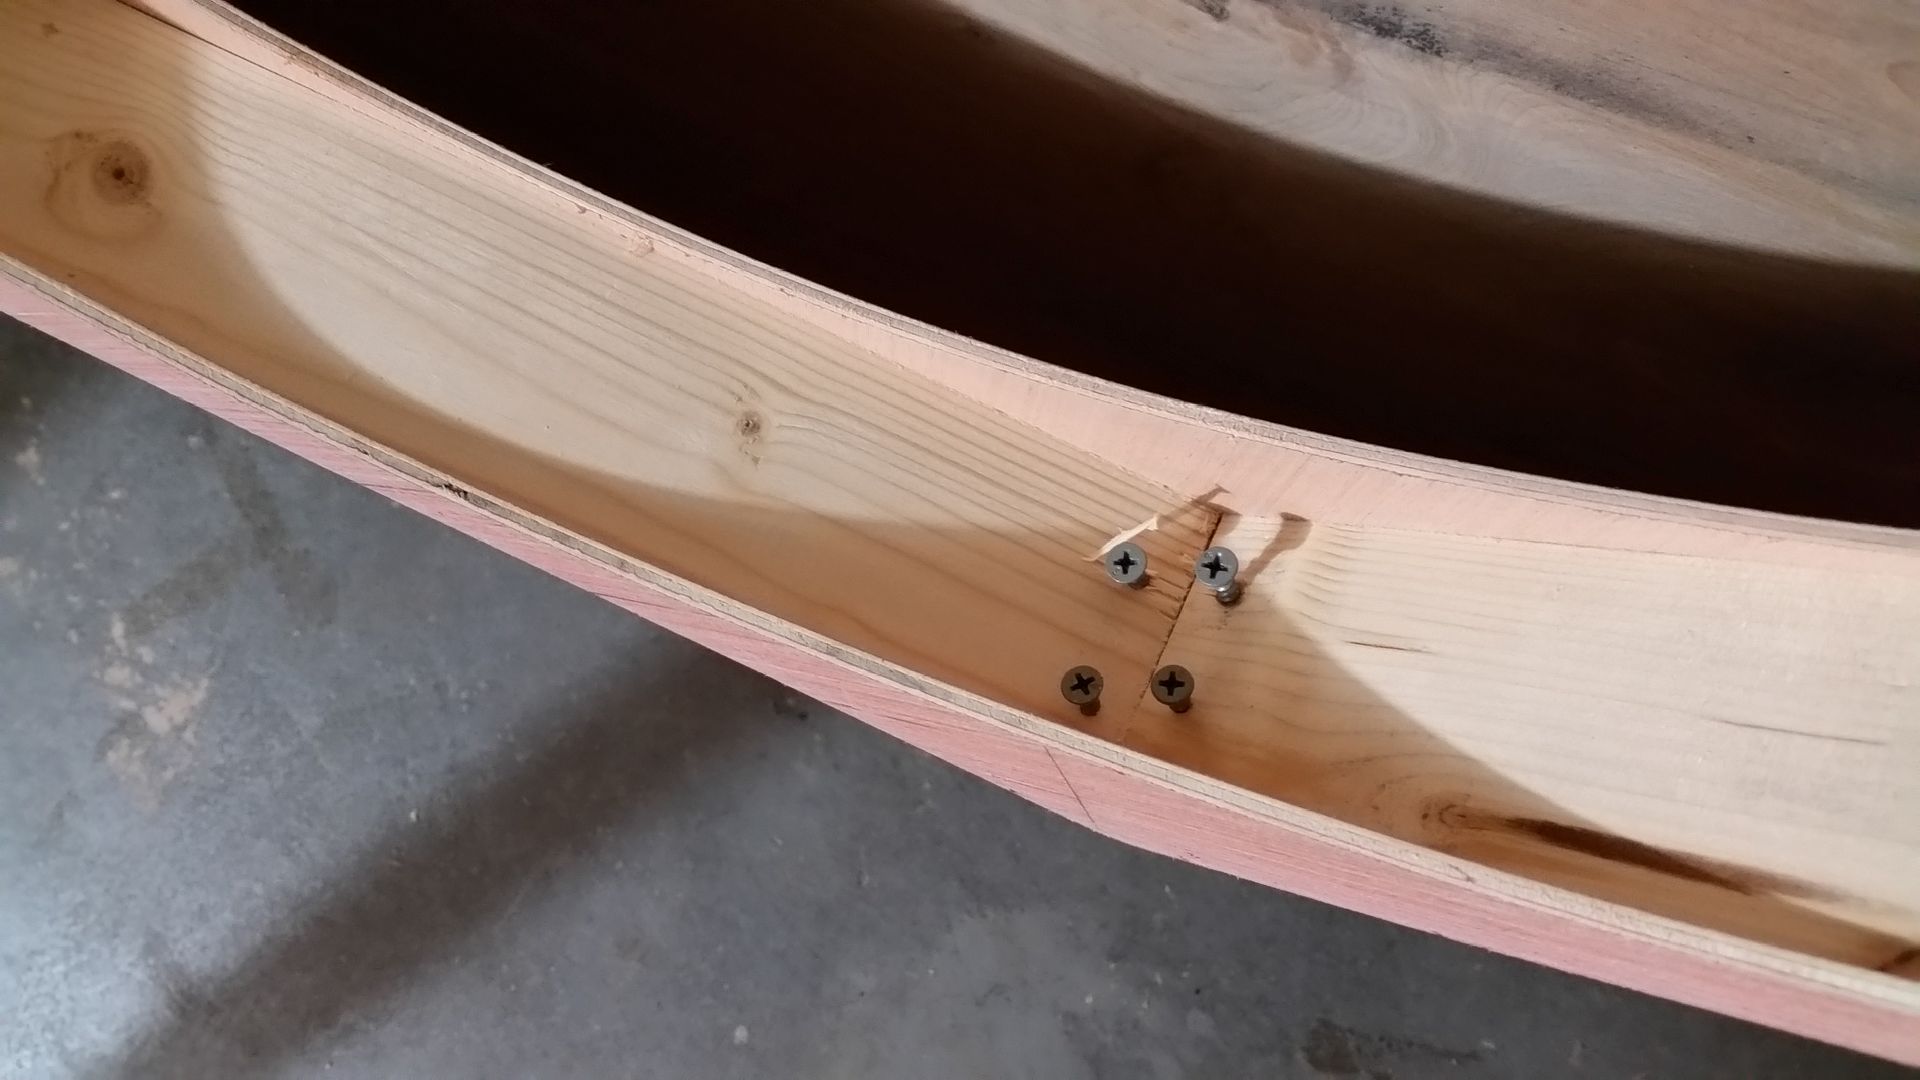
Sanding some edges smooth
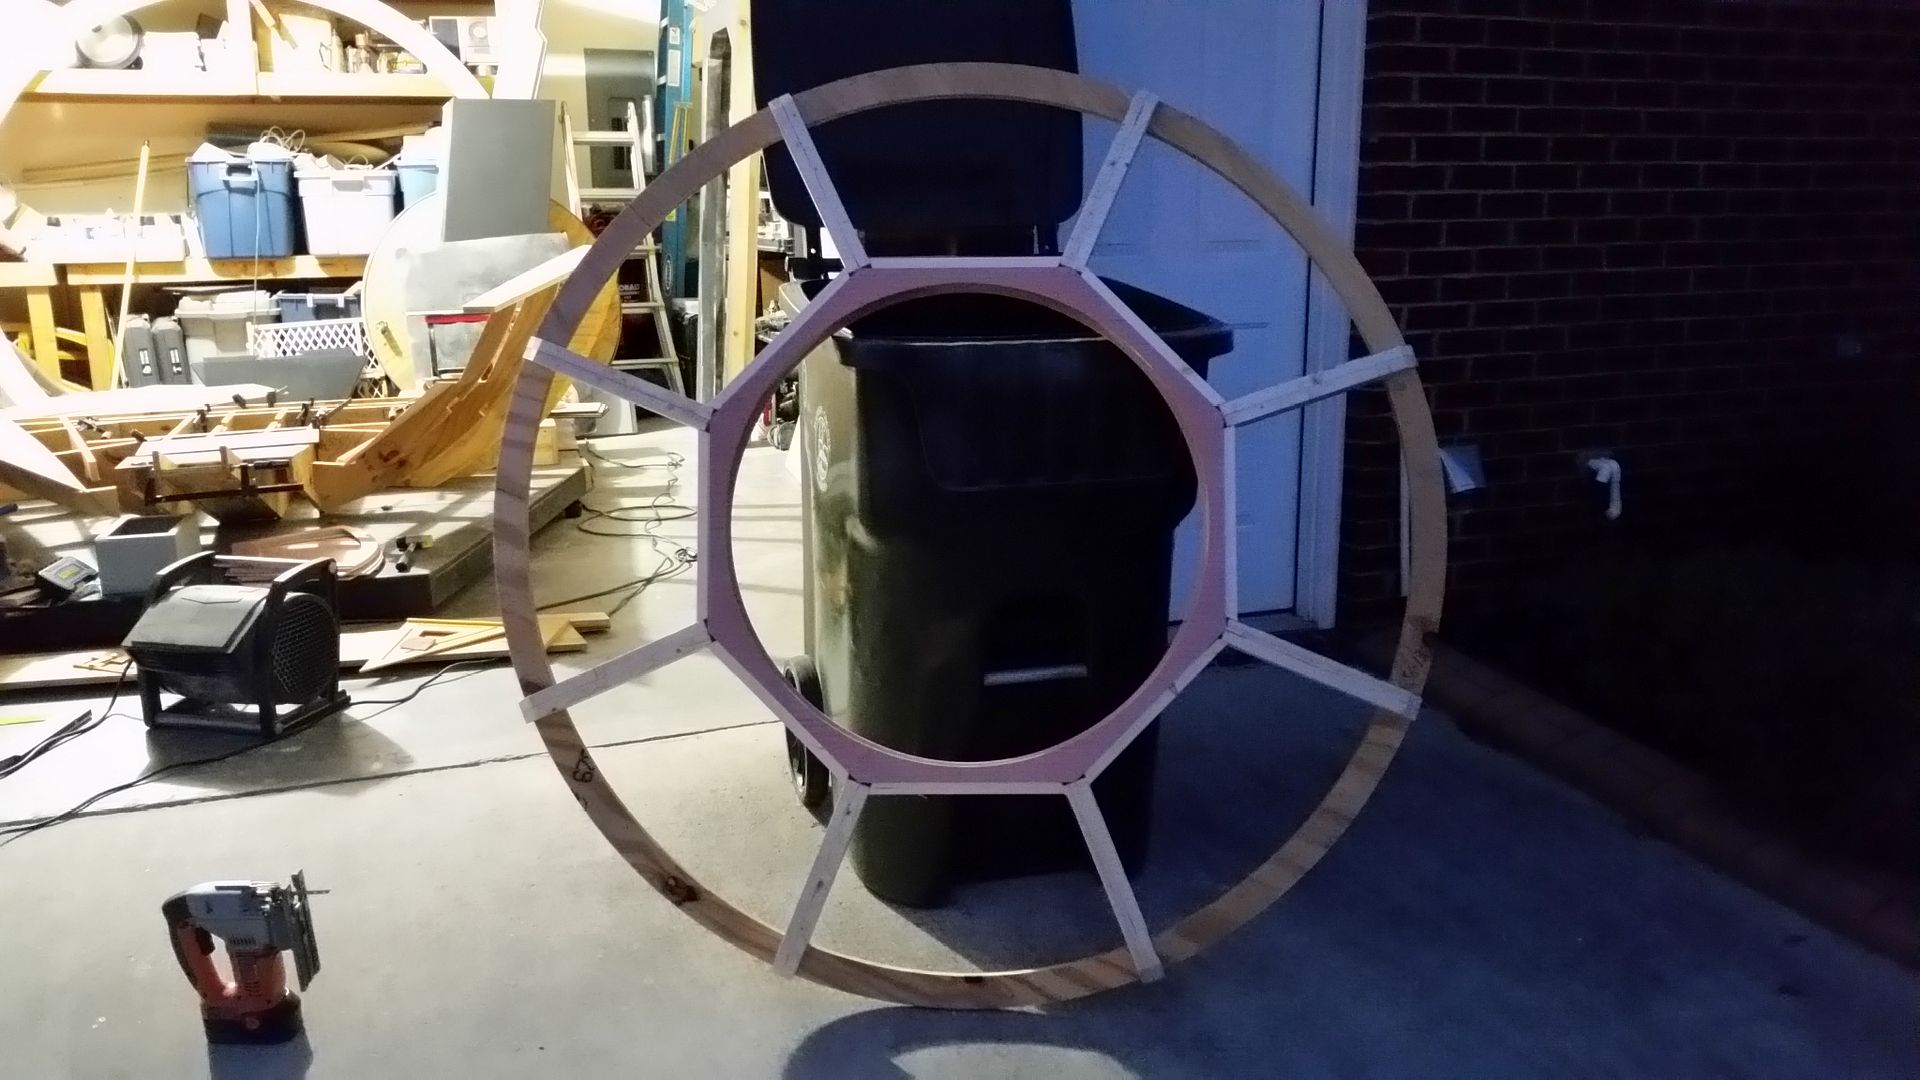
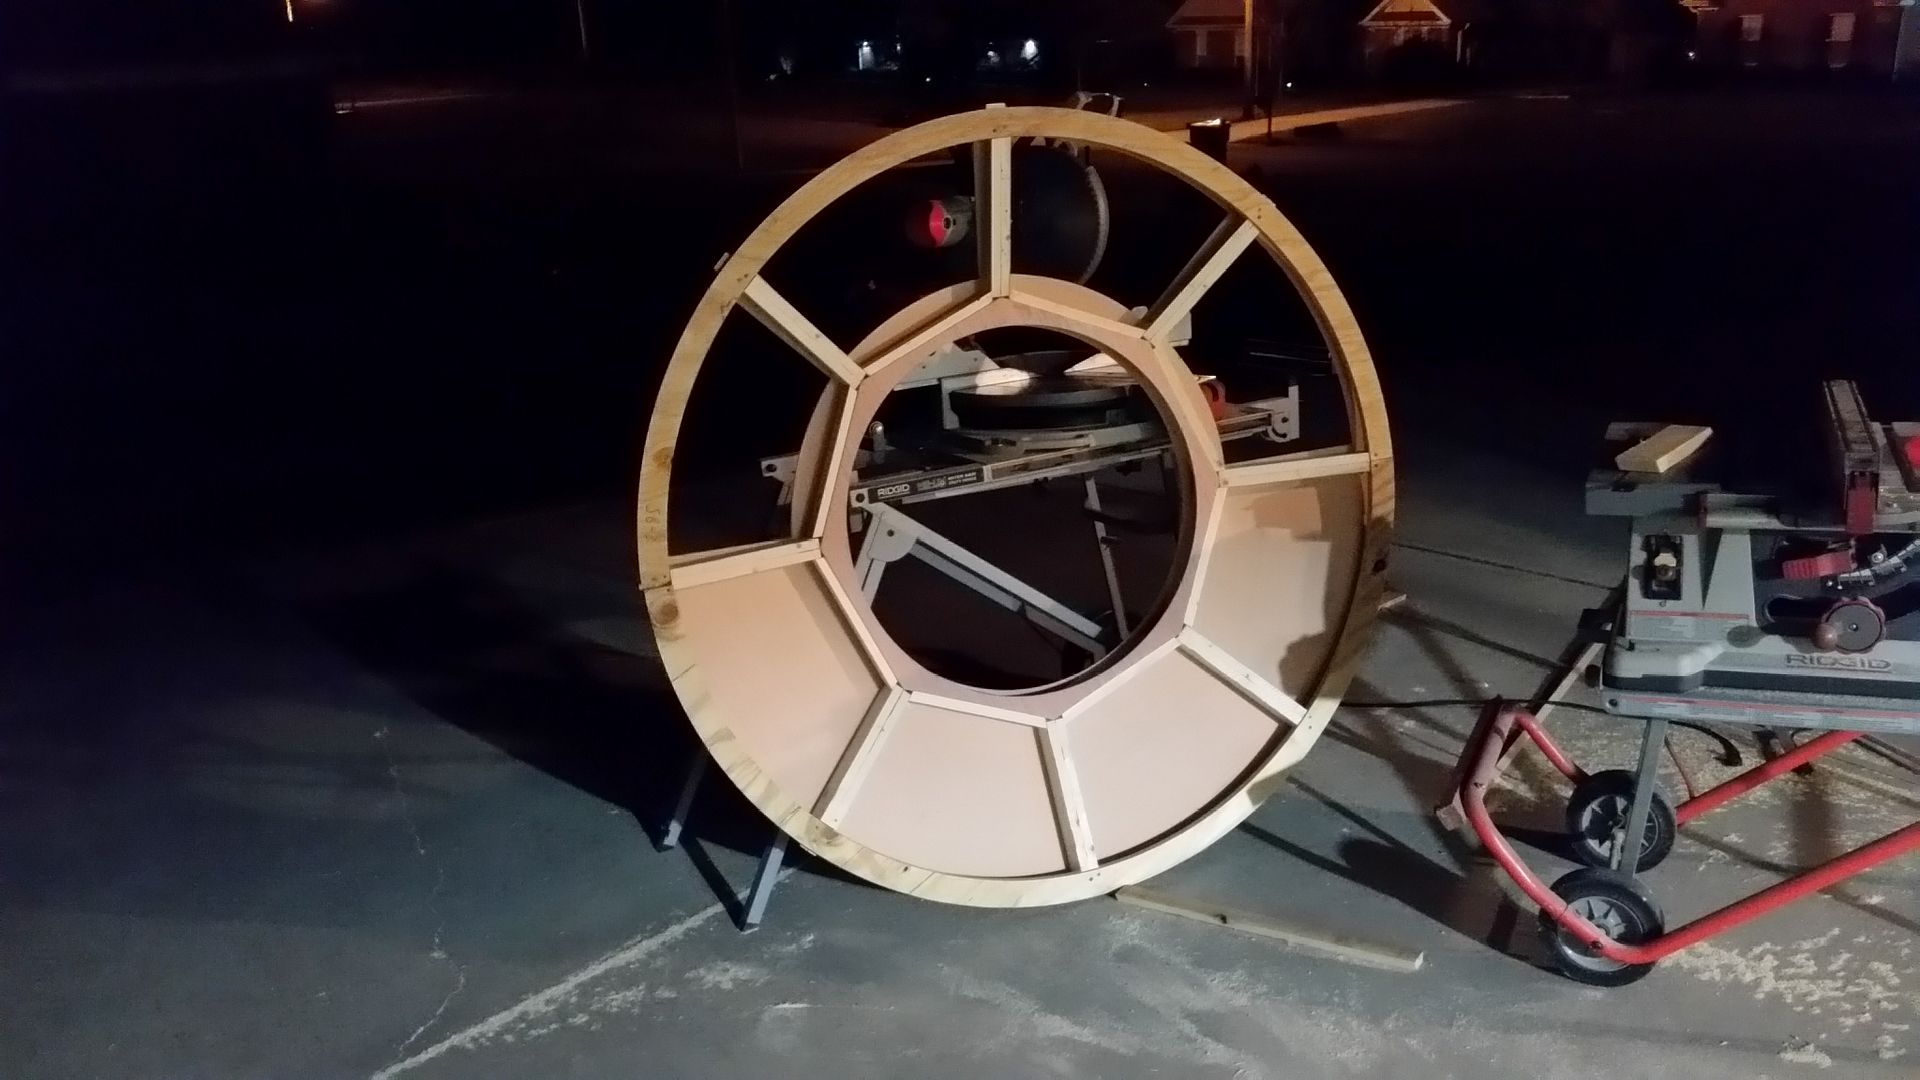
The last of the front window petals
There are some gaps but it was the only way to ensure everything fit
Break out the filler and foam and fiberglass and mud, and dirt and sticks...
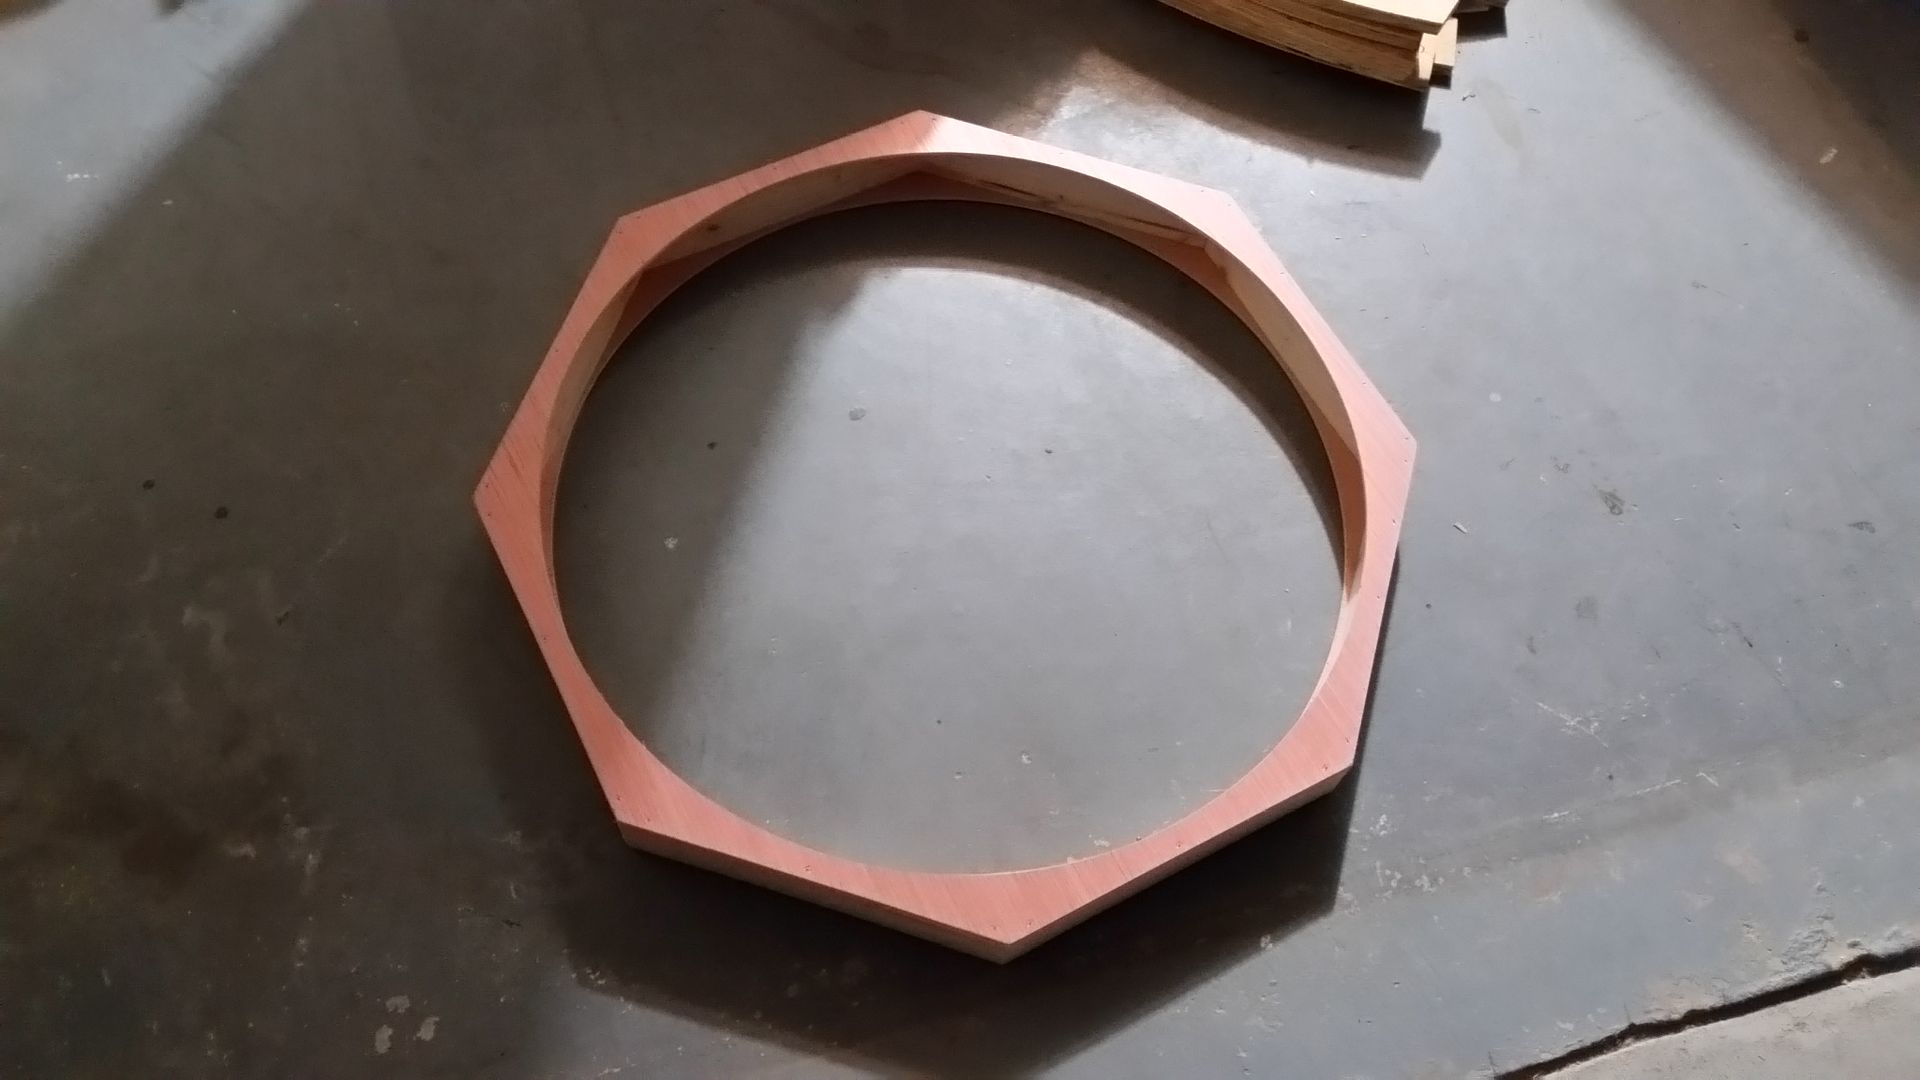
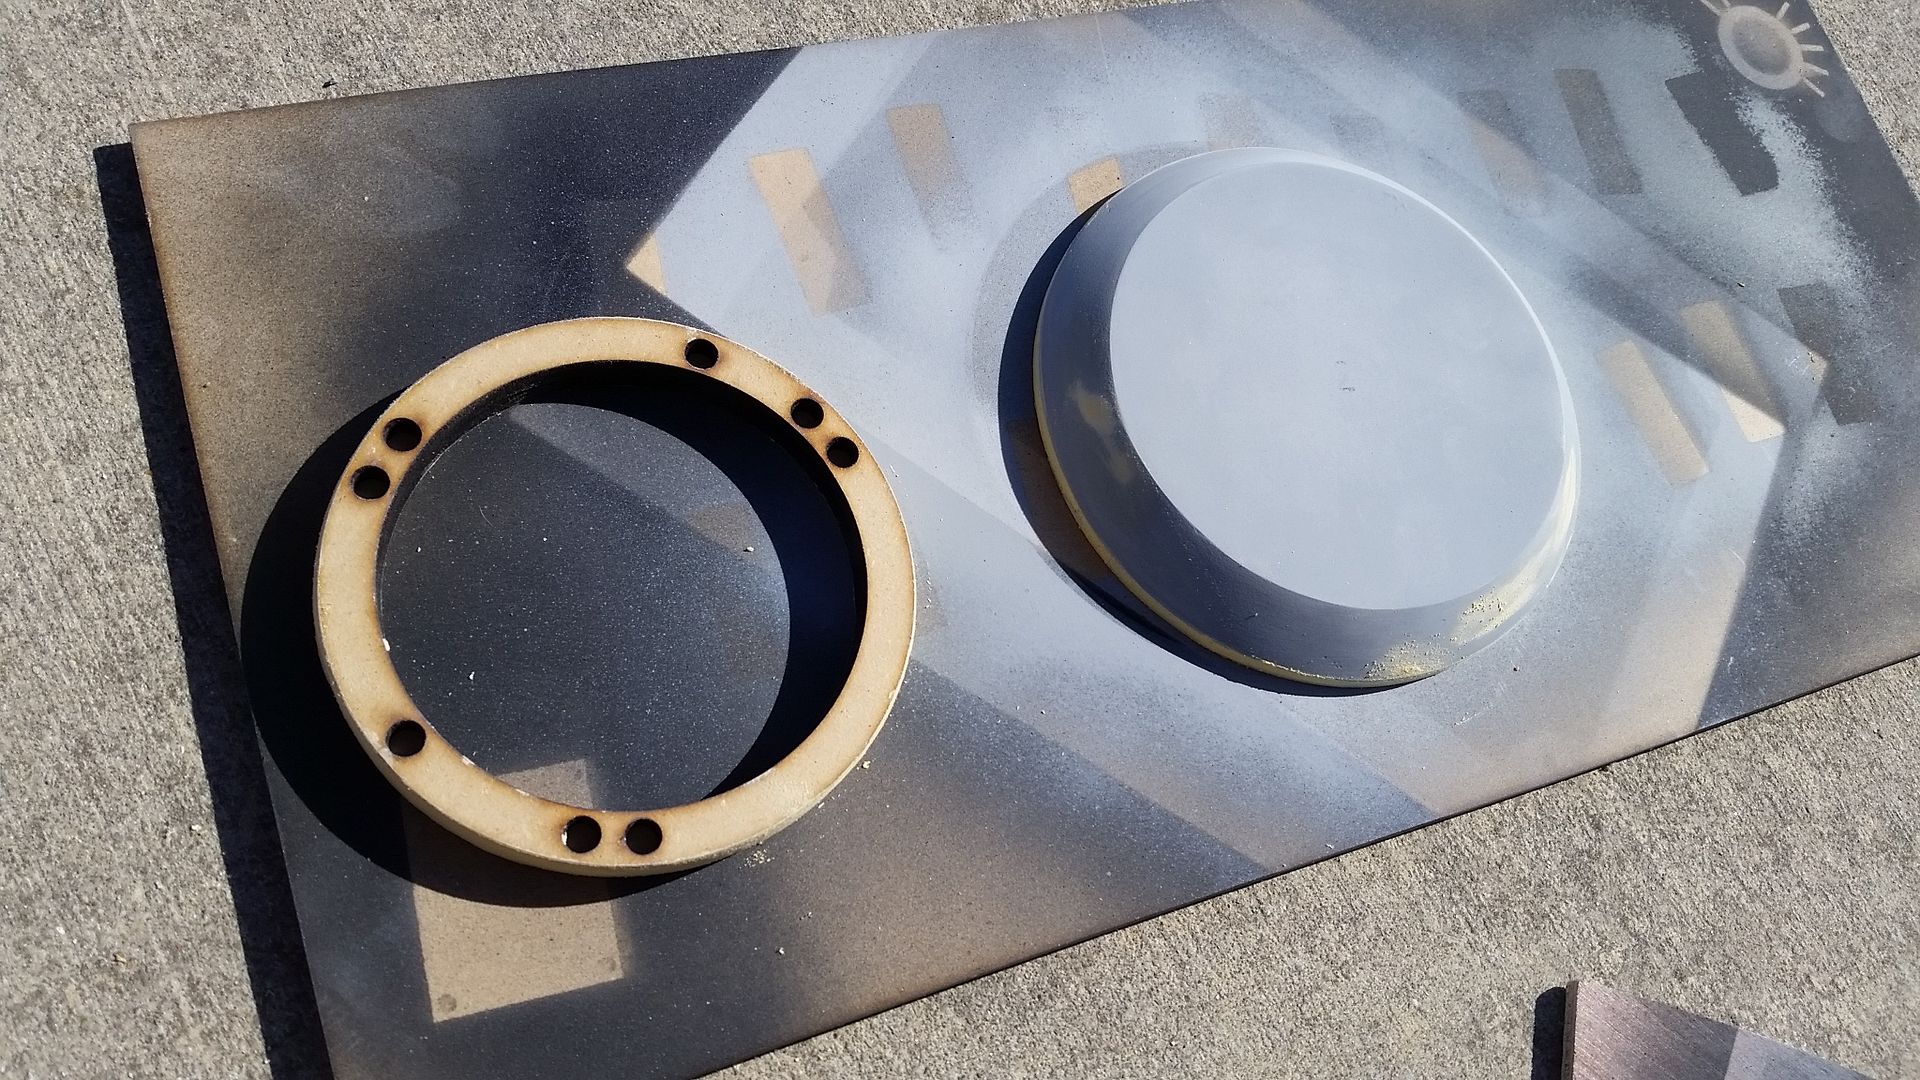
Inner circle
Back side awaiting their window petals
Temp laid into place
Might have to remove some material from the main ring - not a big deal
WHEW... SO MUCH MORE COMING! Stay Tuned!