1:1 Millennium Falcon Cockpit Replica - Group Build

Hey T,

Naturally... the moment I'm about to finish the greeblie a clear shot of the dang thing appears. I think they do this to me on purpose! ;)

Great image! Thanks for posting

- - - Updated - - -

Of course, they wanted you to have more greeblies in the cockpit! Actually t
he image is from this video, you may find some inspiration there :)
http://www.starwarsunderworld.com/2015/11/the-force-awakens-behind-scenes-special.html

Your build is awesome!


Hi Guys,

Early Morning Update! Got home from work and jumped right back into the nose frame. After chatting with OperaScot he pointed me in the right direction to smooth out a few troubled areas. After a few hours... I was wiped out.

Trimmed the remaining required 17 degrees so the interior panels would lay flat
20151116_162048_zpsagffenwy.jpg


20151116_162113_zpse8z4iqlc.jpg


These two panels (same on the other side) overlay one another. I'm going to temp mount the bottom panel and trim the top panel (this afternoon) so each panel is snug and fits perfectly. The top panel rests under the shelf so I'm not worried about the cut lines
20151116_171452_zpsybdrkumo.jpg


20151116_171506_zpsylq0qnvm.jpg


Perfect angle - panel still needs to be trimmed
20151116_171516_zpsxxclmbb6.jpg


All the ribs also needed to be trimmed up to accept another support beam
20151116_173339_zps5sbejmxn.jpg


20151116_173346_zpsdzvow5wi.jpg


20151116_173402_zpsgrt5upoz.jpg


20151116_175144_zps6umj2tdj.jpg


I left a lot of overhang until the new window arch/mount is cut and installed
20151116_175157_zpsfrh0ykgi.jpg


I then applied the first of many primer filler coats to the "Volvo" Panels
20151116_181234_zpsfi8xgnyr.jpg


Before completely crashing out I adhered the sides and the acrylic top to the throttle housing
20151116_215941_zpssdptkkb7.jpg


And finally... I'm trying to figure out how to hang these canopy box handles
20151116_220008_zpswffh7ida.jpg


I think the dowel might a bit too thick. I'm going to get a smaller diam dowel and see how that looks. If it works, I cut adapters to fit the new diam
20151116_220037_zps0terphkw.jpg


20151116_220059_zpsbzi51edt.jpg


The ends of the dowels will be capped with these acrylic ends. I'll have to cut new ones for a smaller dowel
20151116_220048_zpsb2btvenu.jpg


Not much of an update... BUT... we should have some new seats today!

More to Follow!
 
Yepp, don't even know that name for them, we call them "Unterfadenspule" ;)

I remember my mom had tons of those for ther Singer Sewing Machine and I always looked at them trying to figure out some way of using them. Never quite did but then again I was only 6! She would "refill" them by placing one of those bobbins on a spindle and then string the sewing thread from another spindle and press her foot on the pedal. It would spin really fast and the thread would wind on the bobbin. Always fascinated me!
 
Howdy Sofa!

Awesome work, as always. It occurs to me that there have been several moments during the construction where you need to cut a panel to fit another piece, and if it were me, I would be grabbing for my handy laminate trimmer/light router/Rotozip and pattern-following/flush-trim bit, and they'd be perfectly flush in moments. Do you have one of those setups? It might be life-changing.

This incredibly low-res video gets the point across without being overly long:
 
Last edited by a moderator:
Another Early Morning Update!

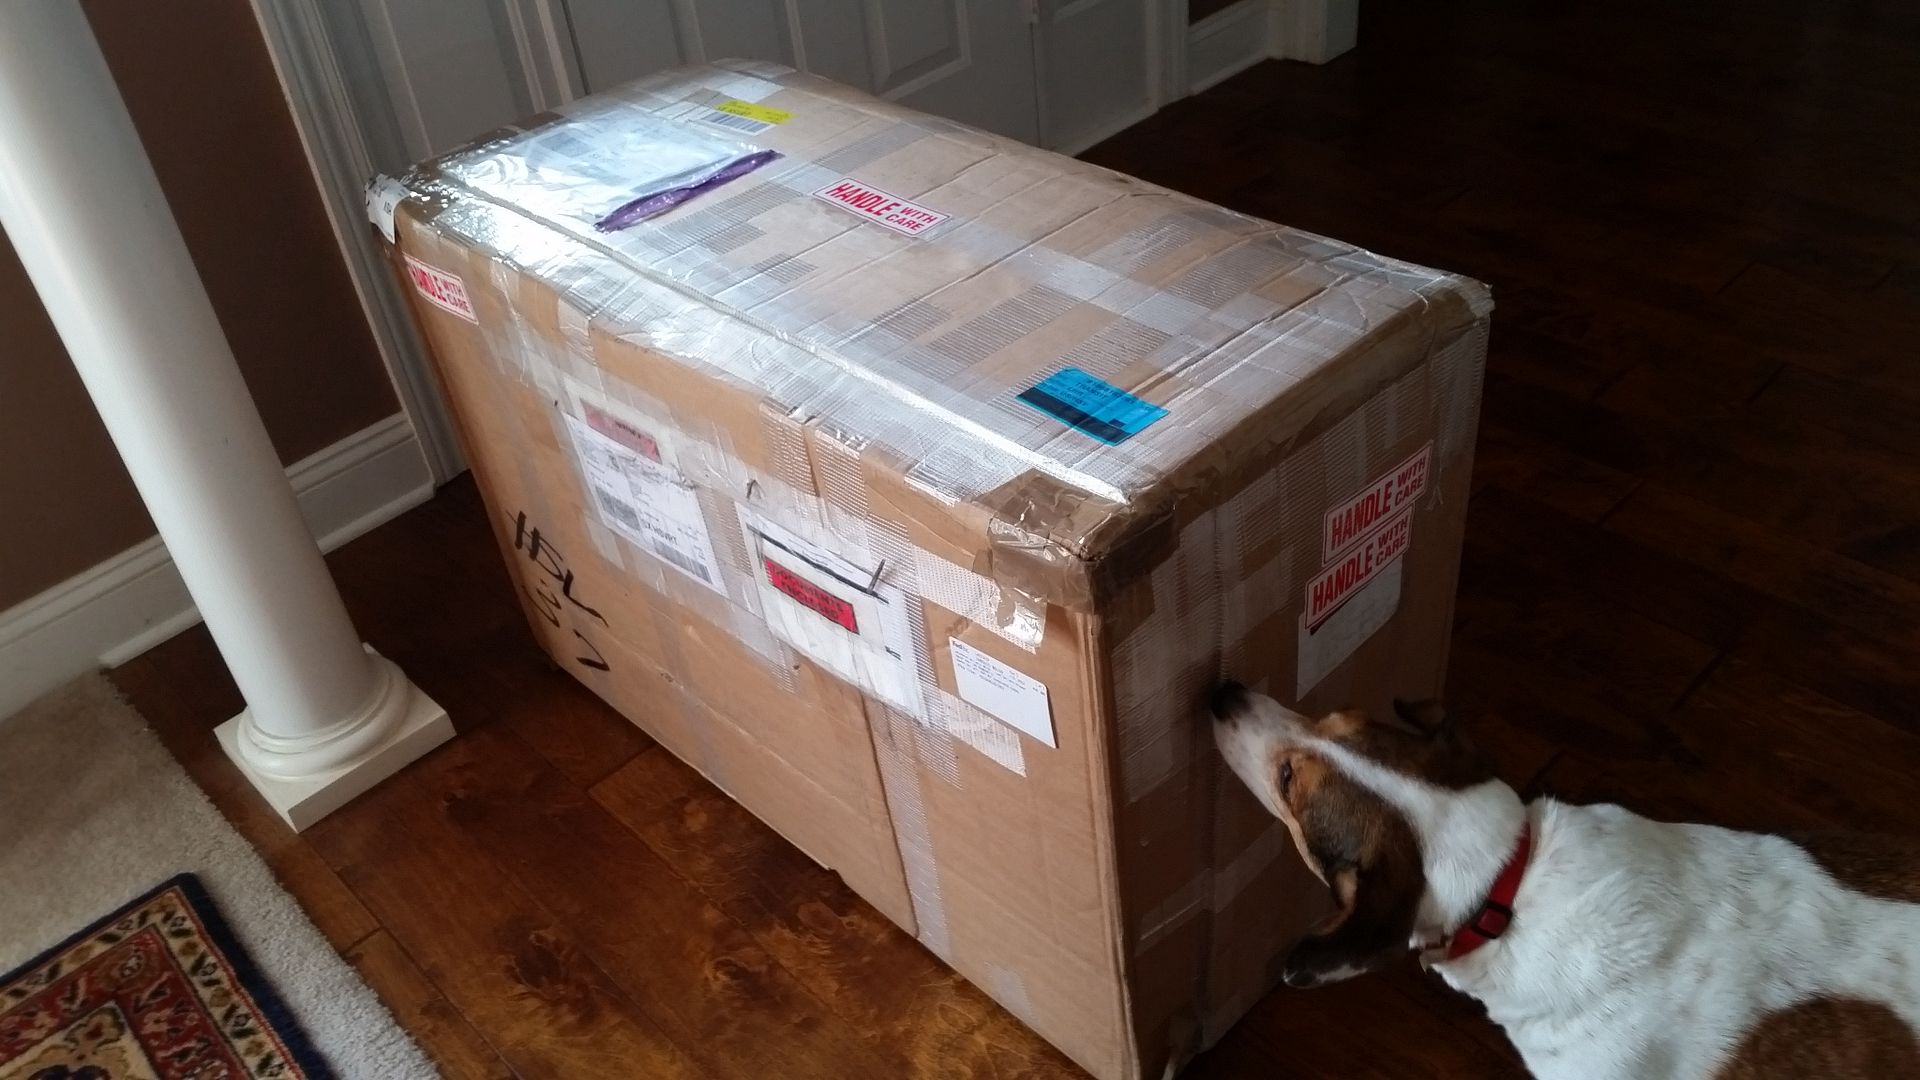
Let's start with the awesome! This arrived yesterday - a HUGE THANKS to Wavey for carrying the weight of this transaction!
20151117_131821_zpsmpvoset7.jpg


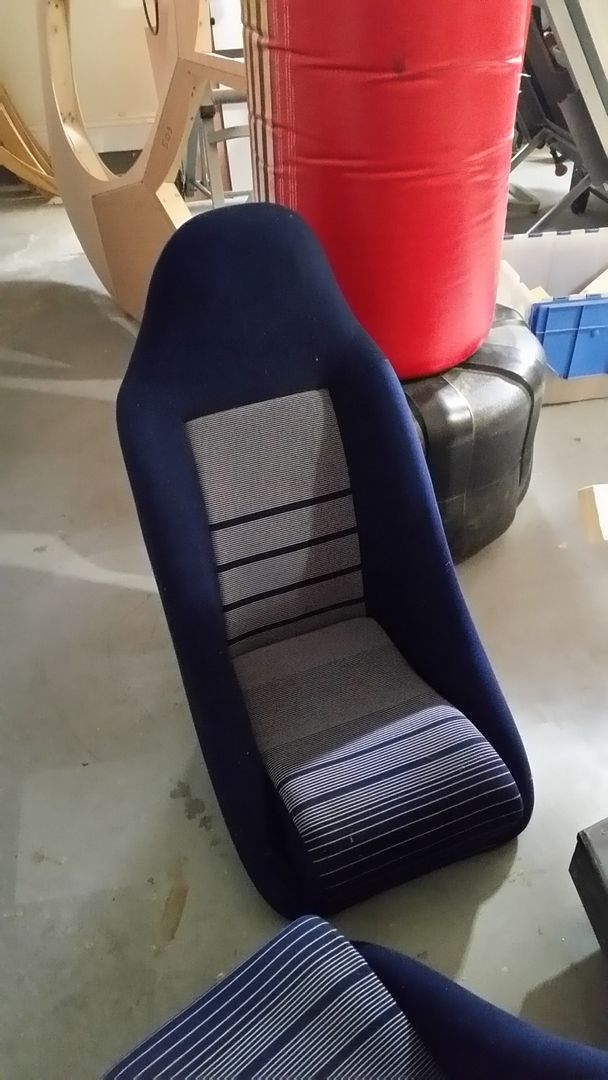
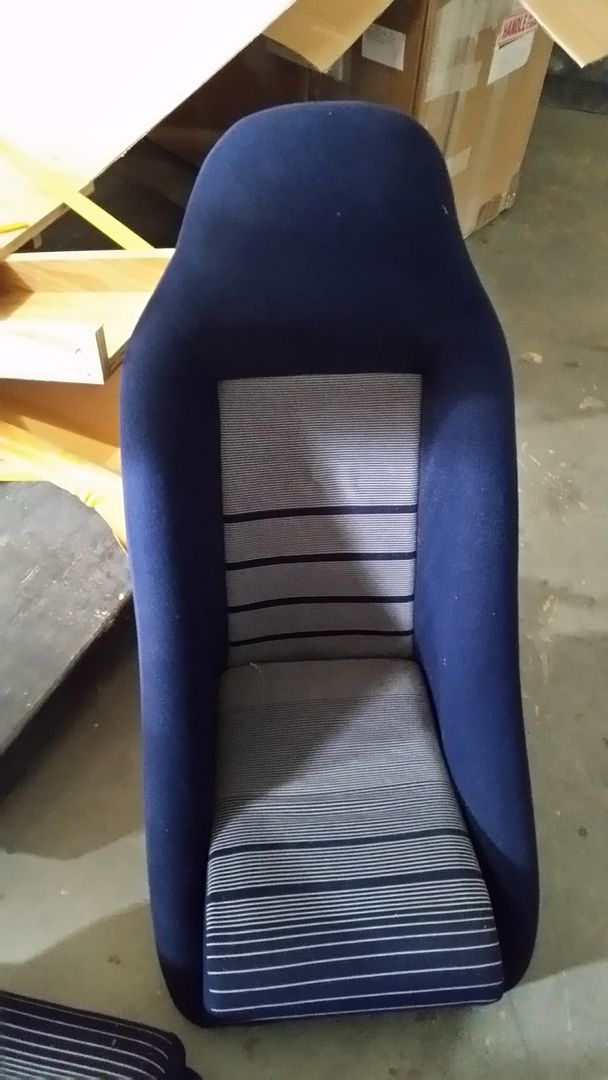
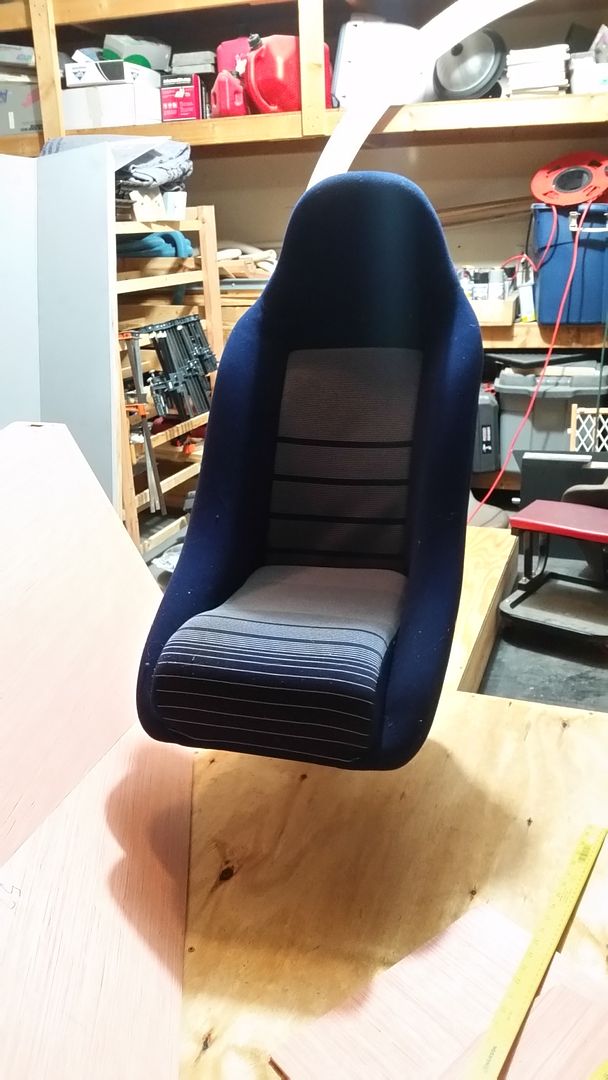
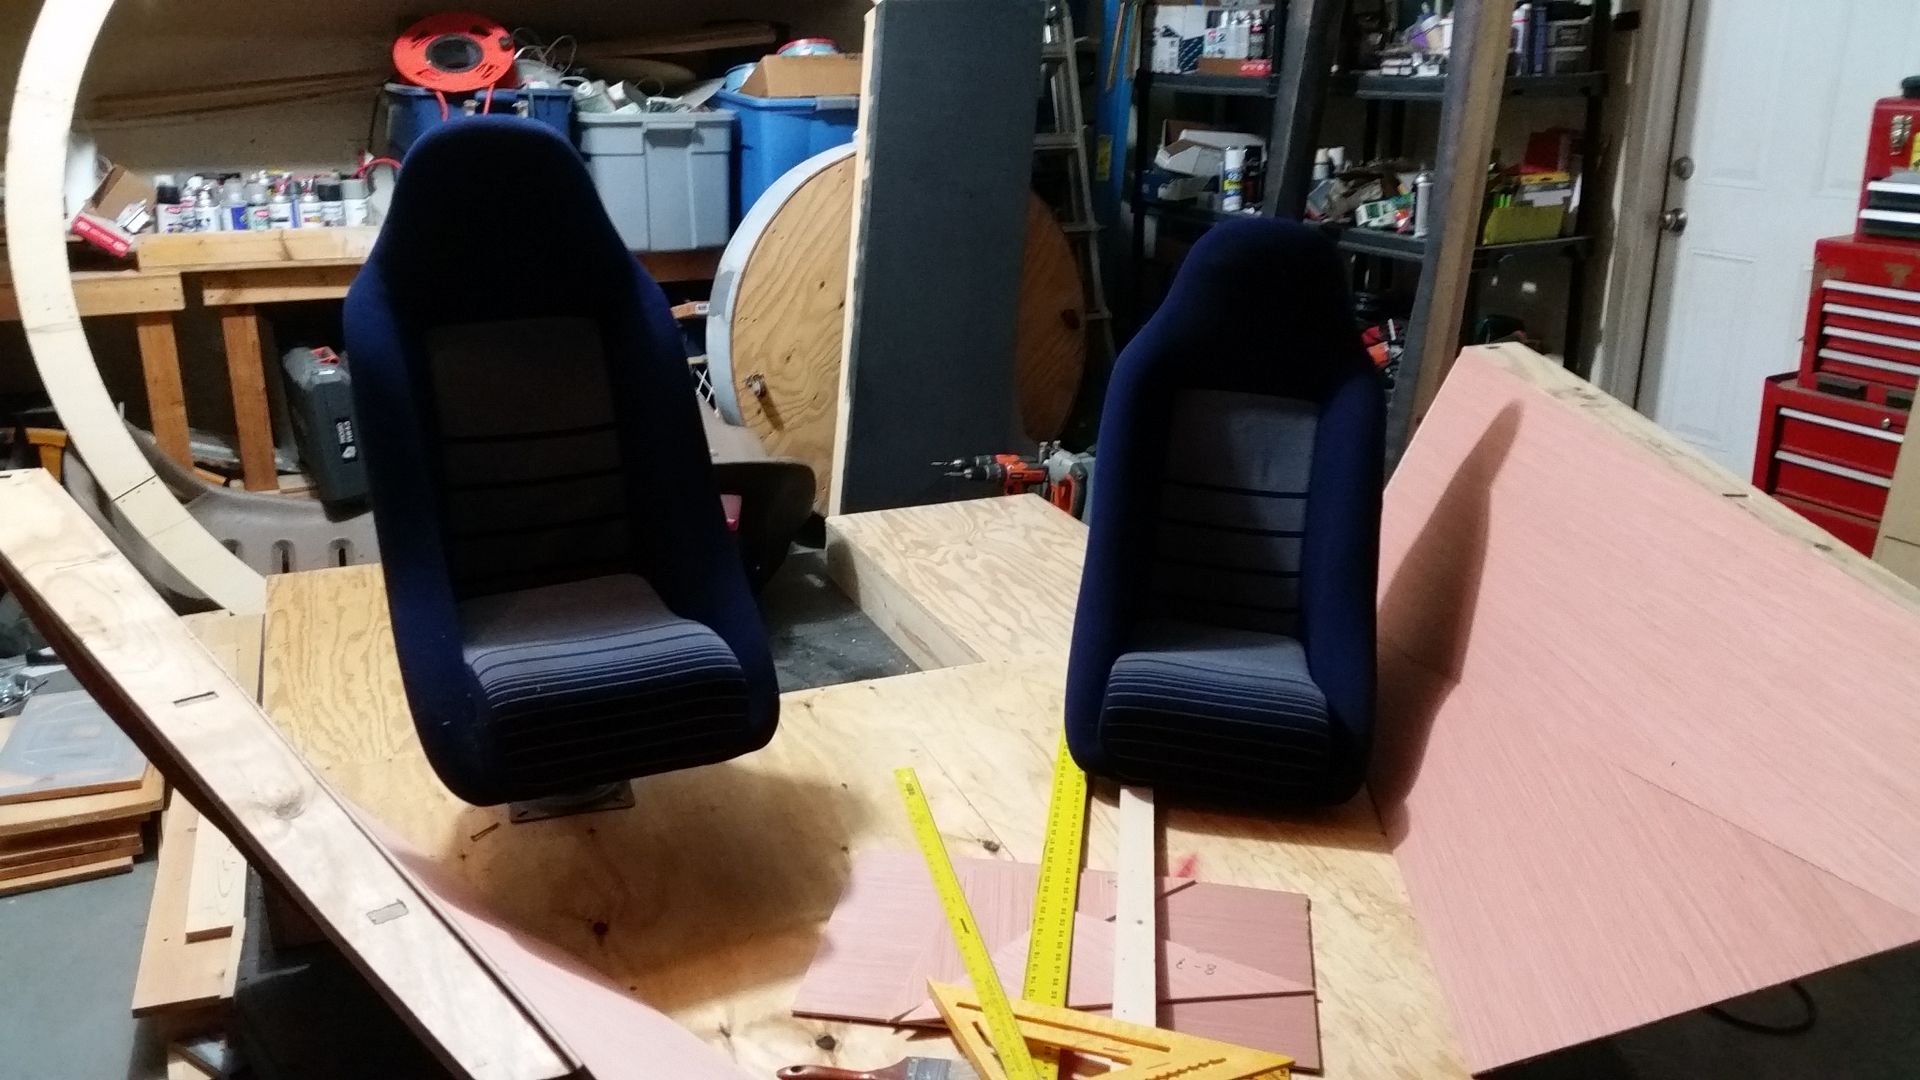
We've got seats! These are VERY close to the original seats used in the full scale MF prop!
20151117_134232_zpsz7tmabjz.jpg


20151117_134242_zpsoautvfby.jpg


20151117_175031_zpsnzbvu9mi.jpg


20151117_175036_zpshsw8s3f5.jpg


20151117_175049_zpsnrfds0h9.jpg


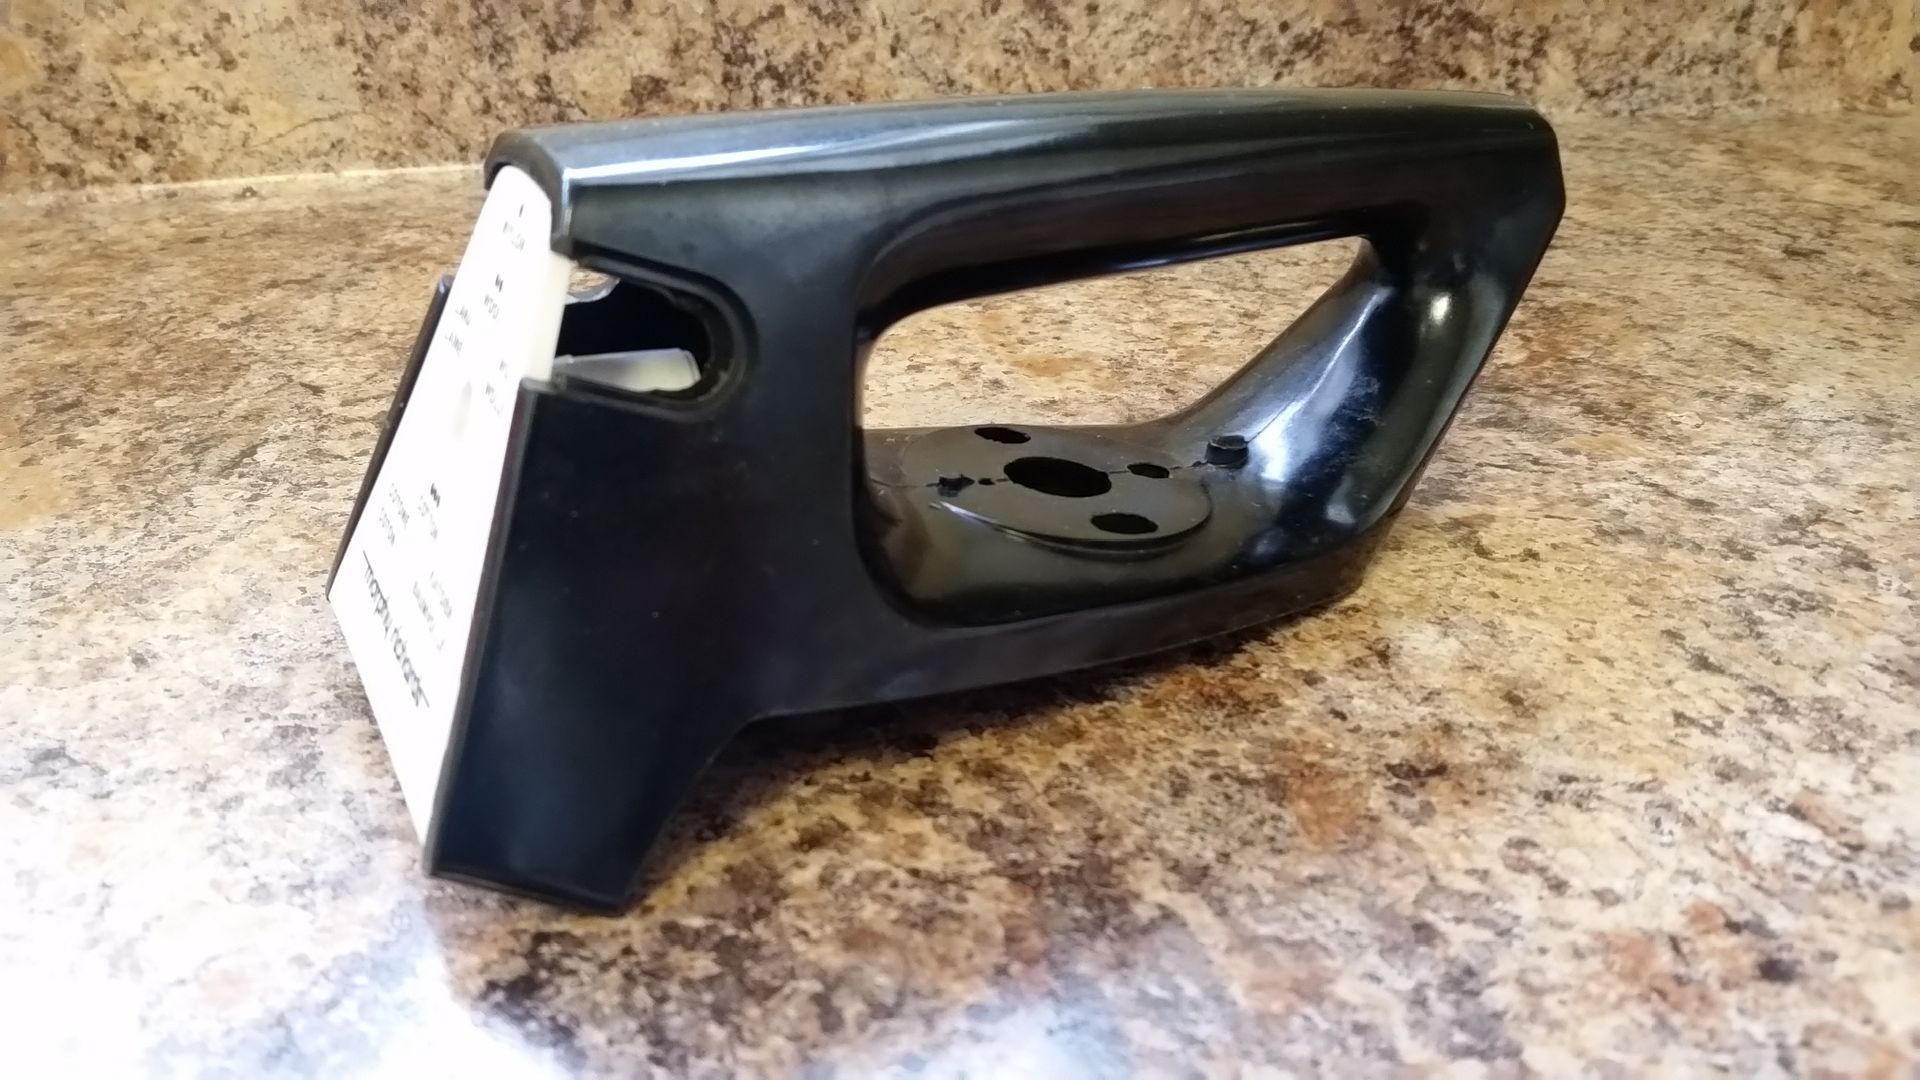
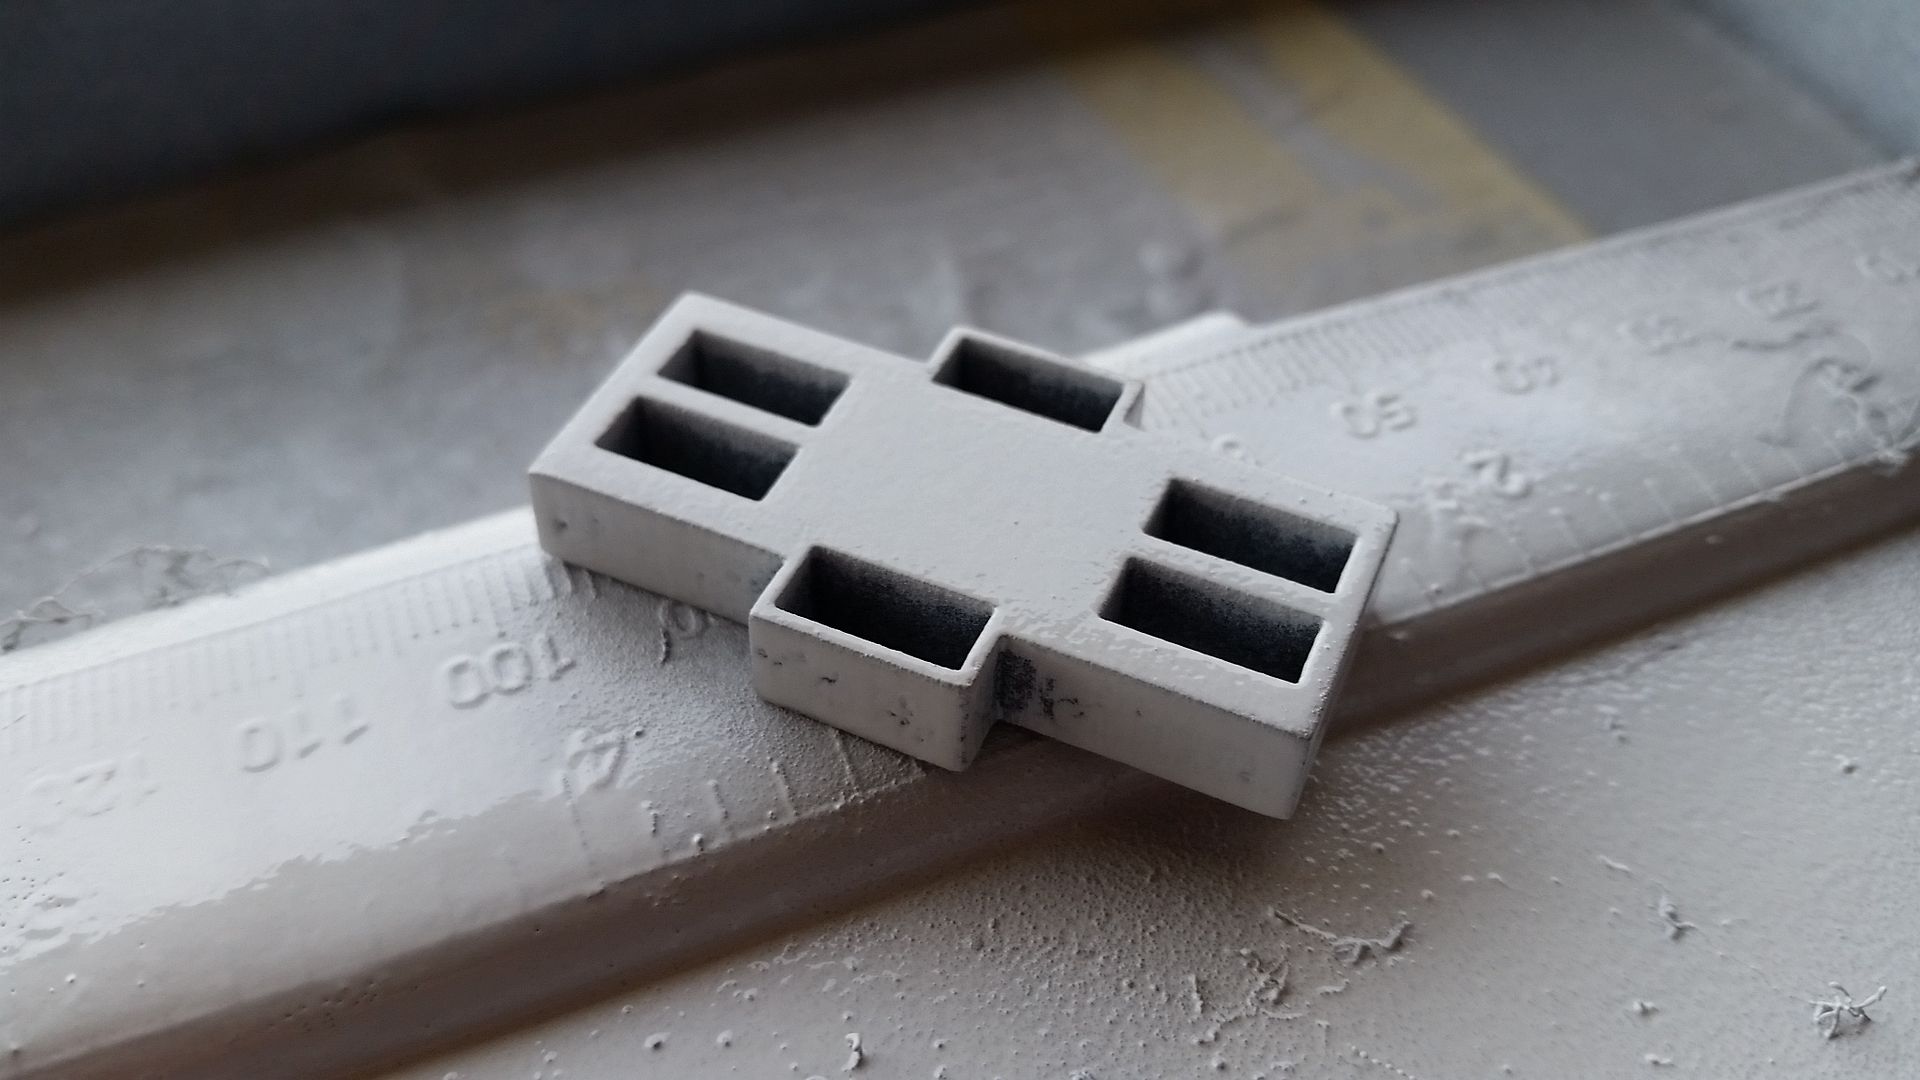
Also tucked away in the box... another Volvo Panel greeblie!
20151117_150503_zpskprxxair.jpg


20151117_150512_zpsn1ksbnwv.jpg


SWEET! Thank you again, Wavey! I am forever grateful for all your continued efforts!
20151117_150522_zps6eg8g9ro.jpg


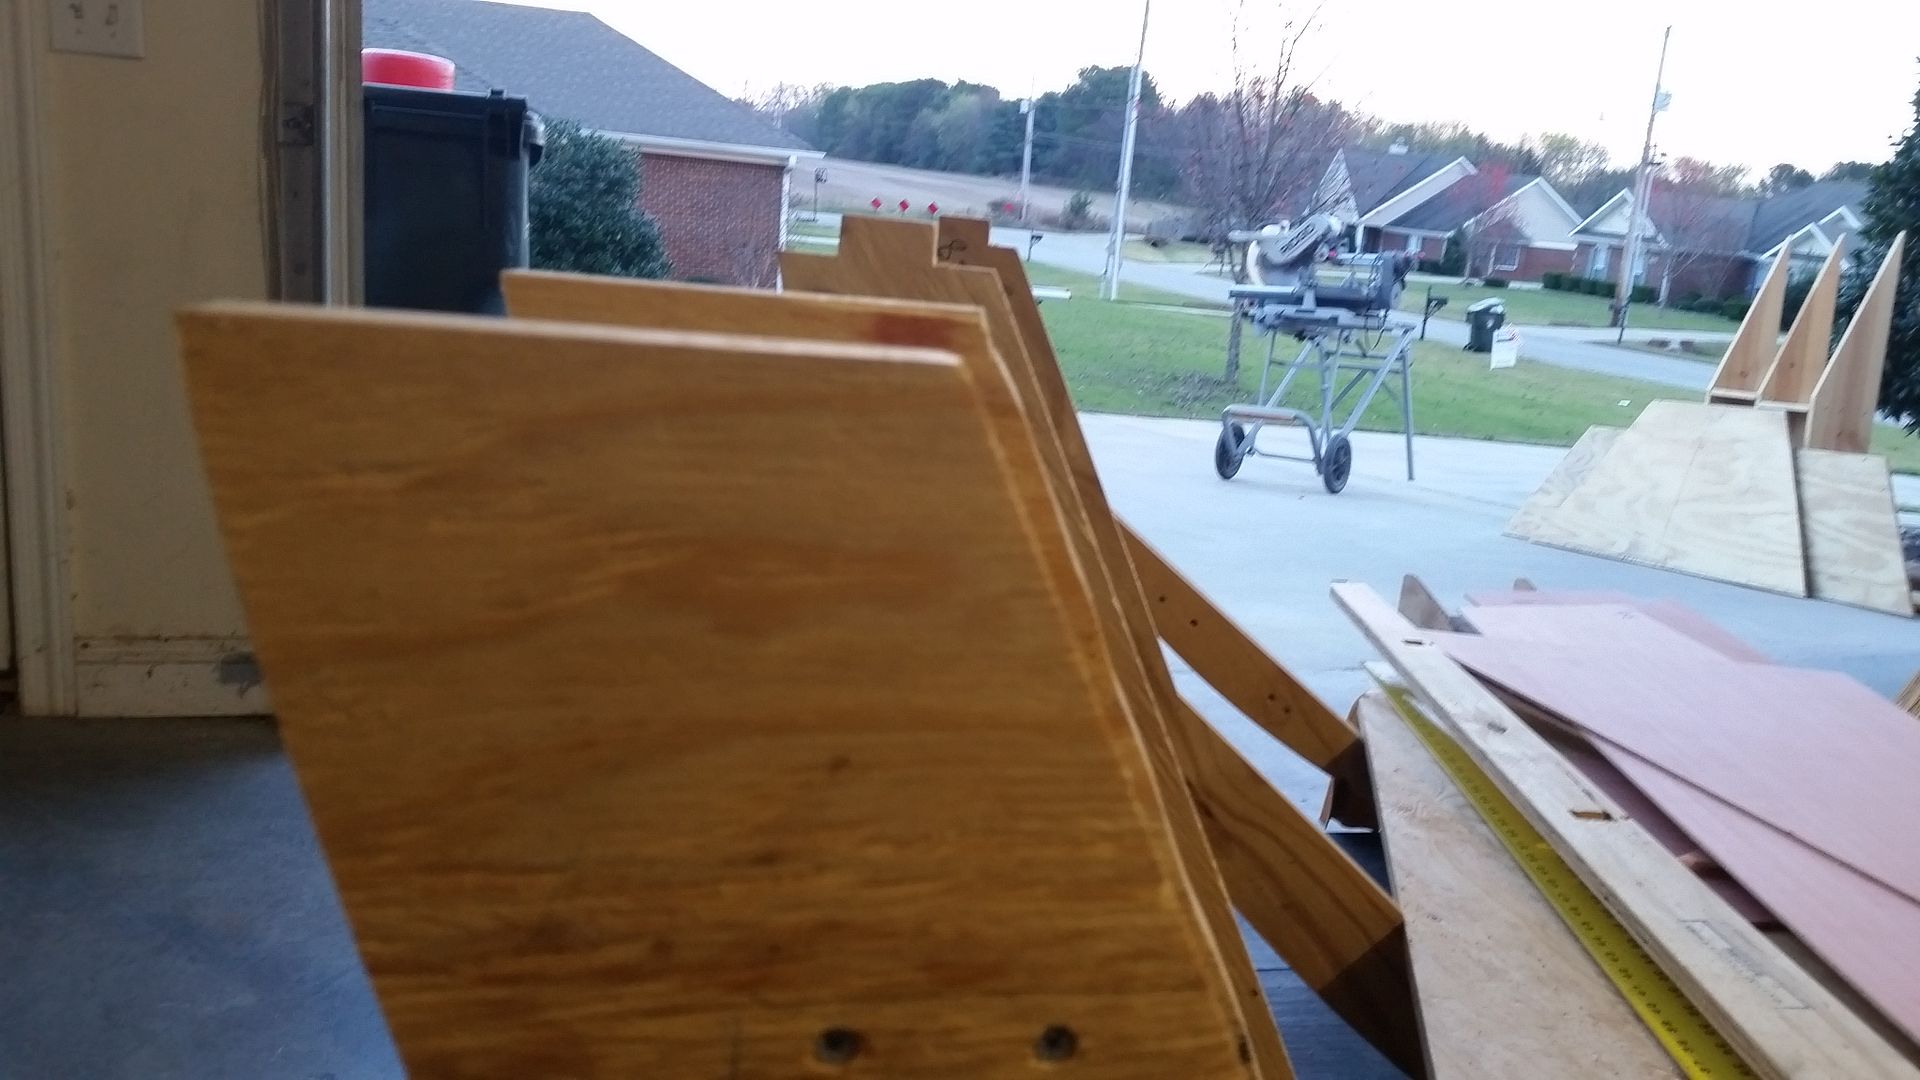
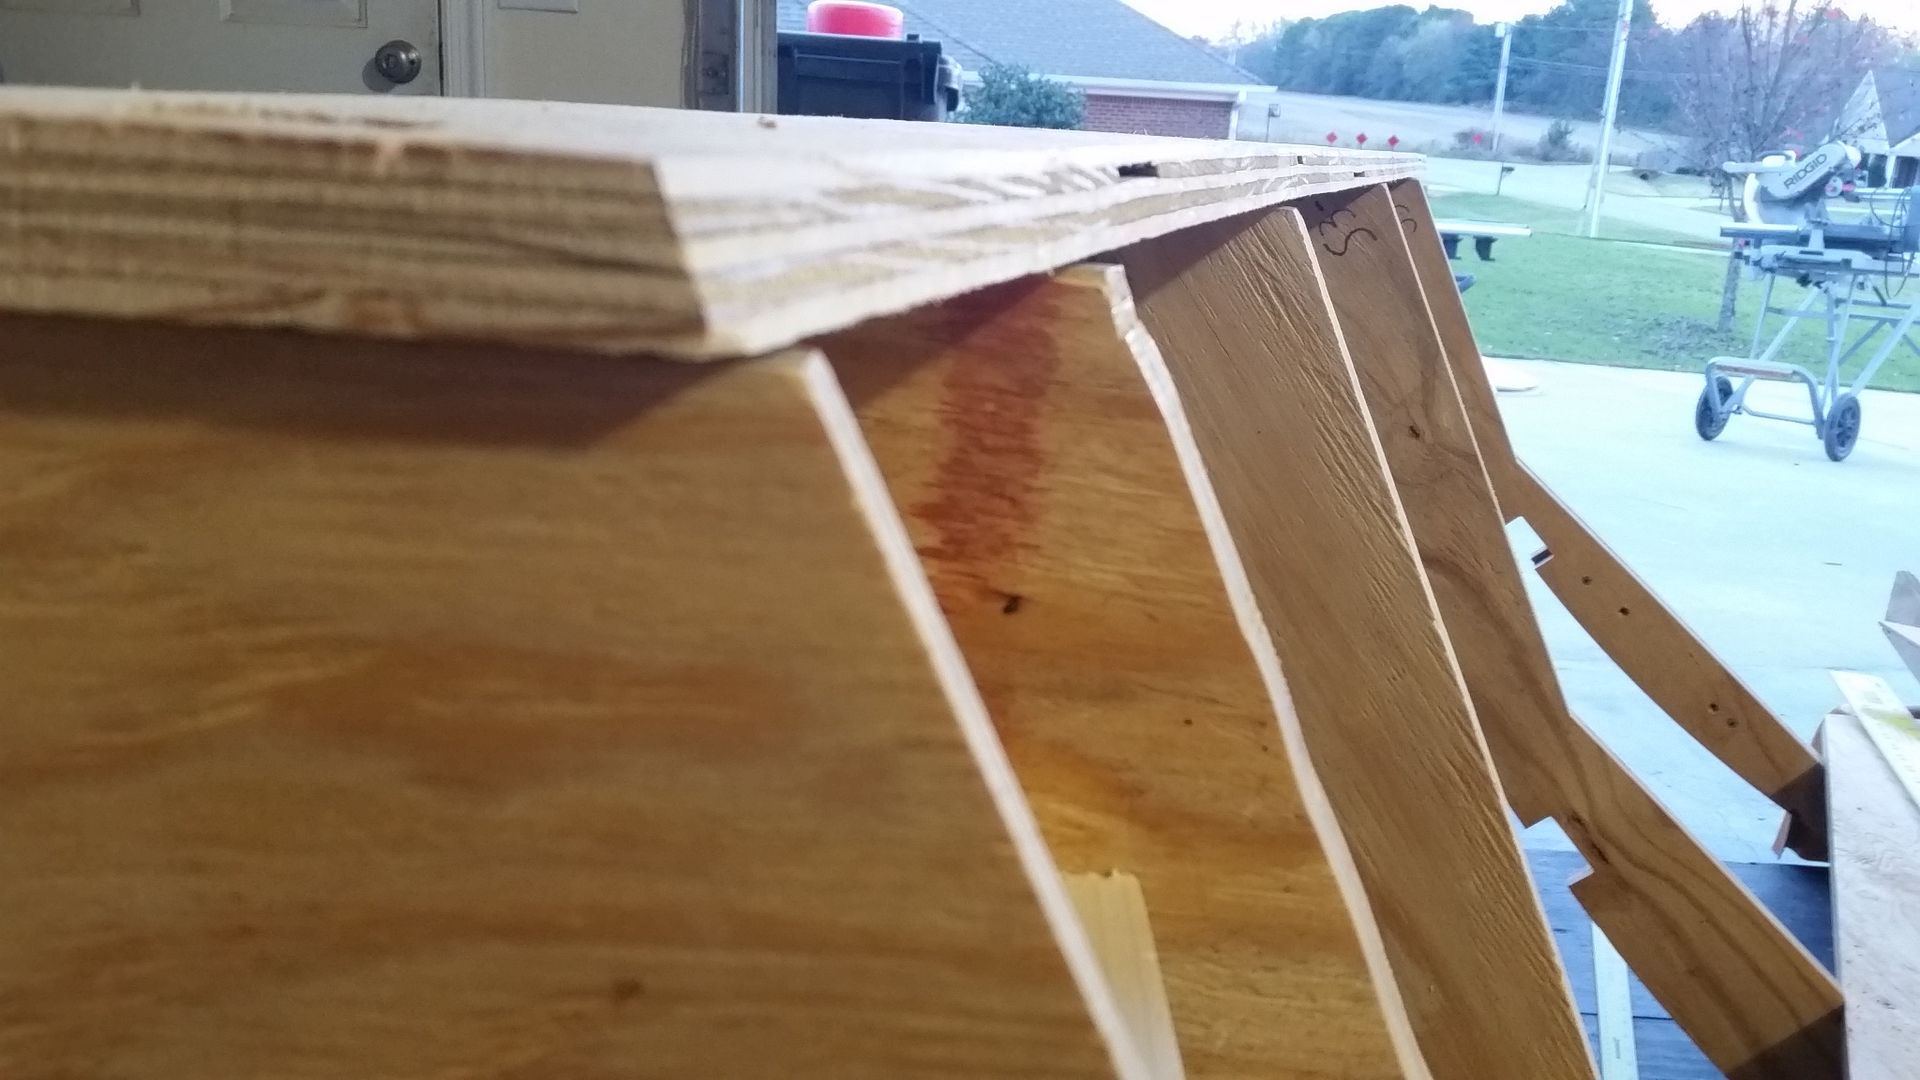
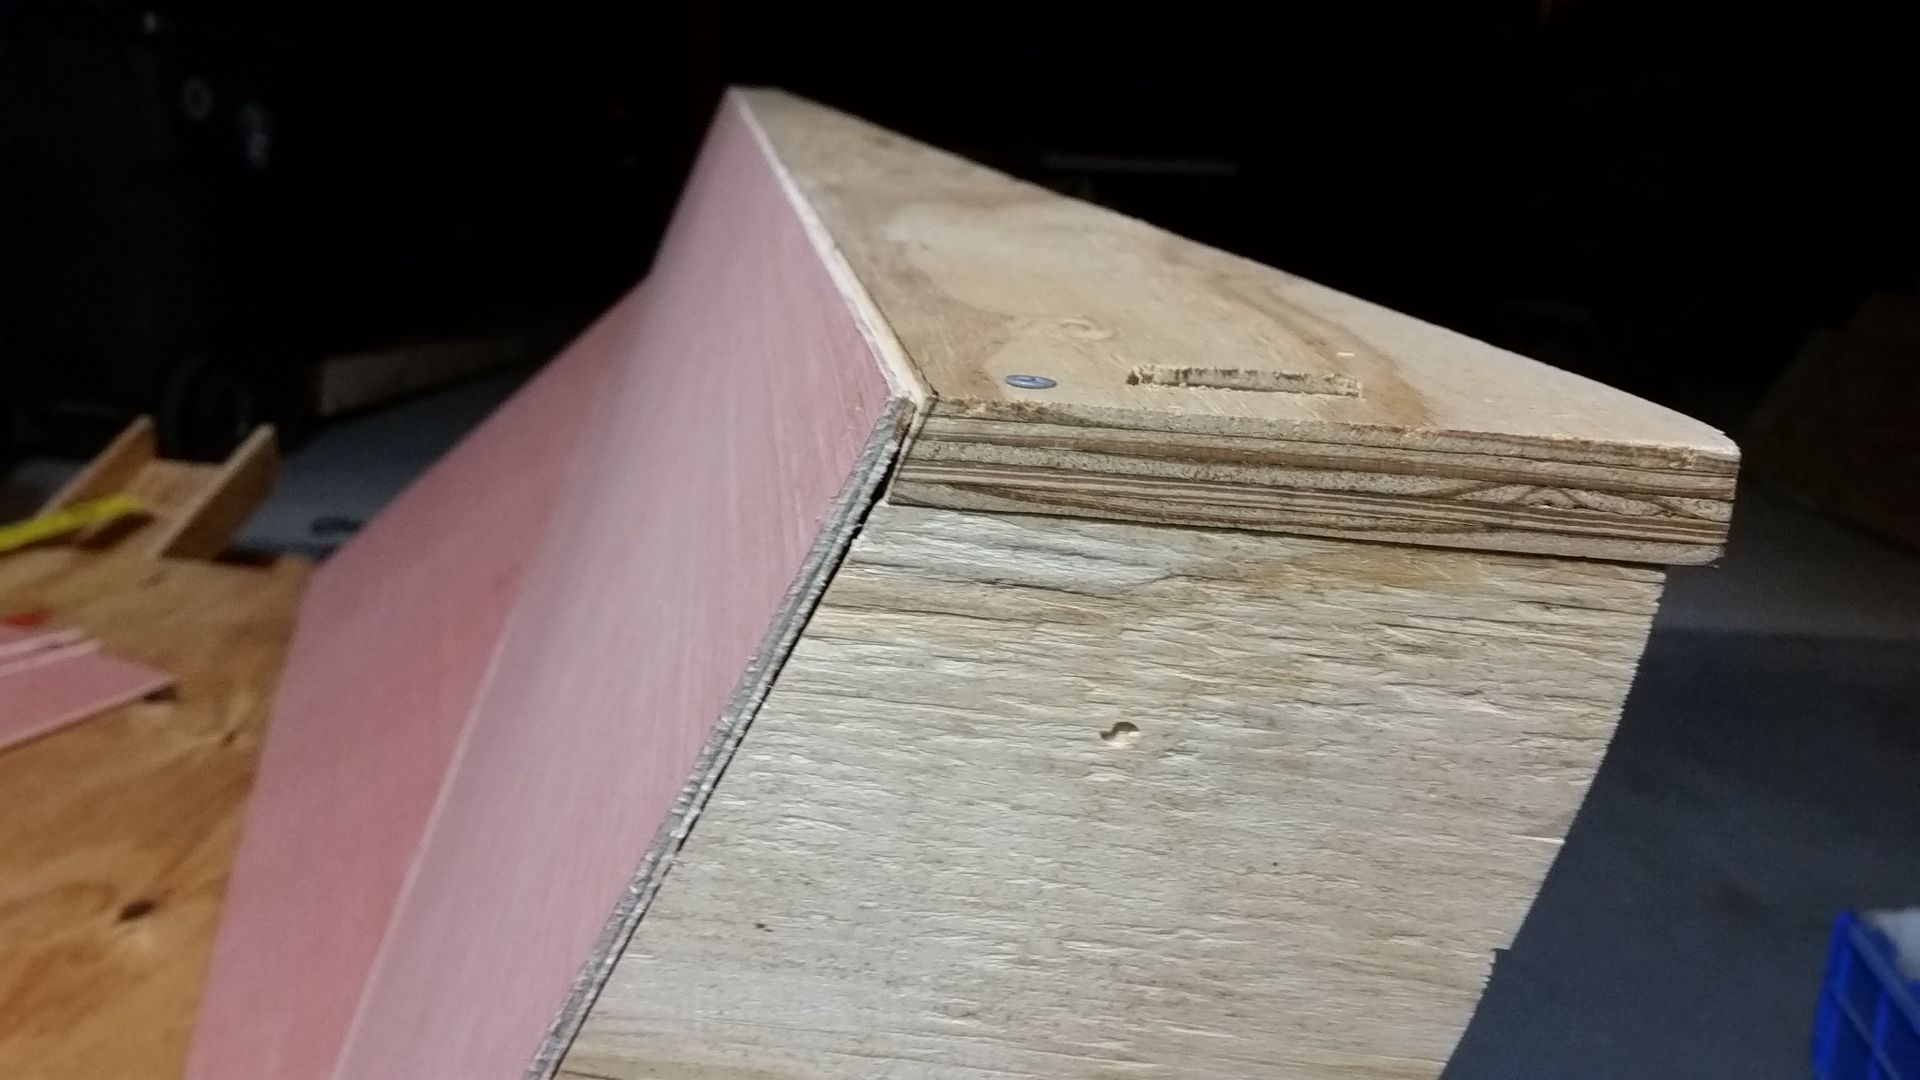
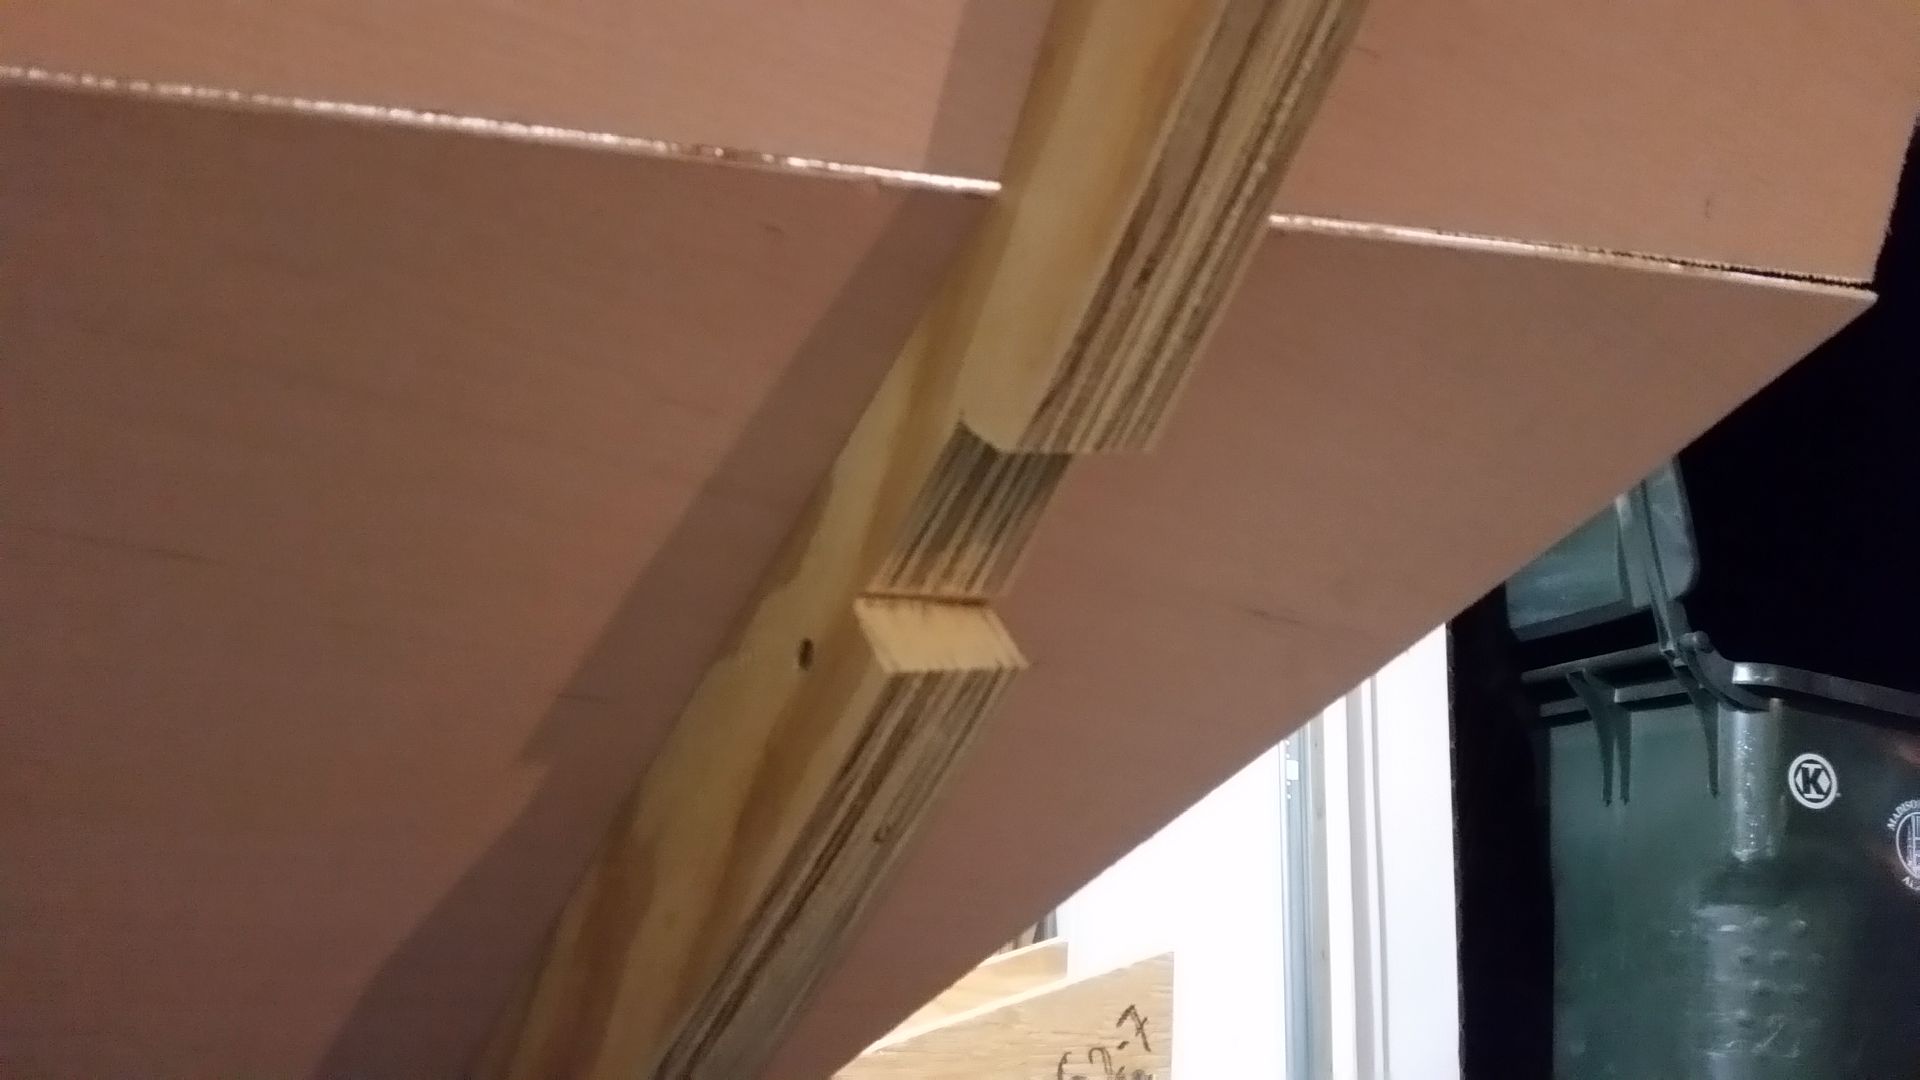
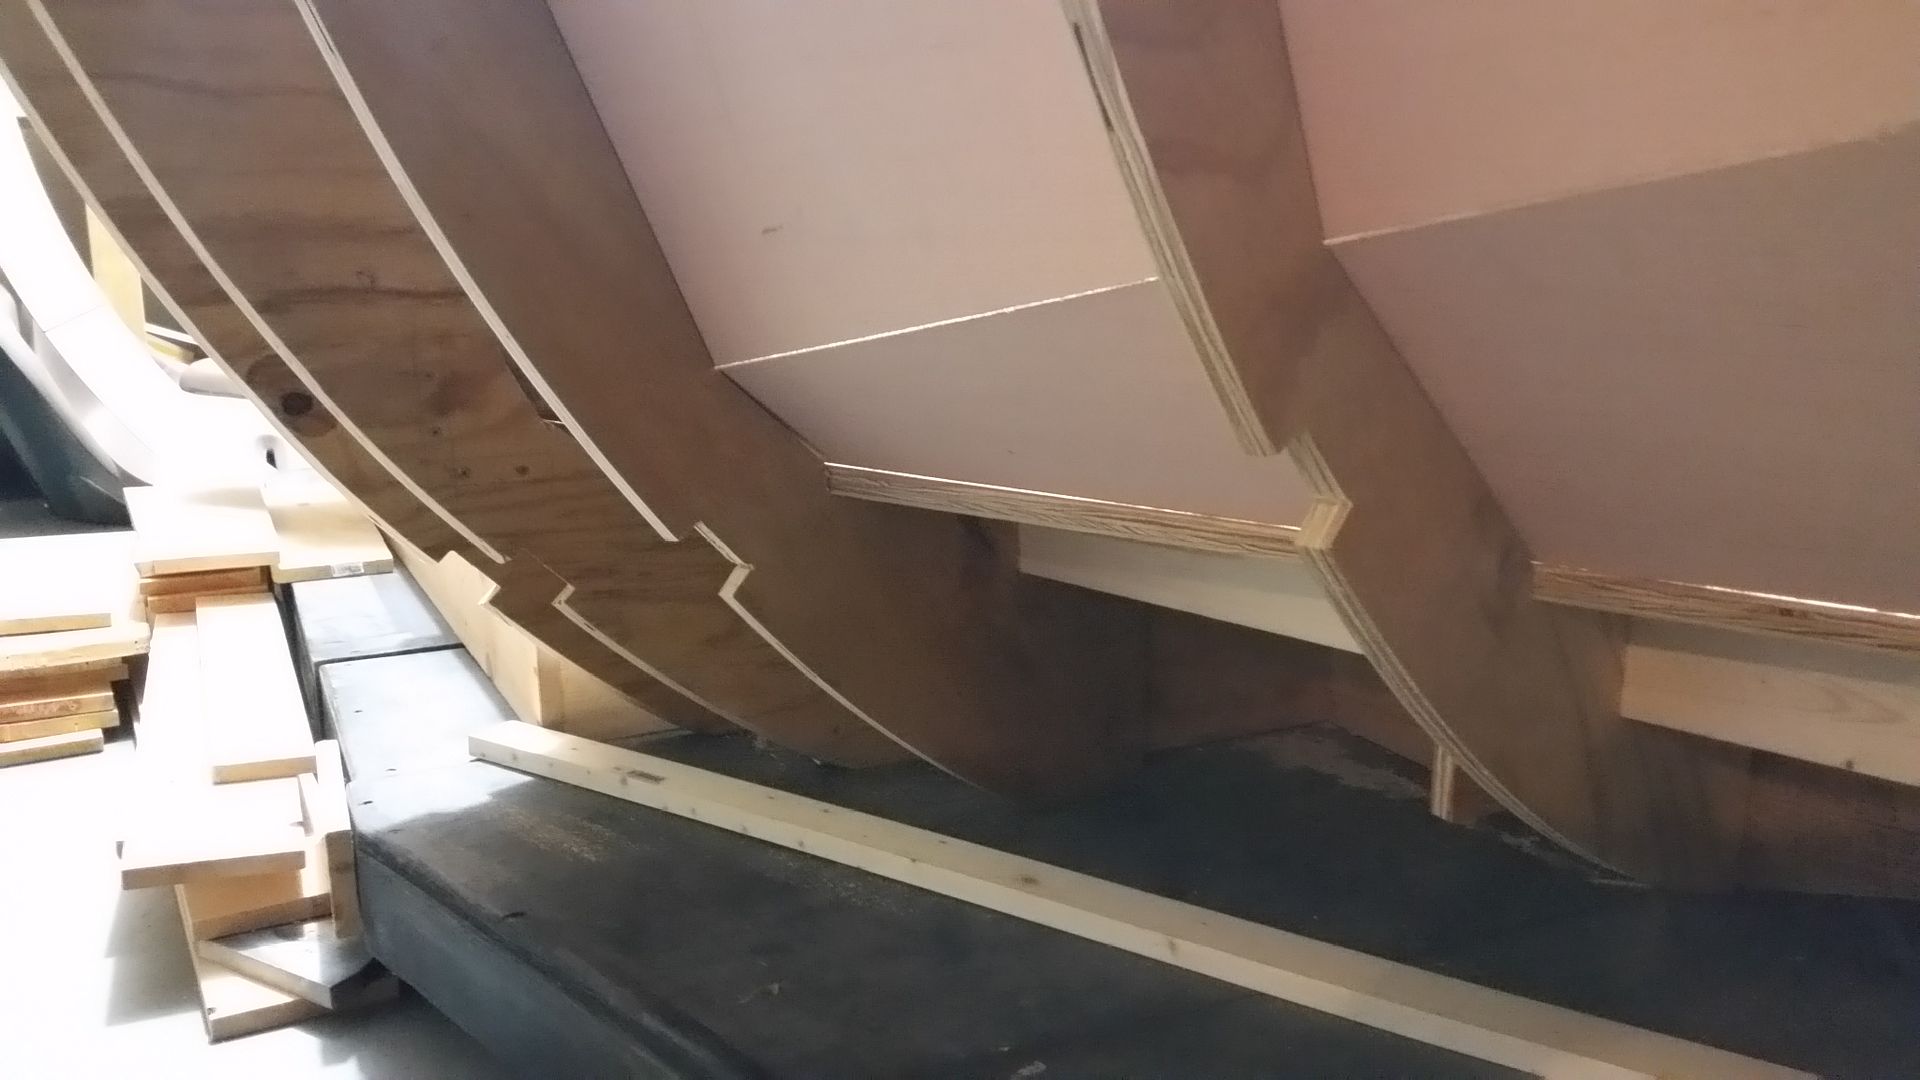
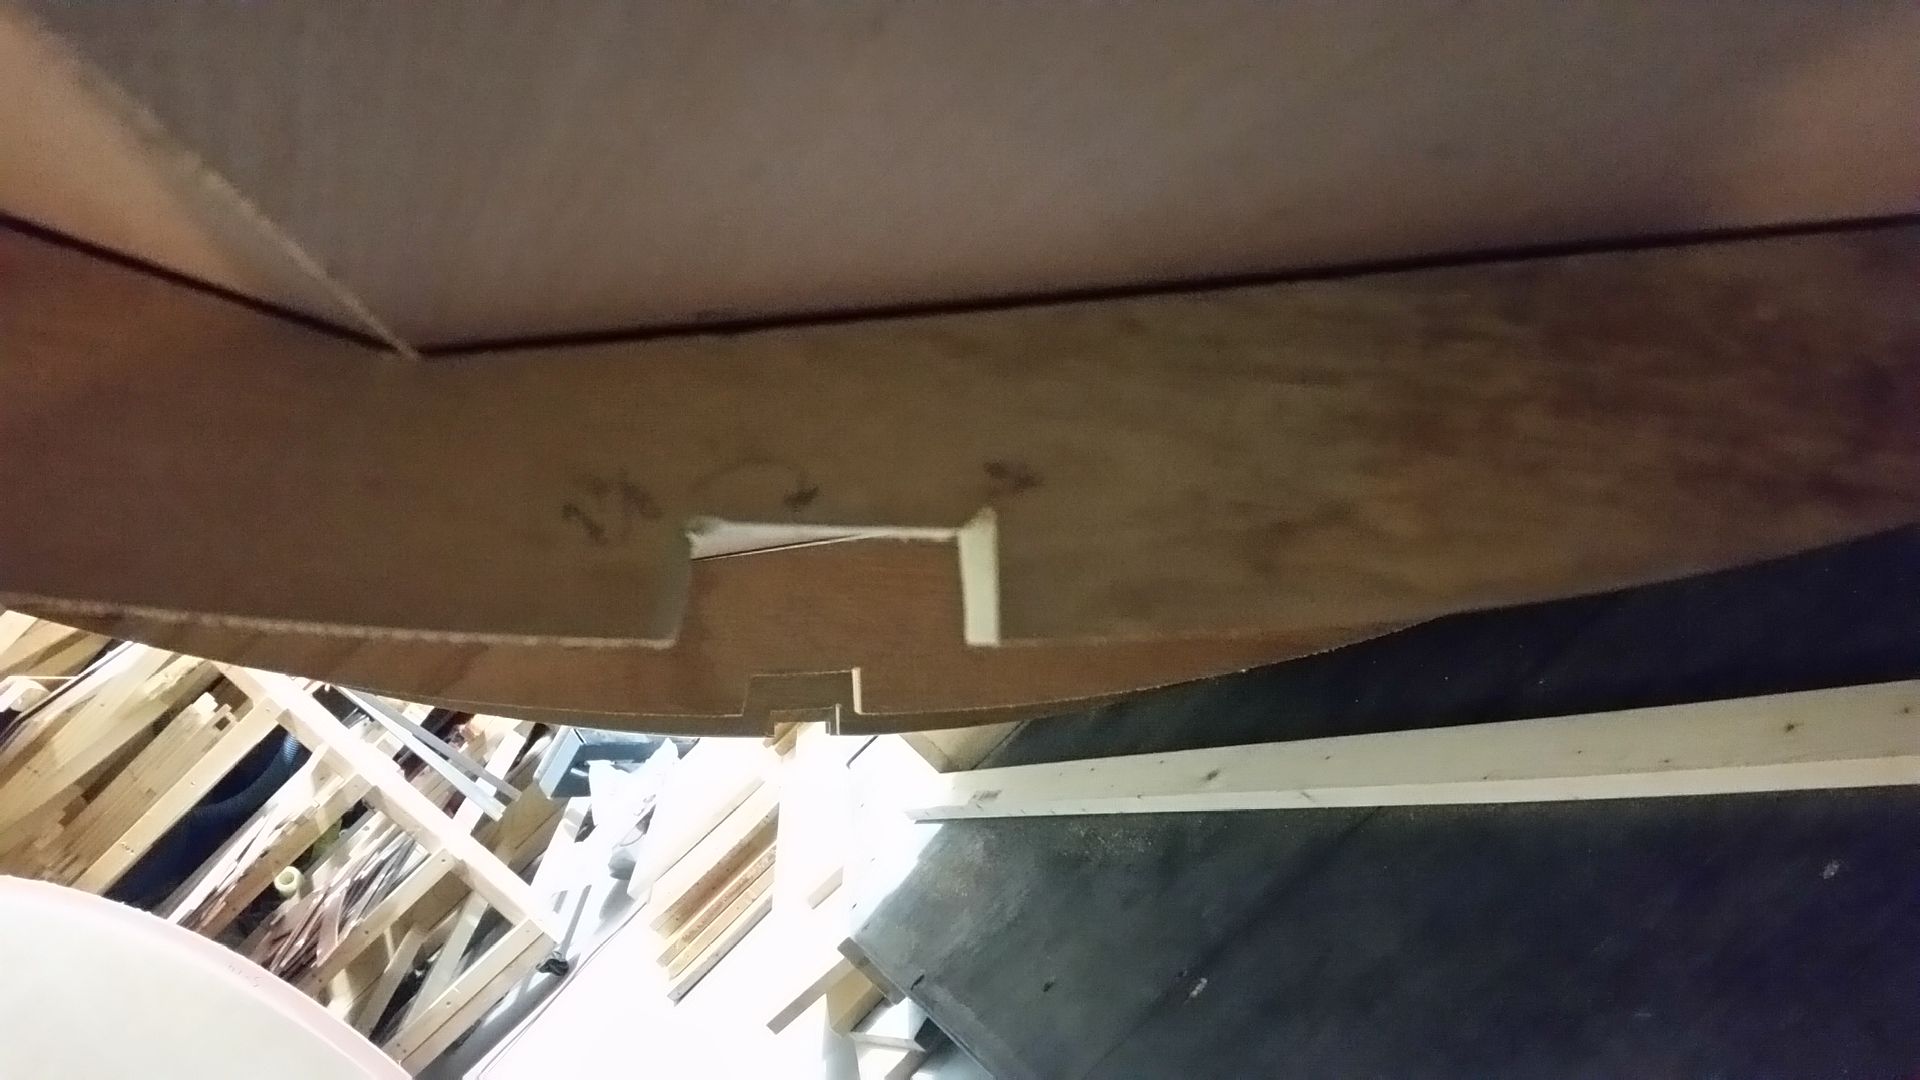
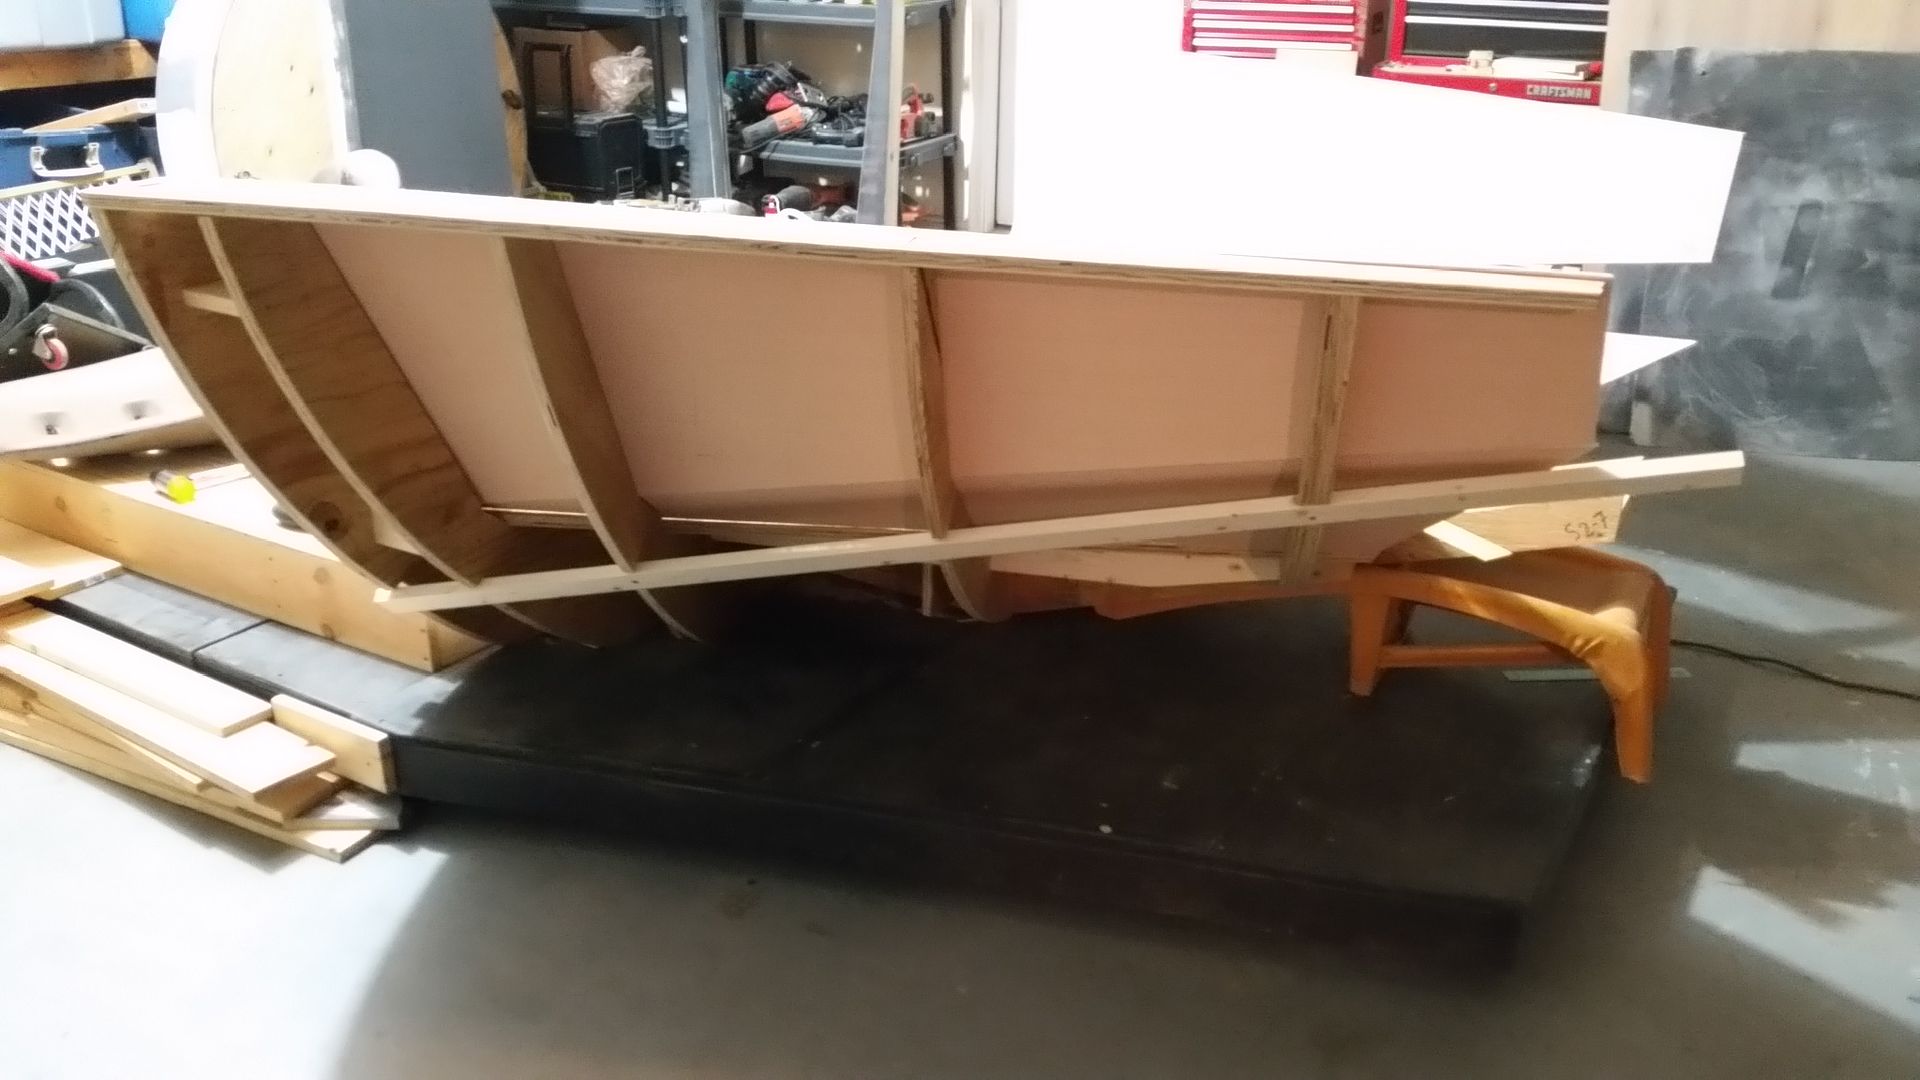
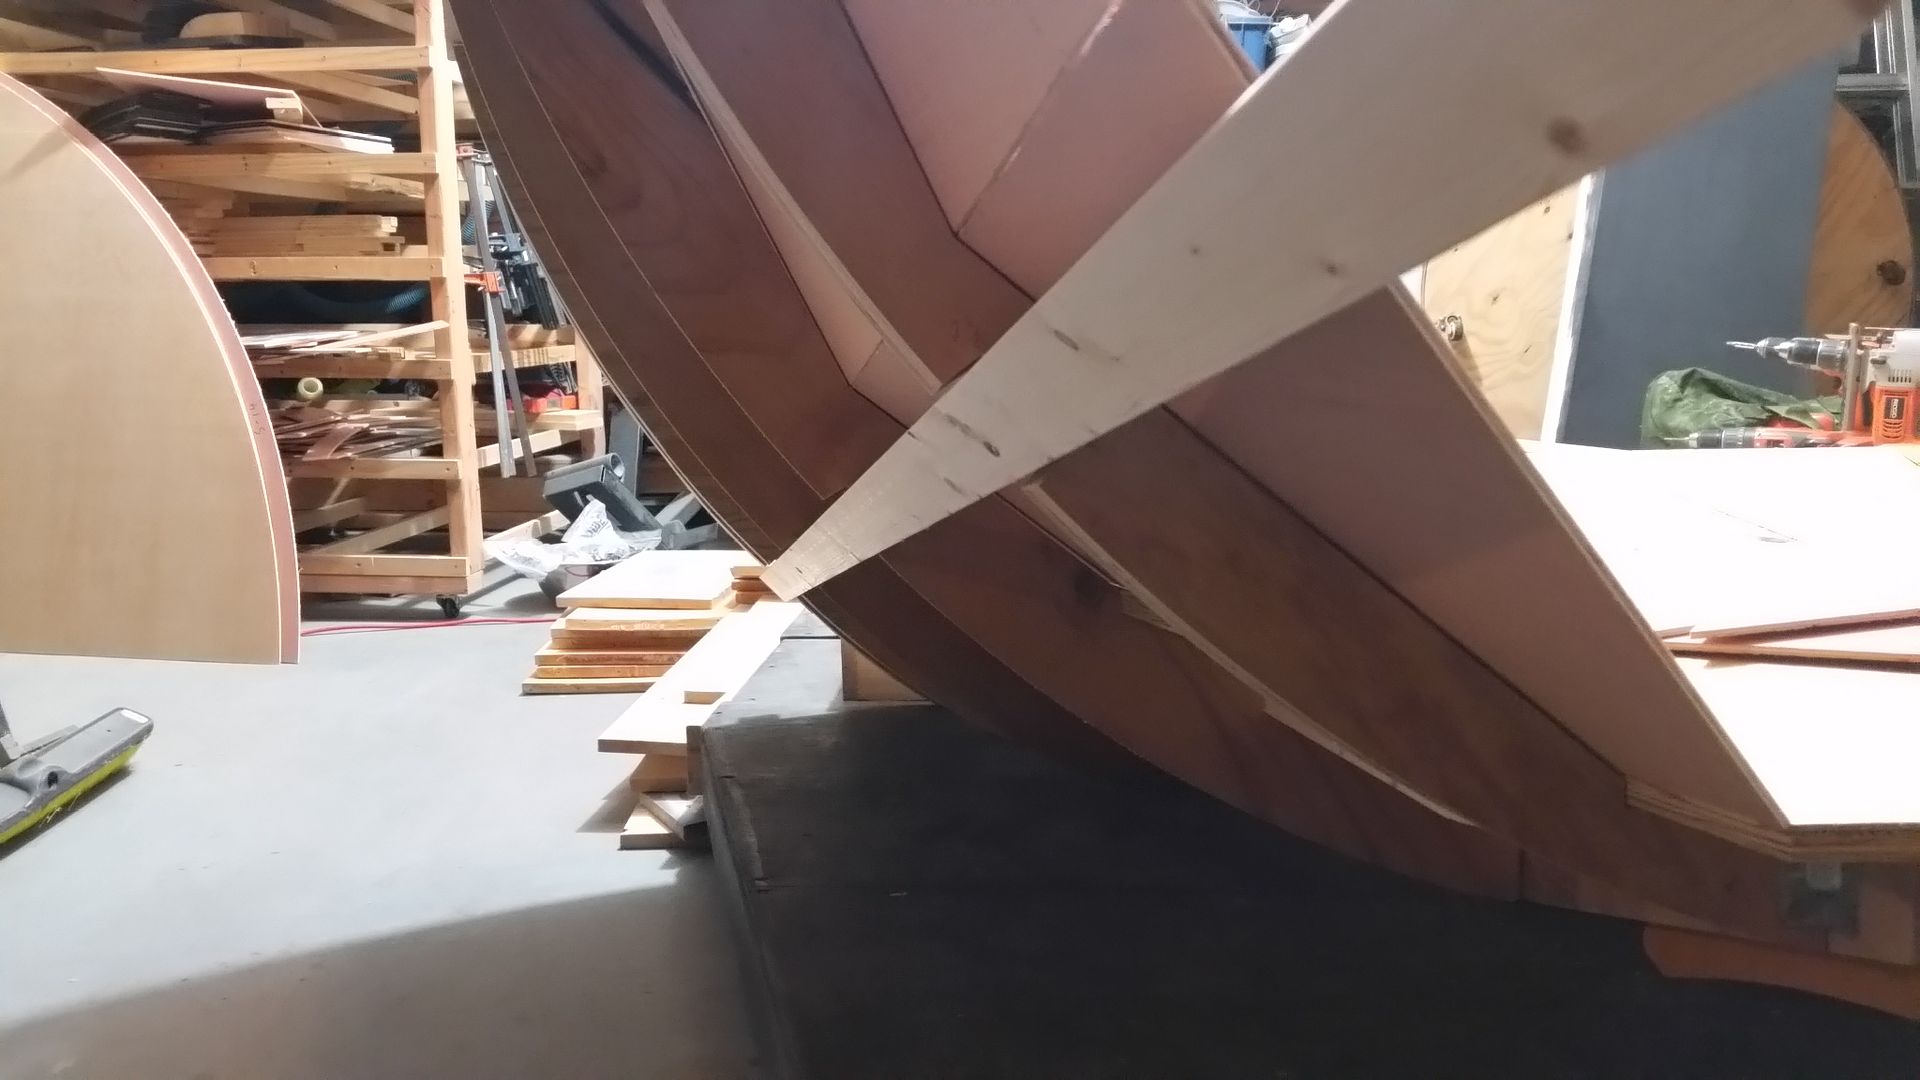
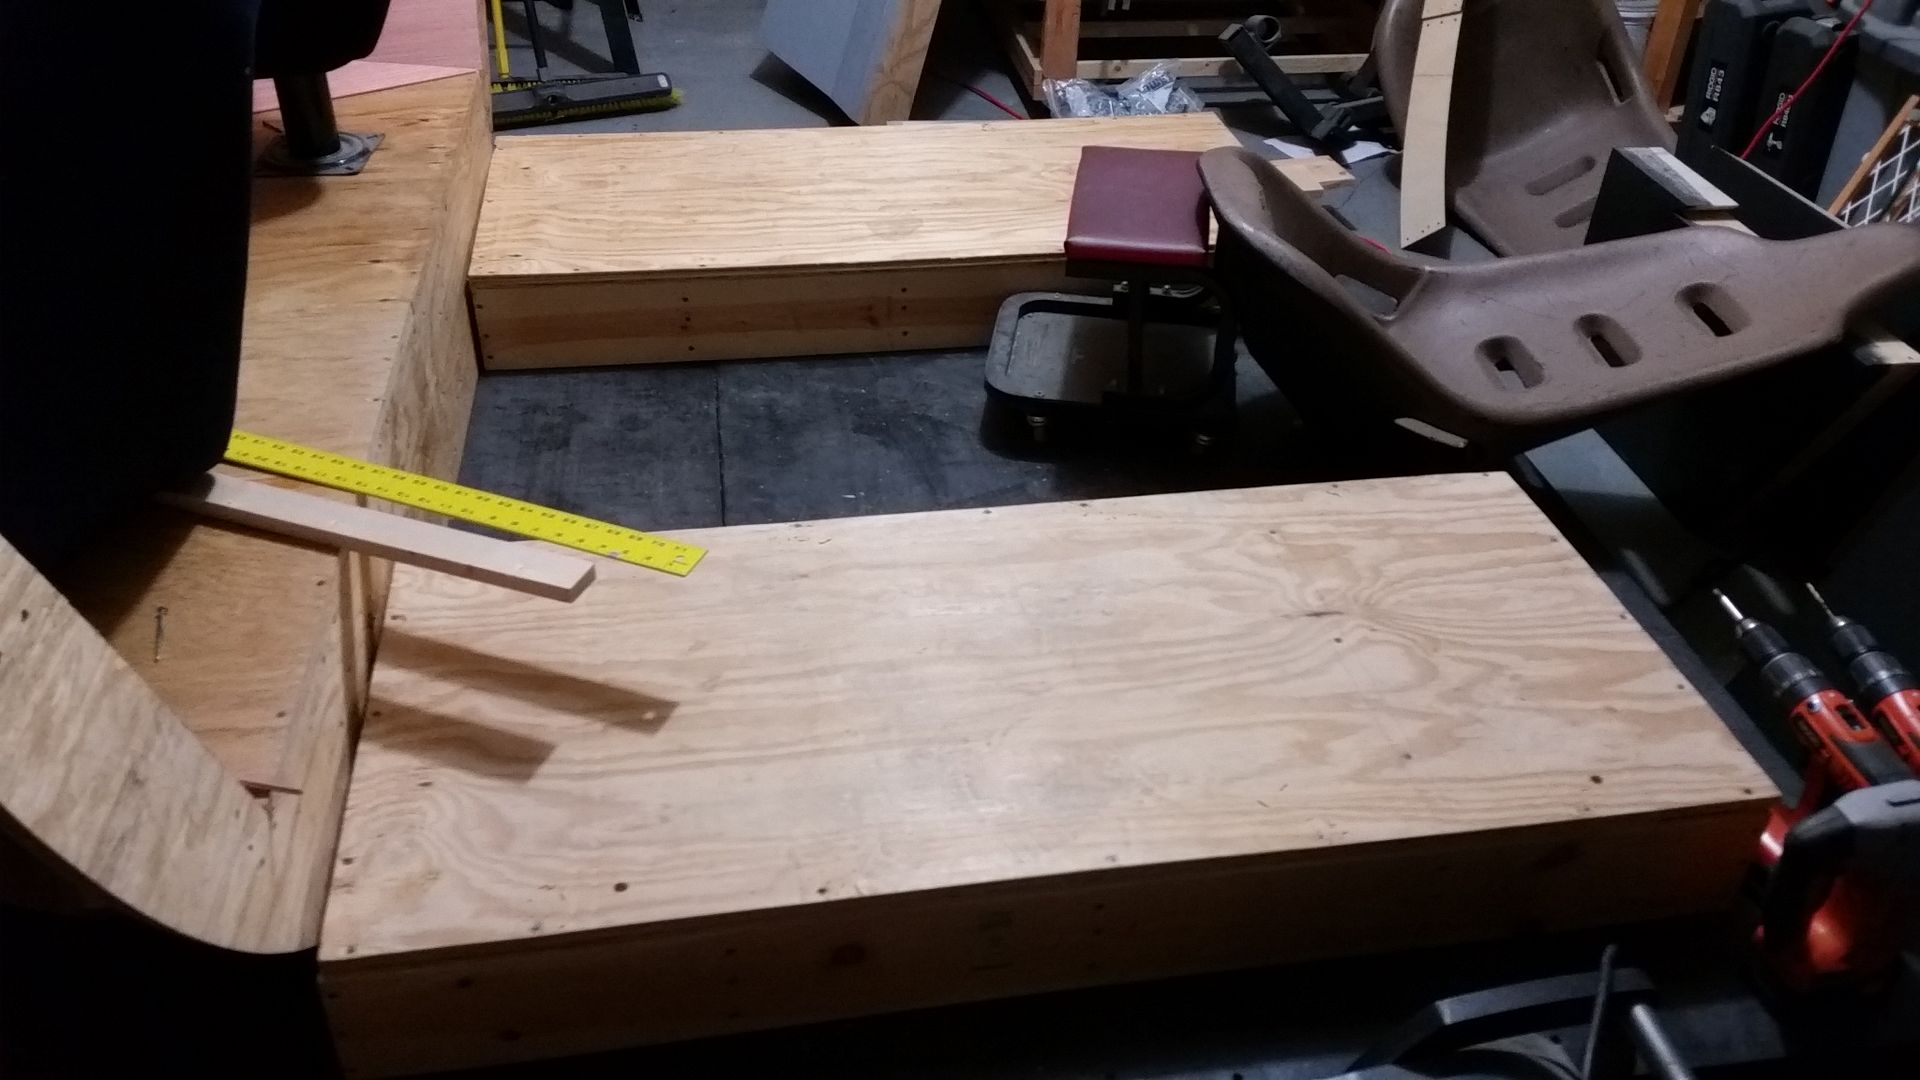
Tough to see anything here - added 1/2" ply and more supports to the nav chair platforms. This changes the overall dimensions by 1/2" so I have to remove 1/2" of material from the new riser panels (that sit just on top of the nav chair platforms) UGH
20151117_175020_zpsjd9gpept.jpg


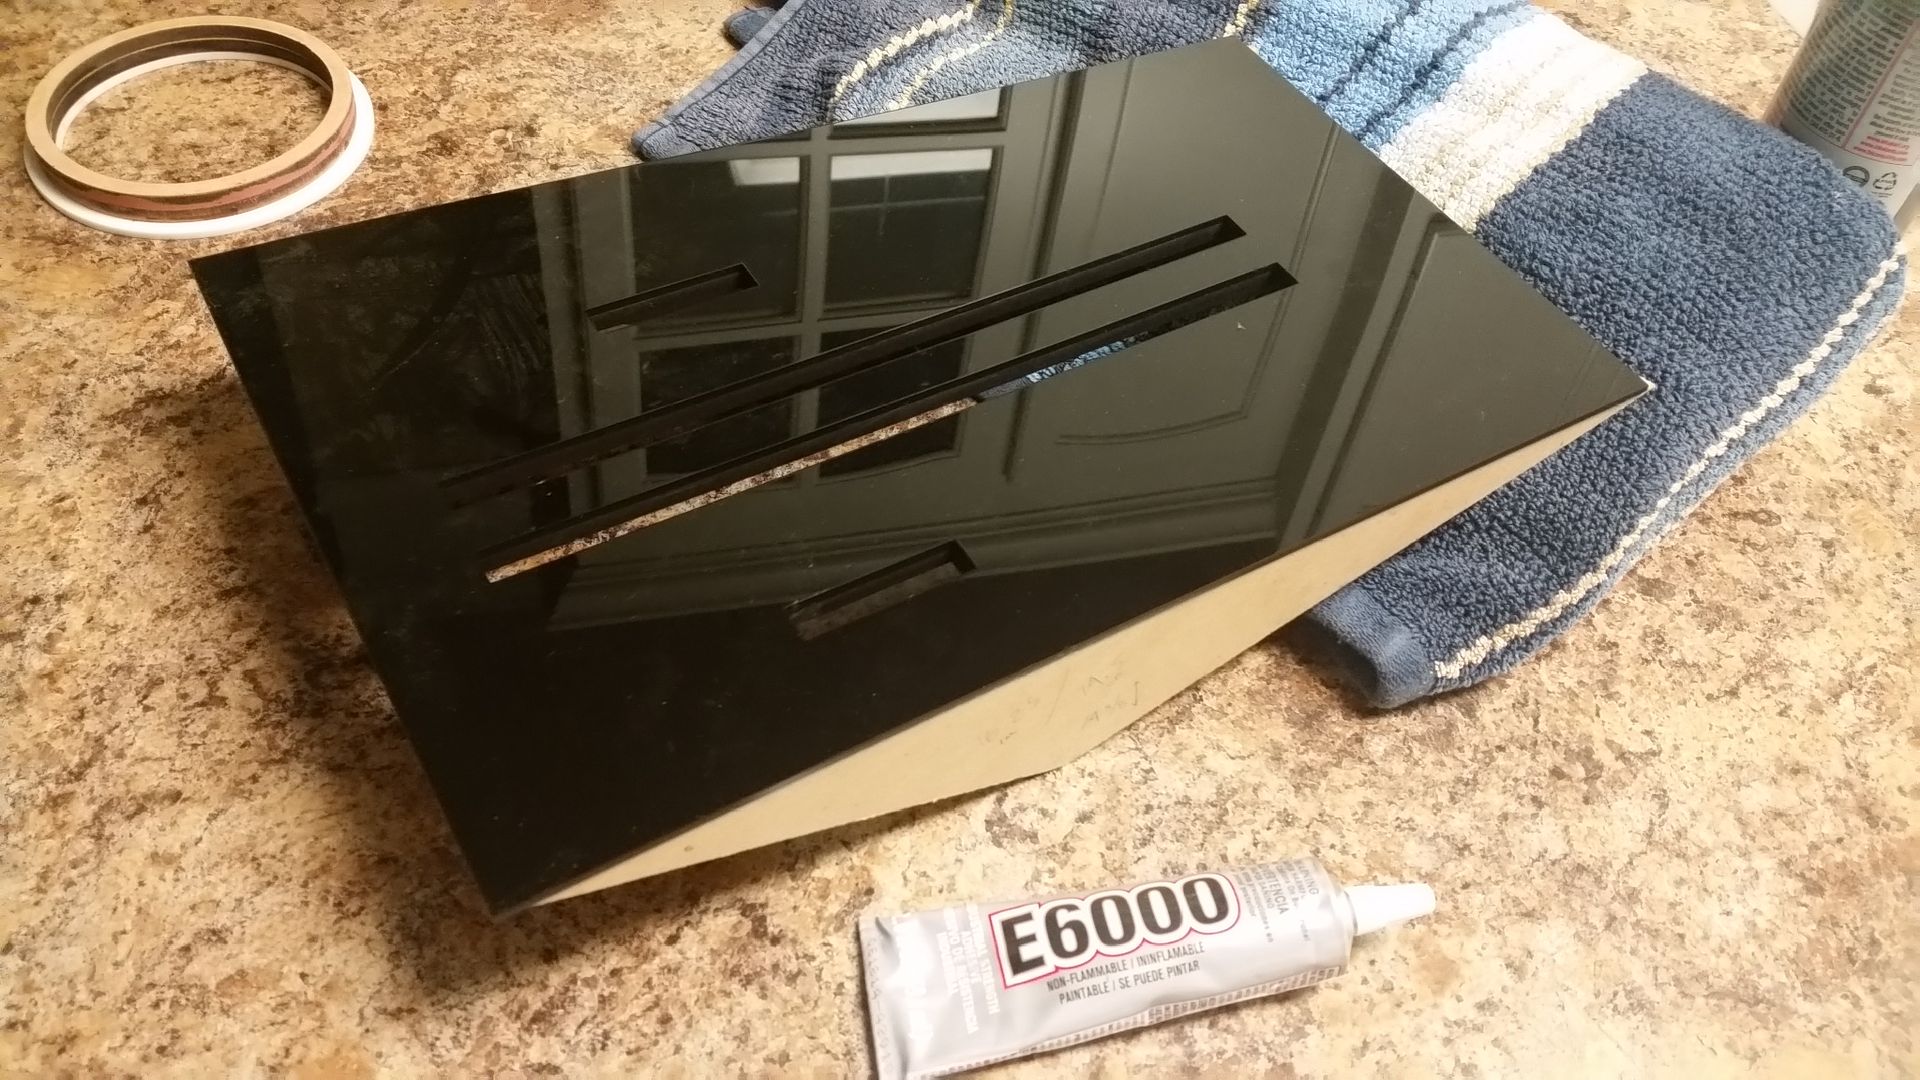
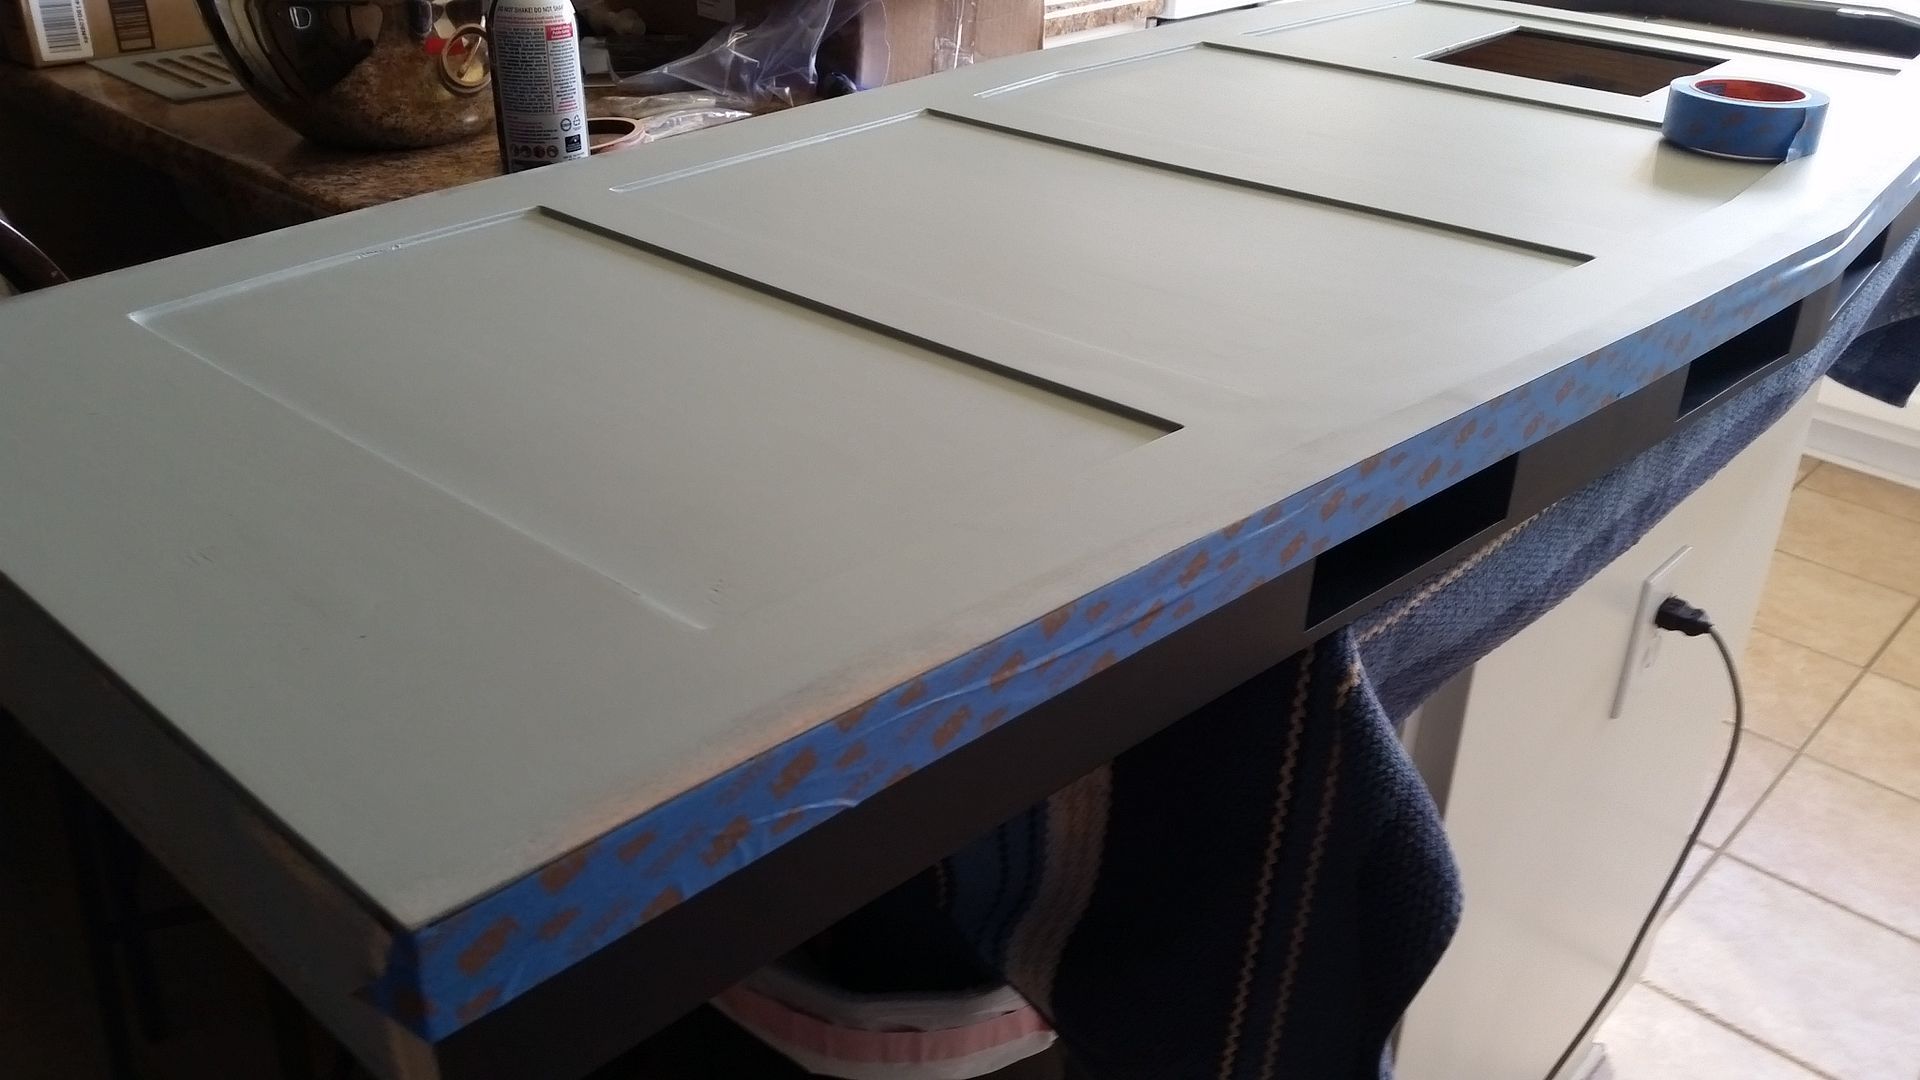
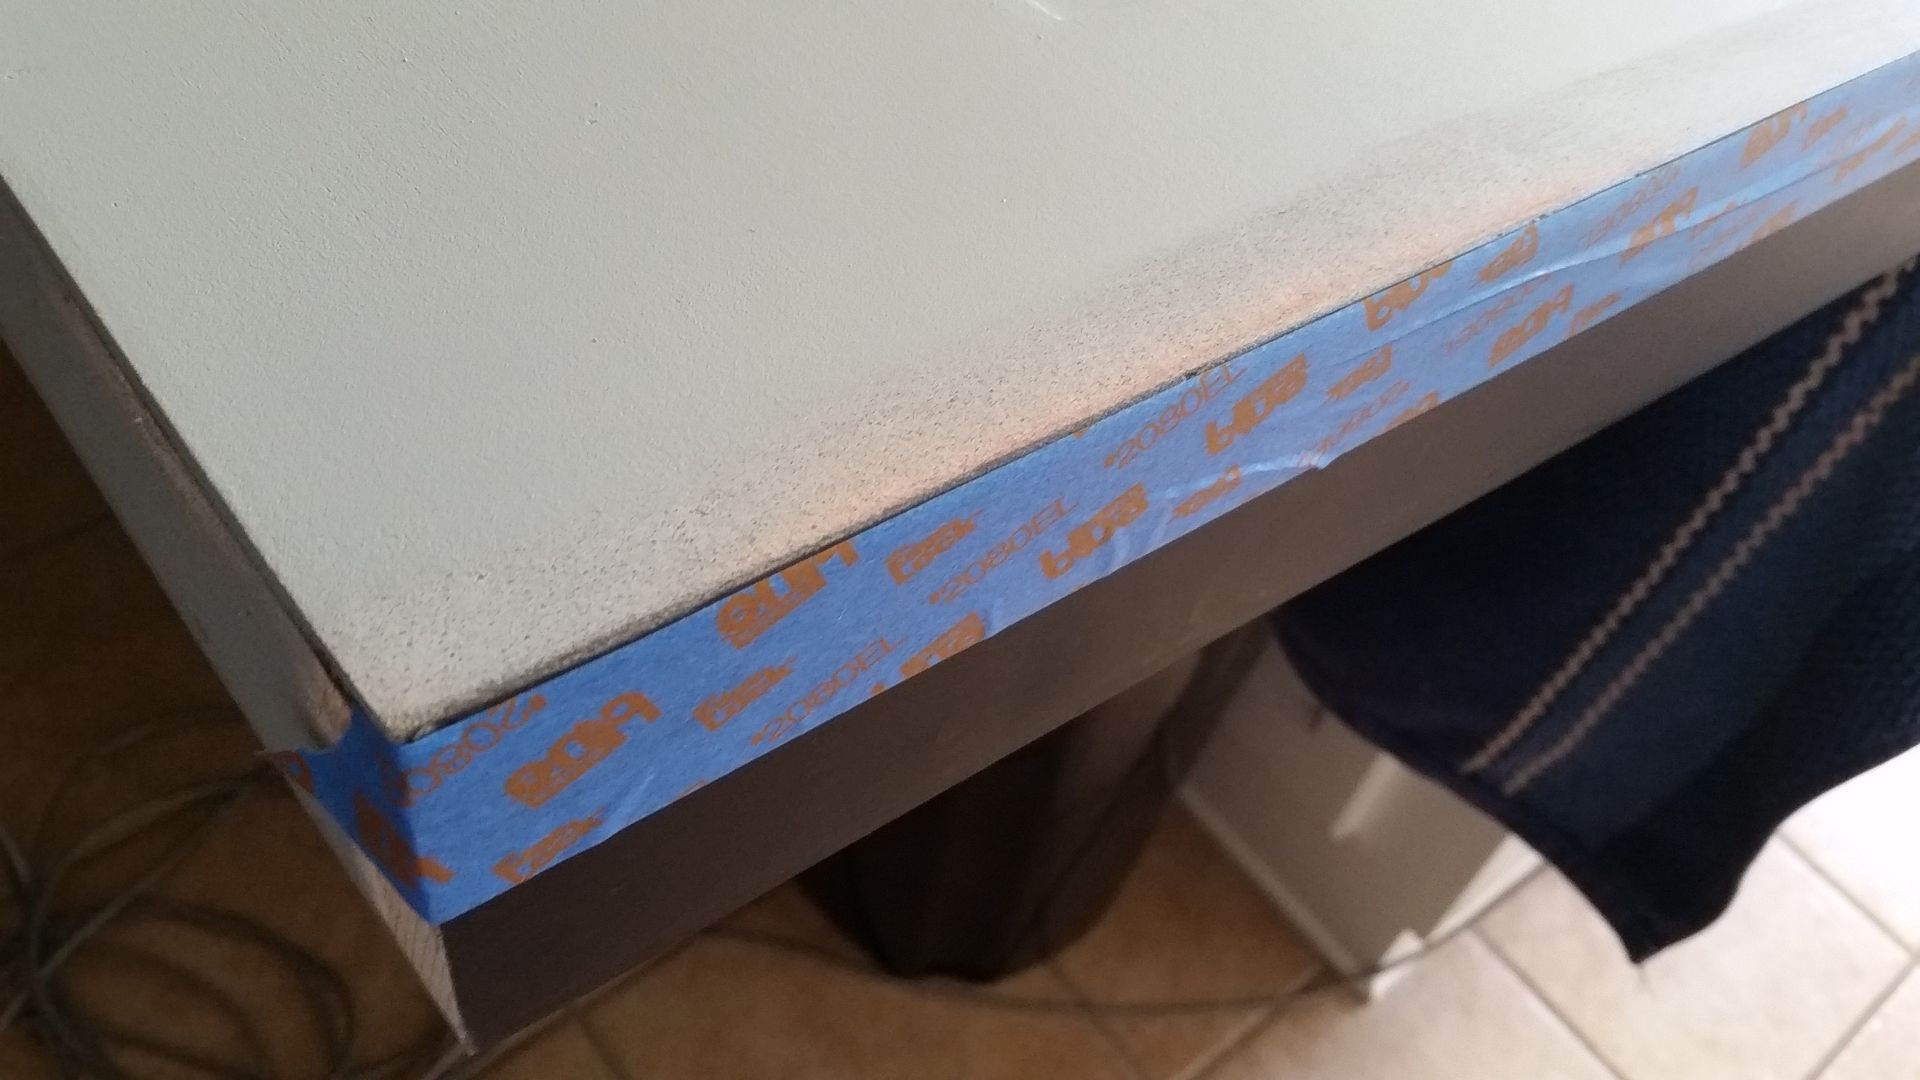
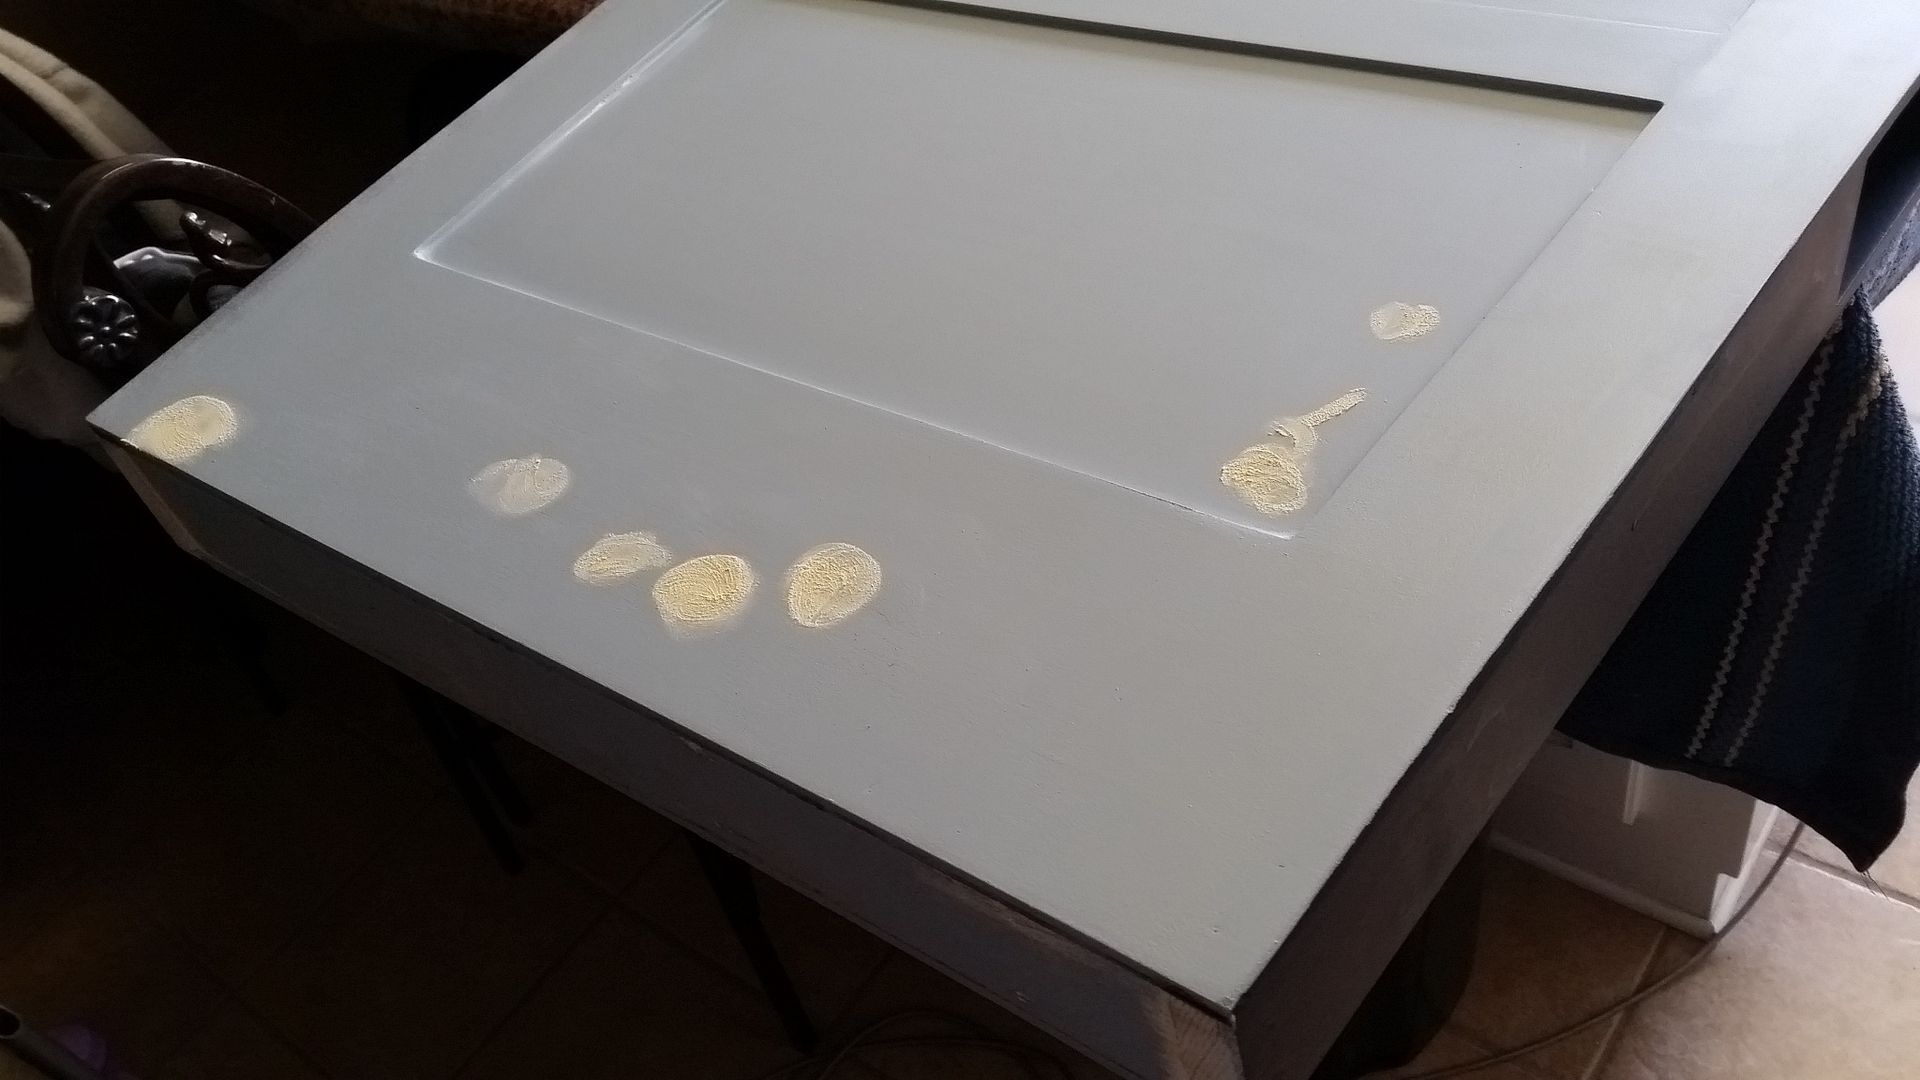
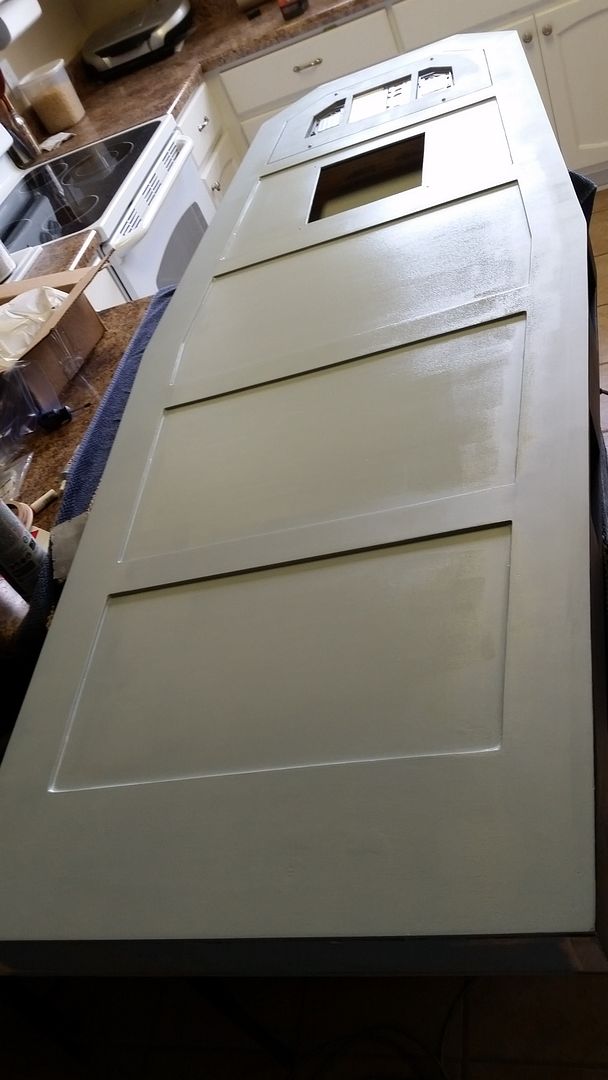
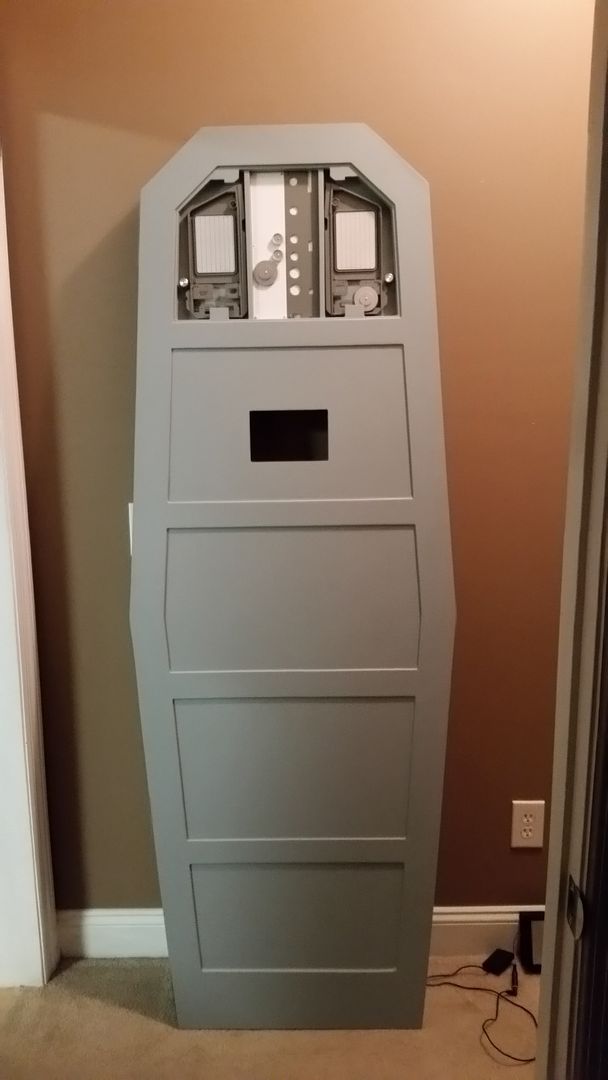
Finally finished the door
20151117_083614_zpsfzly5xpr.jpg


20151117_083619_zps8hqq5ijb.jpg


20151117_090104_zpsywysg43c.jpg


20151117_110138_zpsedipvlvk.jpg


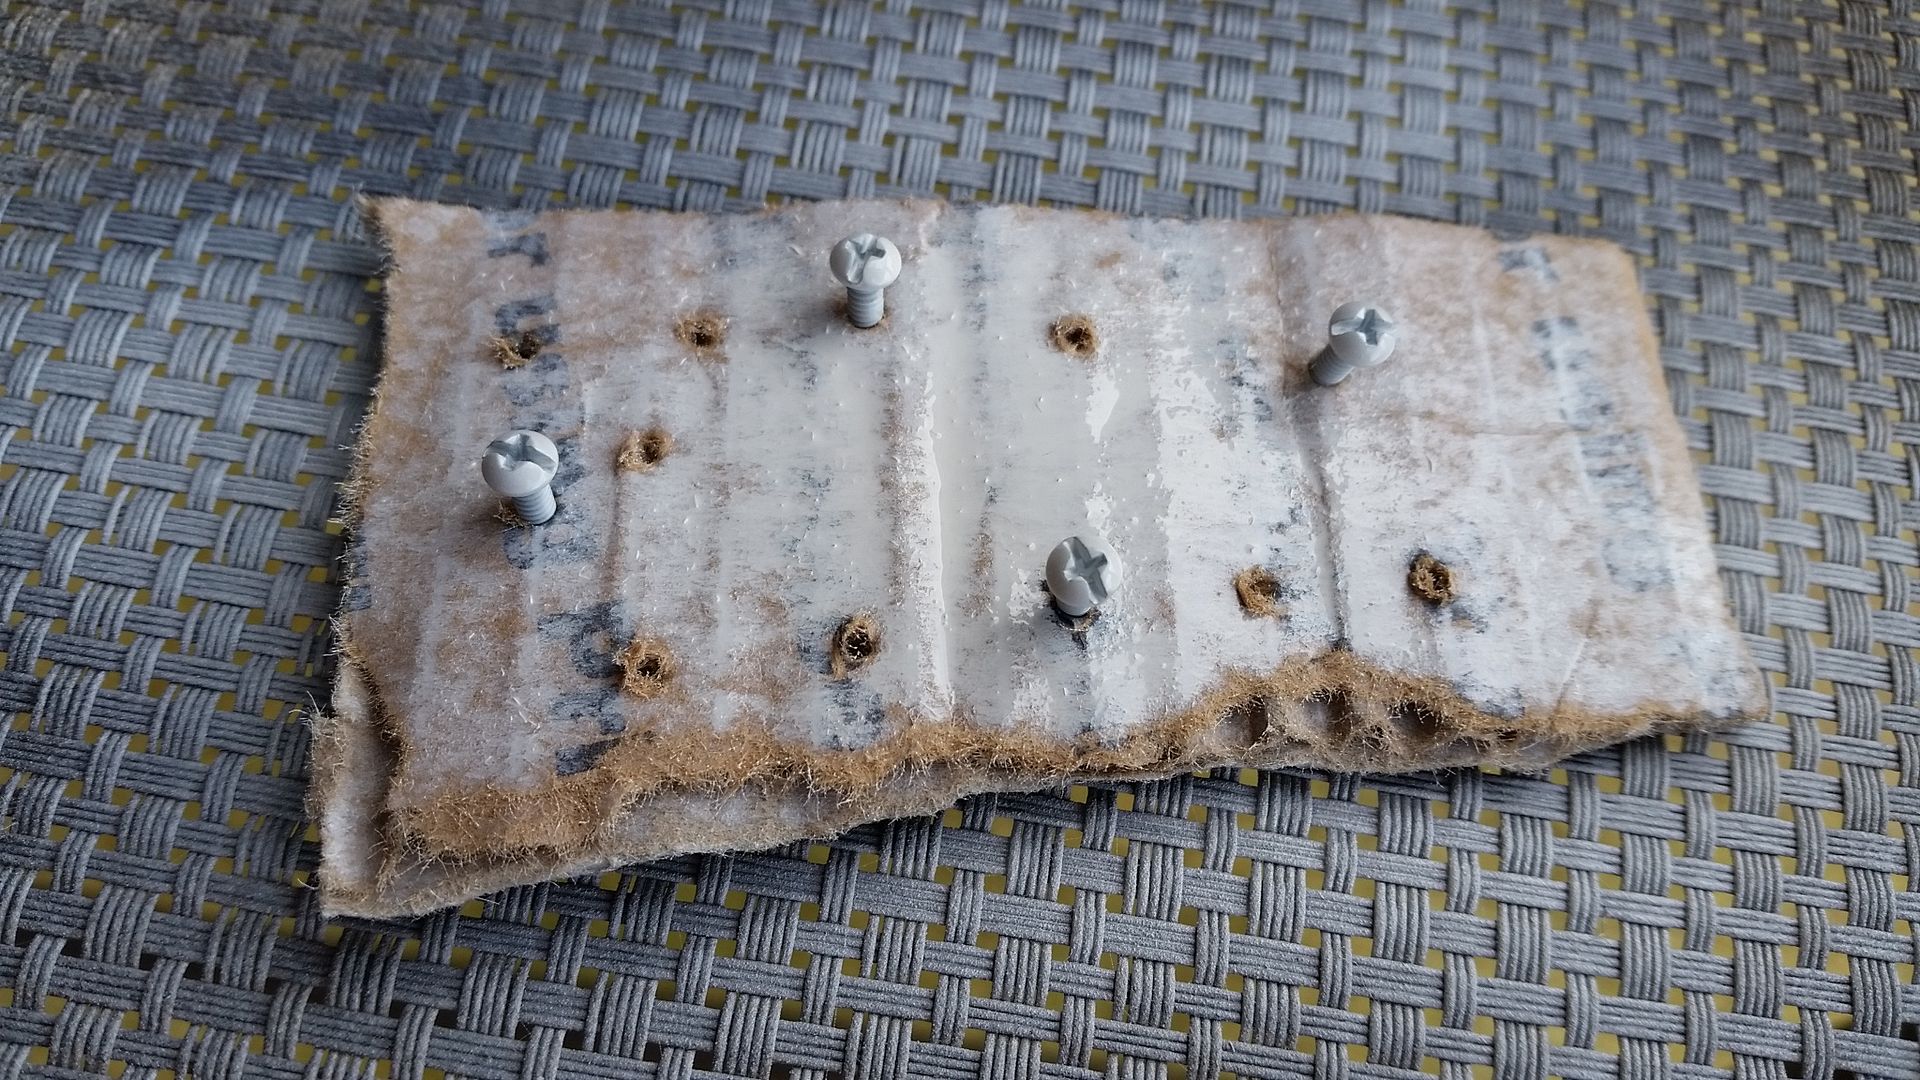
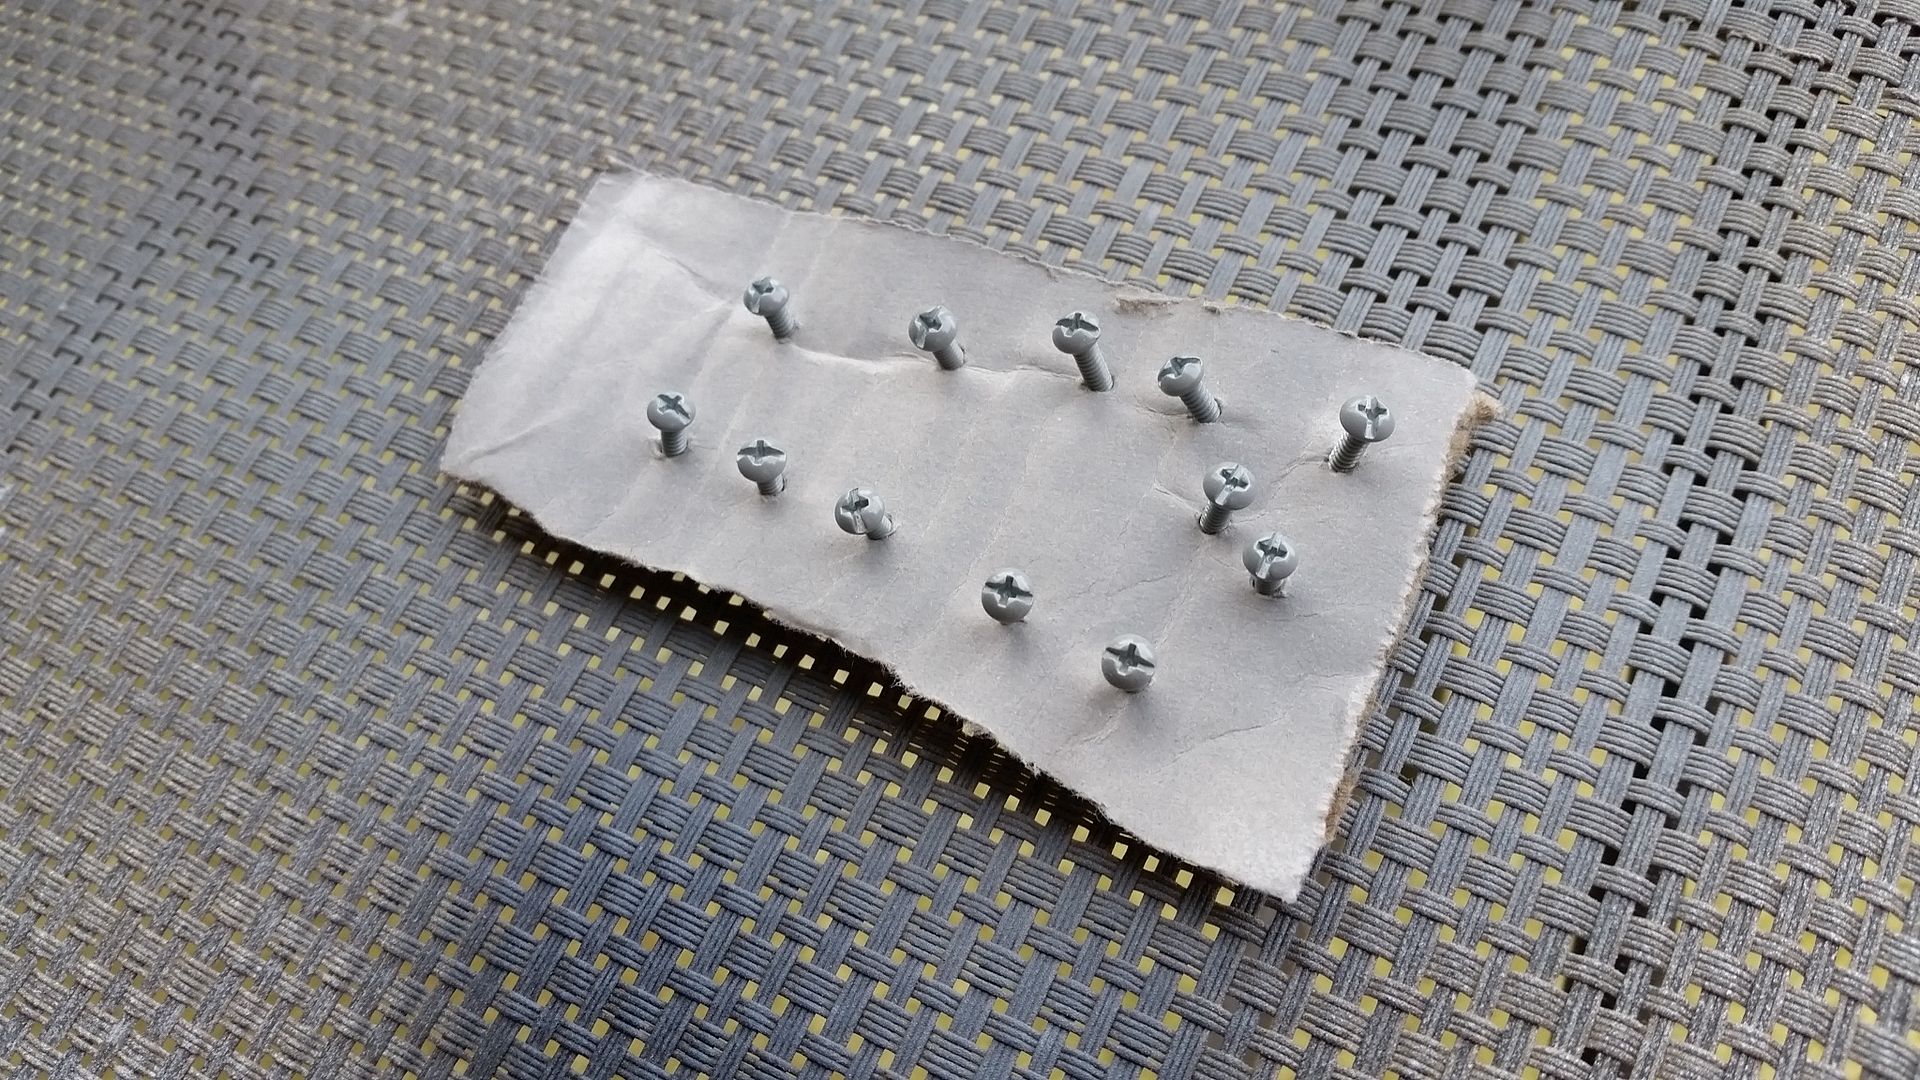
Painted the mounting hardware
20151117_110441_zpsruzglvob.jpg


20151117_091510_zpsyrar9zbq.jpg


20151117_110144_zpsesyowphc.jpg


20151117_181452_zpswua1lk2b.jpg


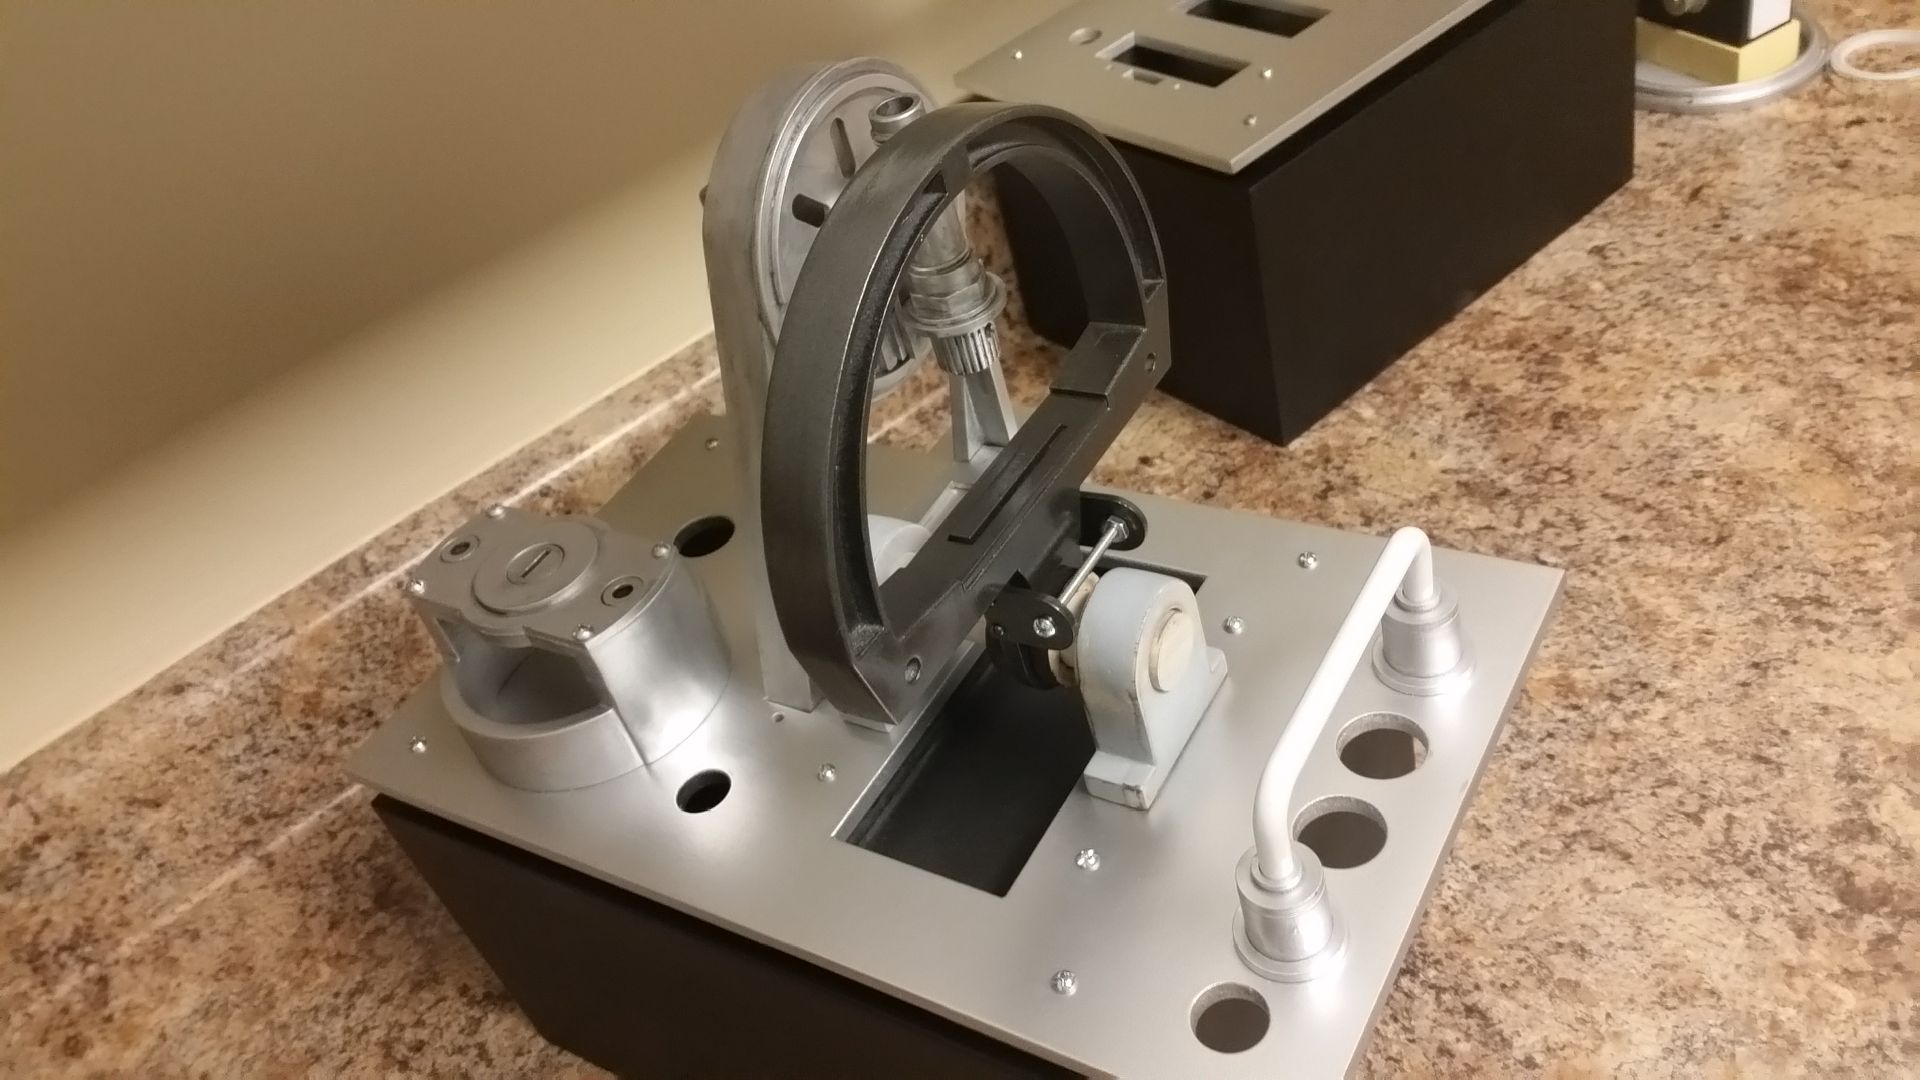
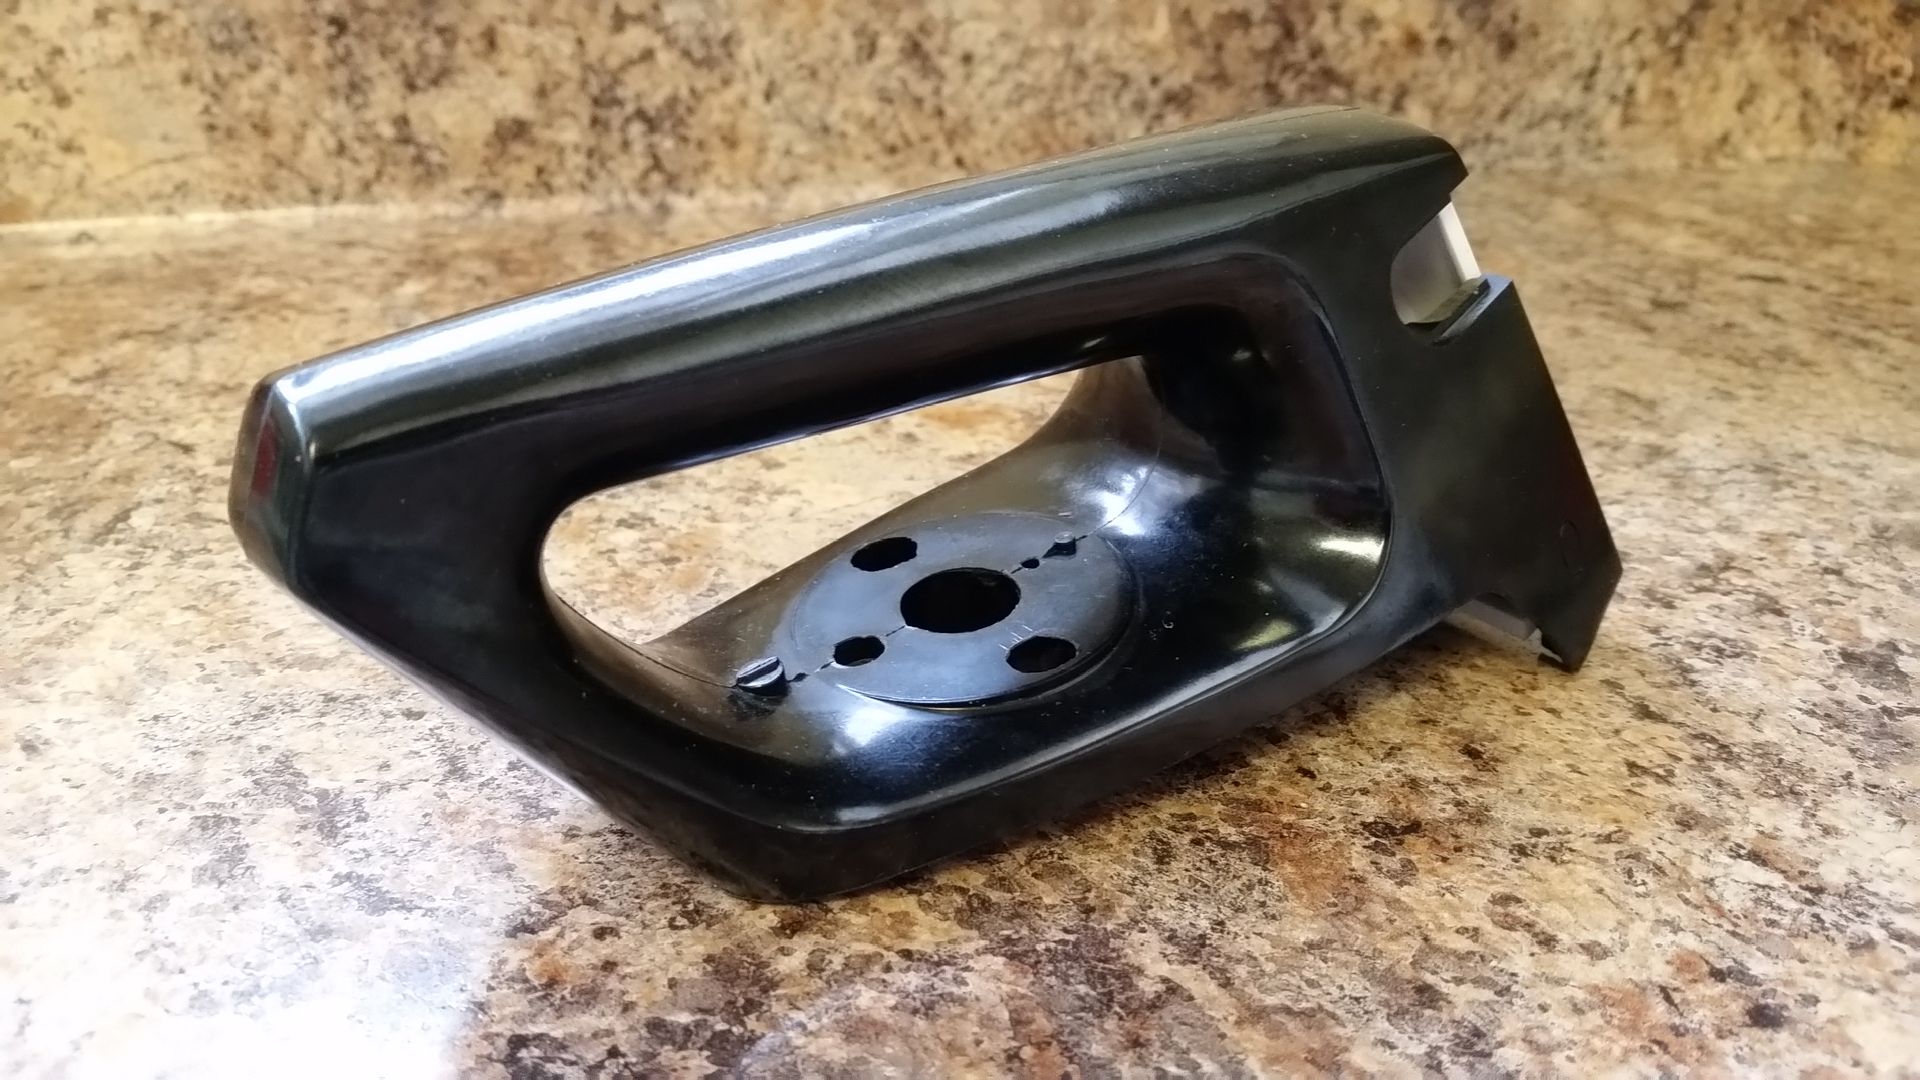
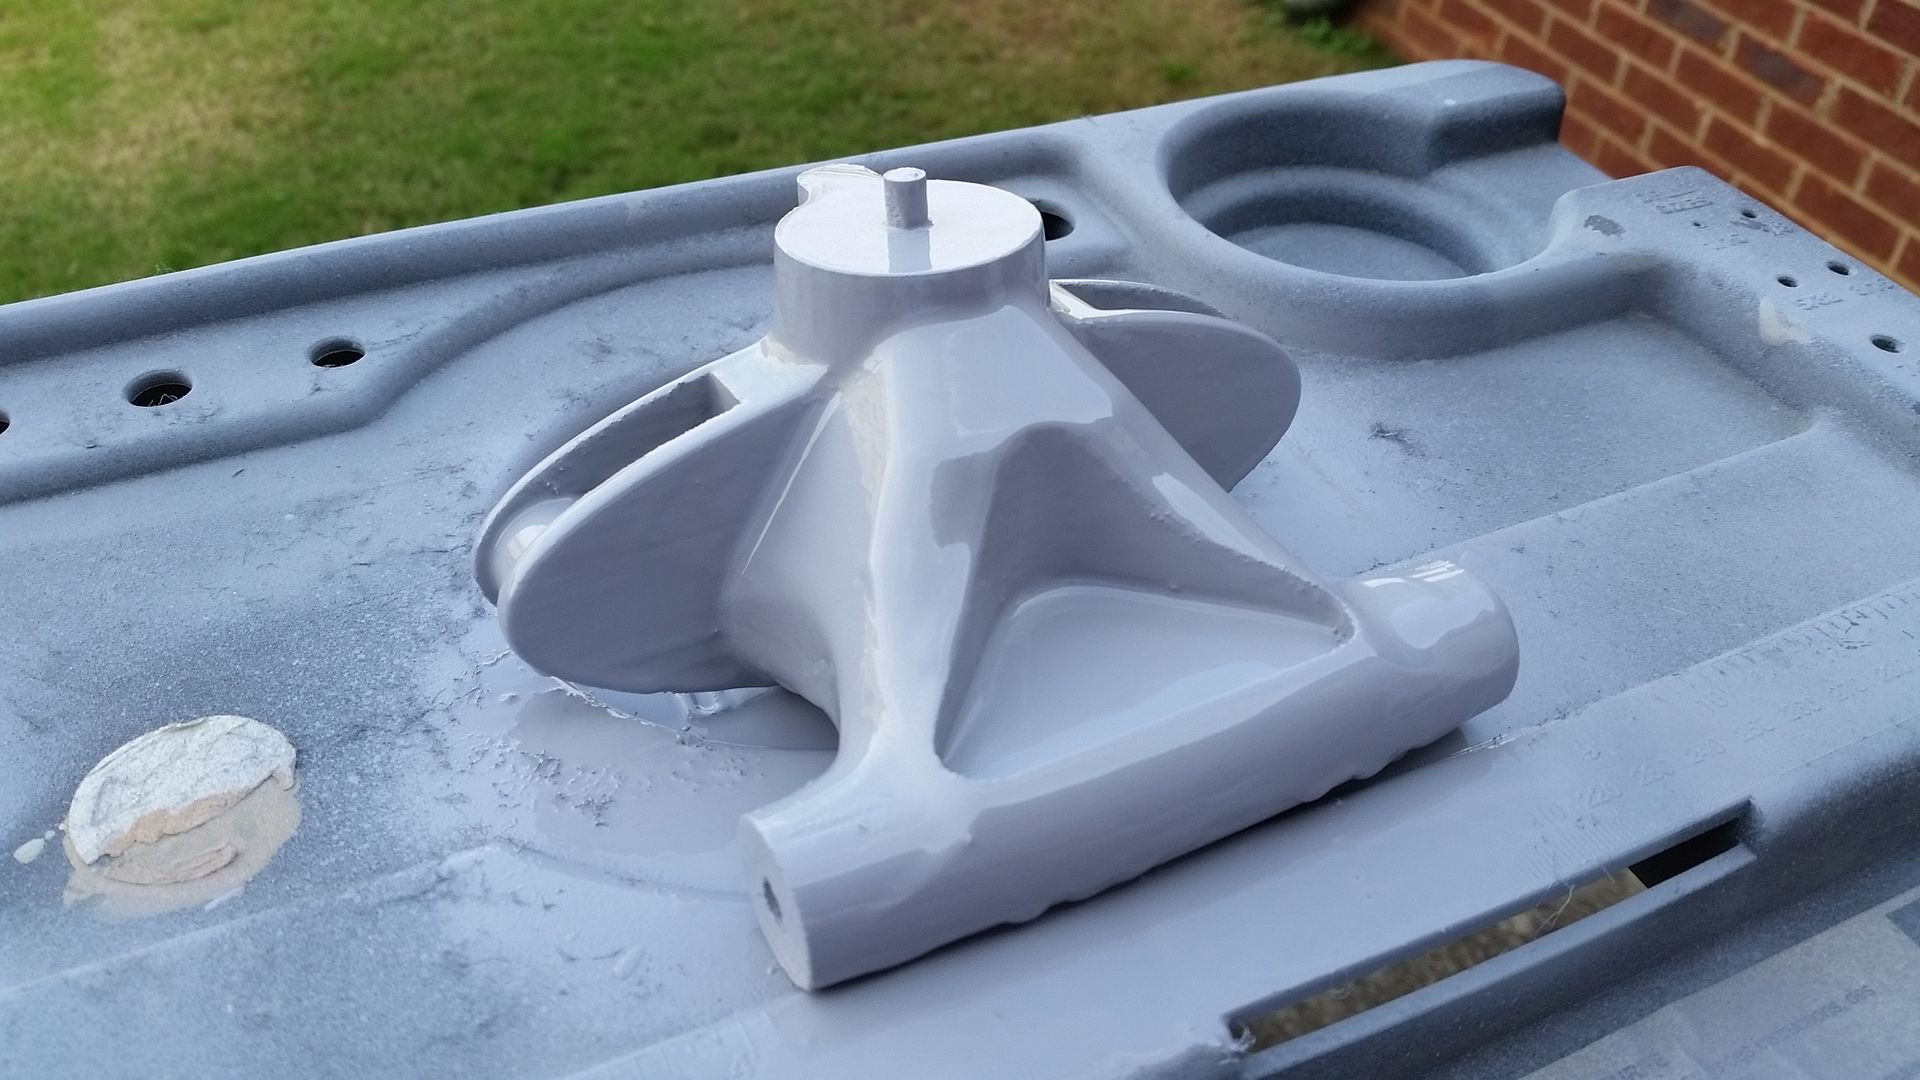
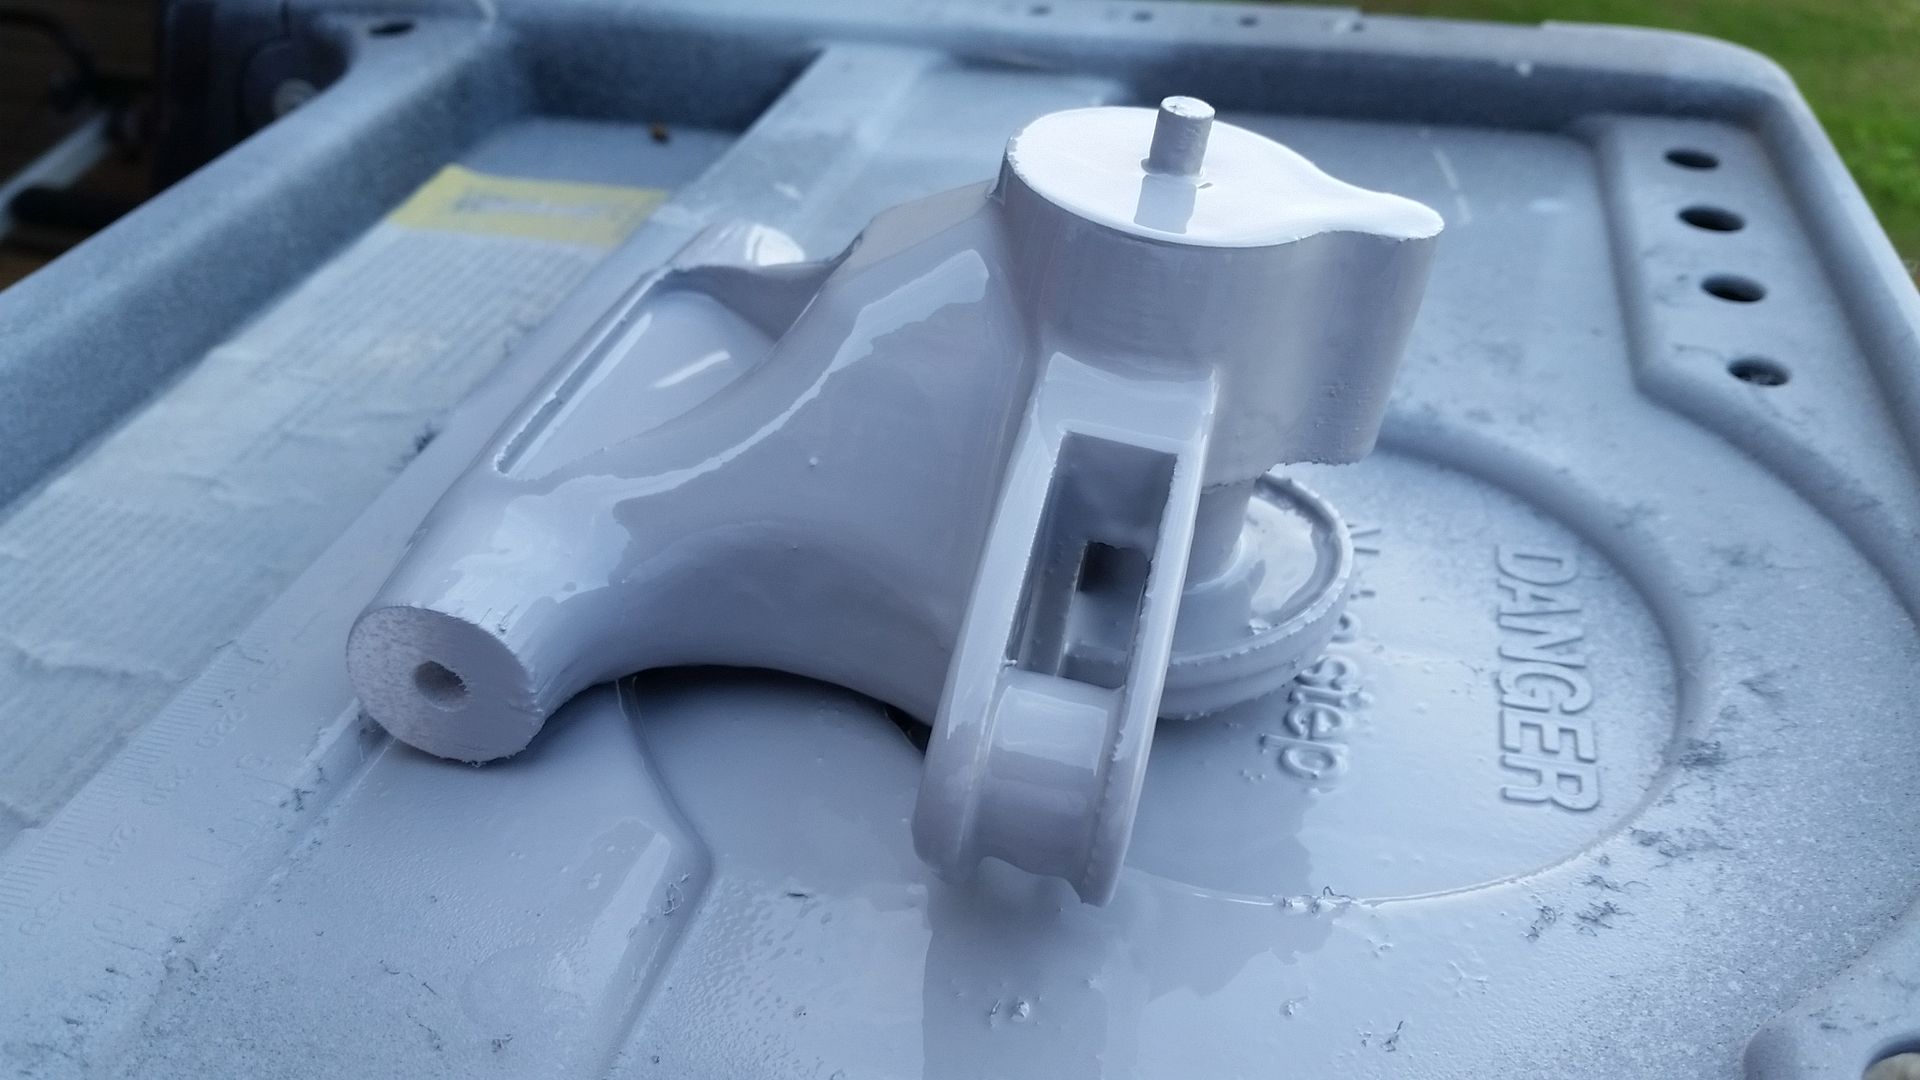
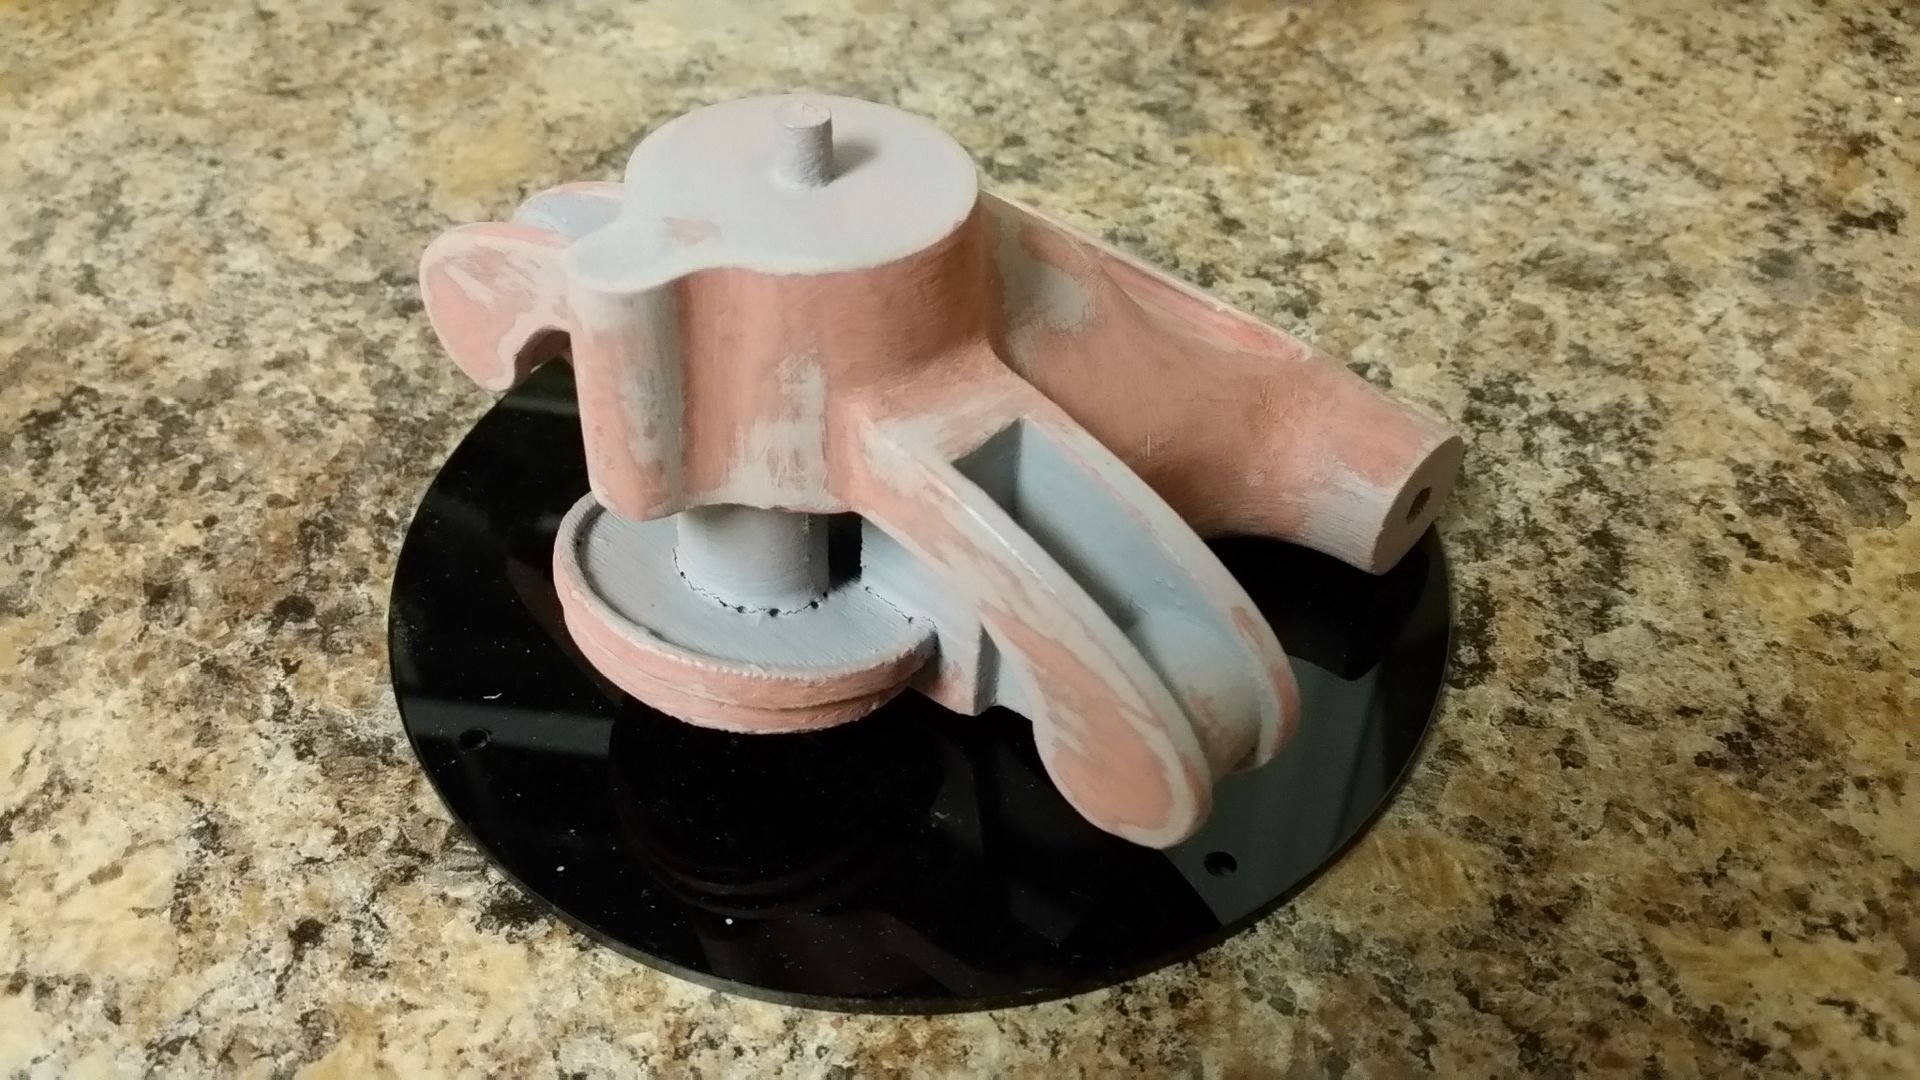
Applied several layers of primer filler to the yoke body 3D print
20151117_084655_zps6fy93fc1.jpg


20151117_0847000_zpsmeozsrxd.jpg


20151117_084727_zpsjkcpsmxu.jpg


20151117_110450_zpsc1nlq9ux.jpg


20151117_134205_zpsjur7bqev.jpg


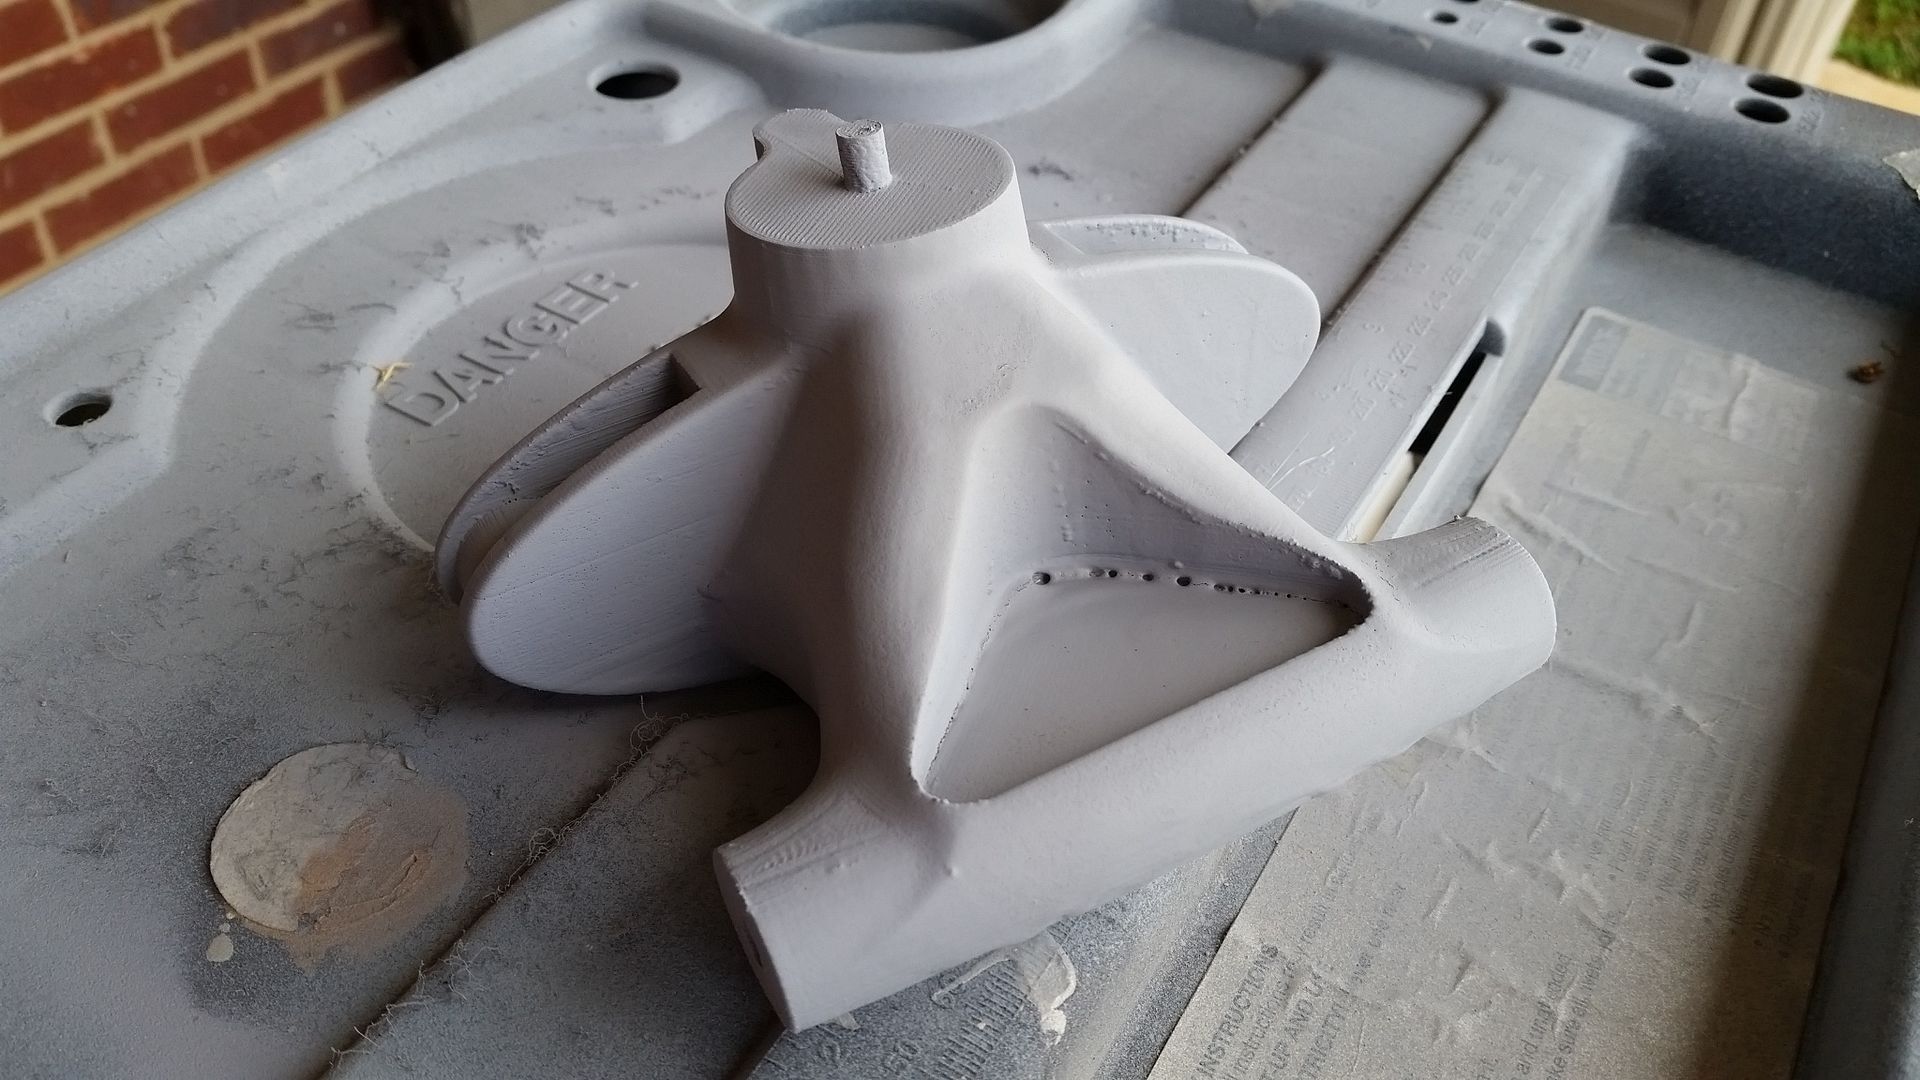
Just a teeny tiny bit more filler
20151117_134205_zpsjur7bqev.jpg


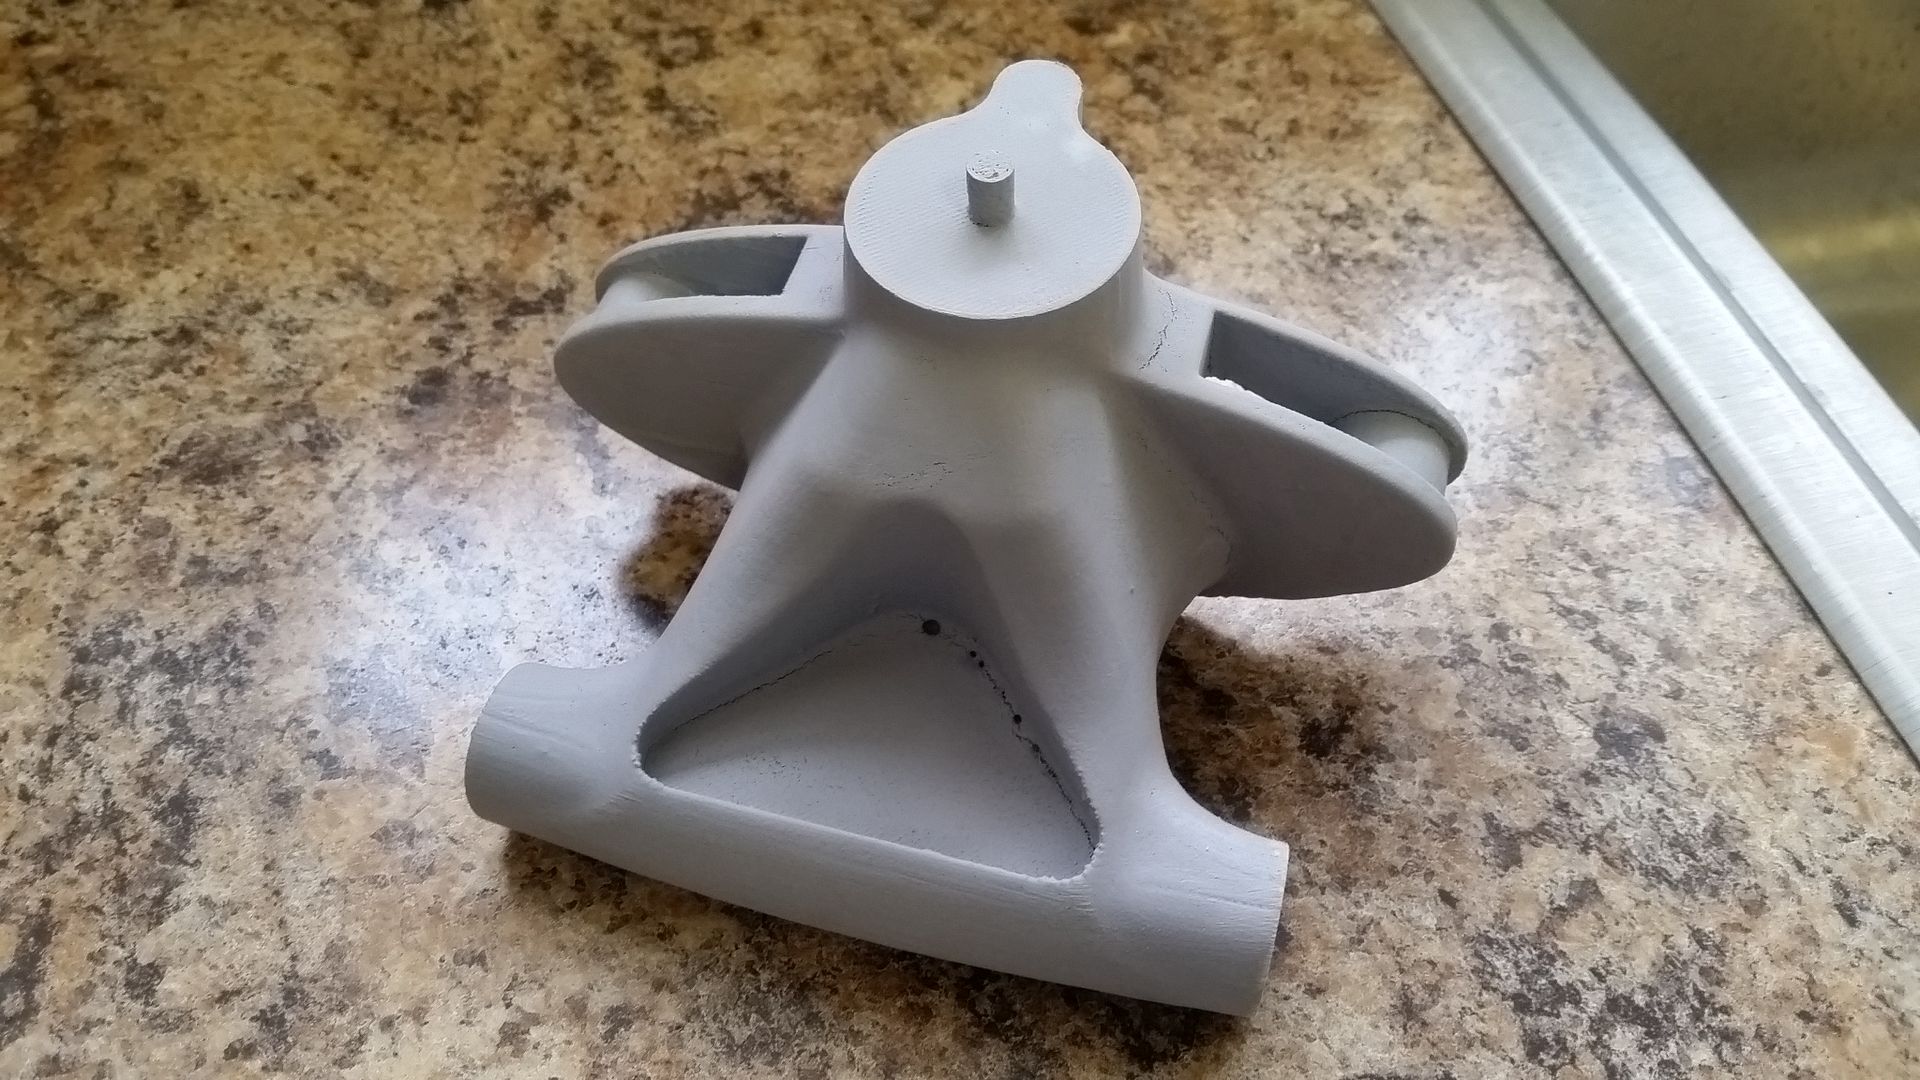
First round of sanding
20151117_212719_zpsf2sltbcd.jpg


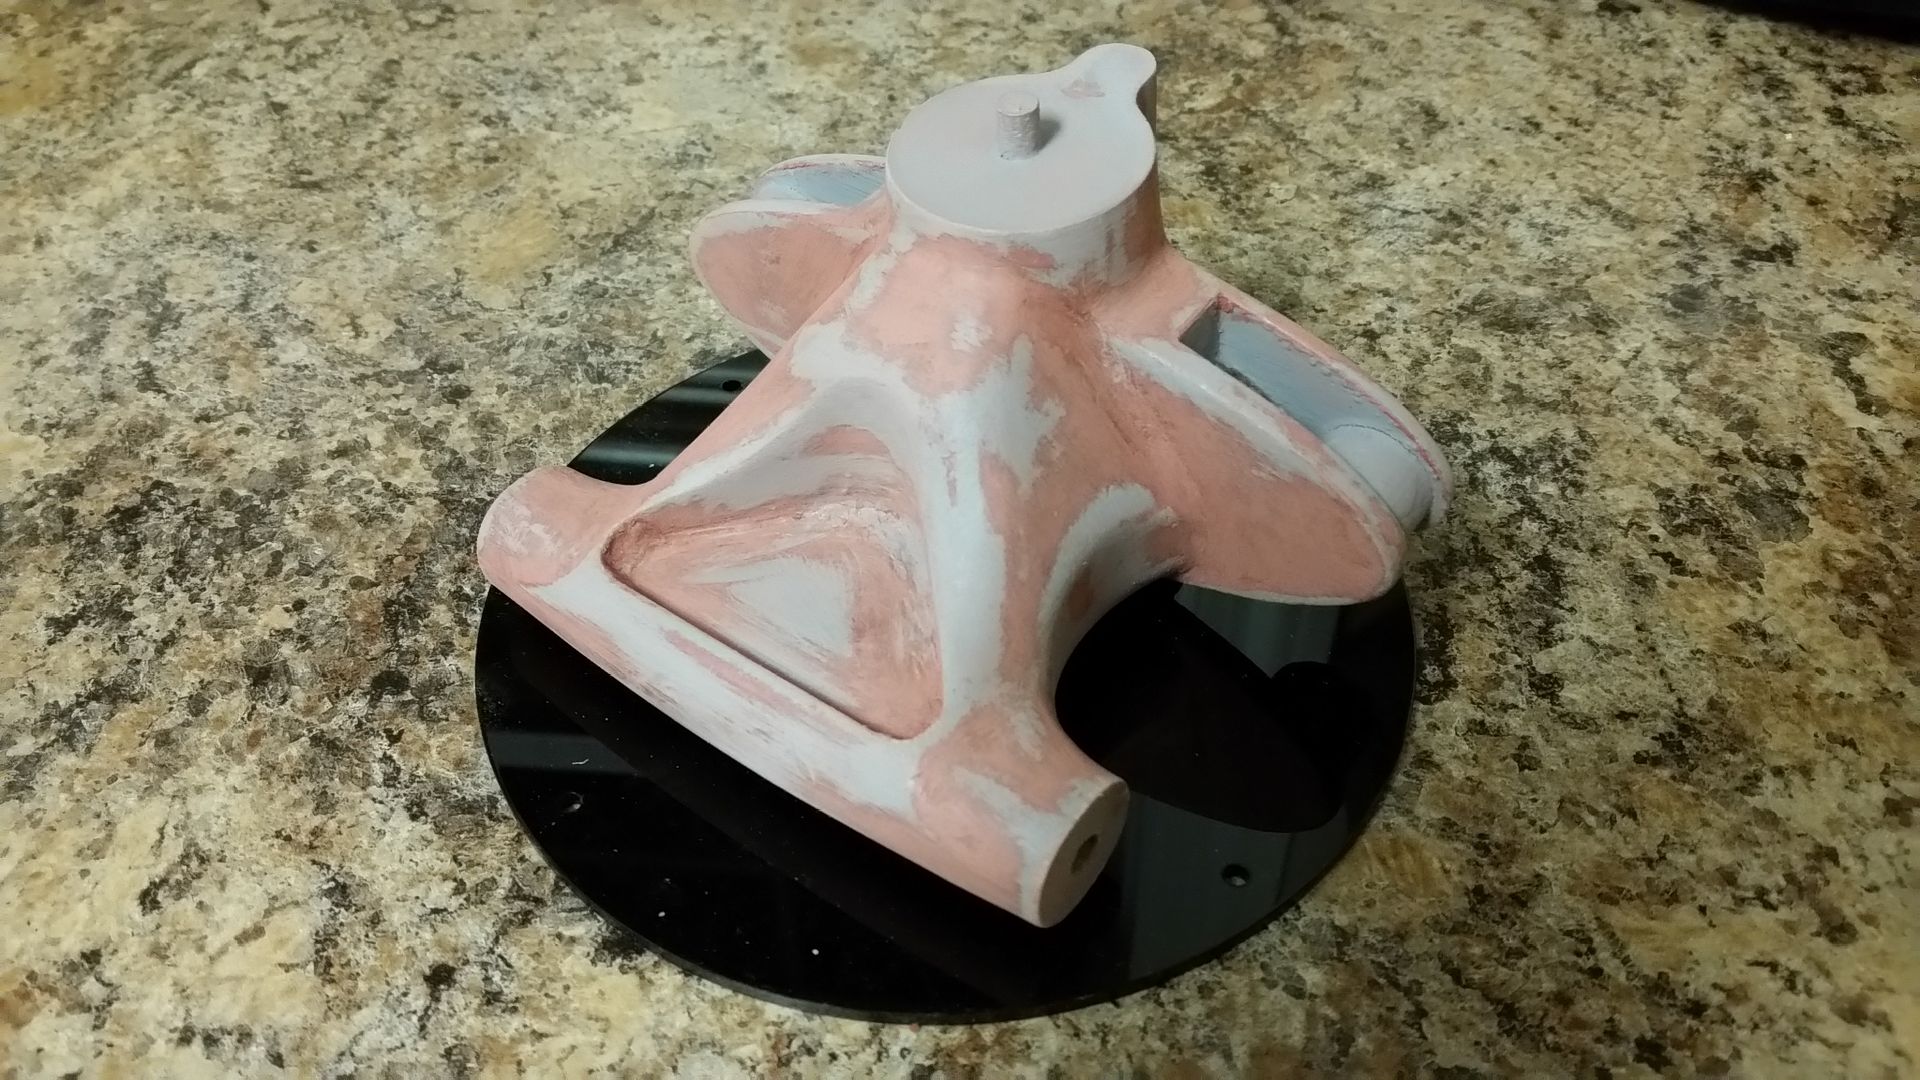
Still lots of work to do
20151117_212729_zpskagt36pa.jpg


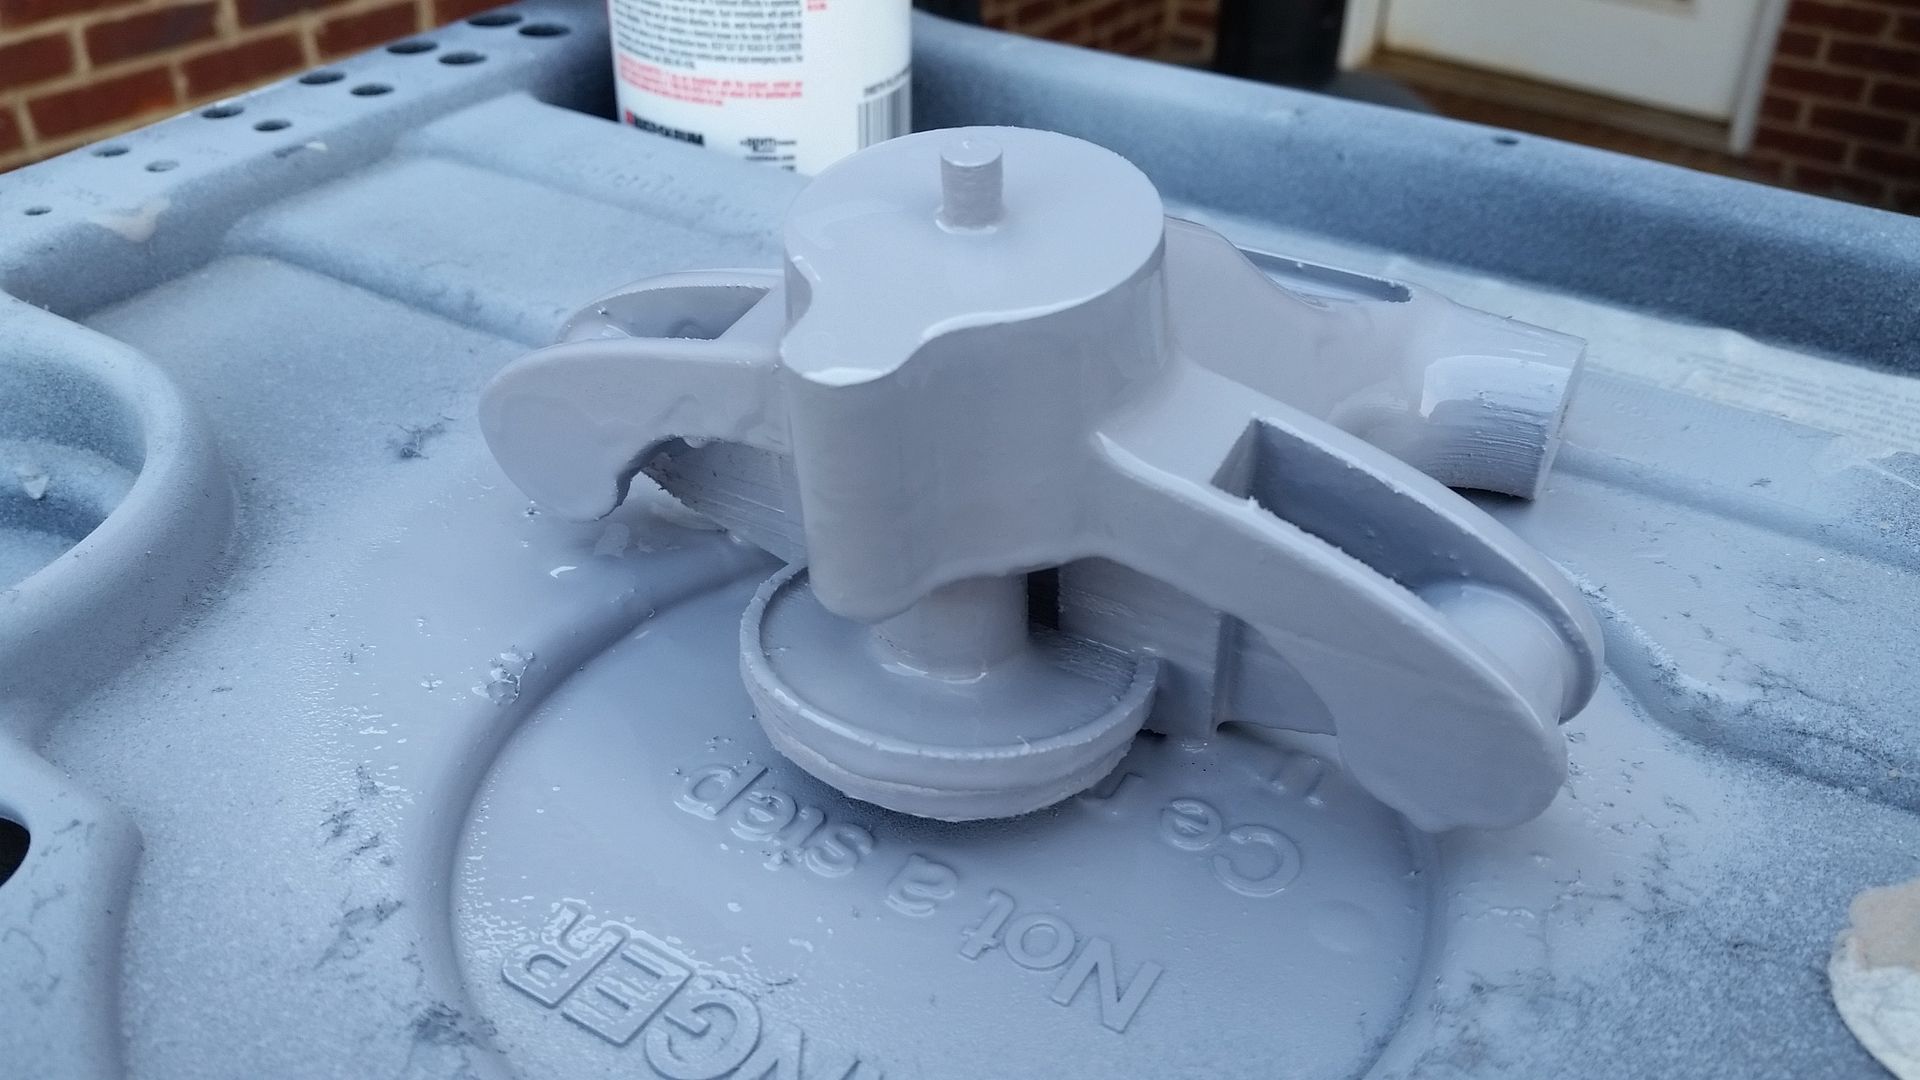
Throttle housing got some filler and primer
20151117_081550_zpsxqku2taa.jpg


20151117_081557_zpss6n23mp9.jpg


20151117_081602_zpsbyj81shi.jpg


More filler
20151117_092623_zpso8knepxk.jpg


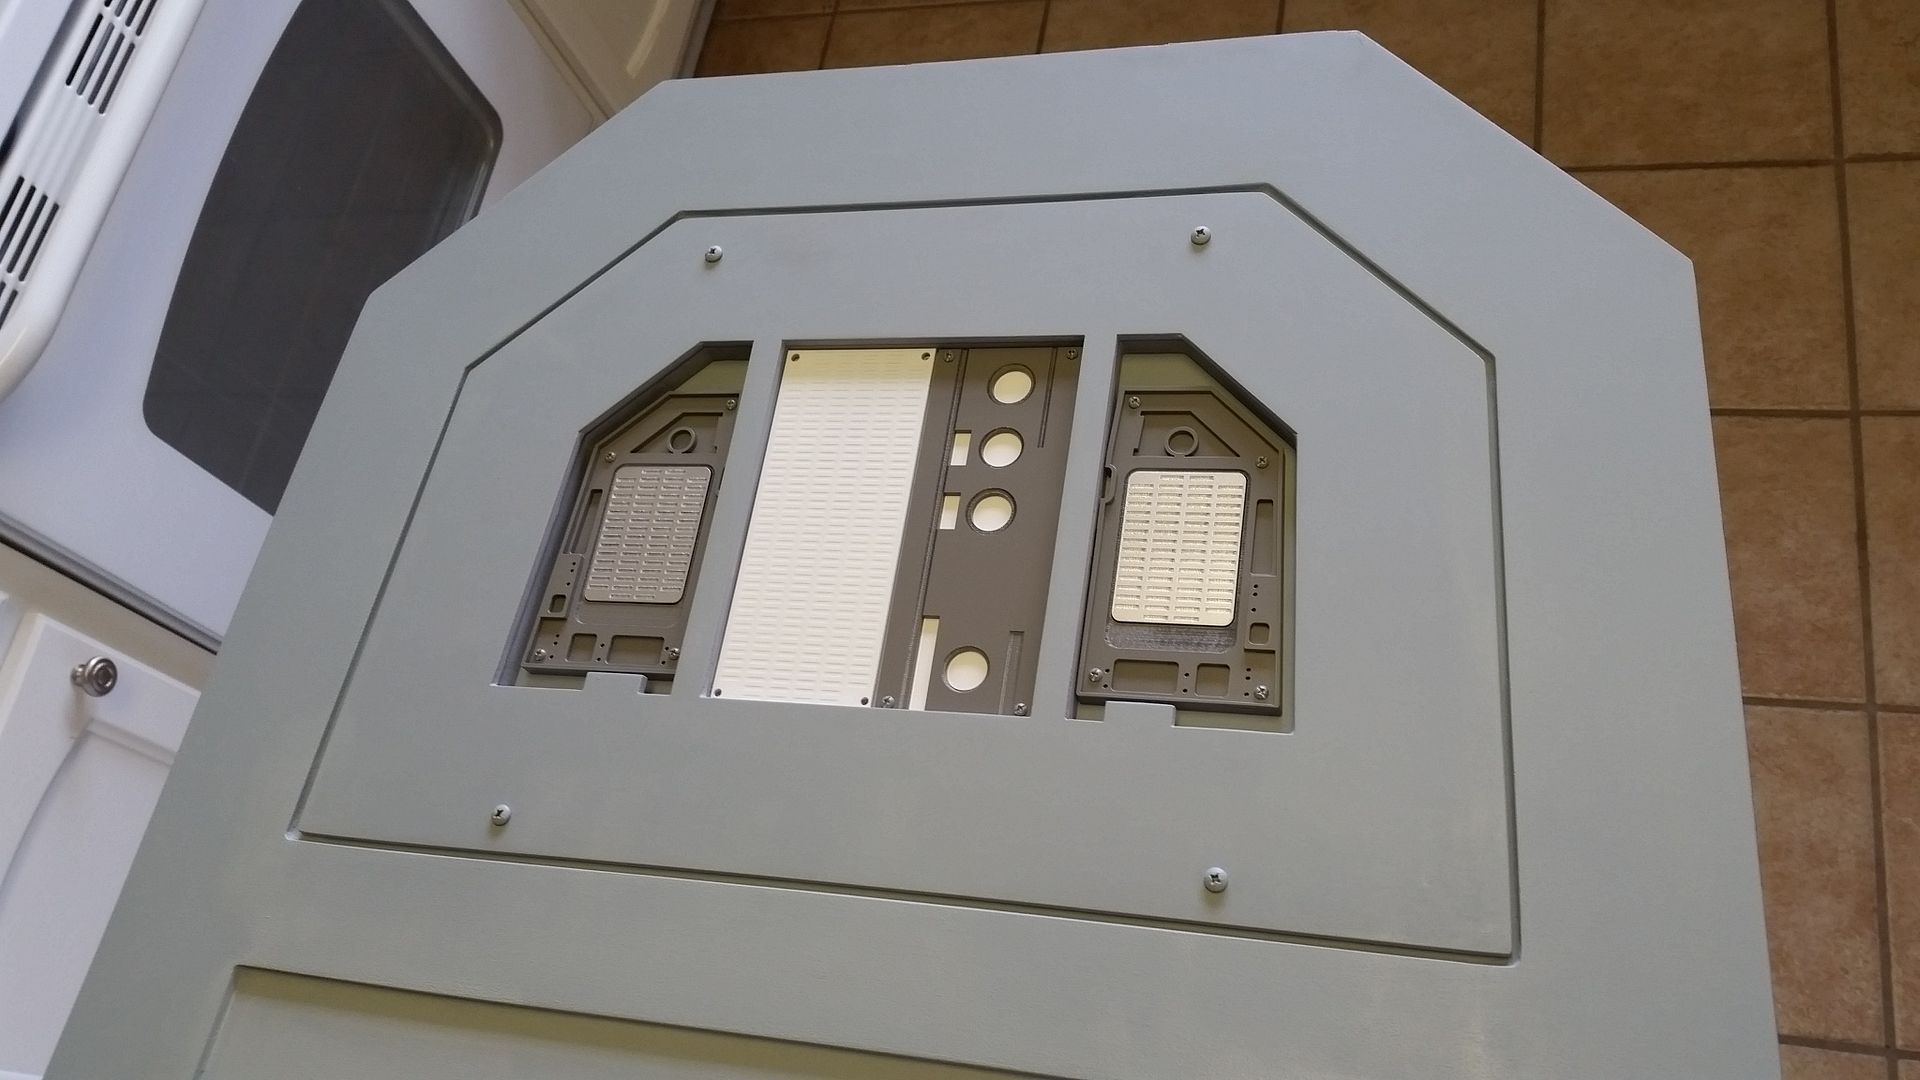
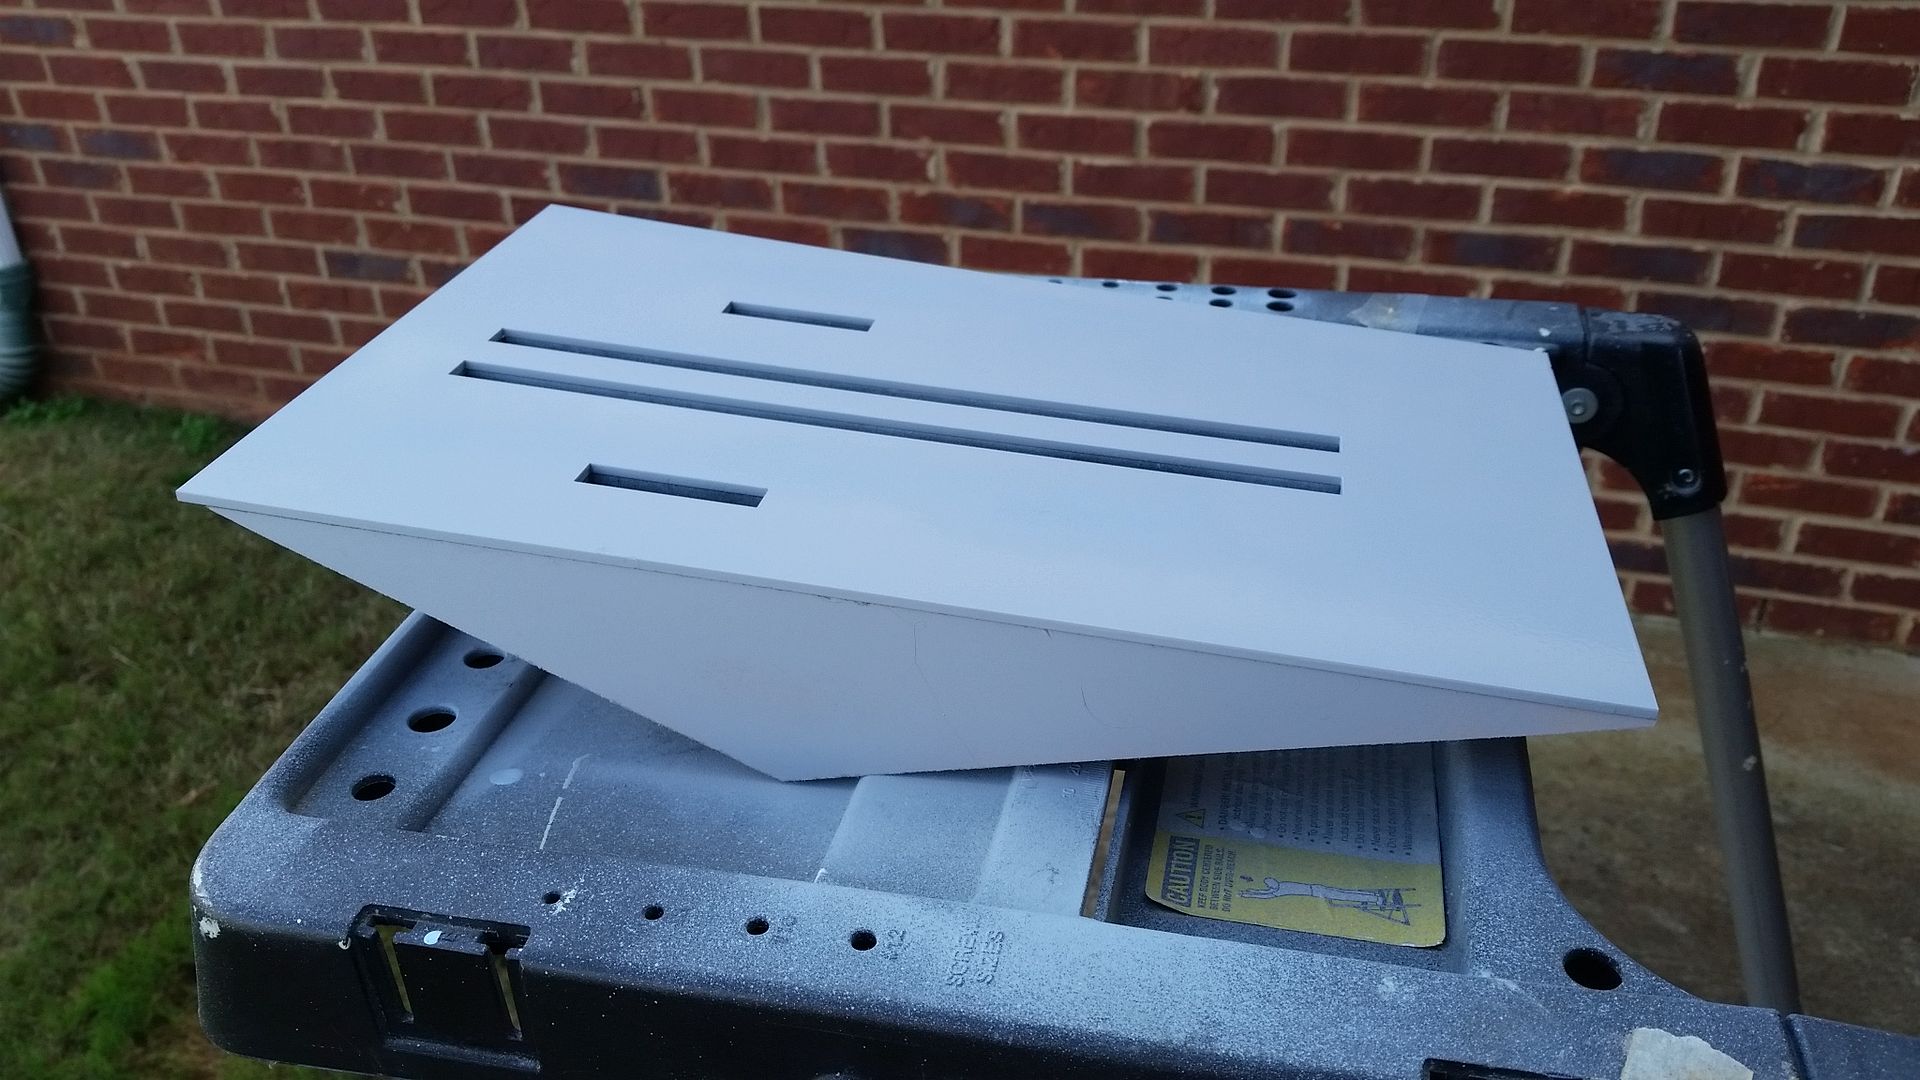
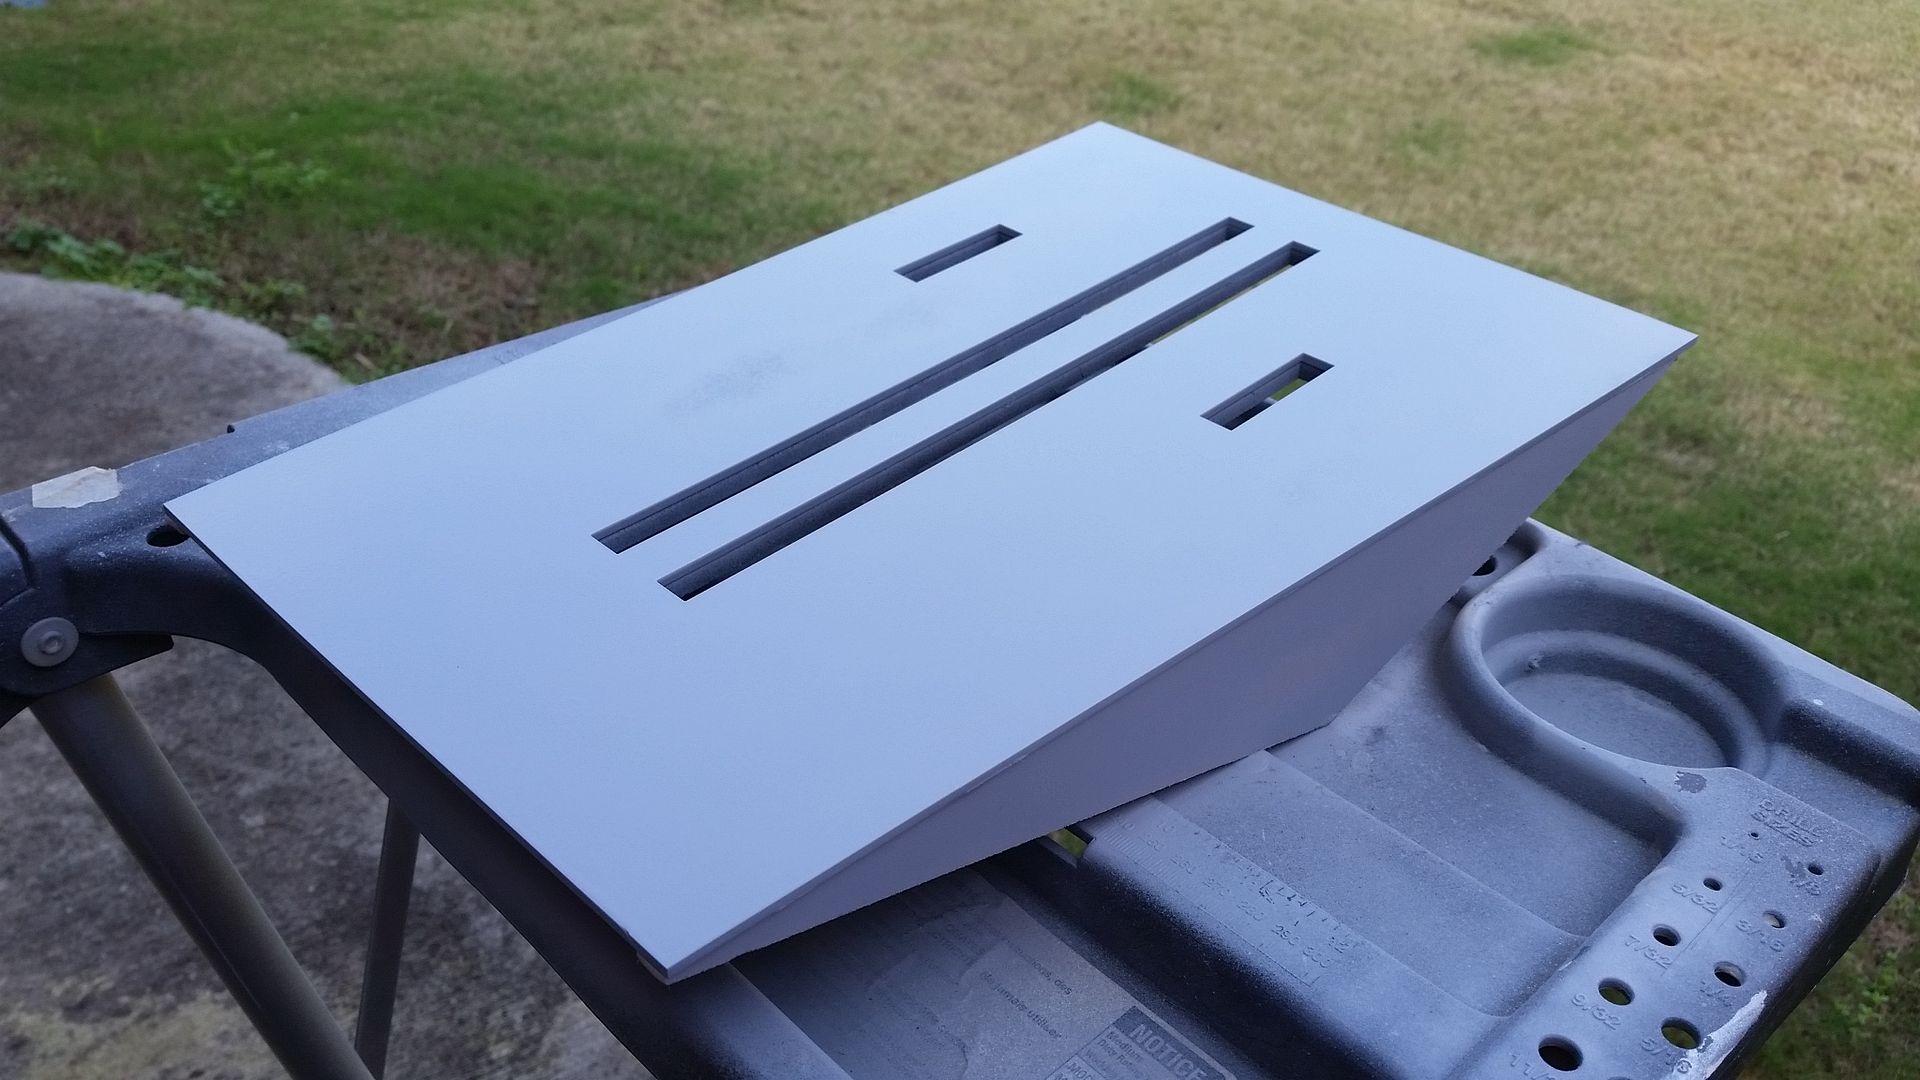
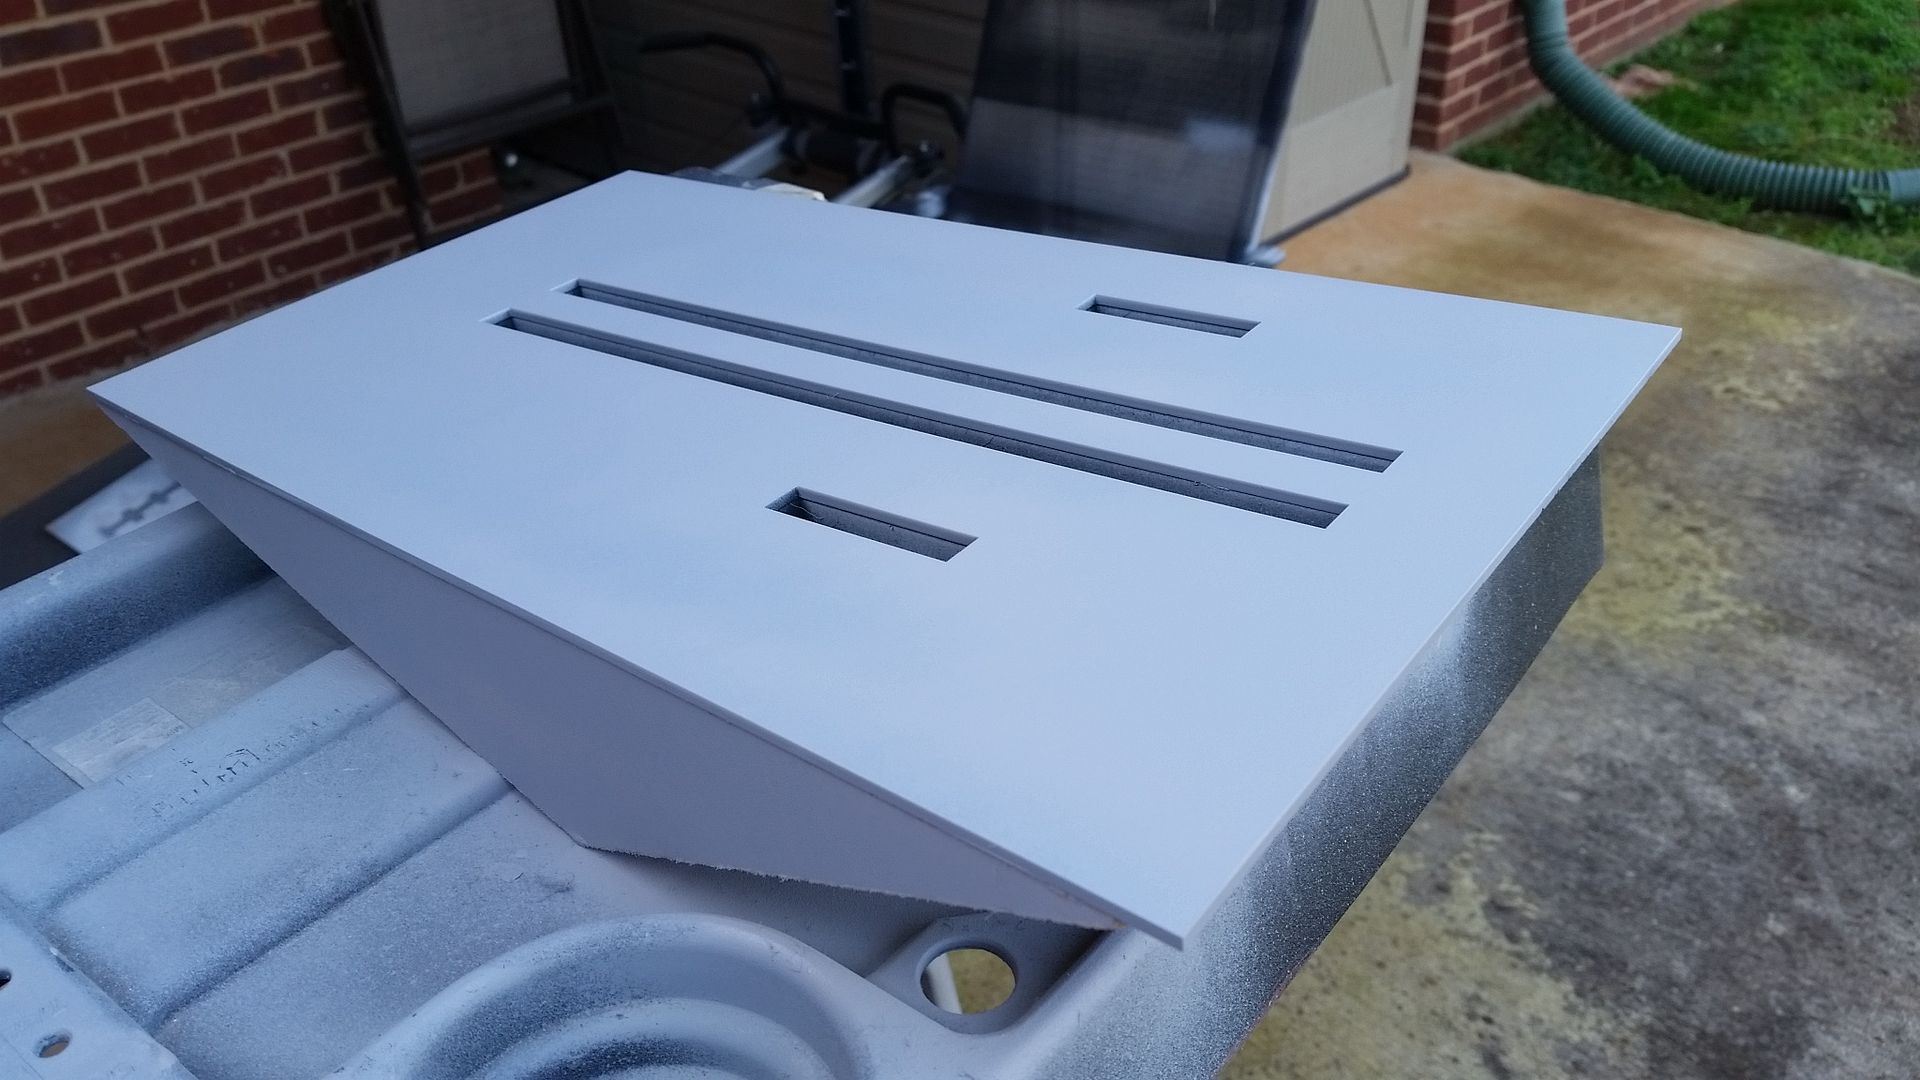
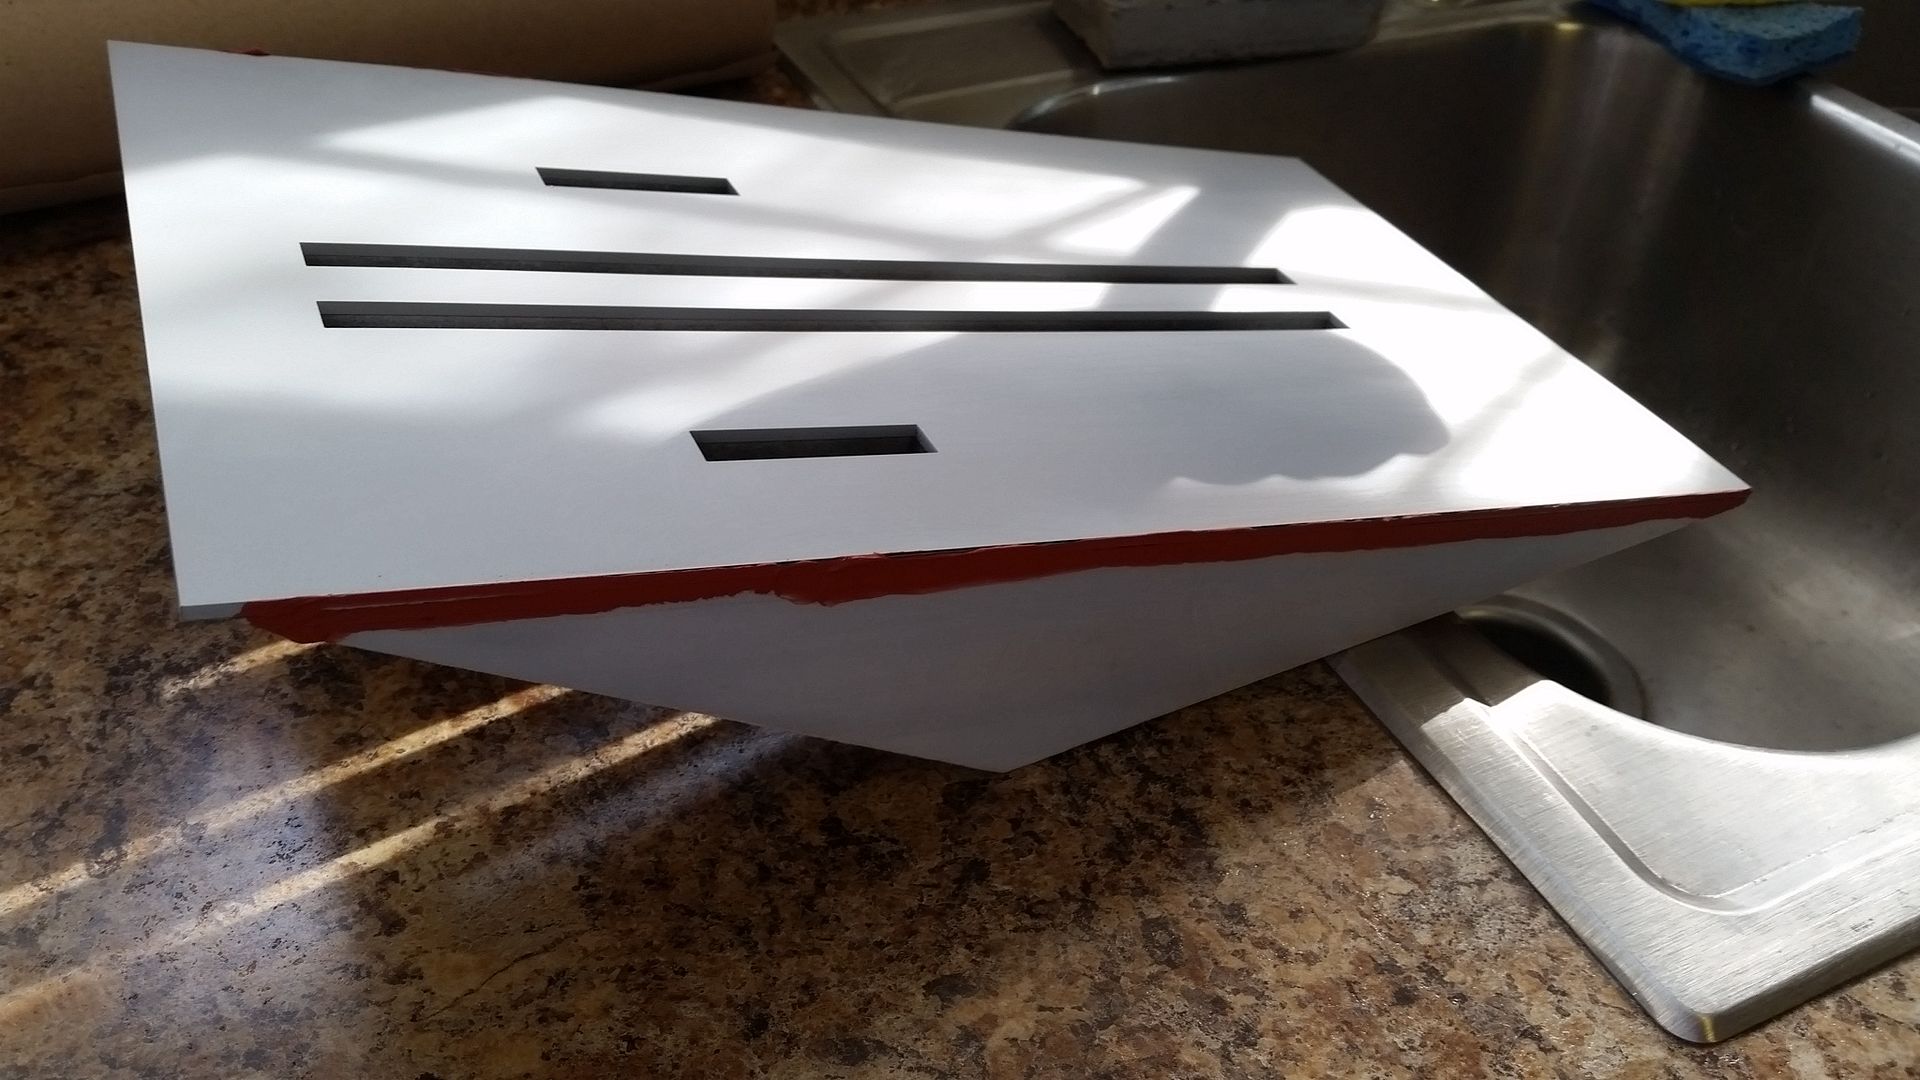
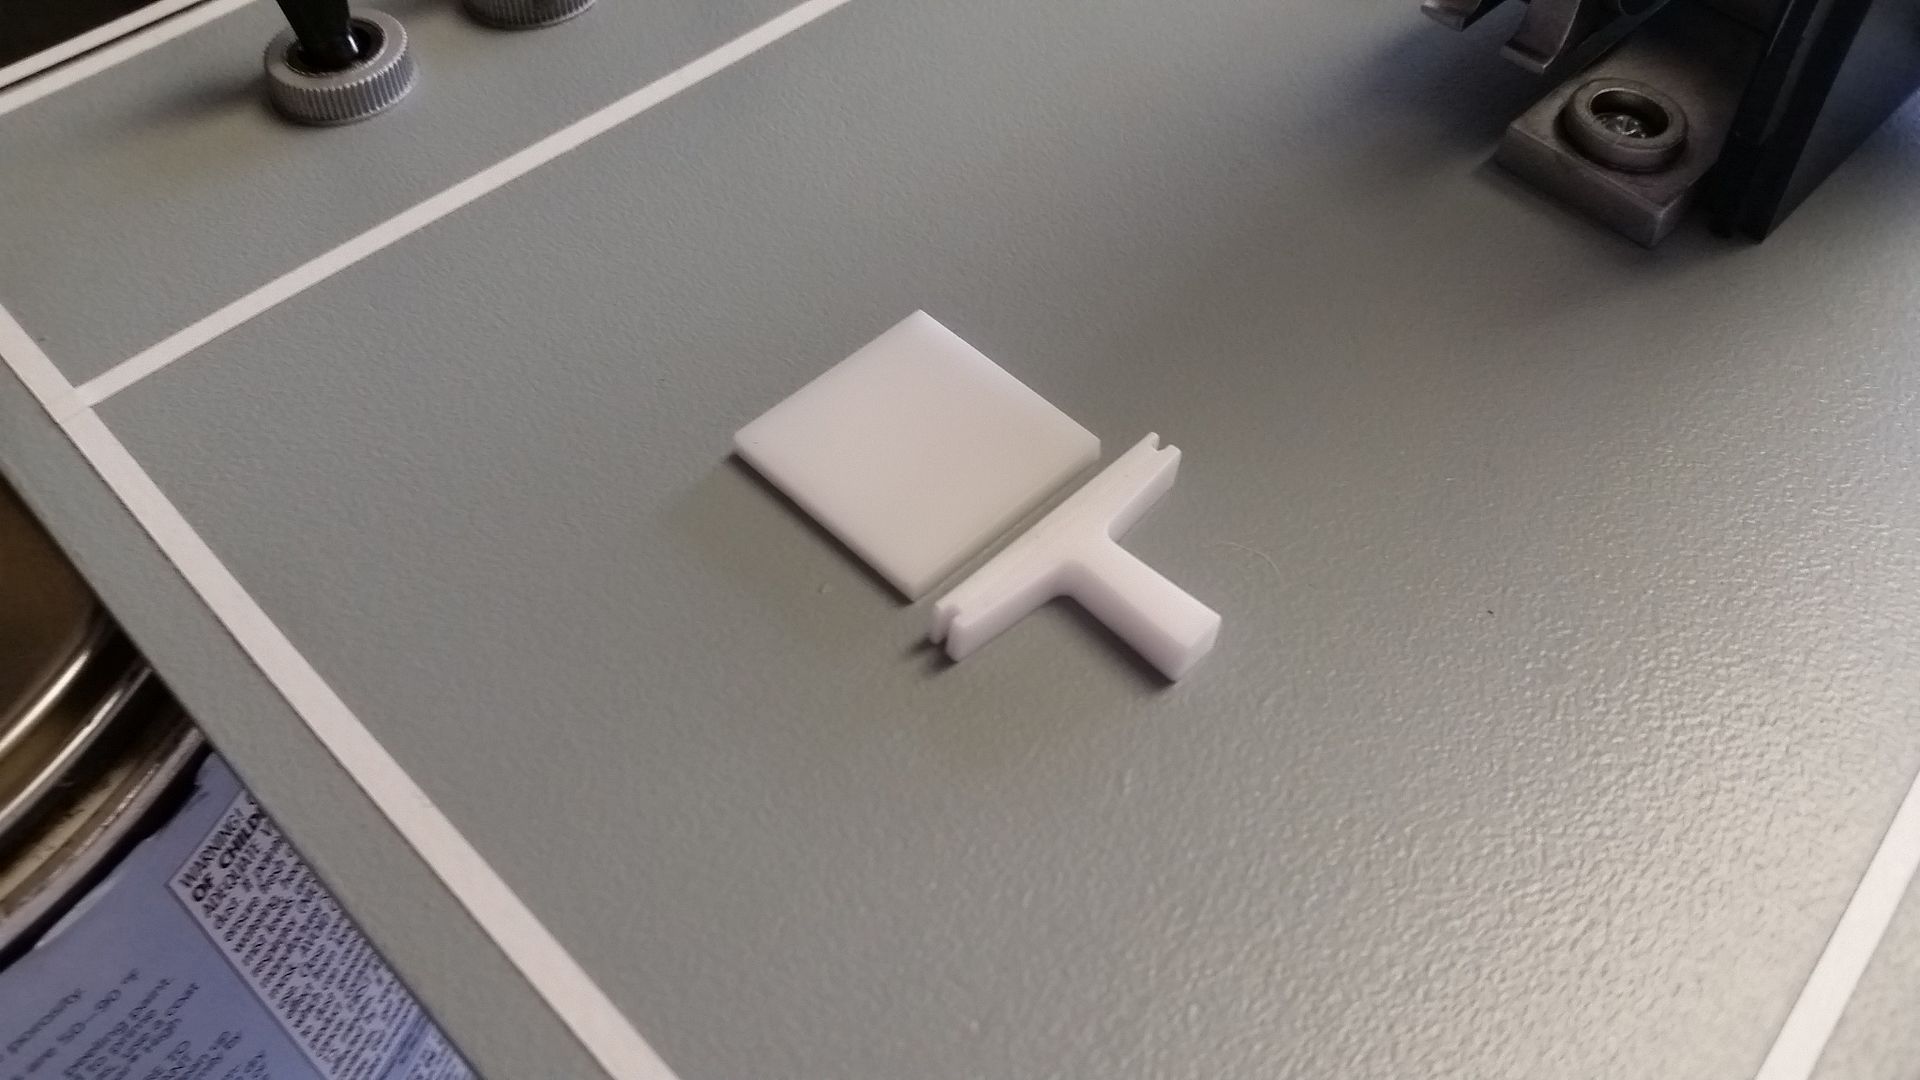
Console greeblie finally getting painted
20151117_150800_zpsvf4h0auk.jpg


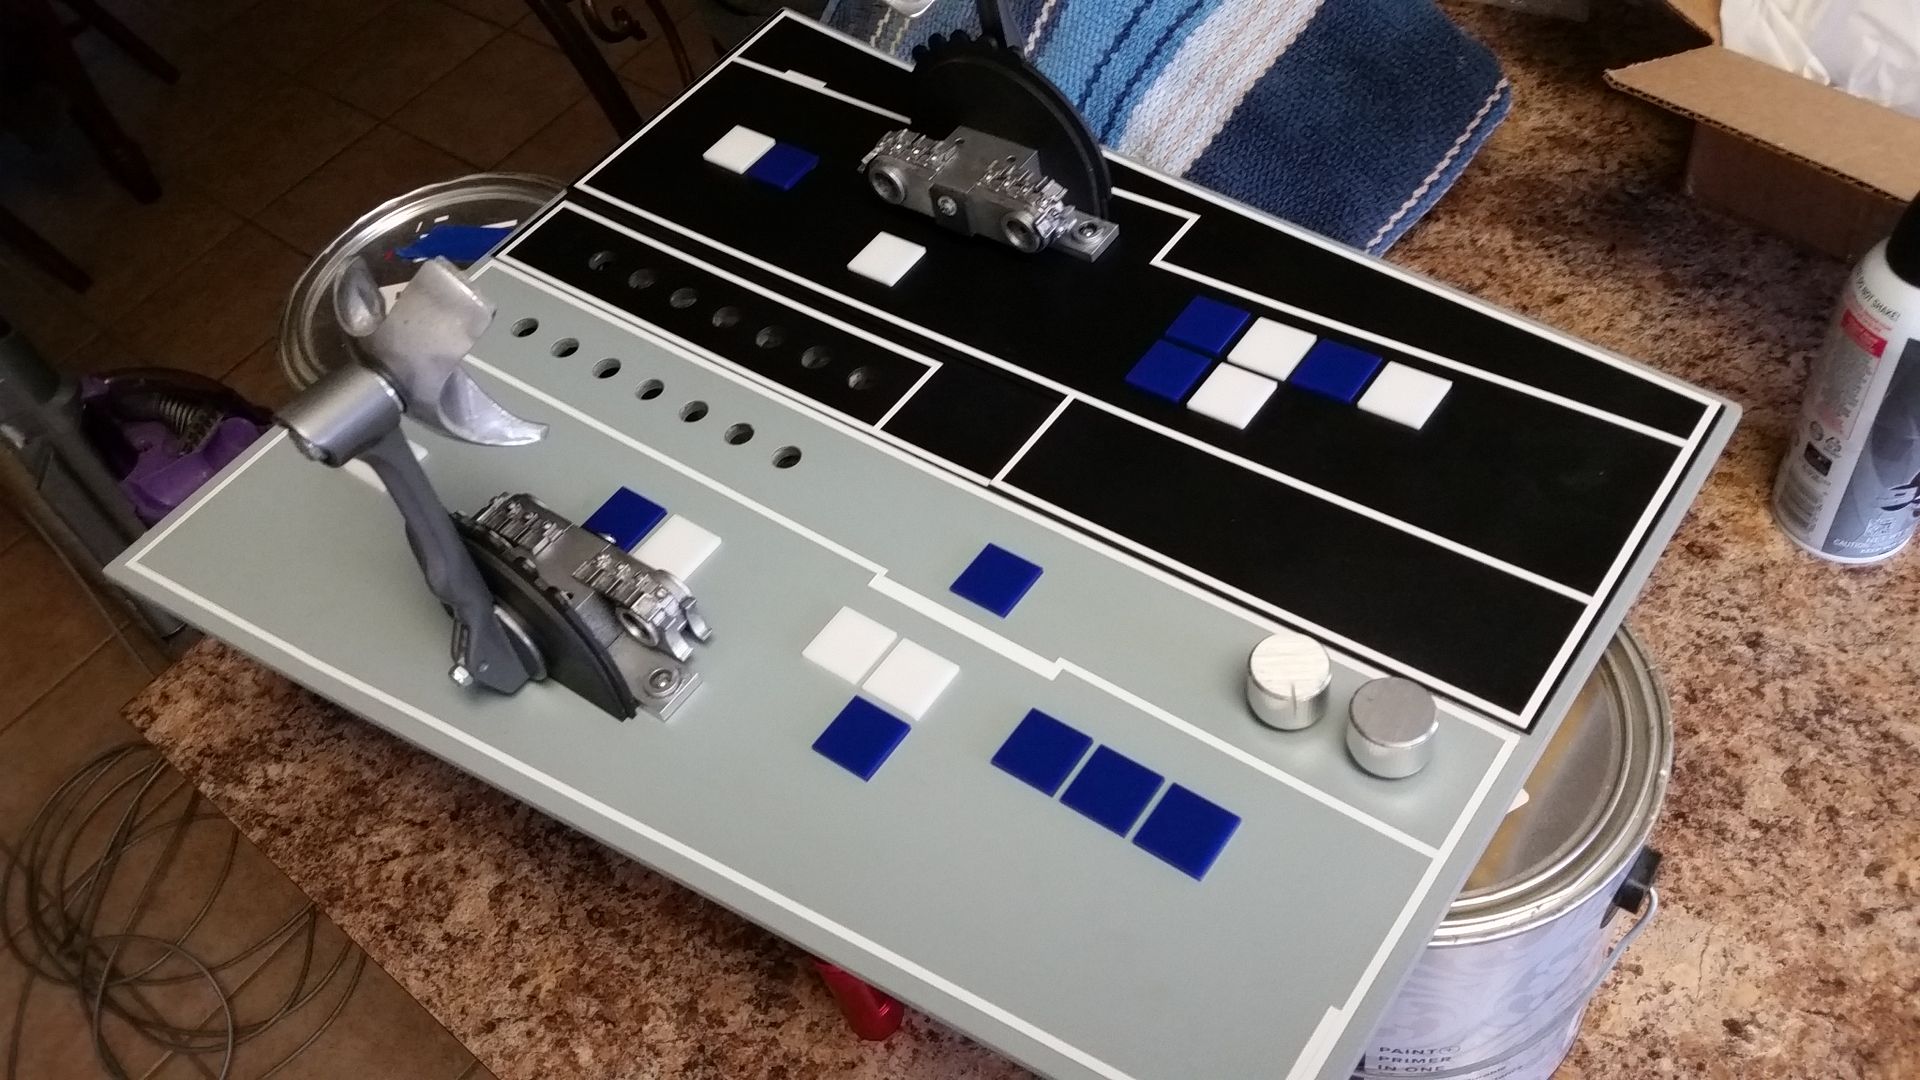
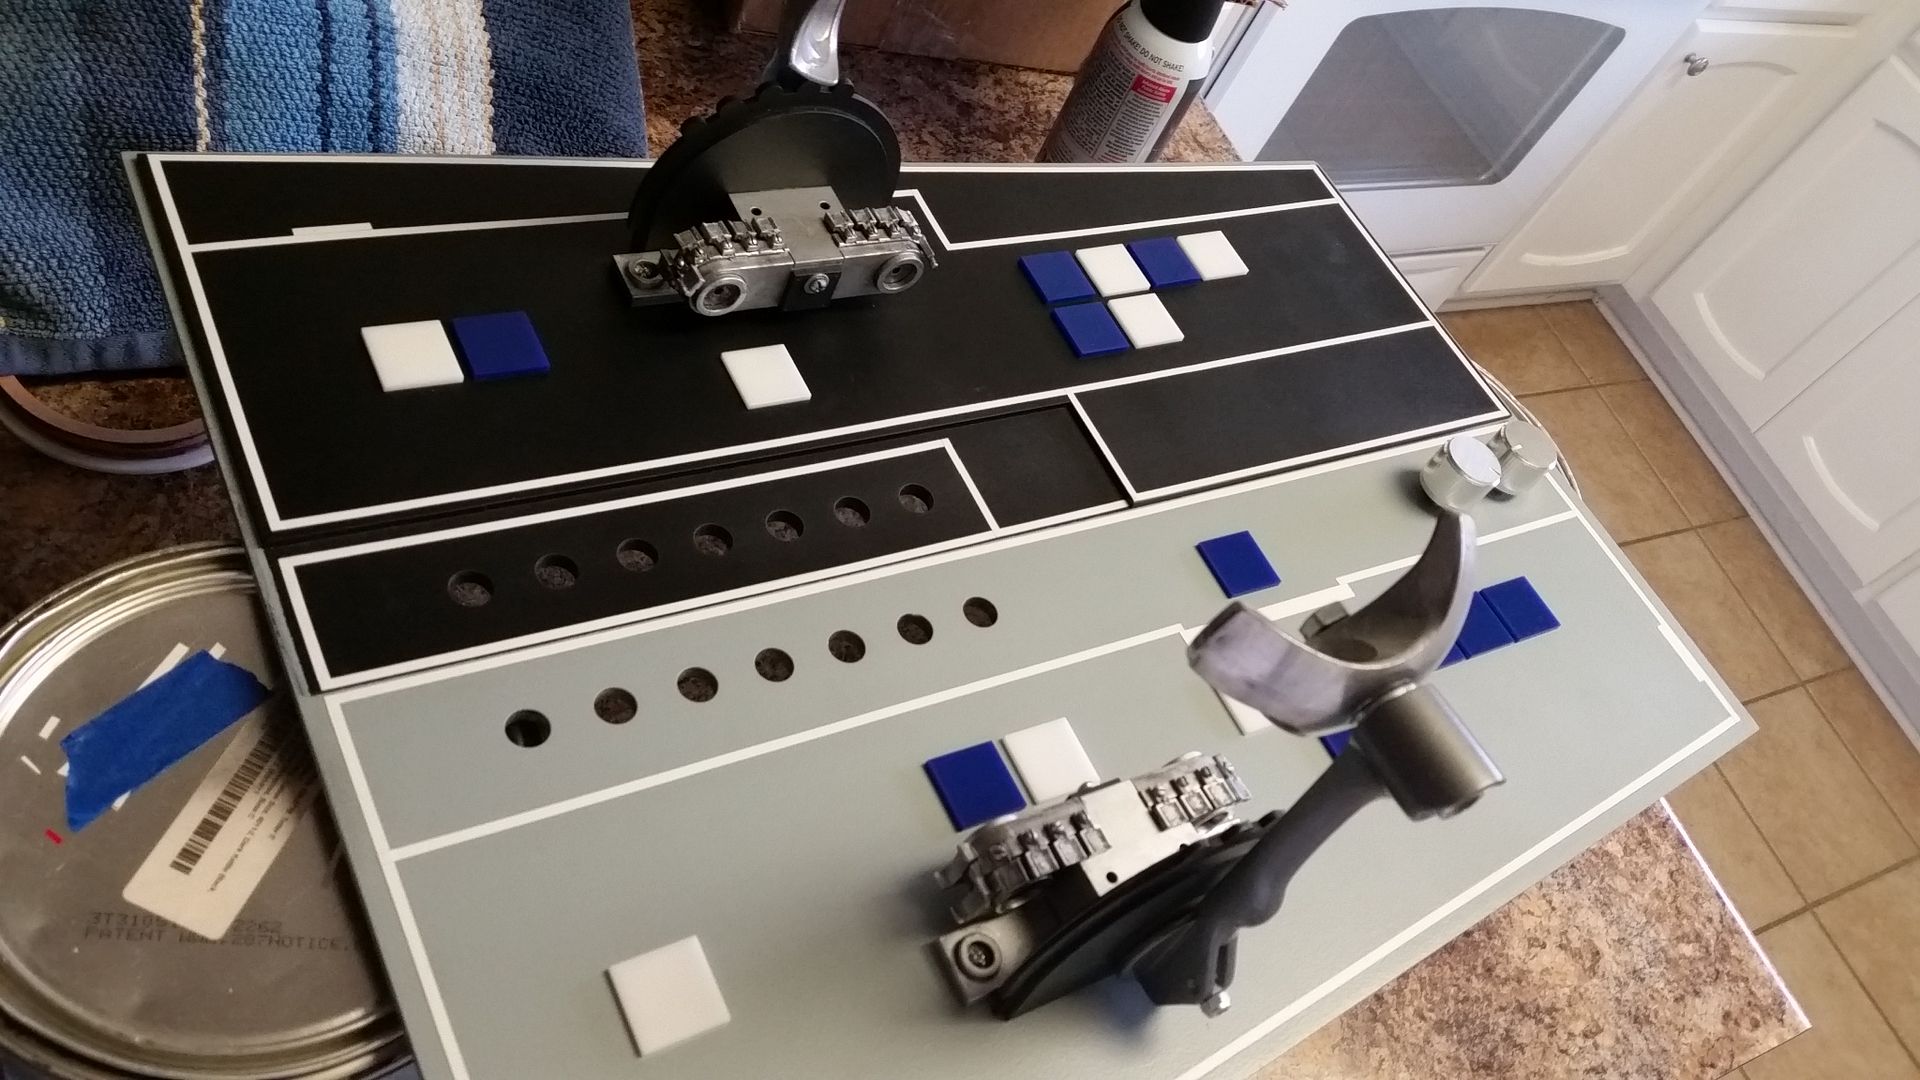
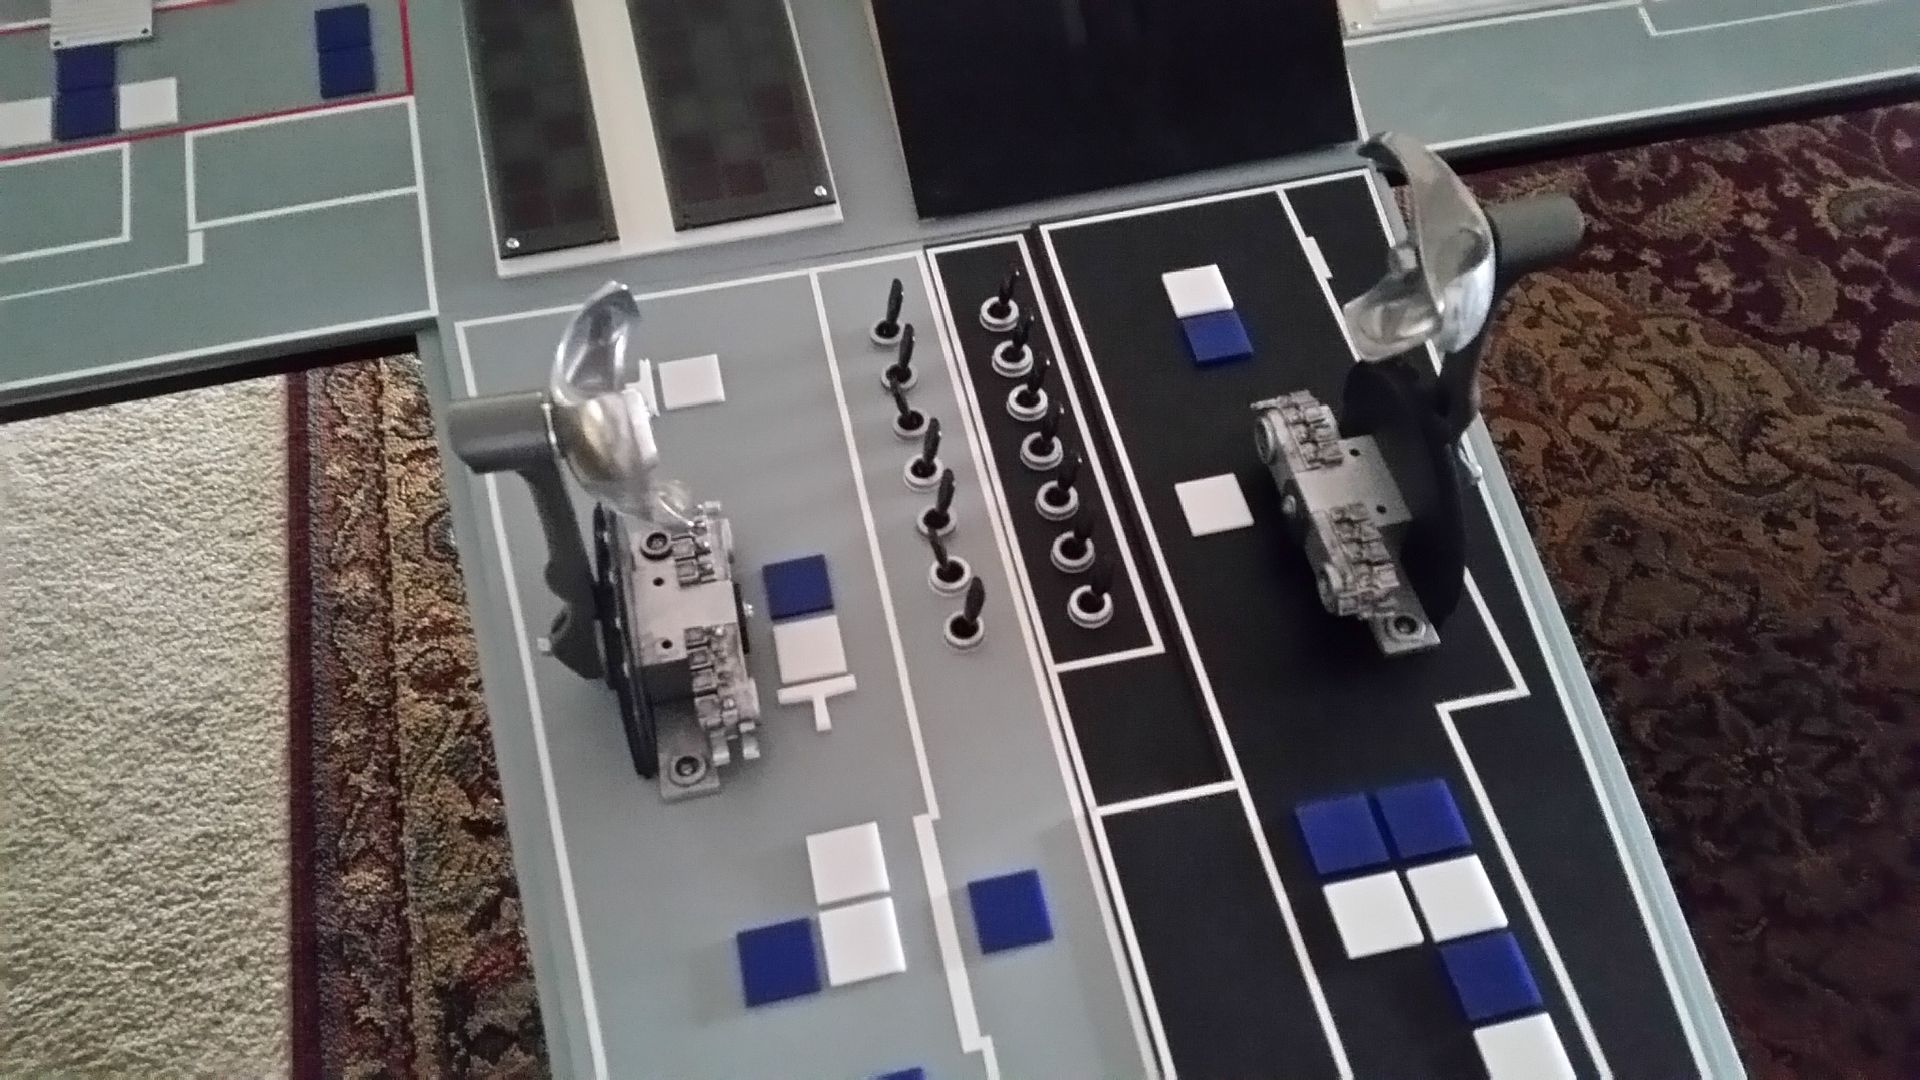
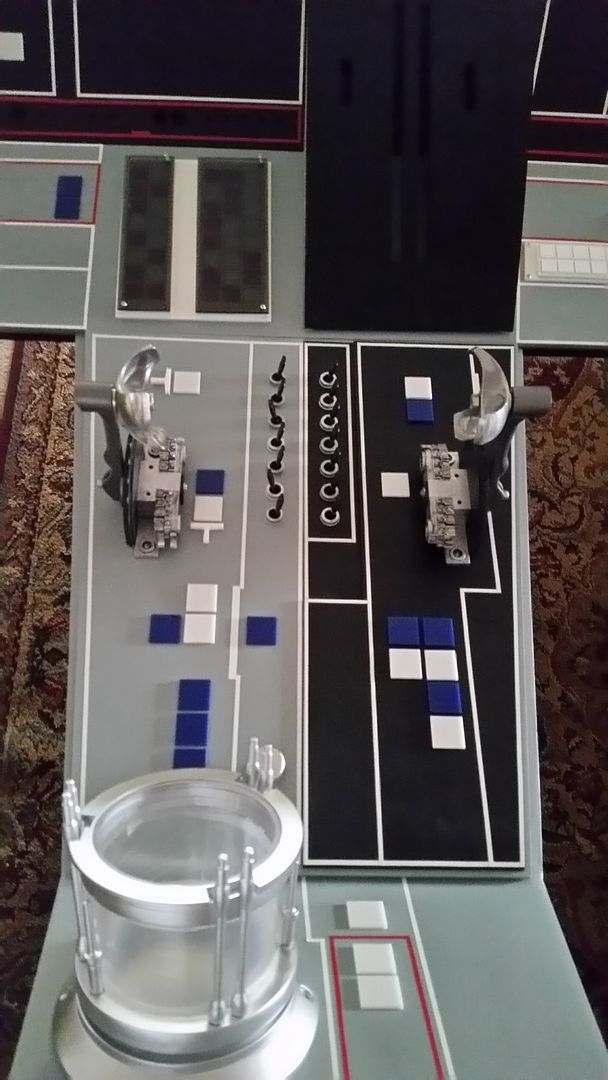
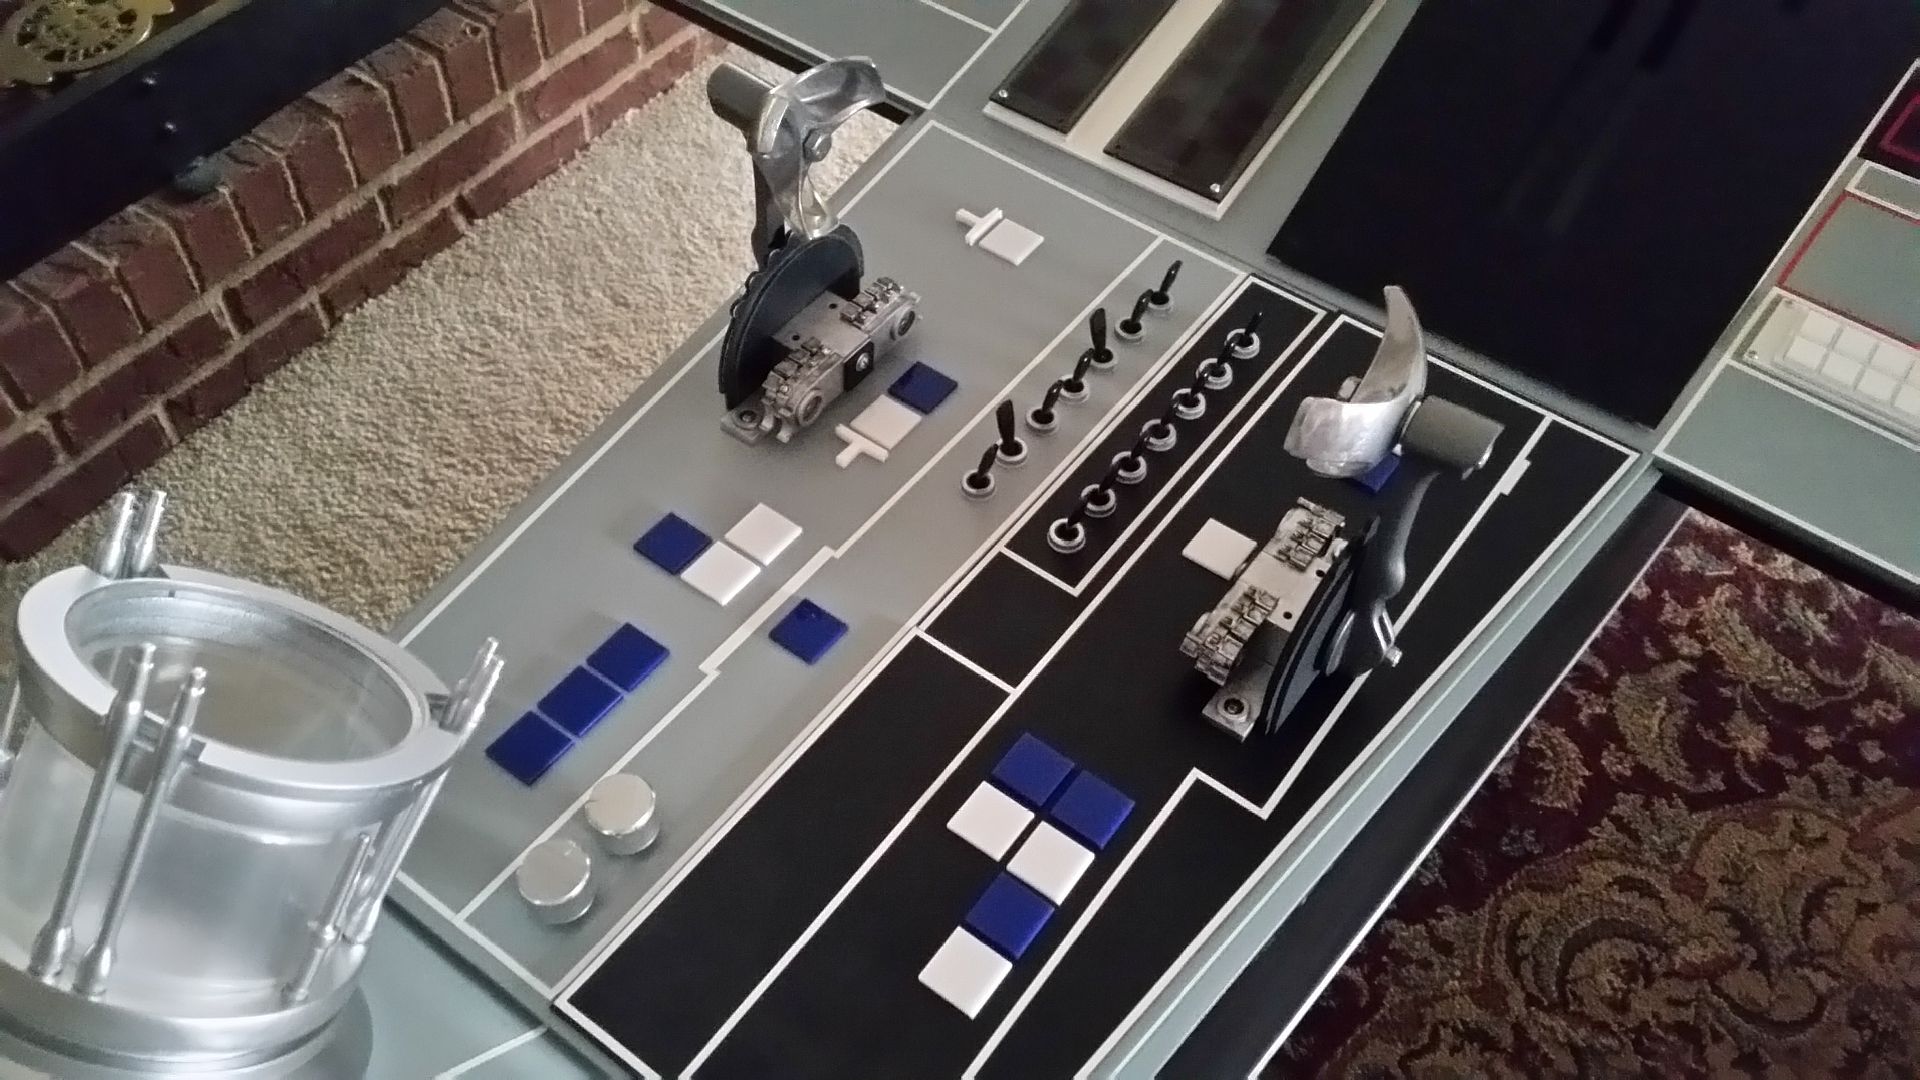
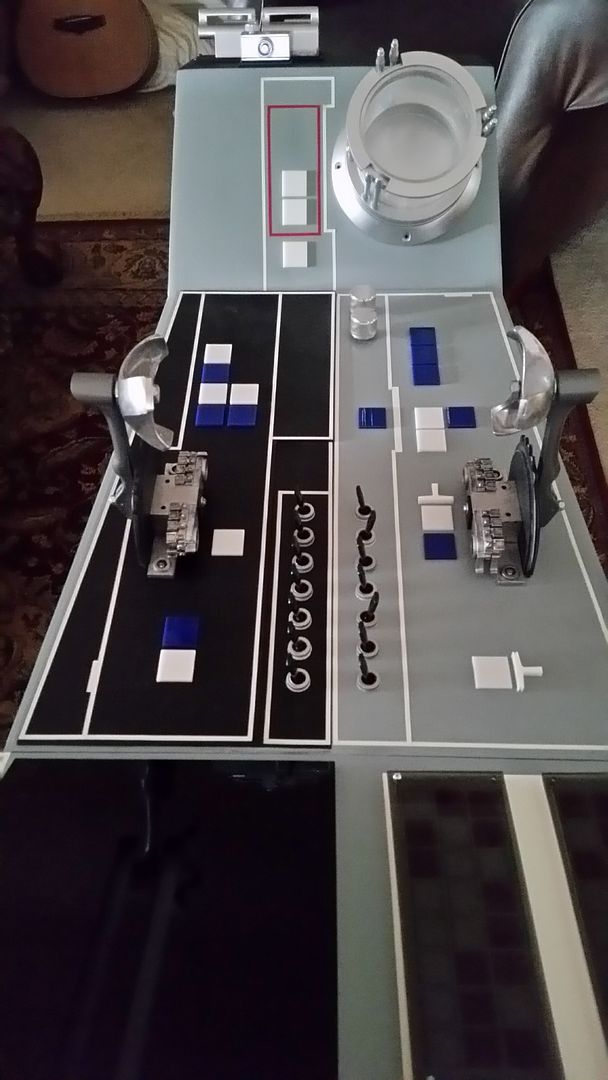
Adding more details/greeblies to the new center console
20151117_113730_zpslql4uxtq.jpg


20151117_120036_zps5iuckqiw.jpg


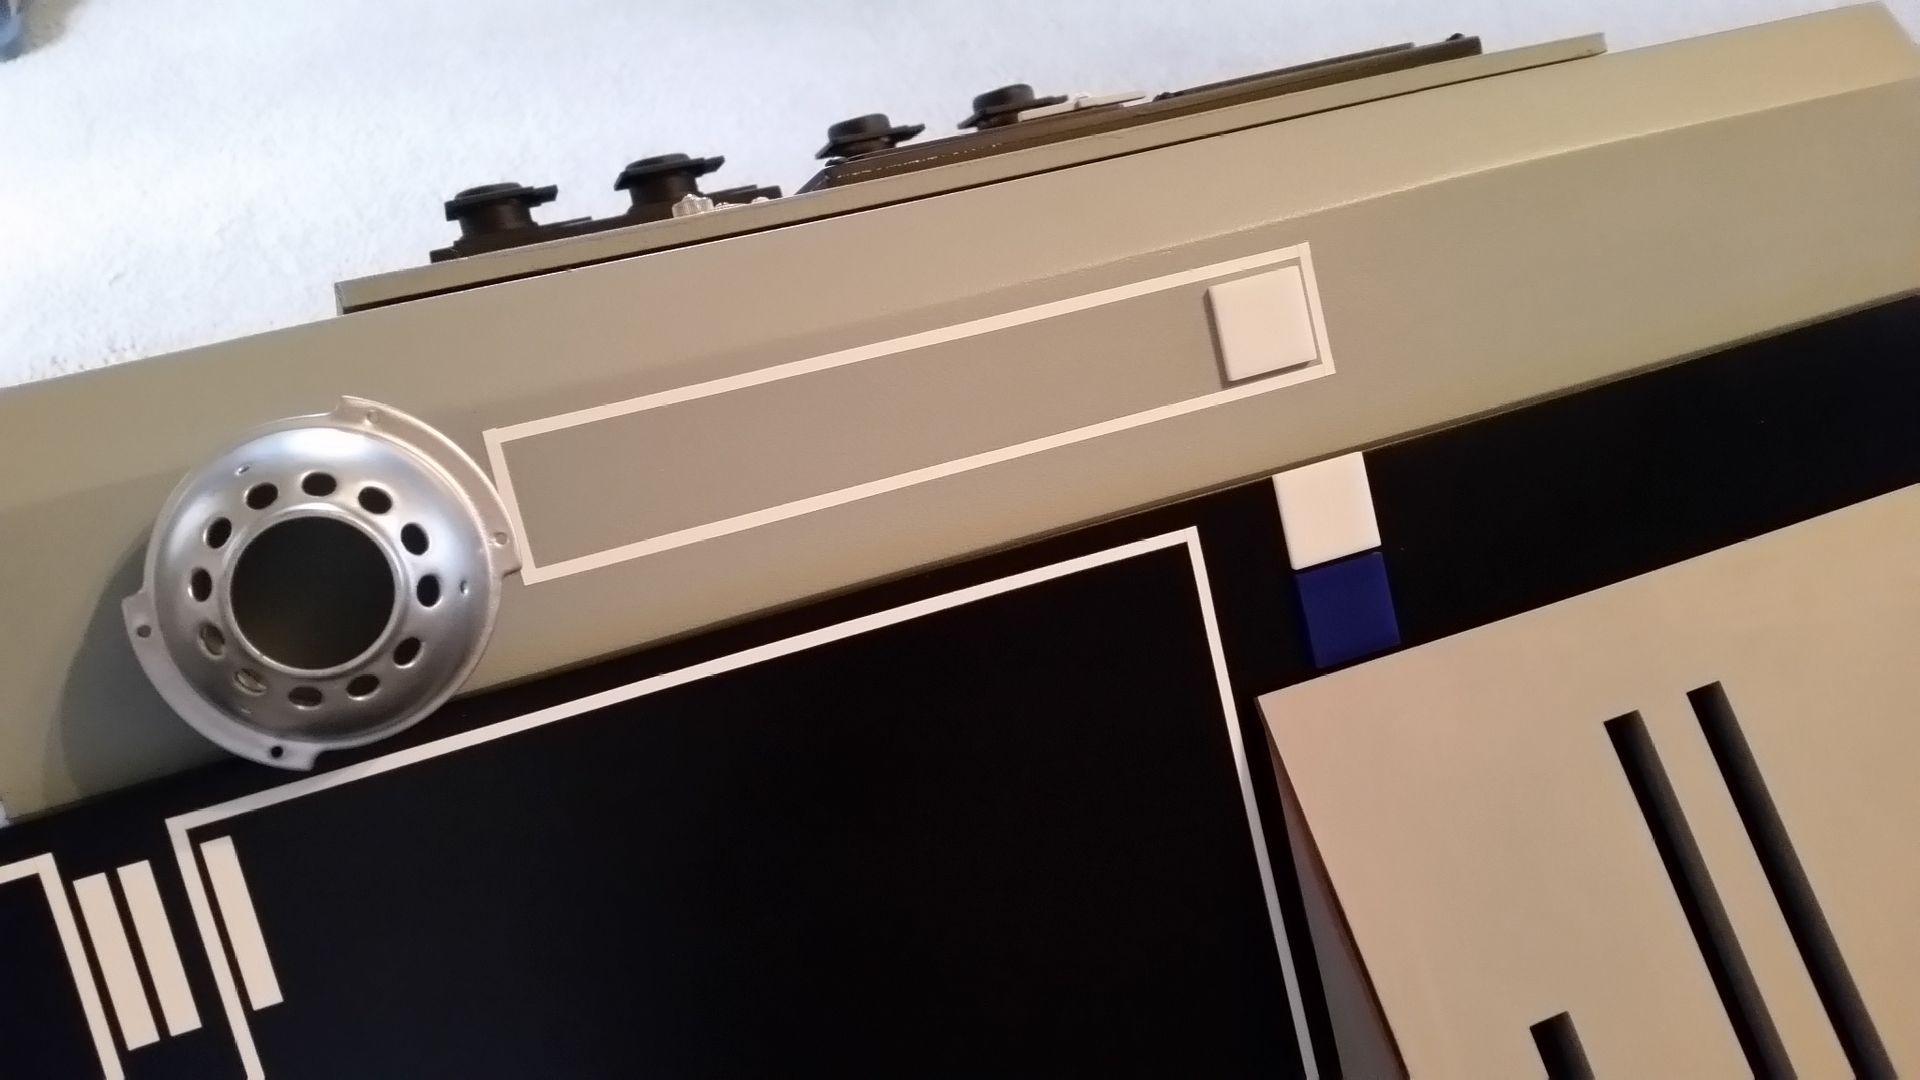
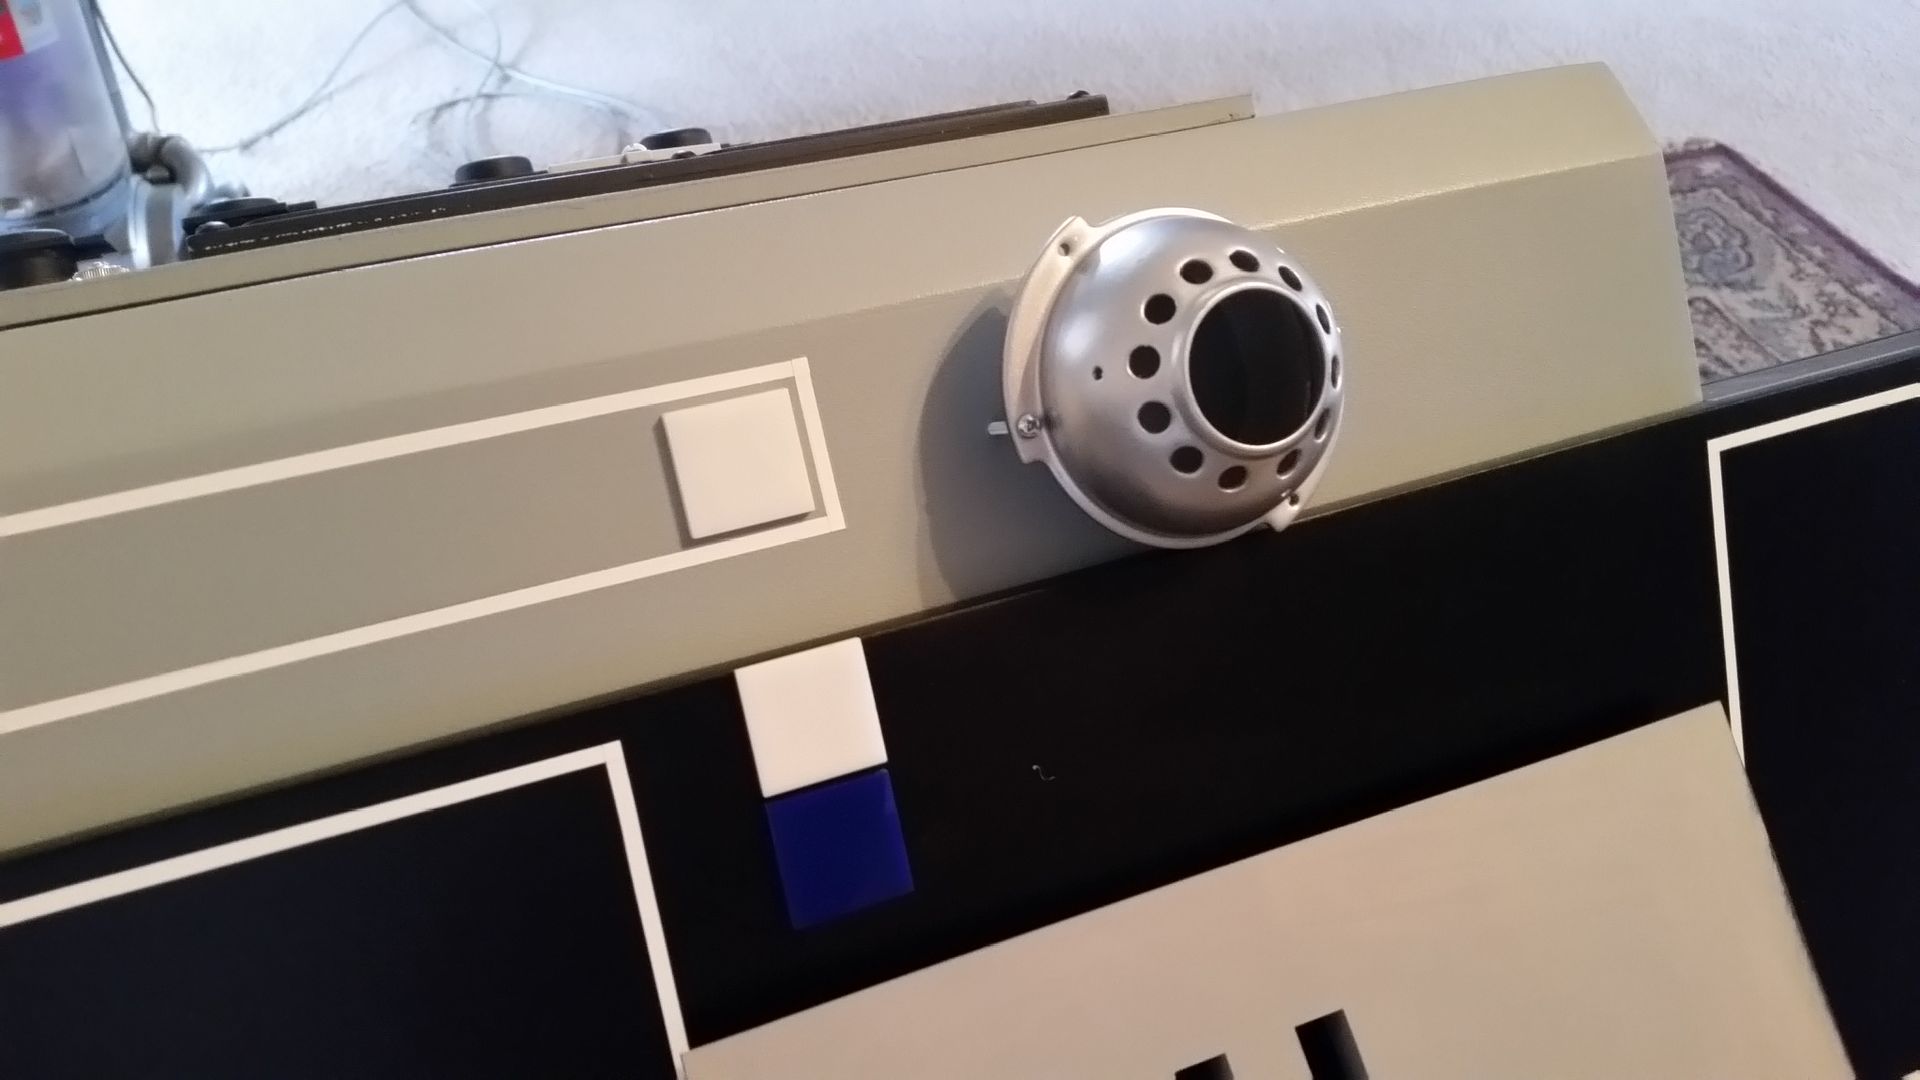
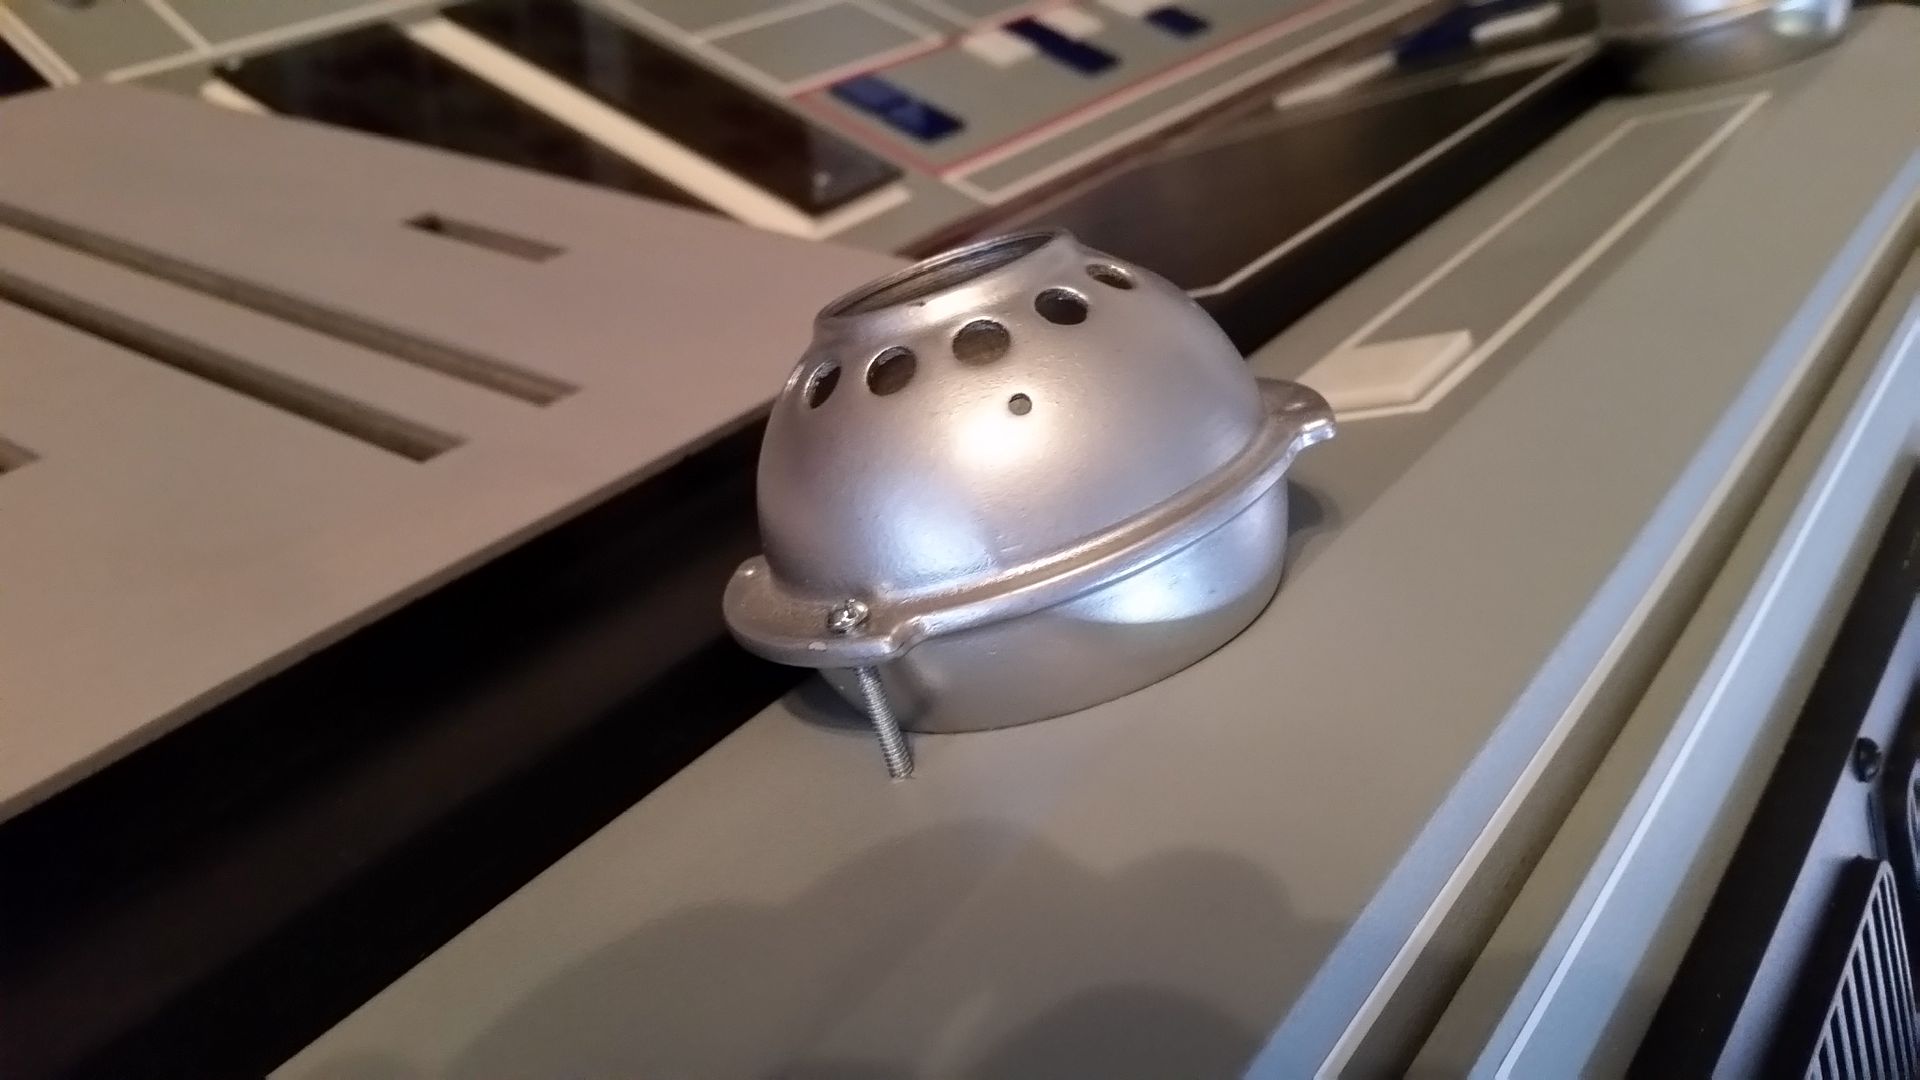
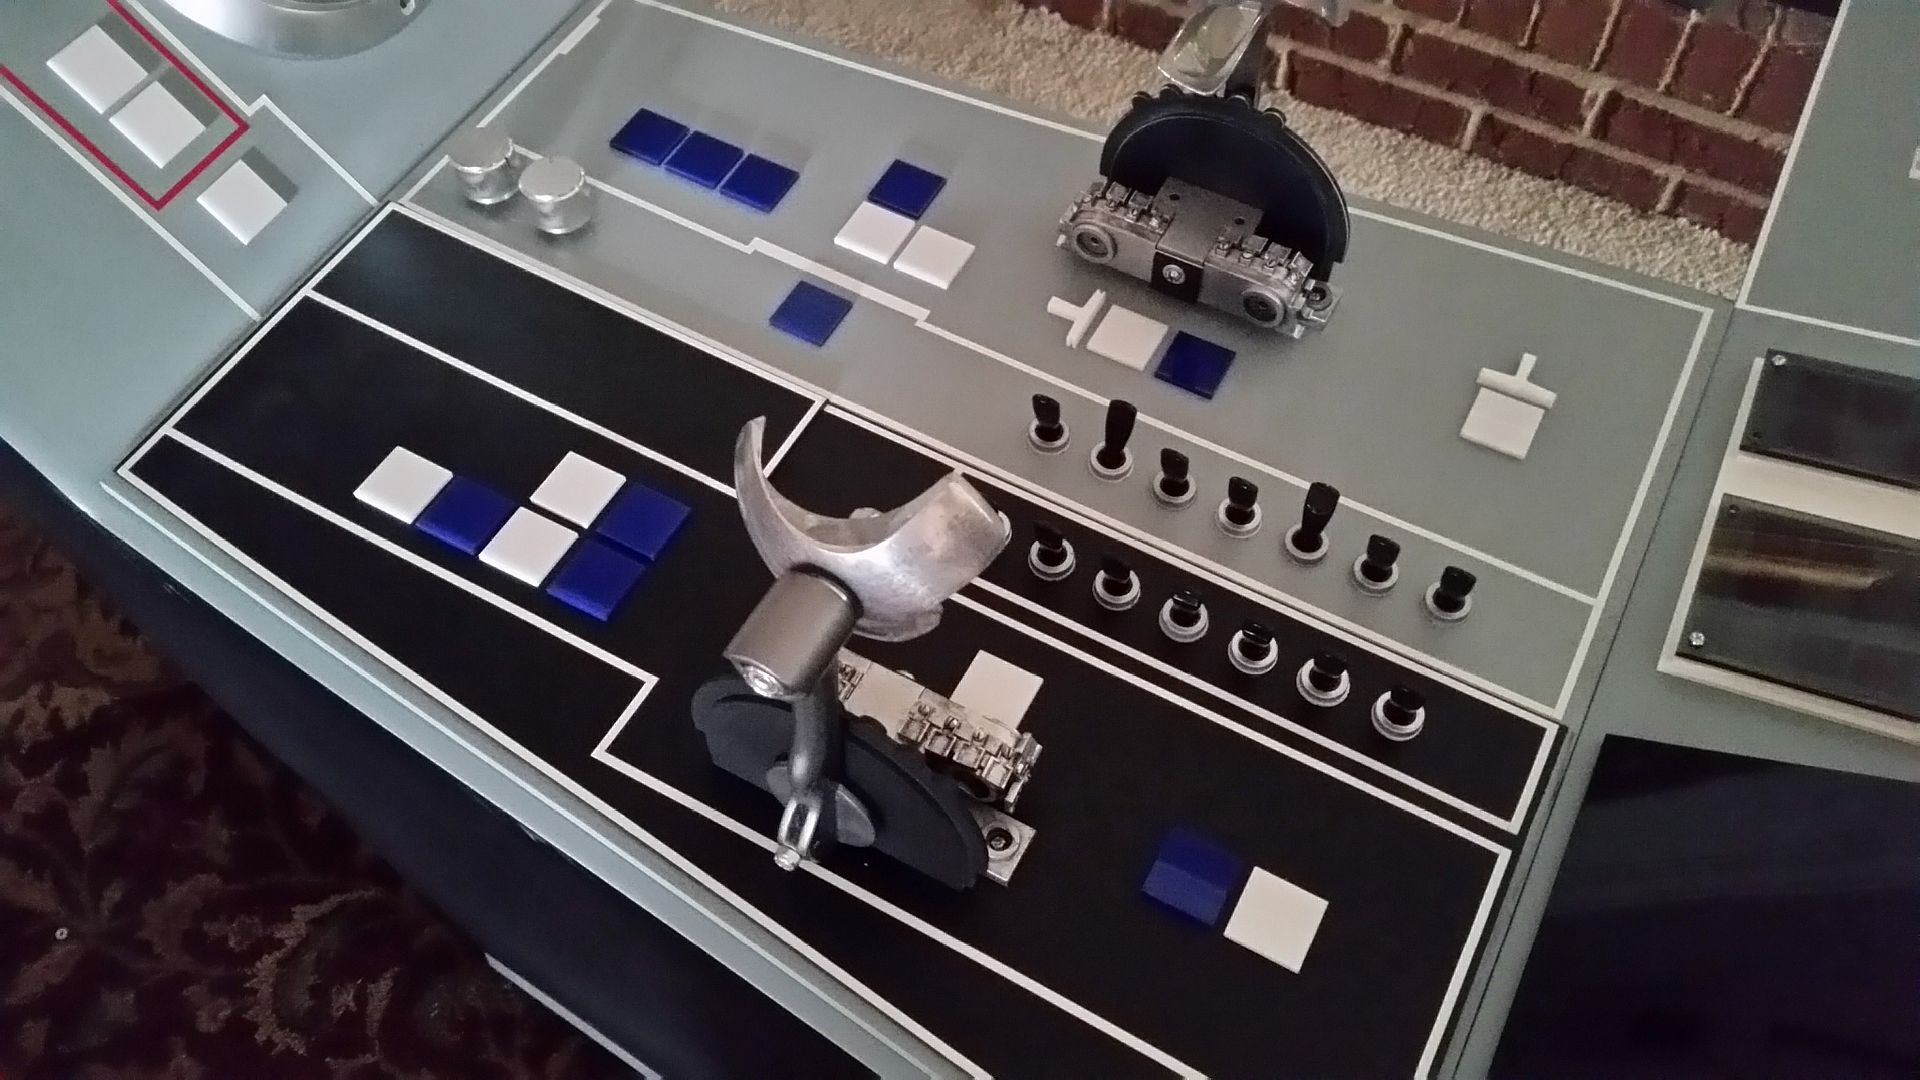
Bolted the Vickers Vents into place
20151117_121224_zpsenk5rxnv.jpg


20151117_121247_zpsseipsbka.jpg


The other vent has a black surround / housing that I have to design
20151117_121302_zpsncdwrx90.jpg


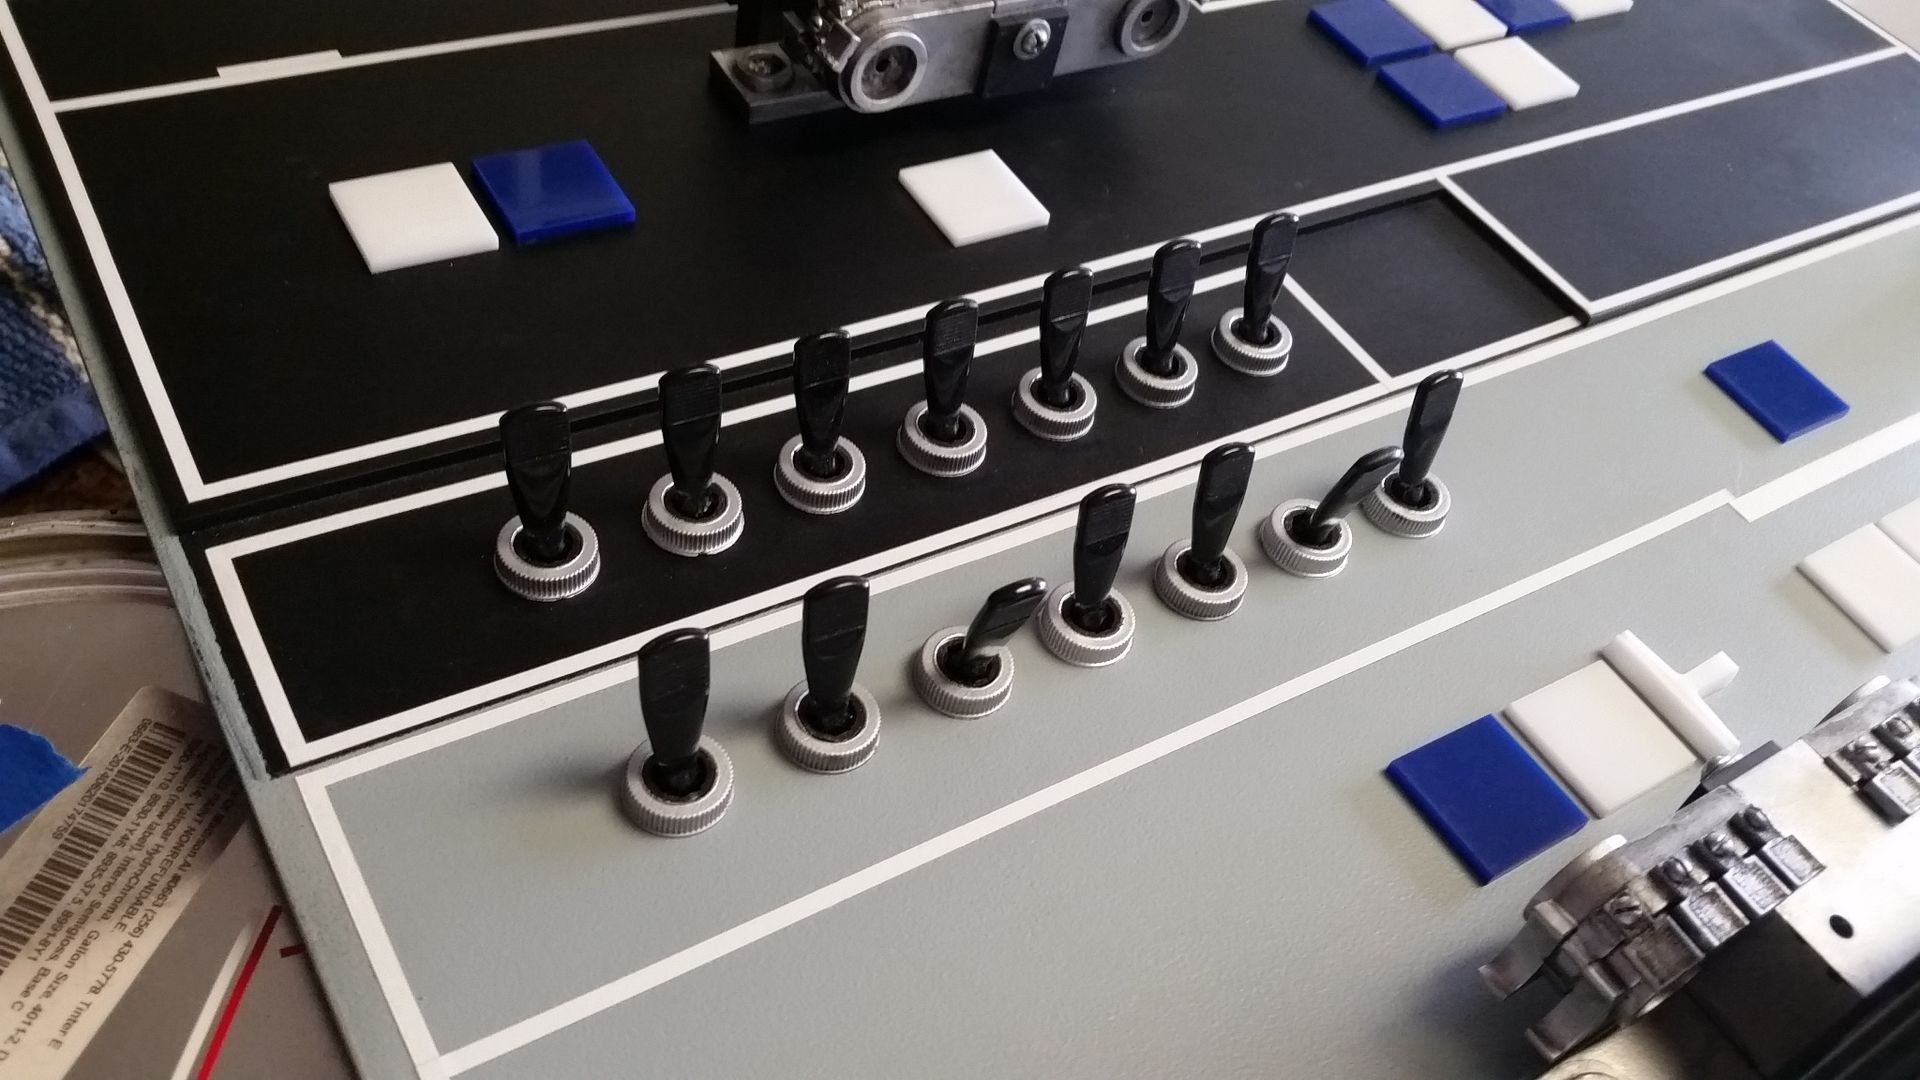
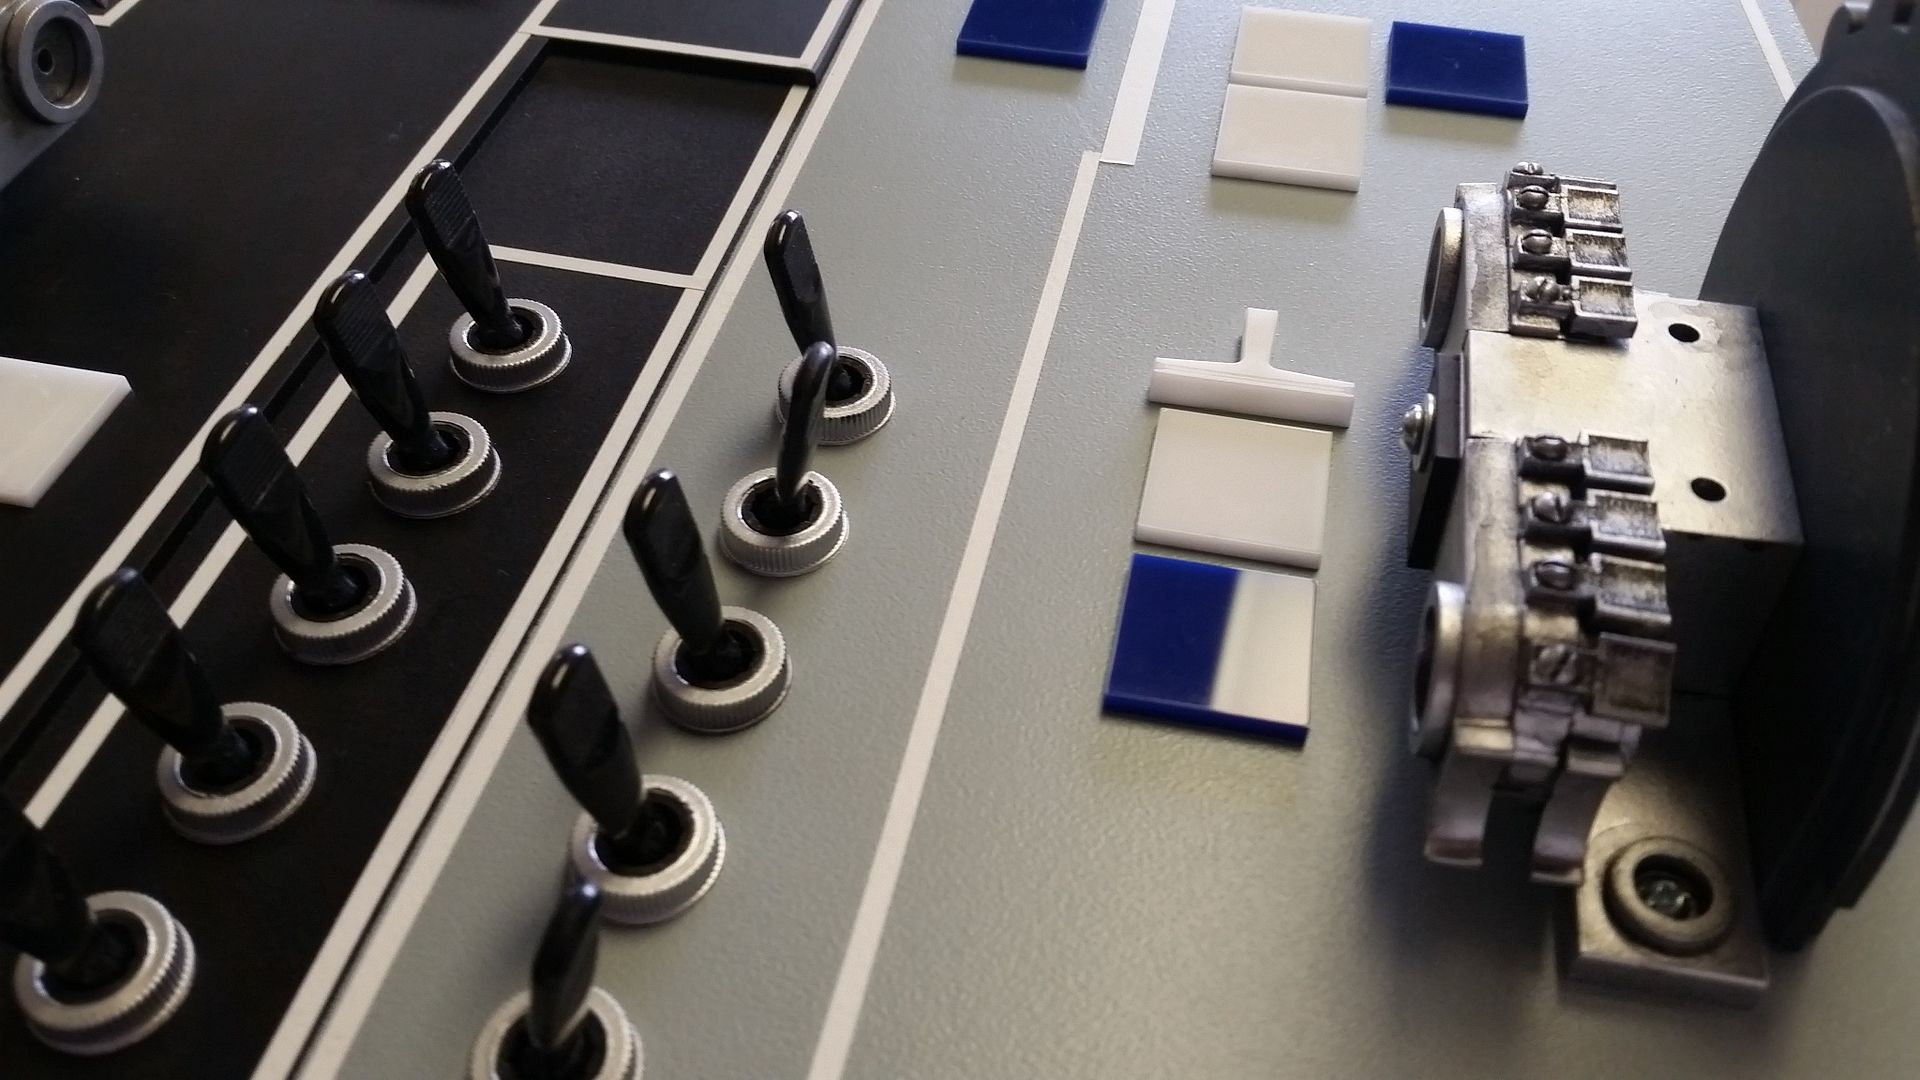
Finally applied the 1" tiles
20151117_074126_zpsmtodjrzb.jpg


20151117_074132_zpsfkme9ffe.jpg


Then switches
20151117_075720_zpsmwf5qdxz.jpg


Final details
20151117_075725_zpsw8woautw.jpg


20151117_075729_zpsfxrhdvvs.jpg


20151117_075828_zpshanzl0sb.jpg


20151117_075834_zpsyjfilkuc.jpg


20151117_075842_zpsjjaqqekl.jpg


20151117_075855_zpsncvn527w.jpg


20151117_075926_zps9jh7kur5.jpg


We've got rain the next few days so we'll see what happens next! Stay Tuned!
 
Last edited:
Howdy Sofa!

Awesome work, as always. It occurs to me that there have been several moments during the construction where you need to cut a panel to fit another piece, and if it were me, I would be grabbing for my handy laminate trimmer/light router/Rotozip and pattern-following/flush-trim bit, and they'd be perfectly flush in moments. Do you have one of those setups? It might be life-changing.

This incredibly low-res video gets the point across without being overly long: https://www.youtube.com/watch?v=wm576bsYPps

Hi B,

Thanks so much! I do have one of those bits. :) Unfortunately these are all angle cuts. Things would have fit much better had we included the angles during the initial CNC cut but it would have taken to long 5-6 hours of straight cuts turns into several days. I'll make everything fit! ;)

- - - Updated - - -

another awesome update. Looking forward to seeing the yokes finished and installed. :)

Thank you, my friend! That yoke body is a tough one to sand! But she wont get the best of me!
 
Wowee. Blown away every time I catch up here.


How do you Do your black weathering wash on the silver parts exactly?

And what is that Volvo panel greeblie that looks like a clothes iron?
 
Wowee. Blown away every time I catch up here.


How do you Do your black weathering wash on the silver parts exactly?

And what is that Volvo panel greeblie that looks like a clothes iron?

Hi KB,

Thanks! :)

The black weathering is quite simple. I use Tamiya scale model flat black paint and thinner (you can use other colors depending on the subject matter). Mix the two in a separate cup so you have a thin dark wash. Depending on the area, I'll use either a fine or medium brush and wash over the entire area. I then take a clean cloth and tap the areas clear of the excess (large pools or drips).

For the darker more recessed areas I slowly add more paint to the thinner (sometimes a good idea to have two different cups of the paint/thinner mix - one thicker with paint and the other more thinner). The areas naturally absorb and spread the wash around all the little cracks and crevasses. I then remove any excess by, again, tapping the cloth or using the brush to reabsorb the wash - simply repeat the process until you get the desired look. The joy of thinner is that if you mess up, simply brush the wash off with a clean brush and start over.

Here's a wonderful video showing the wash process and other weathering techniques: 1:25 for wash technique and 5:15 for the finer details

https://vimeo.com/51995786

The Clothes Iron Greeblie

The greeblie is exactly that - an clothes iron handle. A BIG Thanks to Wavey for identifying and actually finding one! Check out the link. They are on both sides of the Volvo panels. The right is above 3POs arm and the other is is just right of the red button on Solo's side. We're going to cast and then cut to fit.

http://ladymanson.com/galleries/movies/MoviesRS/displayimage.php?pid=106917&fullsize=1

Hope this helps. :)
 
Last edited:
SofaKing01 where does the new volvo greeblie go on the panel?

Hey Iz,

Check out the link I posted. It shows a screen shot of the handle. :)

- - - Updated - - -

What will need to be done to the seats? Is the upholstery/padding to be stripped away?

Hi W,

The seats are going to be recovered to match the original ESB seats. We've already found the material and we're hoping to get to the seats this weekend.
 

Your message may be considered spam for the following reasons:

If you wish to reply despite these issues, check the box below before replying.
Be aware that malicious compliance may result in more severe penalties.
Back
Top