1:1 Millennium Falcon Cockpit Replica - Group Build

Hi Guys,

Not much of an update. Rain prevented me from doing anything significant outdoors but I did manage to get a few things done

Applied more filler to the yoke body
20151118_055112_zpsgdoqowwt.jpg


20151118_055123_zpsxfz2srof.jpg


20151118_055144_zpslso3otyp.jpg


Sanded smooth and added primer
20151118_185714_zpstjsyifsn.jpg


20151118_185723_zpsuwj74ygk.jpg


20151118_185736_zpsl8ctzm5s.jpg


Another round of sanding and more primer this morning
20151119_051354_zpsnqzdrndb.jpg


20151119_051404_zpsmkgaeiph.jpg


Drilled holes in the canopy box lever mounts
20151119_051308_zps3qwfg86r.jpg


20151119_051312_zpszvjm0xti.jpg


20151119_051317_zps3ji5nxyj.jpg


Sanded, primed and painted the throttle housing - another round of sanding needed
20151118_185602_zpsifw89pas.jpg


I'm going to add dowels to the bottom to keep it from moving around - or Velcro?
20151118_185613_zpscniytd7q.jpg


Then measured and added the final door greeblies
20151119_053627_zpsncppruv9.jpg


20151119_053632_zpsfs8kdycg.jpg


One side is done!
20151119_054930_zpshsenumf2.jpg


20151119_054939_zpsody68mz7.jpg


20151119_055105_zpsxd3bpzoa.jpg


20151119_055053_zpse2htn7rb.jpg


Its supposed to be nice today so I HAVE to push myself to get those riser panels finished and a new main platform up so I can start putting everything together!

More to Follow!
 
I've been following this thread for a while, and this work is simply insane! The amount of dedication is beyond me. Keep it up!

Sent from my XT1060 using Tapatalk
 
I think the original palettes used in the OT are no longer available or really difficult to find. :(

That's true... it's not like they couldn't simulate them again or anything! OH... and while I'm at it... those ball holder lever controls... aren't they suppose the be like ) ( and not like this ( )?
 
That's true... it's not like they couldn't simulate them again or anything! OH... and while I'm at it... those ball holder lever controls... aren't they suppose the be like ) ( and not like this ( )?

The 3 way Ball Clamps face inward as shown, but I have them on the wrong side of the lever. I have to mod the "water tank" lever to fix.

- - - Updated - - -

That door is AMAZING!! Spot on. Looks better than the real one! Really anticipating the yokes.

Hi F,

Wow! Thank you for the kind words. We're hoping/planning something special with the yokes - time permitting!
 
Hi Gang,

1 Step Forward... 10 Steps Back!

Yesterday was not a fun day! After building the 4 new riser panels I quickly discovered something wrong - horribly wrong!

Back panels appear to be ok
20151119_180902_zpsc7bmvpyt.jpg


20151119_180930_zpsggywnsya.jpg


20151119_180504_zpsbodygsbk.jpg


Uh Oh! The panels did not align with the new nose
20151119_180519_zpsmpdhb2j0.jpg


I did a double take and rechecked. Yup... we have a serious problem!
20151119_181738_zpsstijmdz3.jpg


I built up the panels and found the error!
20151119_184414_zpsgjhomzwv.jpg


I don't know exactly where or how the error happened. I blame myself for not relaying more specific measurements to OperaScot...
20151119_184926_zps9jppawml.jpg


That's ugly!
20151119_184951_zpsexhilhfu.jpg


Really UGLY
20151119_185830_zpsms4i0eru.jpg


20151119_185846_zpsvuxh78ul.jpg


I moved one of the nav chair platforms toward the exterior. And then "TaDa" the panels aligned perfectly!
20151119_204957_zpsqvemssn5.jpg


BUT... We're approx 3 3/16" off the center line
20151119_204449_zpso9x76kw3.jpg


20151119_205422_zpswsqy5osl.jpg


So what does this mean and what we do? The front of the nose frame is fine but the rear needs to be pushed toward the center. How do we fix? Each one of the nose cone ribs must have a certain amount of material removed from their respective center mounting points then slid toward the center and remounted - the rear ribs having the most material removed. The front of the nose stays the same to accommodate the new window. We're looking at it more in detail this evening.
20151119_205441_zpscncmezny.jpg


UGH....

On a lighter note I frustratingly got the door finished
20151119_213458_zpsolmhjcrd.jpg


20151119_213658_zps8kcbn6pb.jpg


Back side of door greeblie panel
20151119_213715_zpslfhncxkp.jpg


20151119_213707_zpsdgfpv7xr.jpg


I then frustratingly worked on misc greeblies
20151119_215355_zpsydwtfcwi.jpg


This panel is going to get another major greeblie added very soon
20151119_215418_zpsxzlzsnzy.jpg


I frustratingly added this little guy
20151119_215409_zpsch8sjp5g.jpg


I frustratingly sanded the throttle housing
20151119_214100_zpskmwvpp1n.jpg


20151119_214111_zpsv2szae43.jpg


I frustratingly primed
20151119_214334_zpsjspmwm4g.jpg


I then frustratingly painted
20151119_225722_zpsbvd2jejj.jpg


So... all is not lost but a minor setback for sure! :facepalm

I'm frustrated! But we'll move forward and conquer!
 
Last edited:
Dang, I'm sensing some frustration there Sofa...... I'm sure you will fix it with a wave of your magic greeblie wand, or maybe a few hours of frustratingly backbreaking work!
 
Dang, I'm sensing some frustration there Sofa...... I'm sure you will fix it with a wave of your magic greeblie wand, or maybe a few hours of frustratingly backbreaking work!

Hey R,

Man... you have no idea. It was one of those "hang my head in frustration" moments. For about 1/2 hour I gave up... I was finished. I even sent a few texts waving the white flag. But after looking over everything, talking to OperaScot and Daniel we found the fix and will make the changes today/tomorrow.
 
Hi Gang,

Happy Monday! Another weekend come and gone. Believe it or not I didn't take as many pics as I would have liked. We have been busy busy all weekend but there were more behind the scene goings on - planning, dimension taking, designing, CNC cutting etc... BUT we did manage to get a few things done and we jumped ALL over the place... Enjoy!

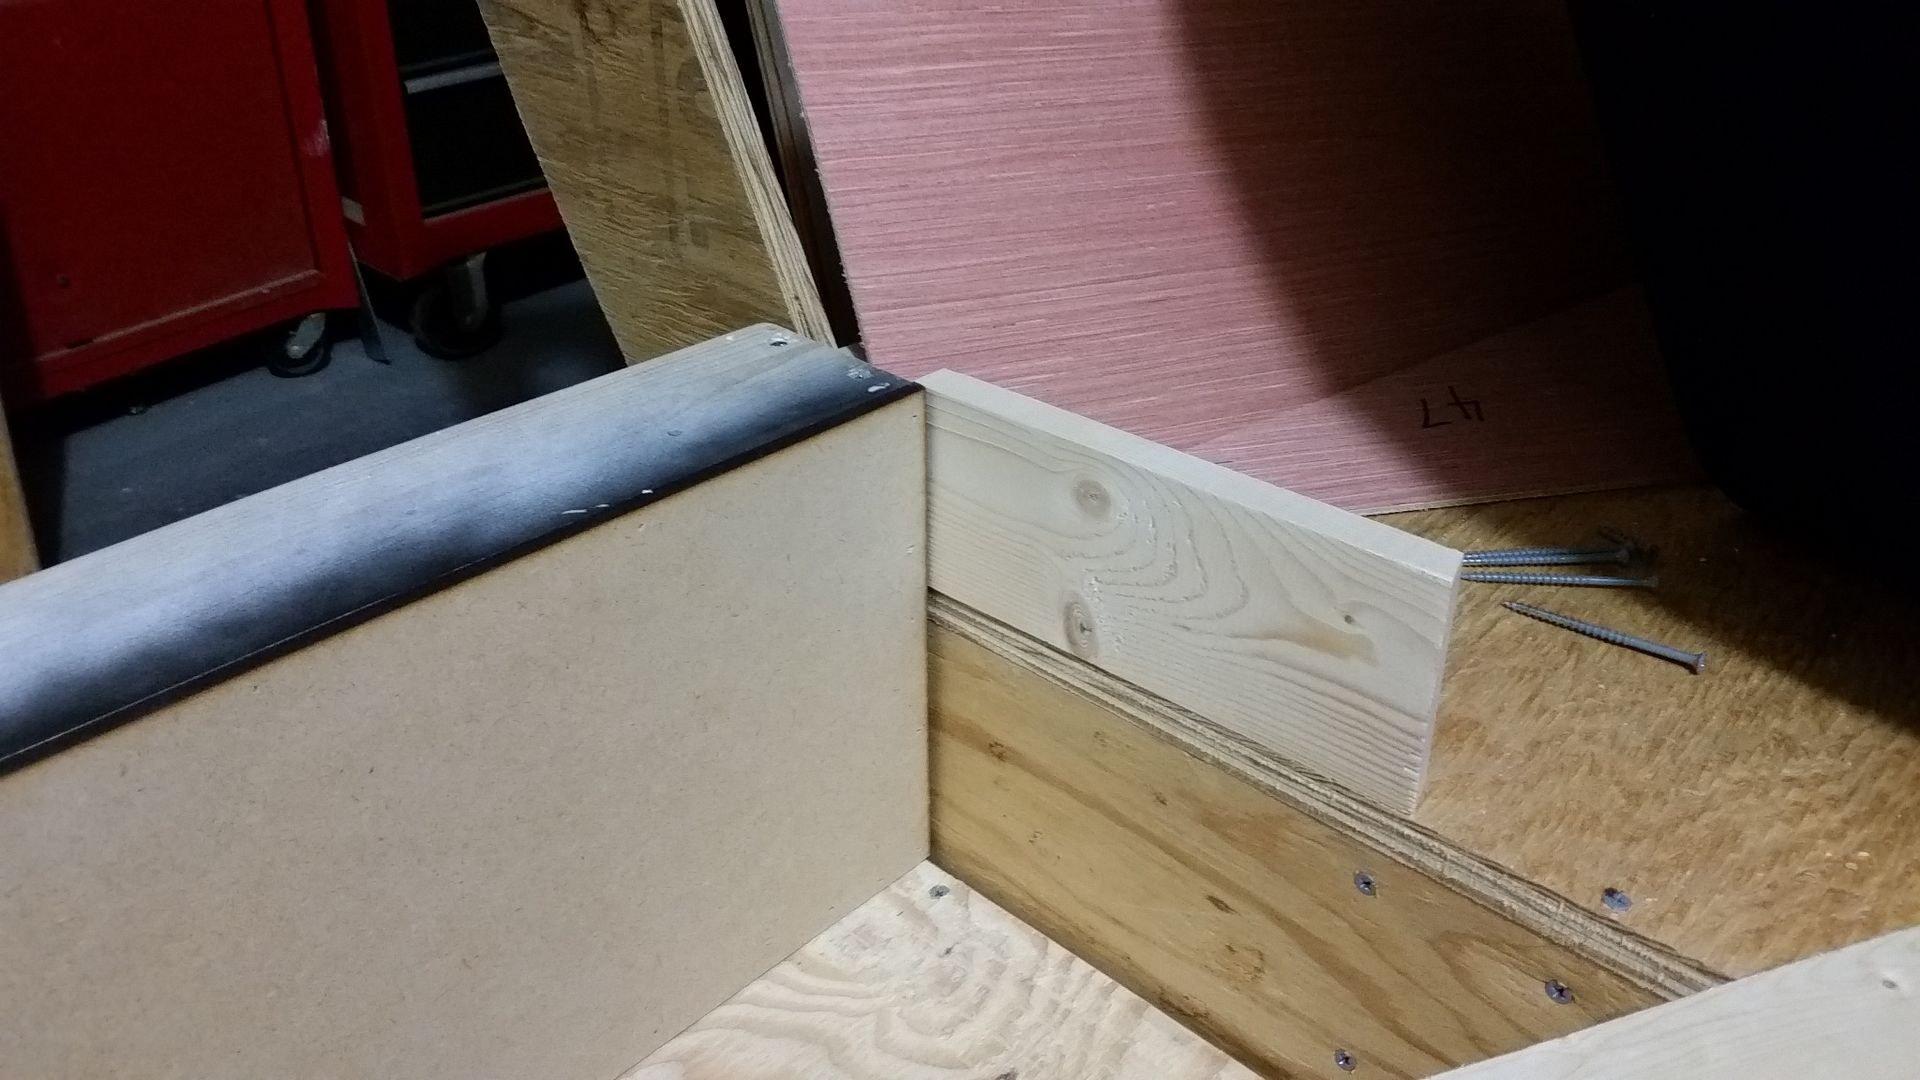
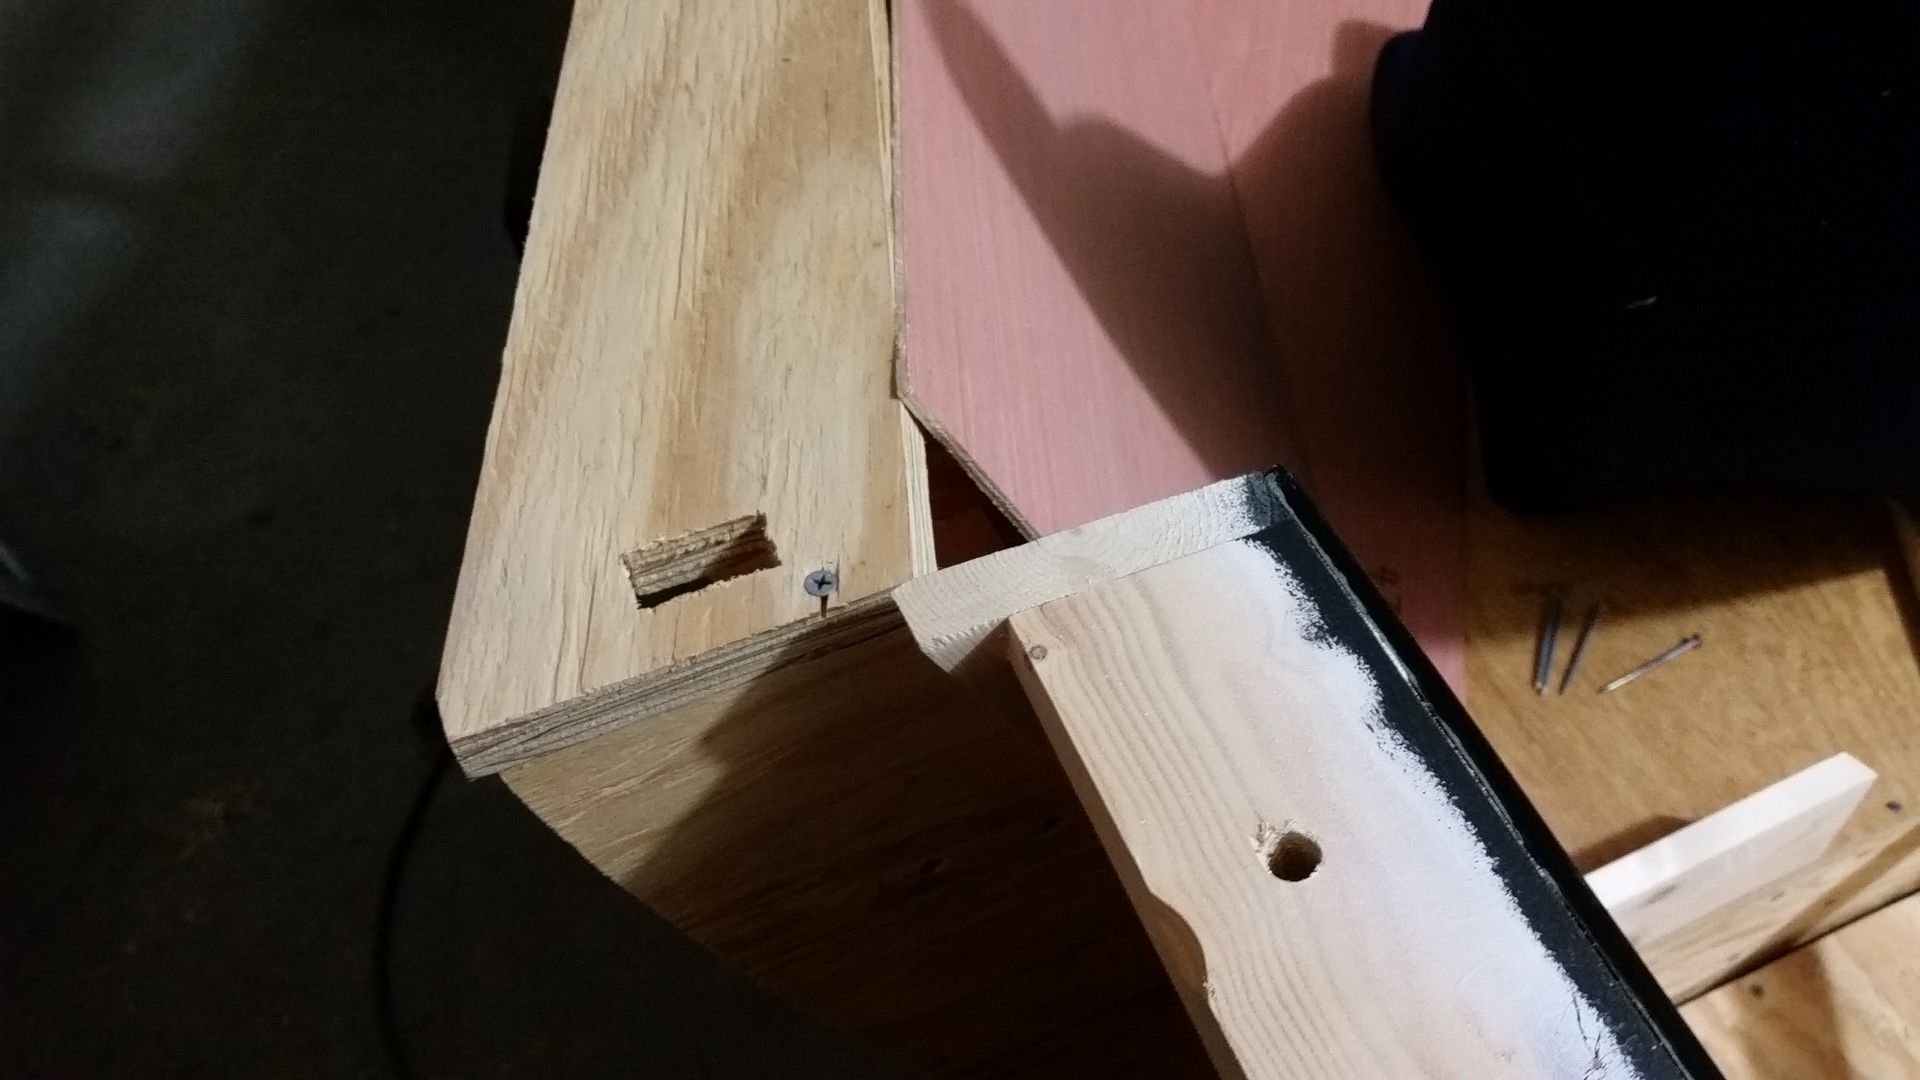
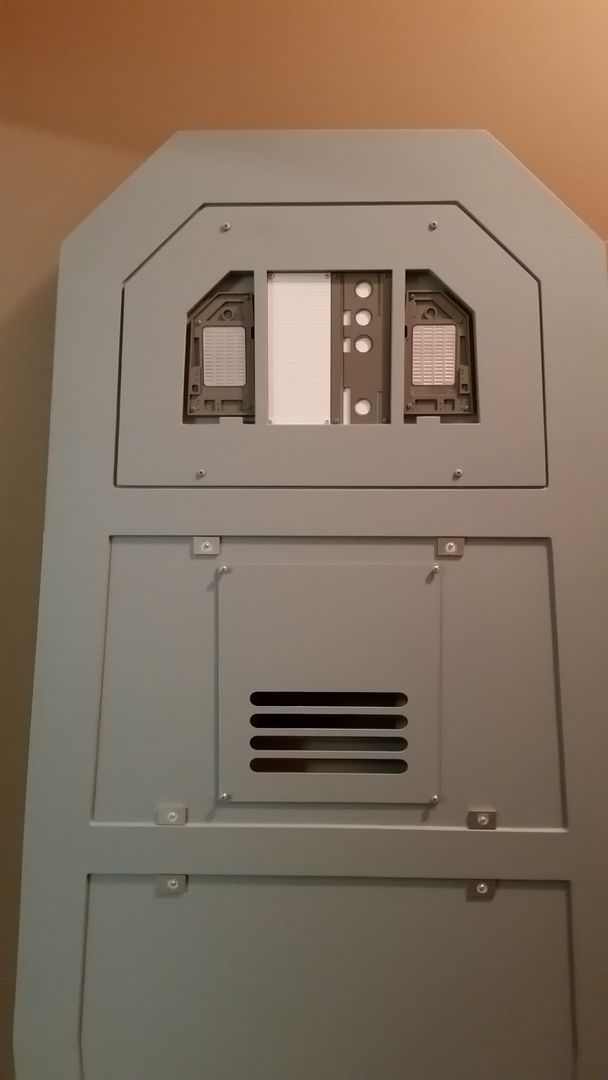
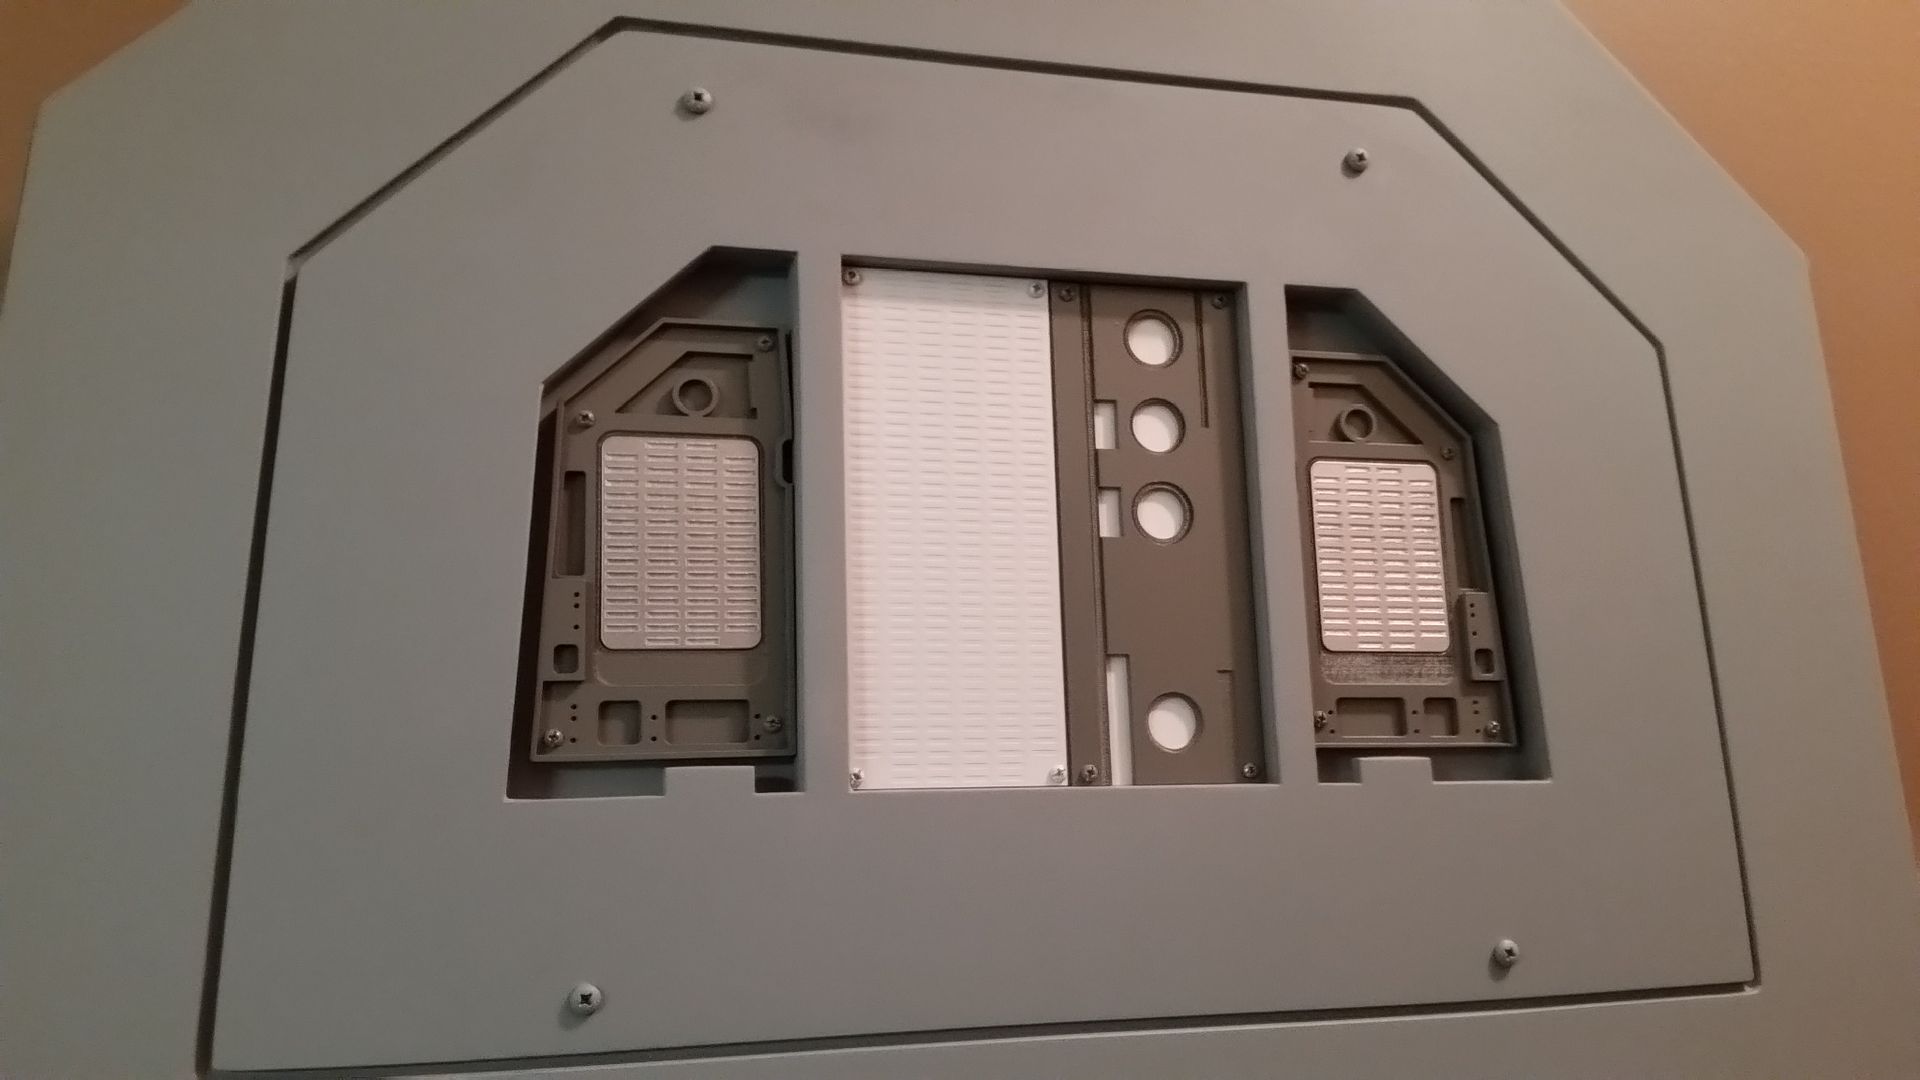
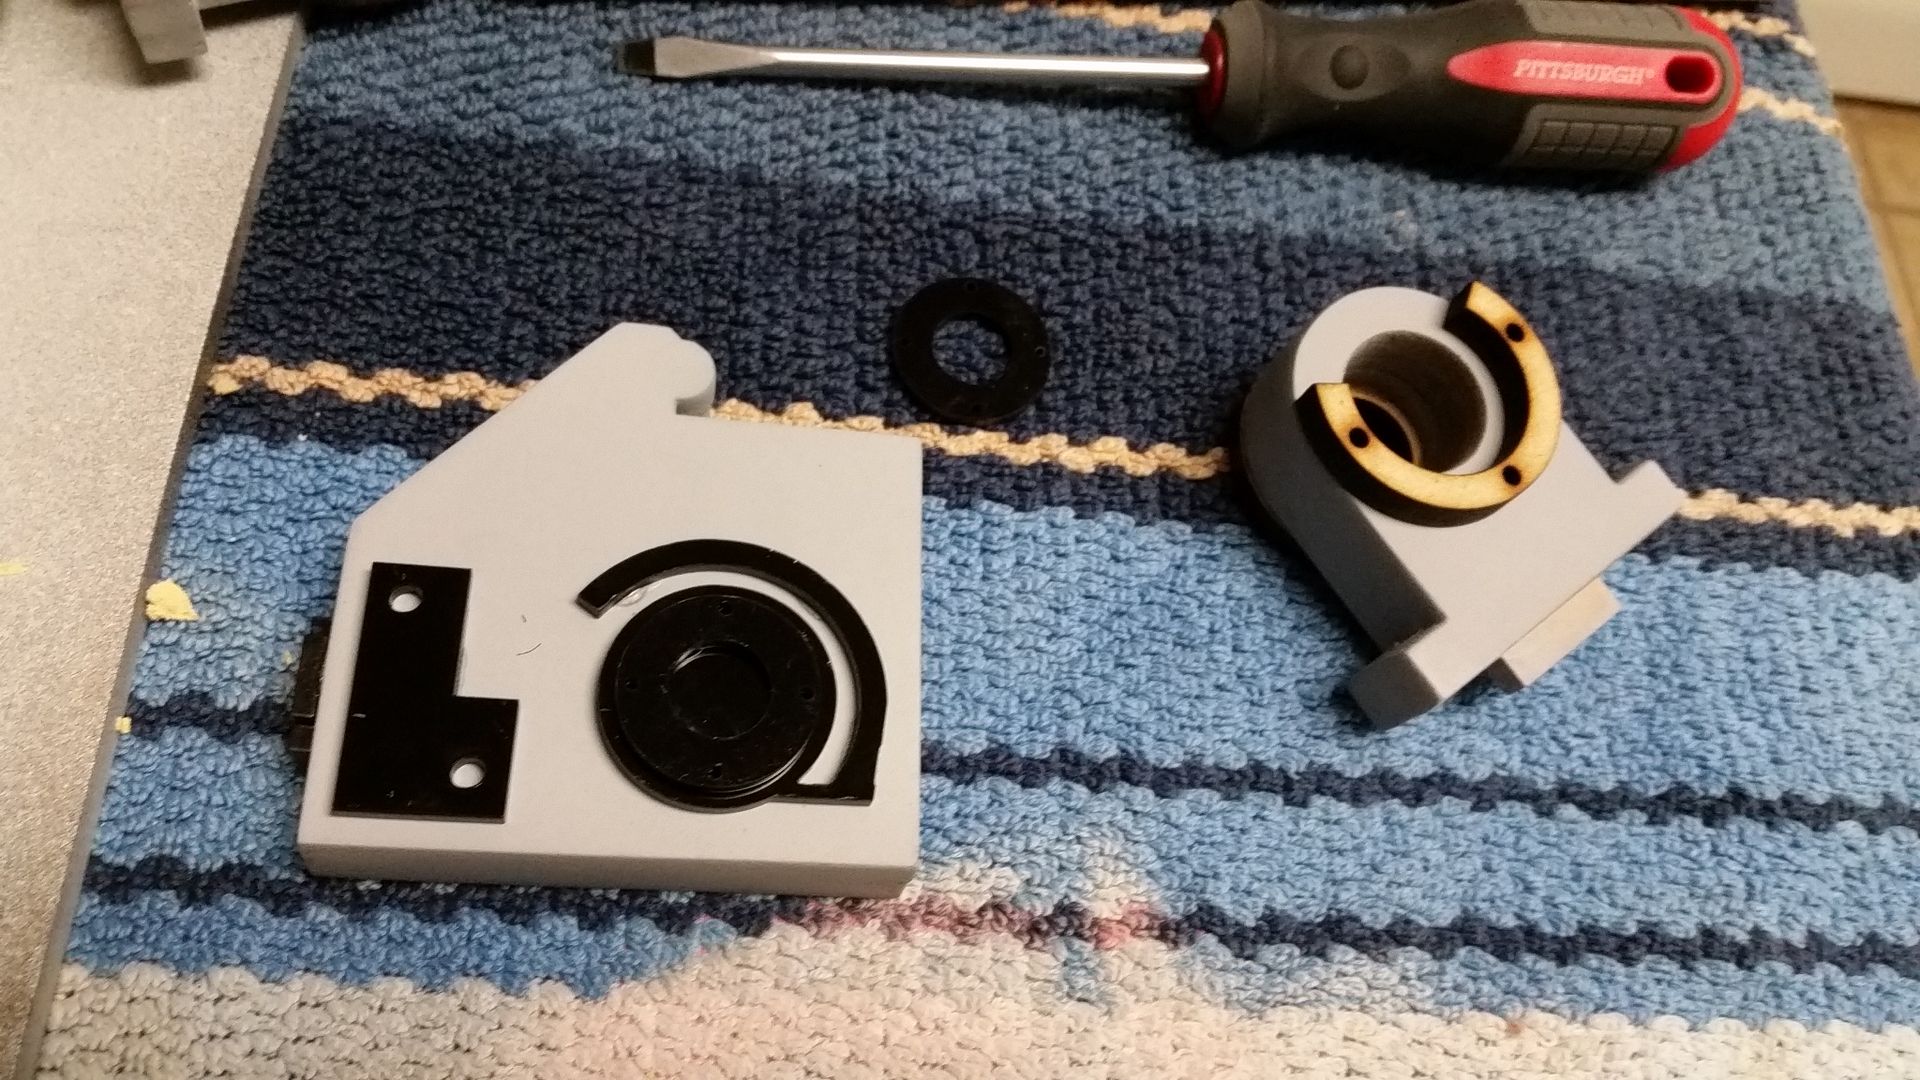
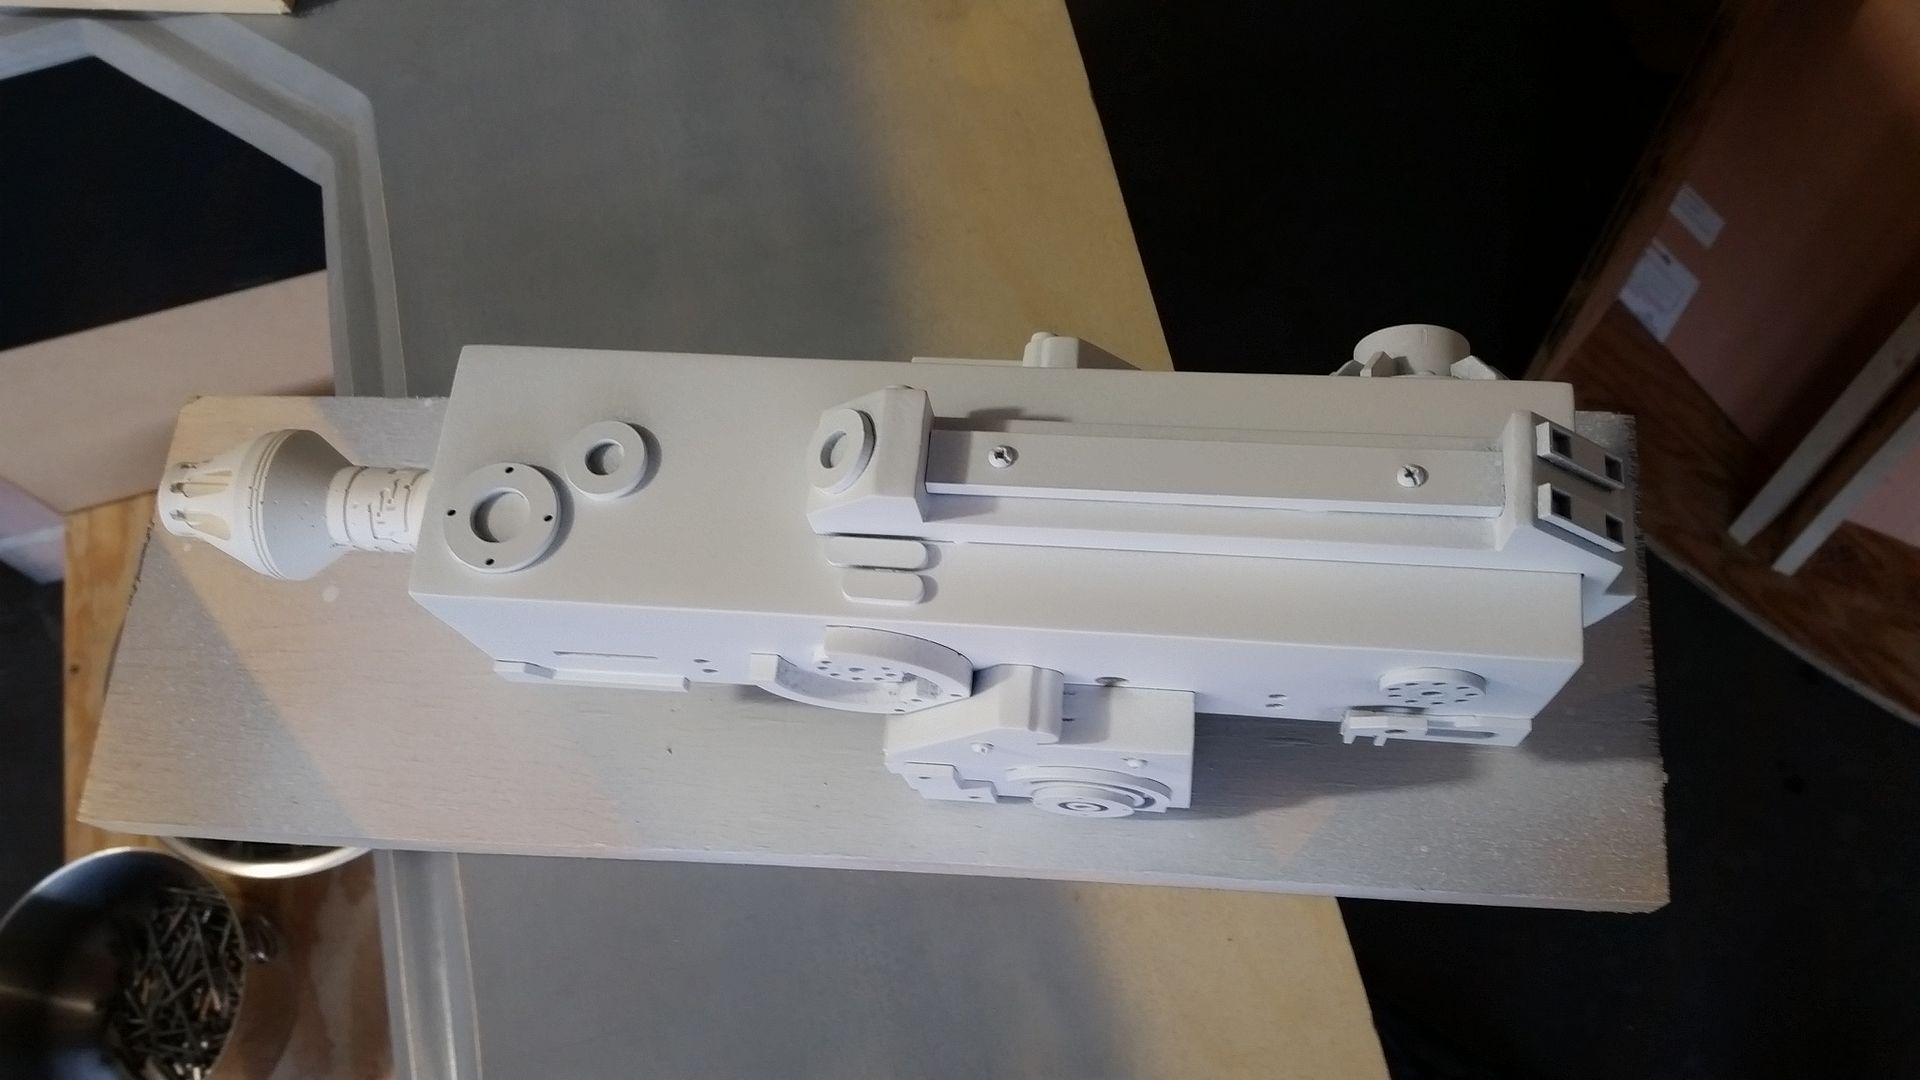
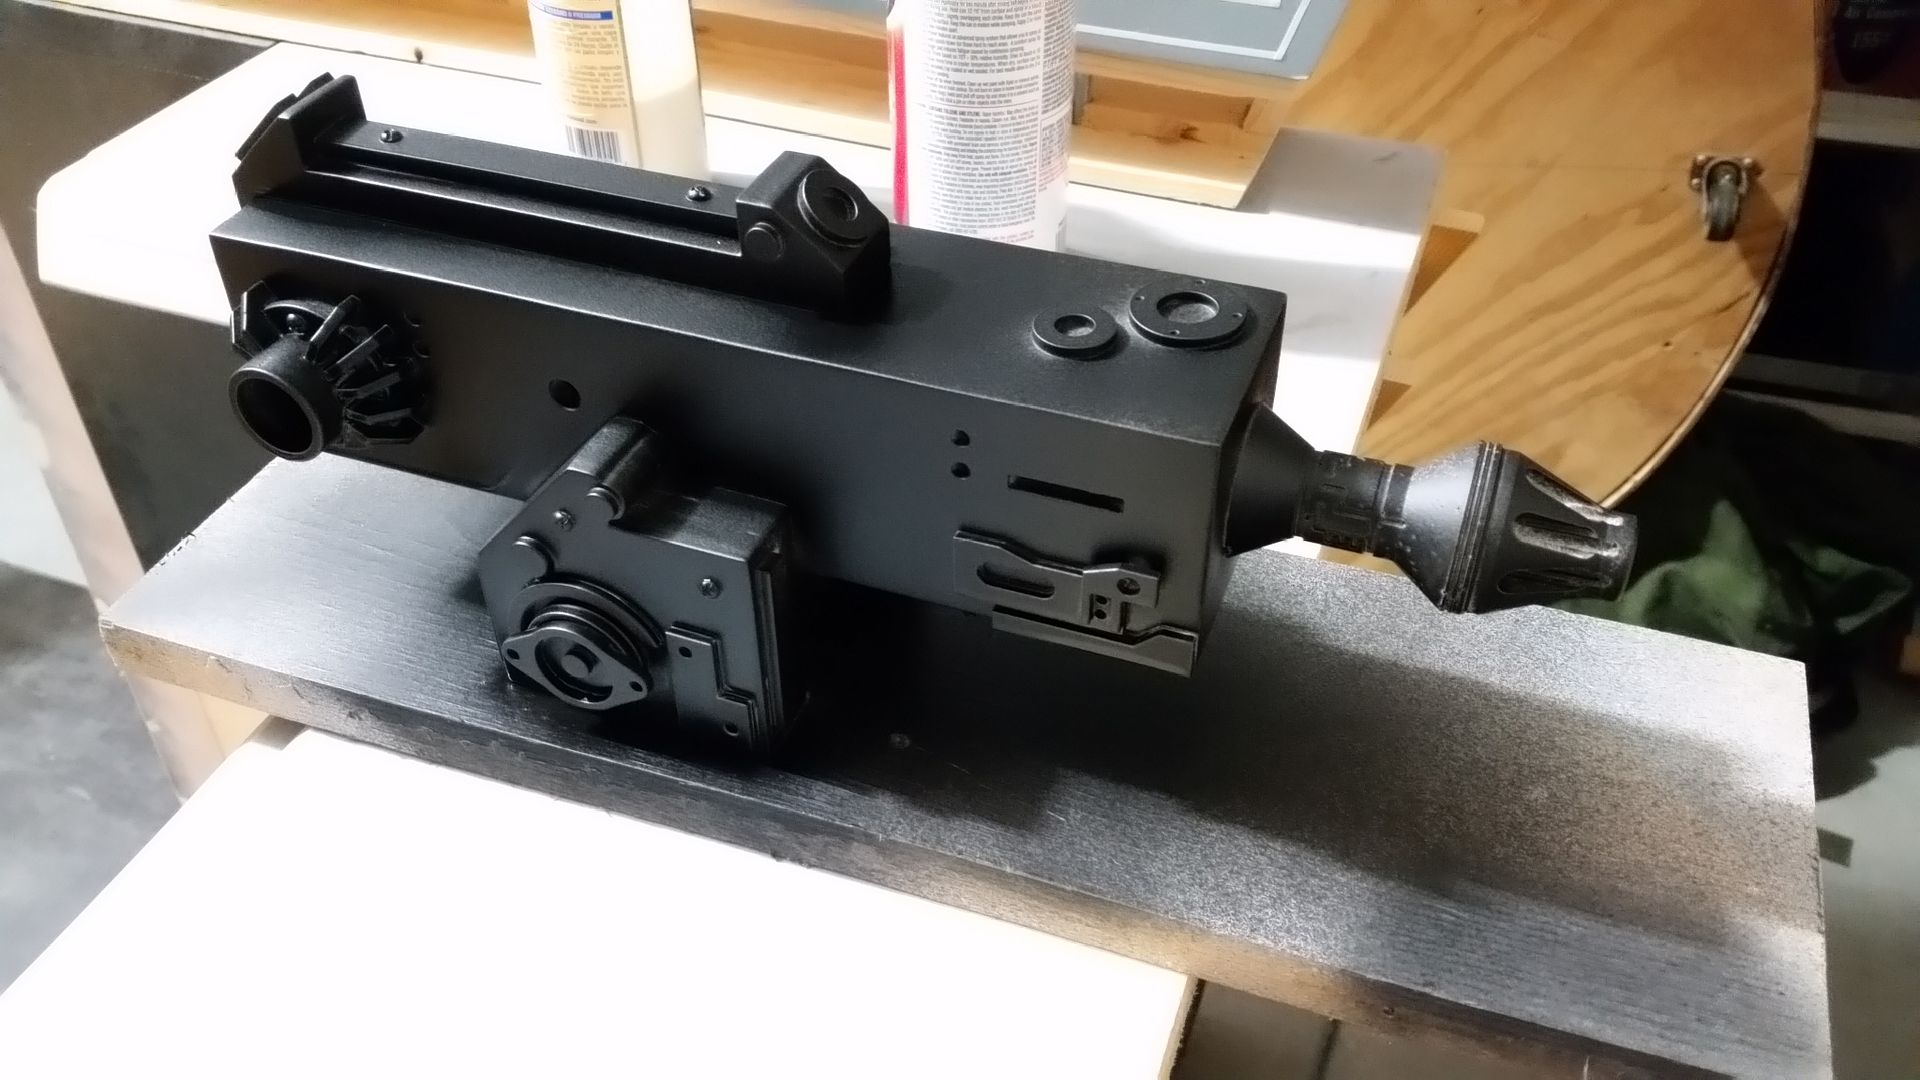
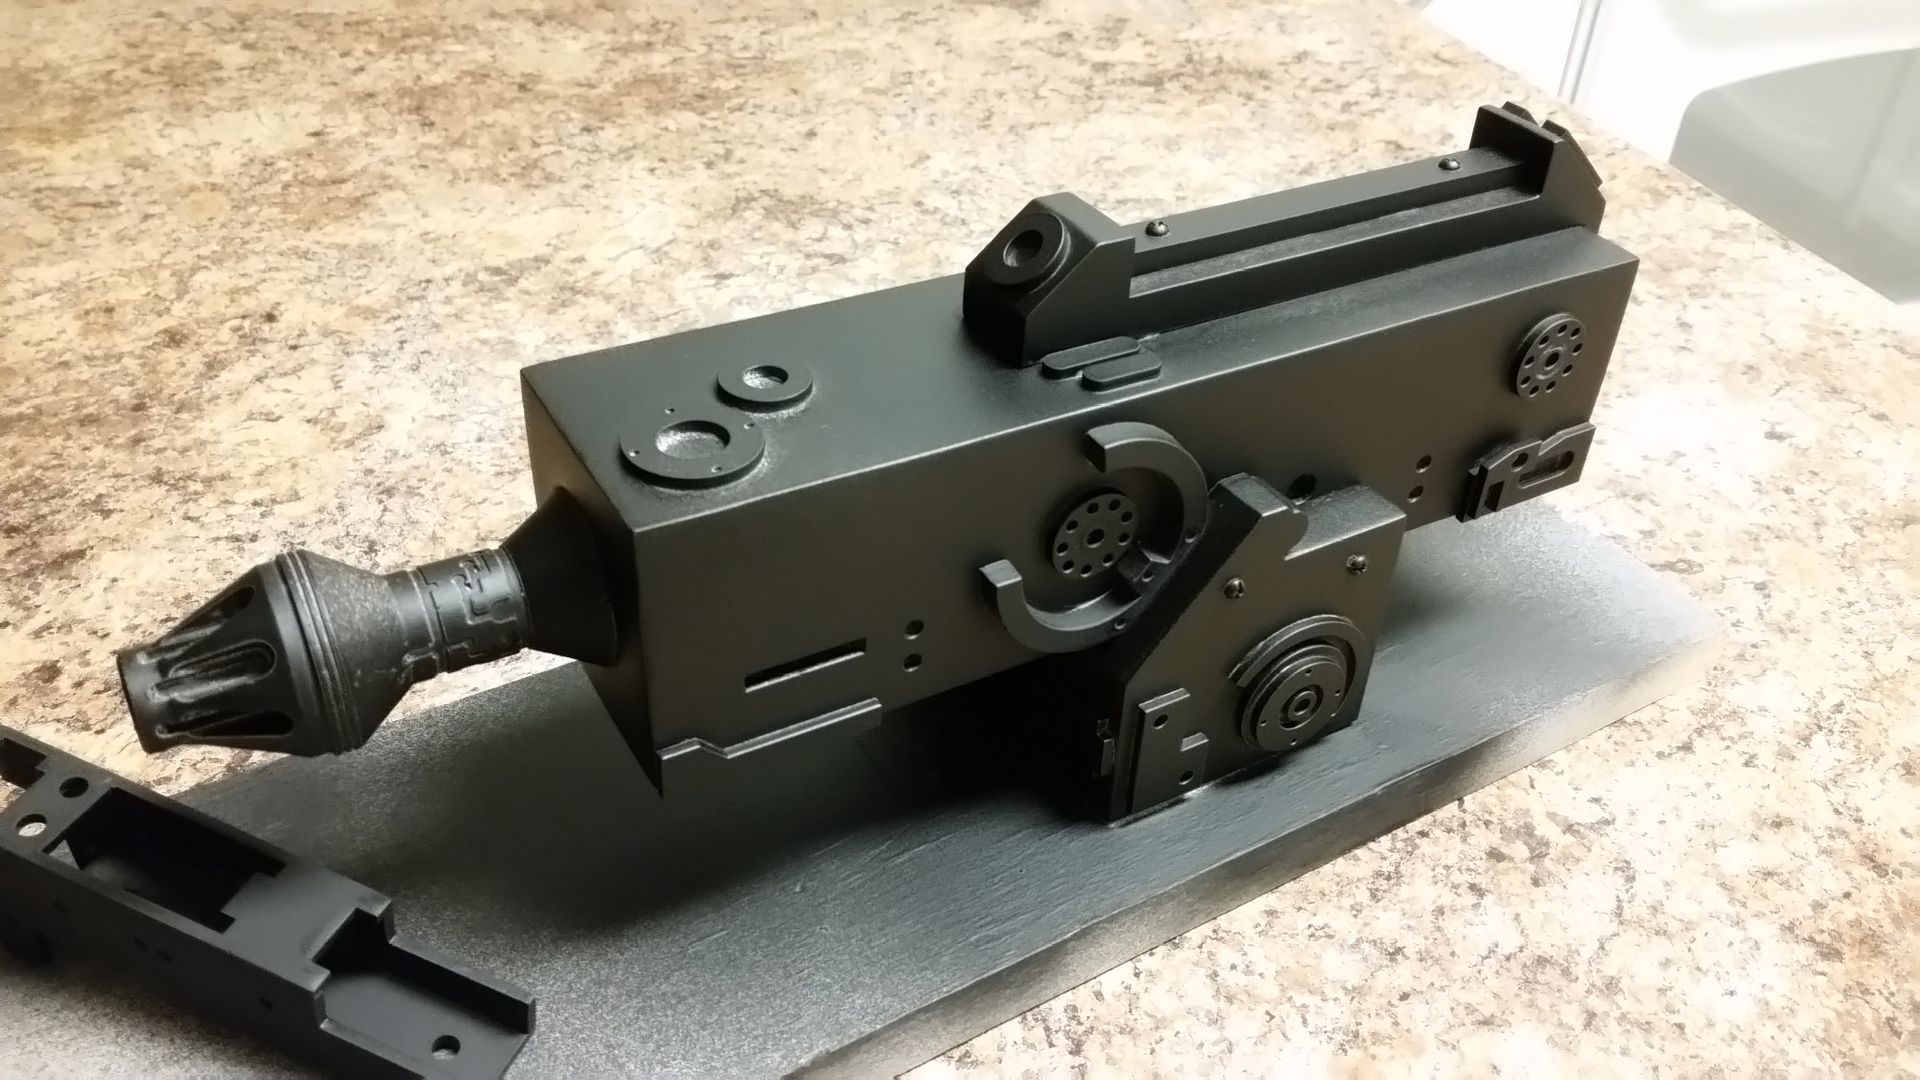
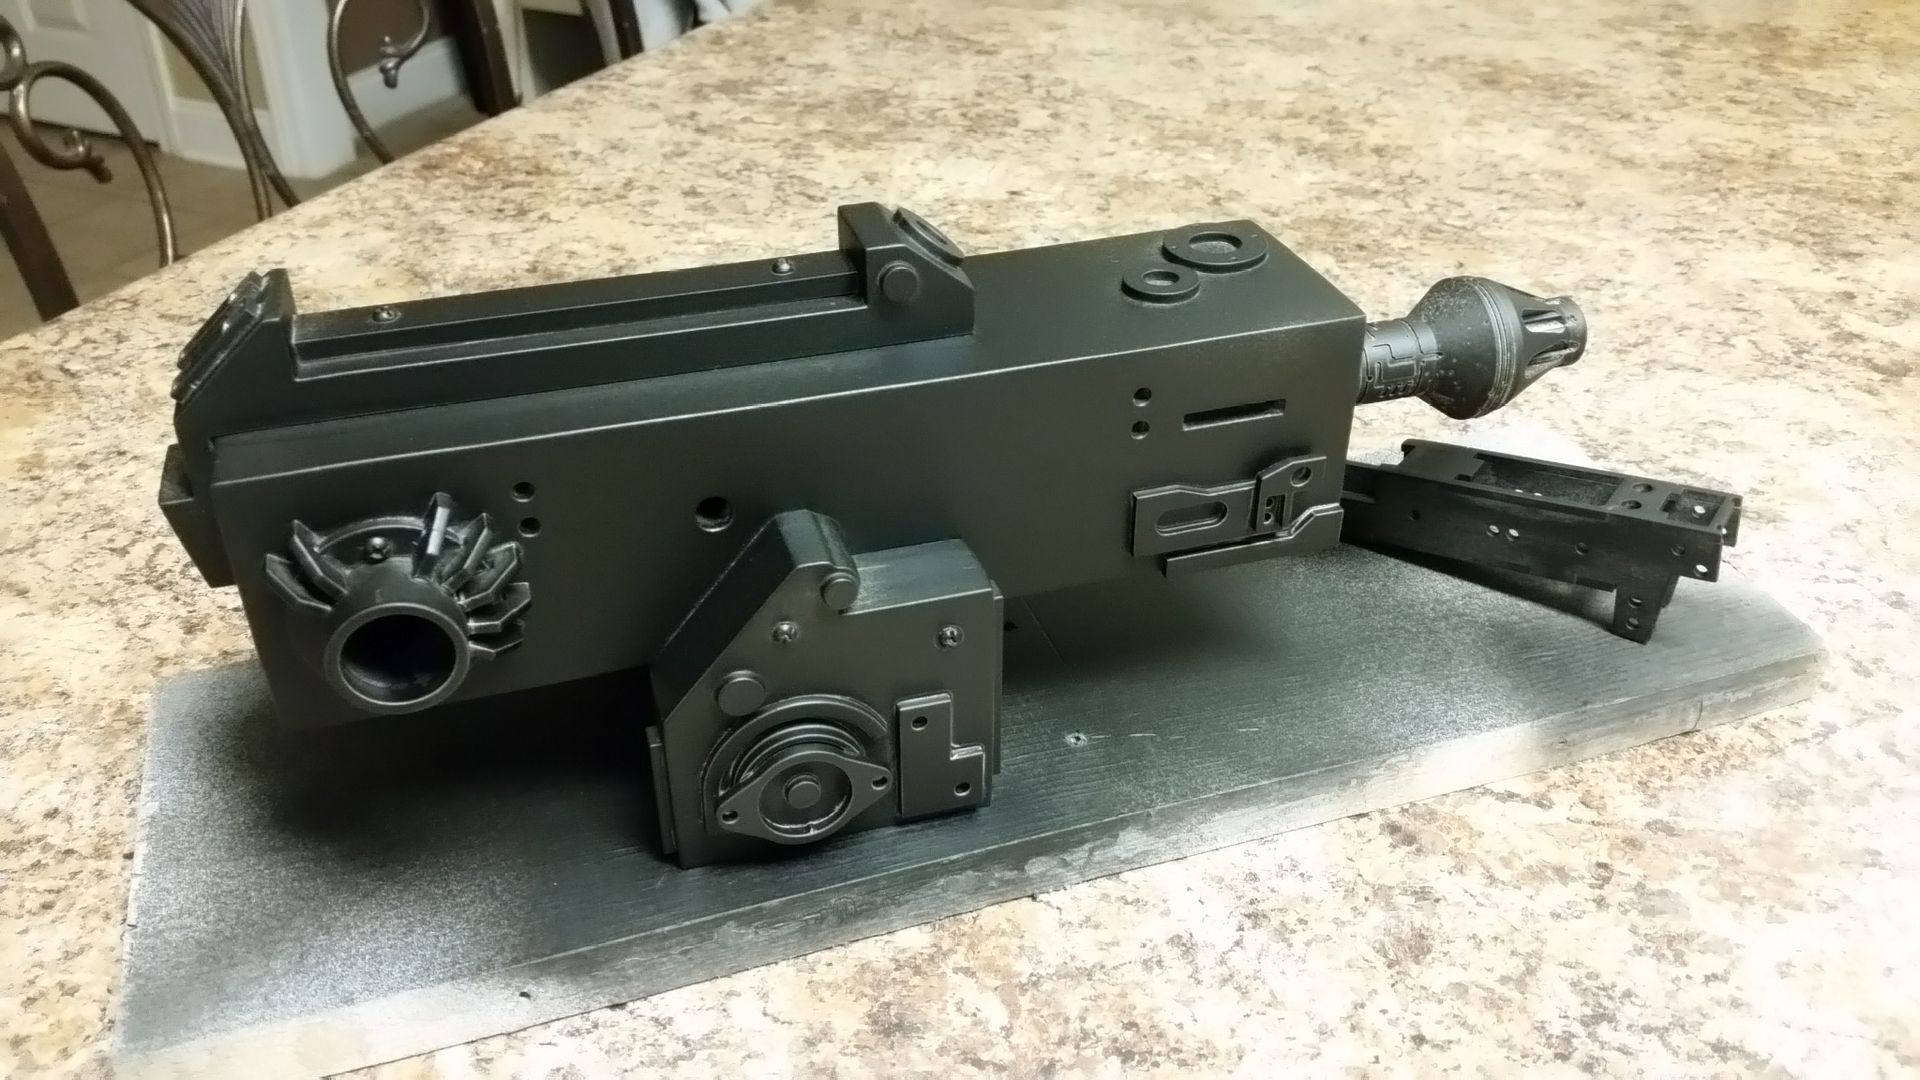
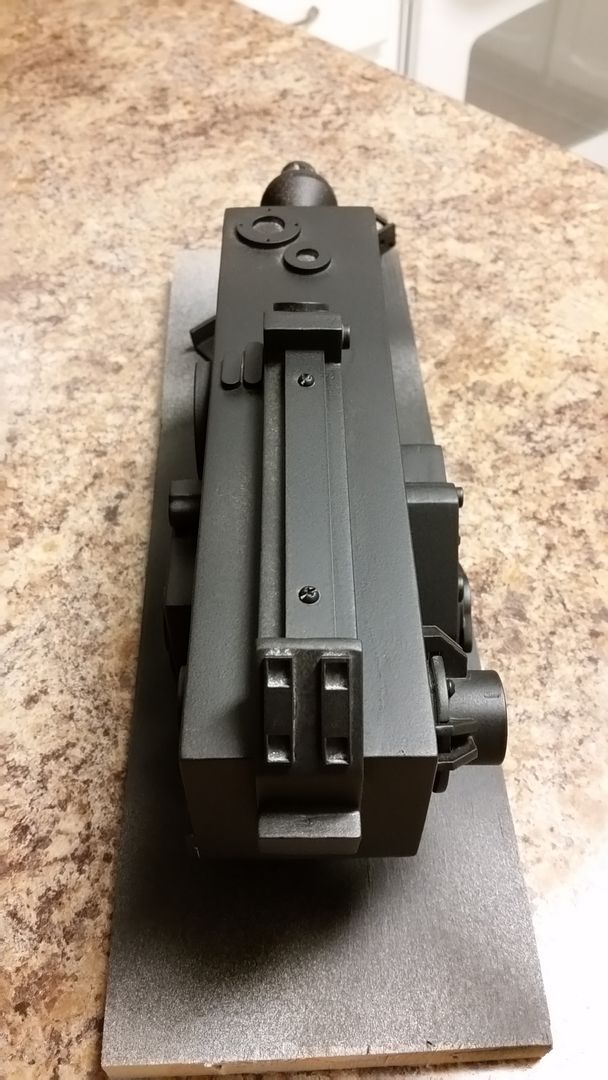
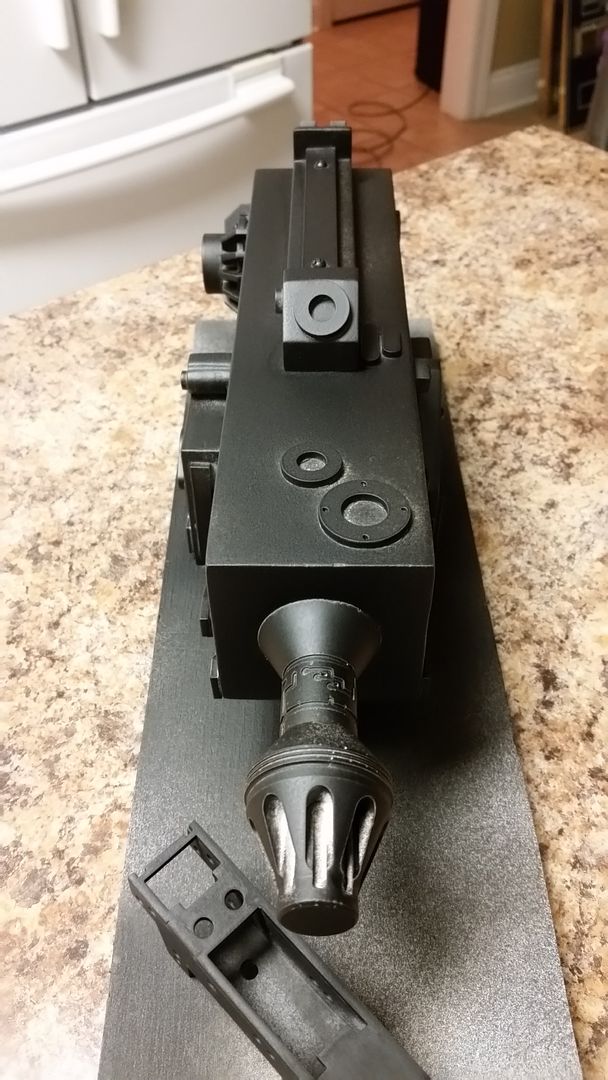
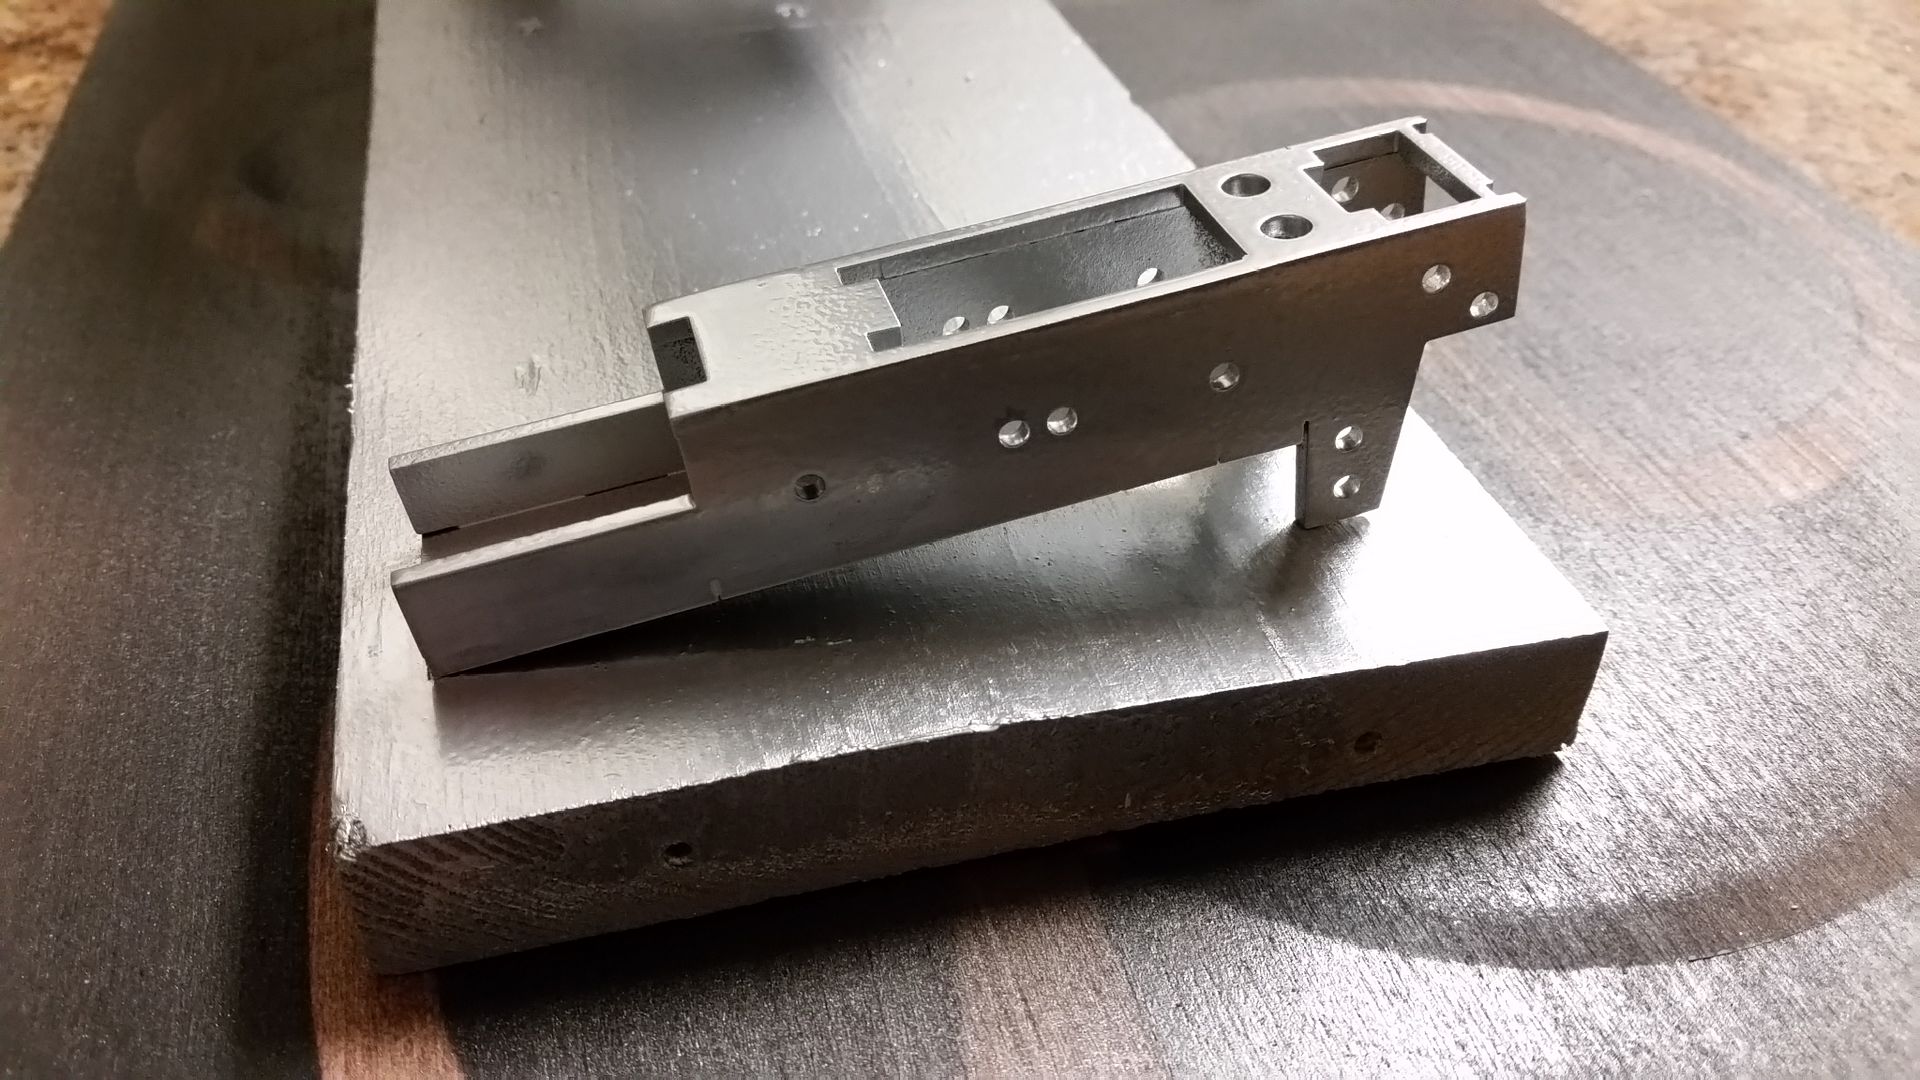
We found out the issue with the new nose frame and got that taken care of. Jessie and I dismantled the nose cone
20151121_134114_zpsynisoxza.jpg


20151121_134119_zpskjyoh3ss.jpg


We'll jump back to that in a sec...

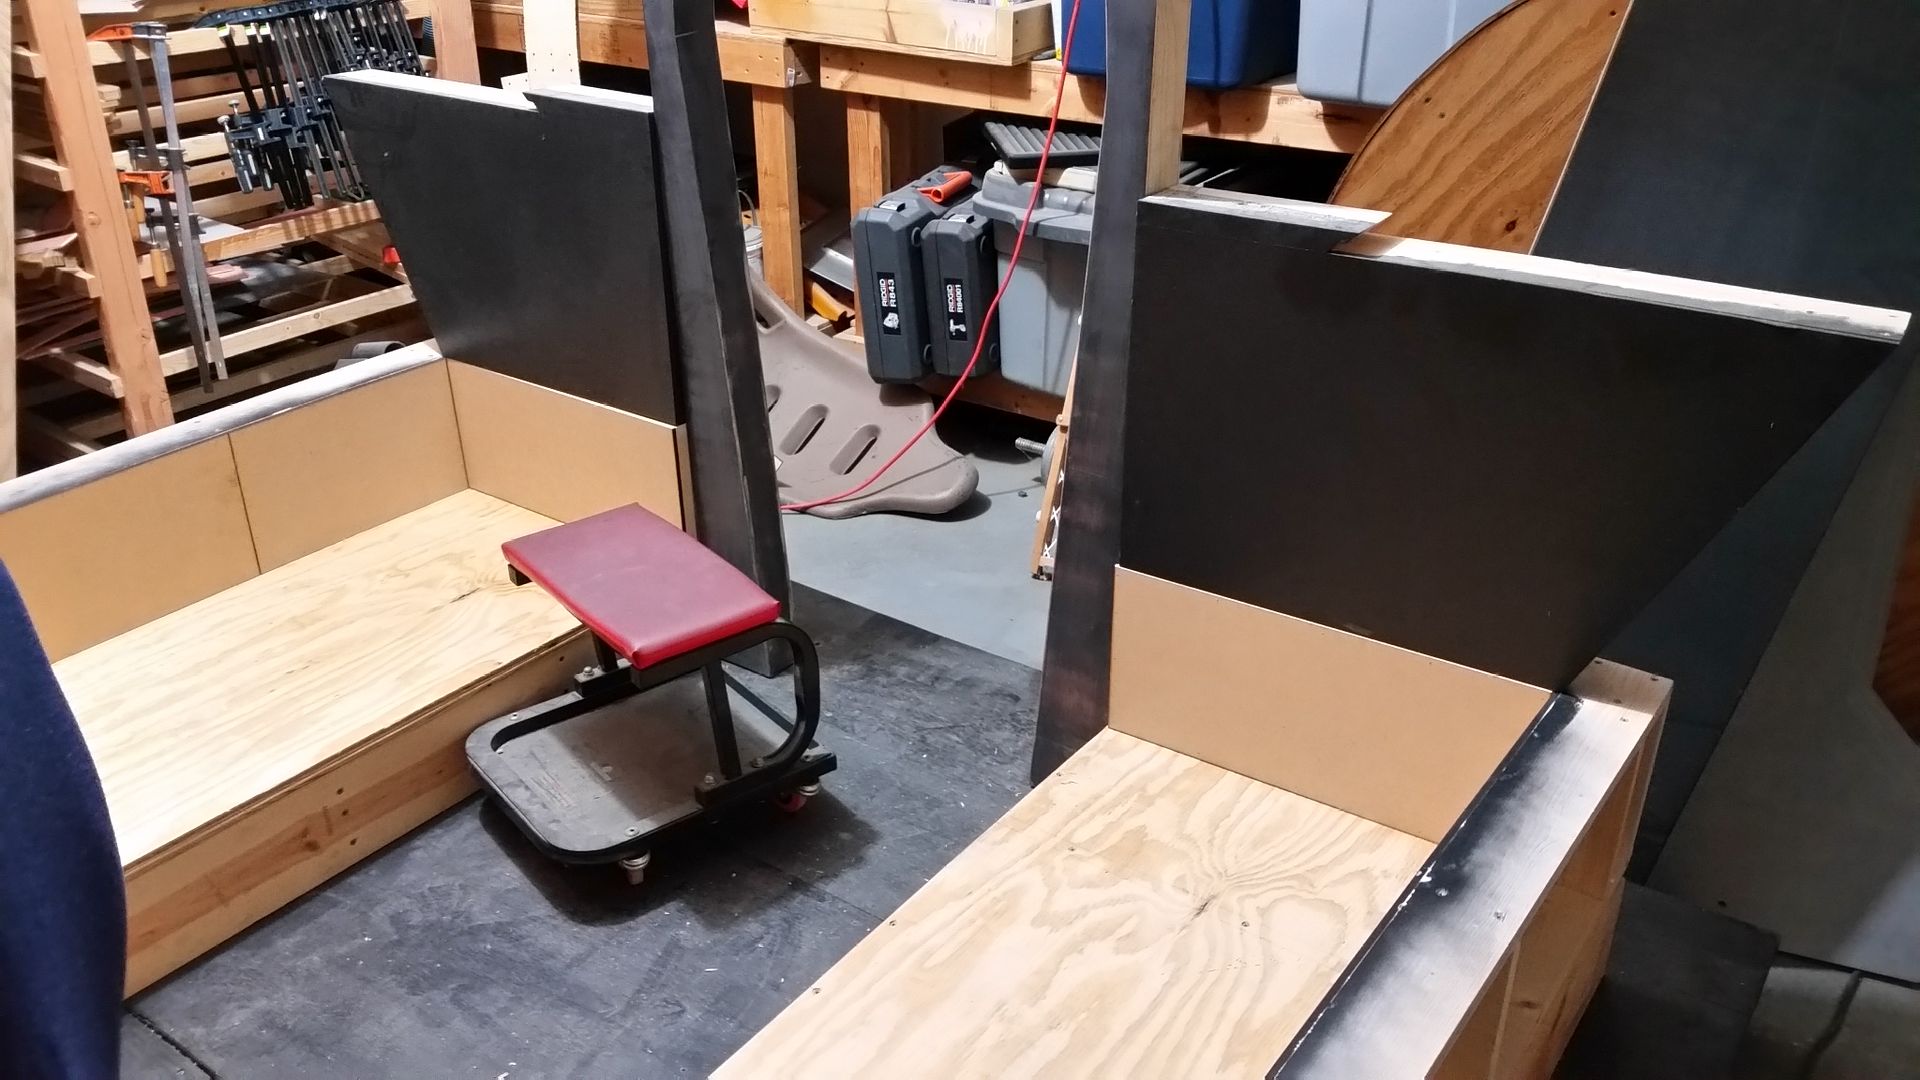
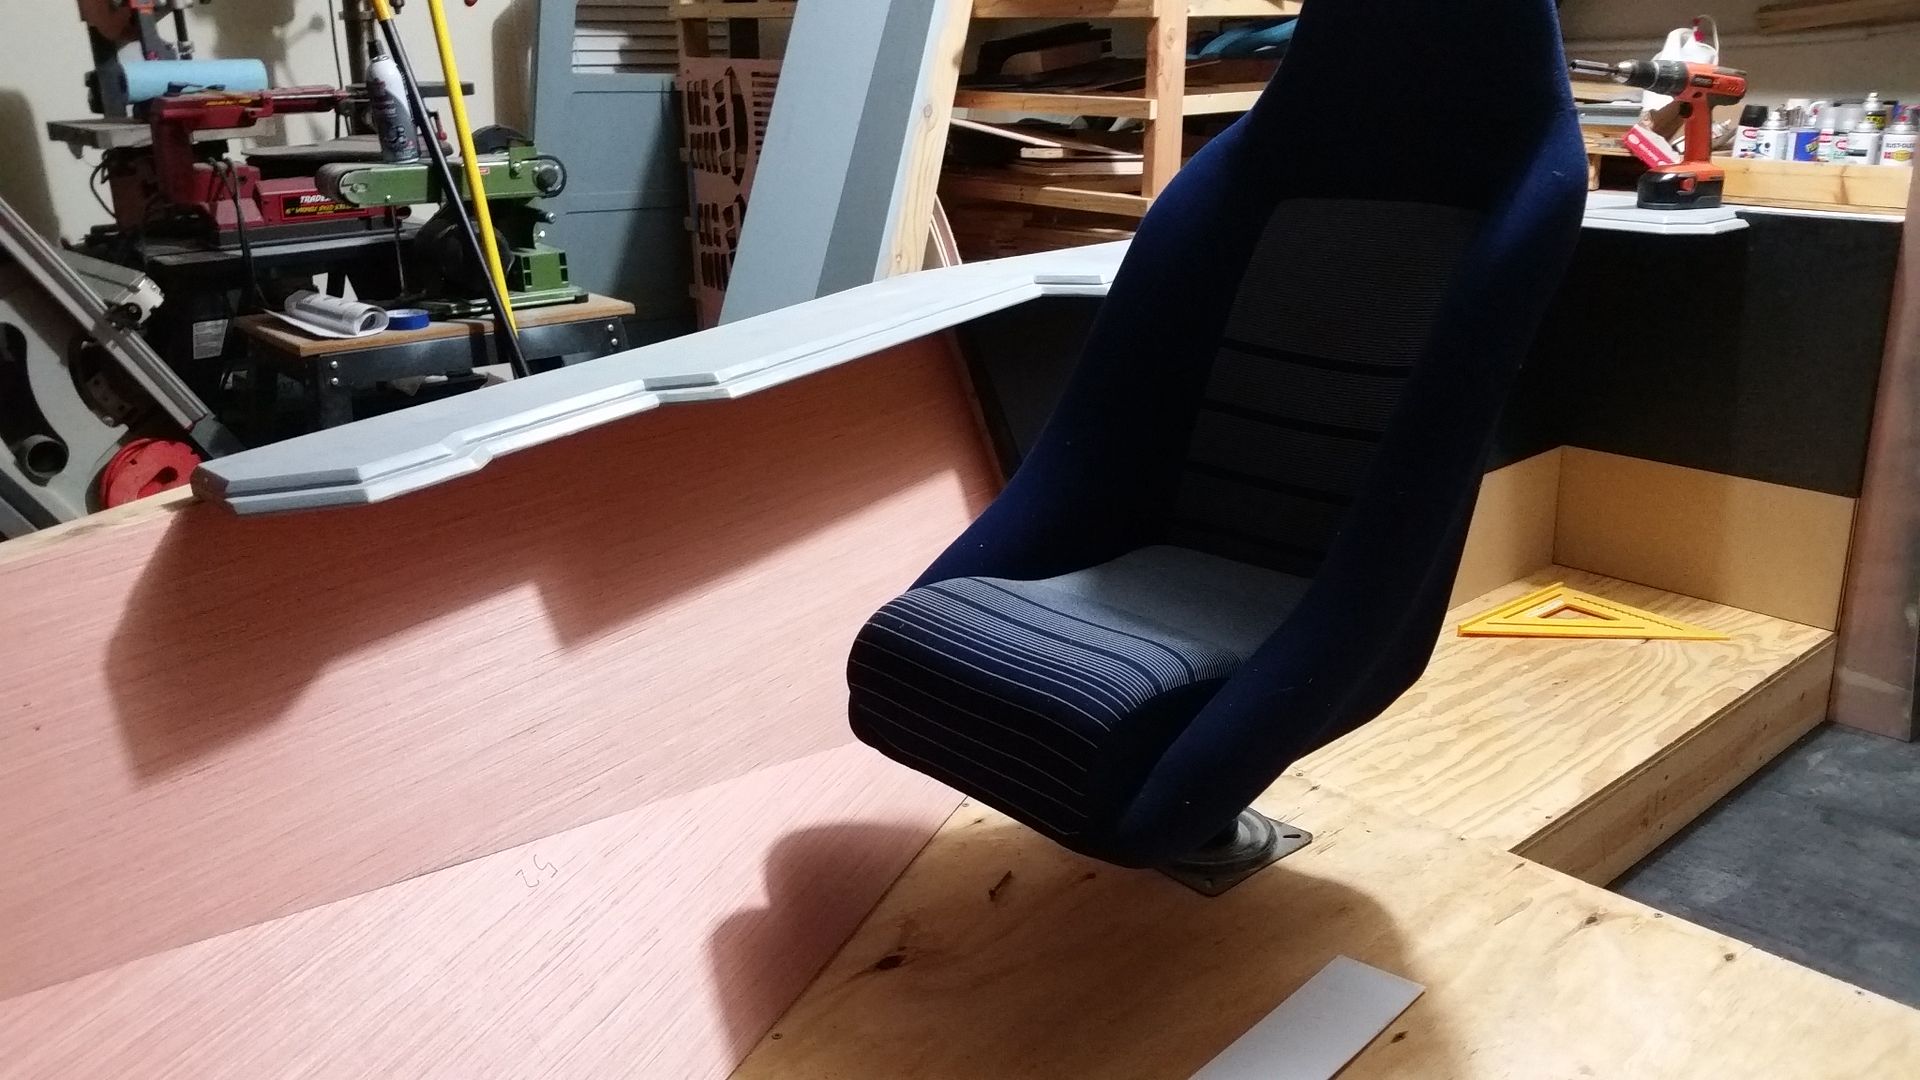
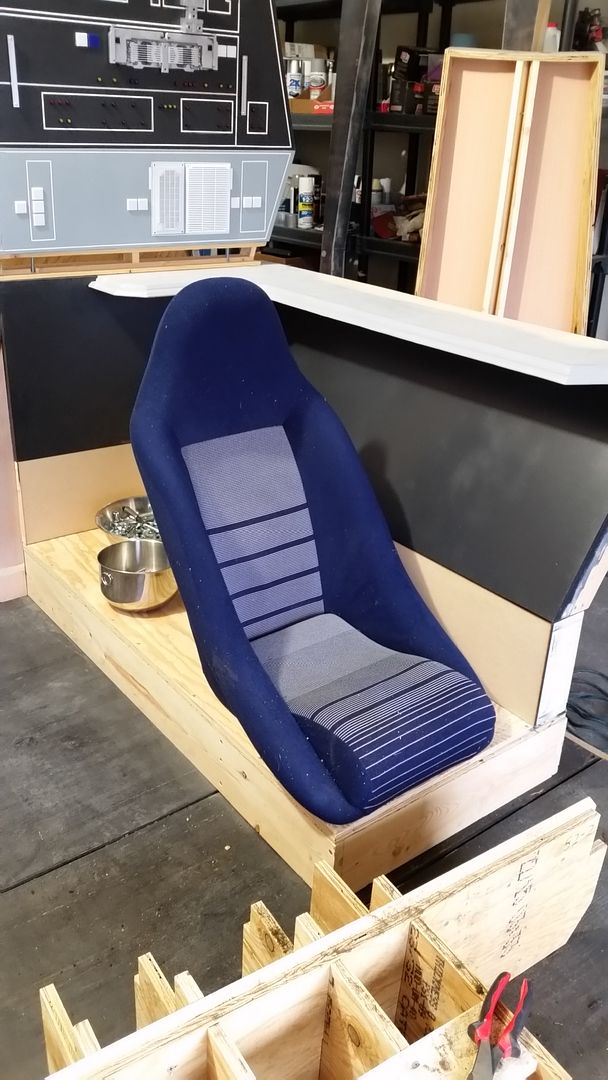
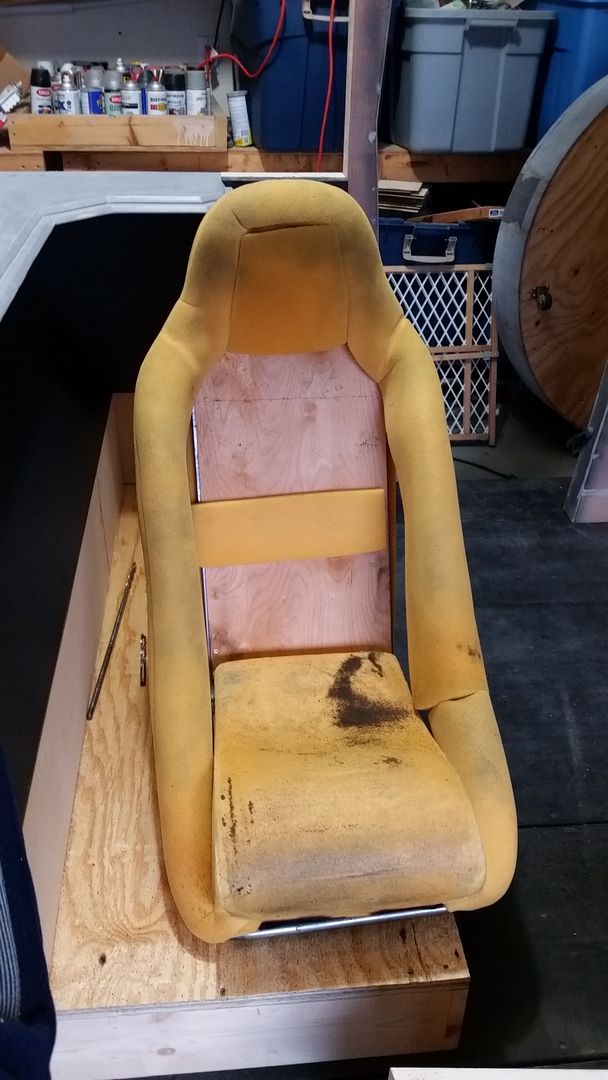
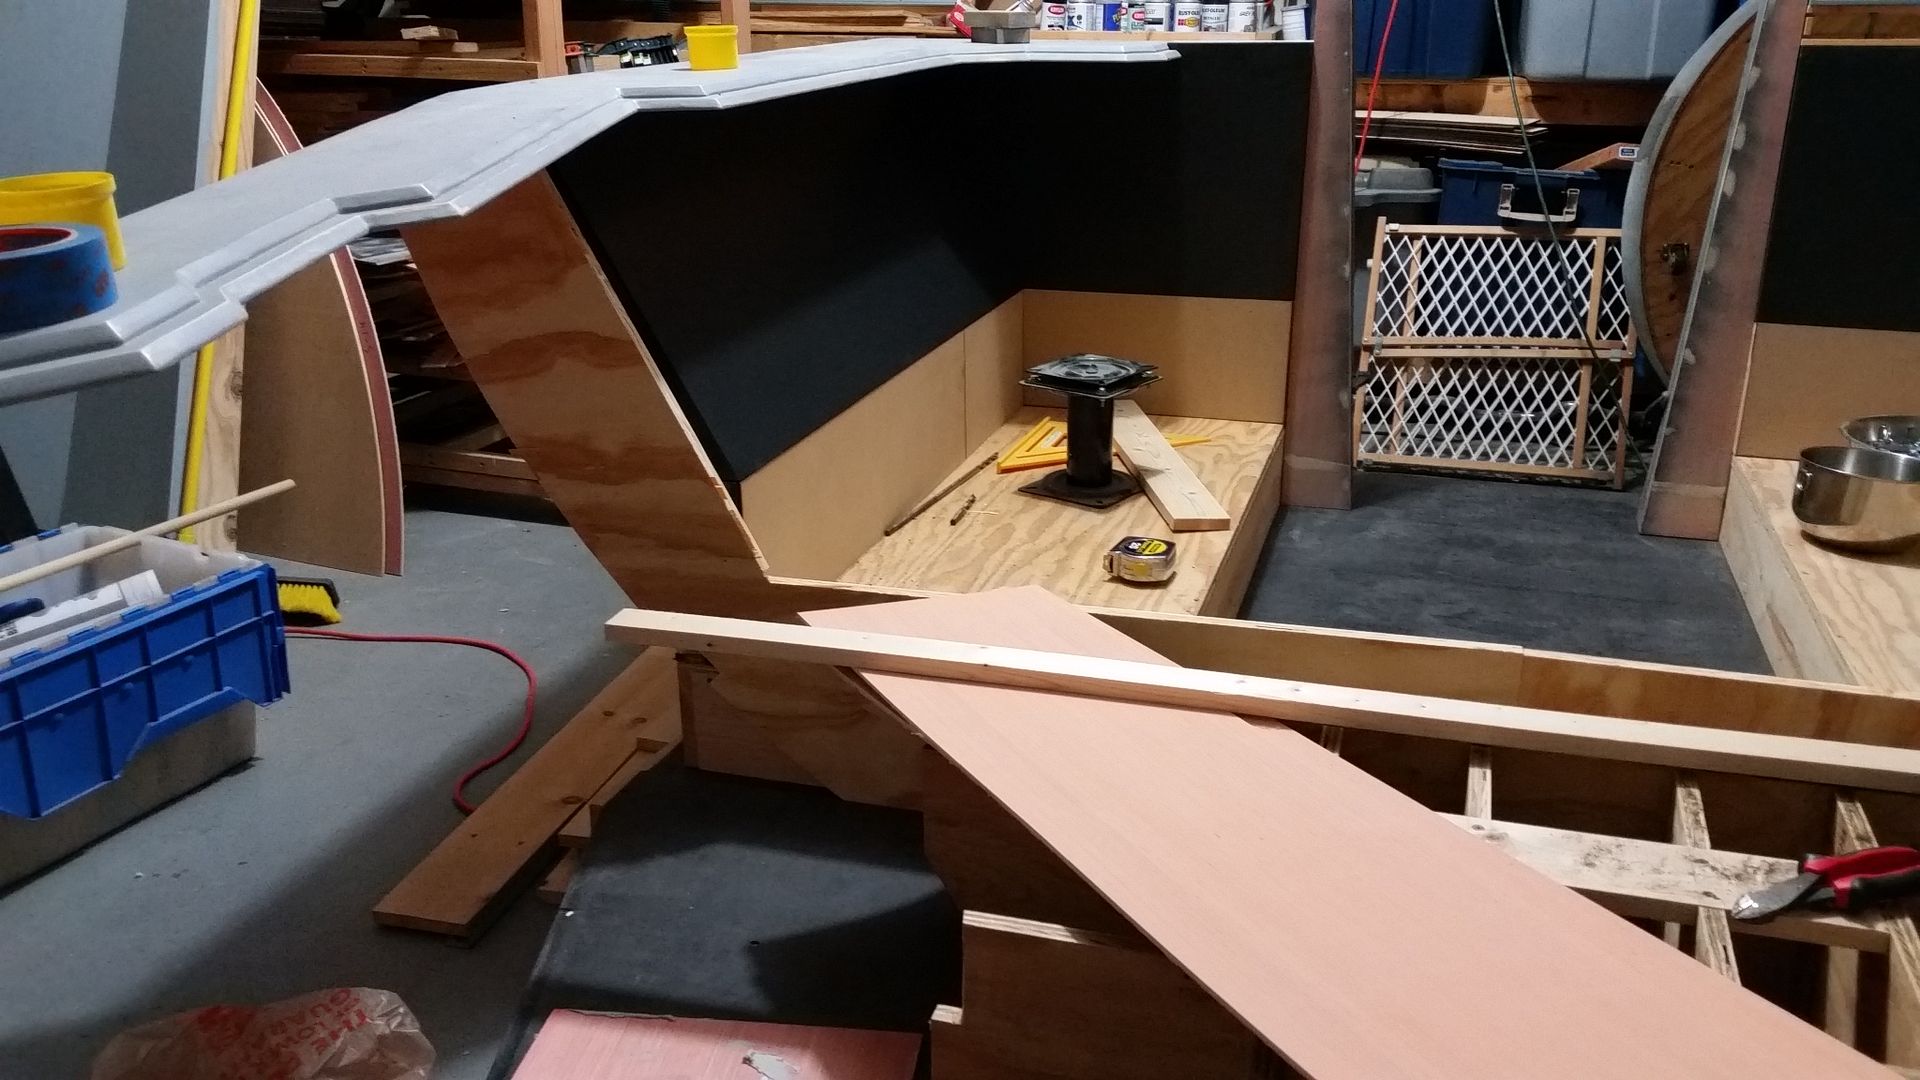
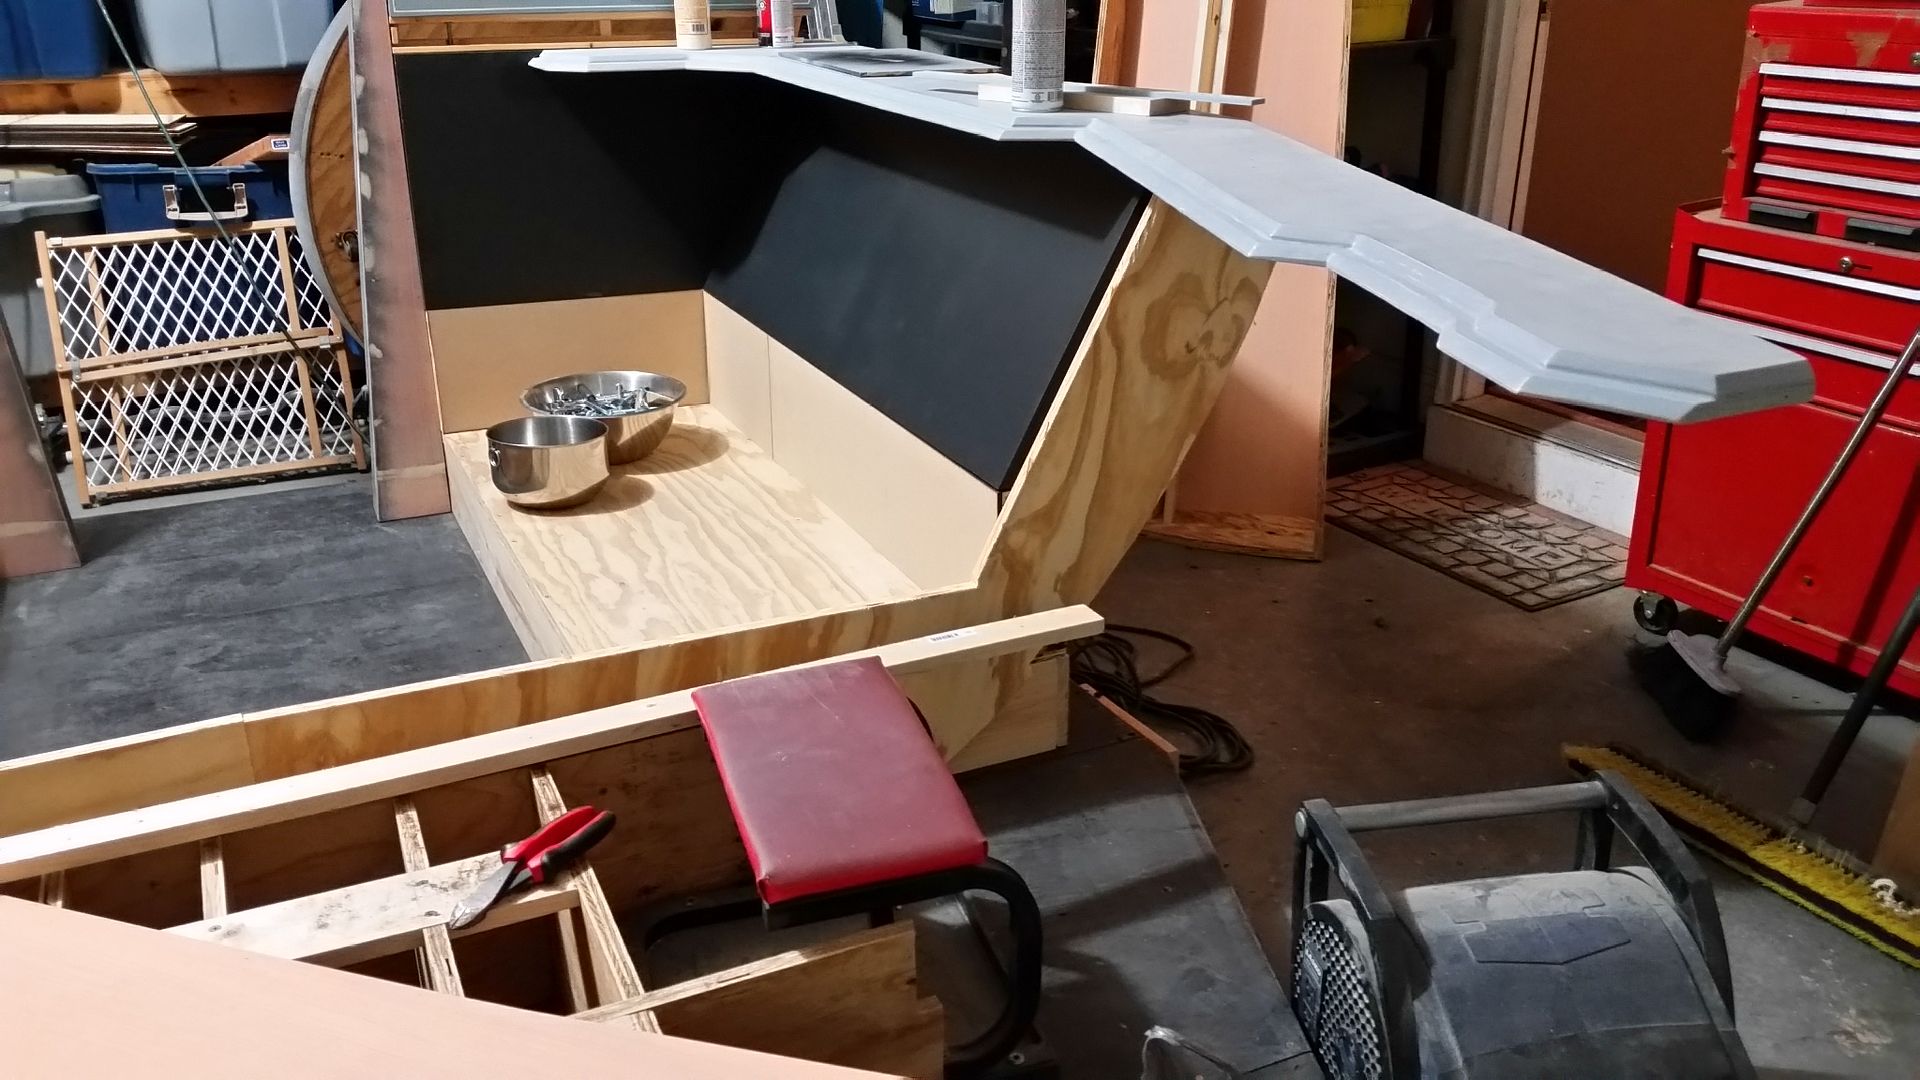
We also started work on the seats
20151120_190938_zpsodcyzacm.jpg


HUGE disappointment... these are NOT the same style seats used in the original MF set. These are just tad bit too small. It's the same shape but it would appear to have been scaled down by 5-10%
20151121_154847_zpssmxgrgac.jpg


BUT... we're going to recover and have fun with what we have. Daniel has taken the material off in prep for new screen accurate covers :)
20151121_154849_zps5aifyfbr.jpg


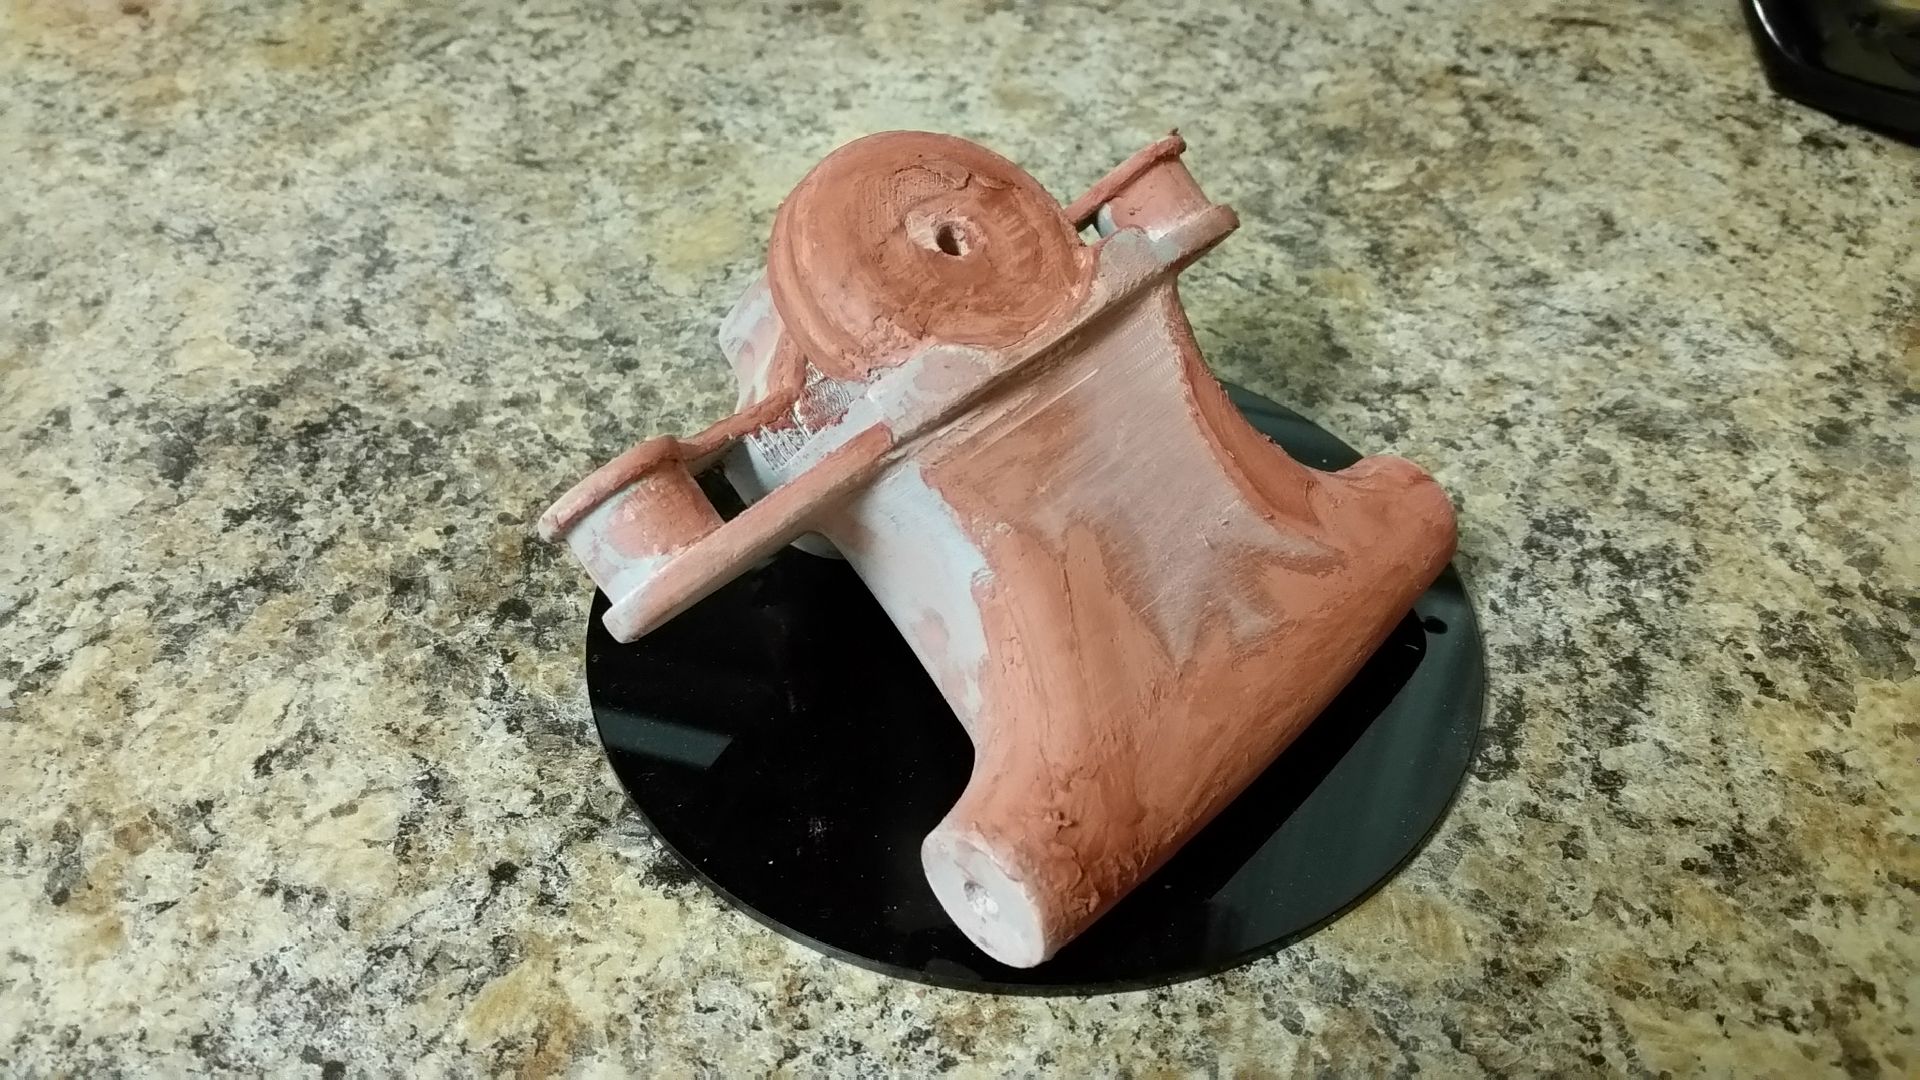
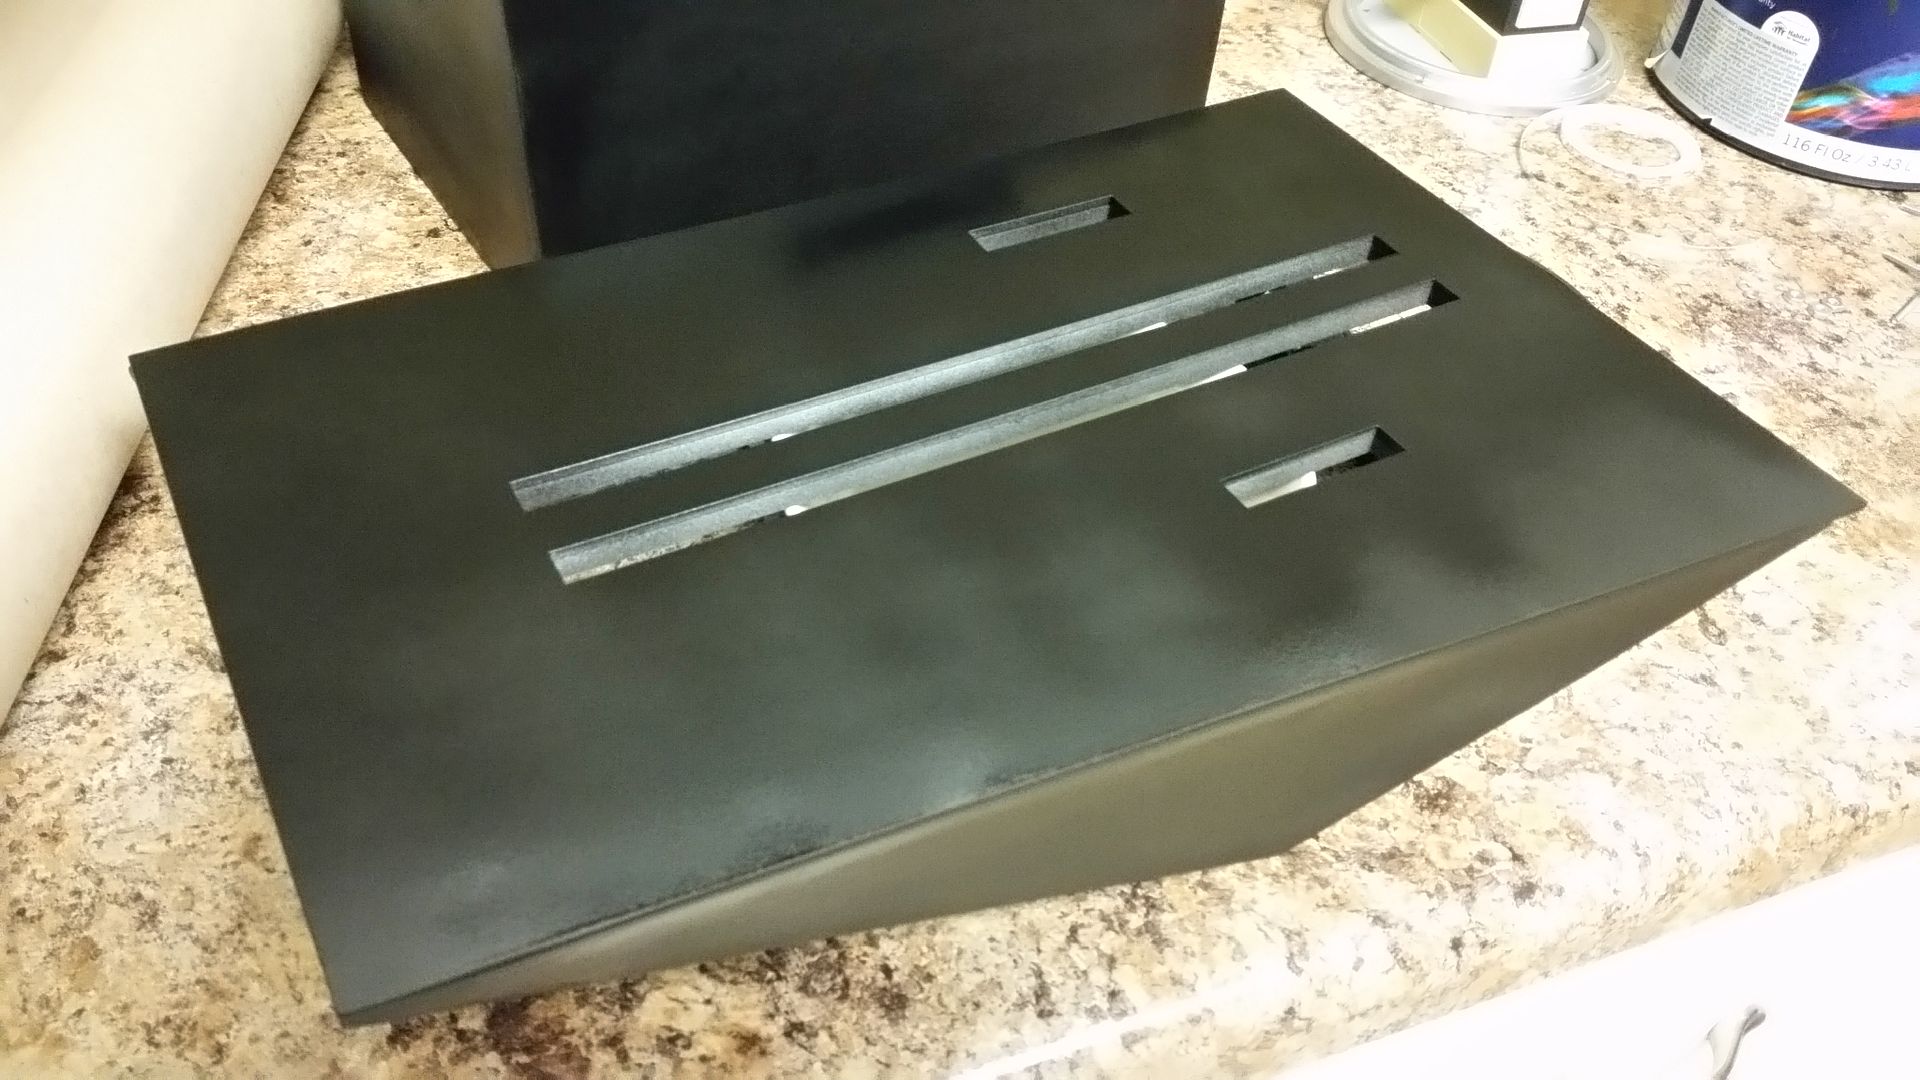
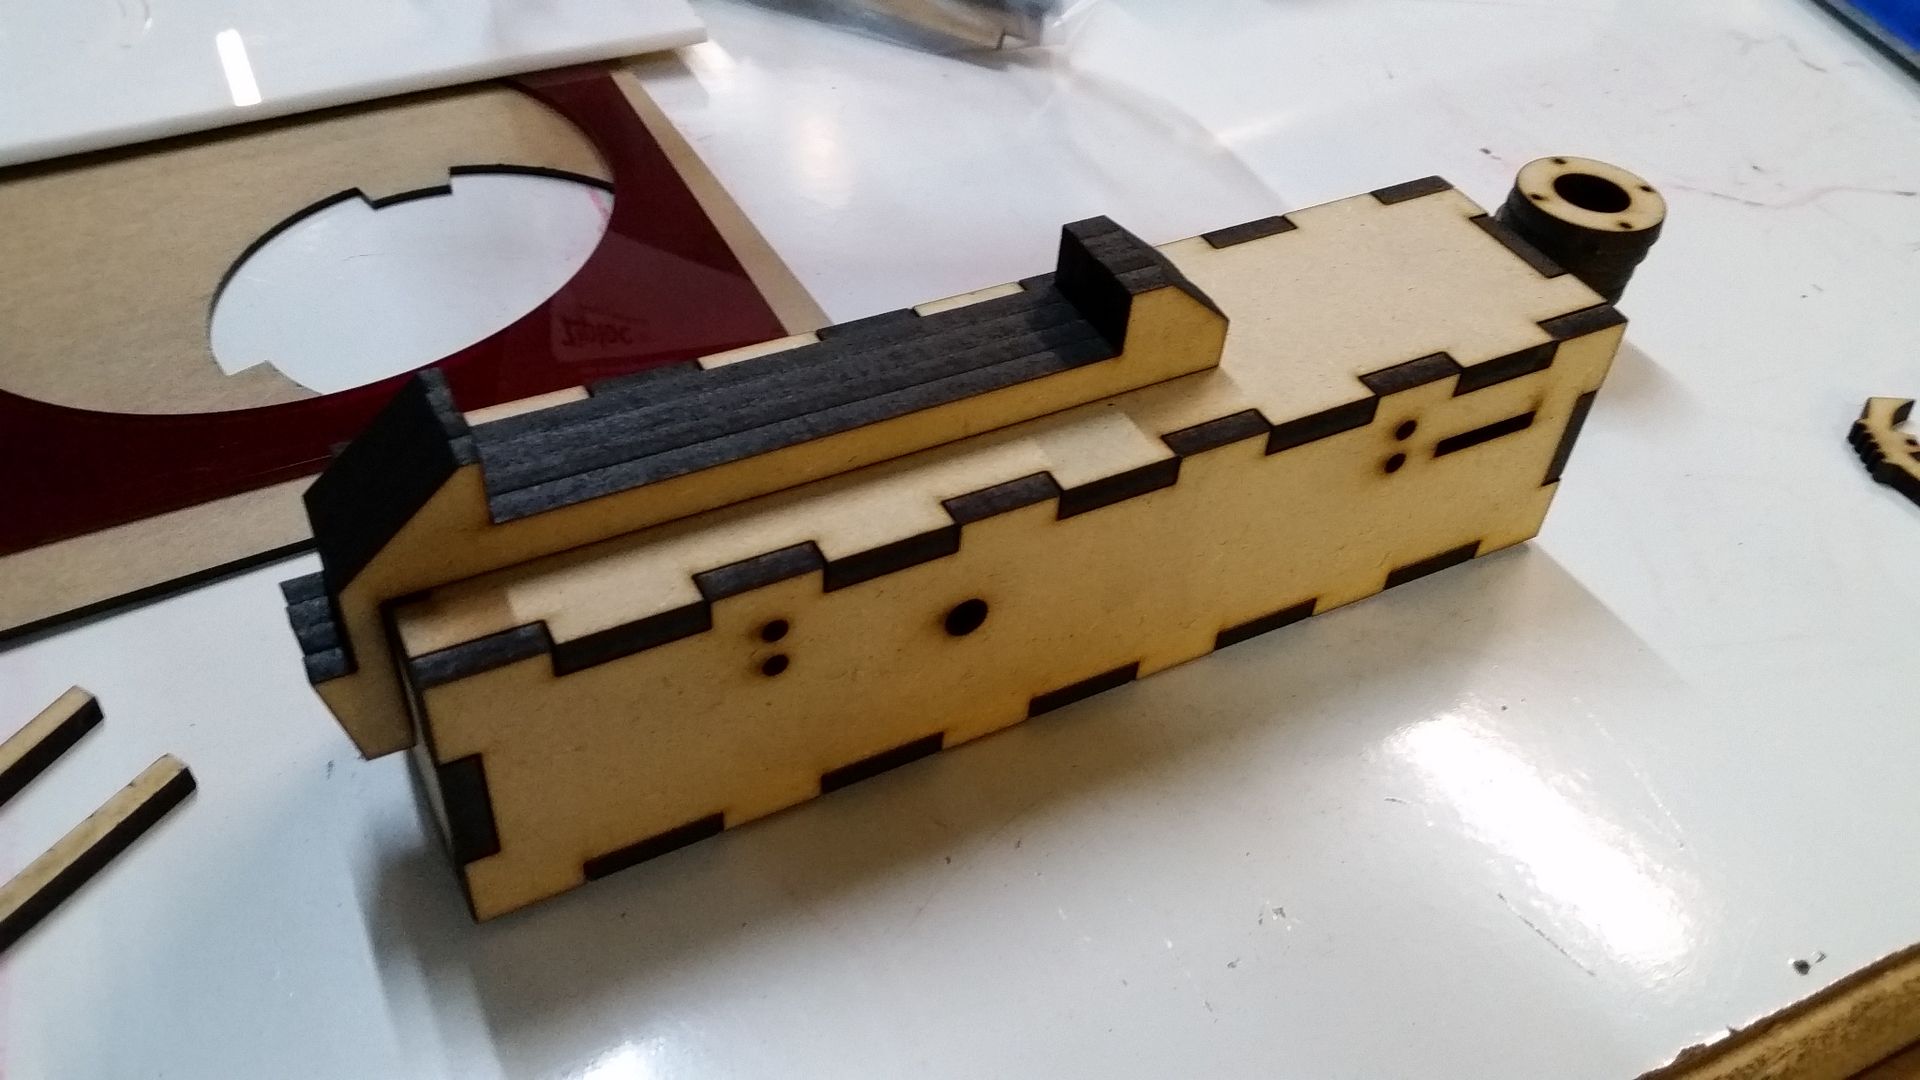
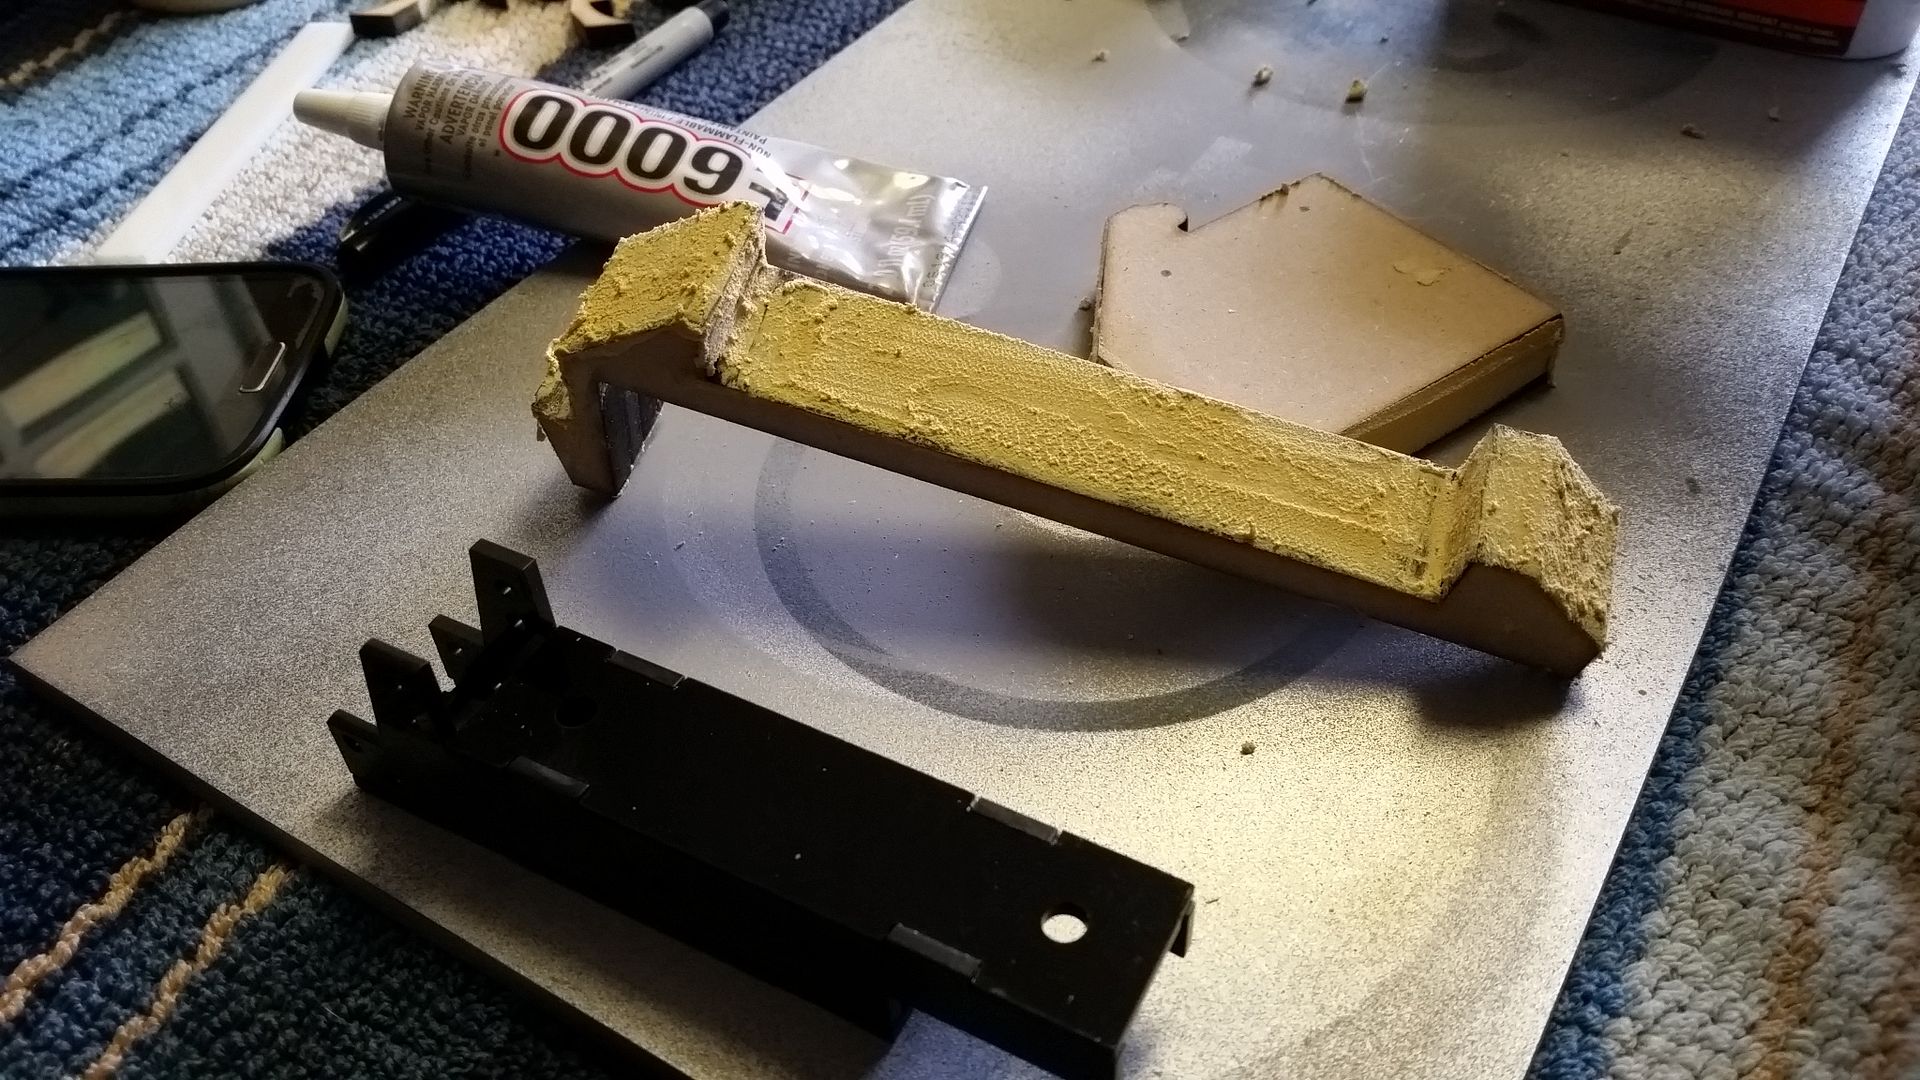
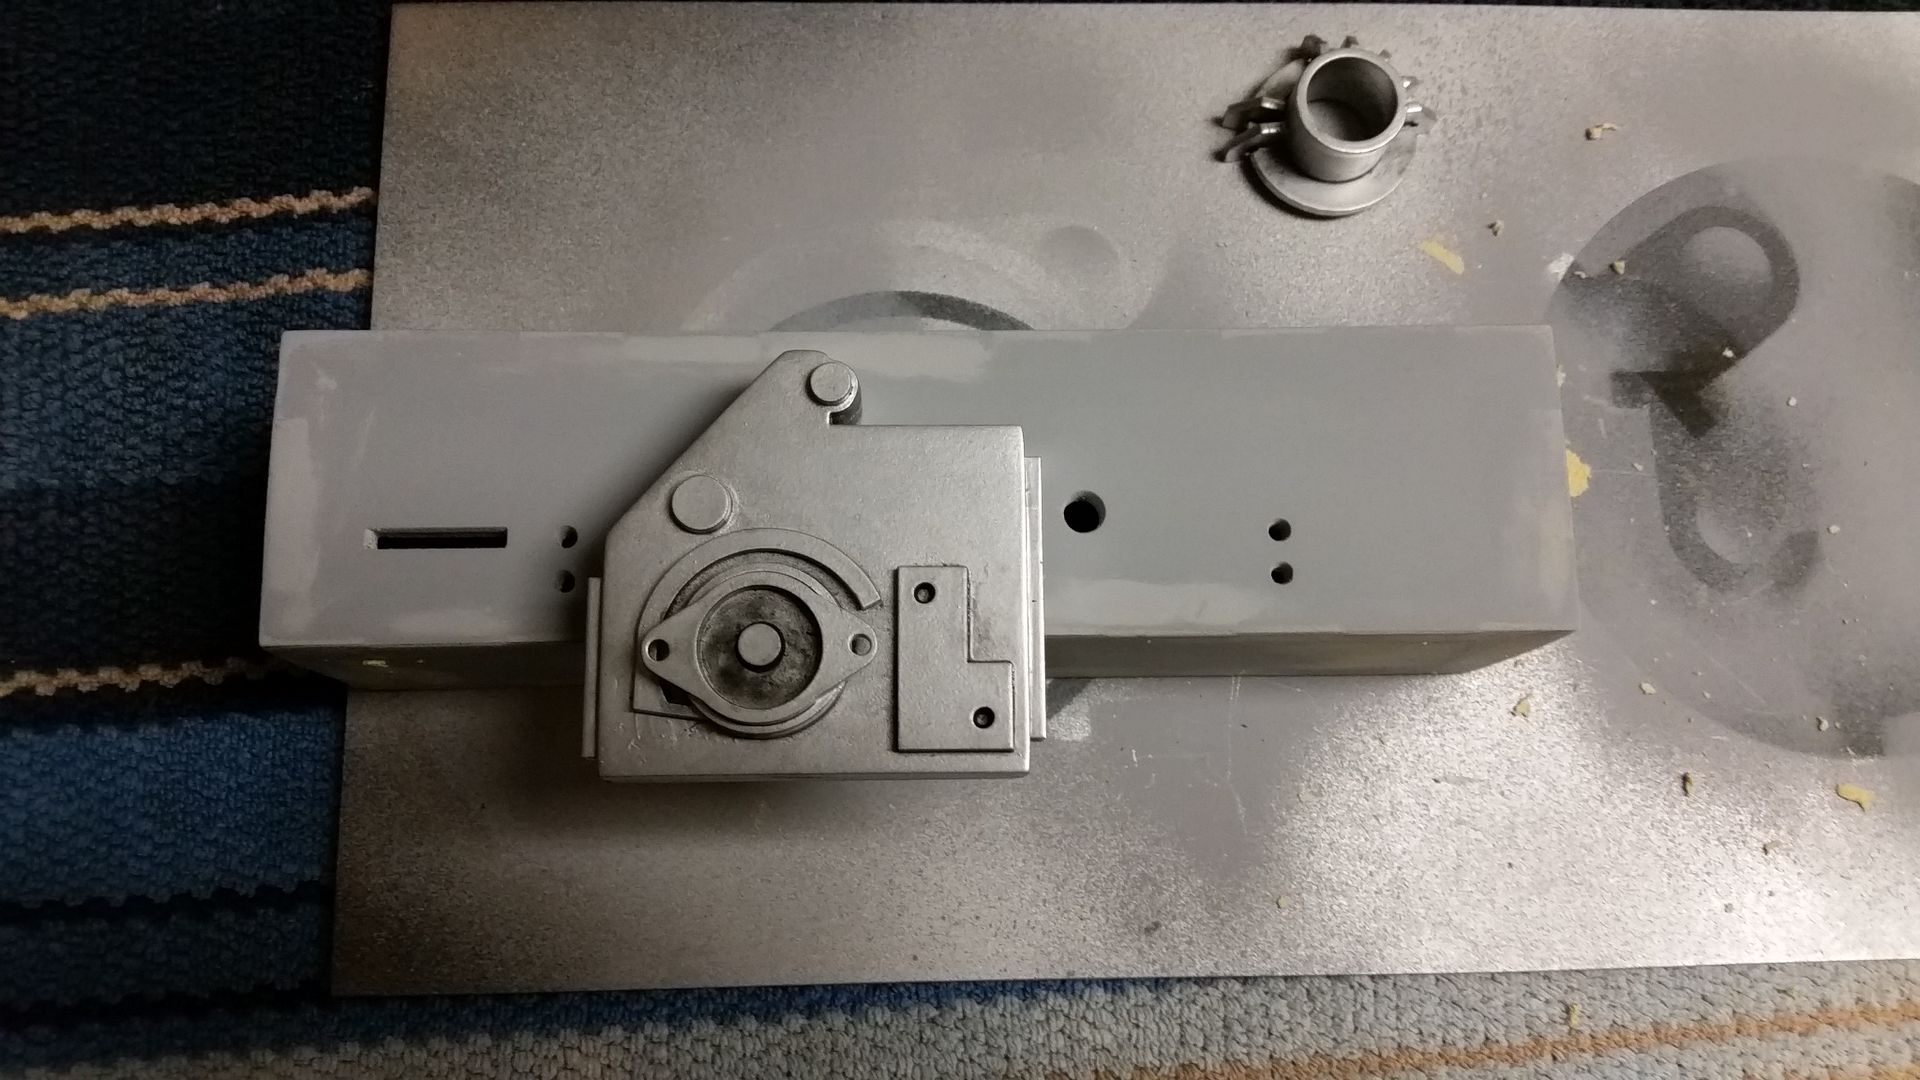
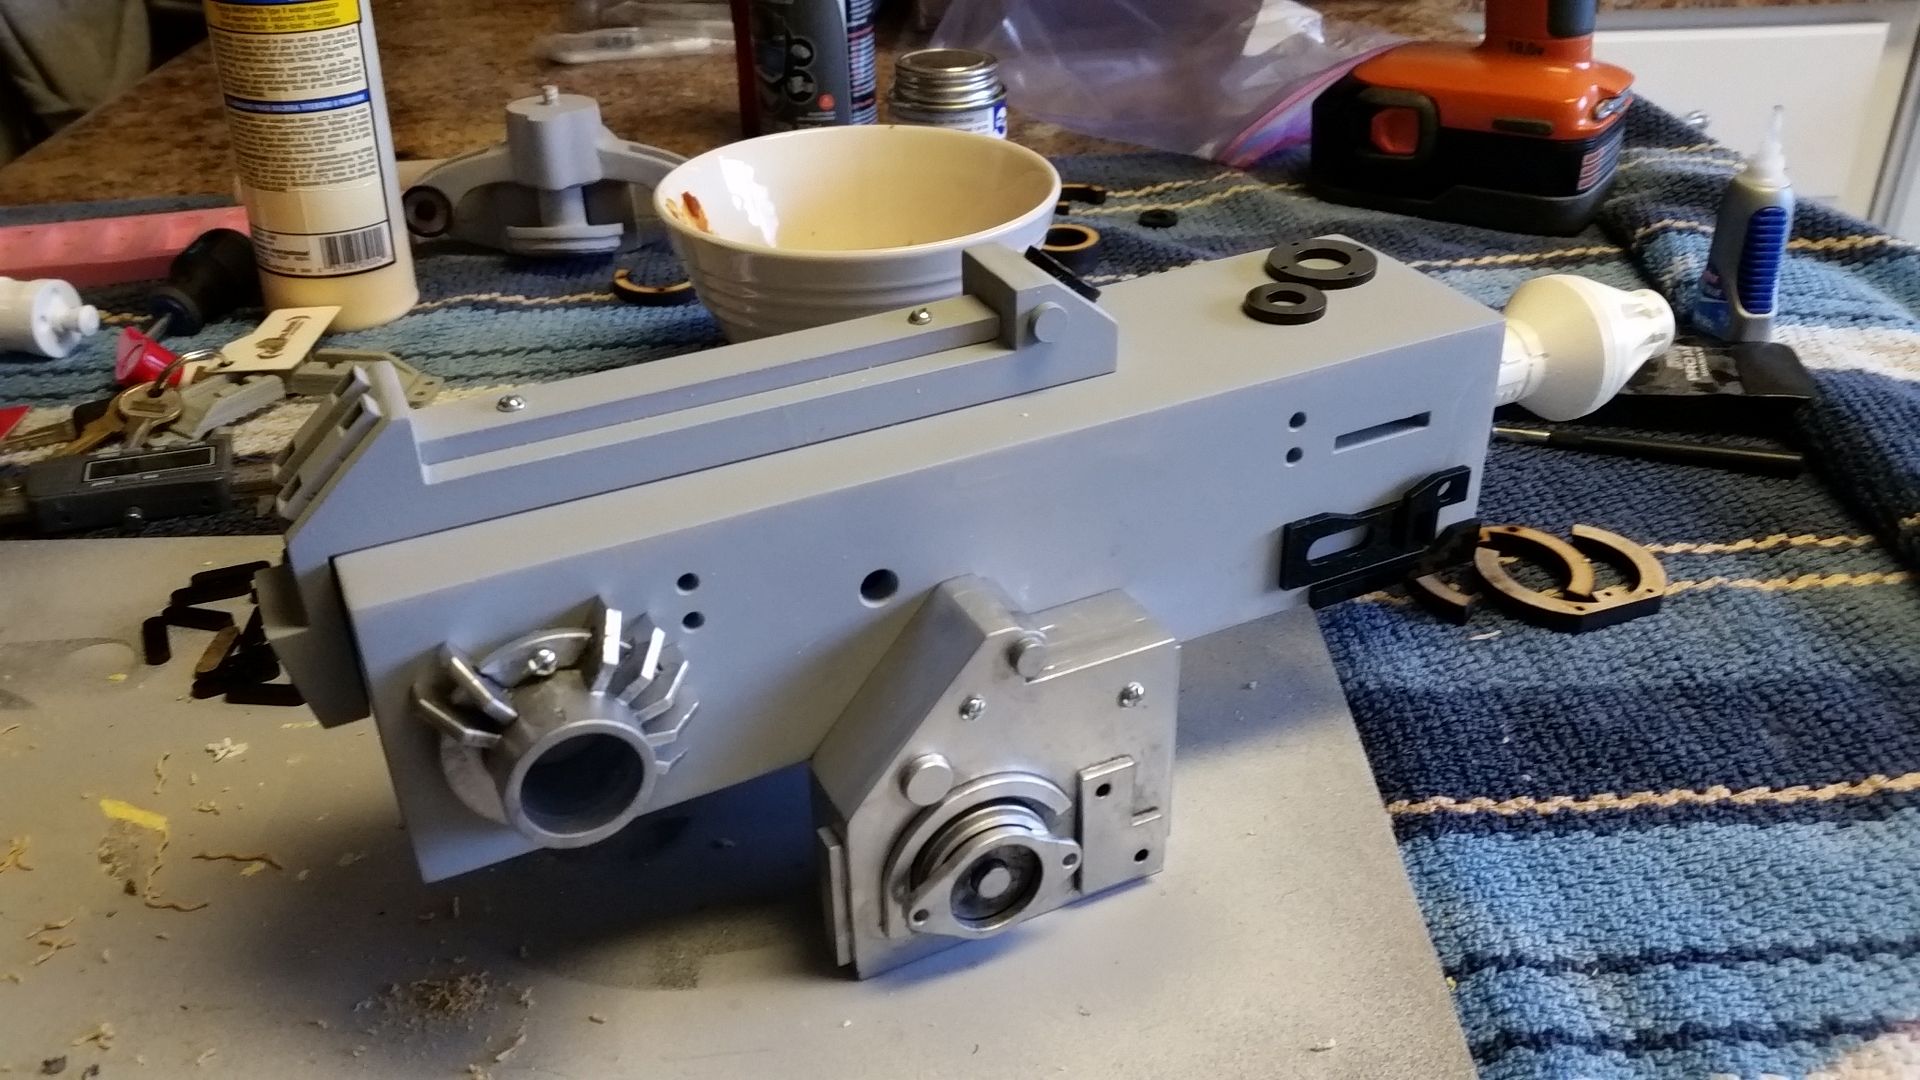
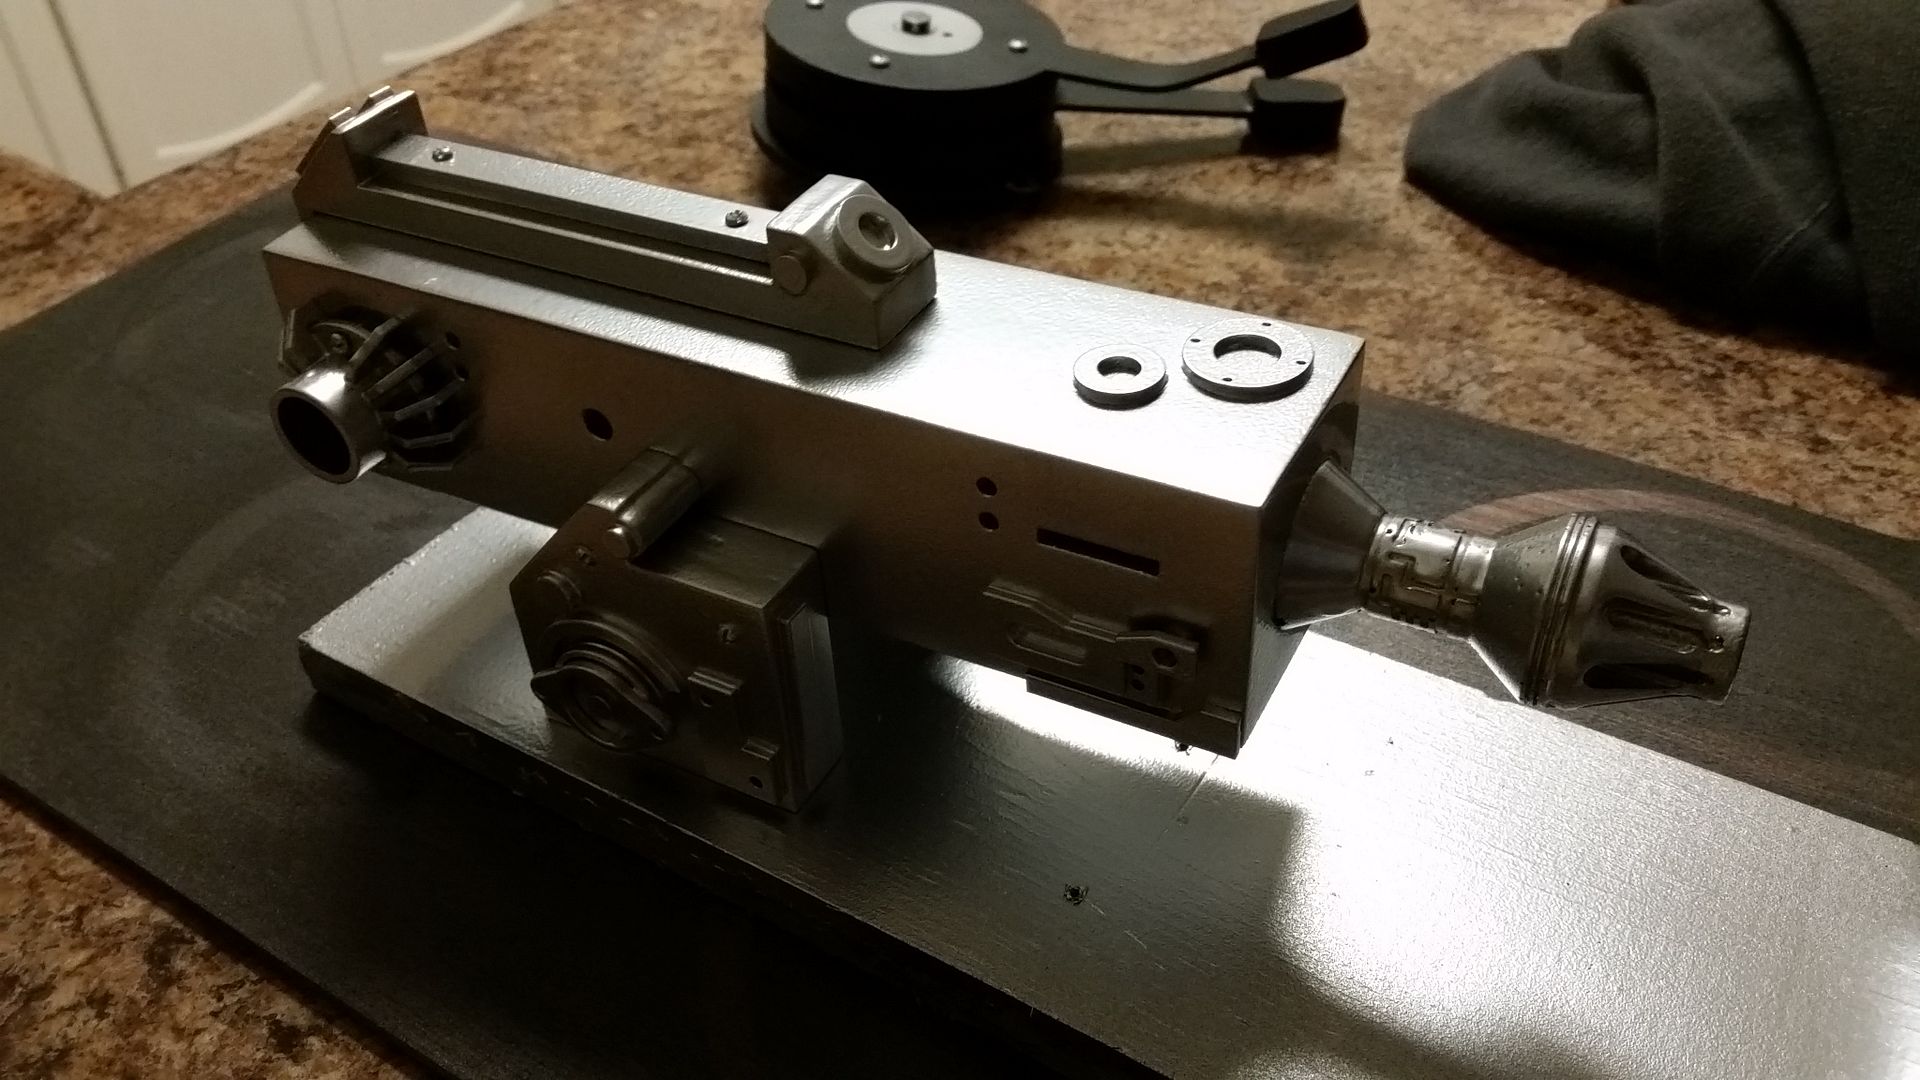
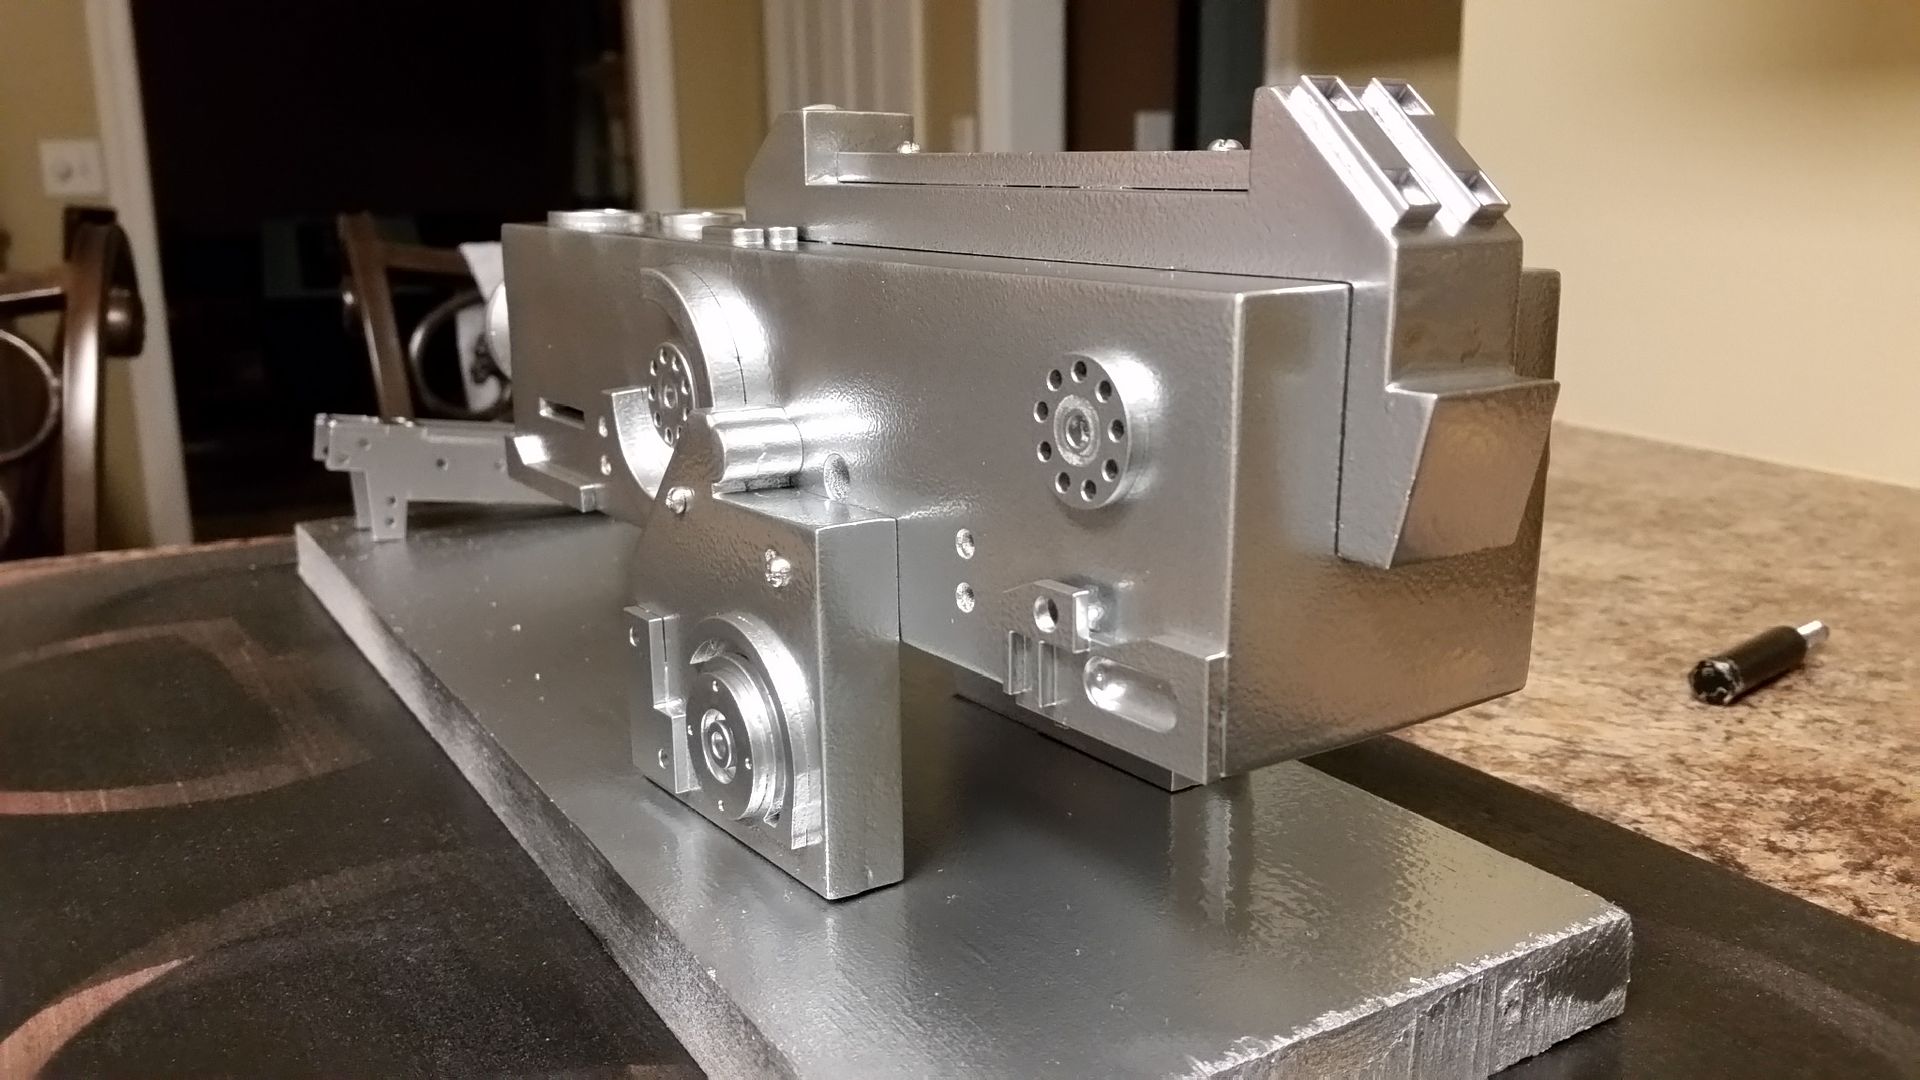
I spent Saturday morning with the laser cutter. I designed this new greeblie
20151121_070257_zpsi0yyqsfy.jpg


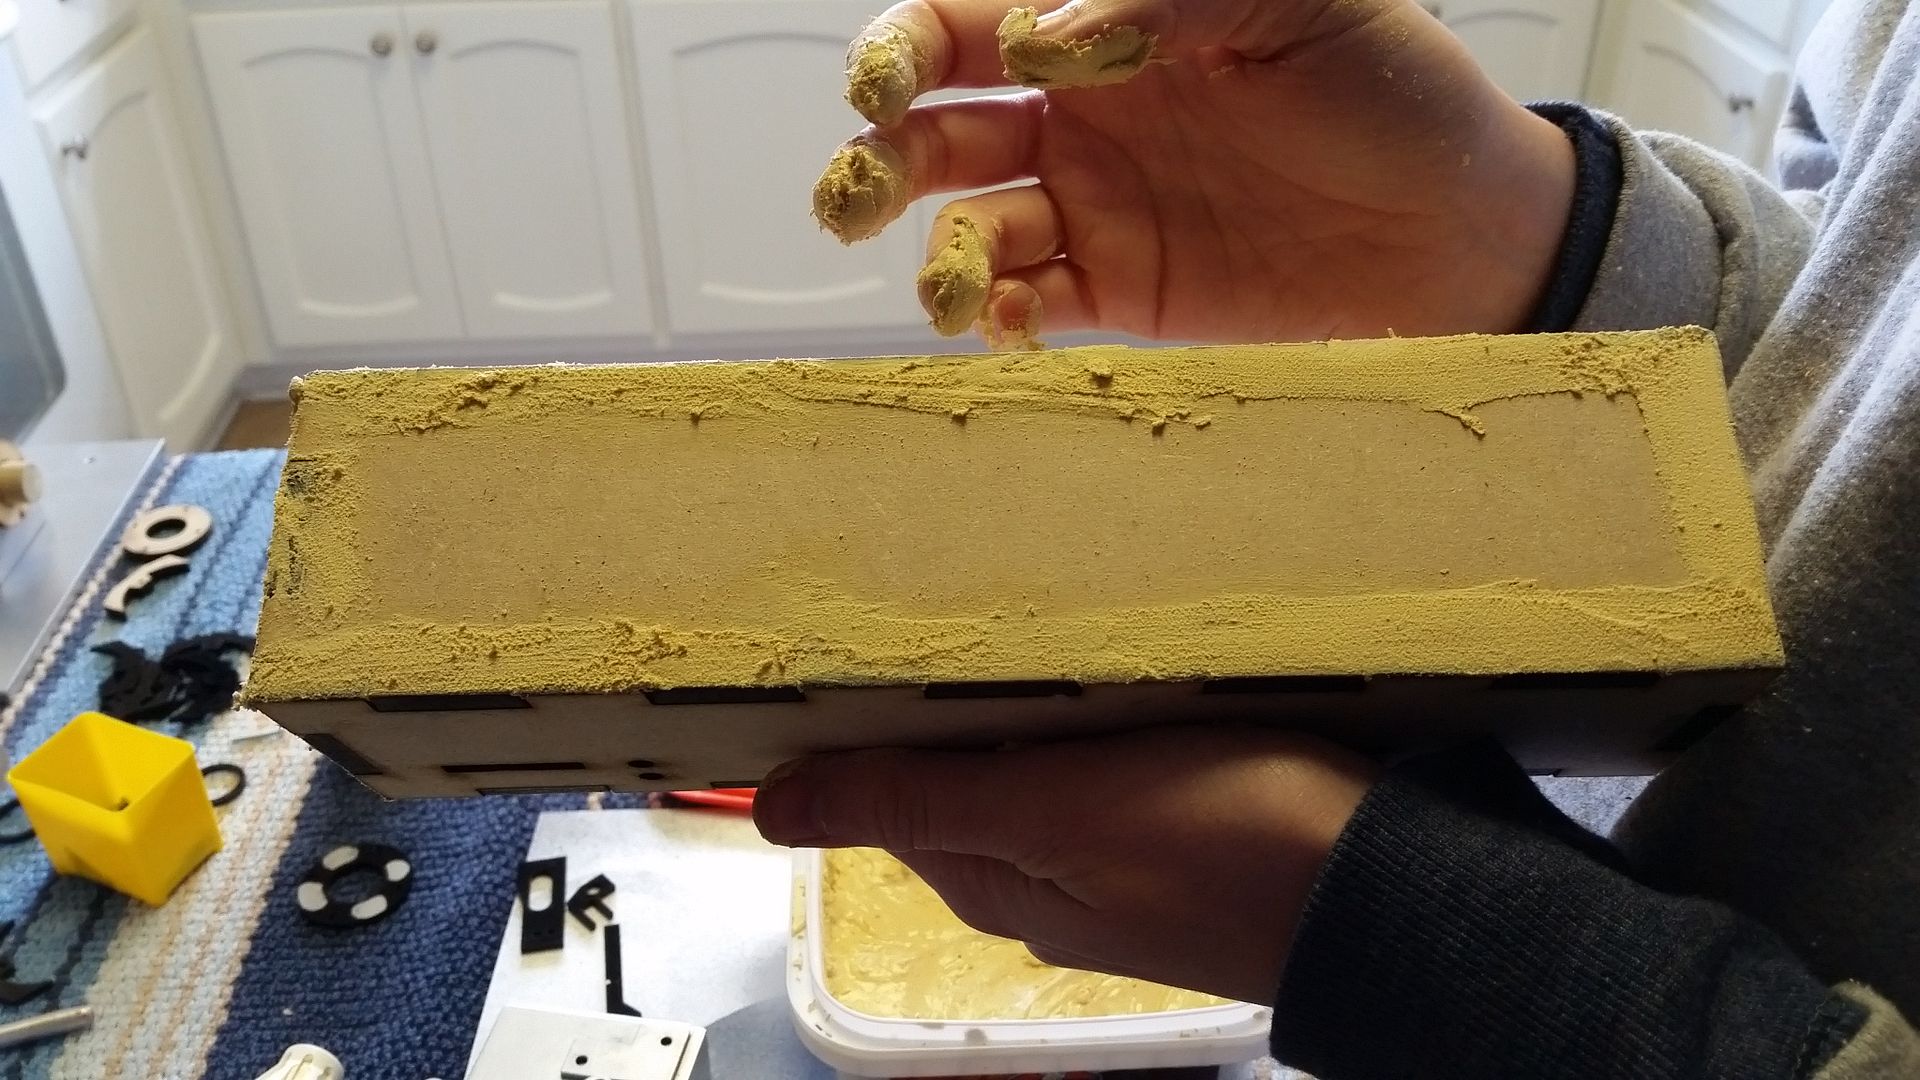
Jessie applying filler
20151121_115820_zpsyyze6eq1.jpg


20151121_115812_zps9rdqnu00.jpg


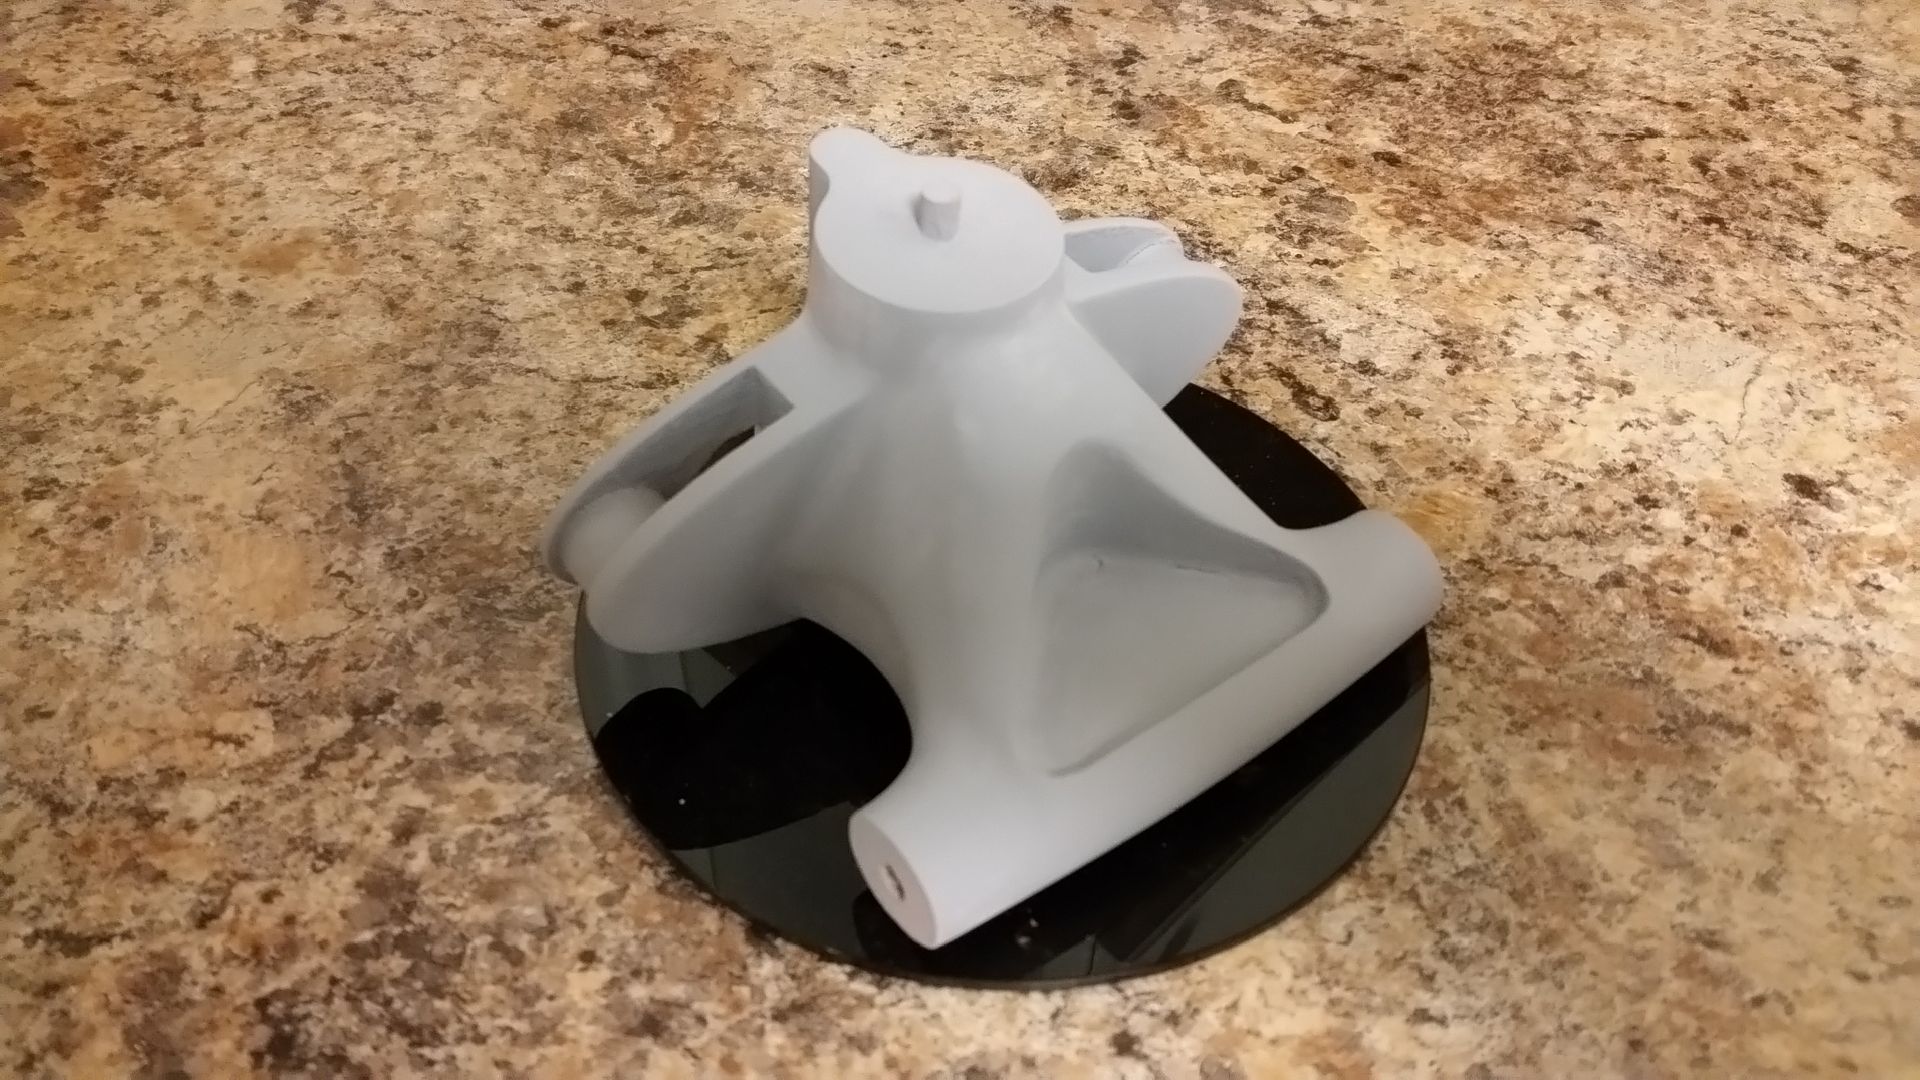
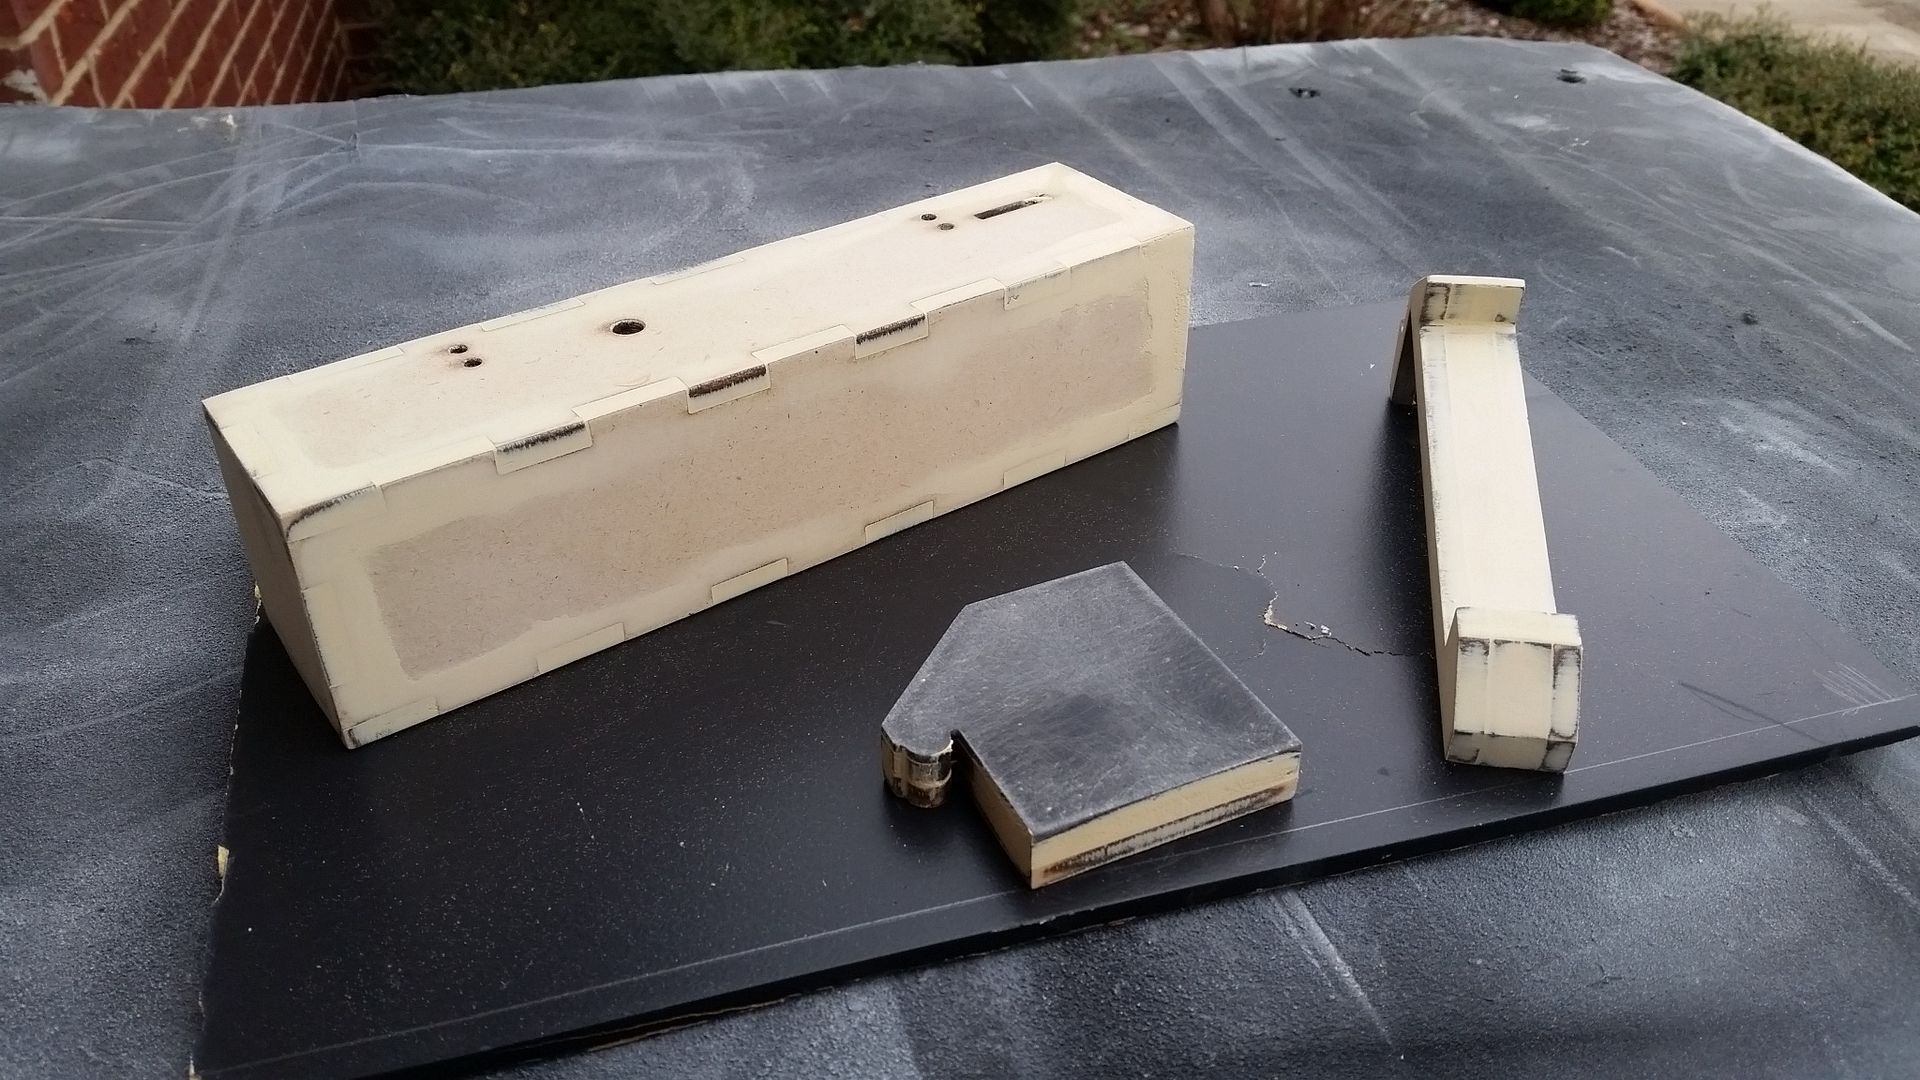
First of many passes with the sander, primer filler, etc
20151121_141606_zpsxdxmfd2a.jpg


20151121_163324_zps7fg14kdm.jpg


20151121_183955_zpsoizppqgc.jpg


20151121_184000_zps1jajrapr.jpg


20151121_184016_zpsw3aevuvj.jpg


20151122_153701_zpsyshrvui5.jpg


Slowly coming together
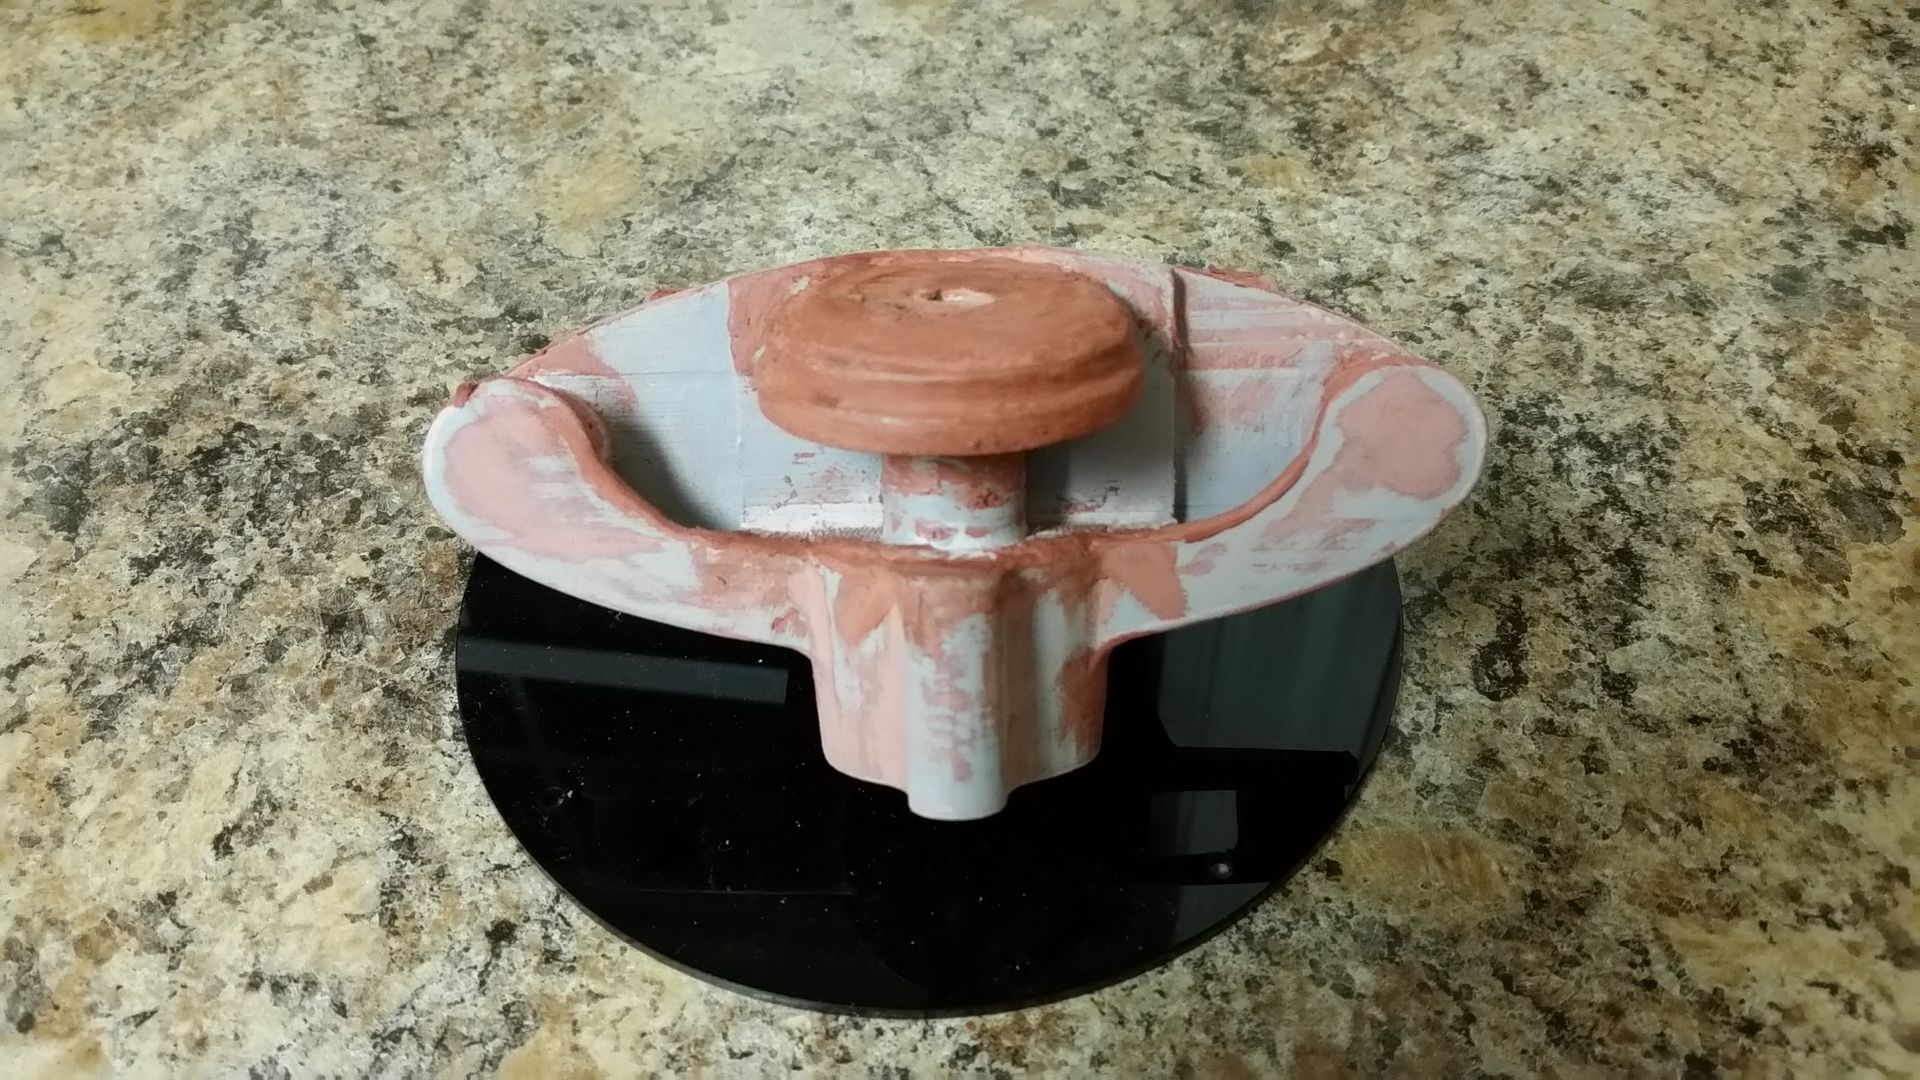
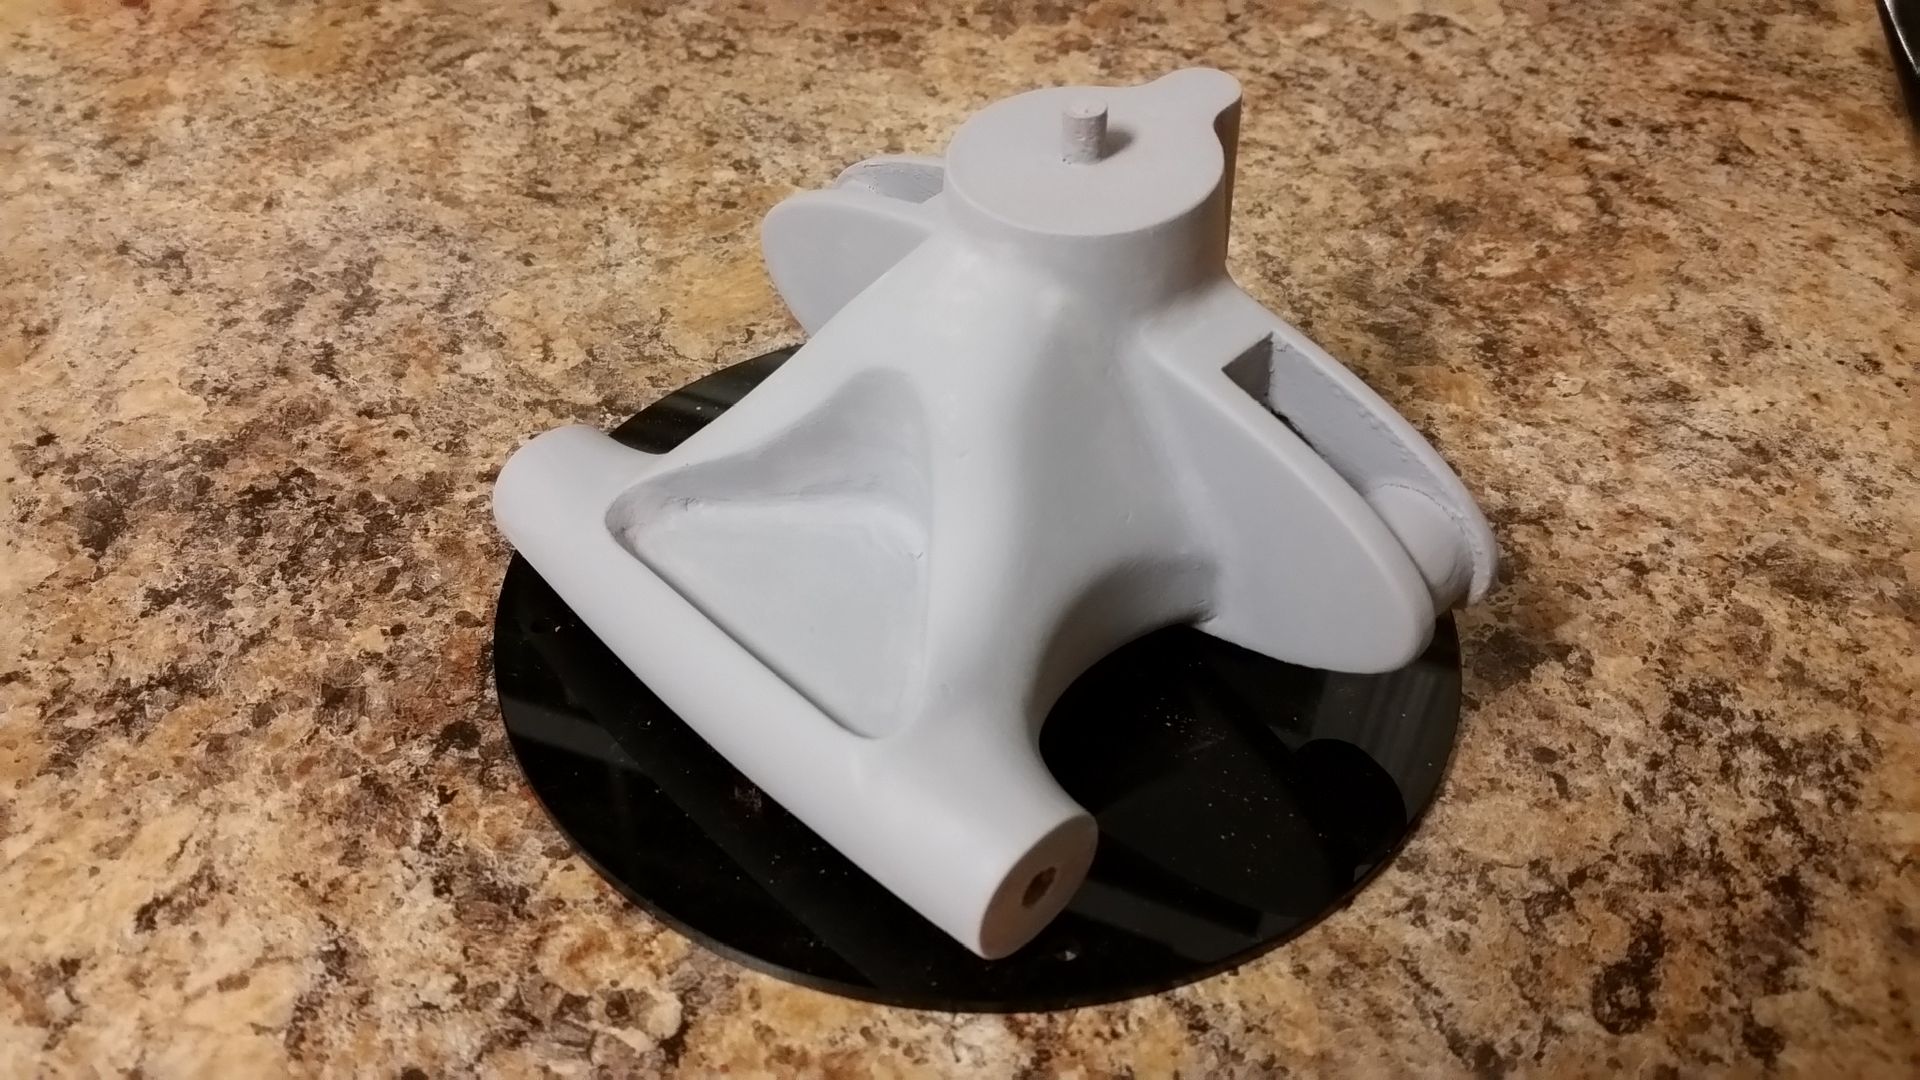
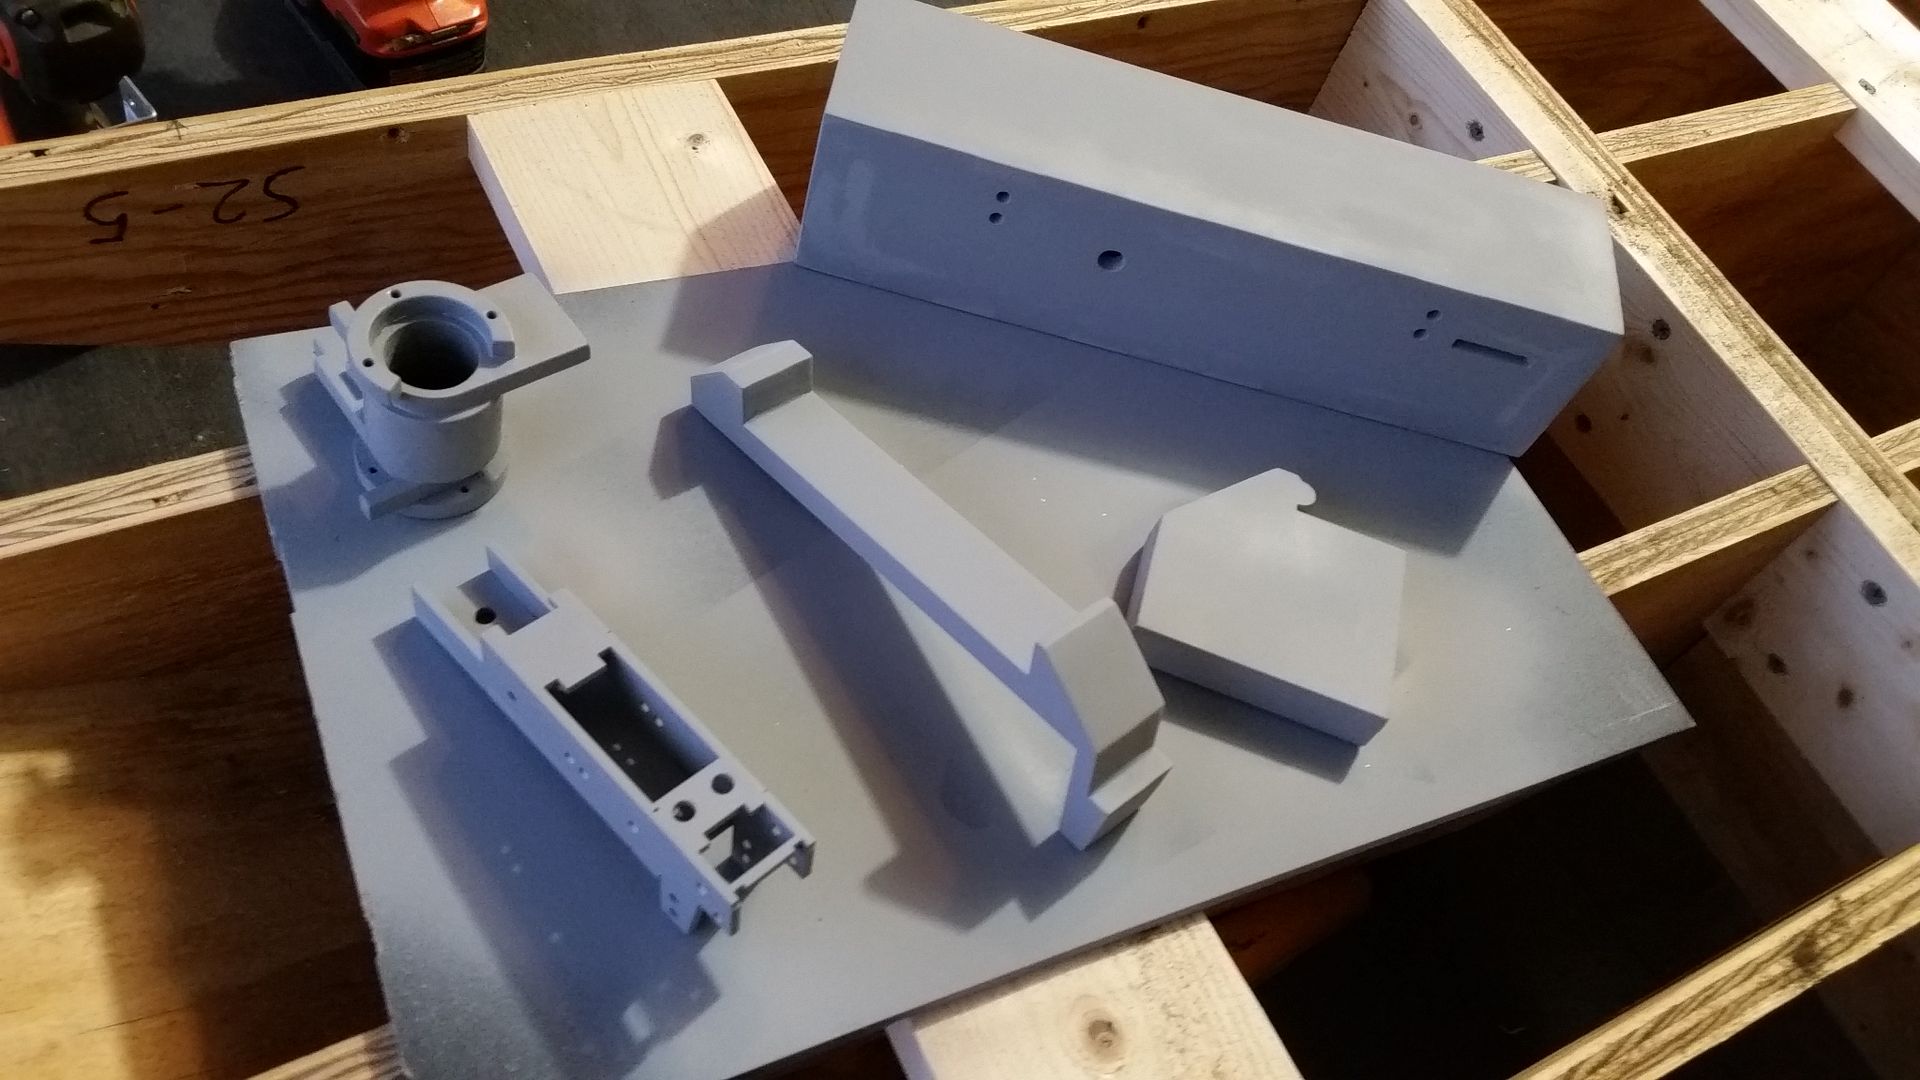
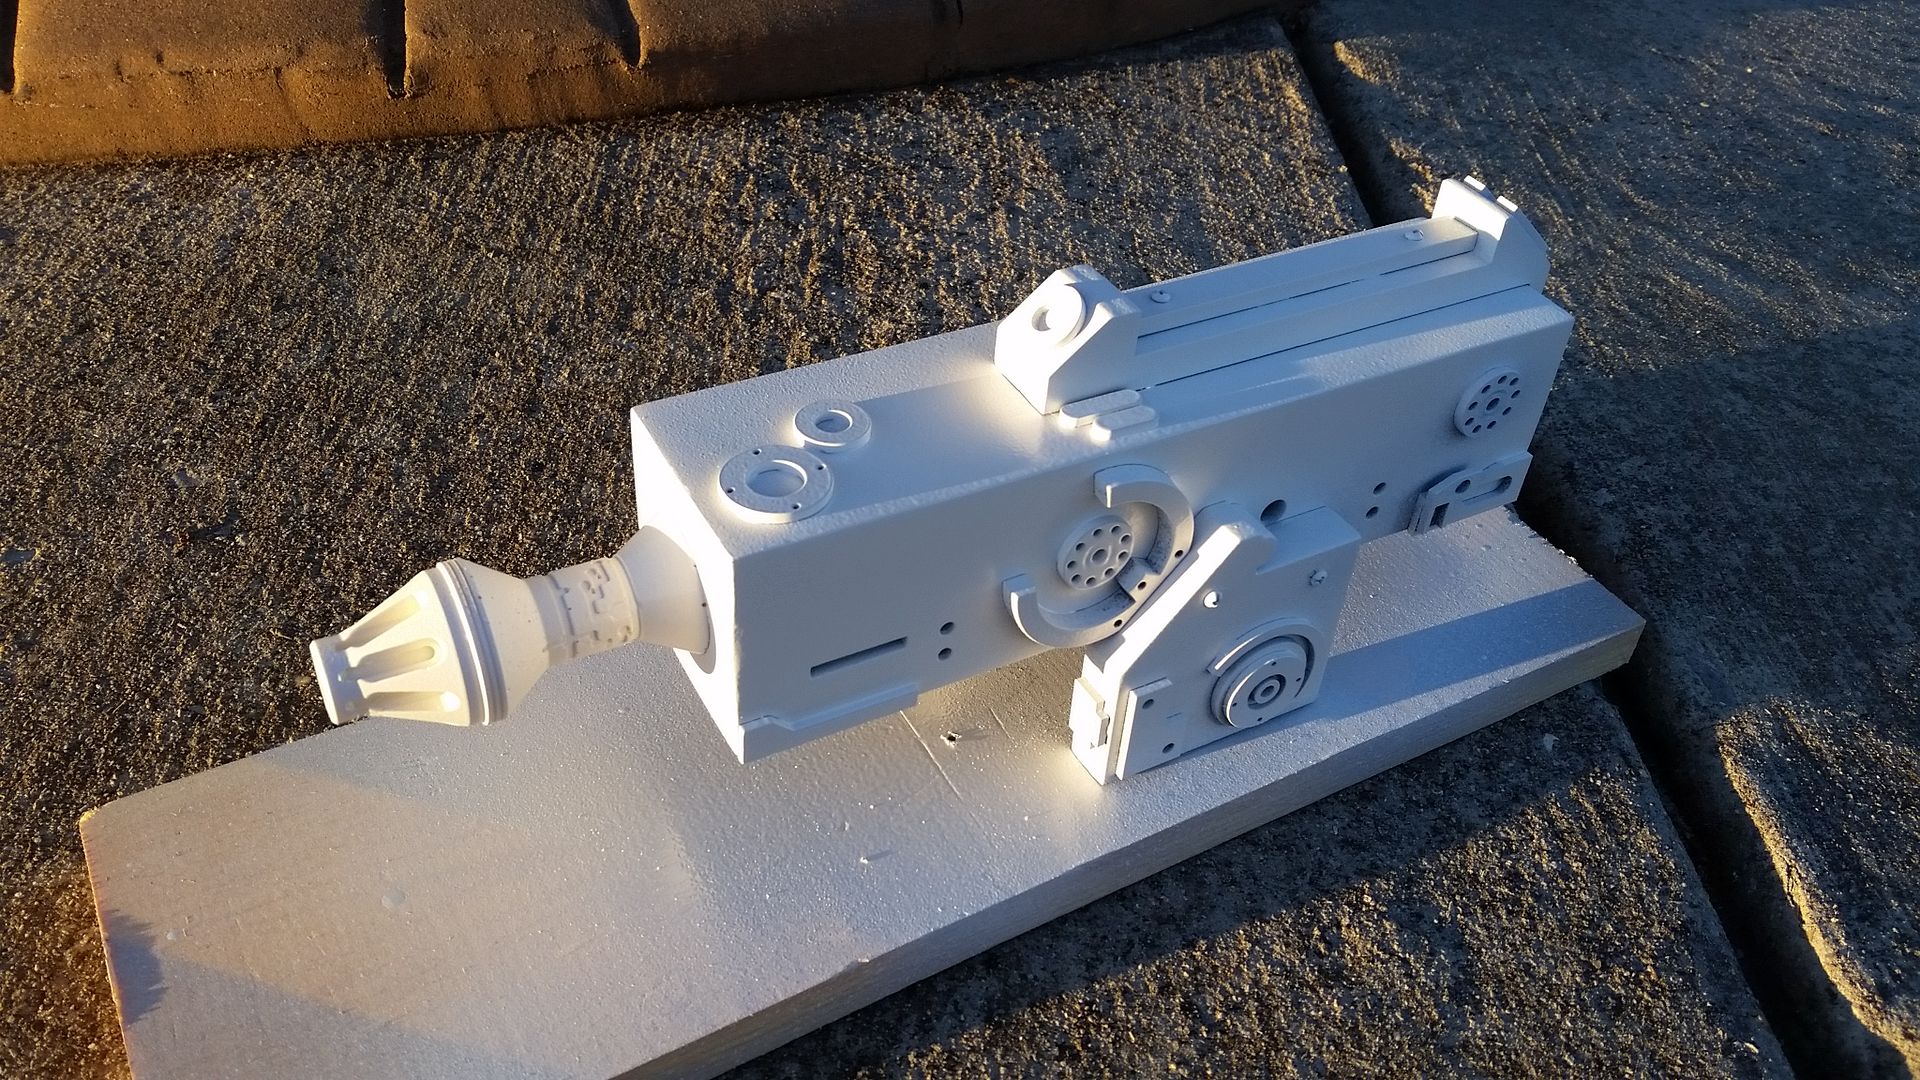
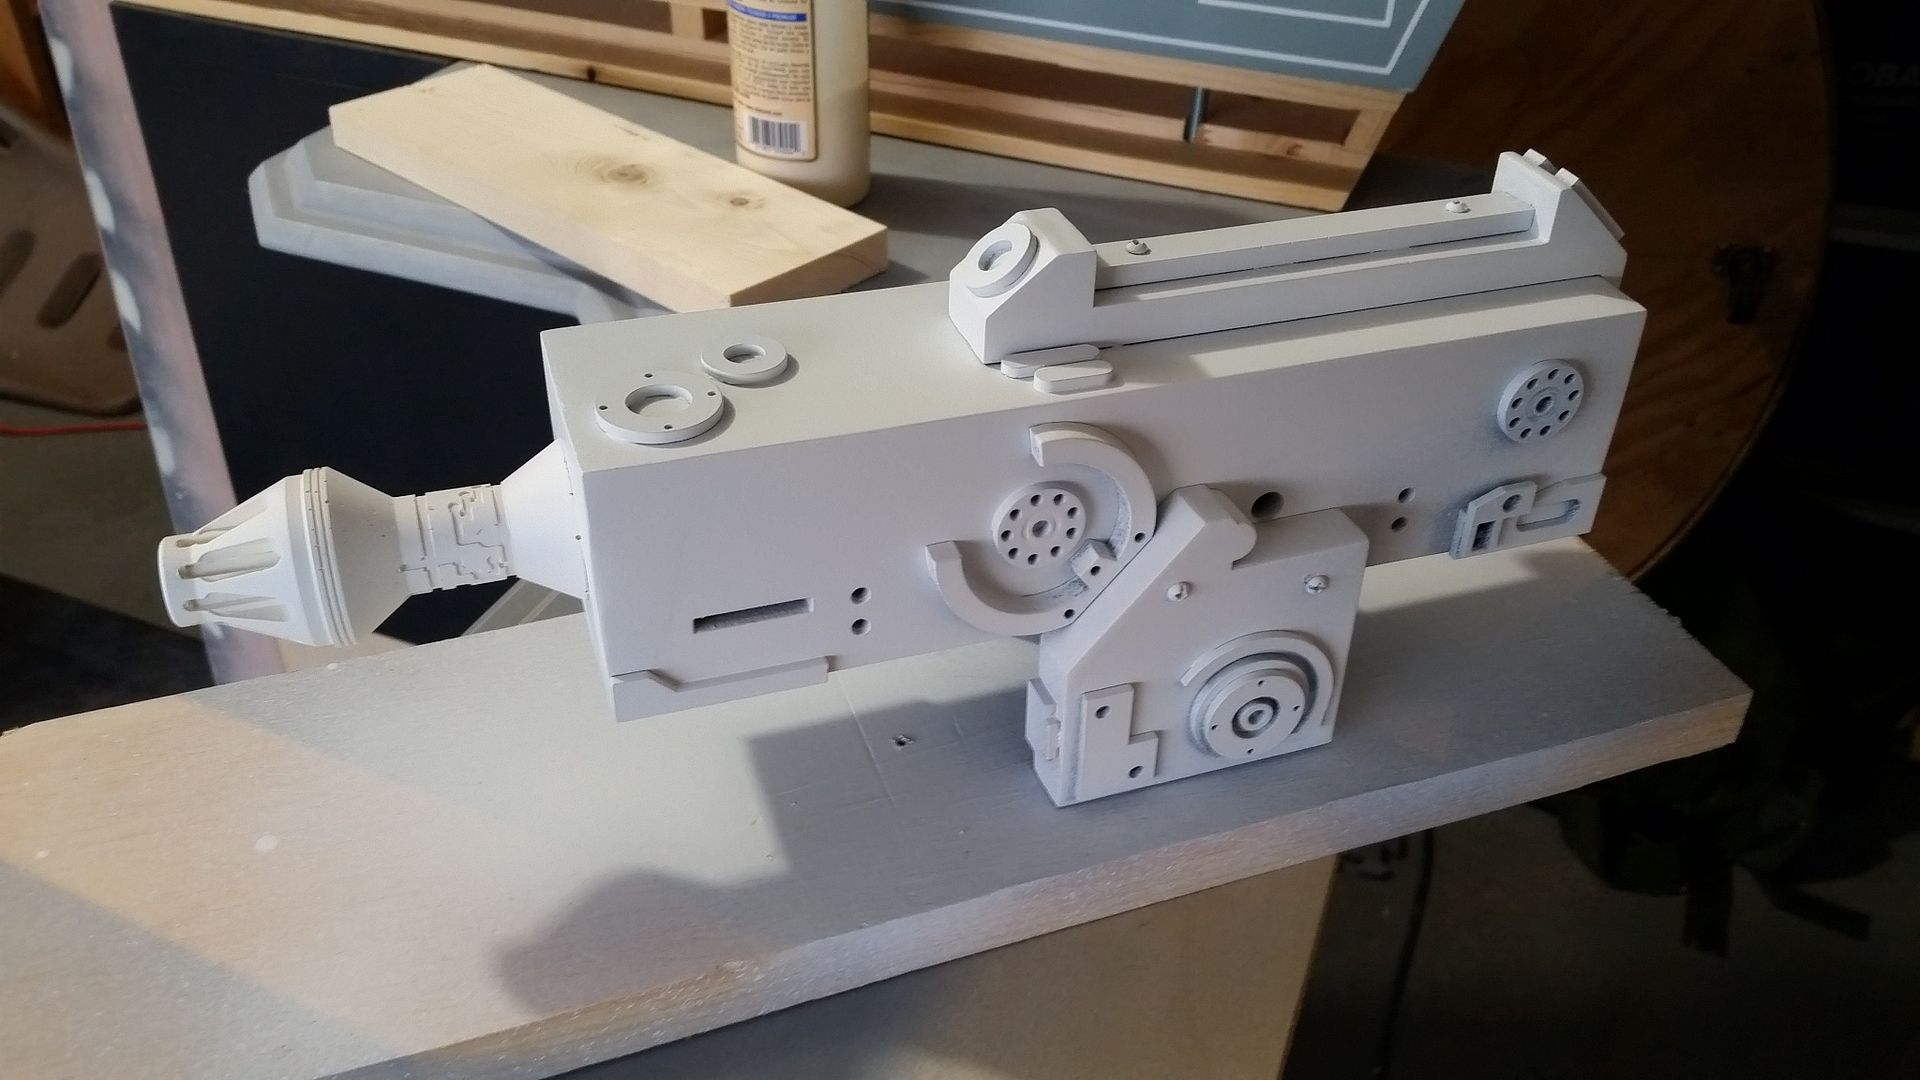
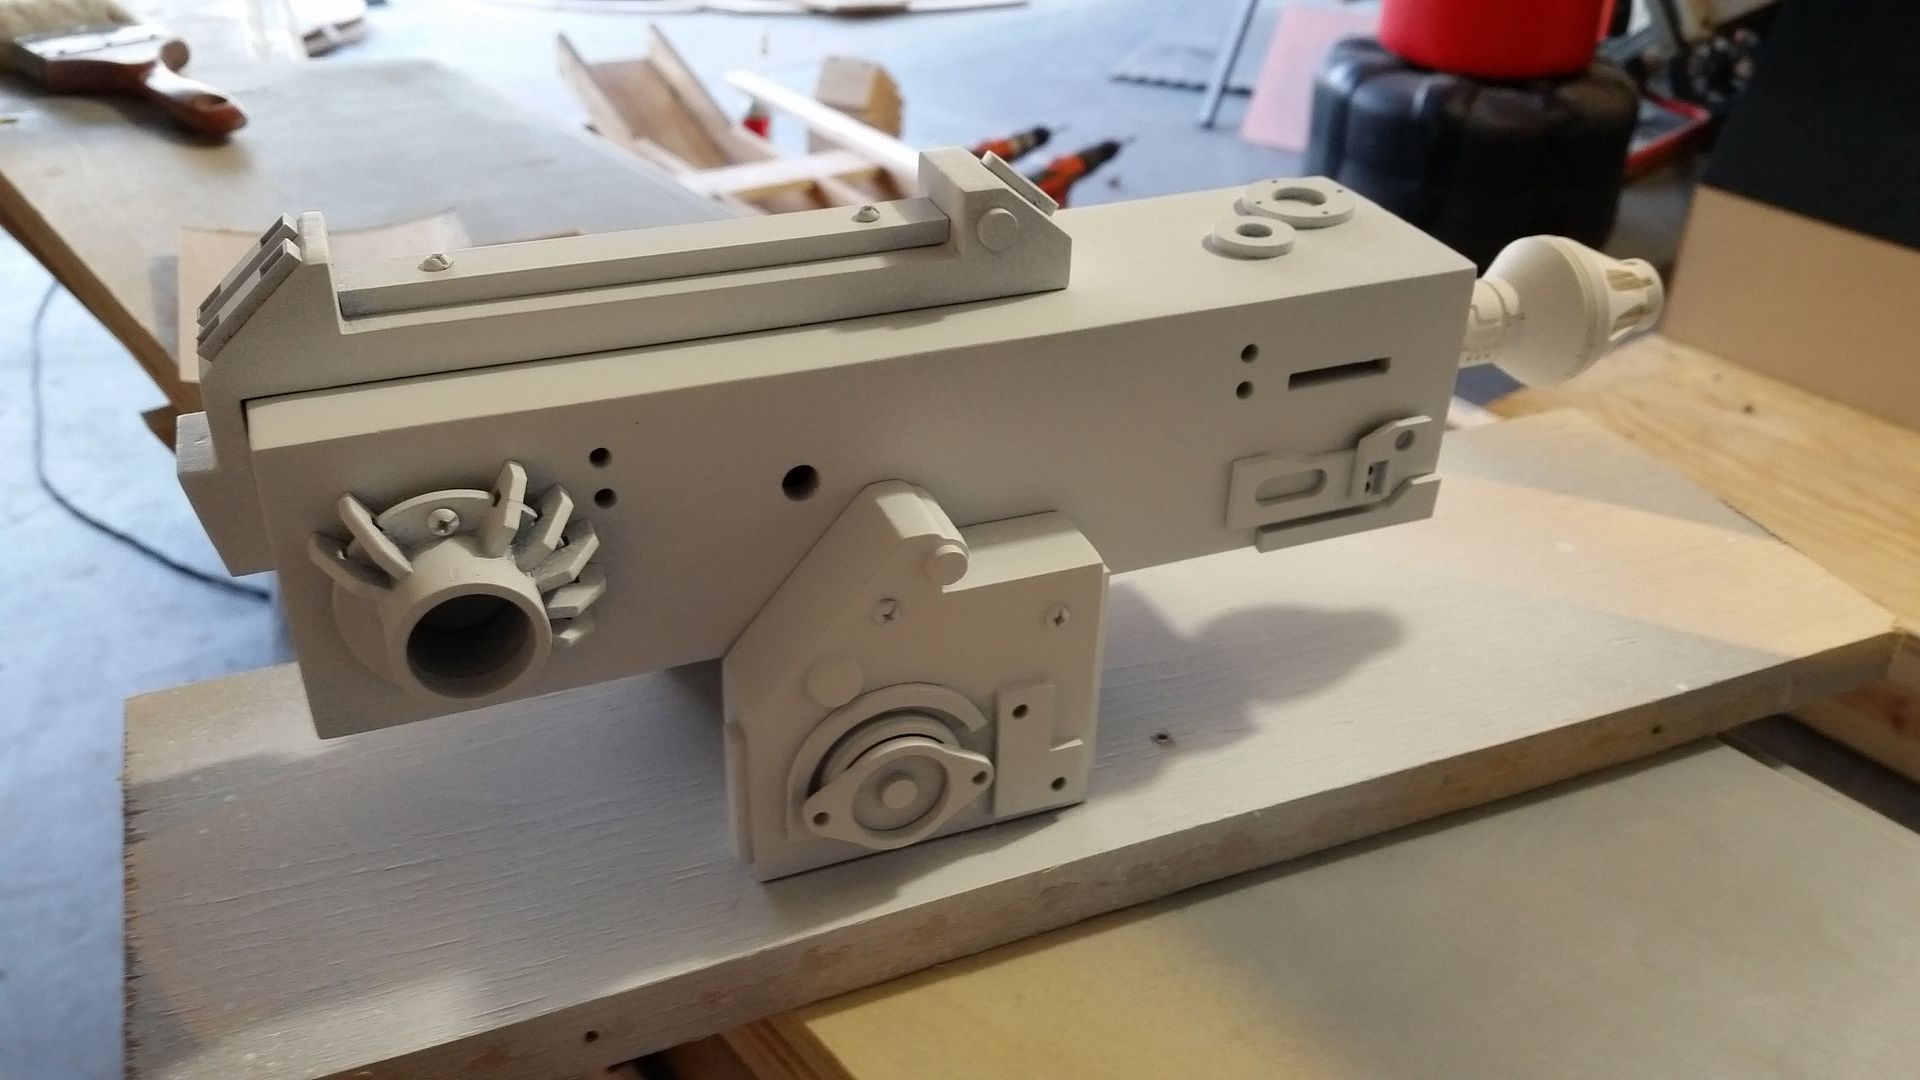
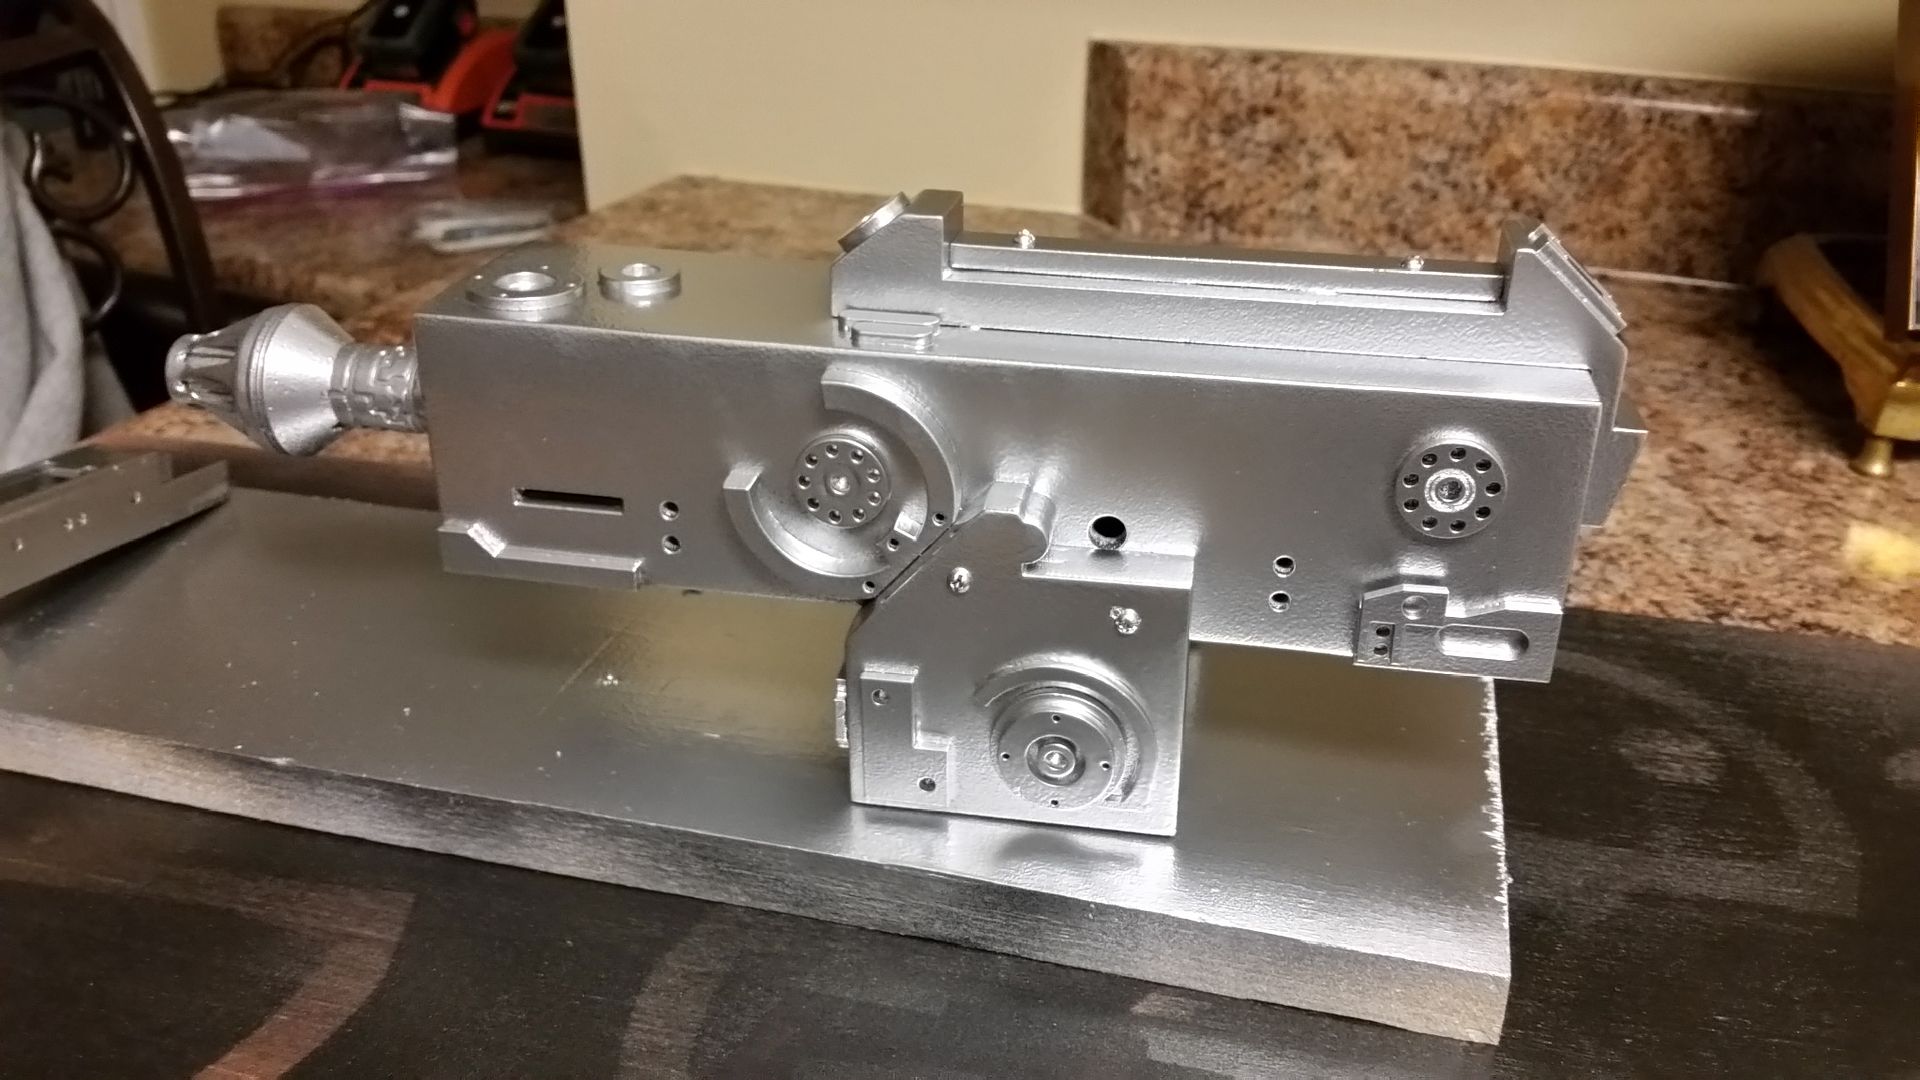
20151122_155333_zpsbv4qmopk.jpg


20151122_155341_zpsnzcbok2w.jpg


Primer
20151122_160125_zpspgu4rnl3.jpg


20151122_162712_zpspadyqlht.jpg


20151122_162723_zpsqhvhbngl.jpg


20151122_162729_zpsrixiktq4.jpg


Paint
20151122_173842_zpsxzpf0fe4.jpg


20151122_180622_zpszs4d9kvf.jpg


20151122_180807_zps5jtsnlxn.jpg


20151122_180815_zpsnieoy0zc.jpg


20151122_180837_zpslzuu2ahz.jpg


Silver!
20151122_213646_zpsbhywizea.jpg


20151122_213706_zps5tfa8xnv.jpg


20151122_213720_zpso6wafadg.jpg


Def needs some weathering!
20151122_213741_zpsme5r6p8a.jpg


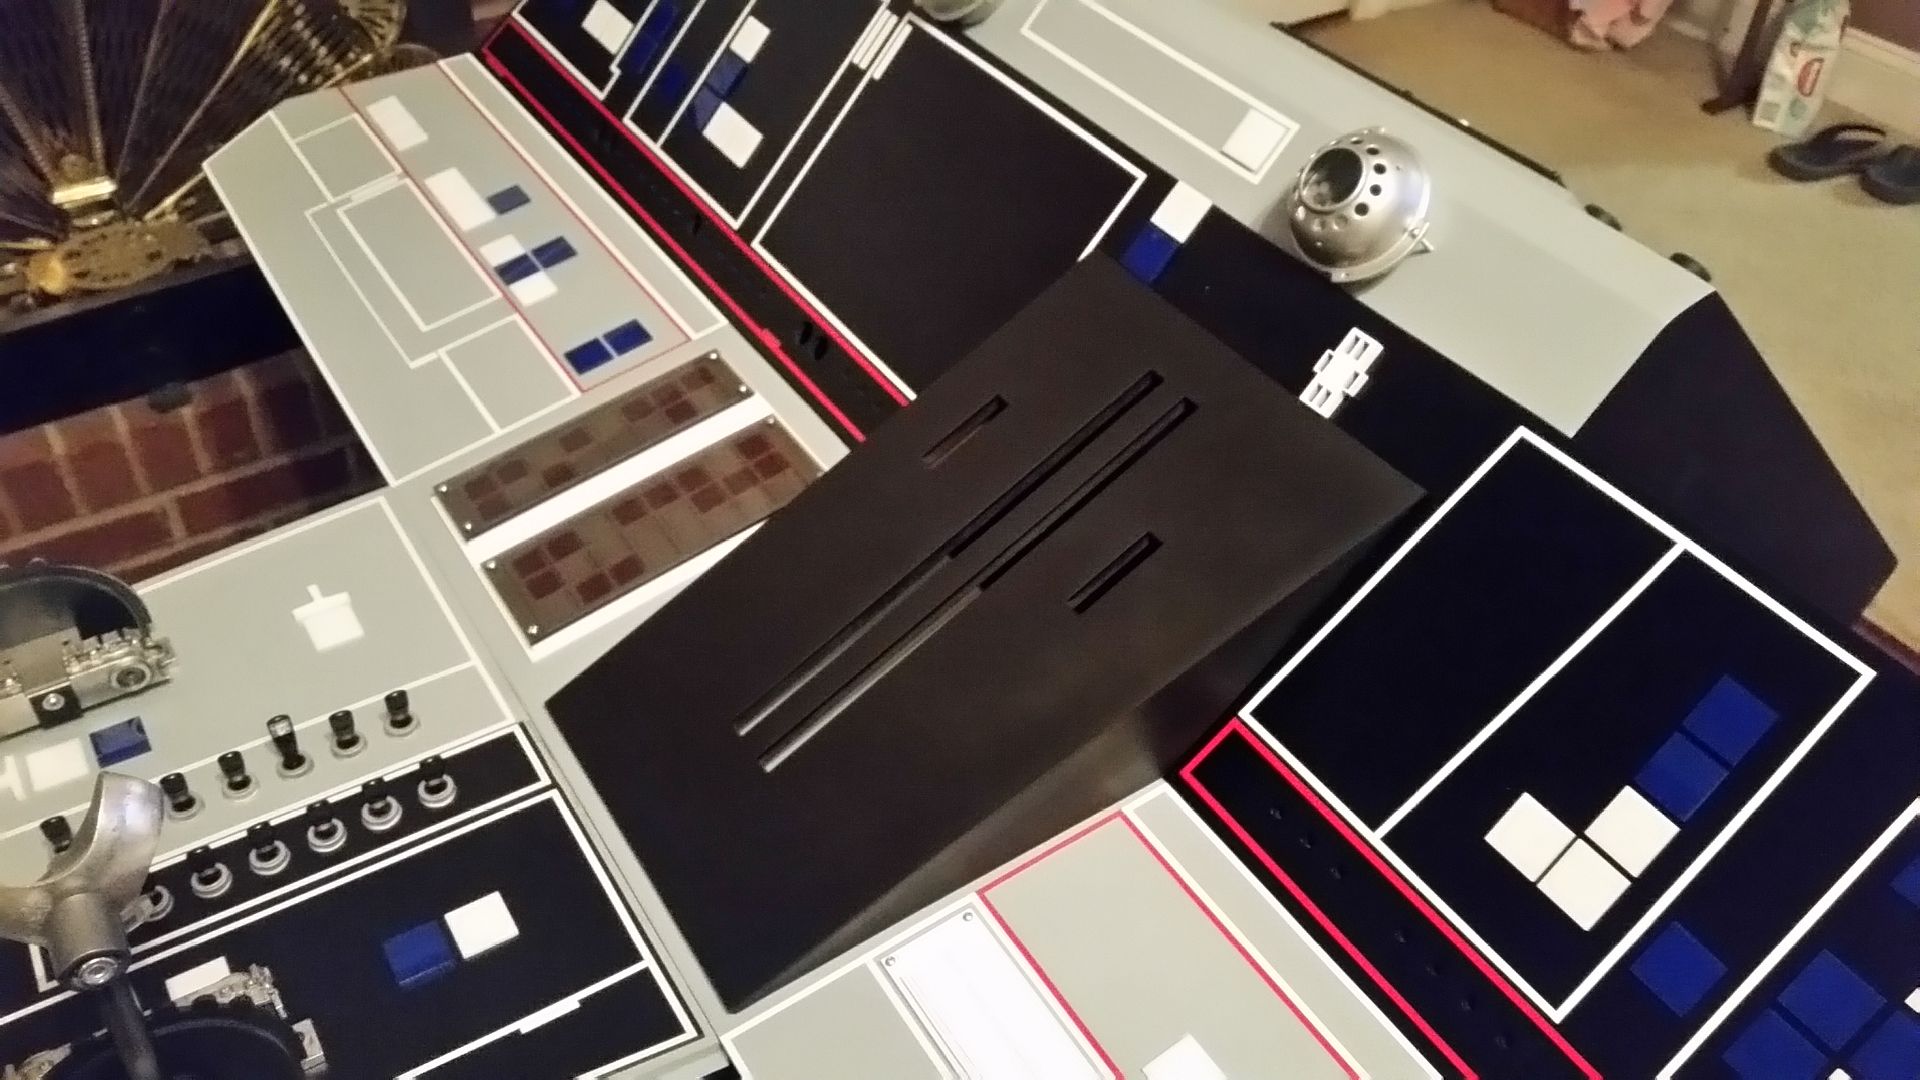
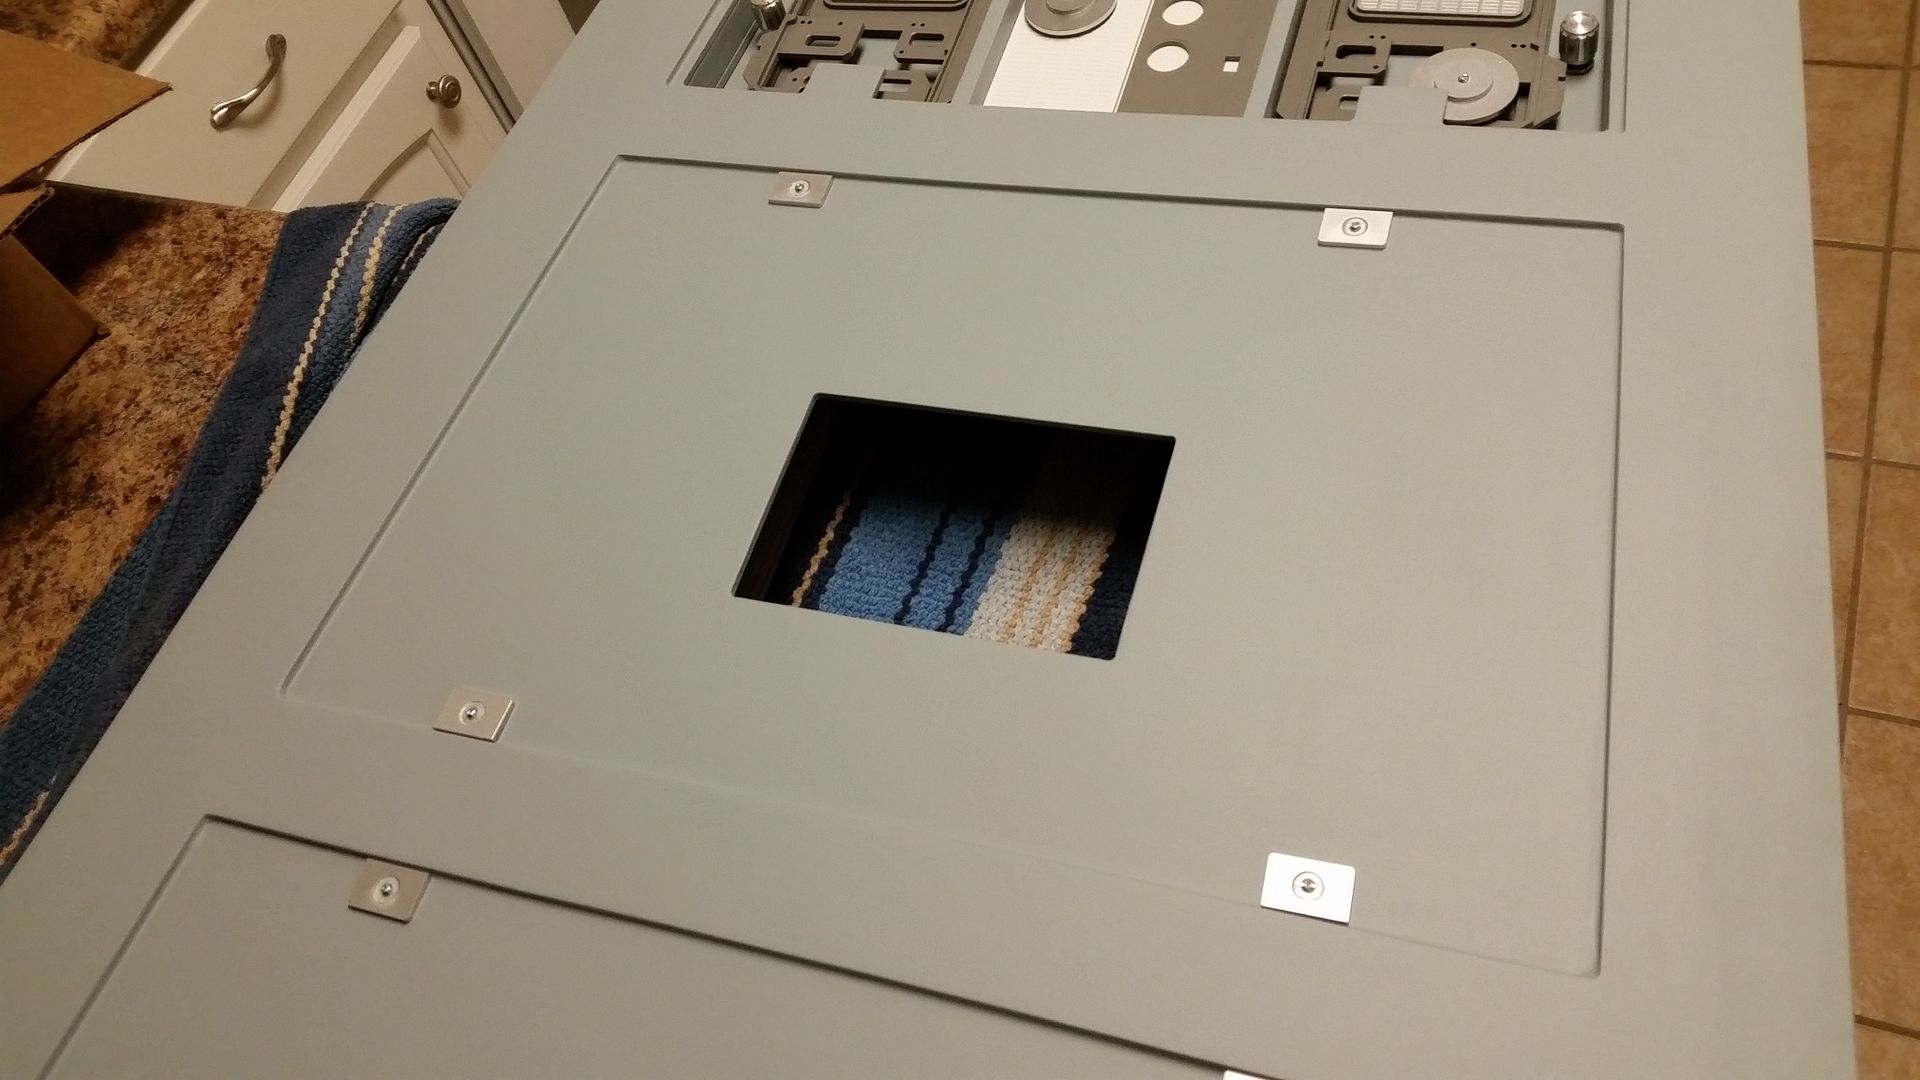
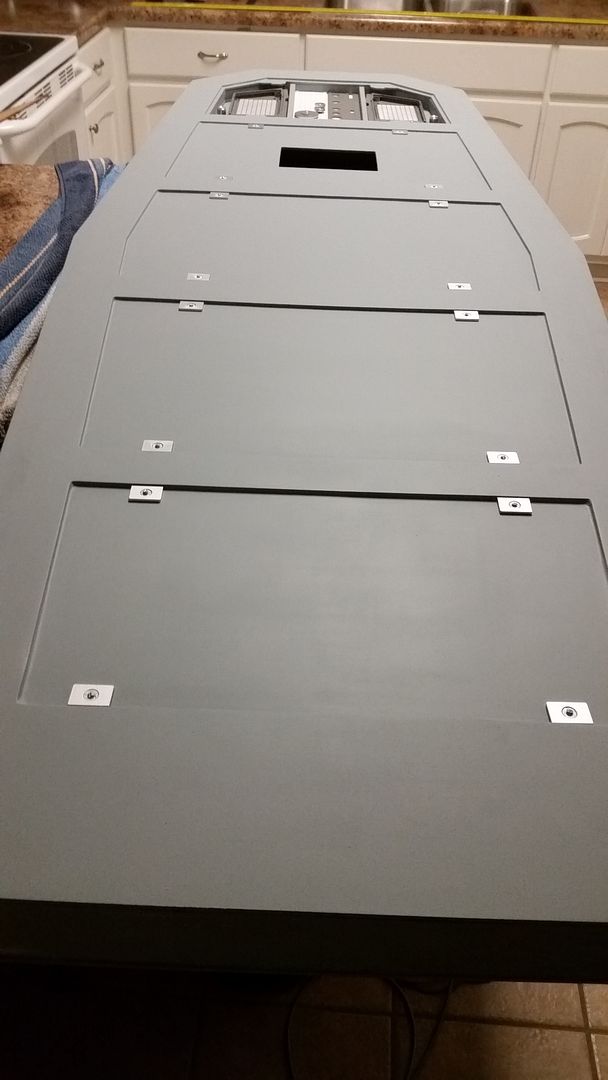
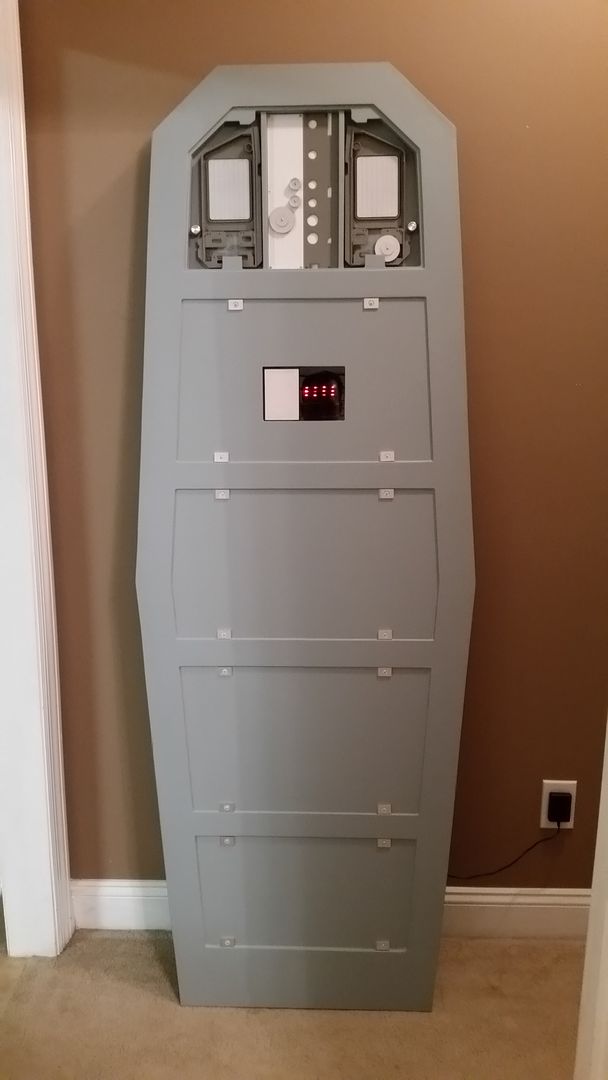
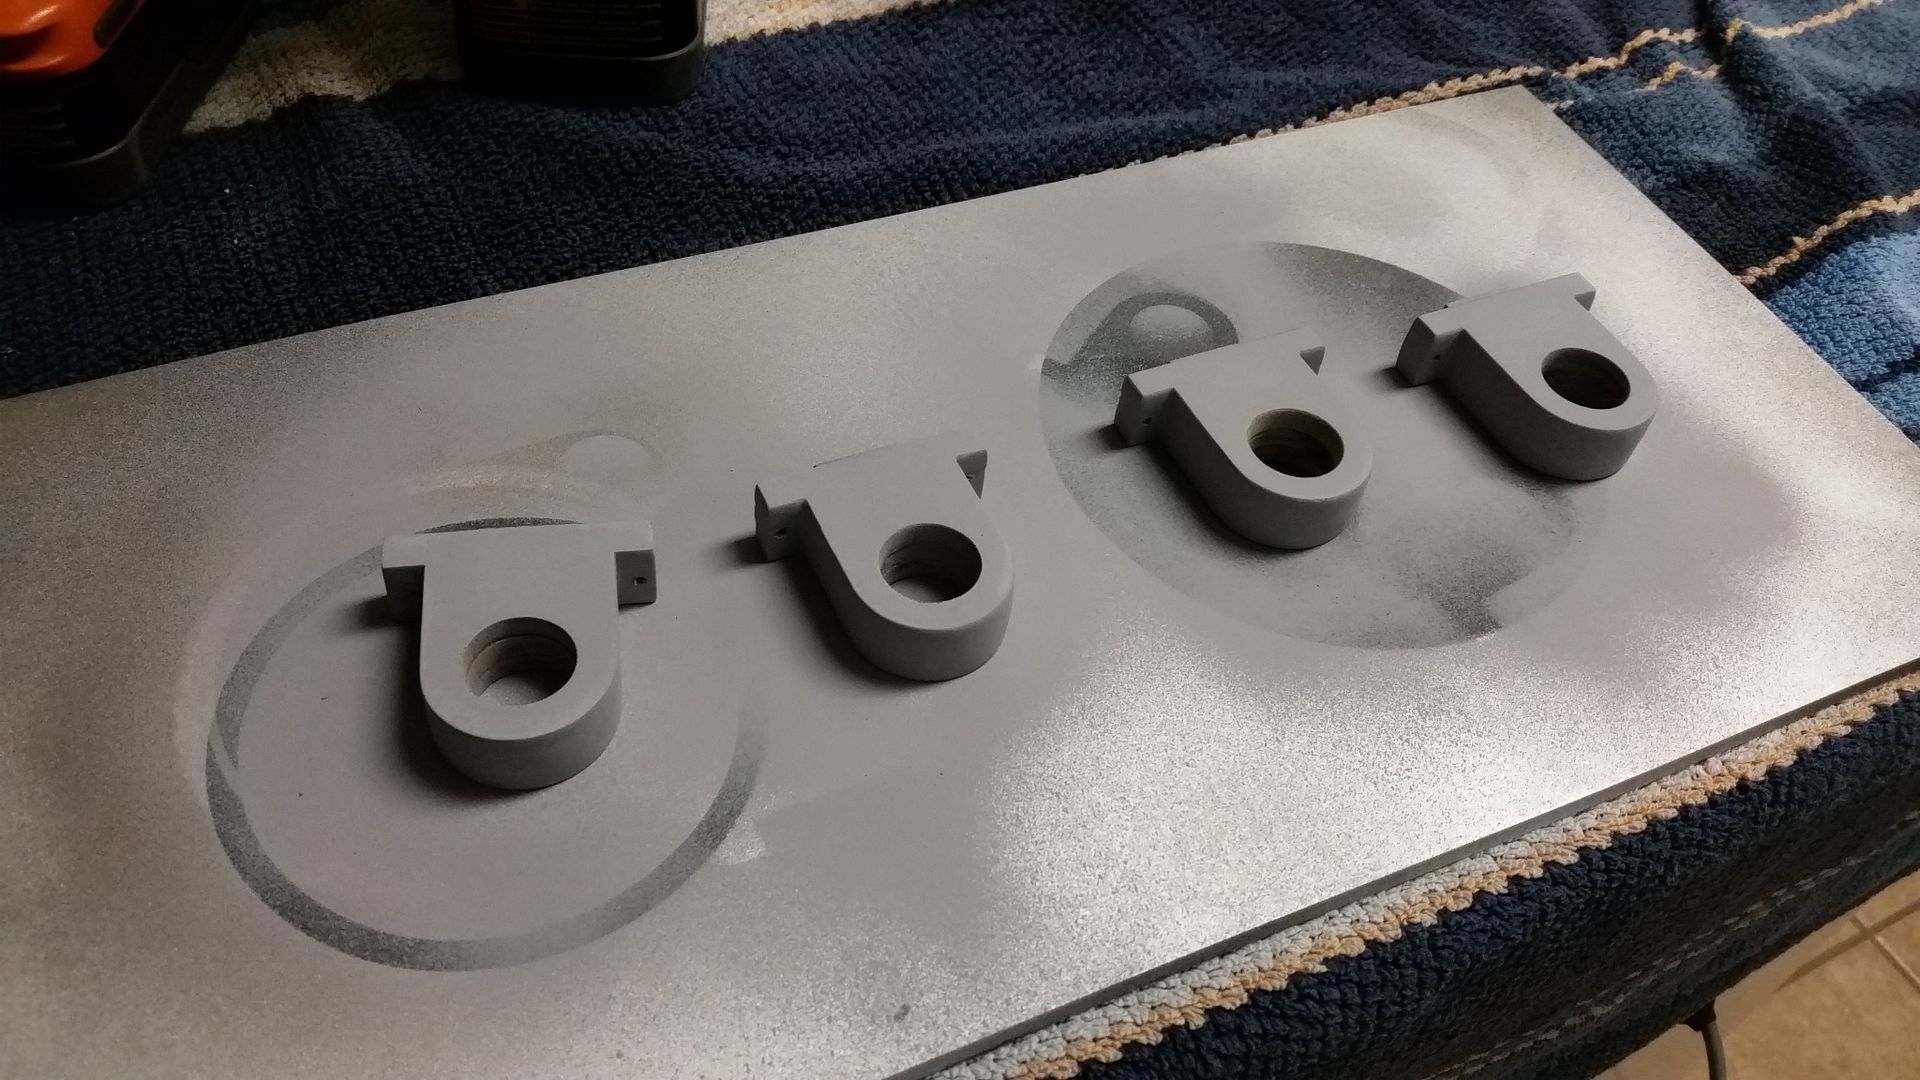
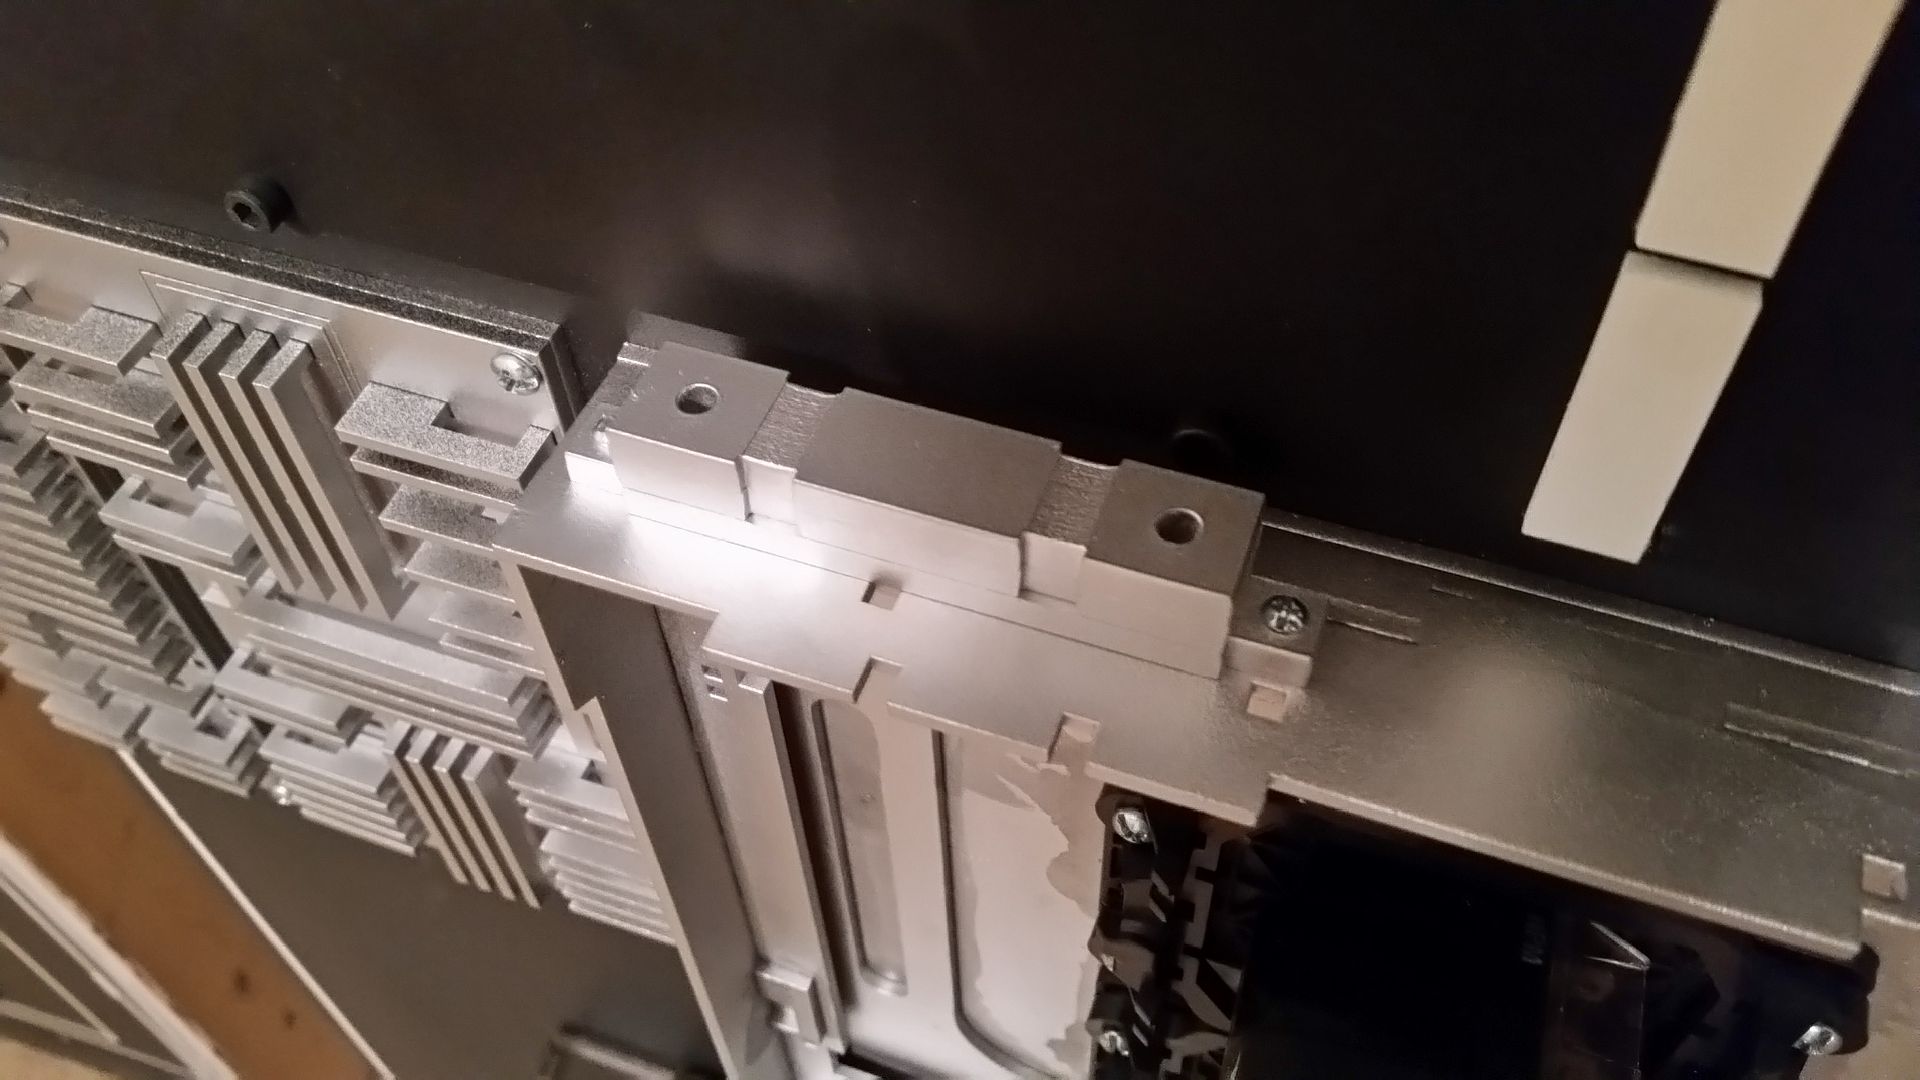
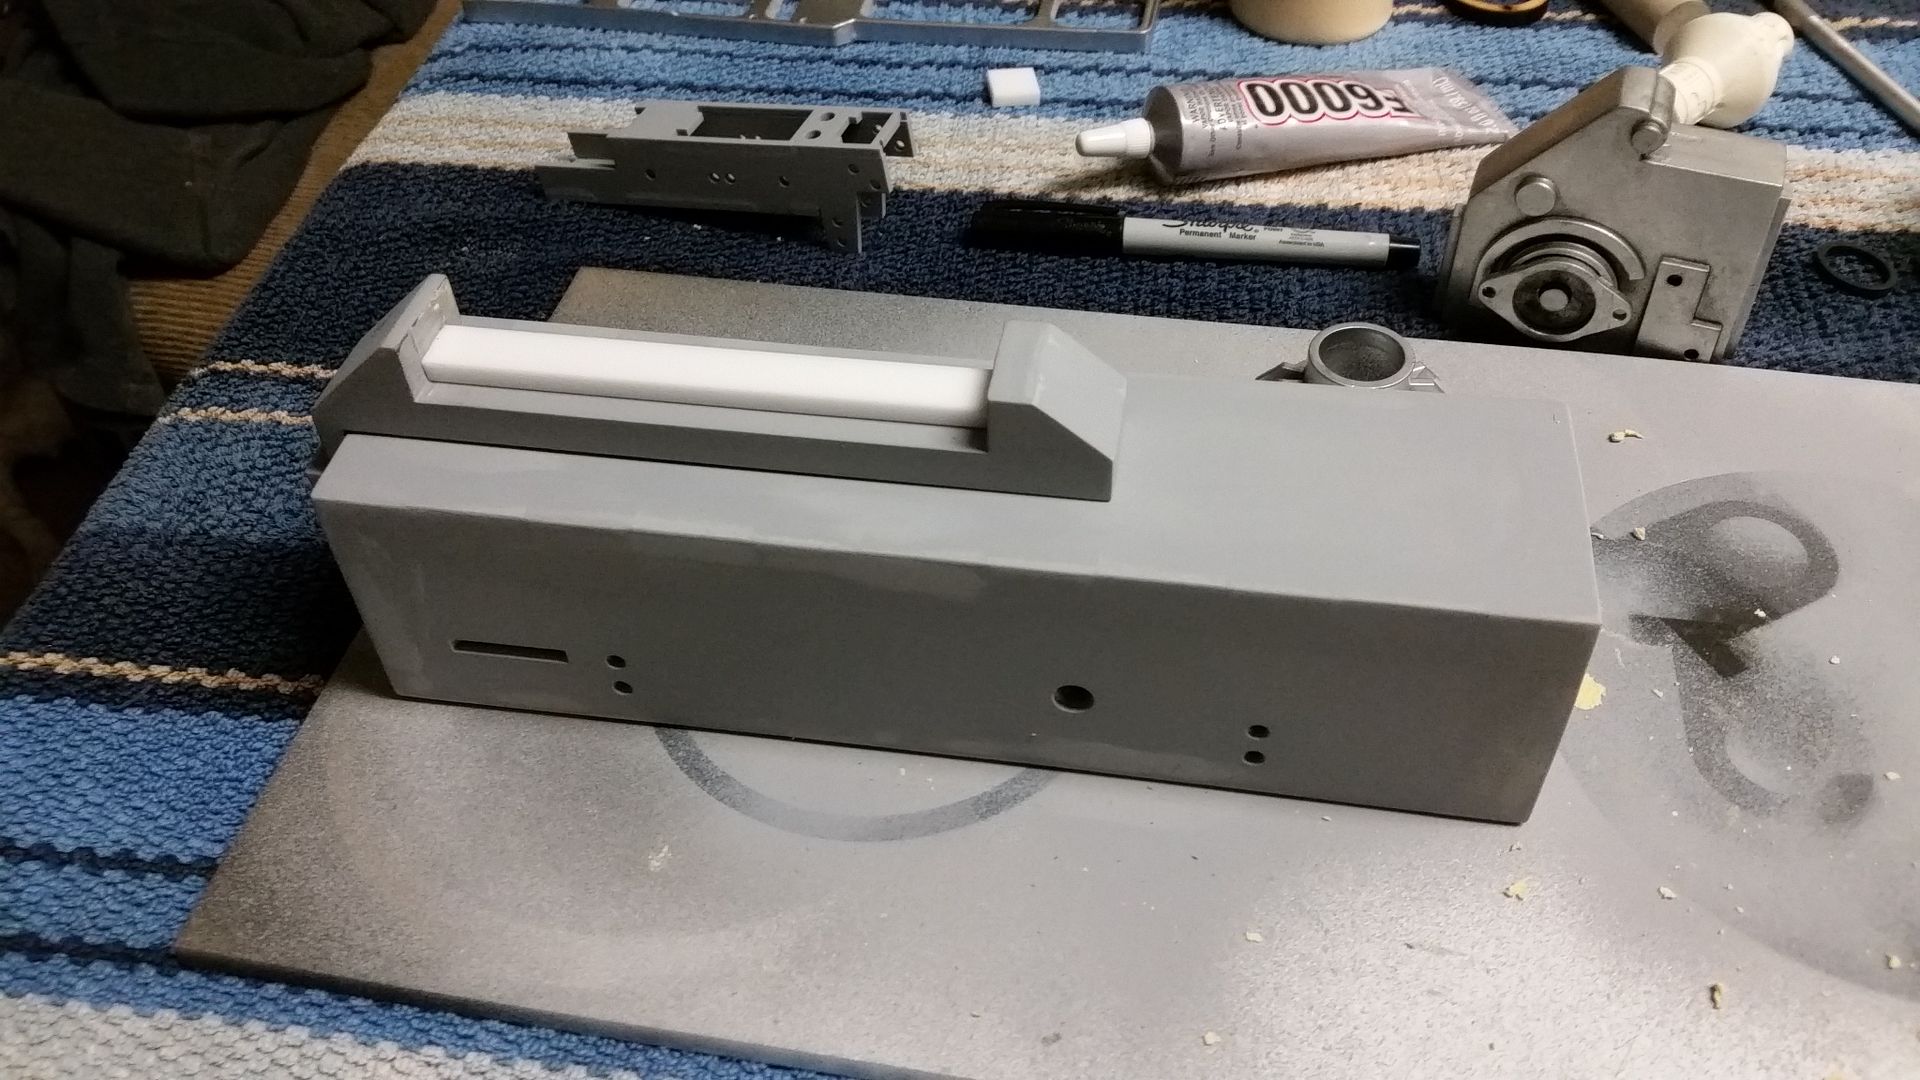
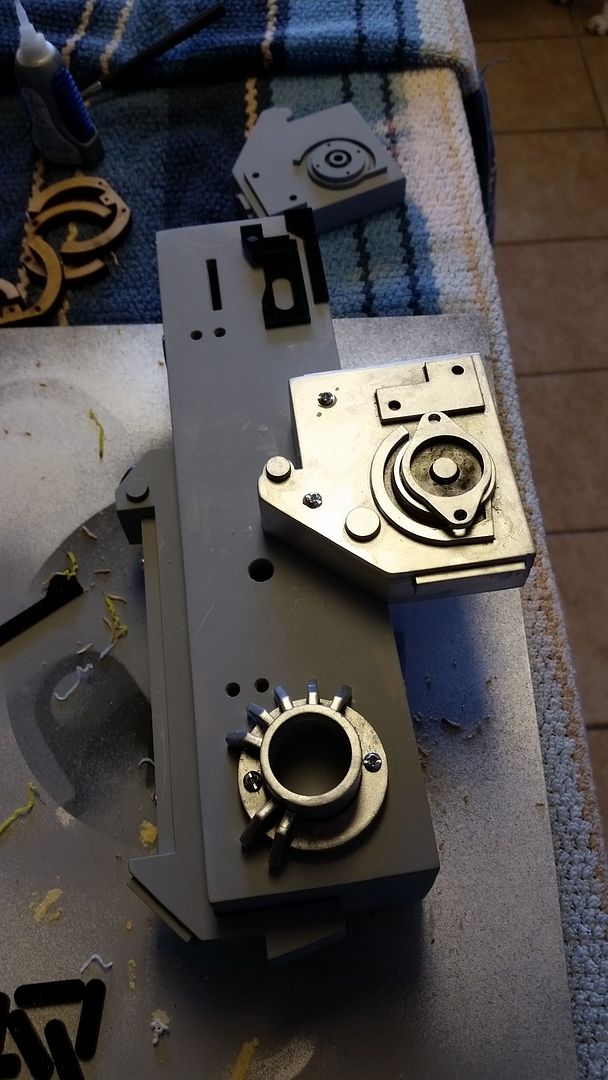
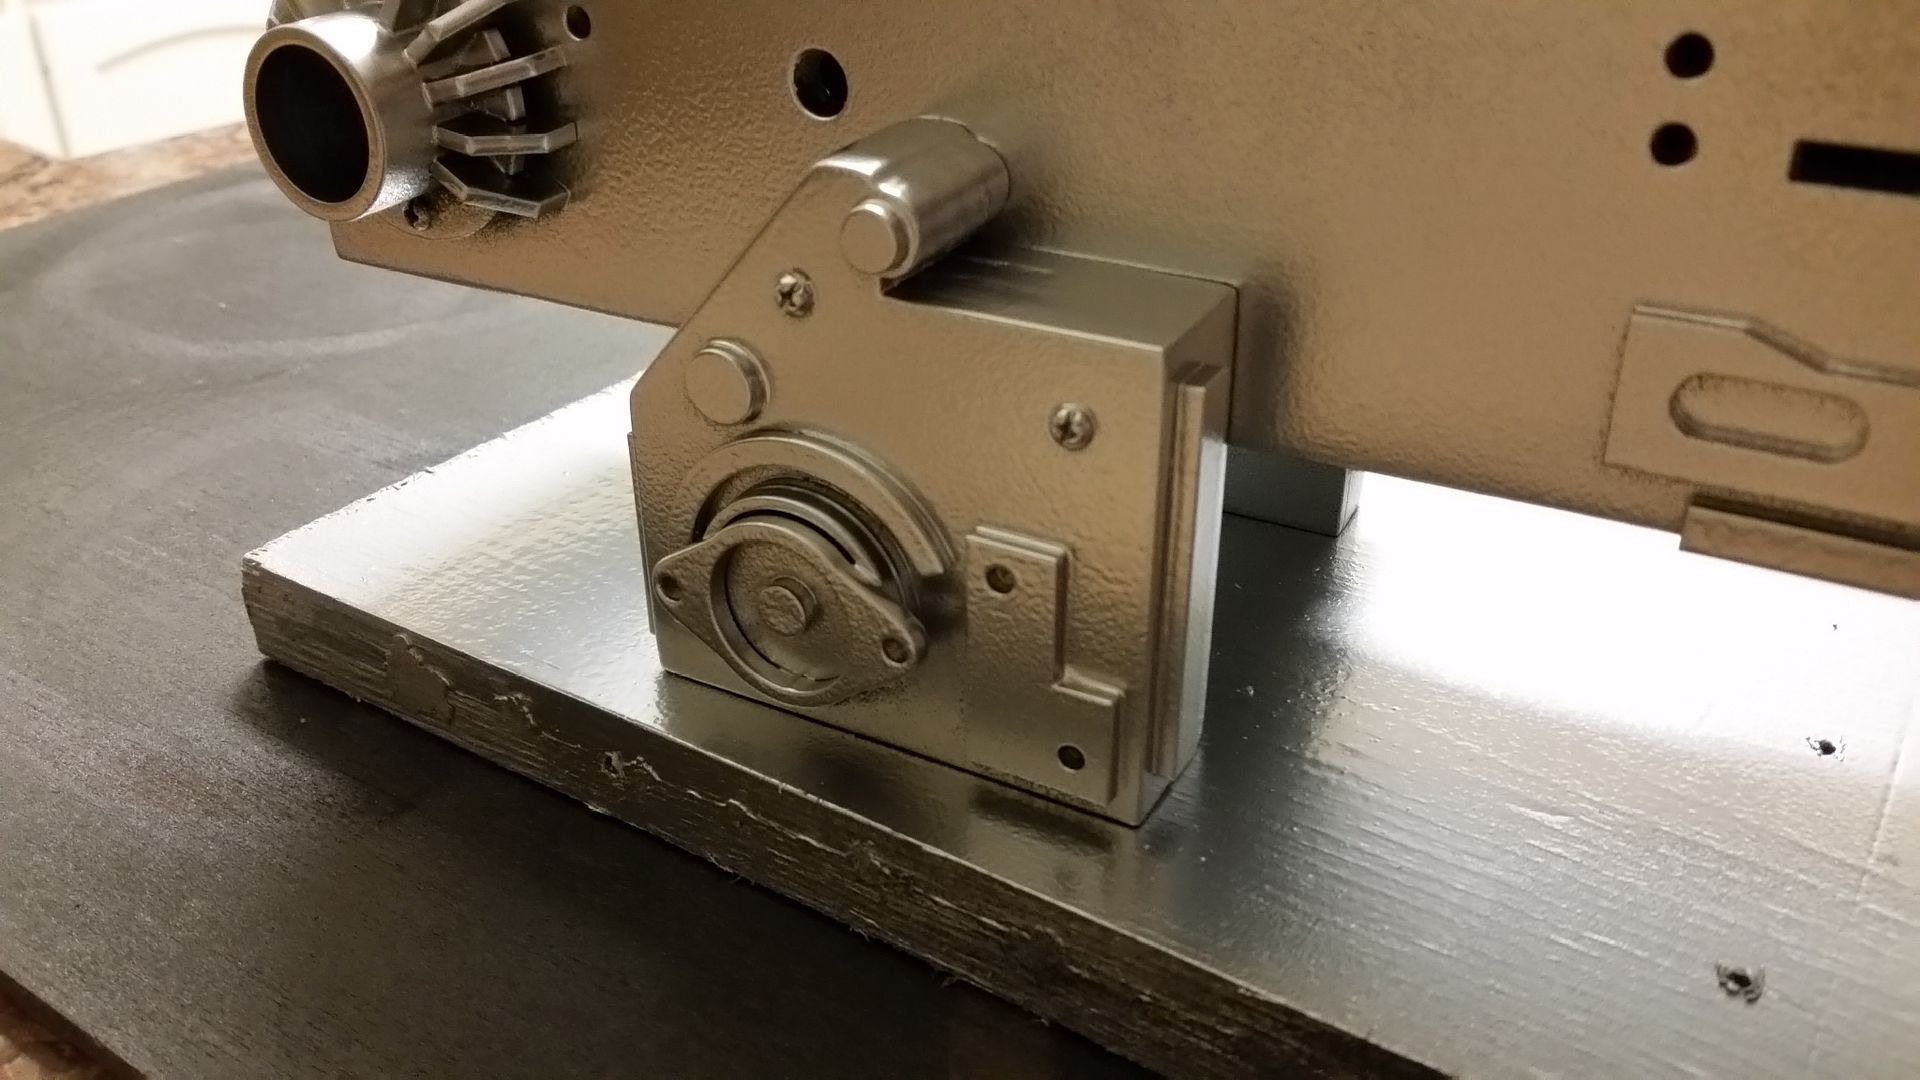
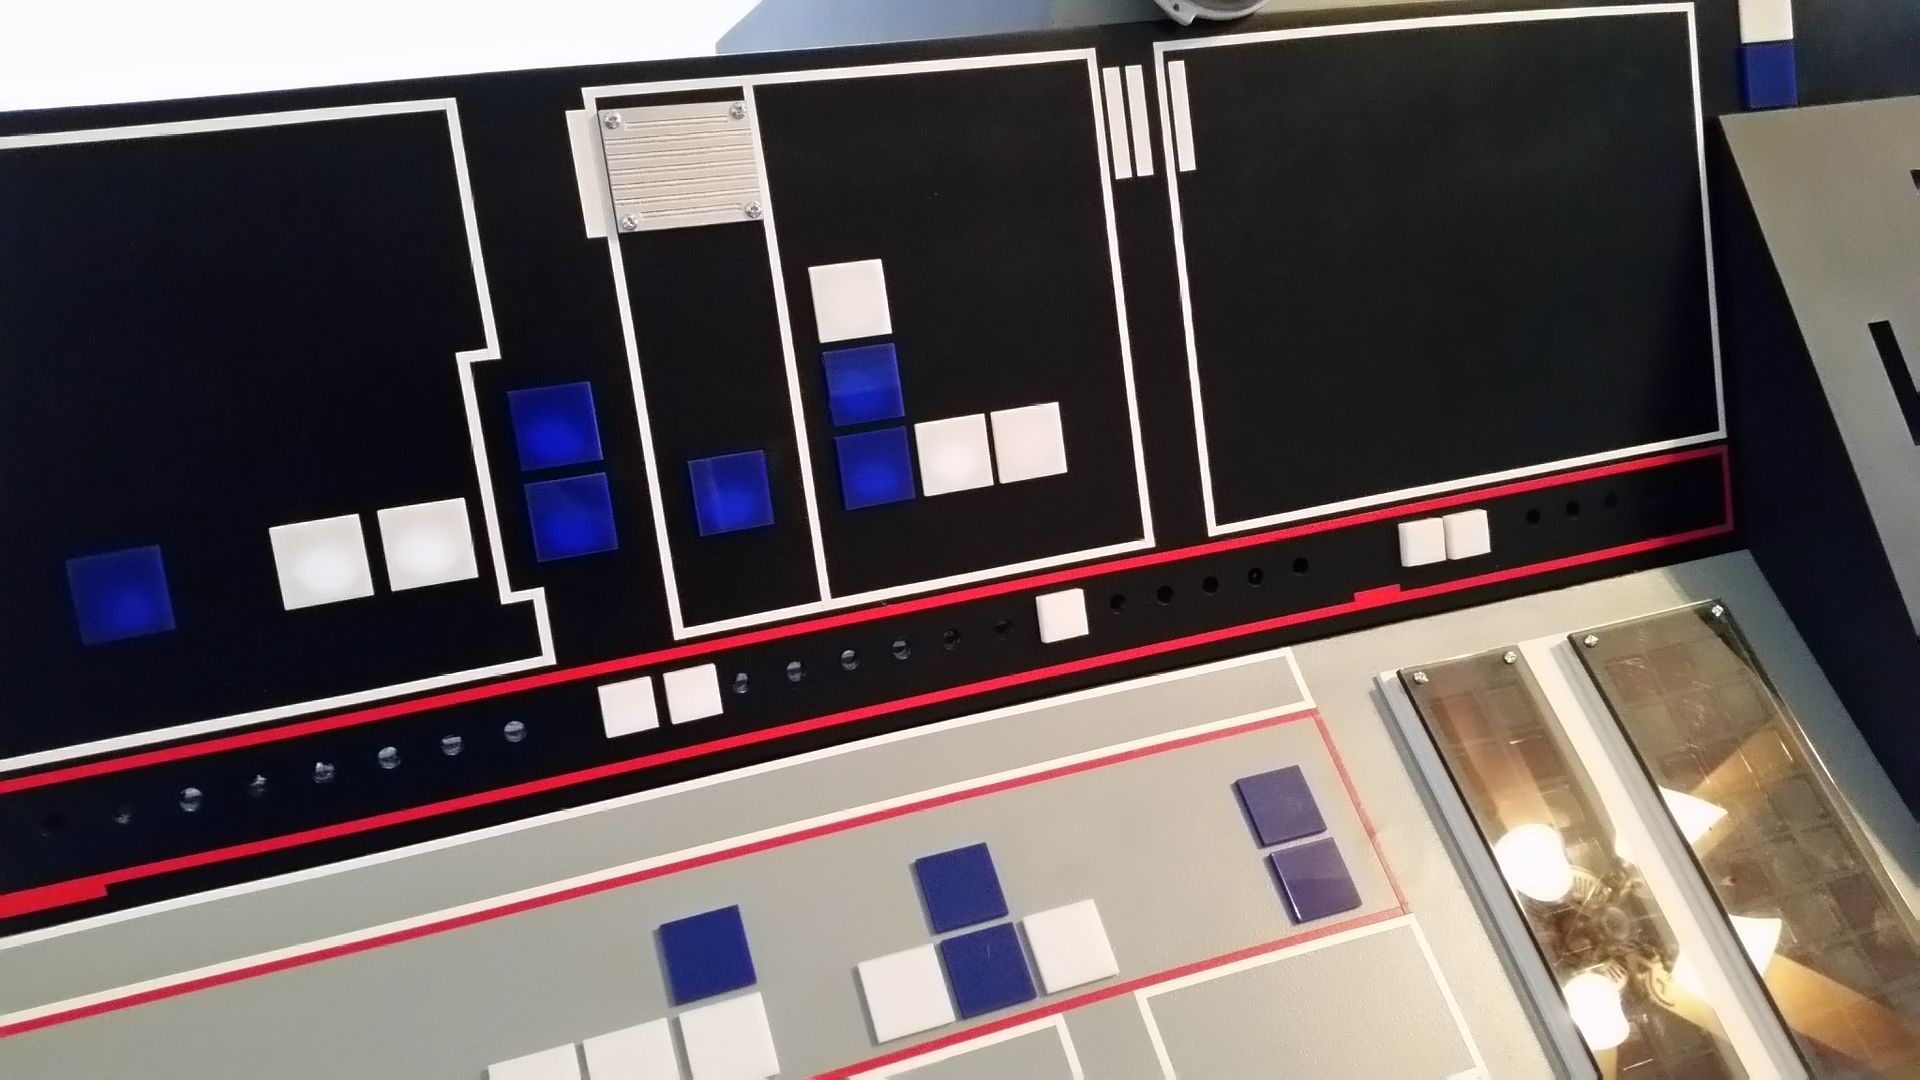
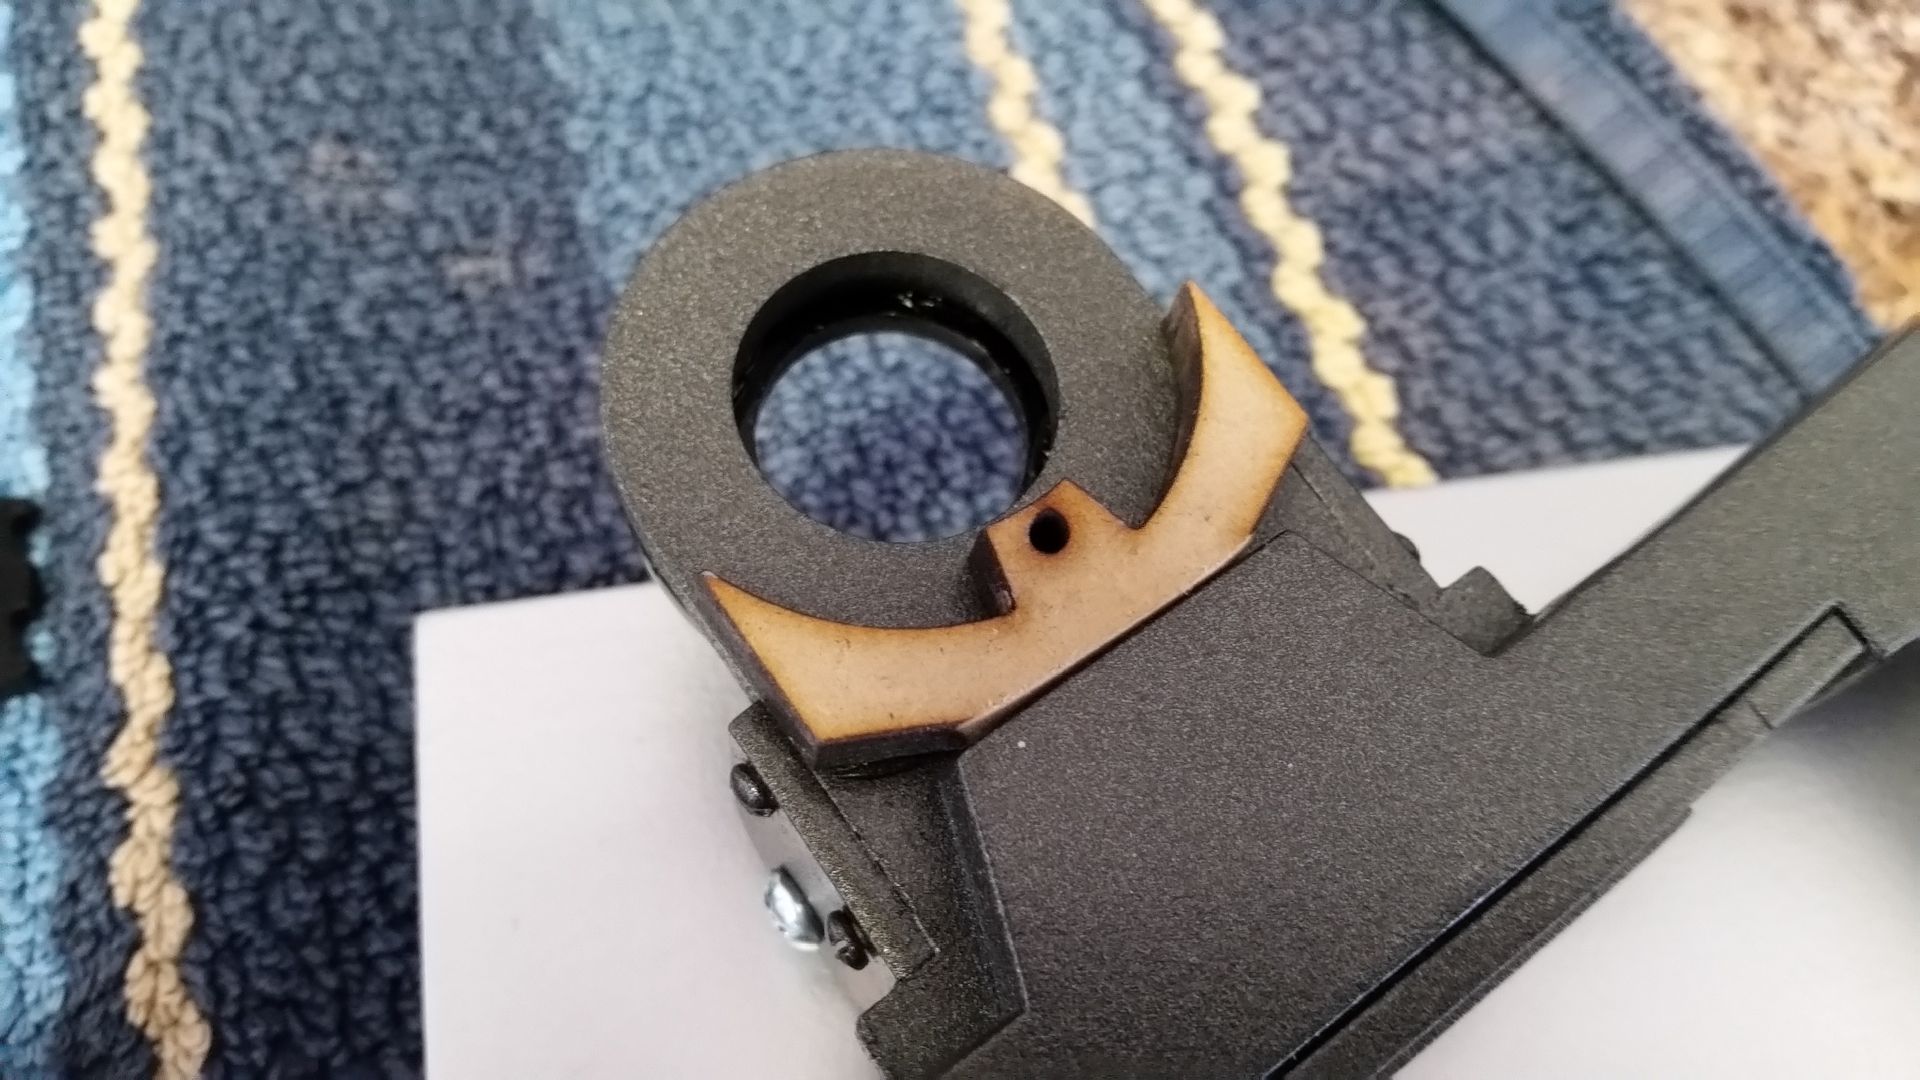
Fab'd a new one of these instrument panel greeblies - HUGE thanks to Jessie for adhering and sanding this little guy
20151122_173736_zpsdyzz4lgx.jpg


20151122_173855_zpsmuhhelmd.jpg


20151122_180831_zpsbifkyo9w.jpg


20151122_213654_zpsq7kx5a6l.jpg


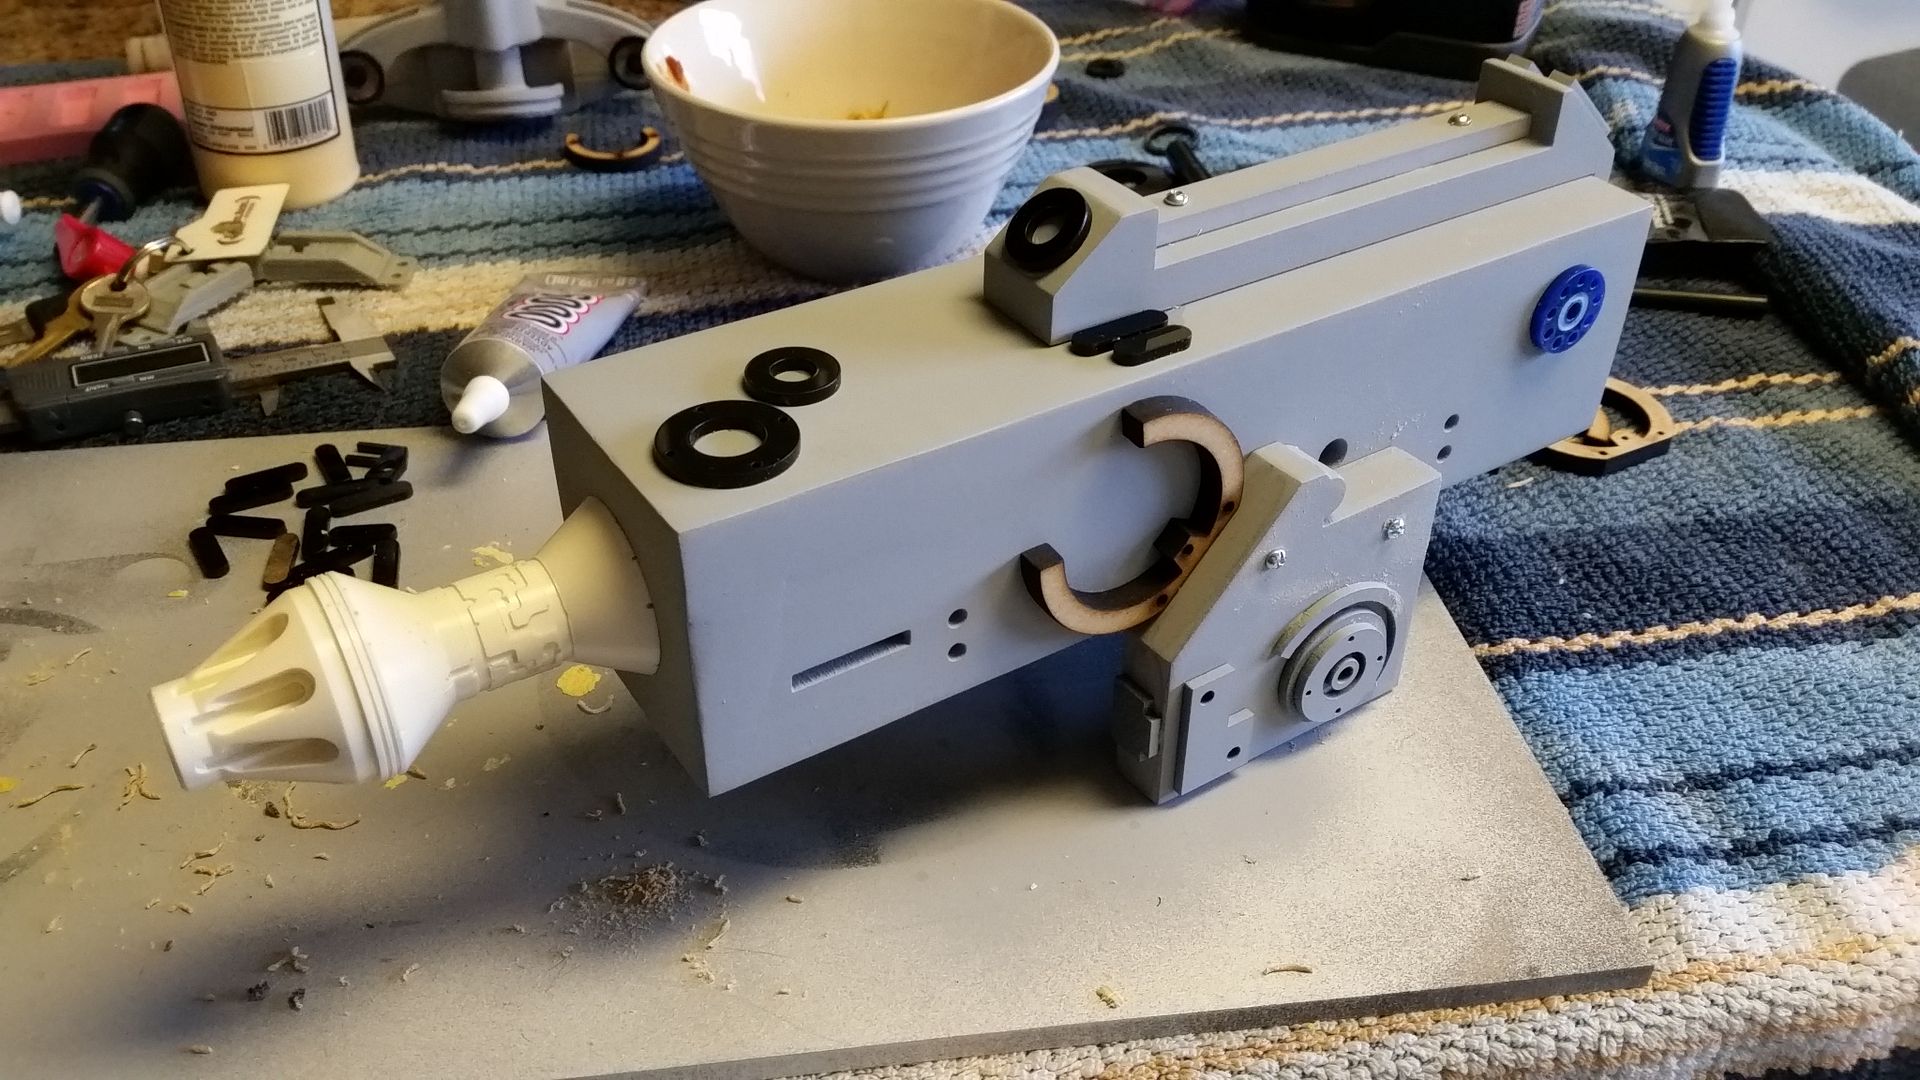
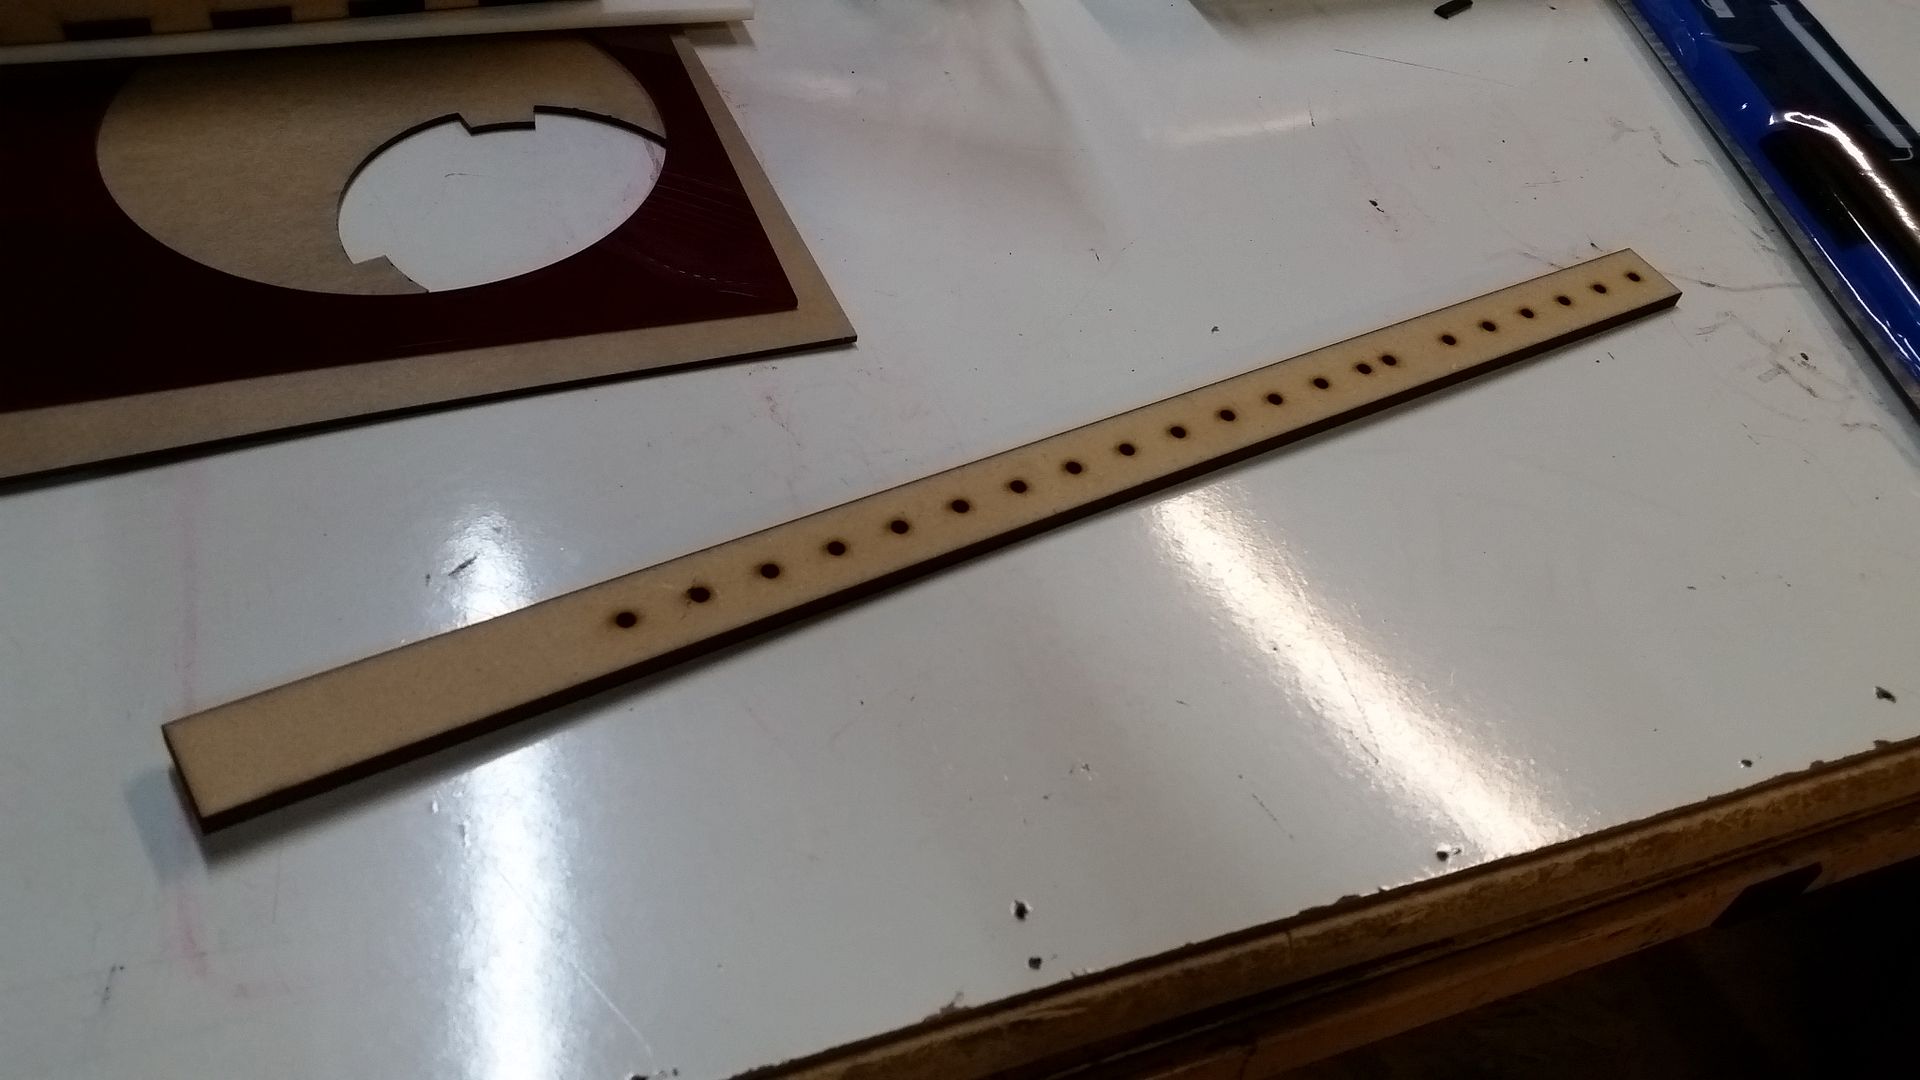
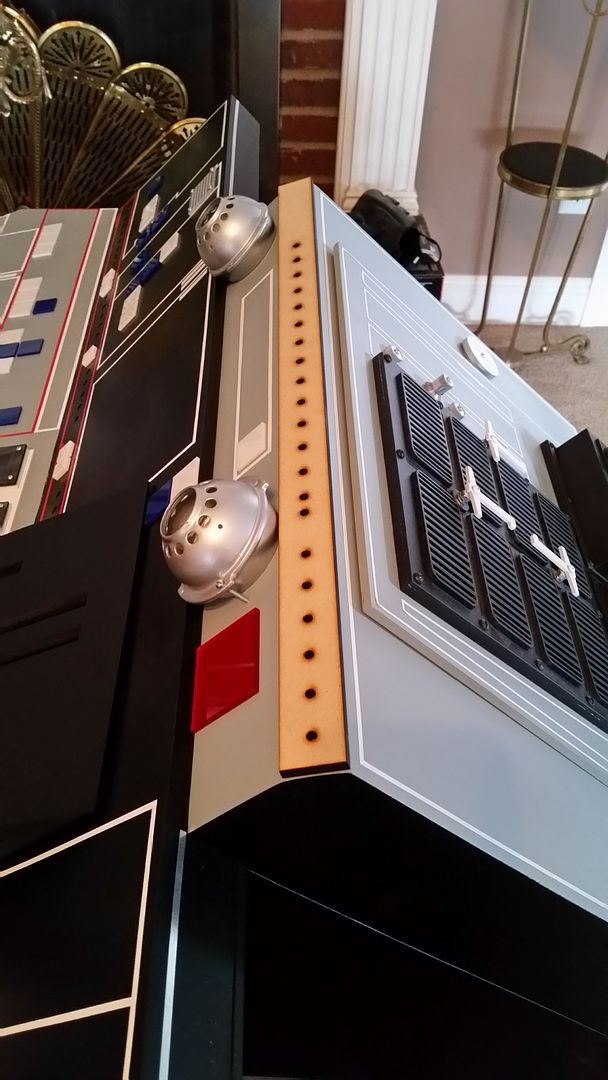
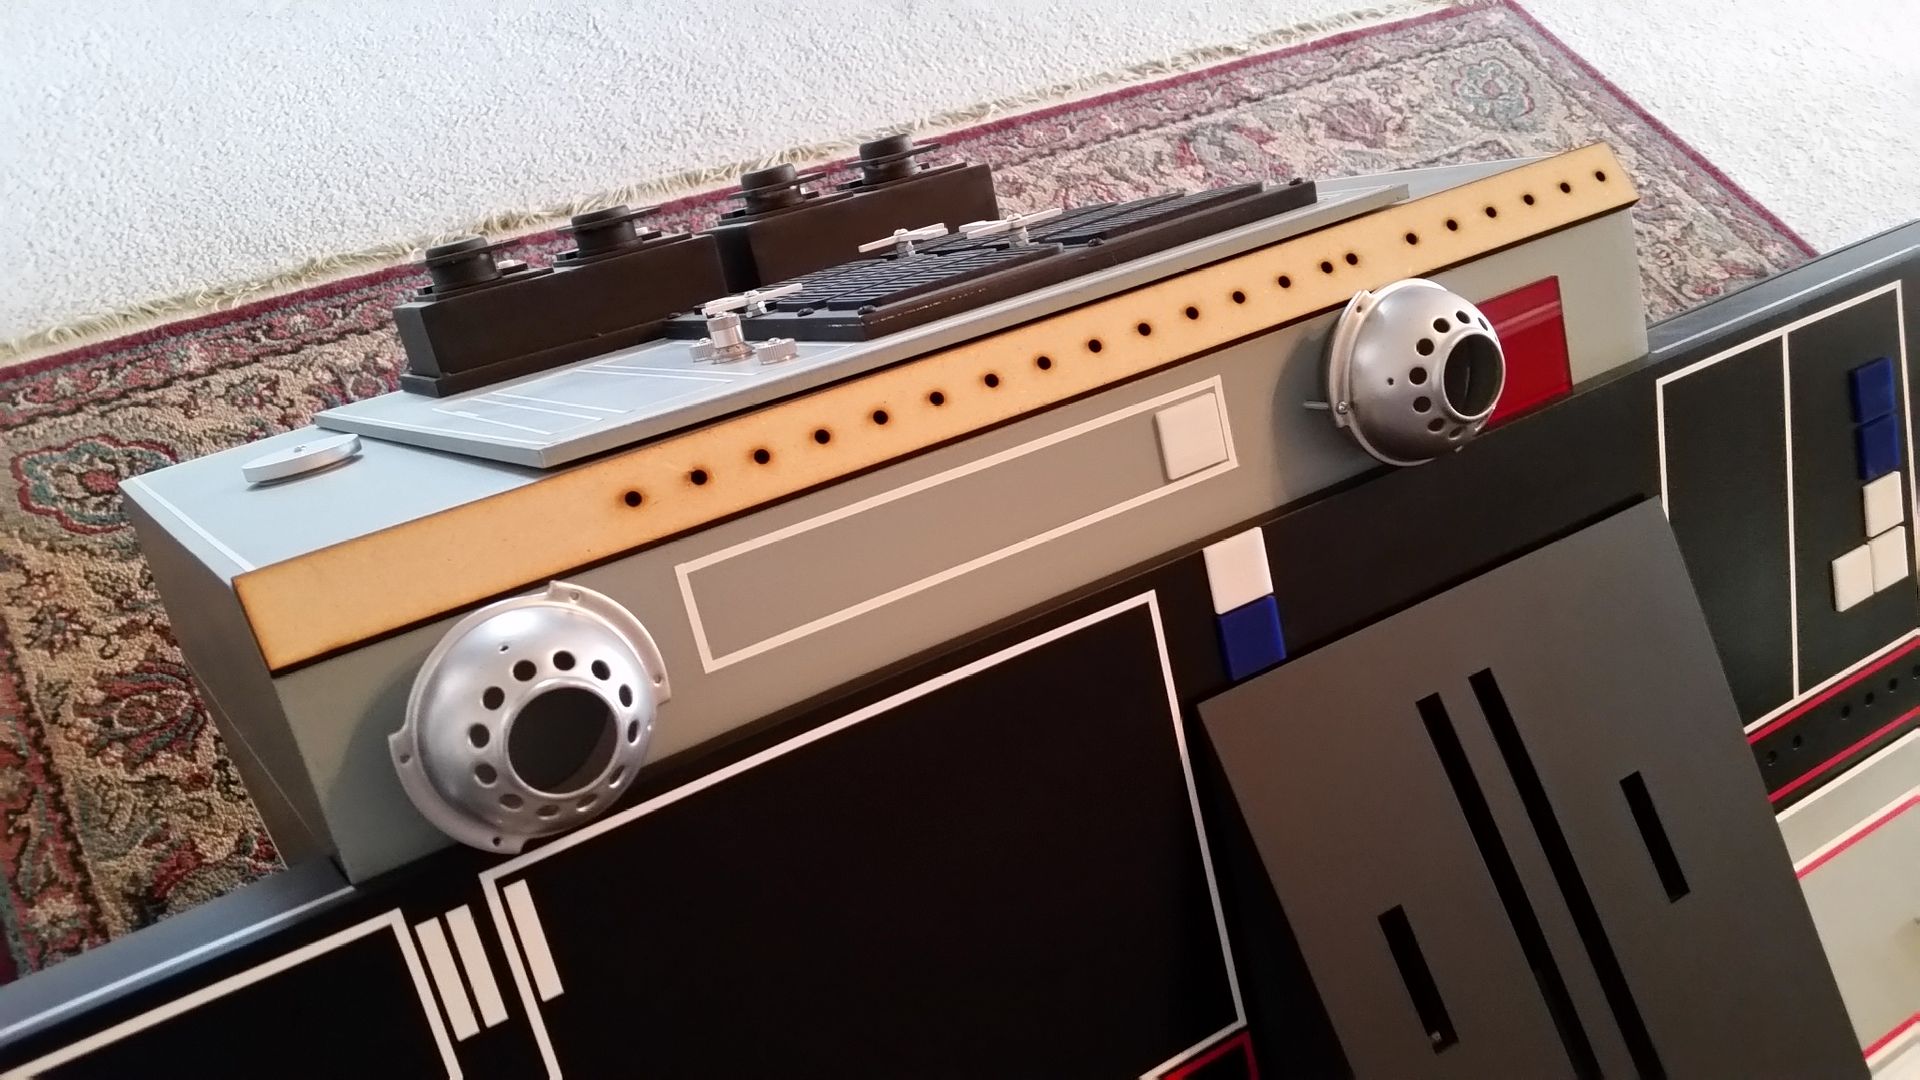
I laser cut this interesting light bar that sits atop of the console
20151121_070418_zpsuvmep5ys.jpg


20151121_113534_zpsdtbfw6dk.jpg


20151121_113553_zpstaej3fer.jpg


And primer
20151122_172406_zpsr95ebjua.jpg


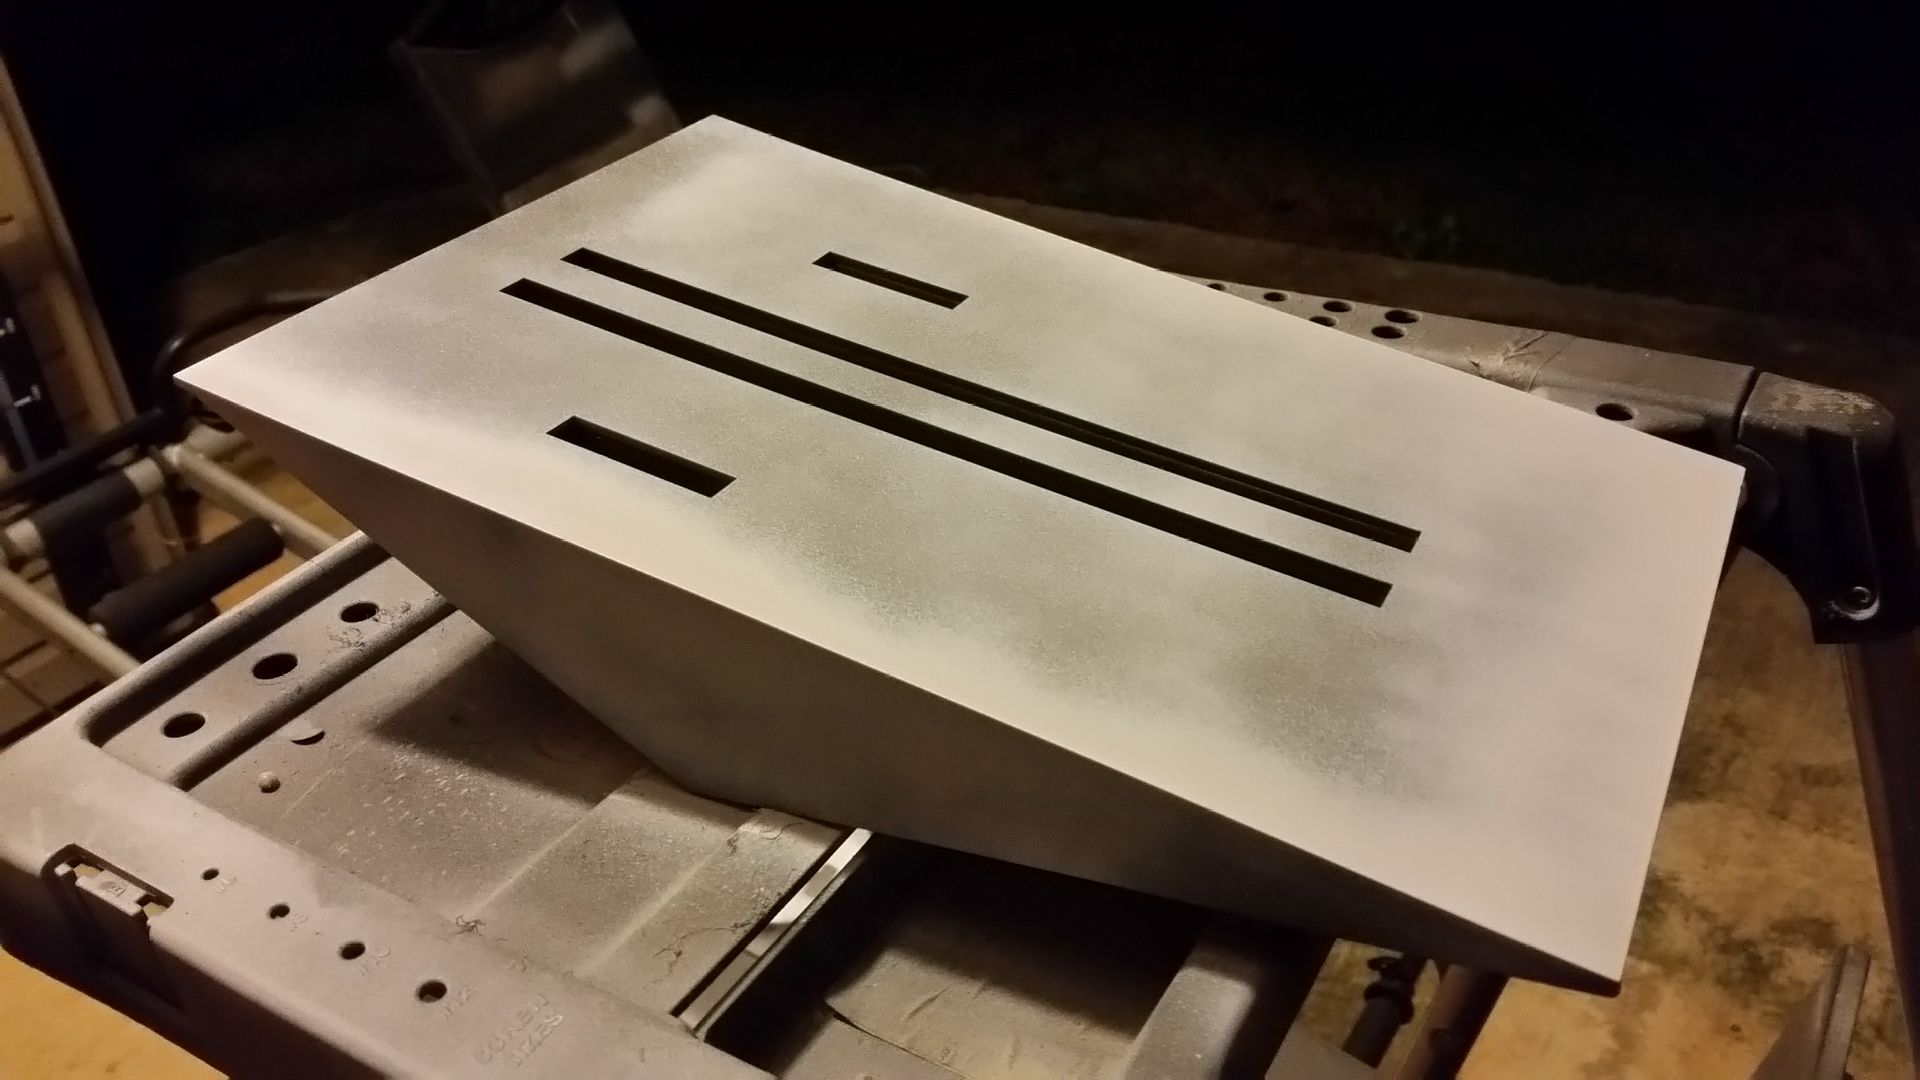
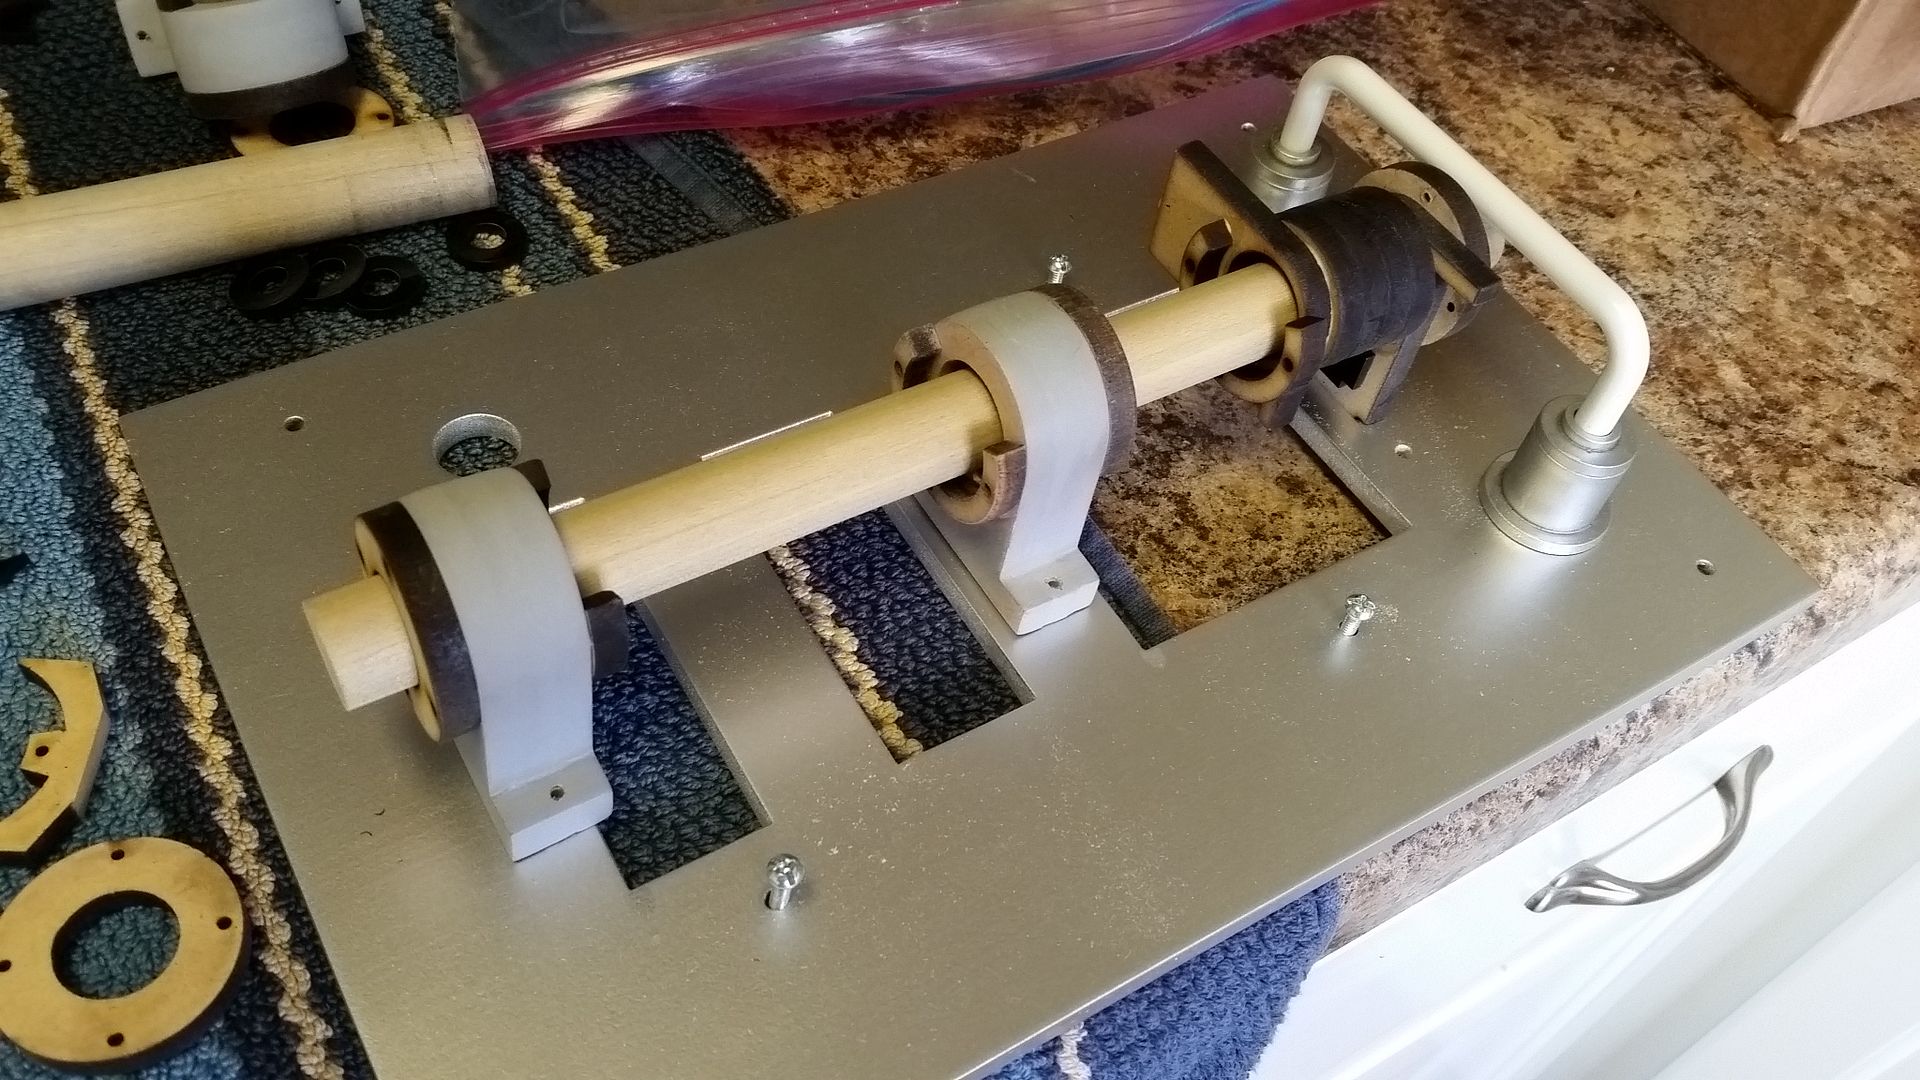
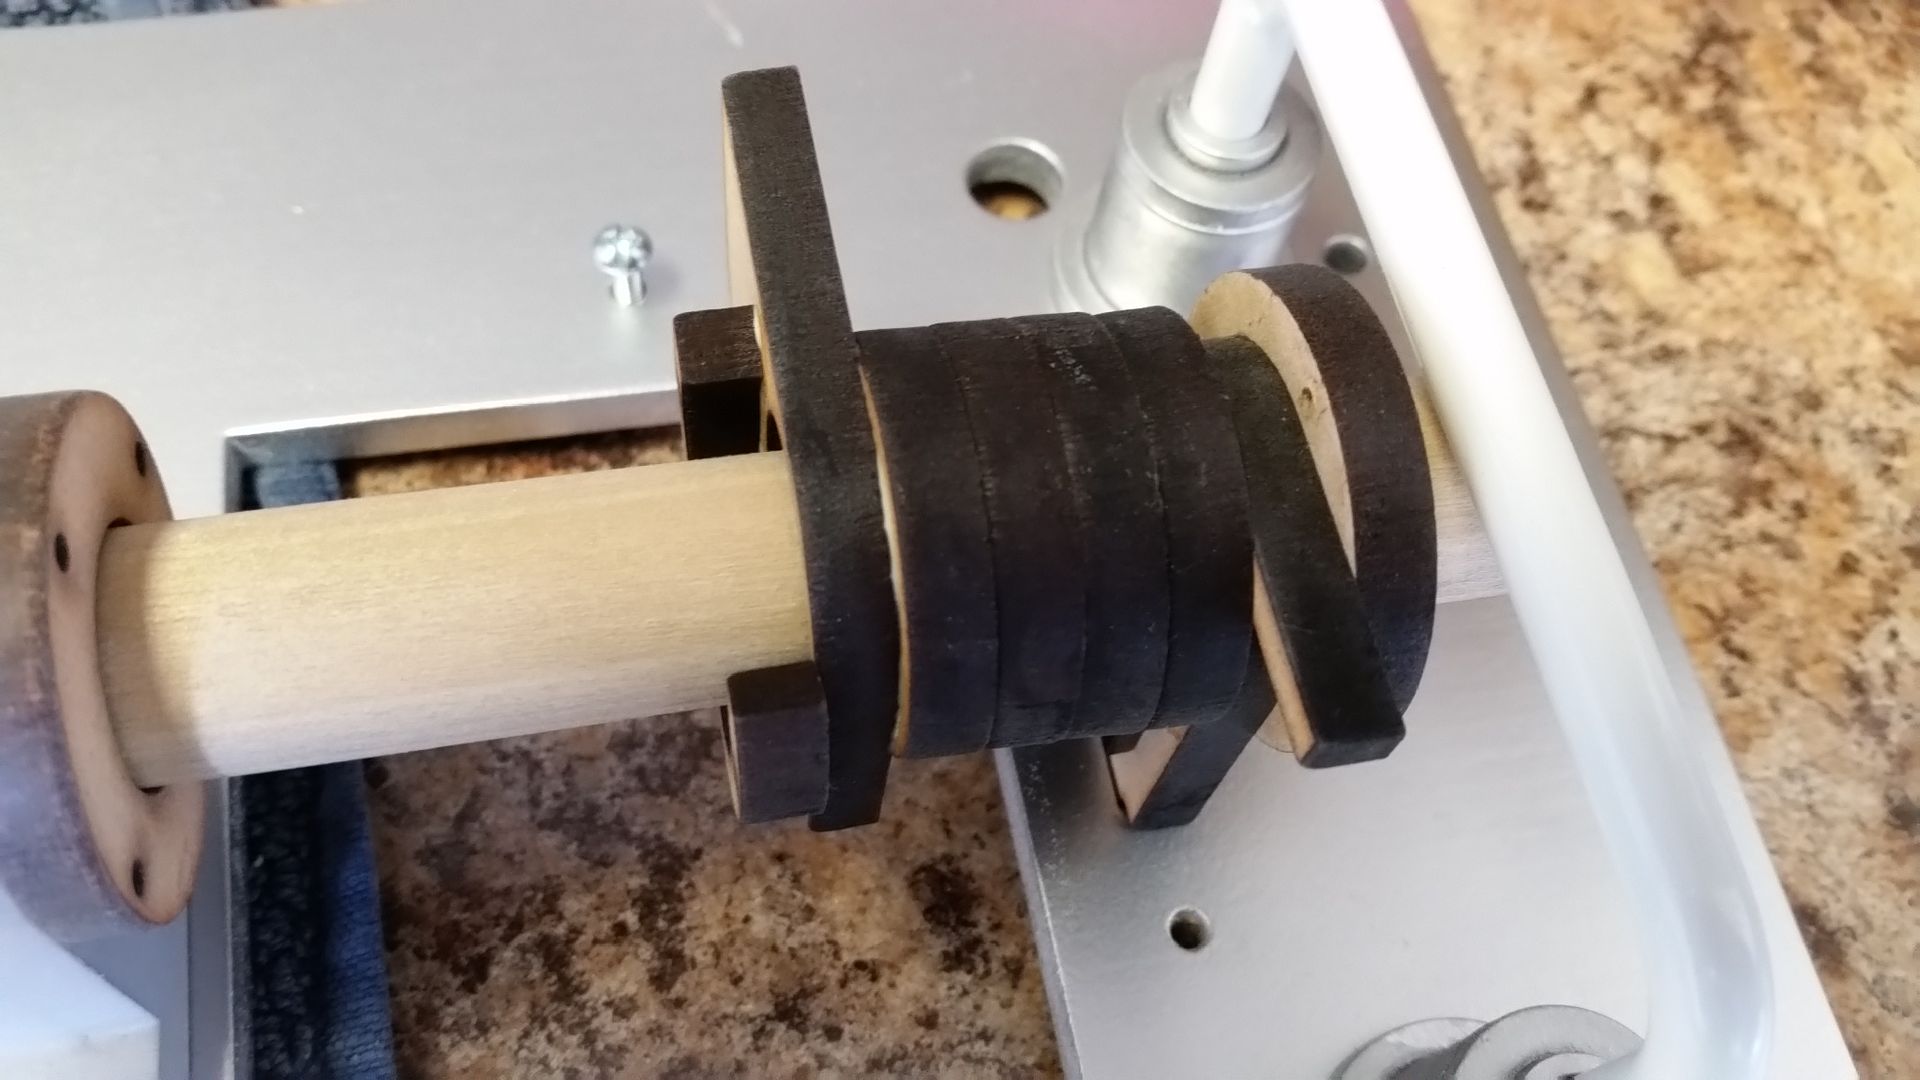
I laser cut donuts for the yokes
20151121_113455_zpsrfnkrijo.jpg


20151121_113502_zpsx7vv0lun.jpg


20151121_115834_zpsoi7r2db5.jpg


Laser cut these smaller square tiles
20151121_112236_zpsownfq4ny.jpg


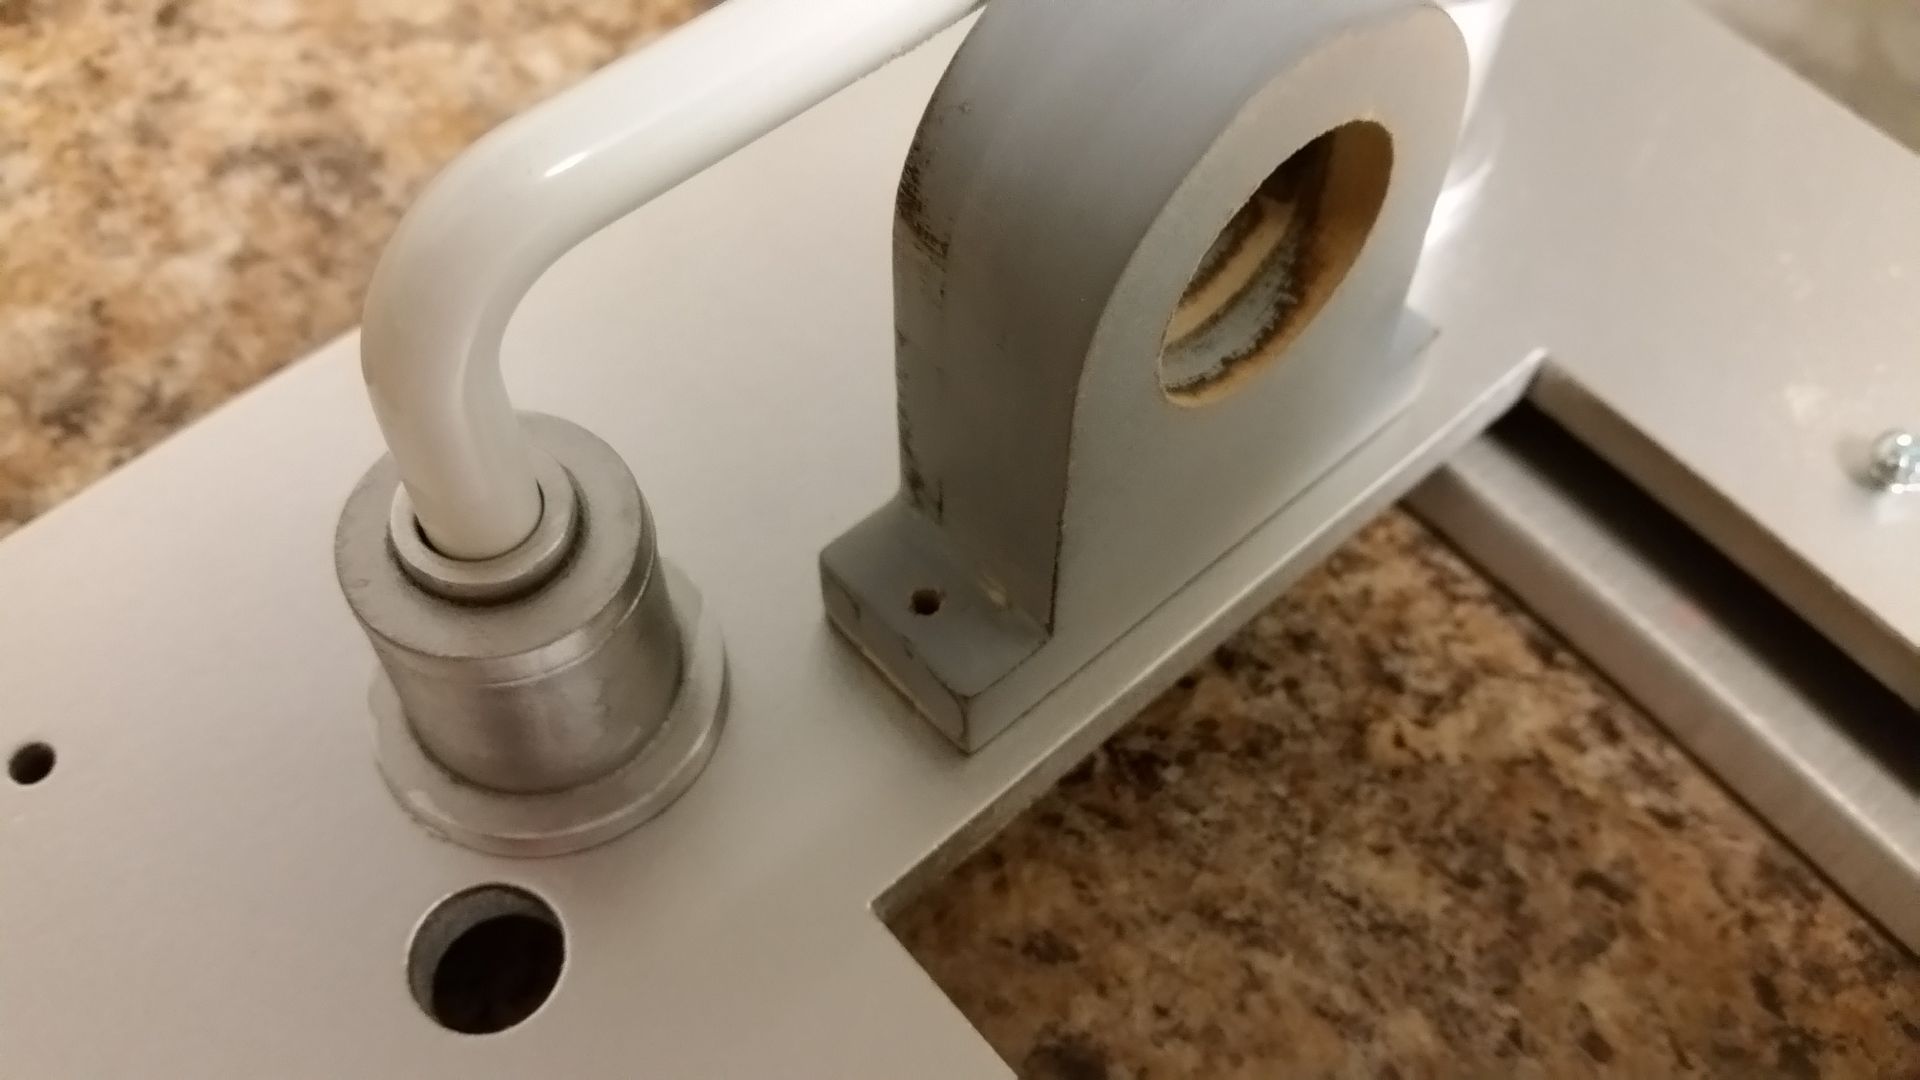
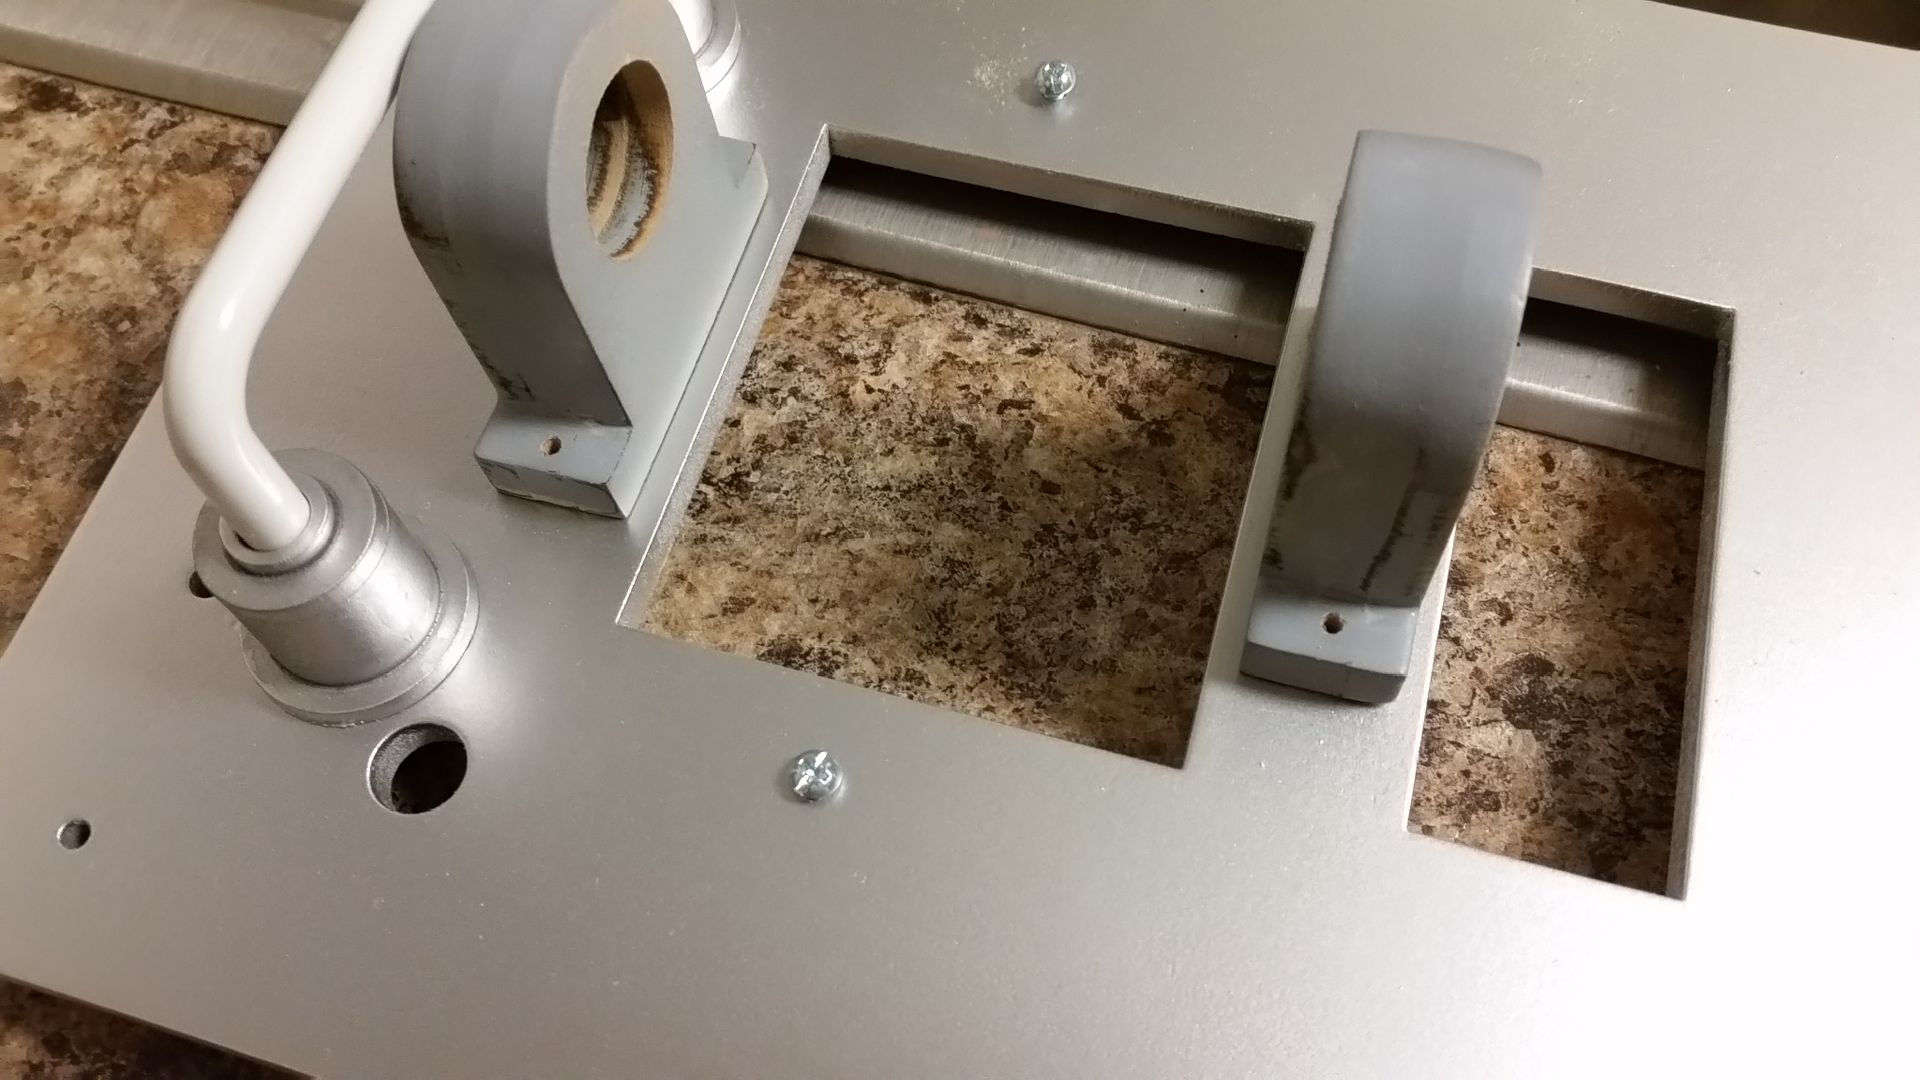
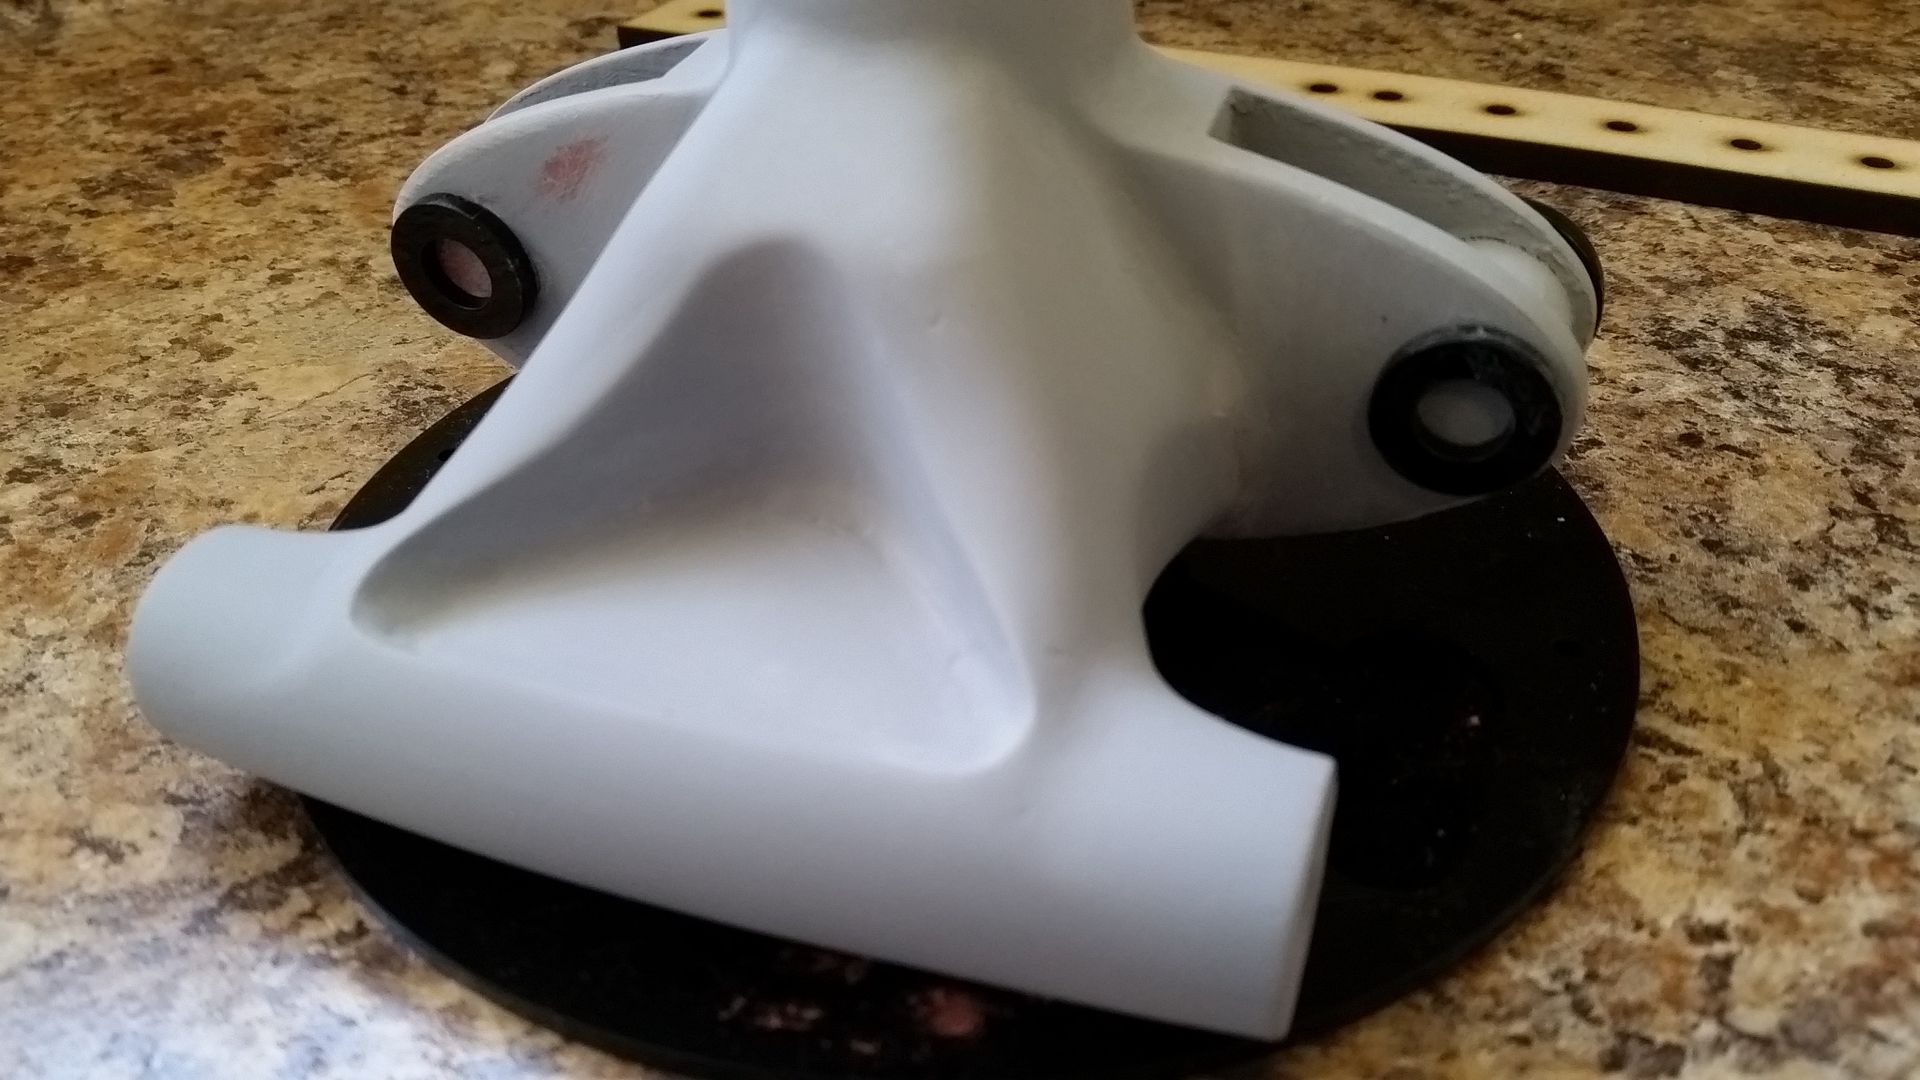
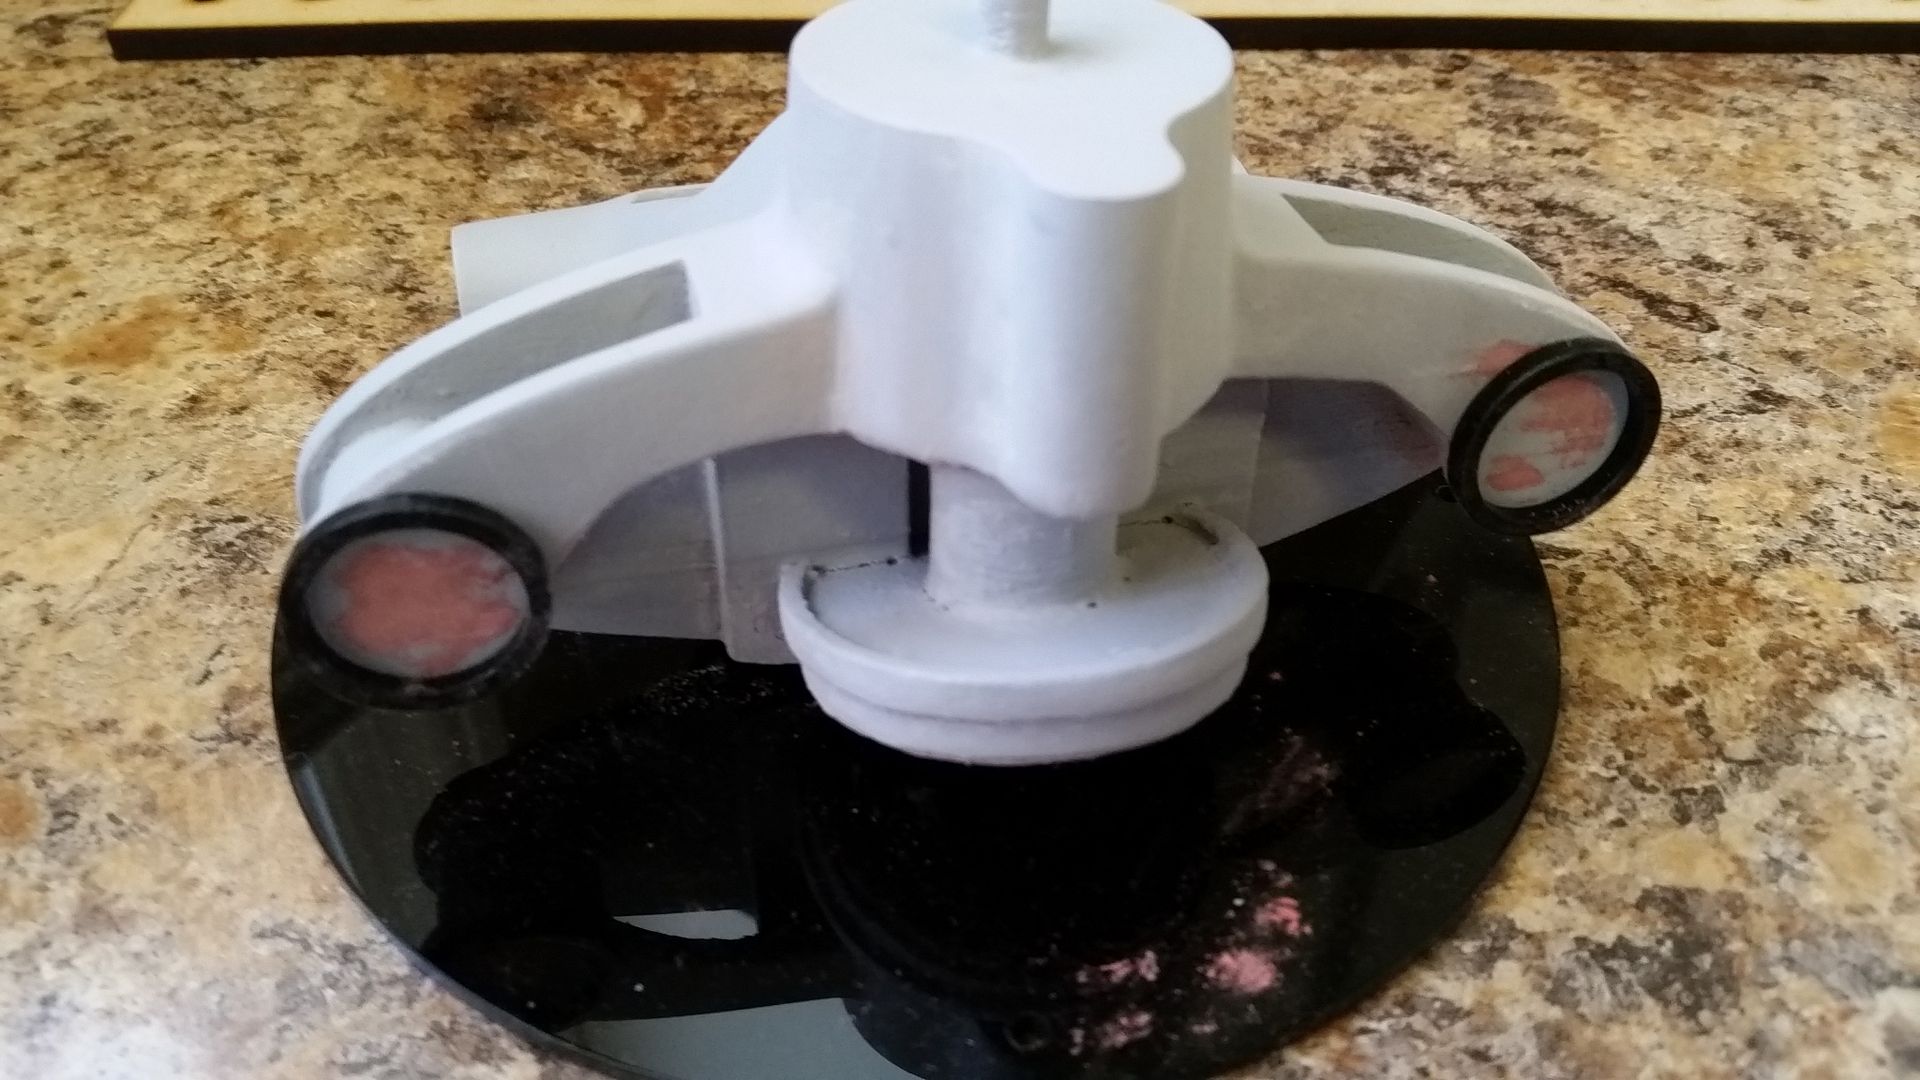
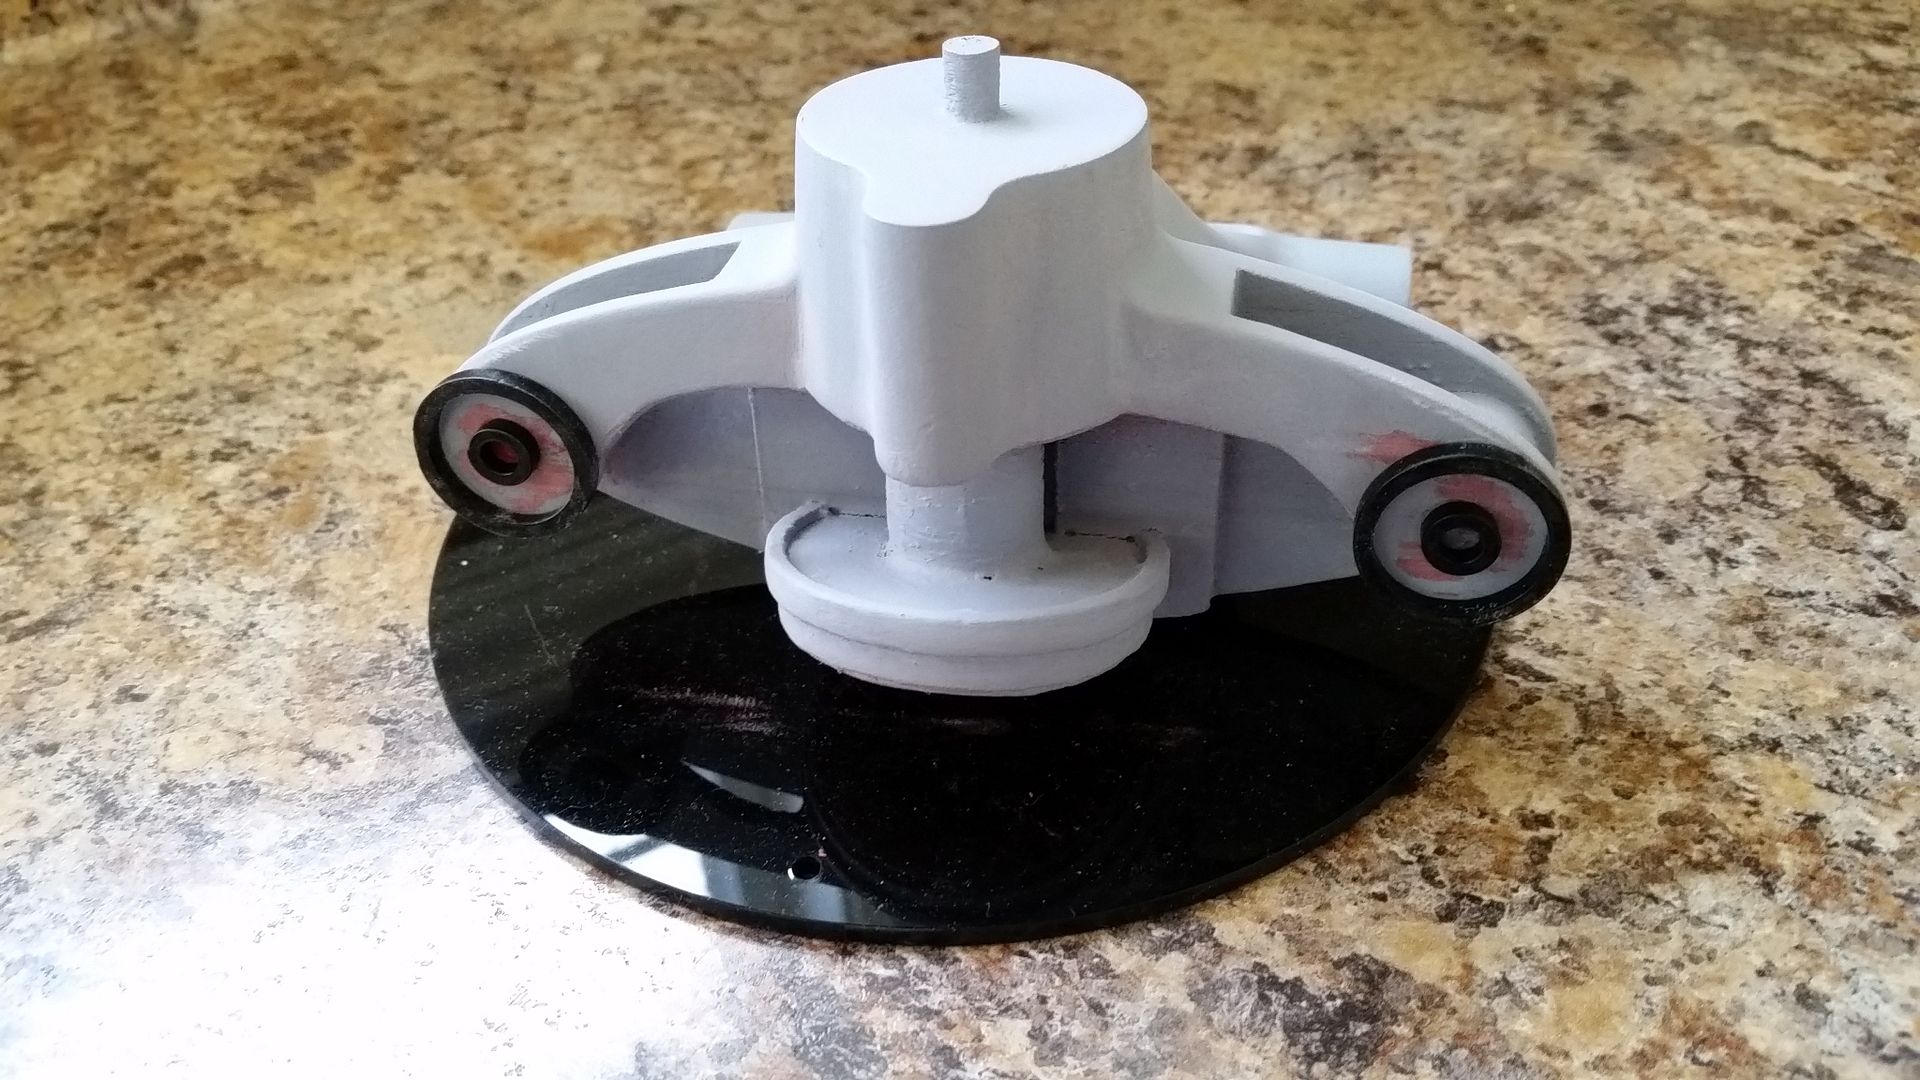
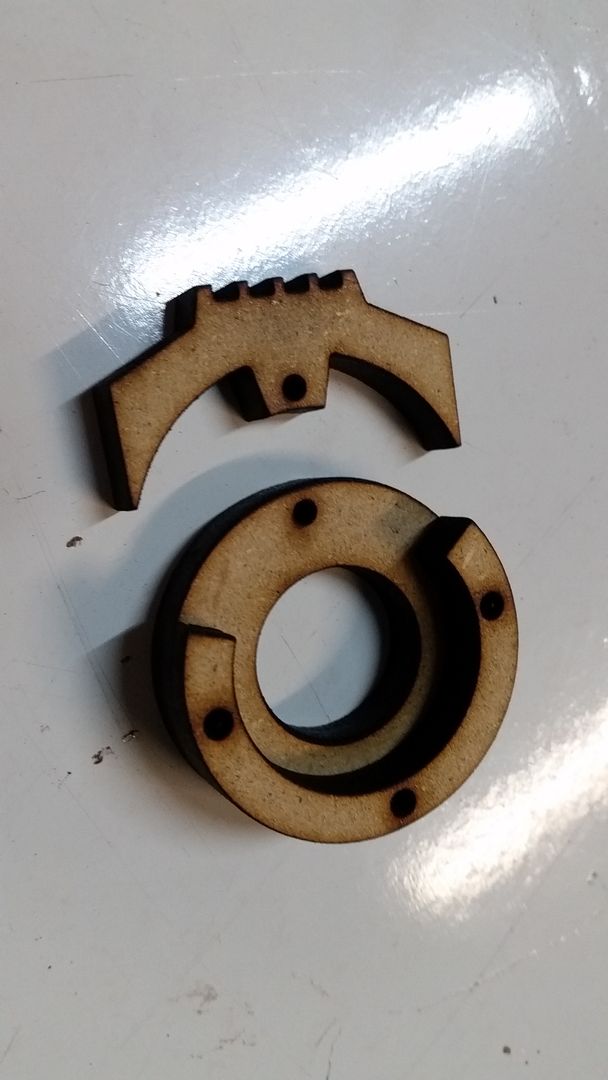
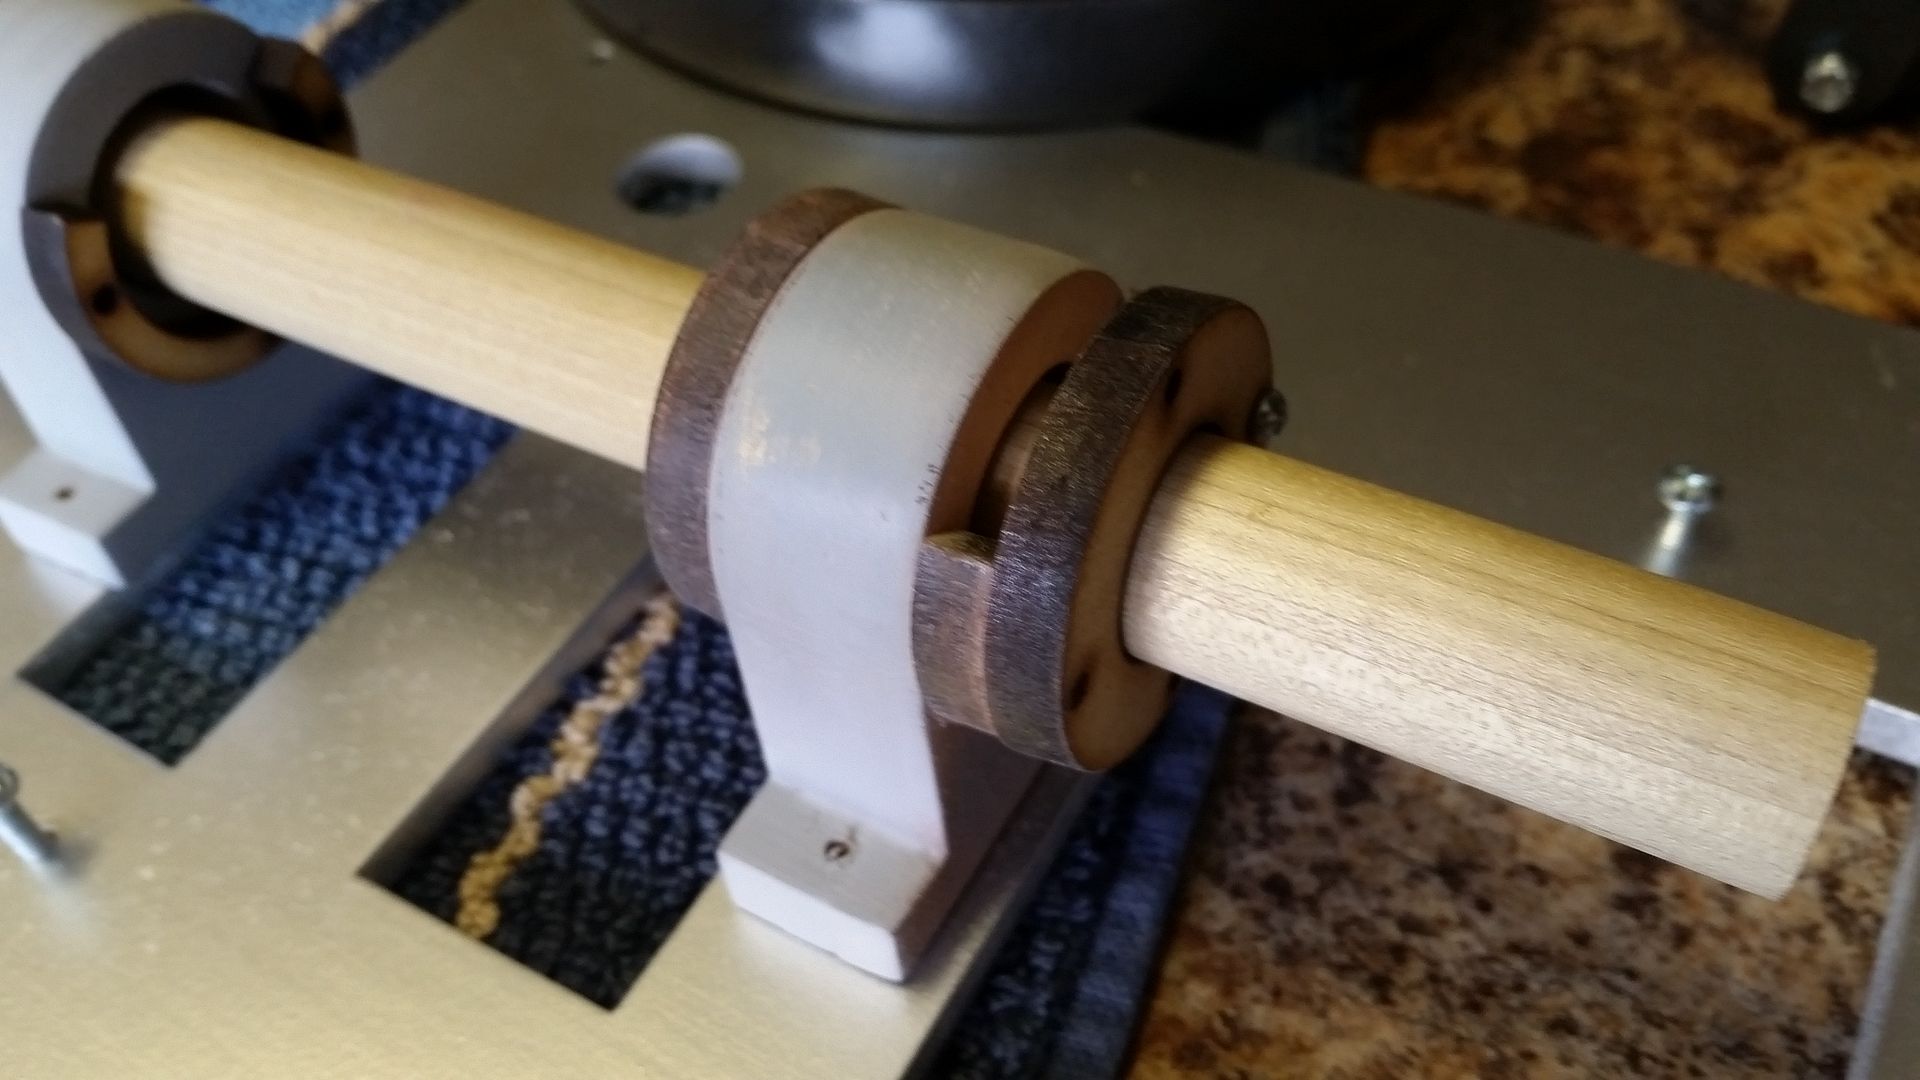
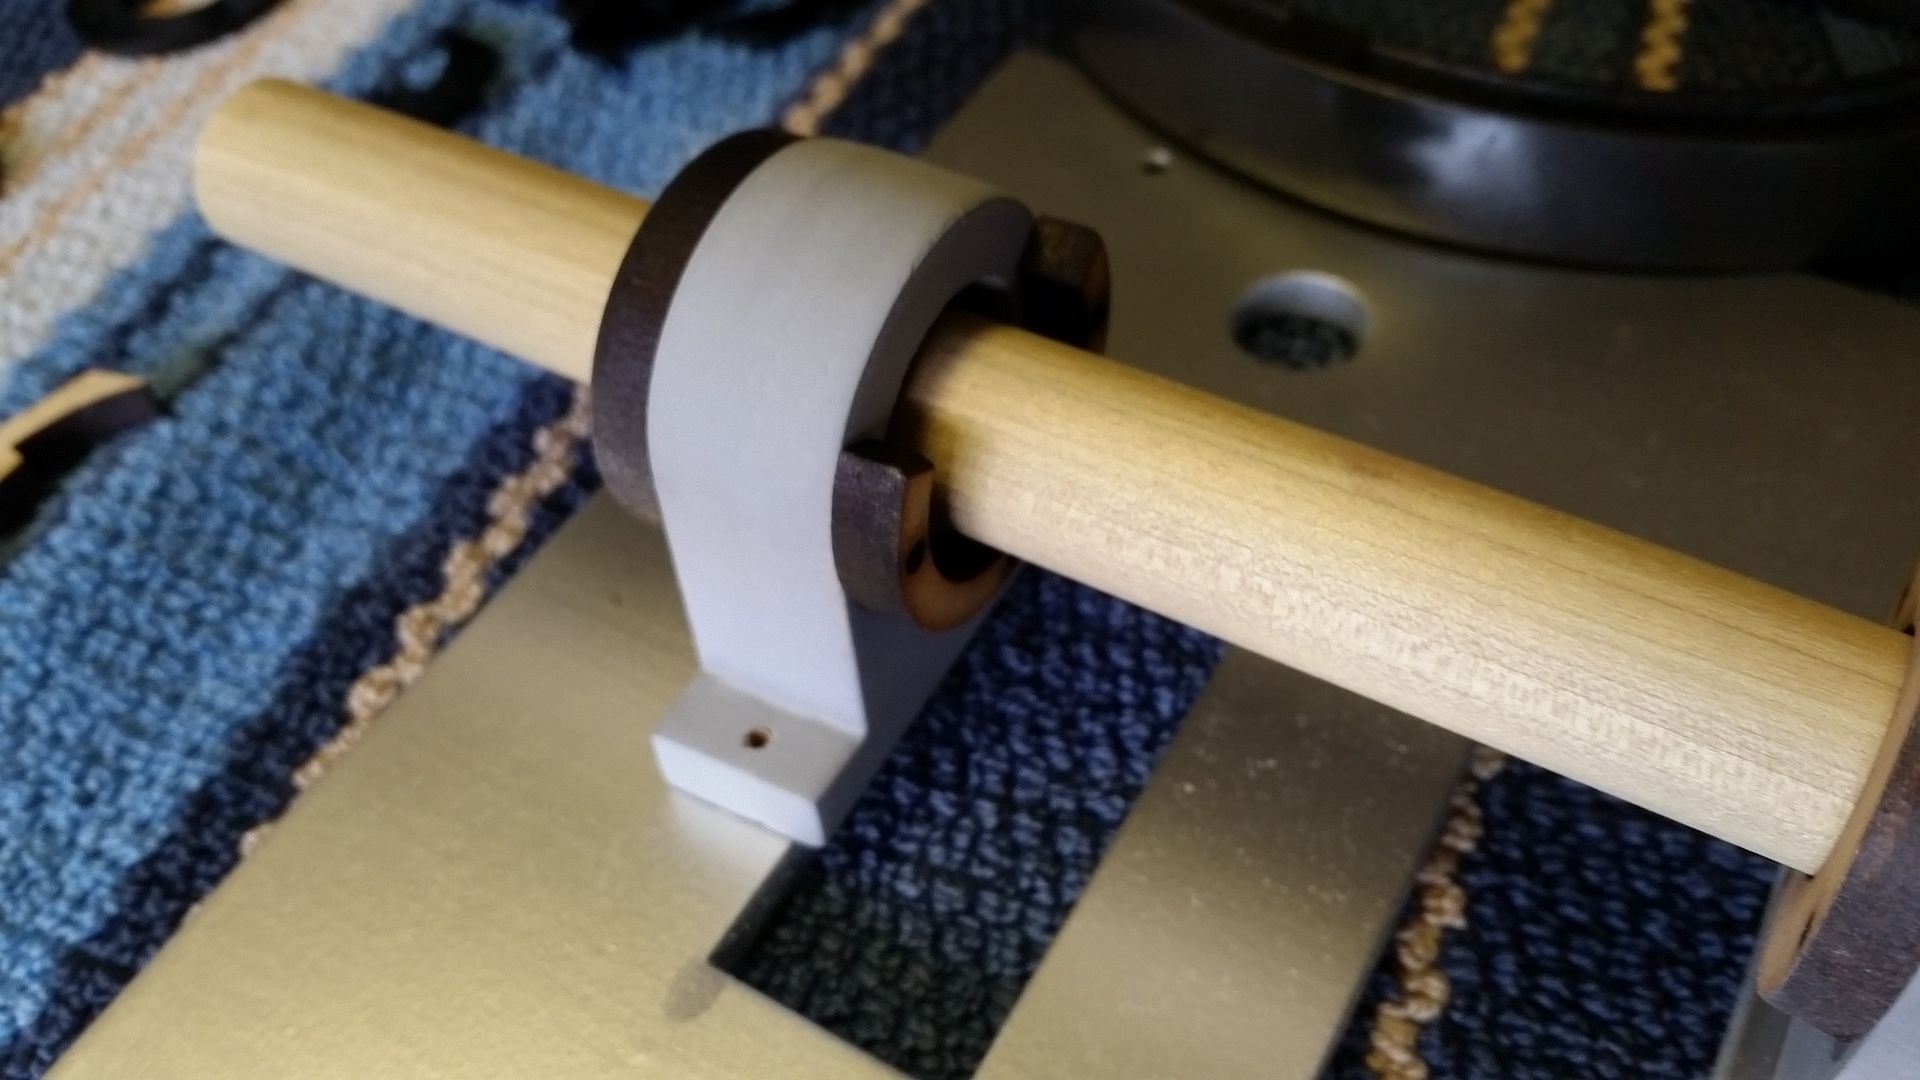
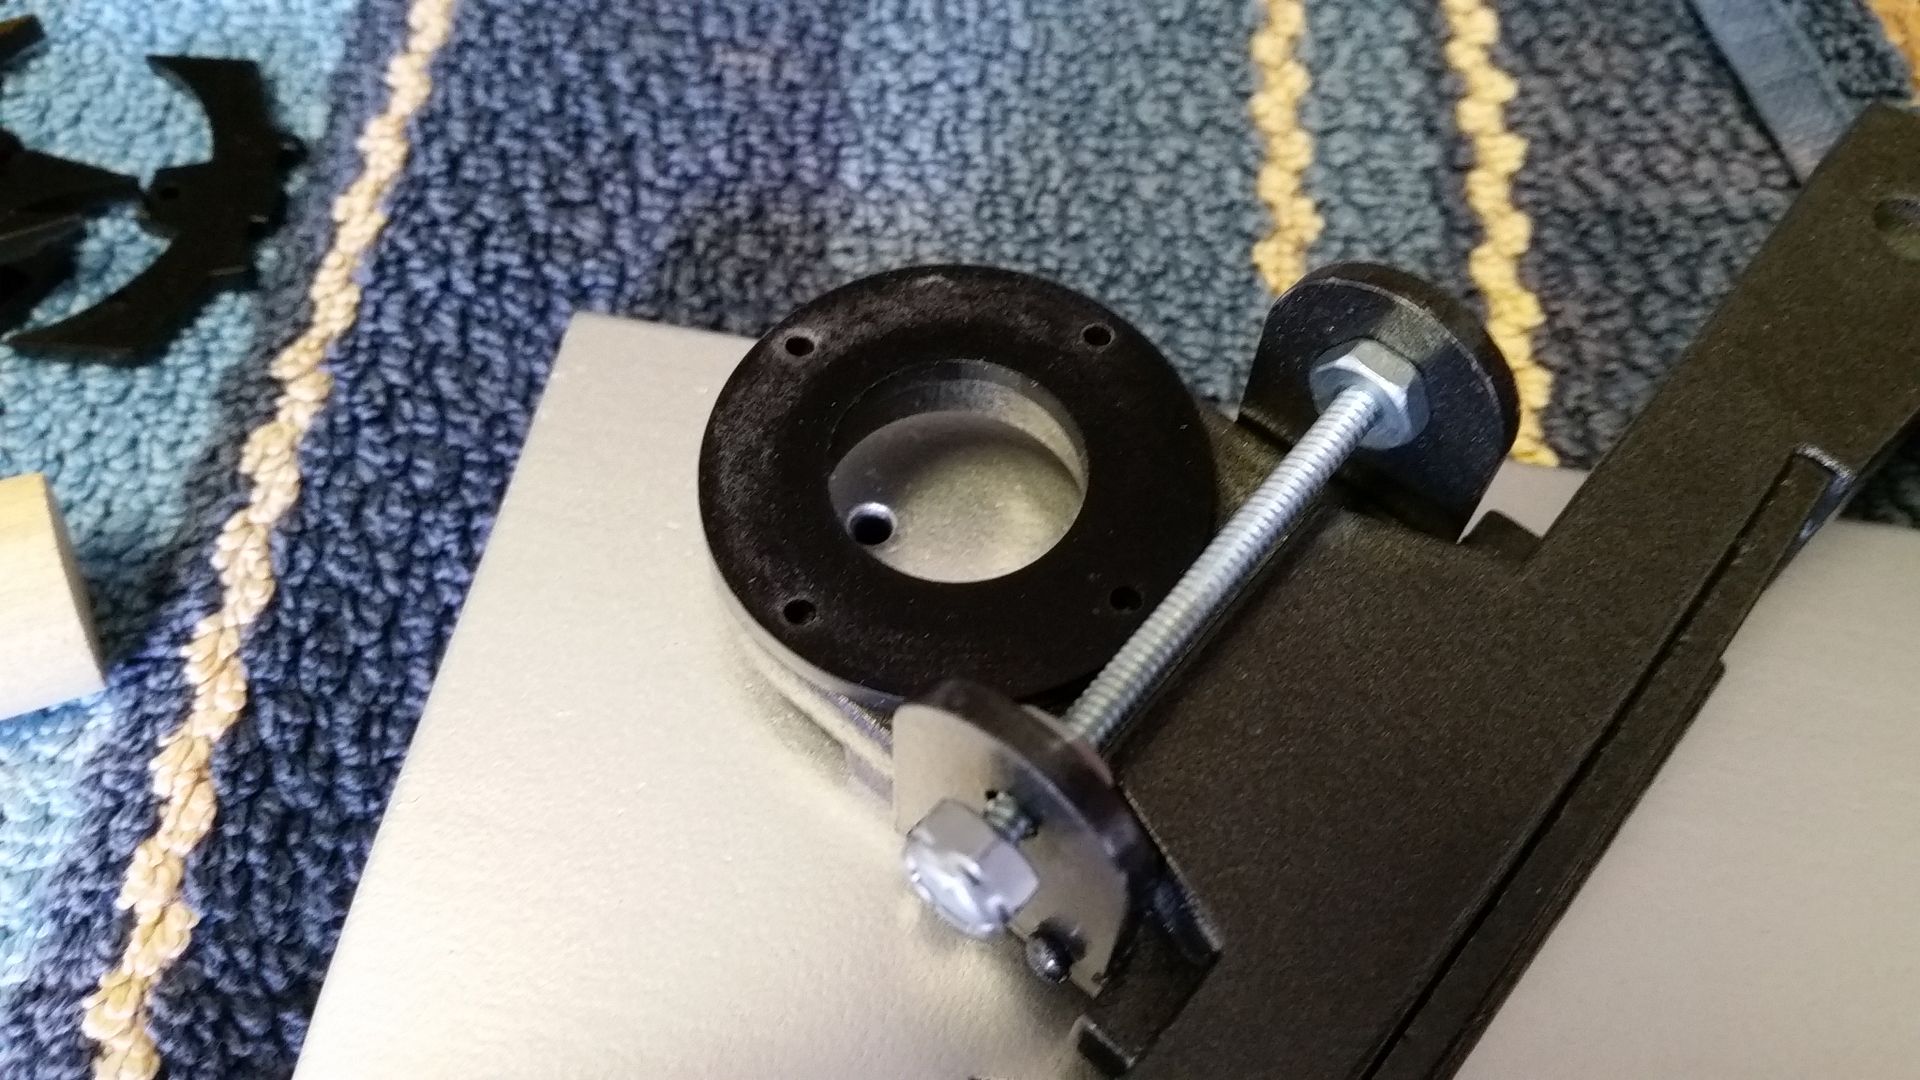
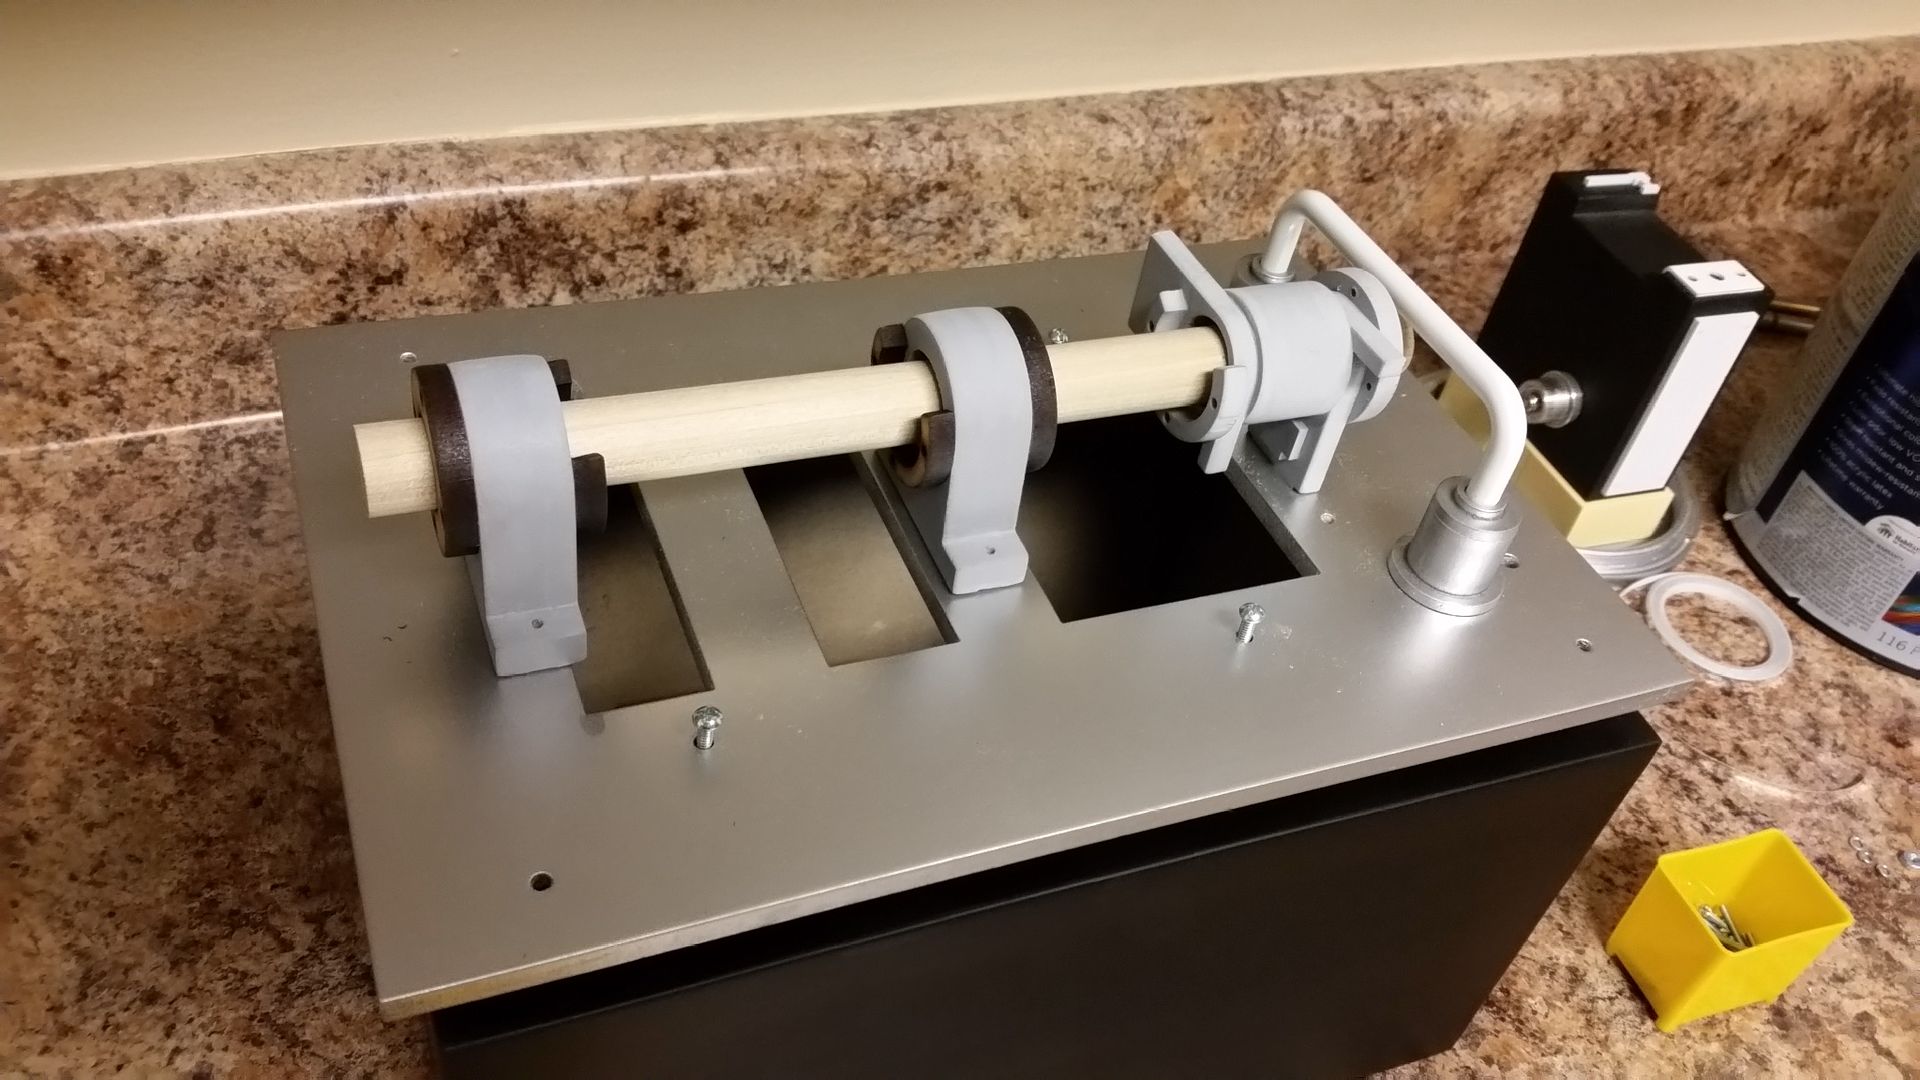
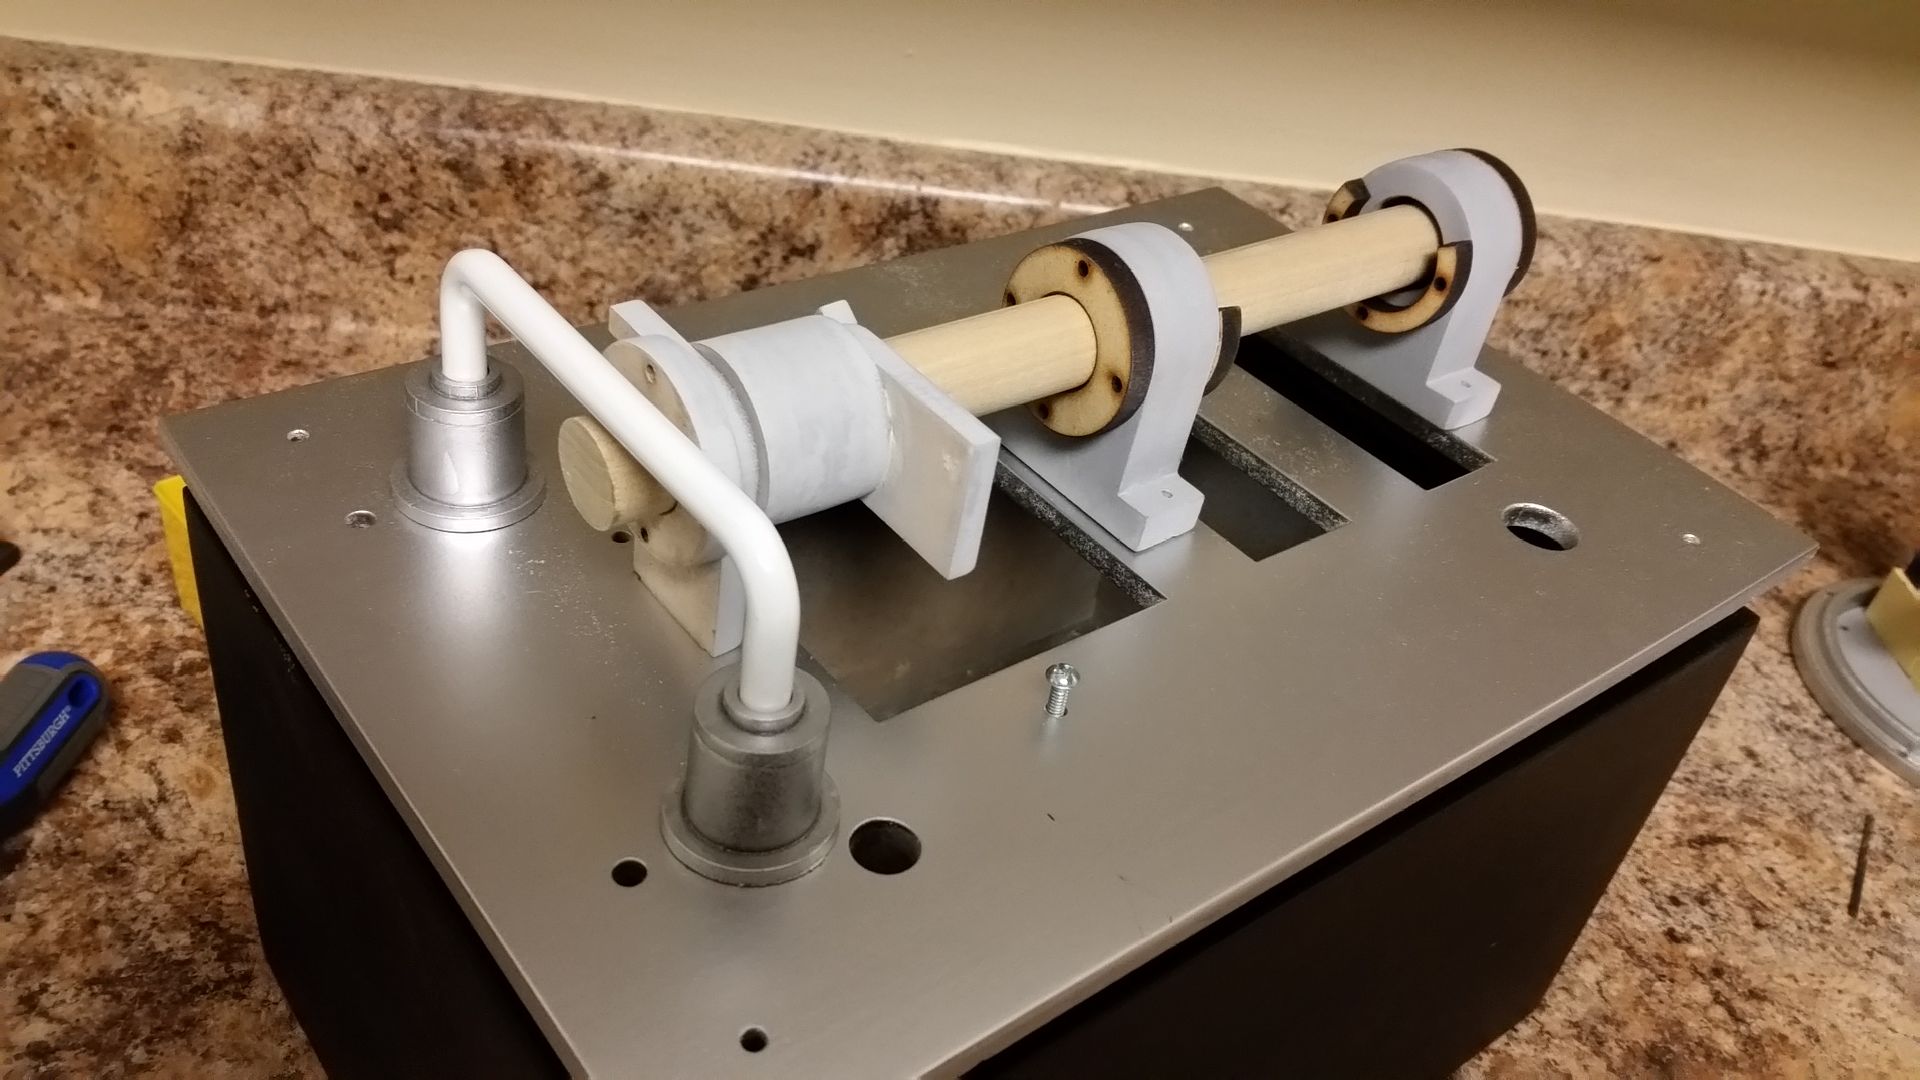
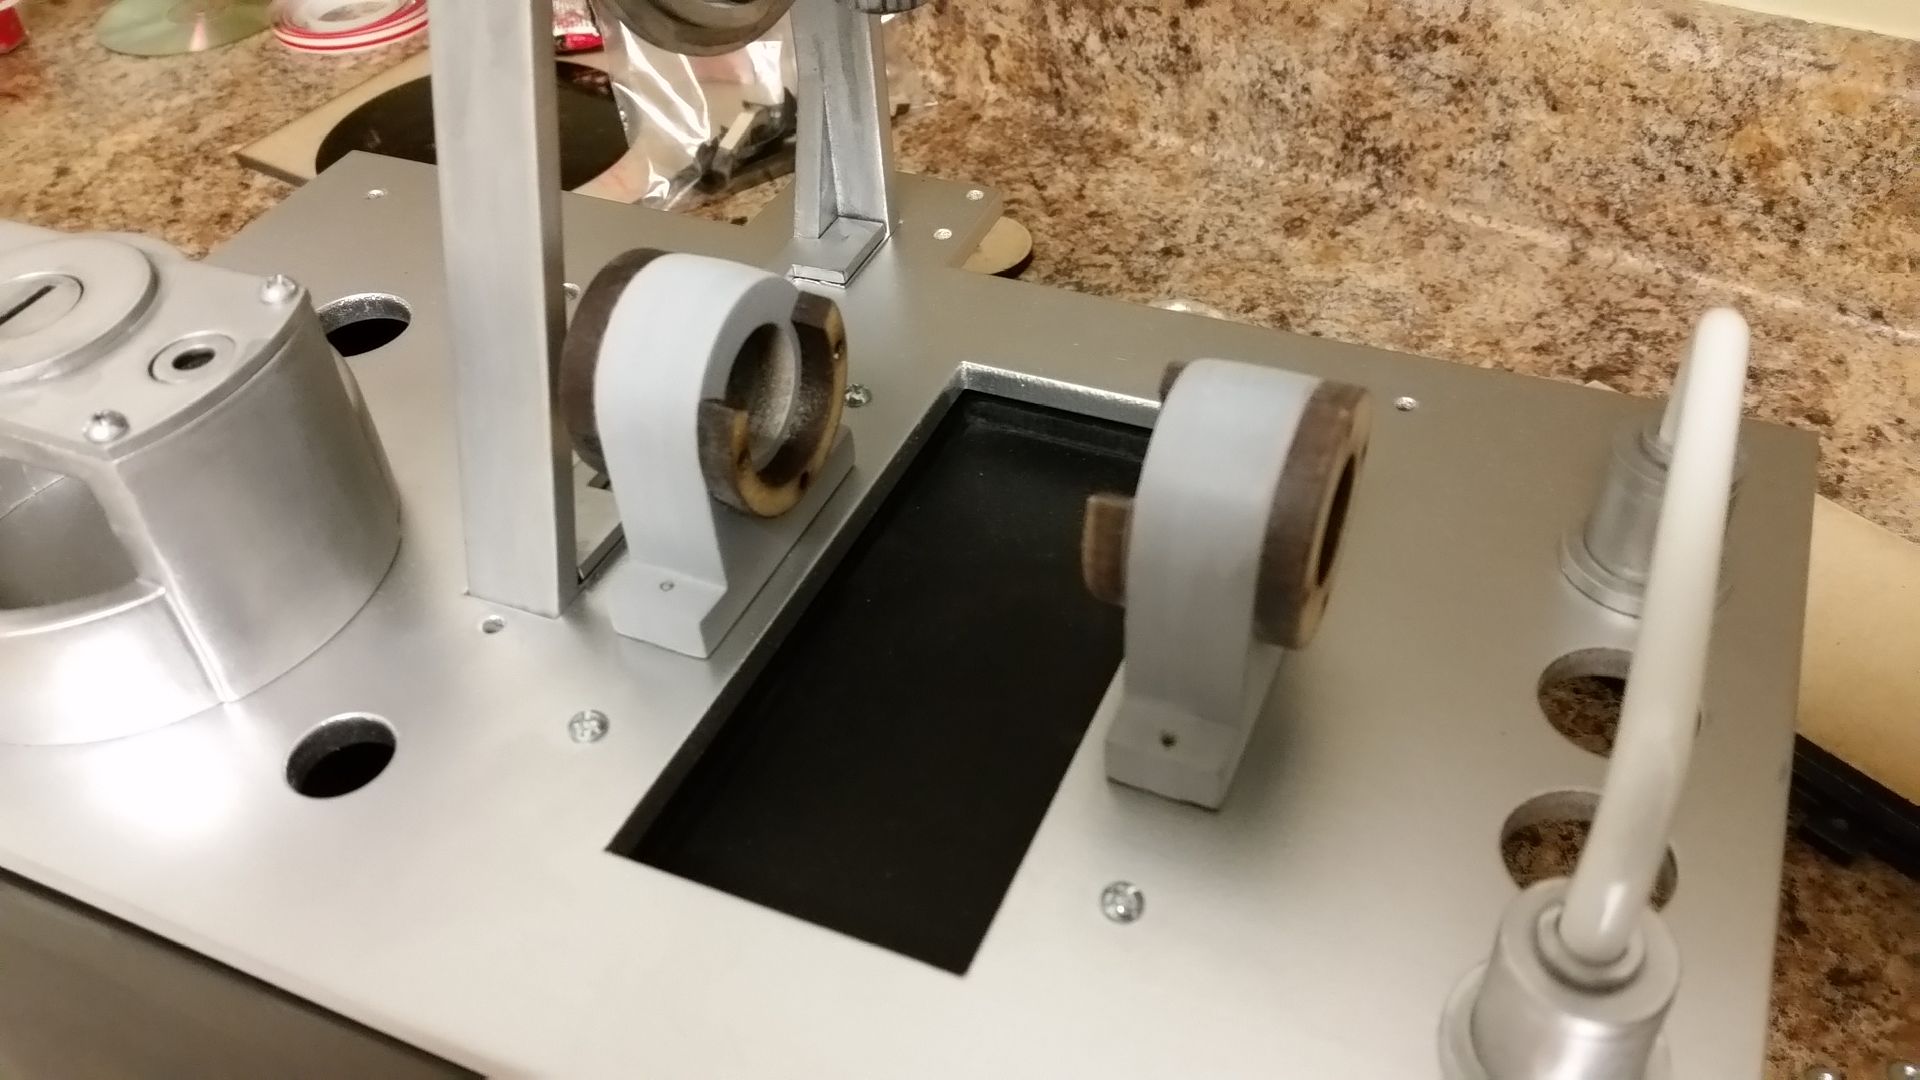
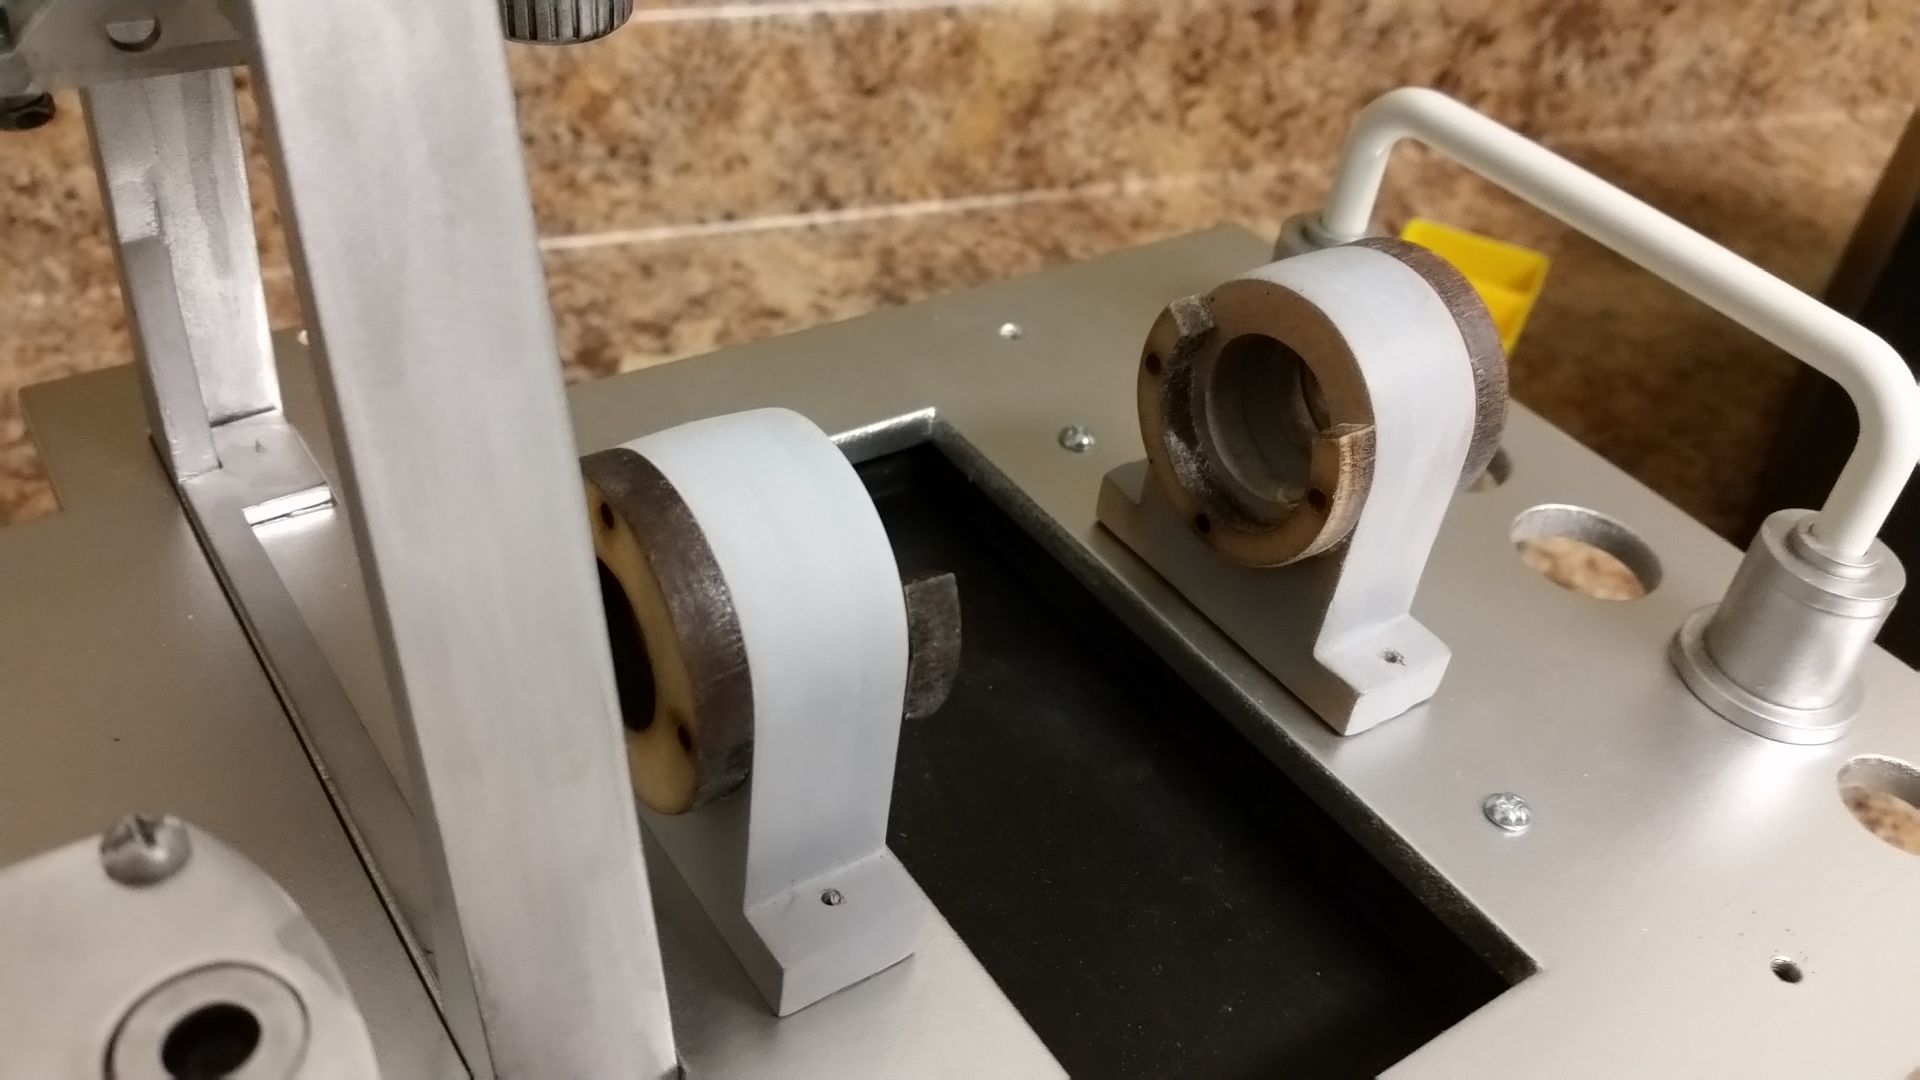
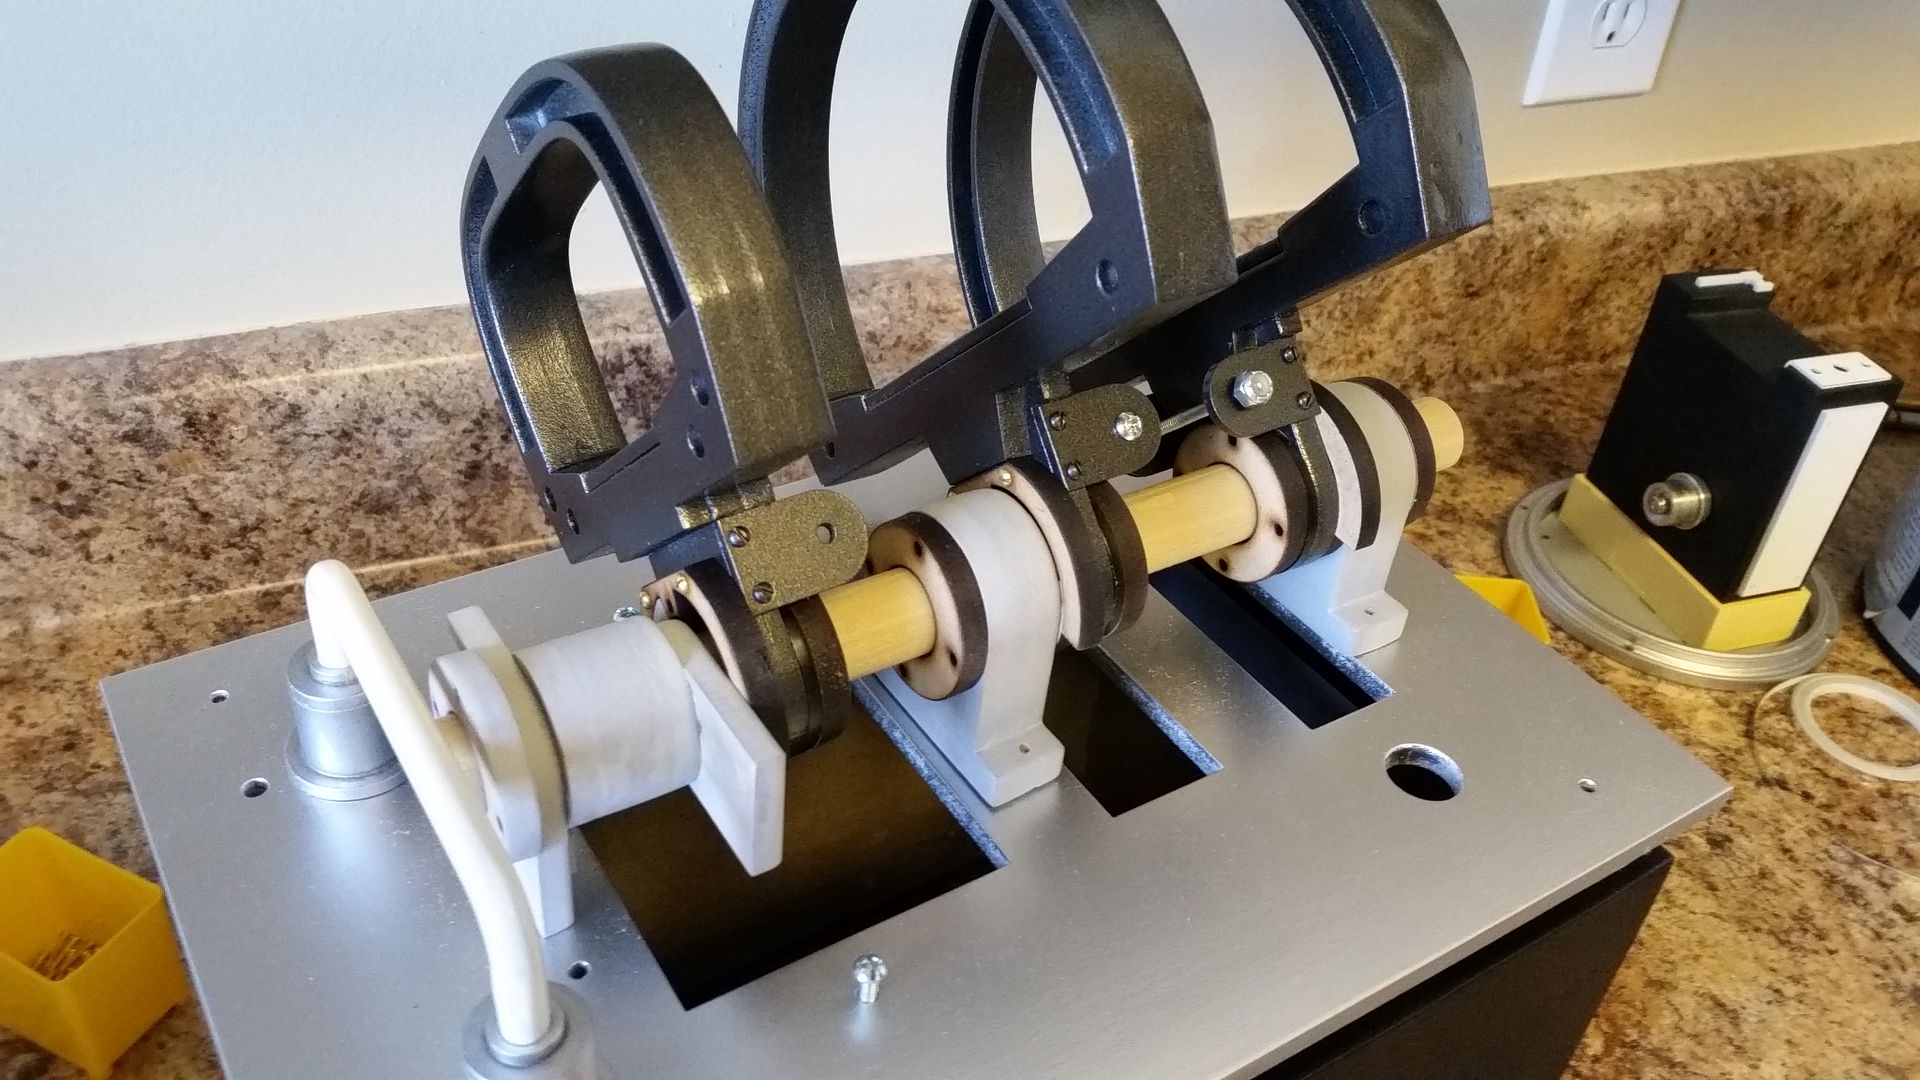
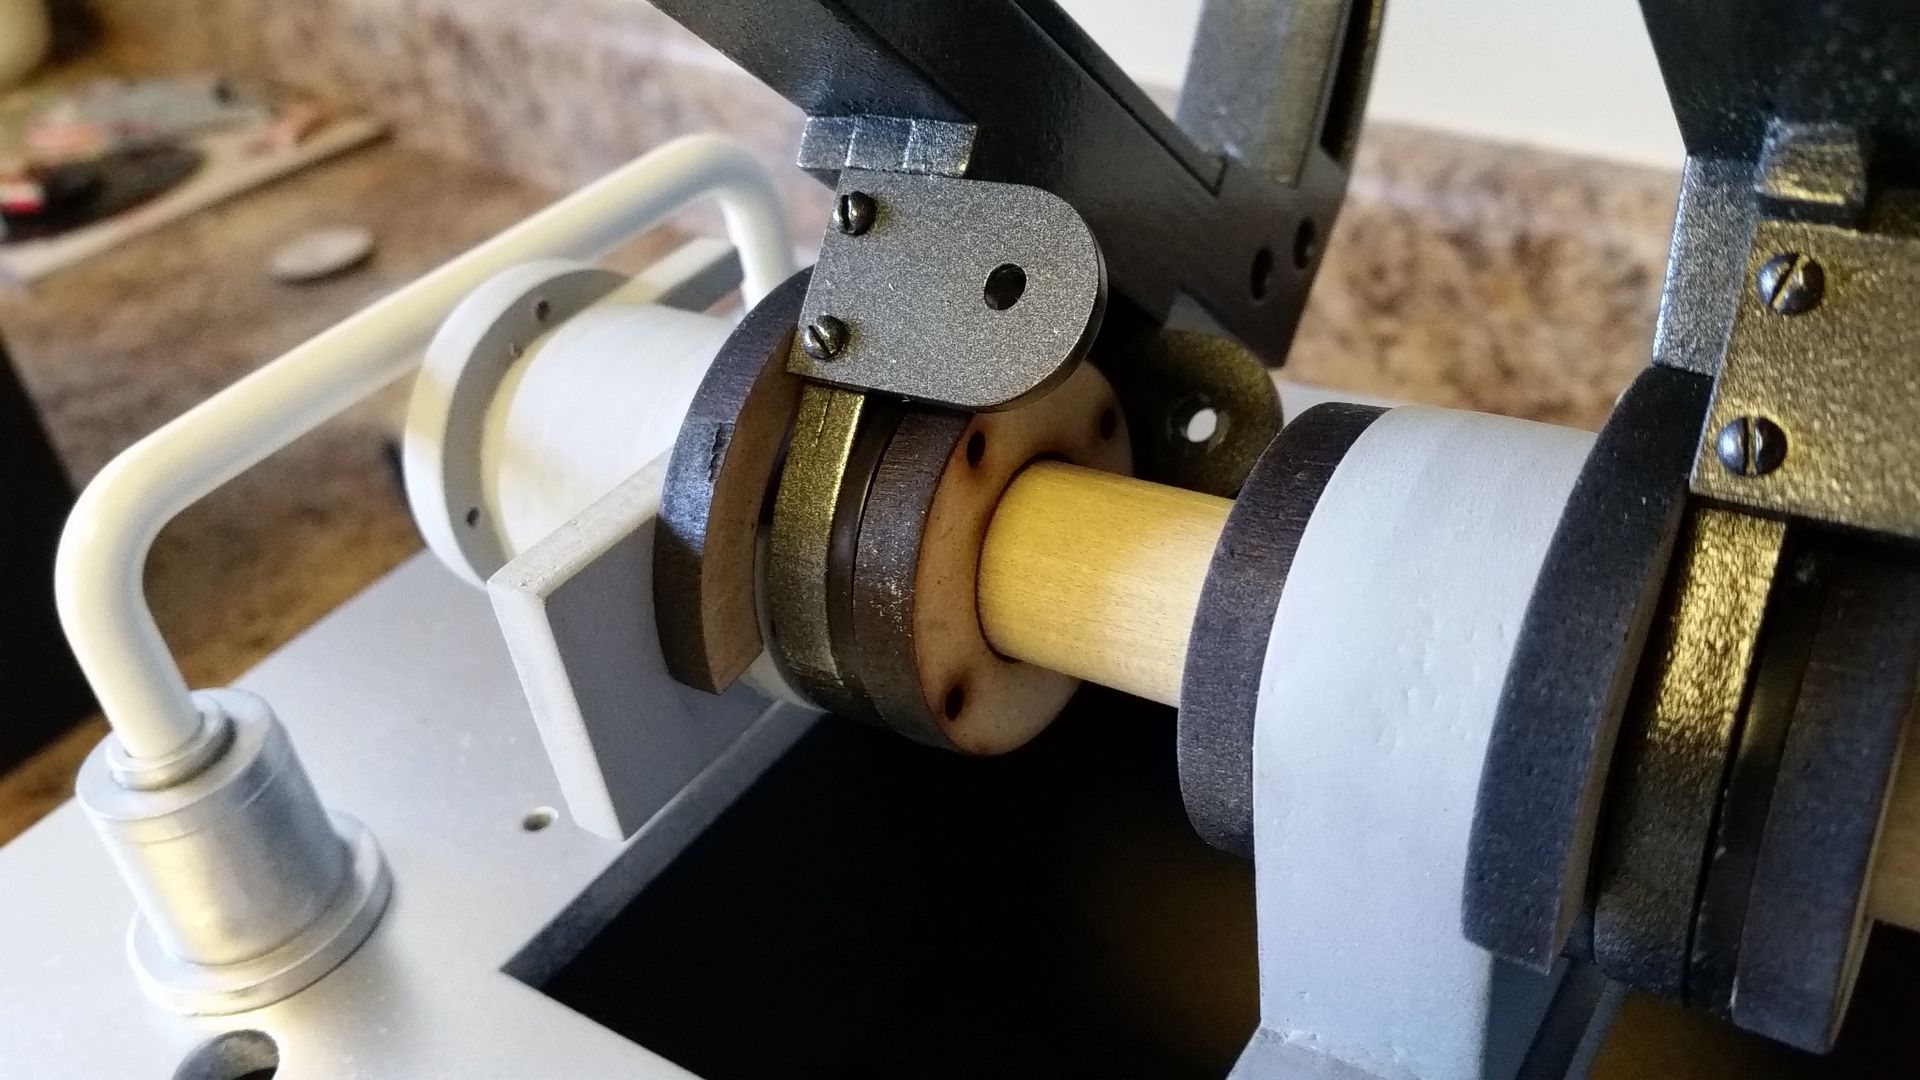
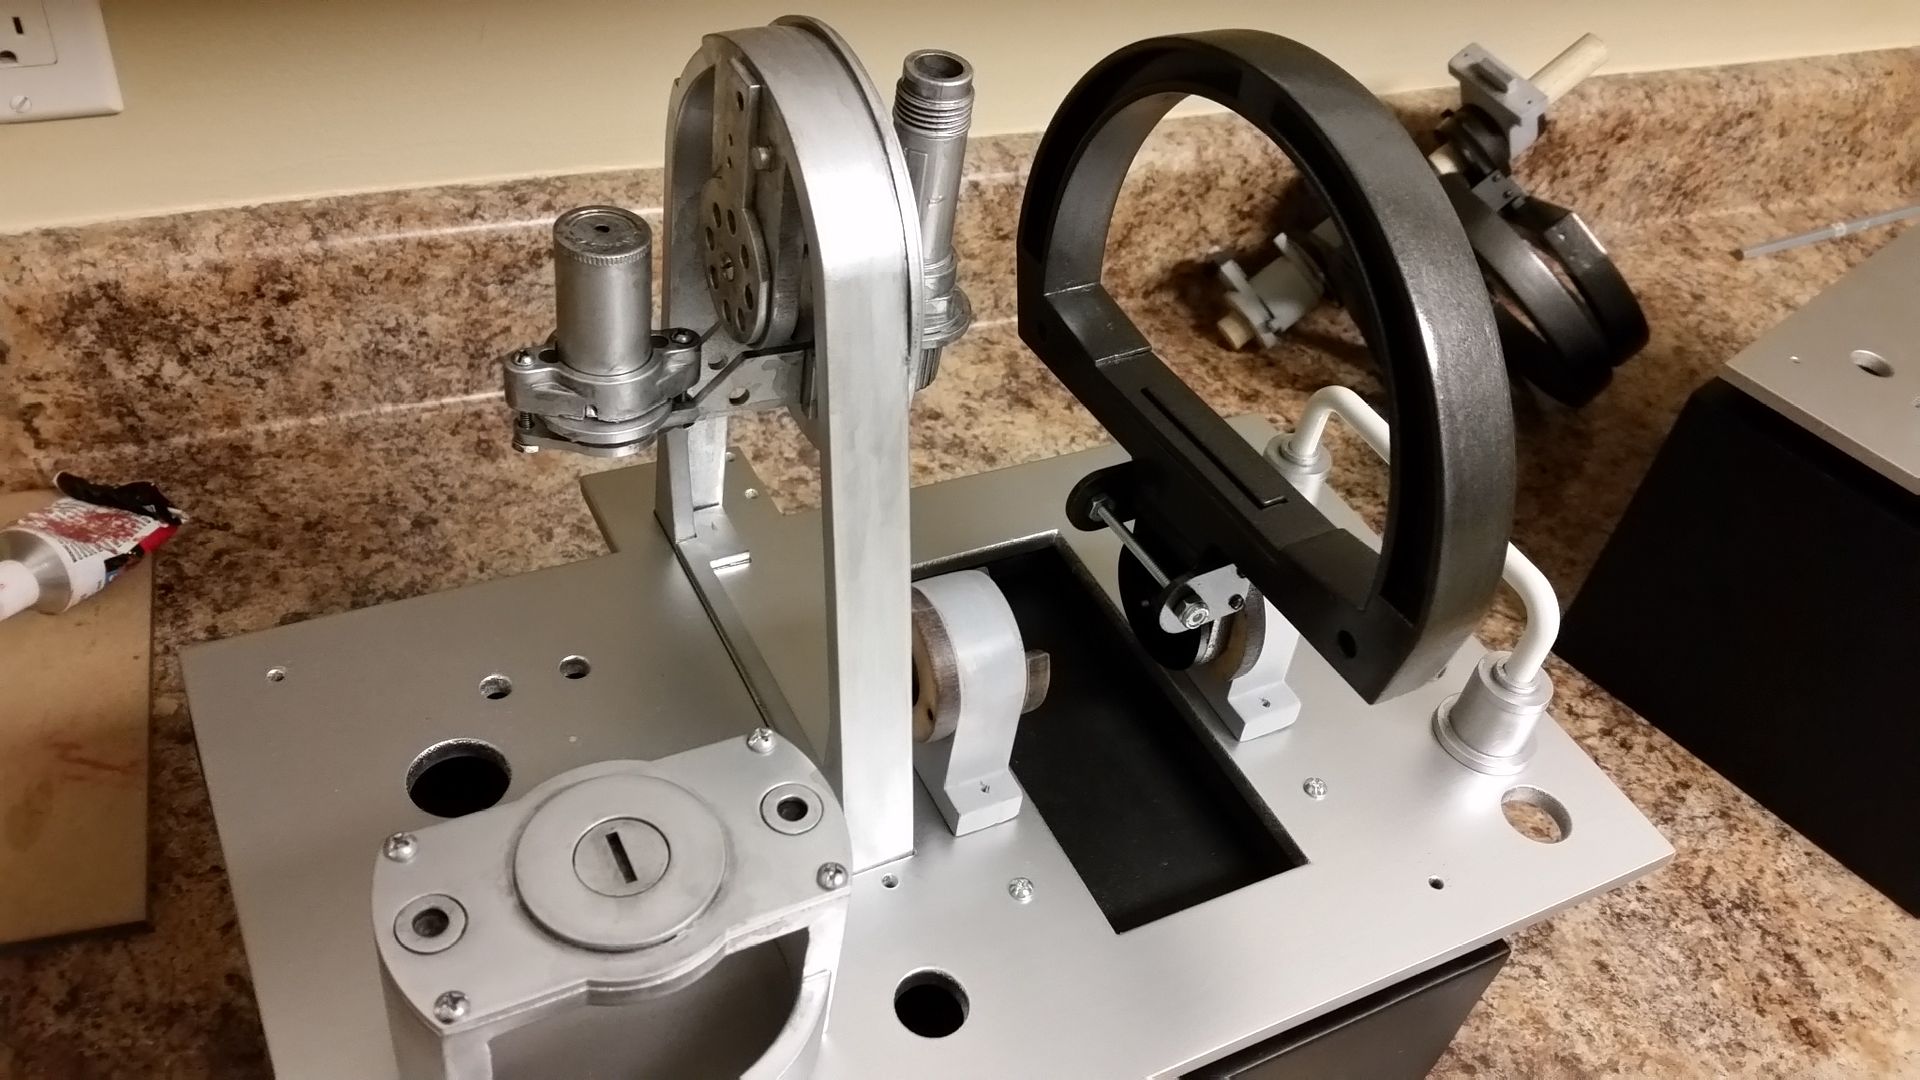
I also spent a LOT of time trying to figure out how to make these canopy box handles move
20151121_070312_zpsk3pve8u8.jpg


20151121_110518_zpskhskor0a.jpg


20151121_110521_zpskuatao5t.jpg


This idea worked but it wasn't beefy enough
20151121_110538_zps2n1cxp17.jpg


Cover plate
20151121_110546_zpsucs9jfmh.jpg


20151121_115754_zpsi9pfdky7.jpg


Spacers
20151121_115759_zpsjxzyoqru.jpg


20151121_184419_zpsijnbar36.jpg


20151121_184432_zpsvdlcuh74.jpg


20151121_184449_zpsfrr6paxh.jpg


20151121_184455_zpsni5yuri7.jpg


I didn't get any detailed images of how the mech actually works - I'll explain on a later post
20151122_132828_zpswvnvpun8.jpg


I'm not very happy with the overall design
20151122_132838_zpsjtippqri.jpg


We'll figure it out
20151122_180855_zpsktsaofg7.jpg


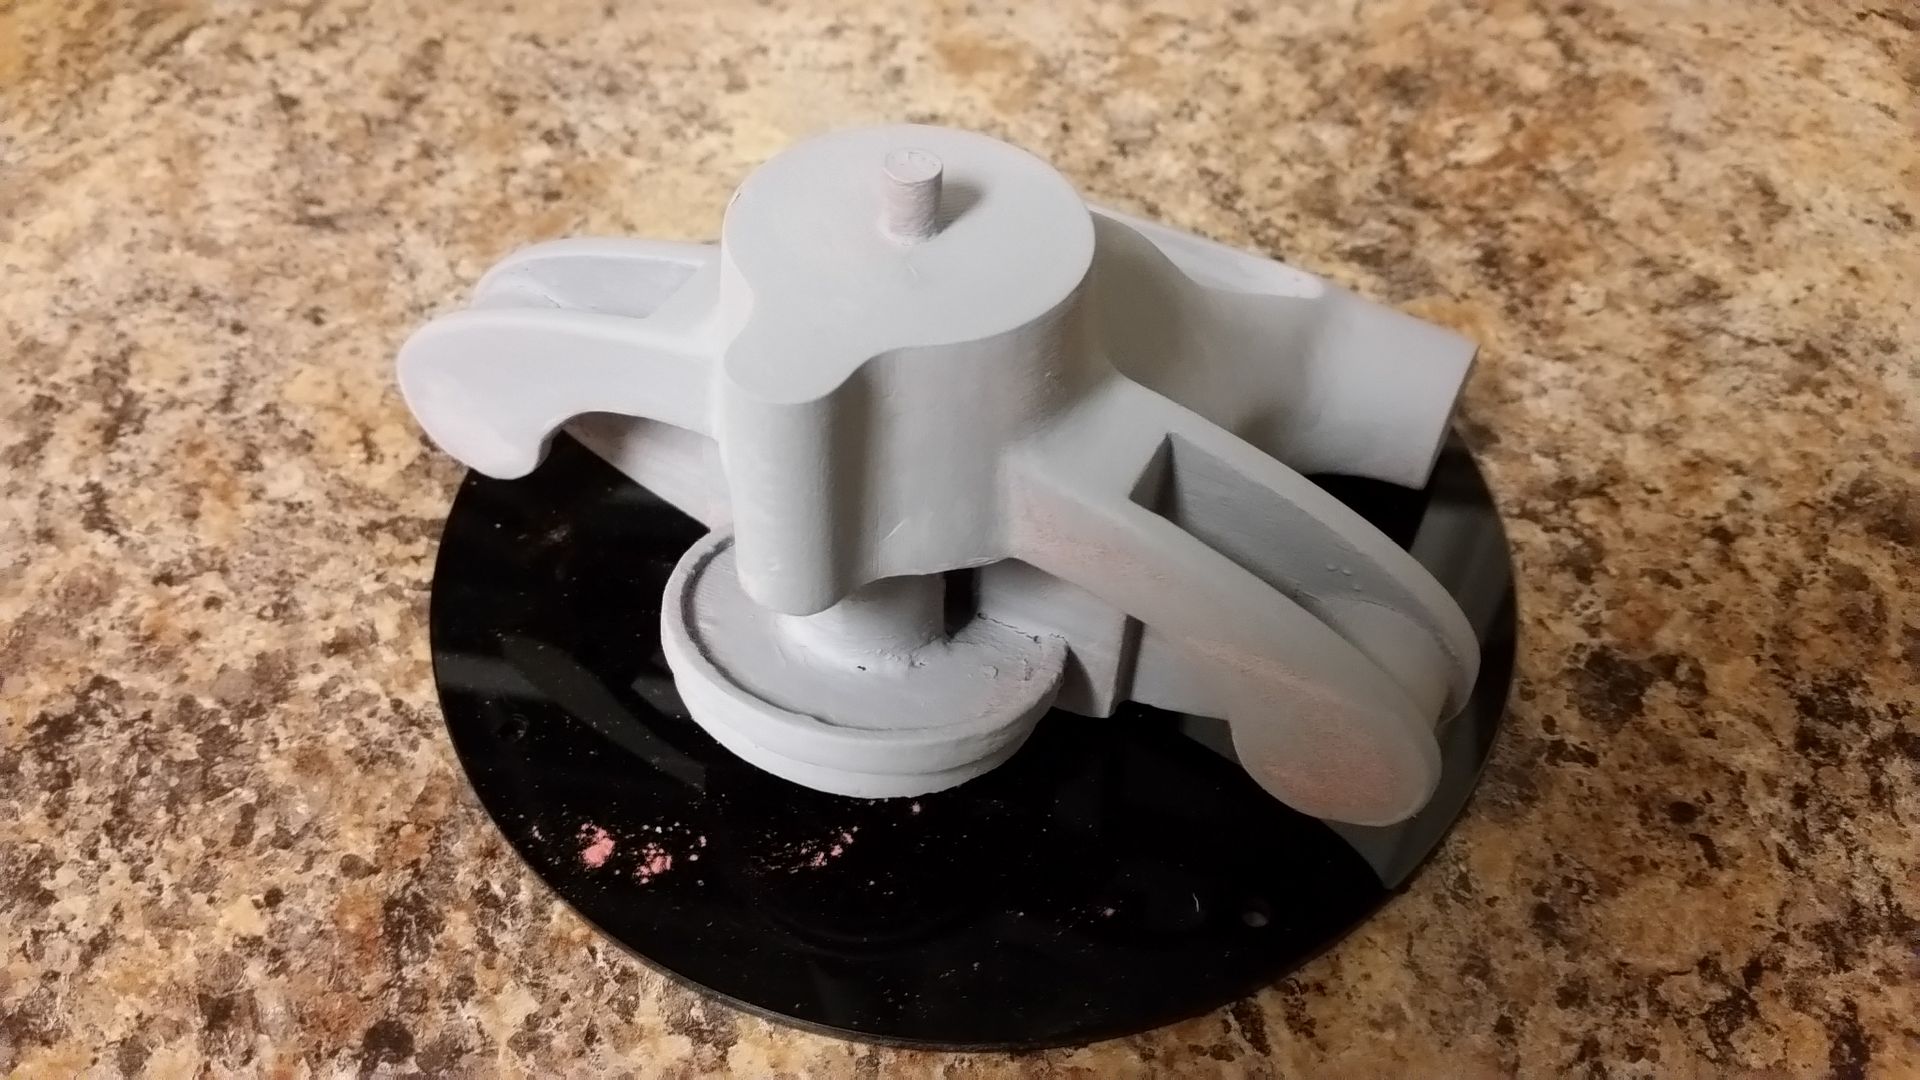
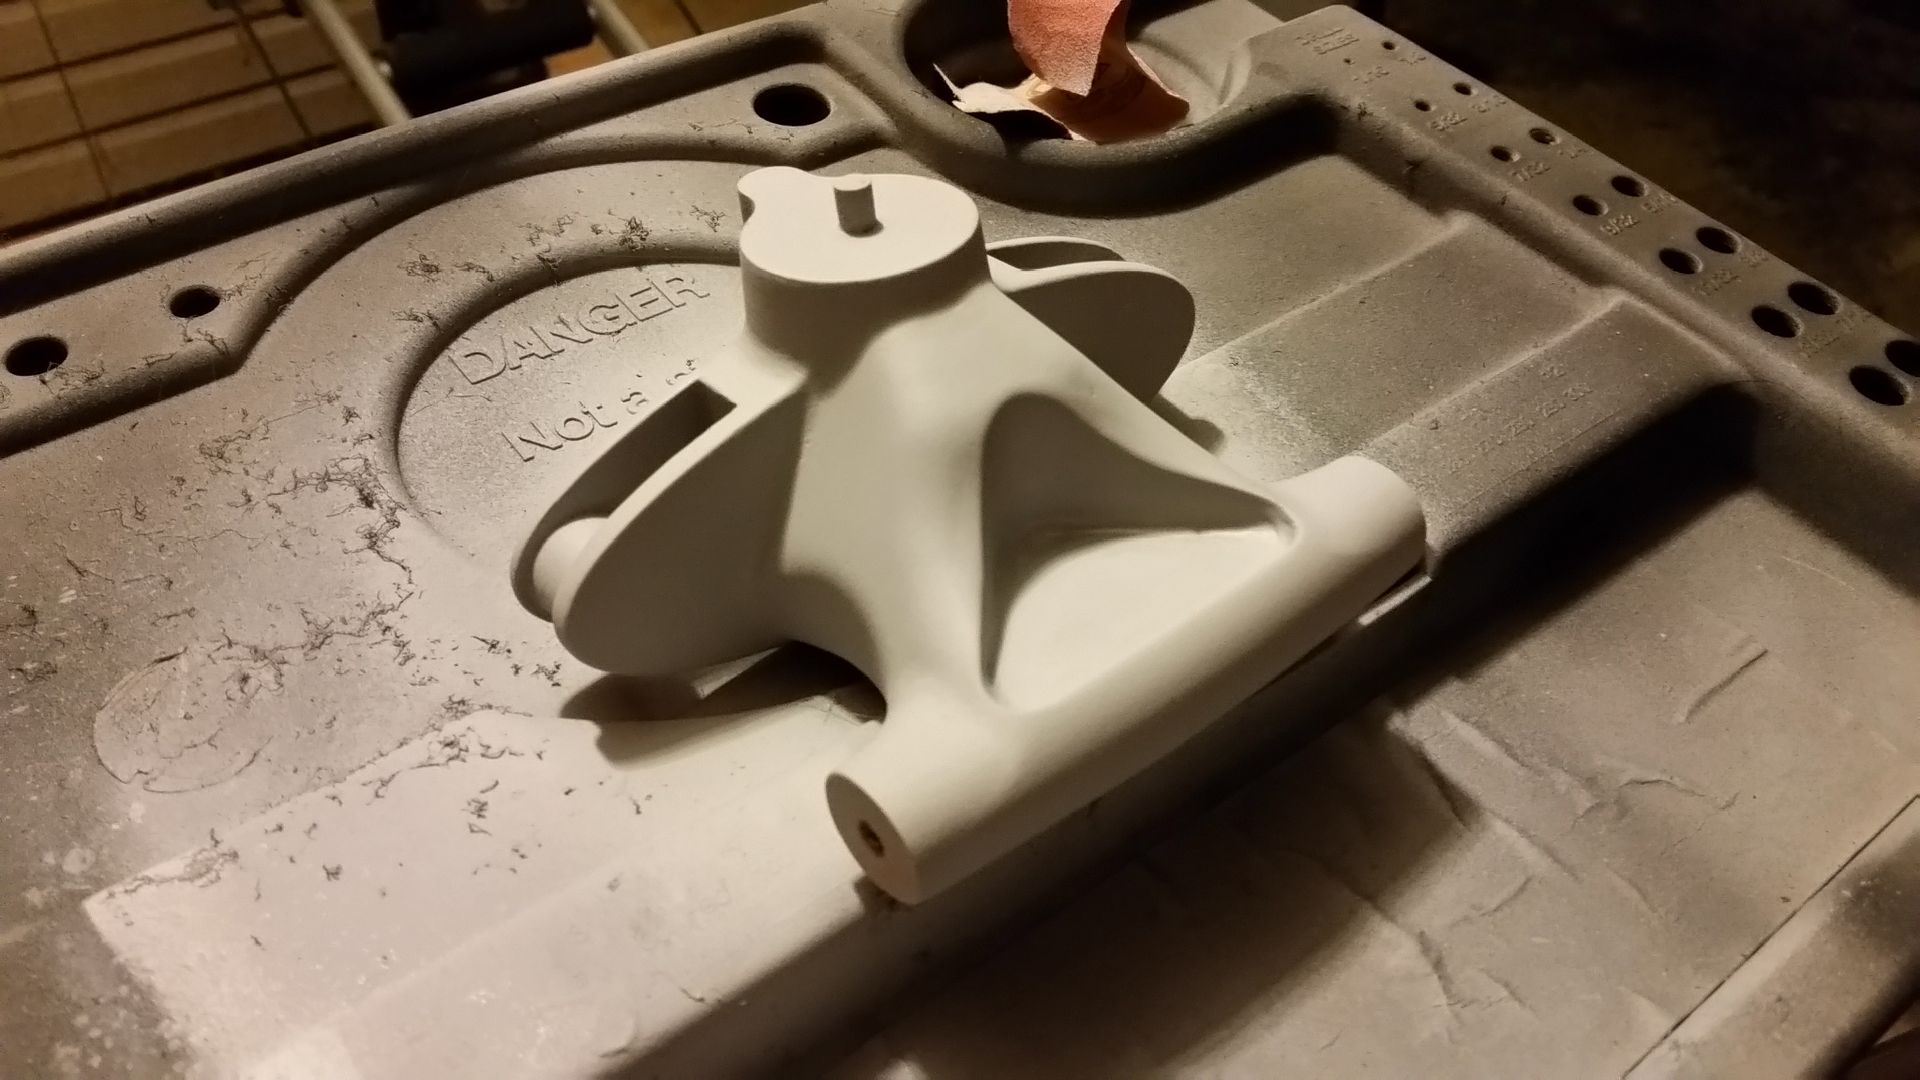
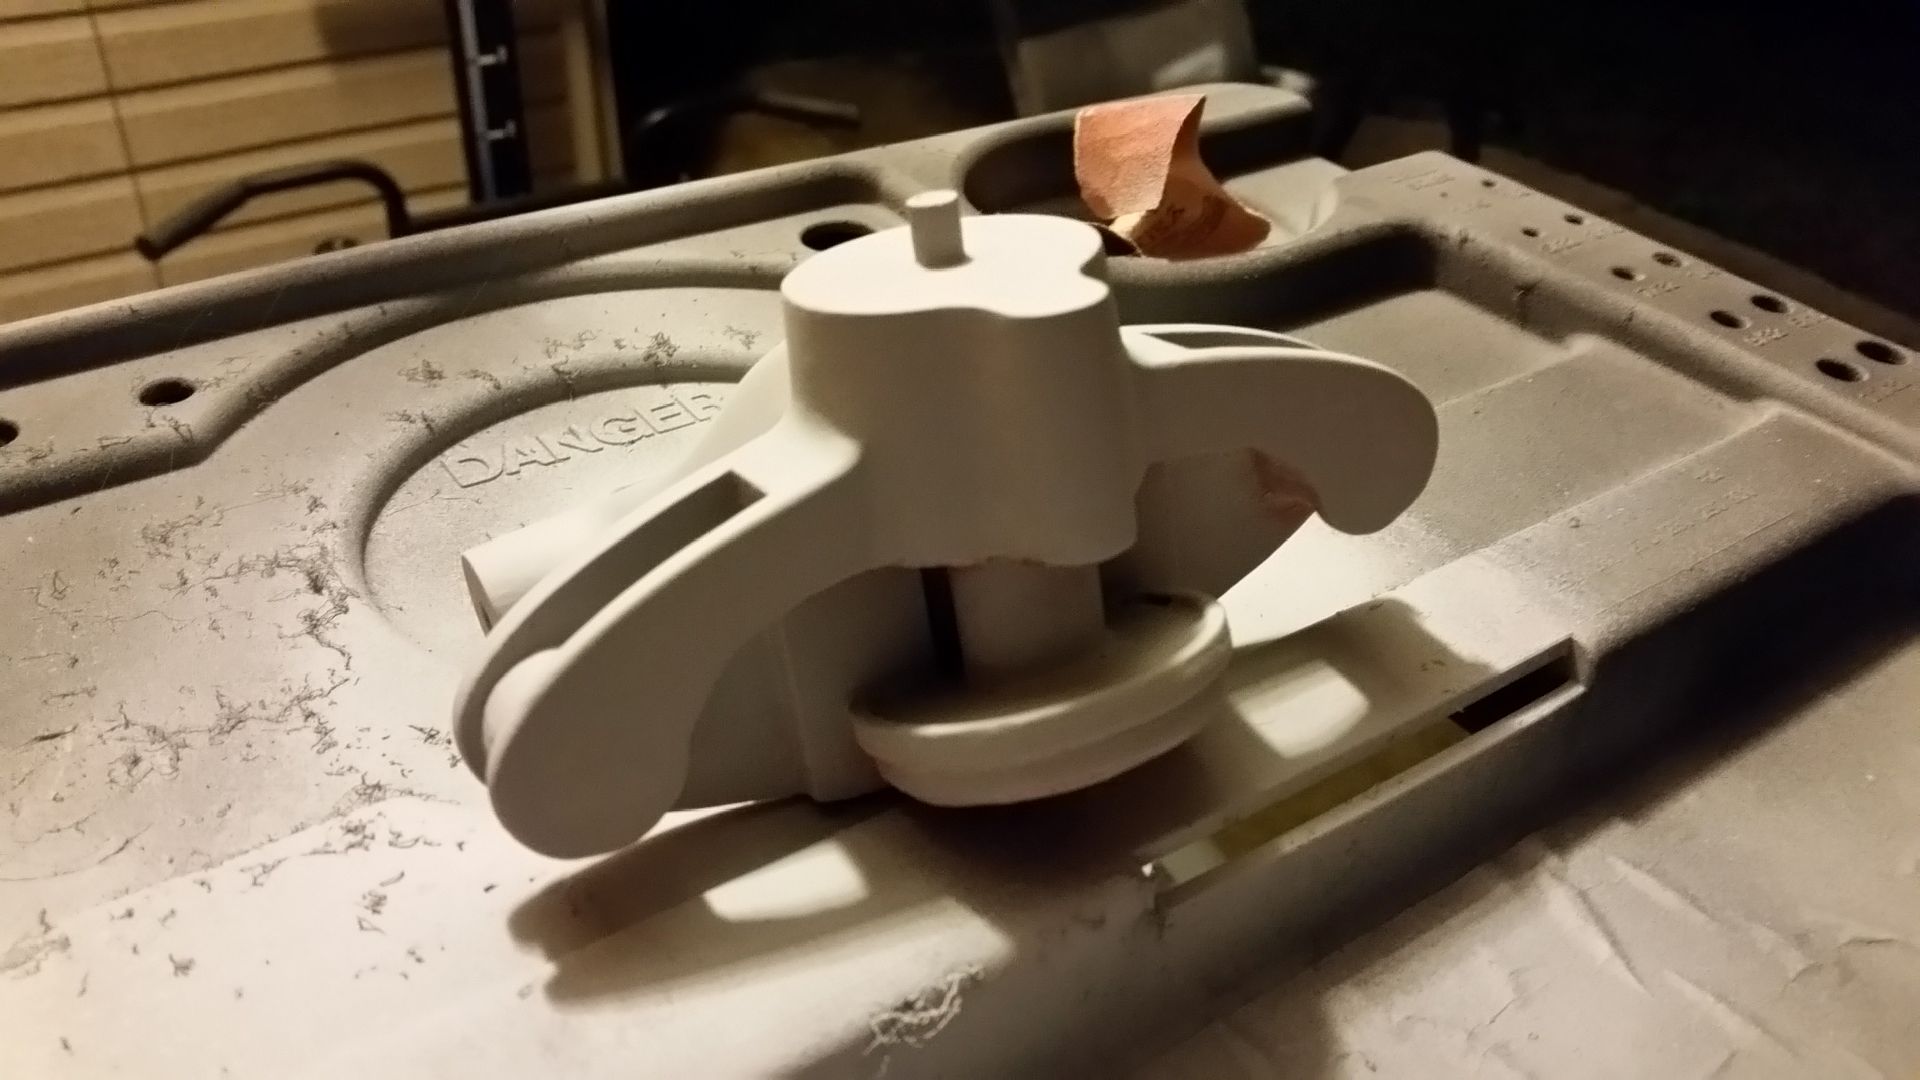
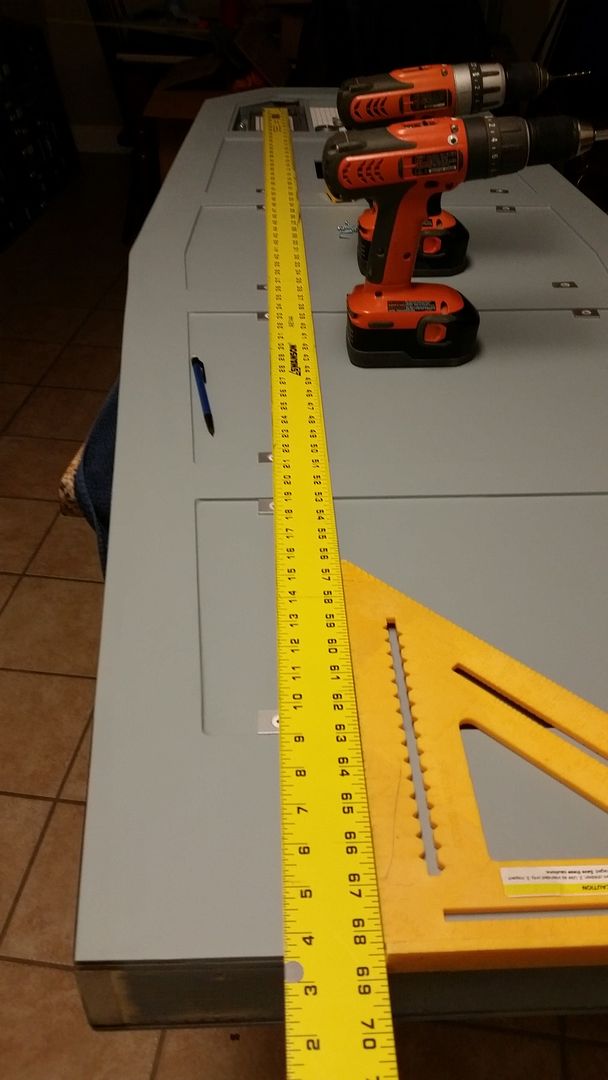
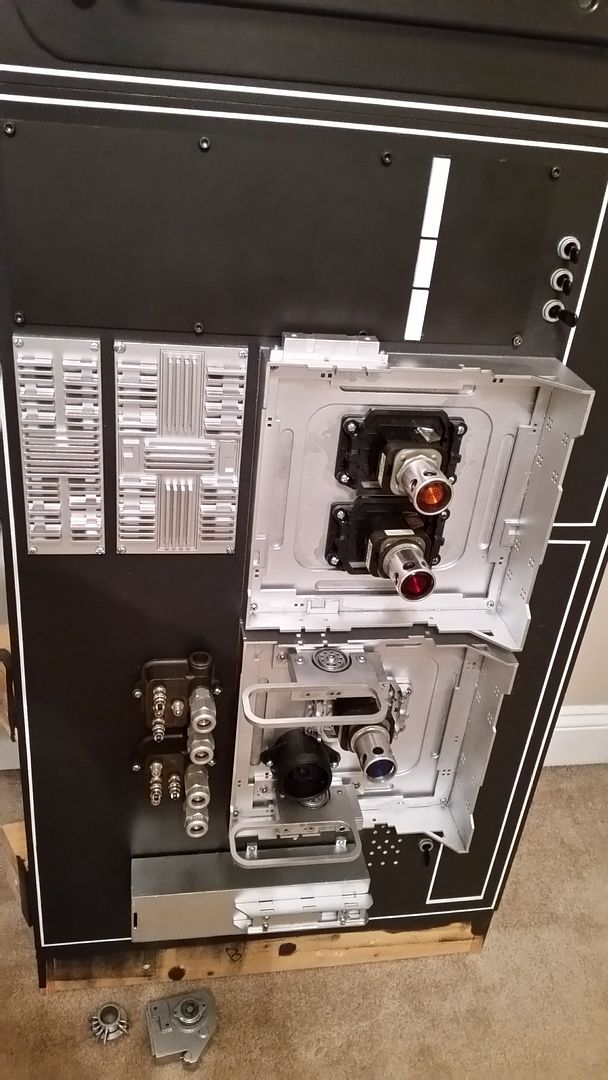
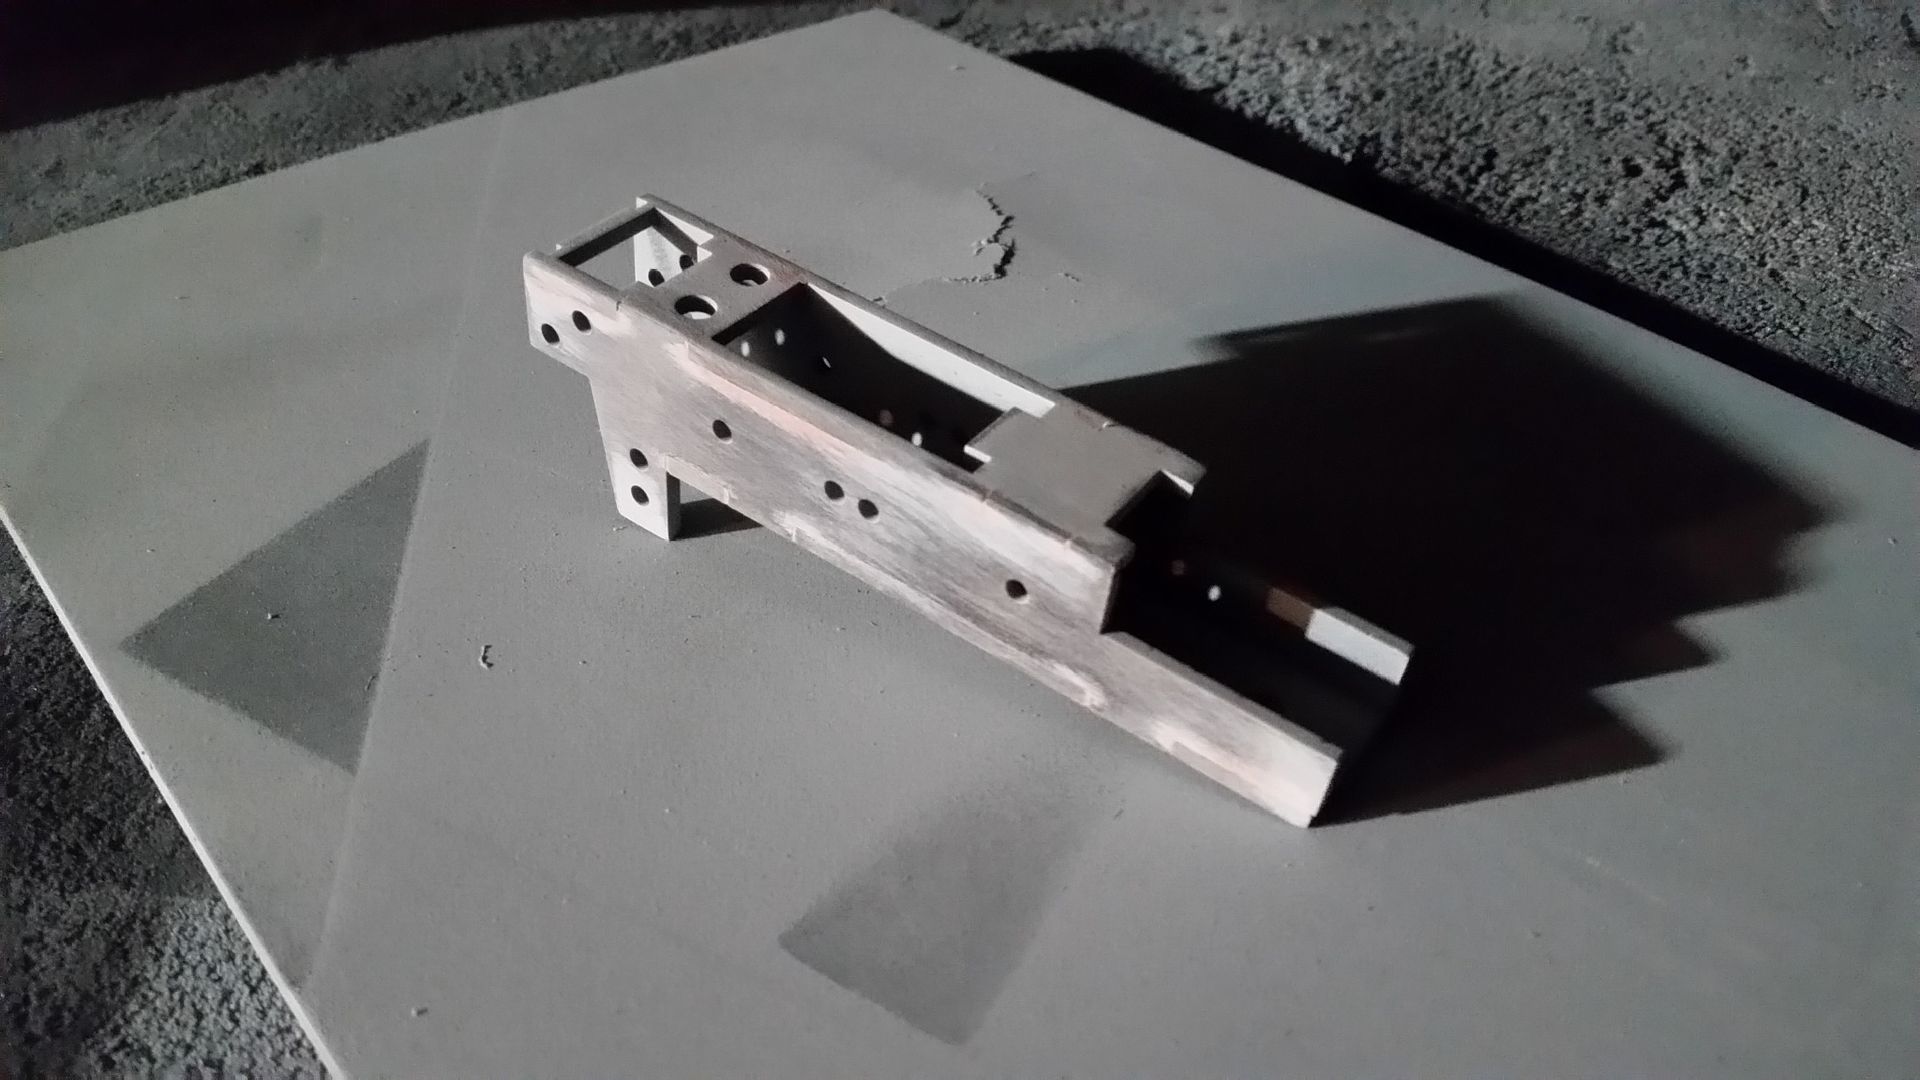
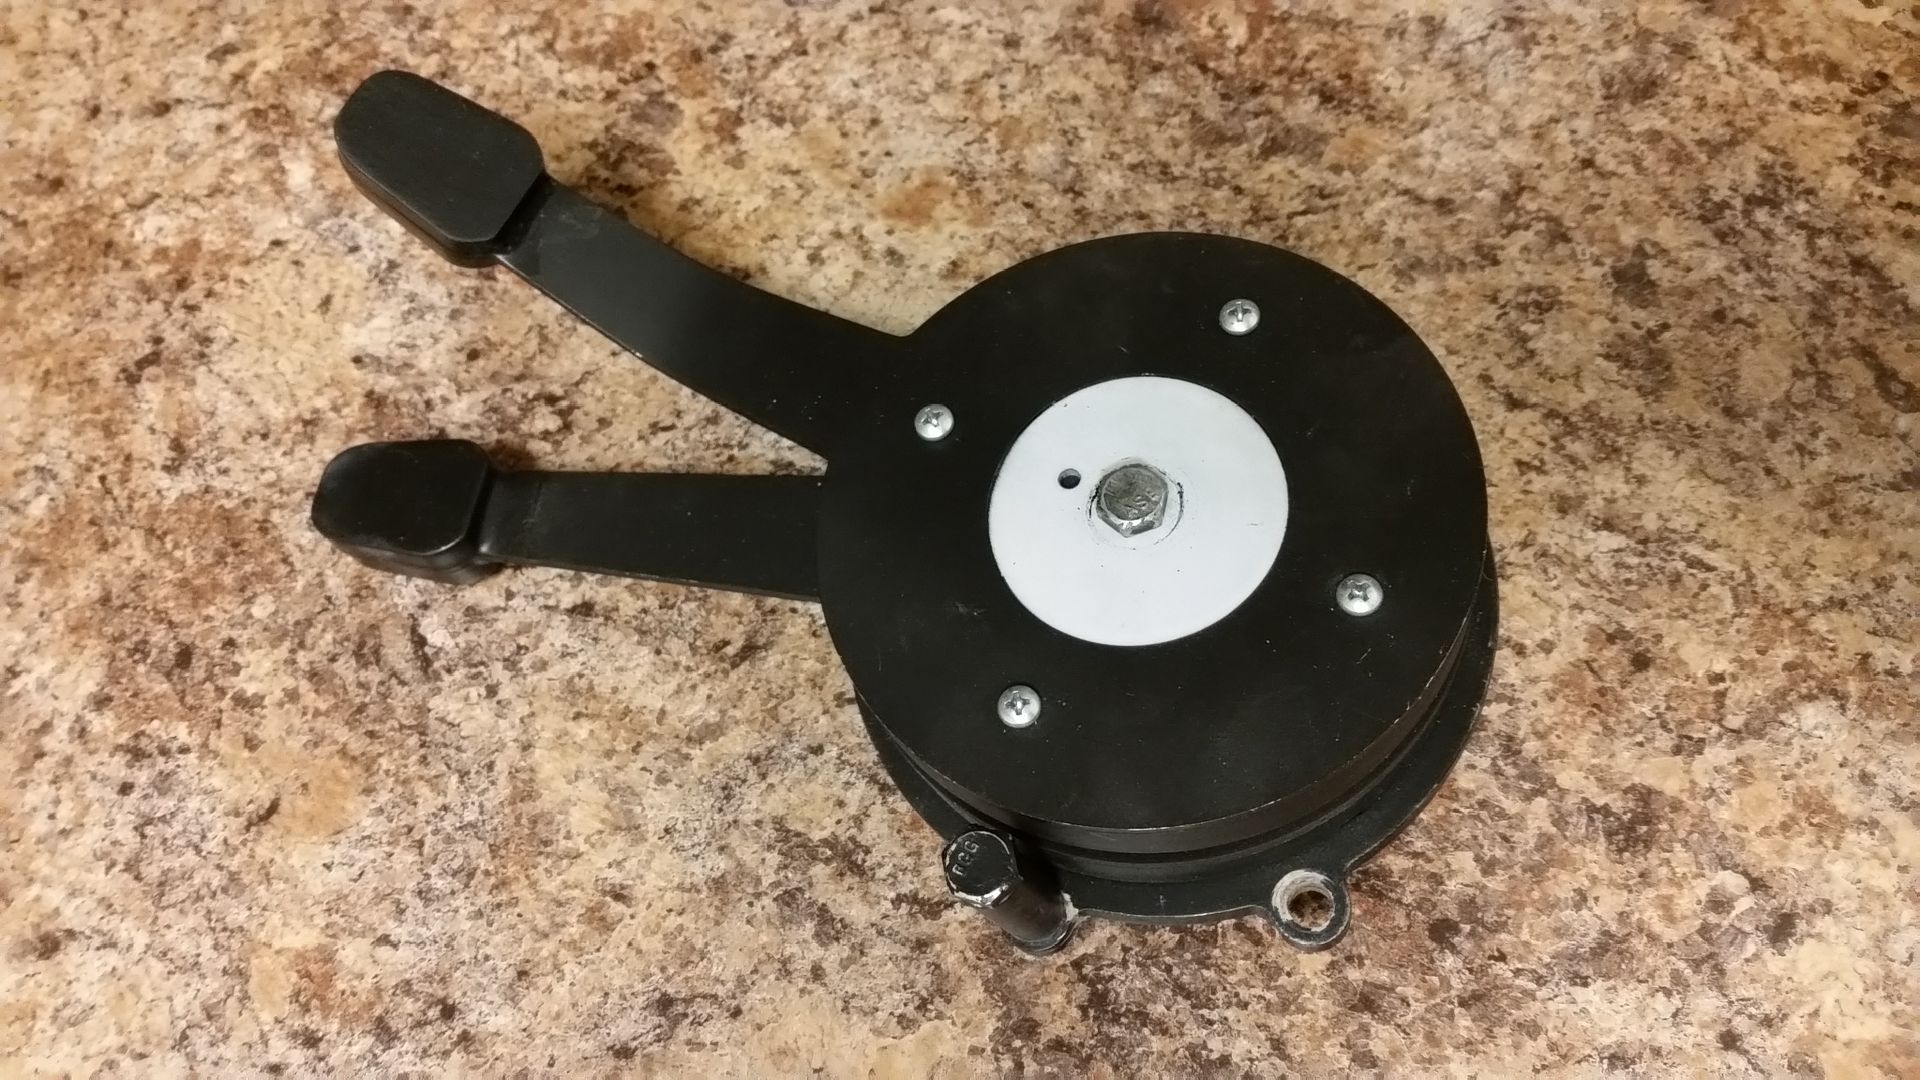
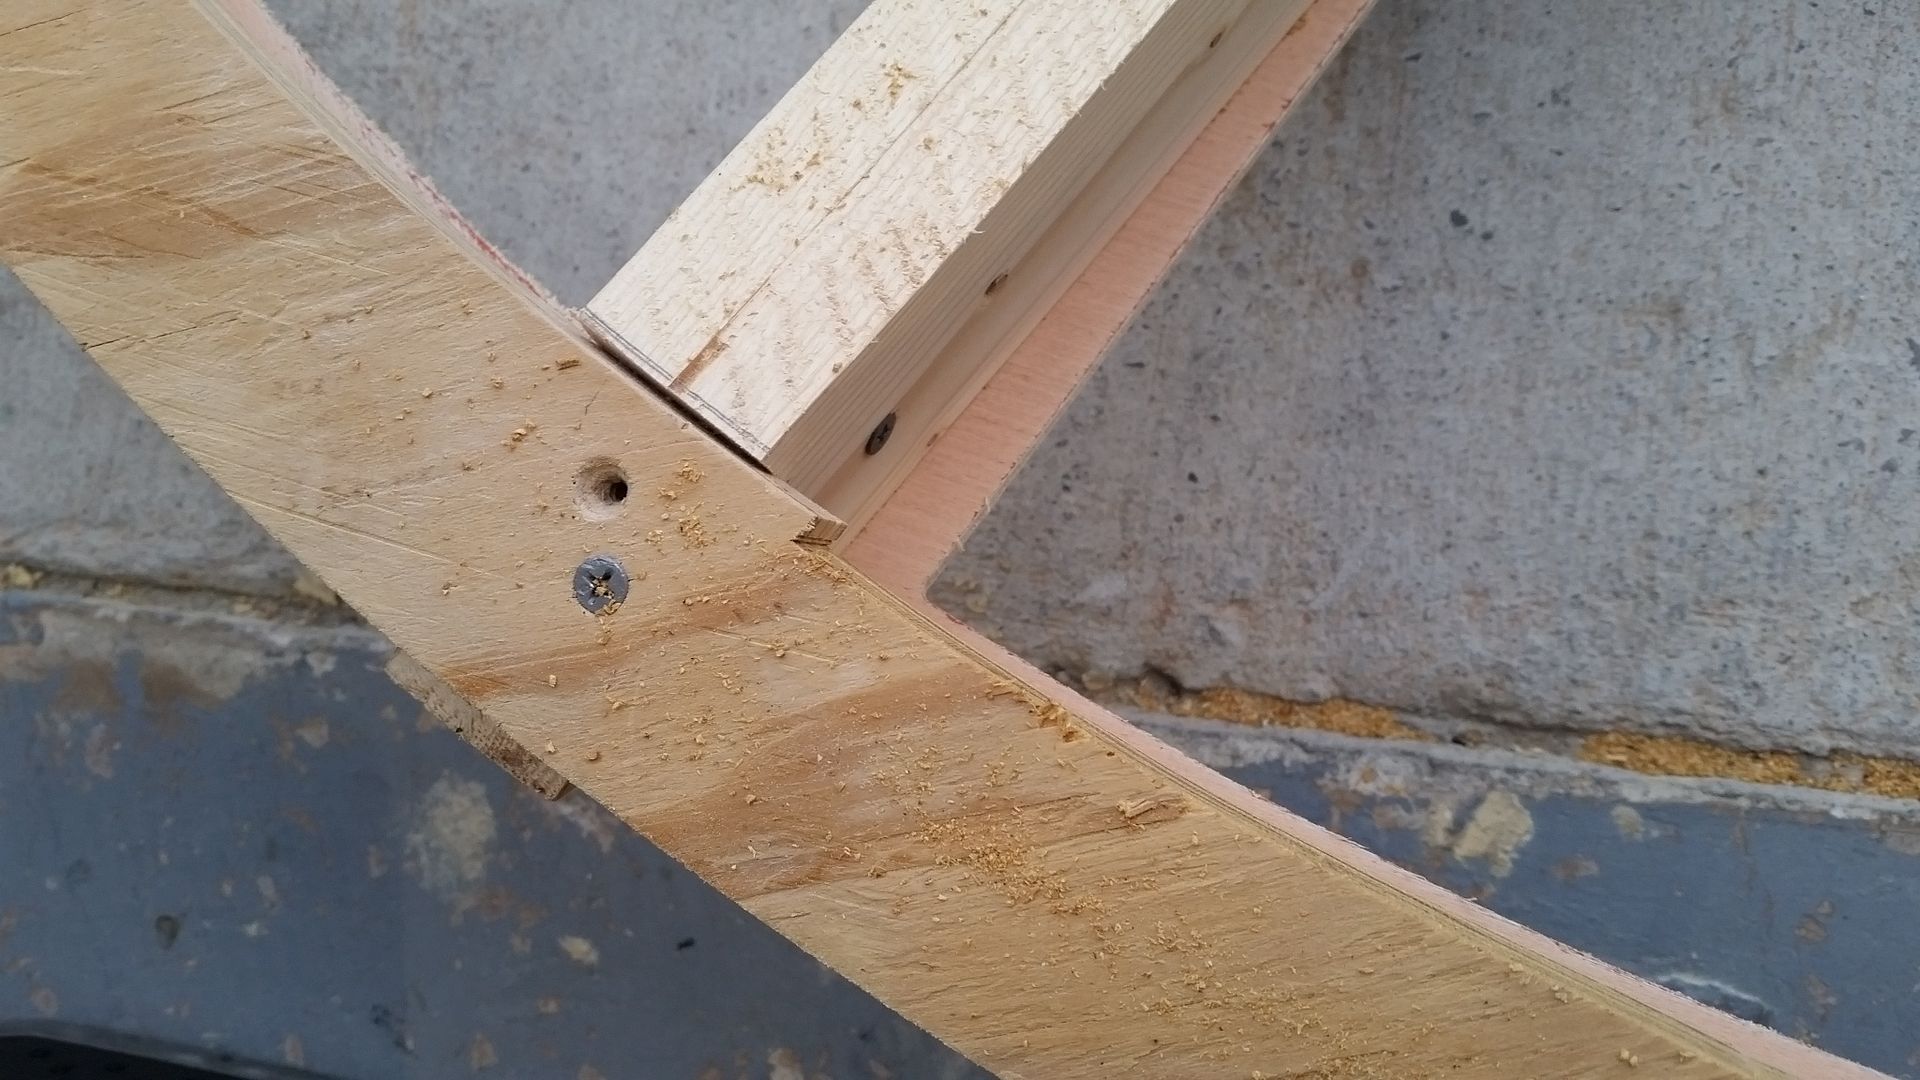
I pulled this lever assembly from the old console - I will be repainting and adding to the new console
20151122_183037_zps7dcmtwdx.jpg


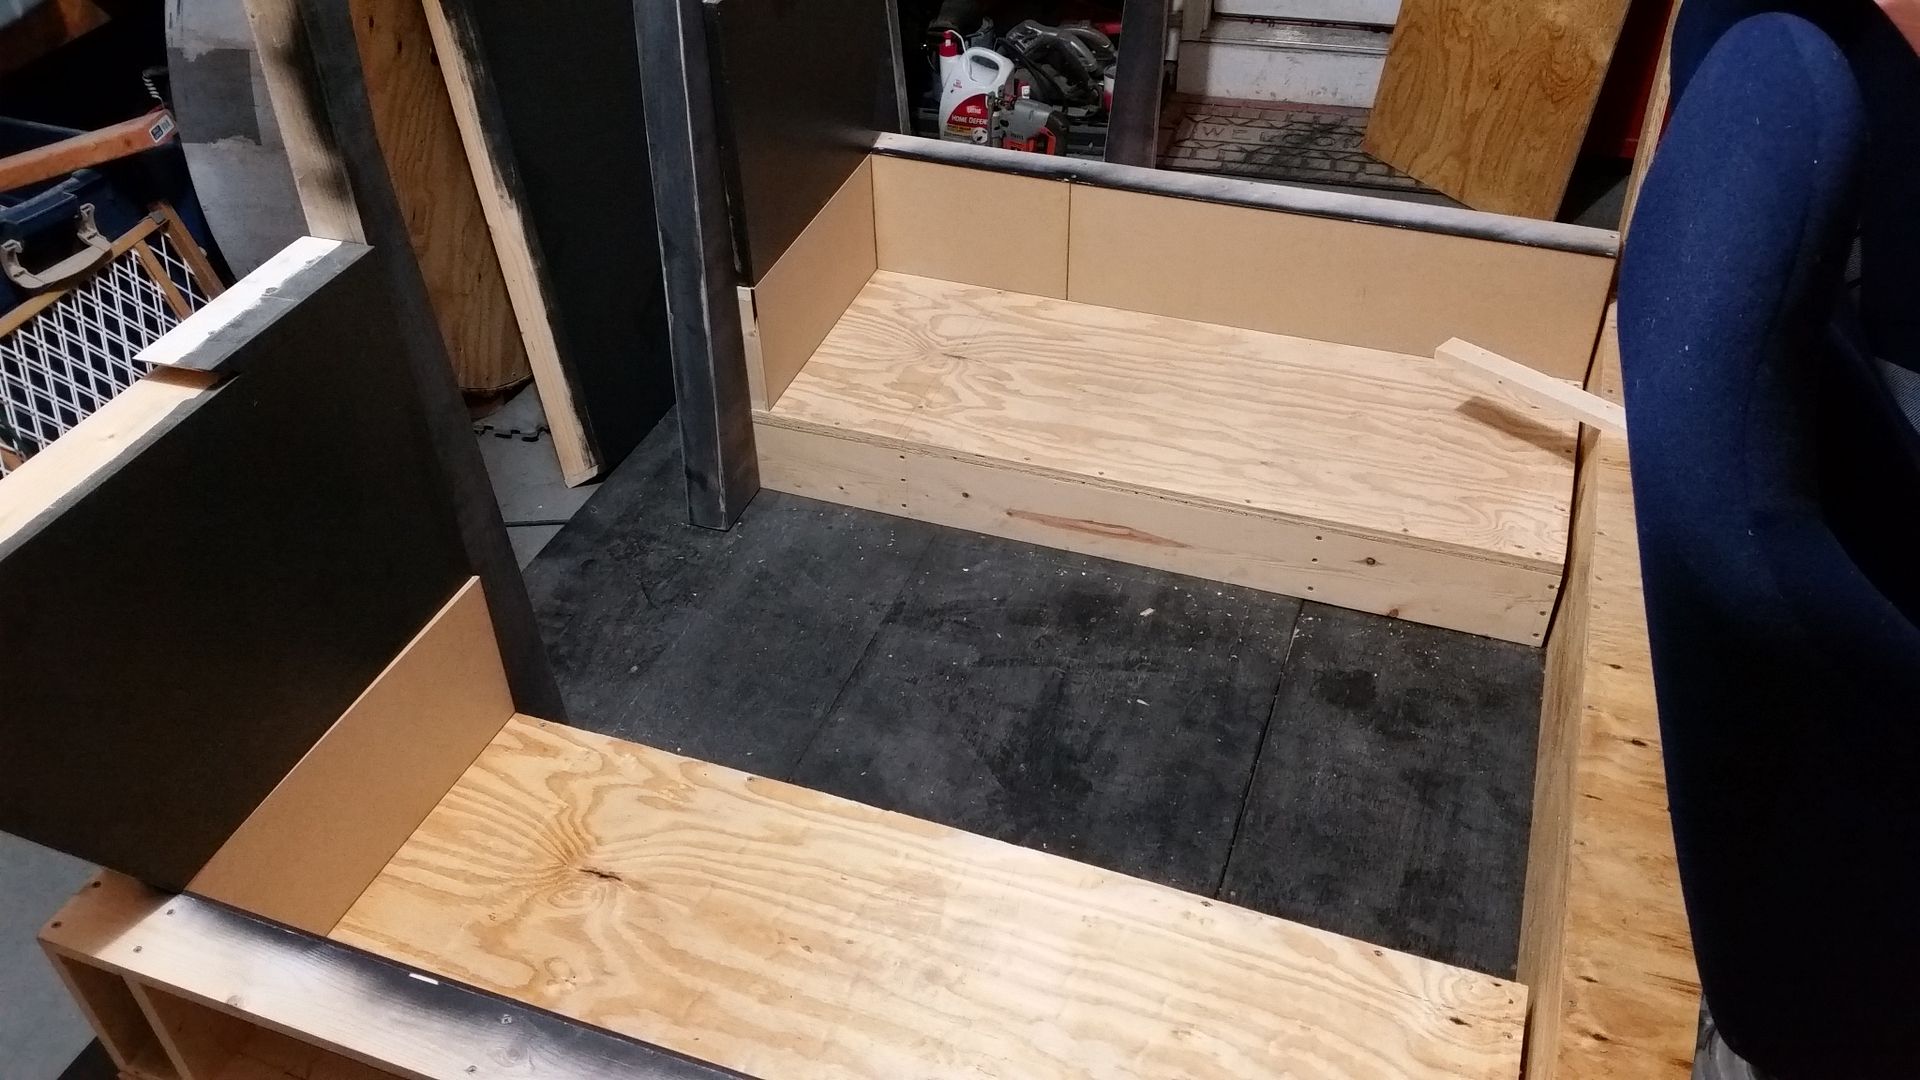
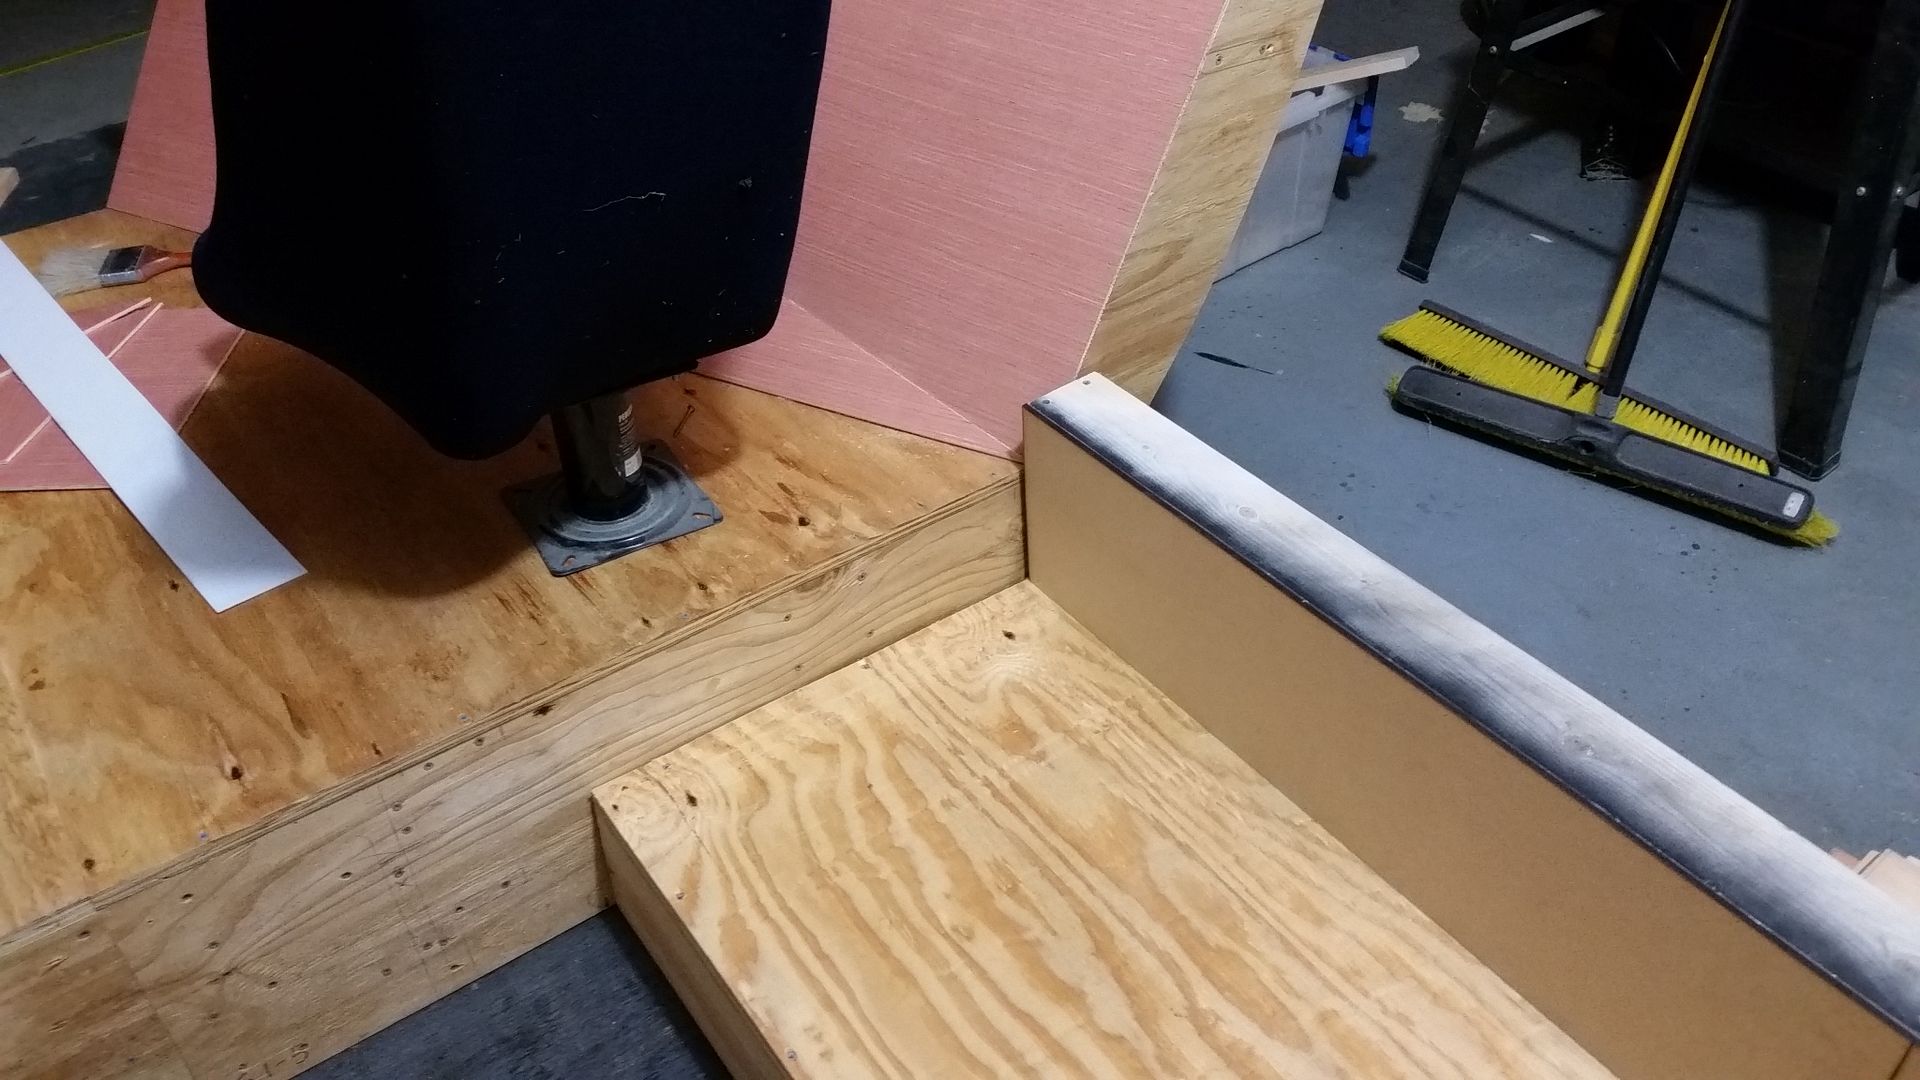
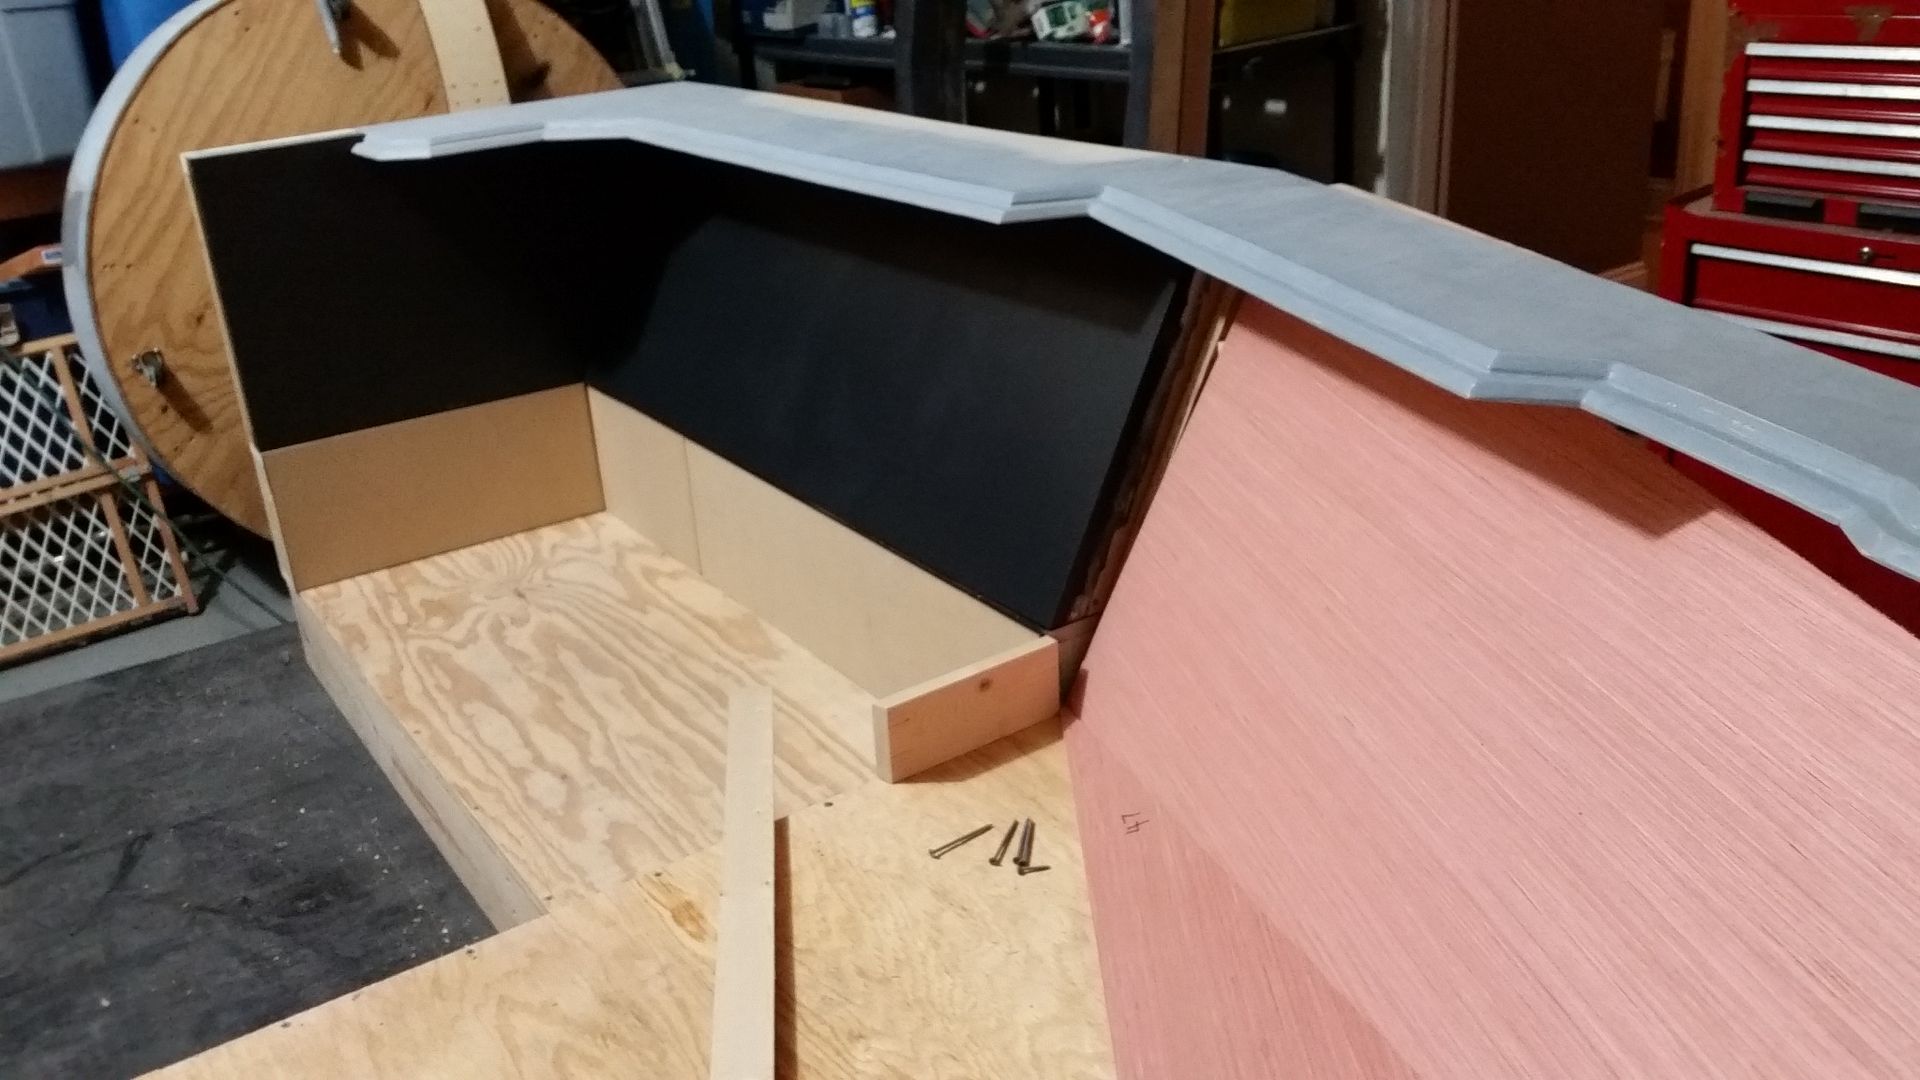
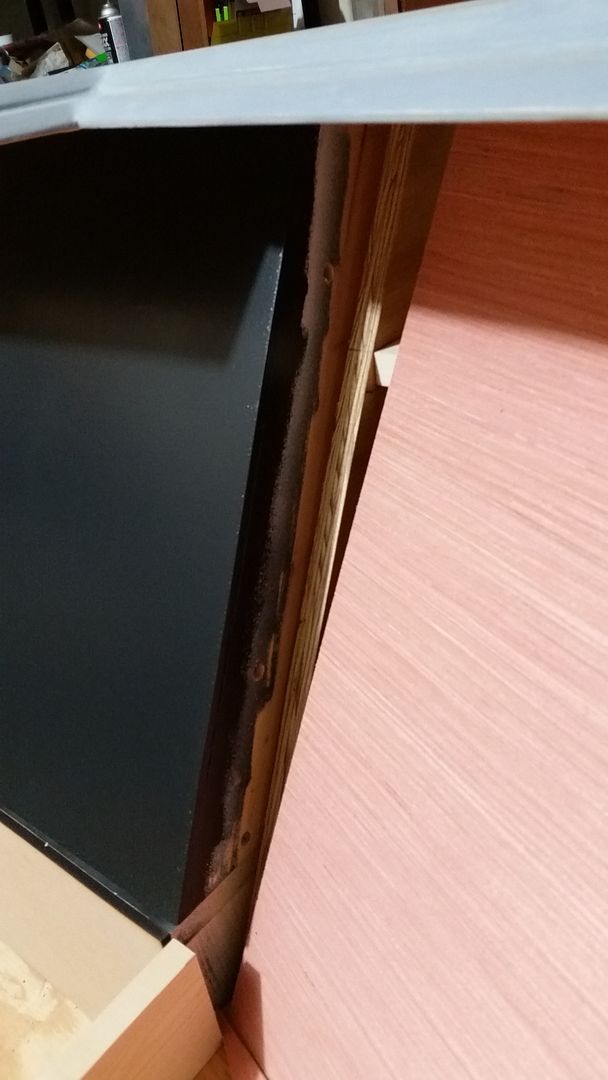
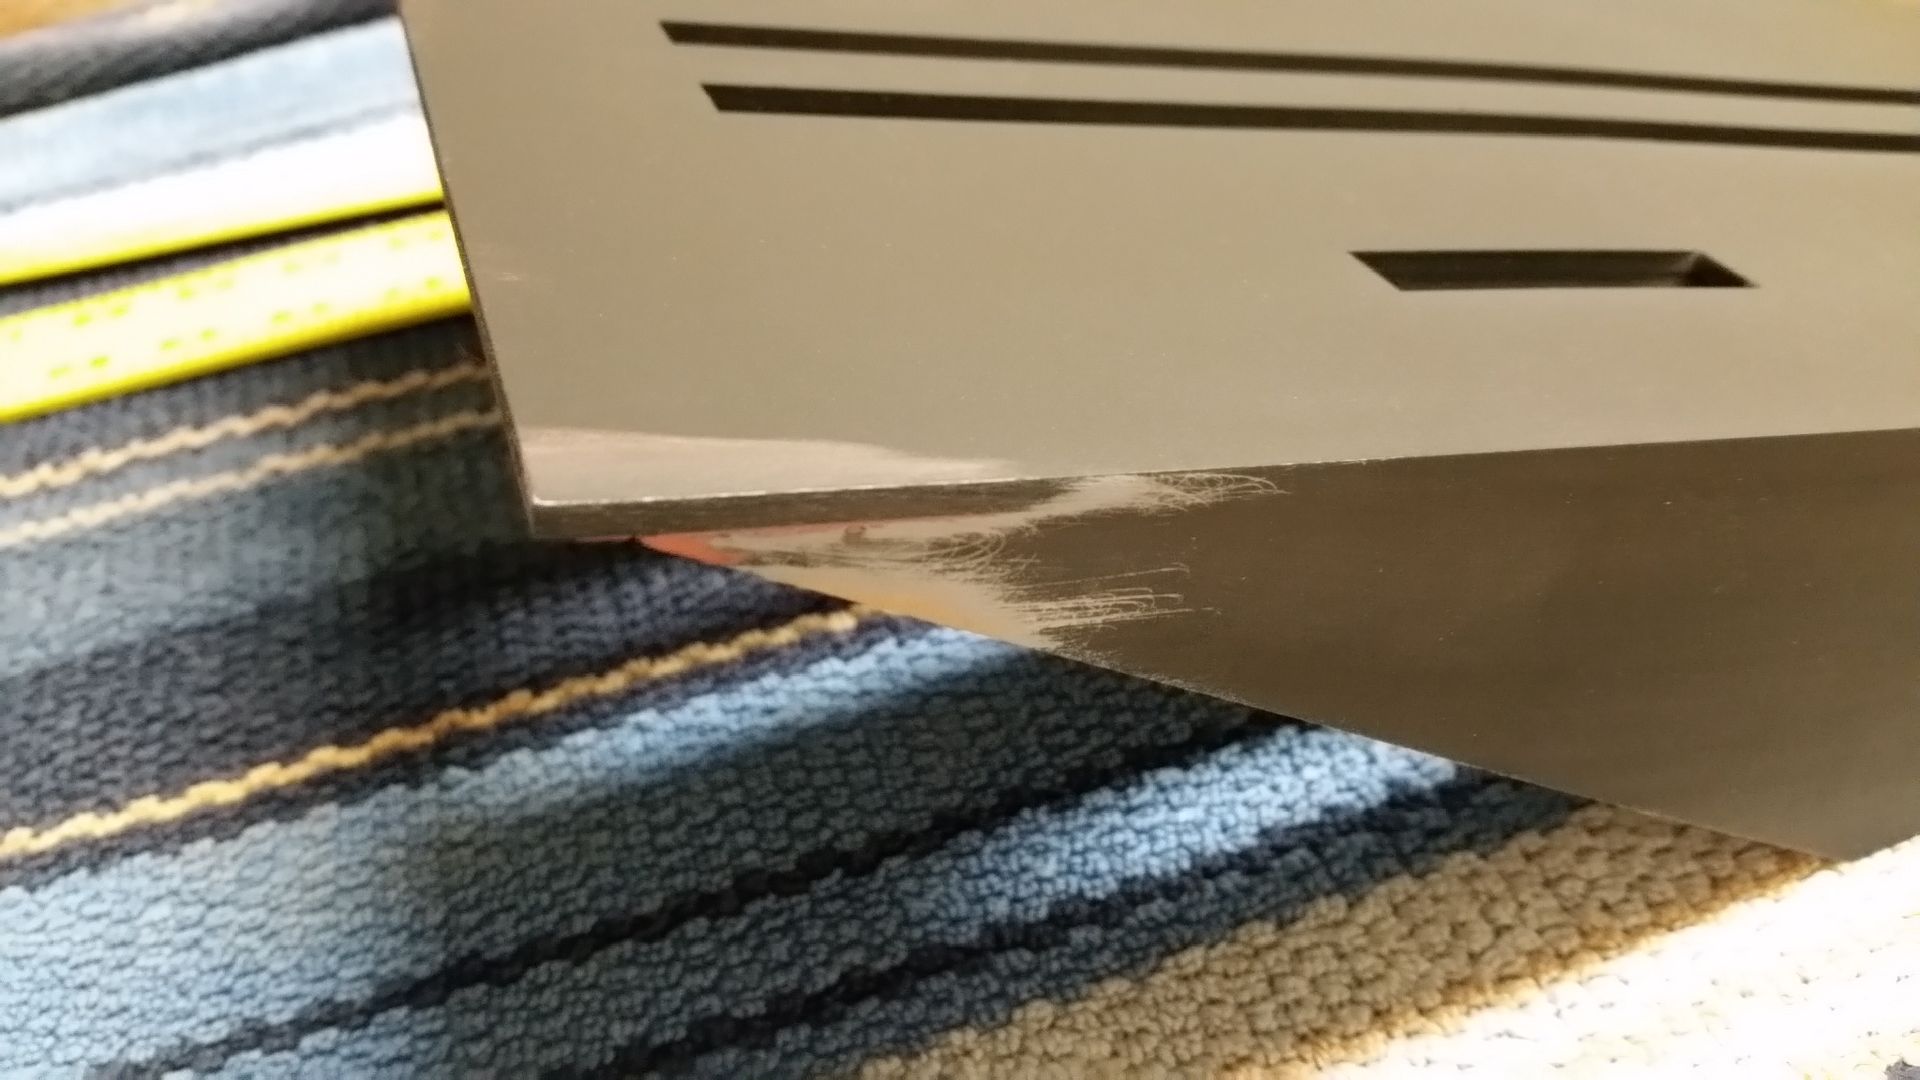
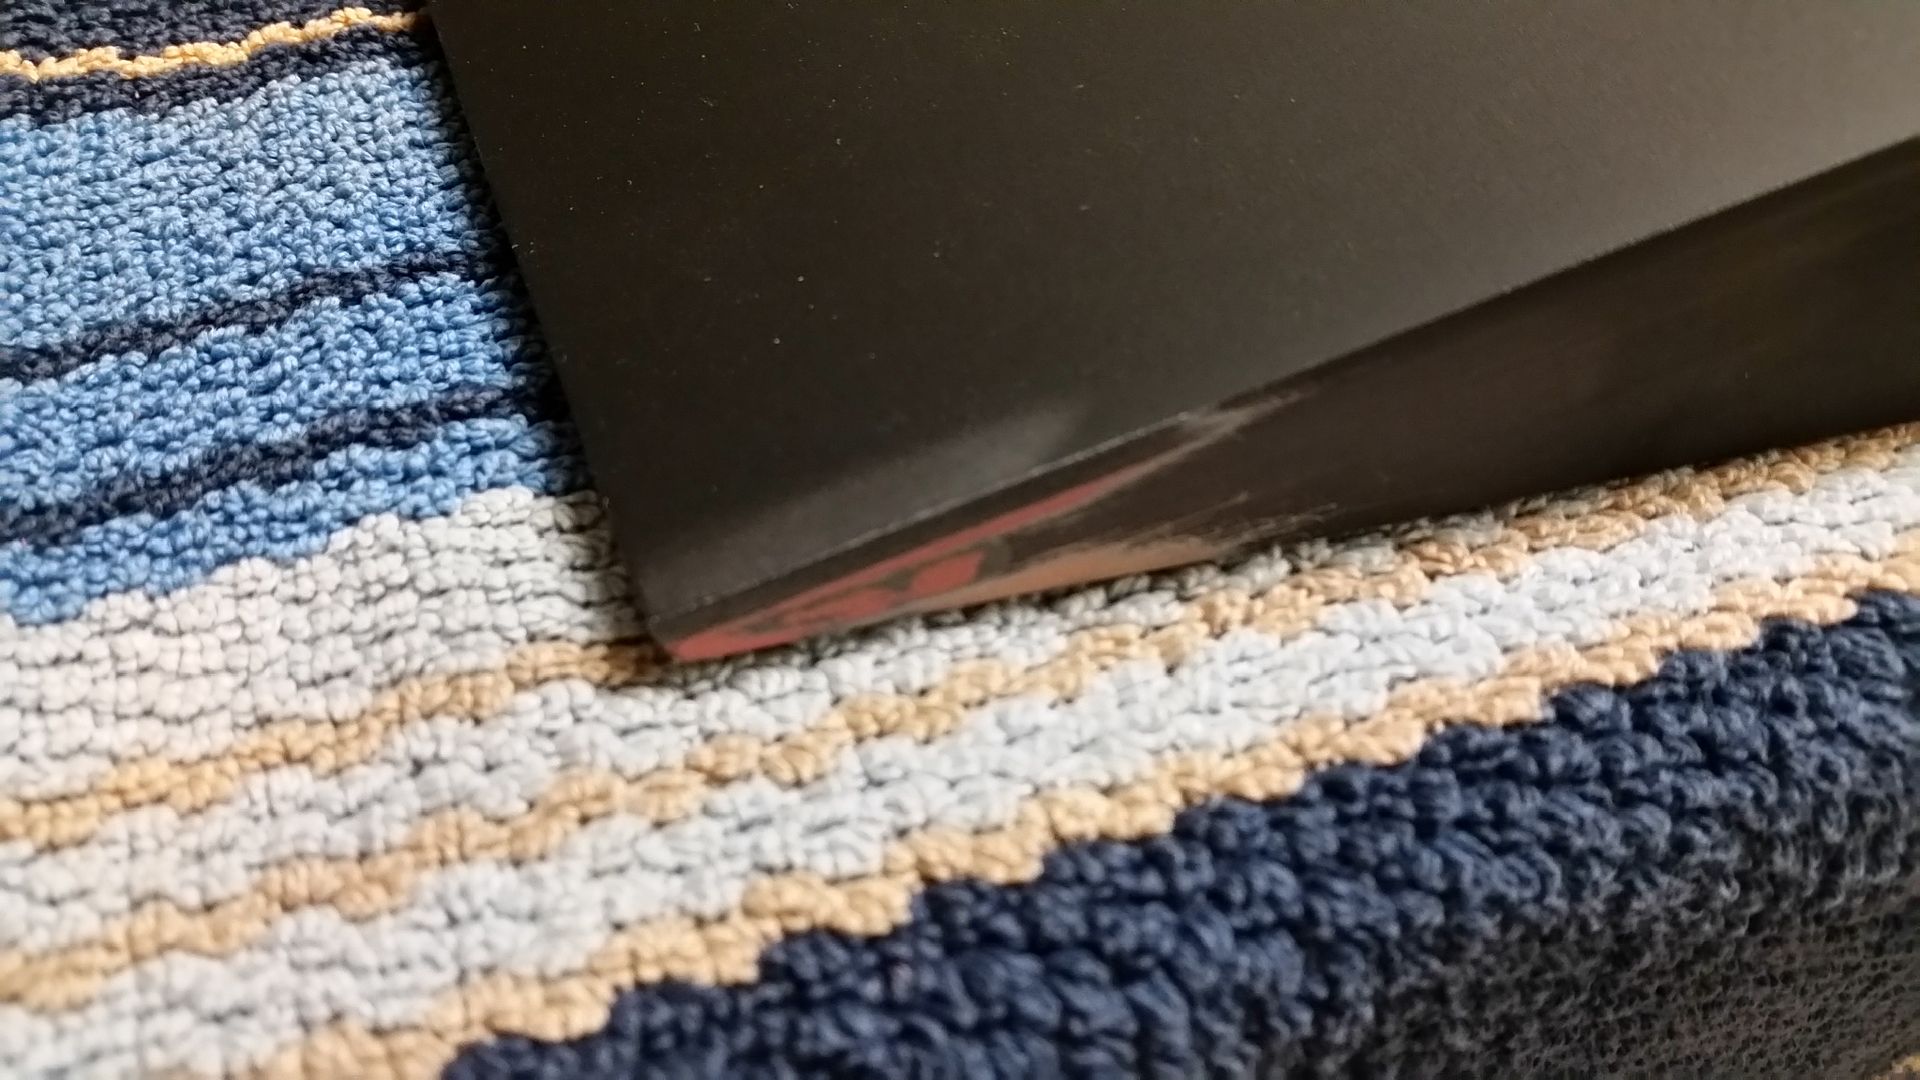
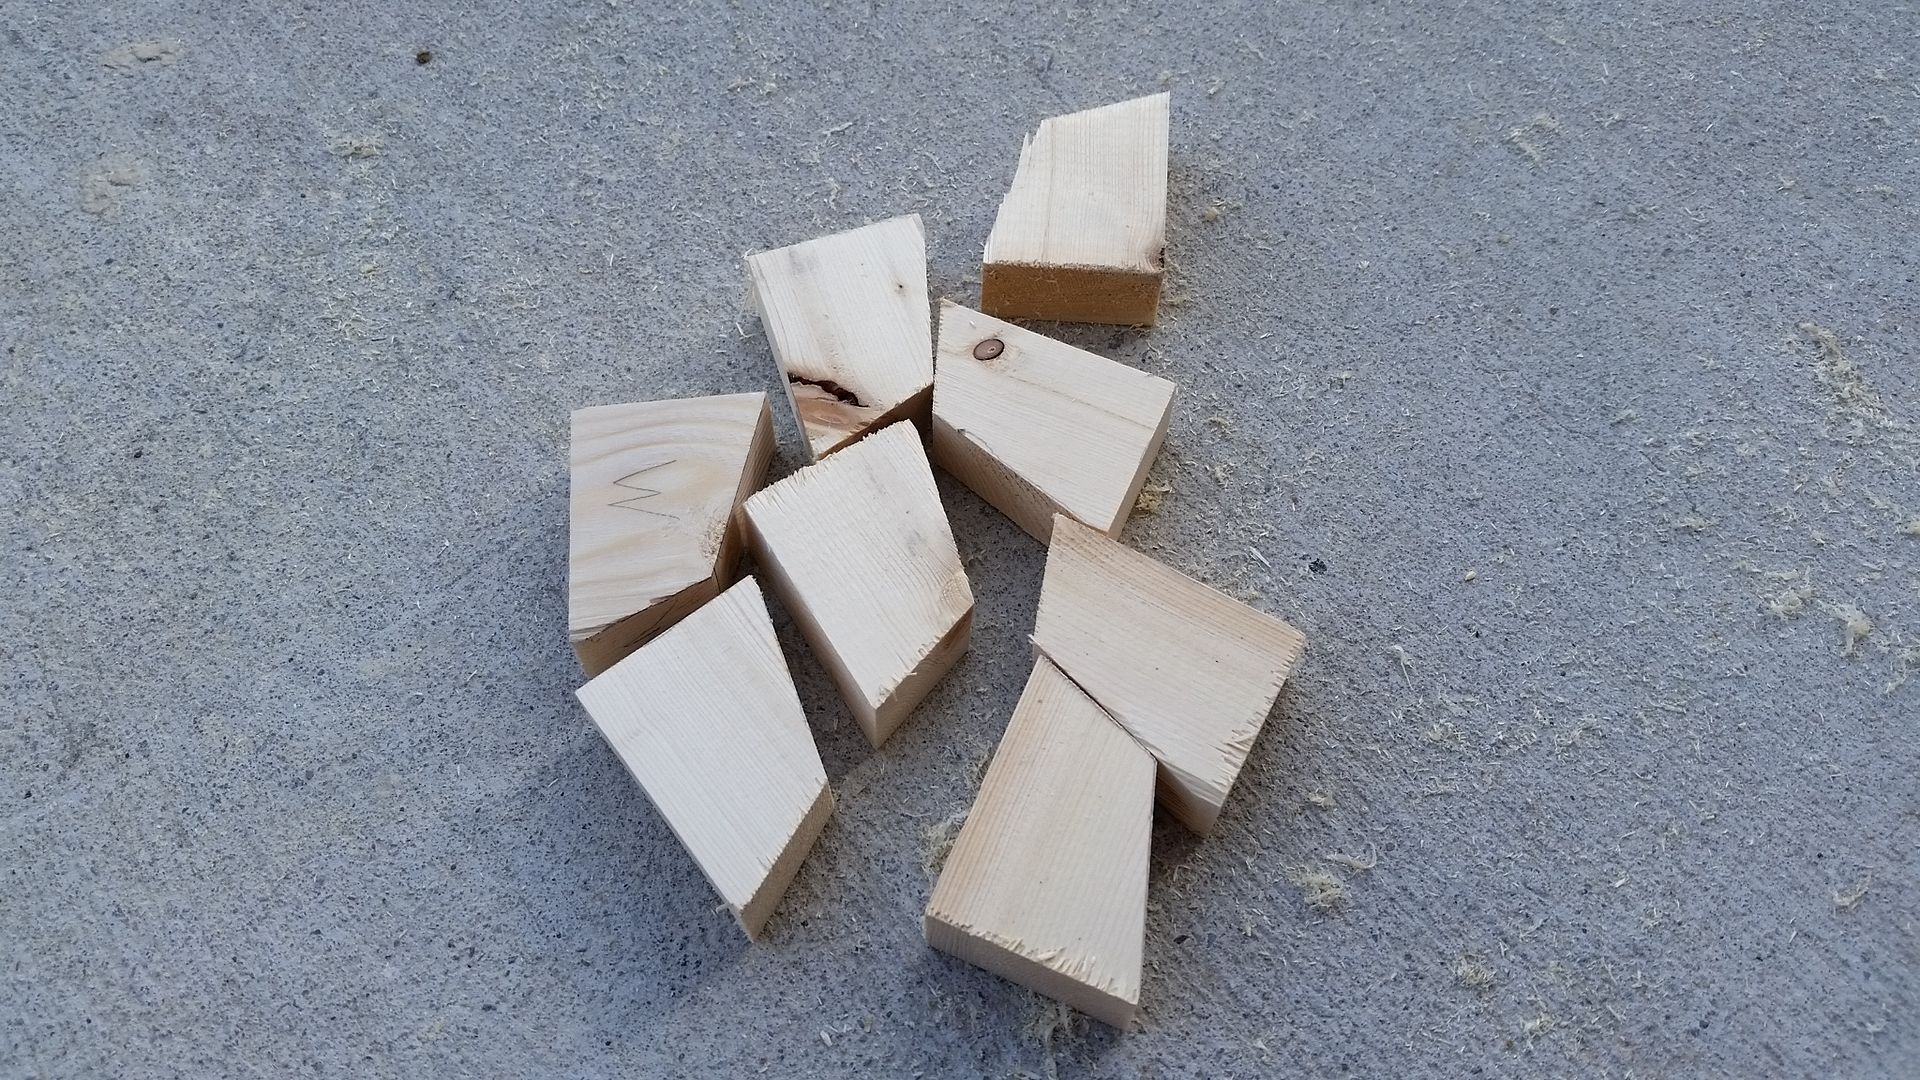
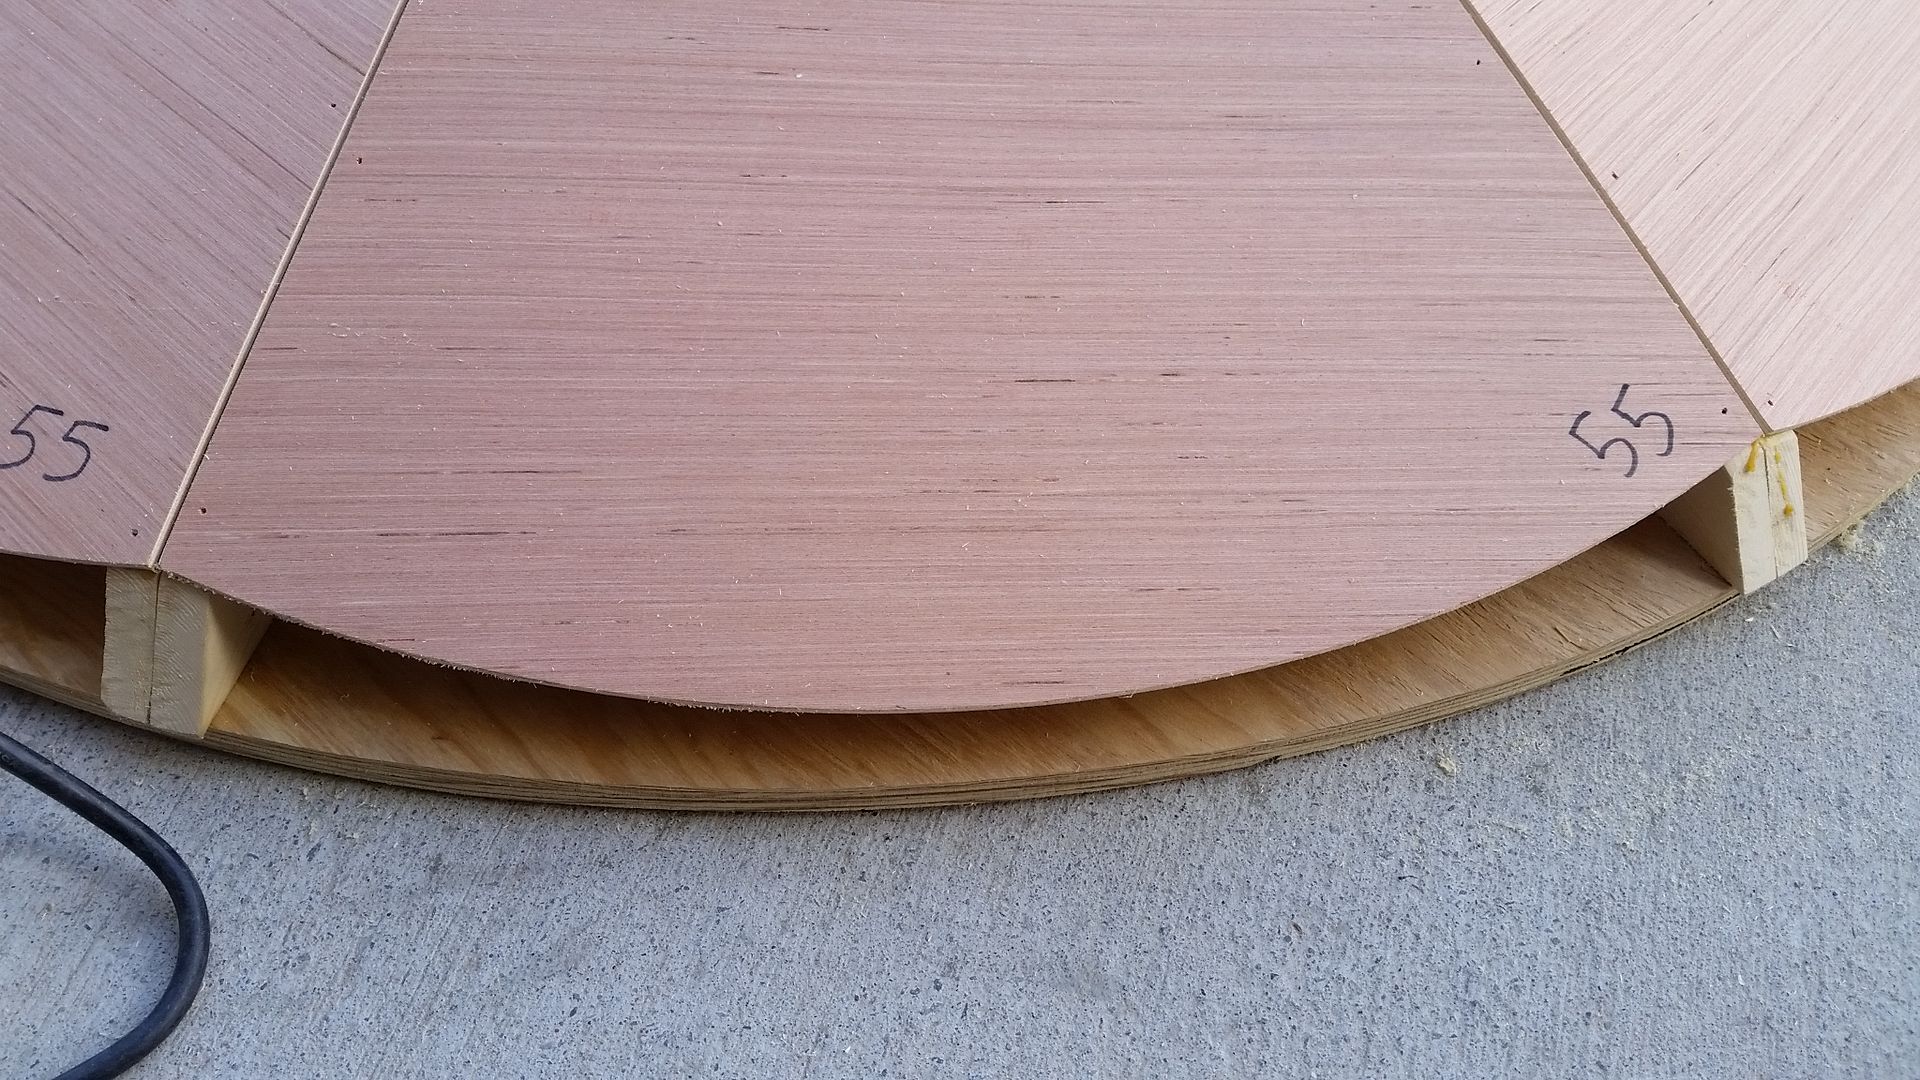
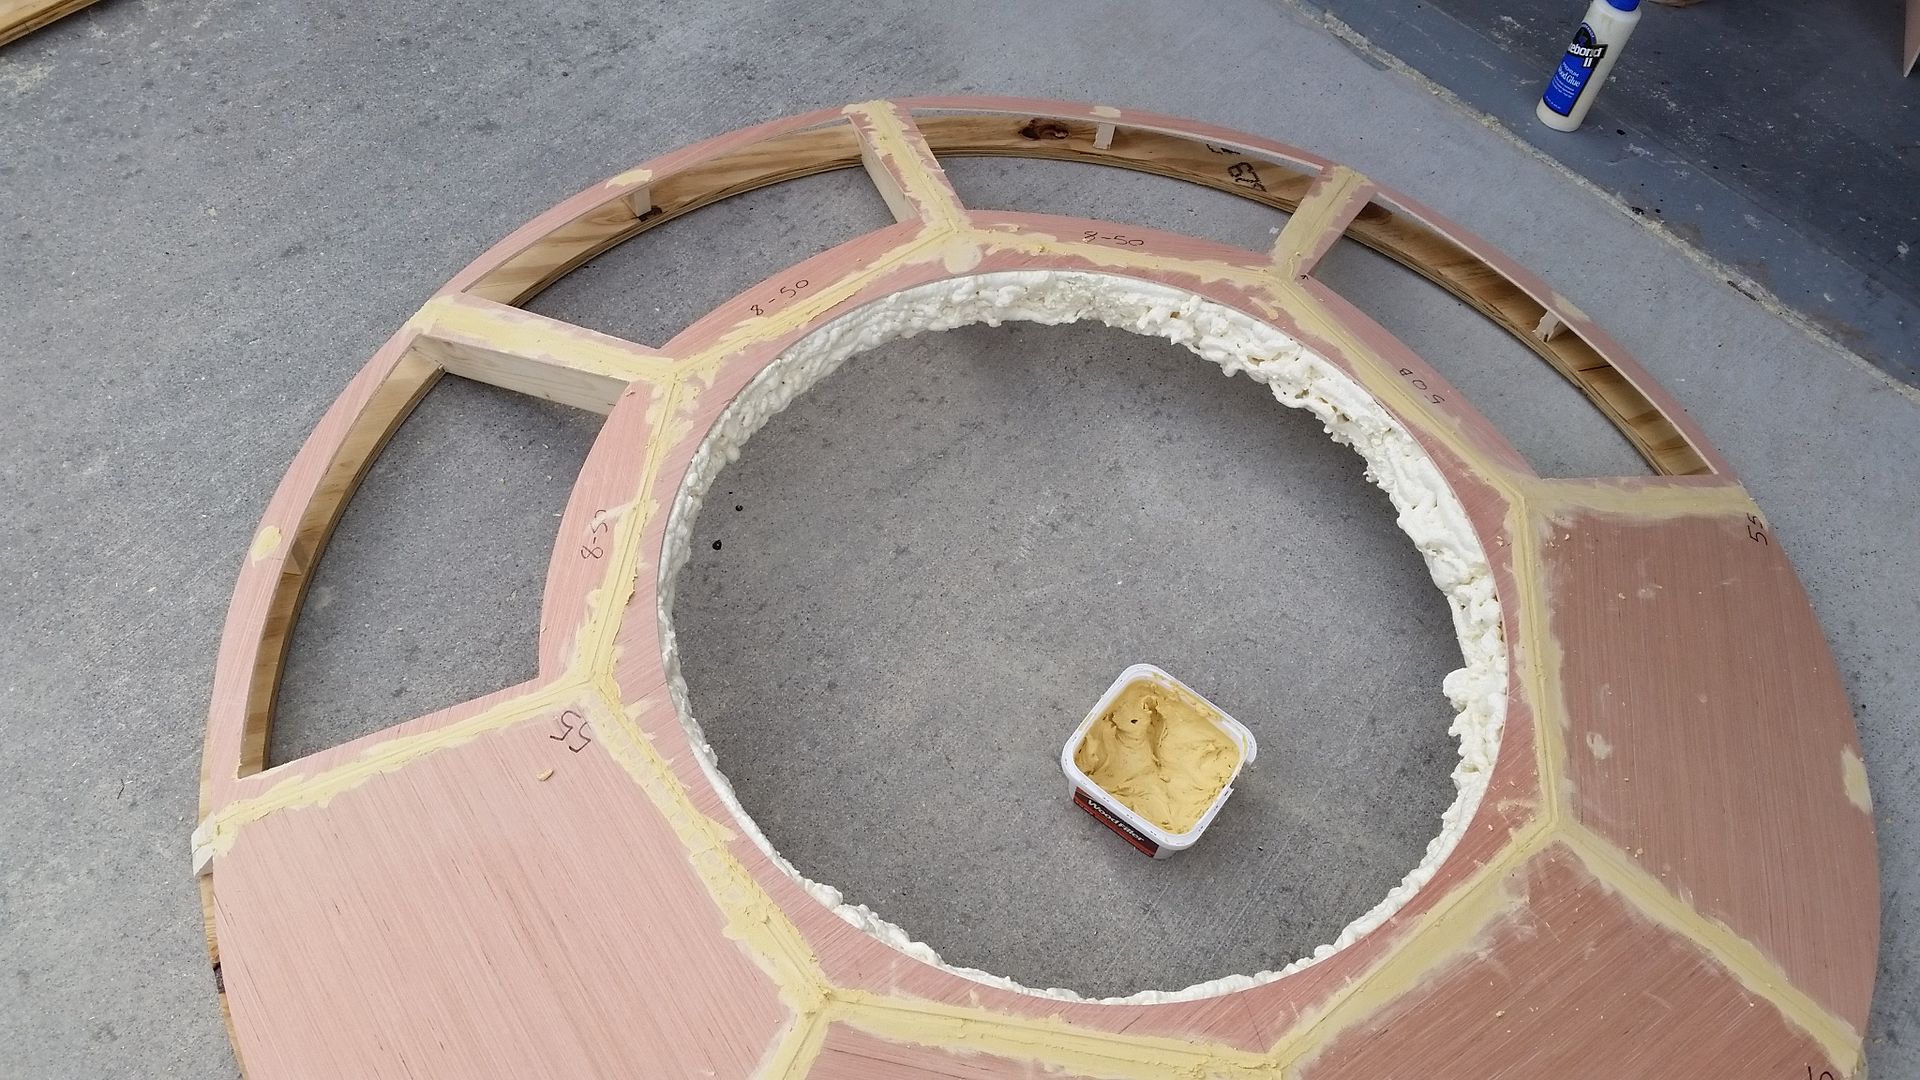
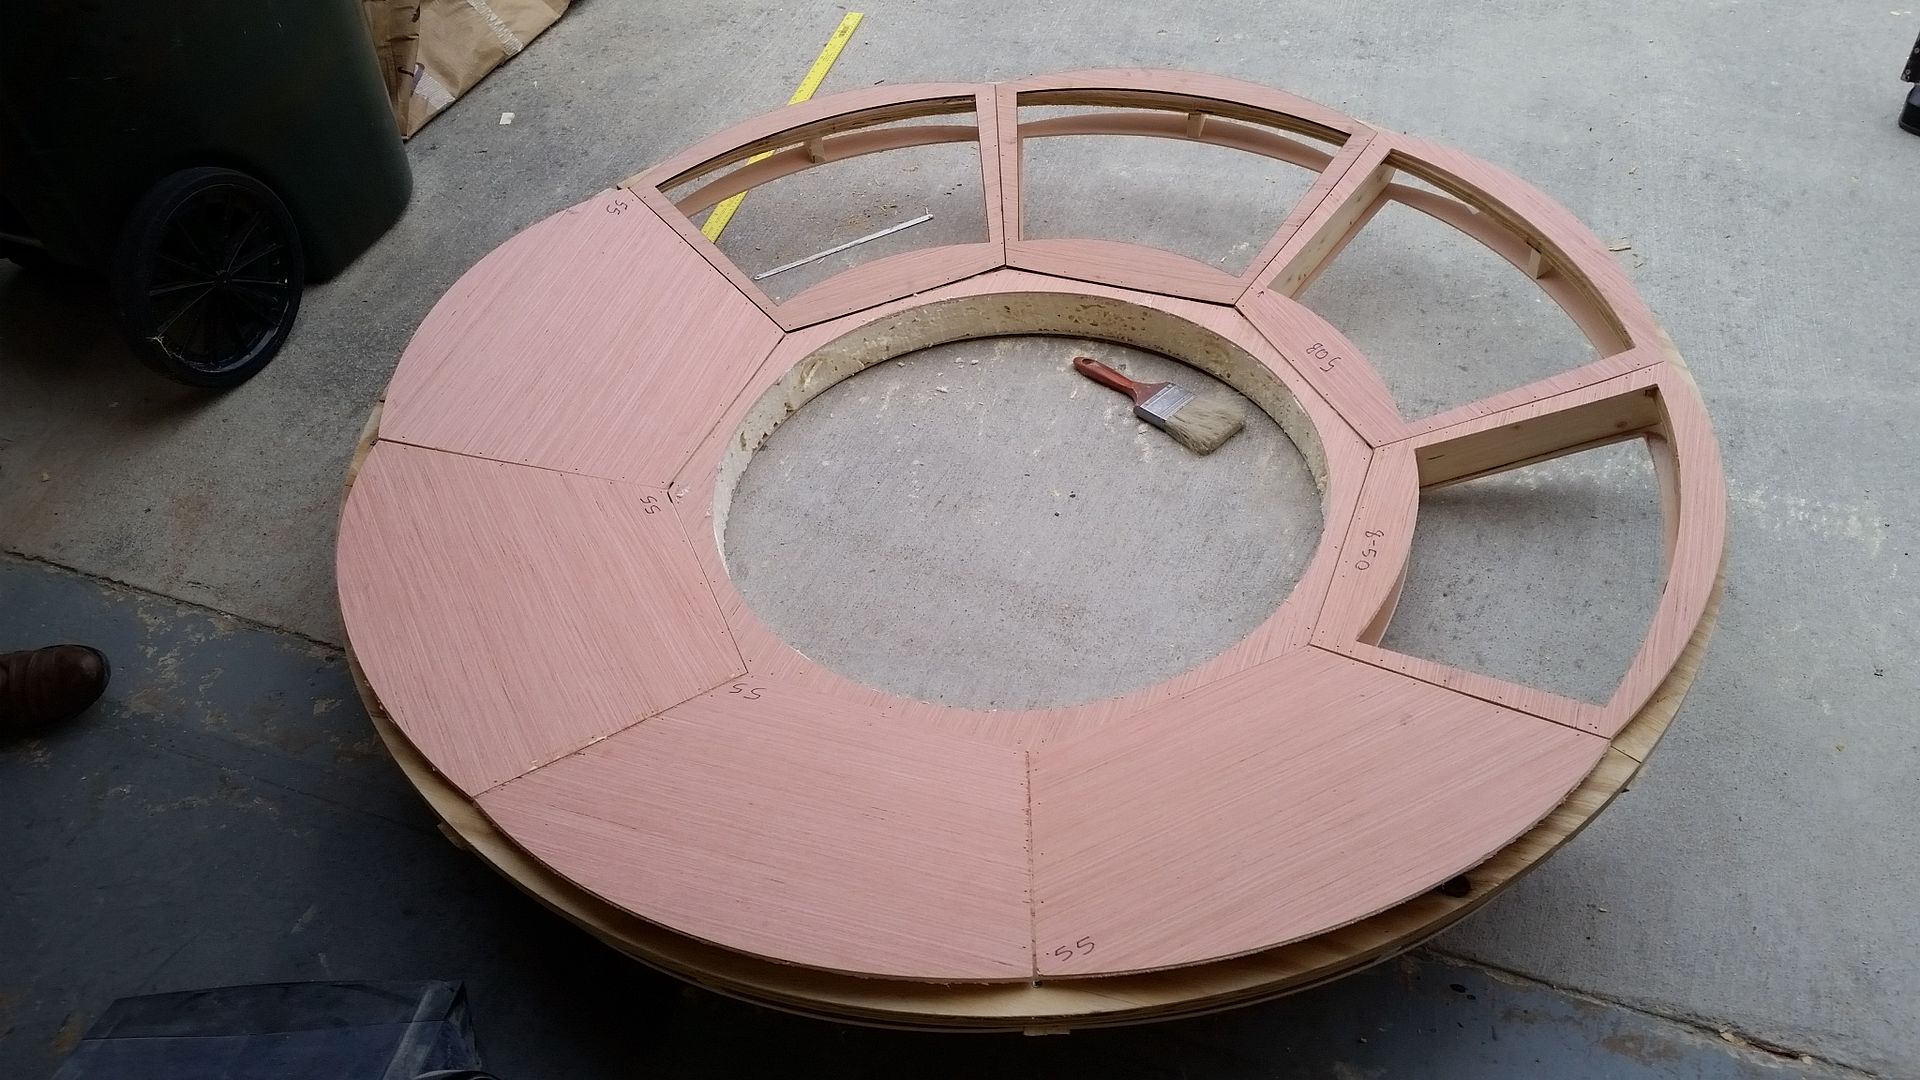
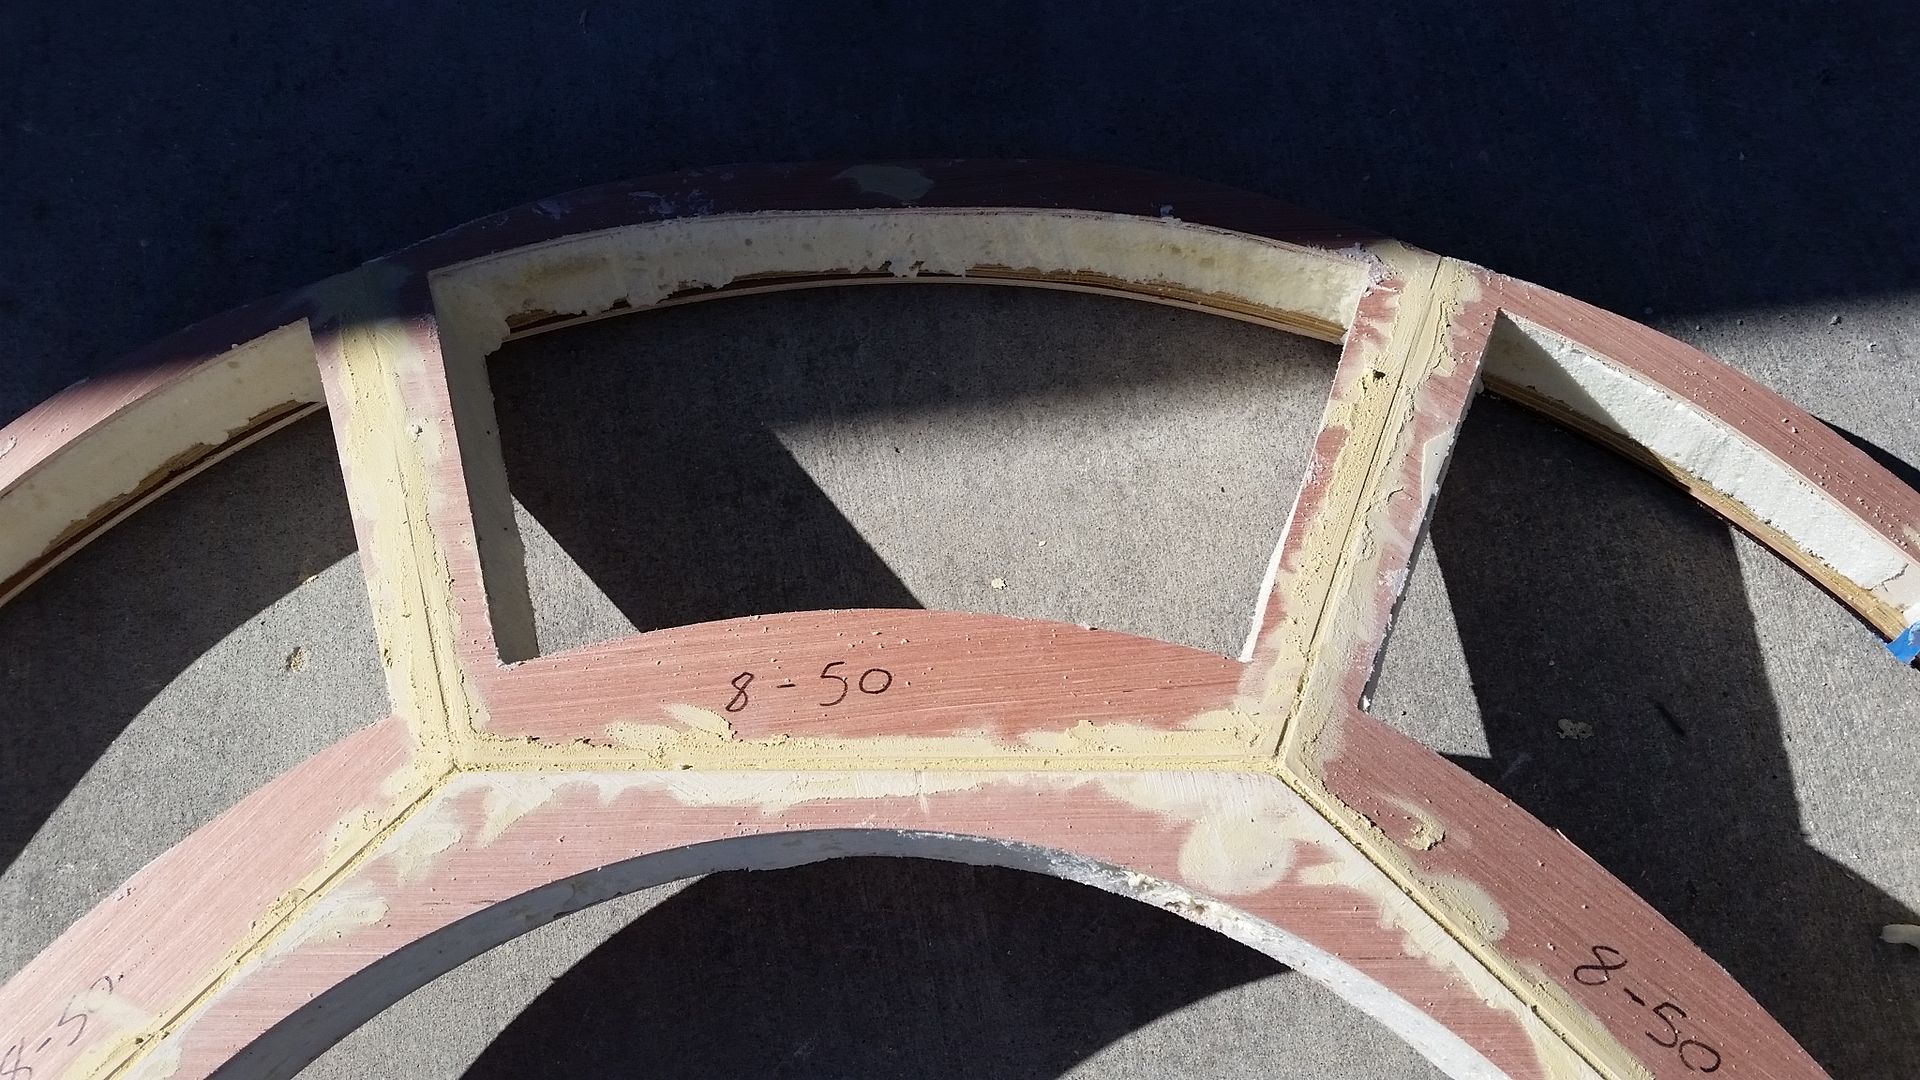
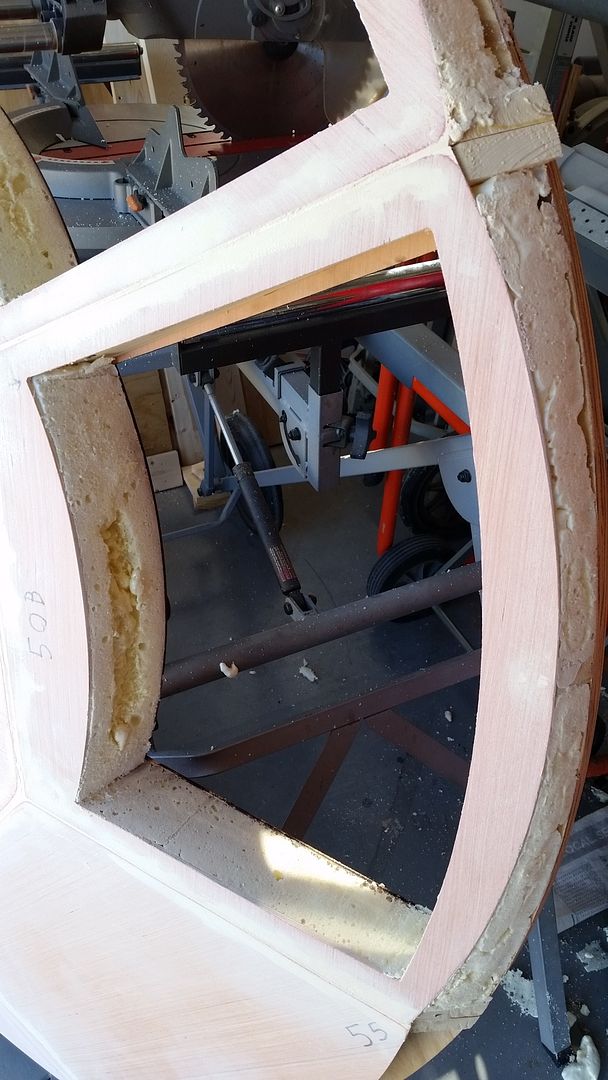
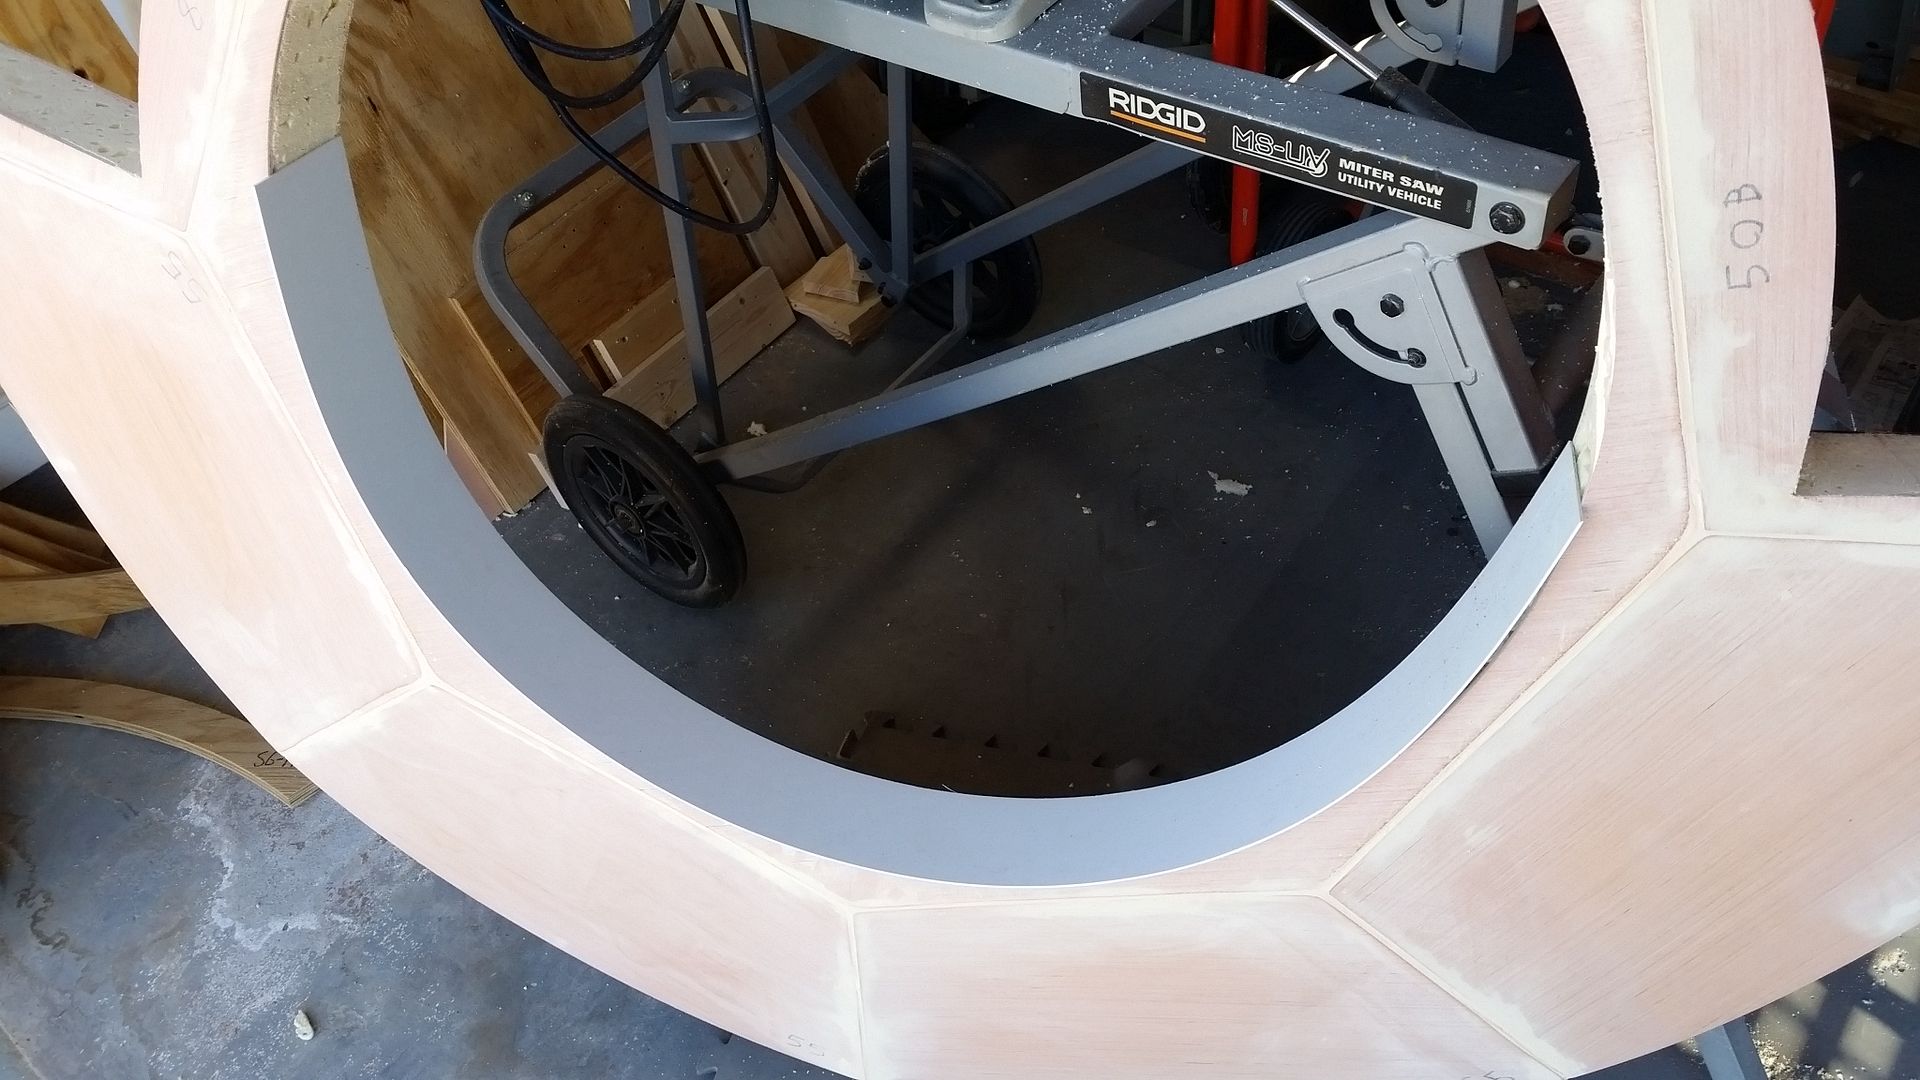
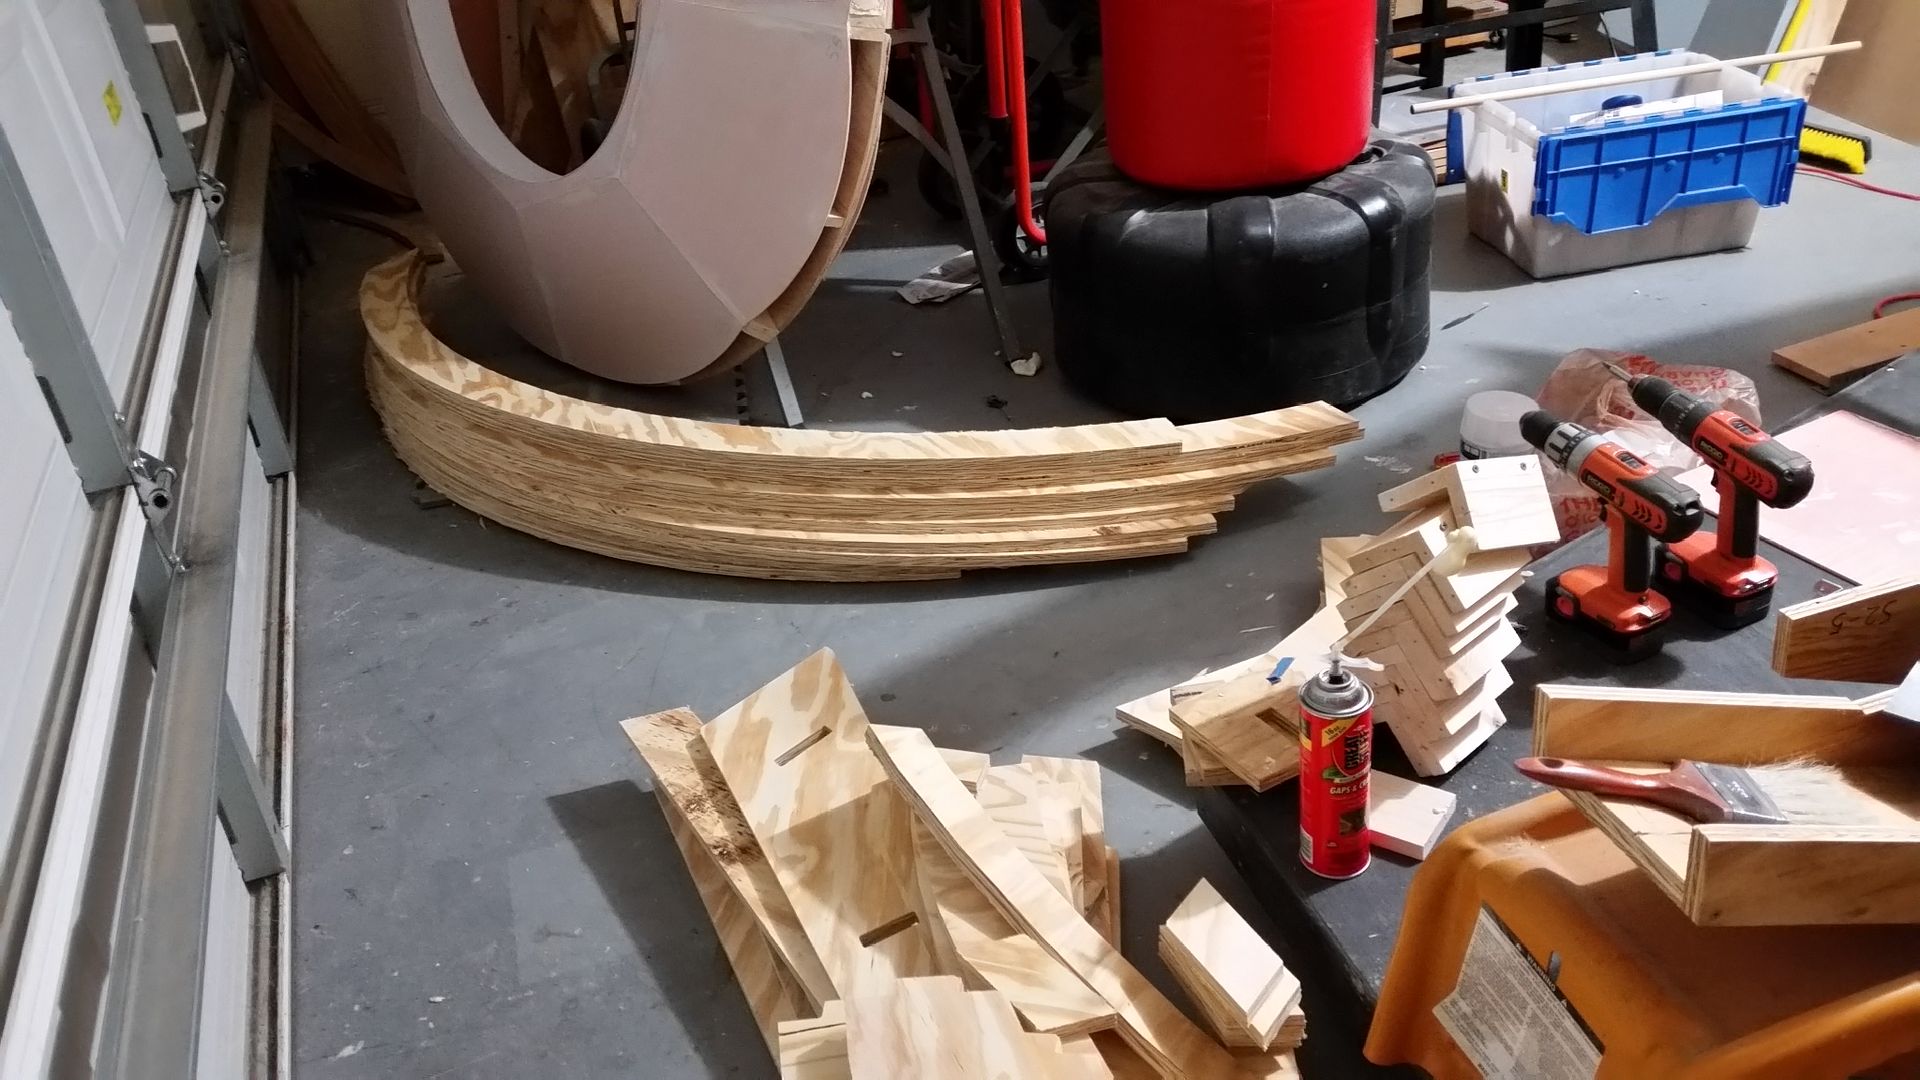
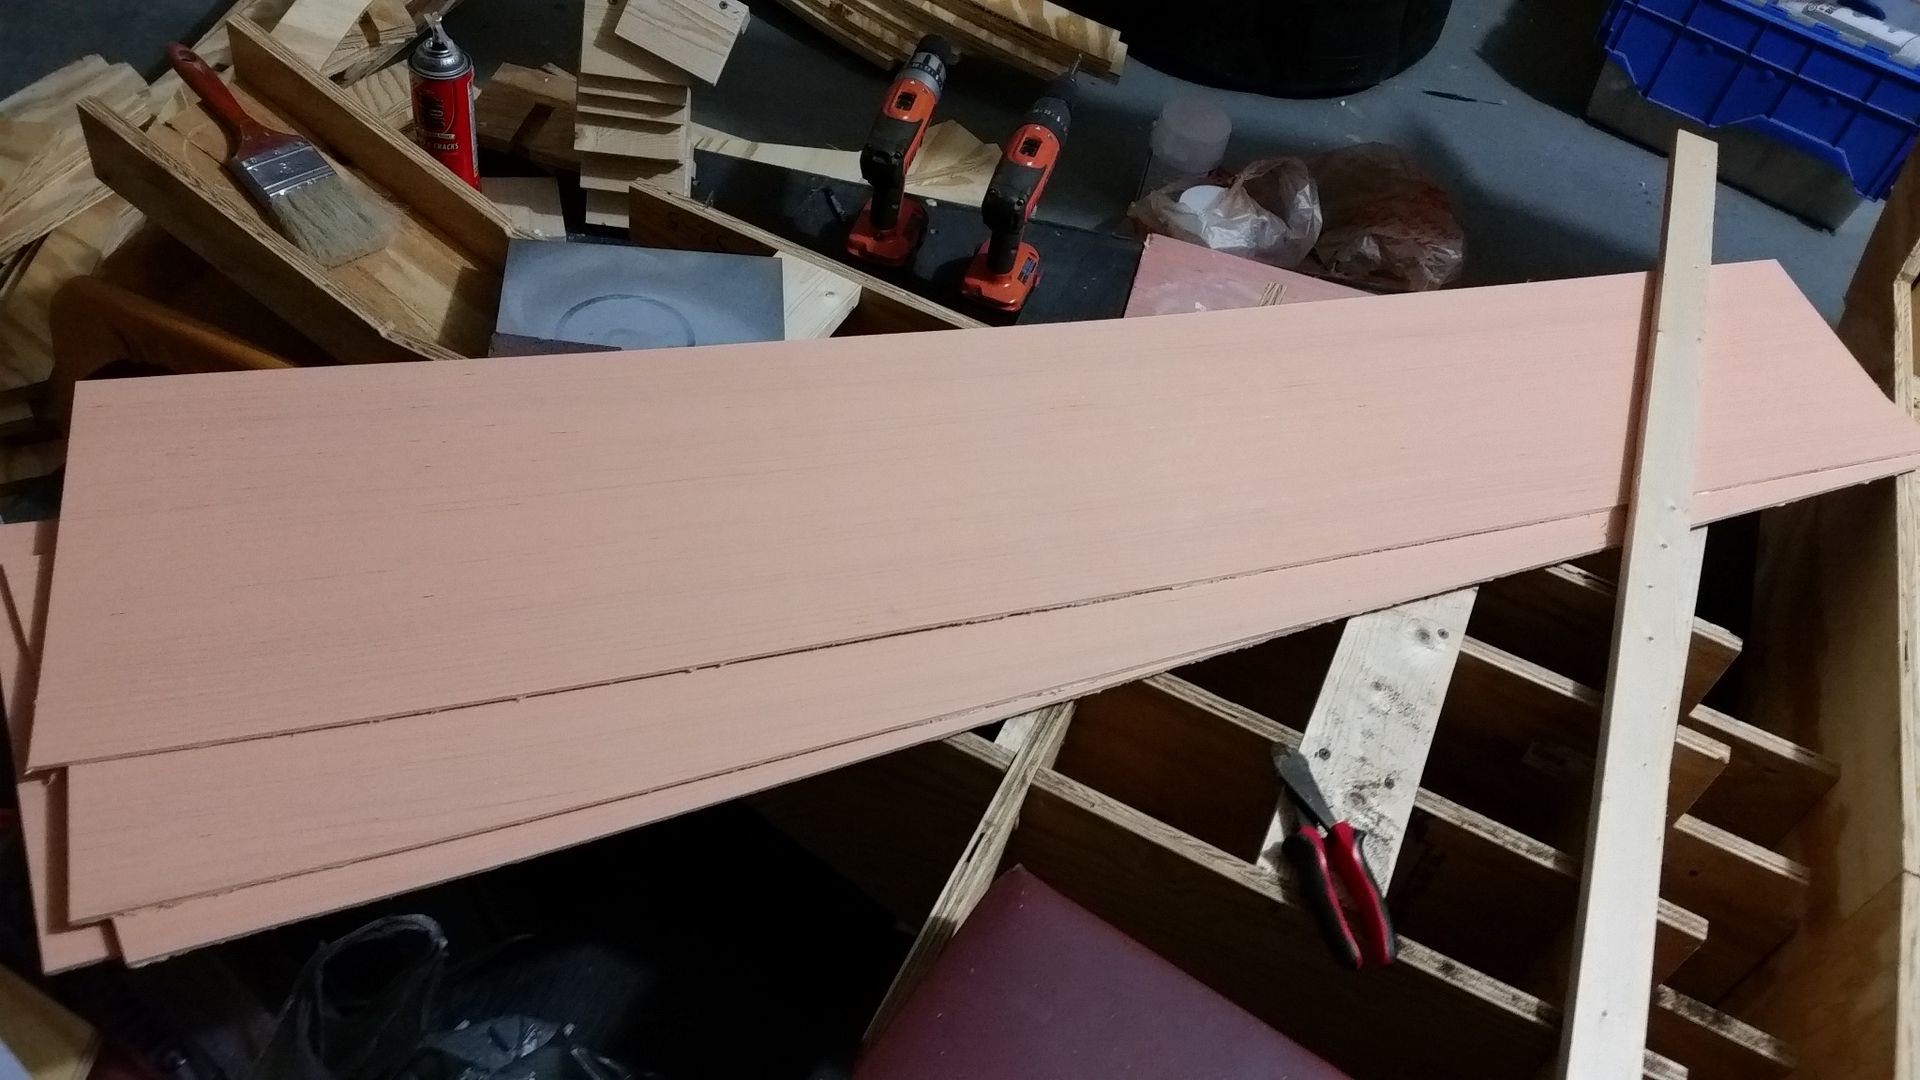
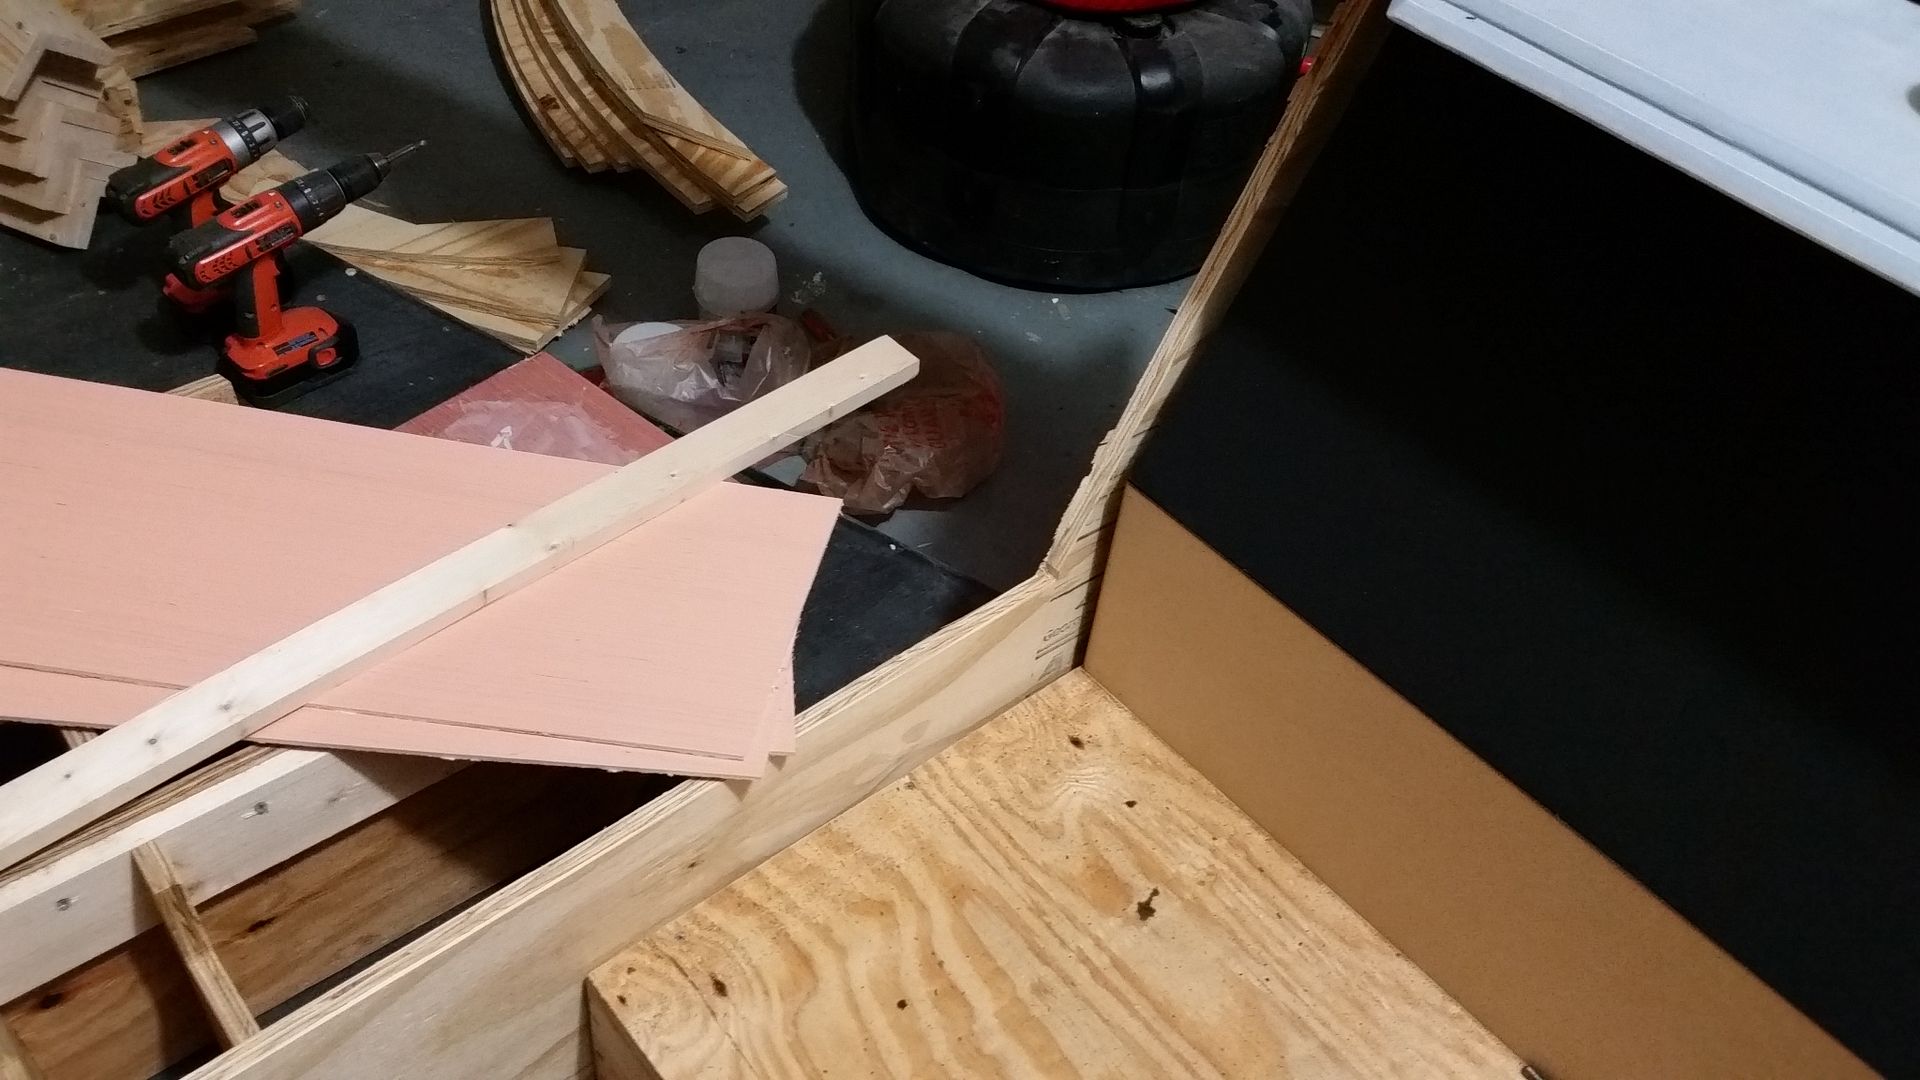
A LOT of attention was also given to the front window - cut these spacers
20151121_123124_zpsgkksmbwr.jpg


They will fit into these openings to keep the "petals" from flexing and give support
20151121_123140_zpszpqlwm8w.jpg


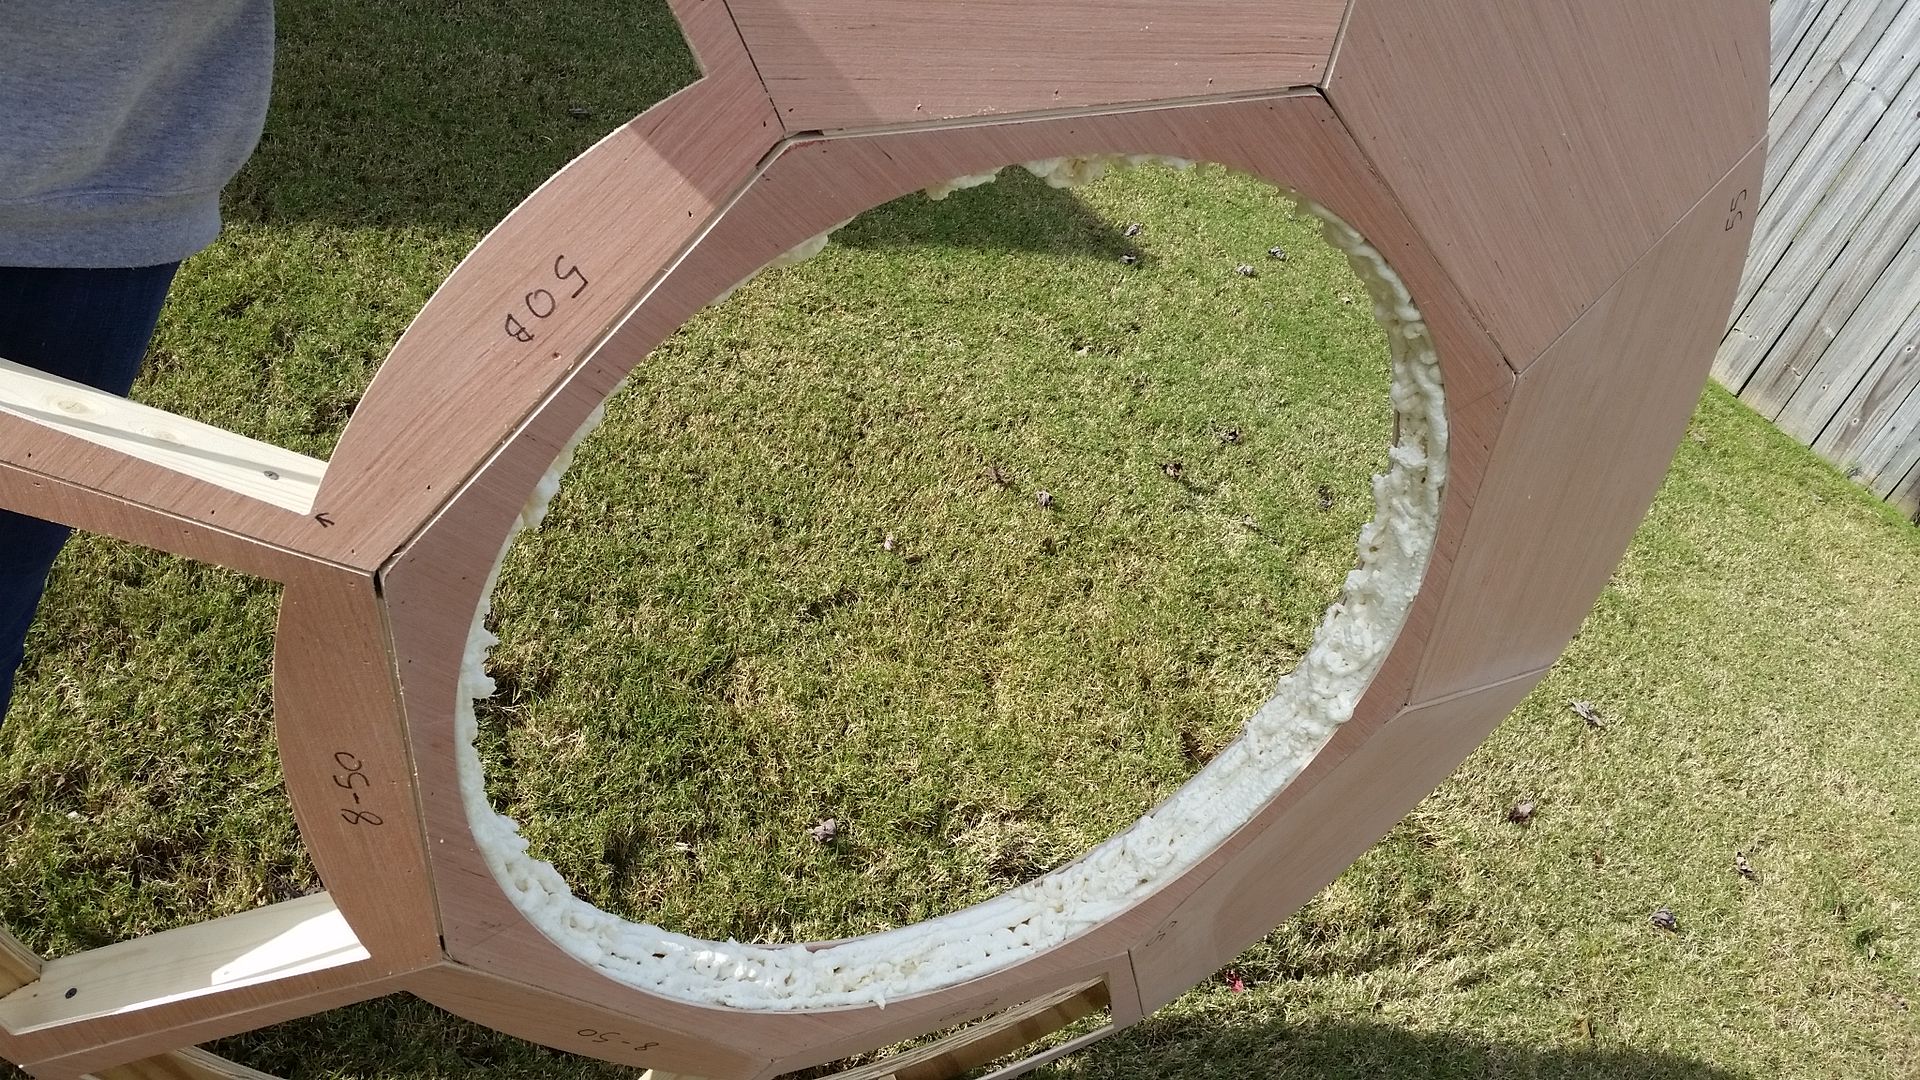
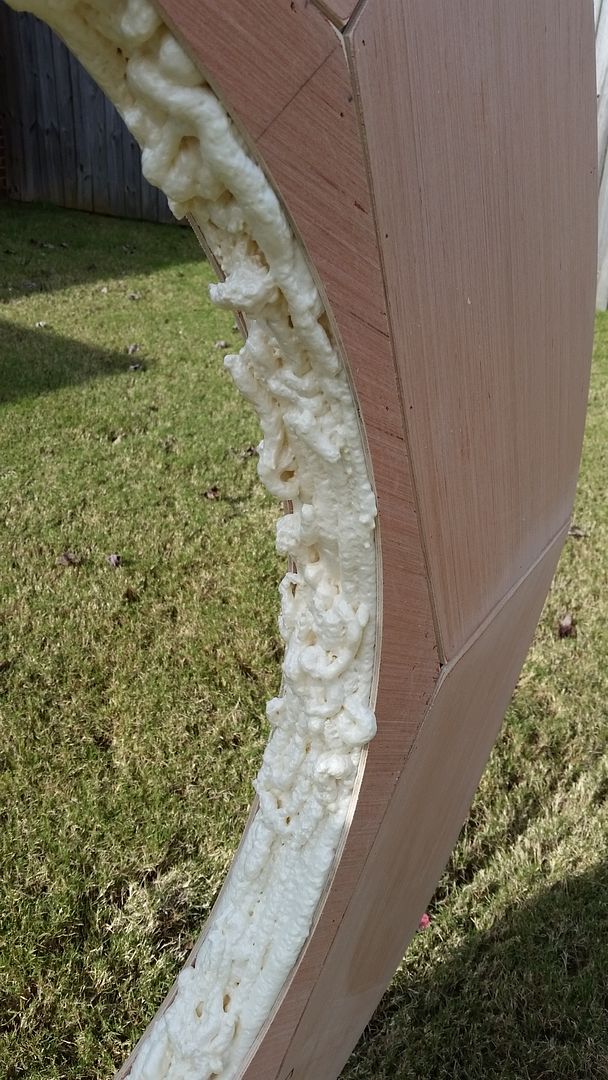
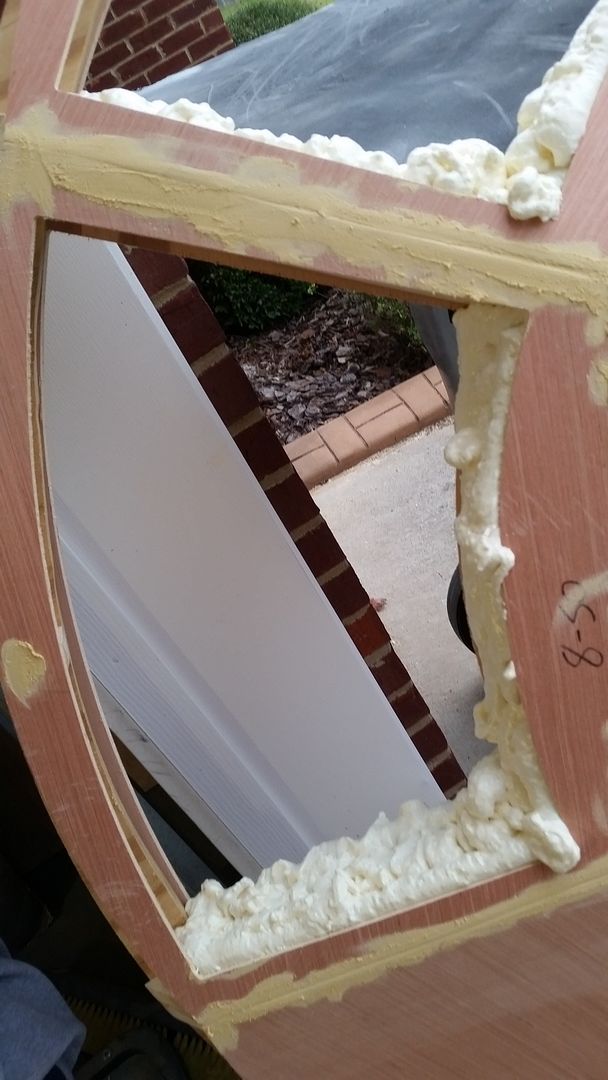
Jessie and I then added expandable foam to the center ring!
20151121_125837_zpskqaahcbg.jpg


This fills ALL the gaps and def keeps the weight down
20151121_125843_zpsplrsxxct.jpg


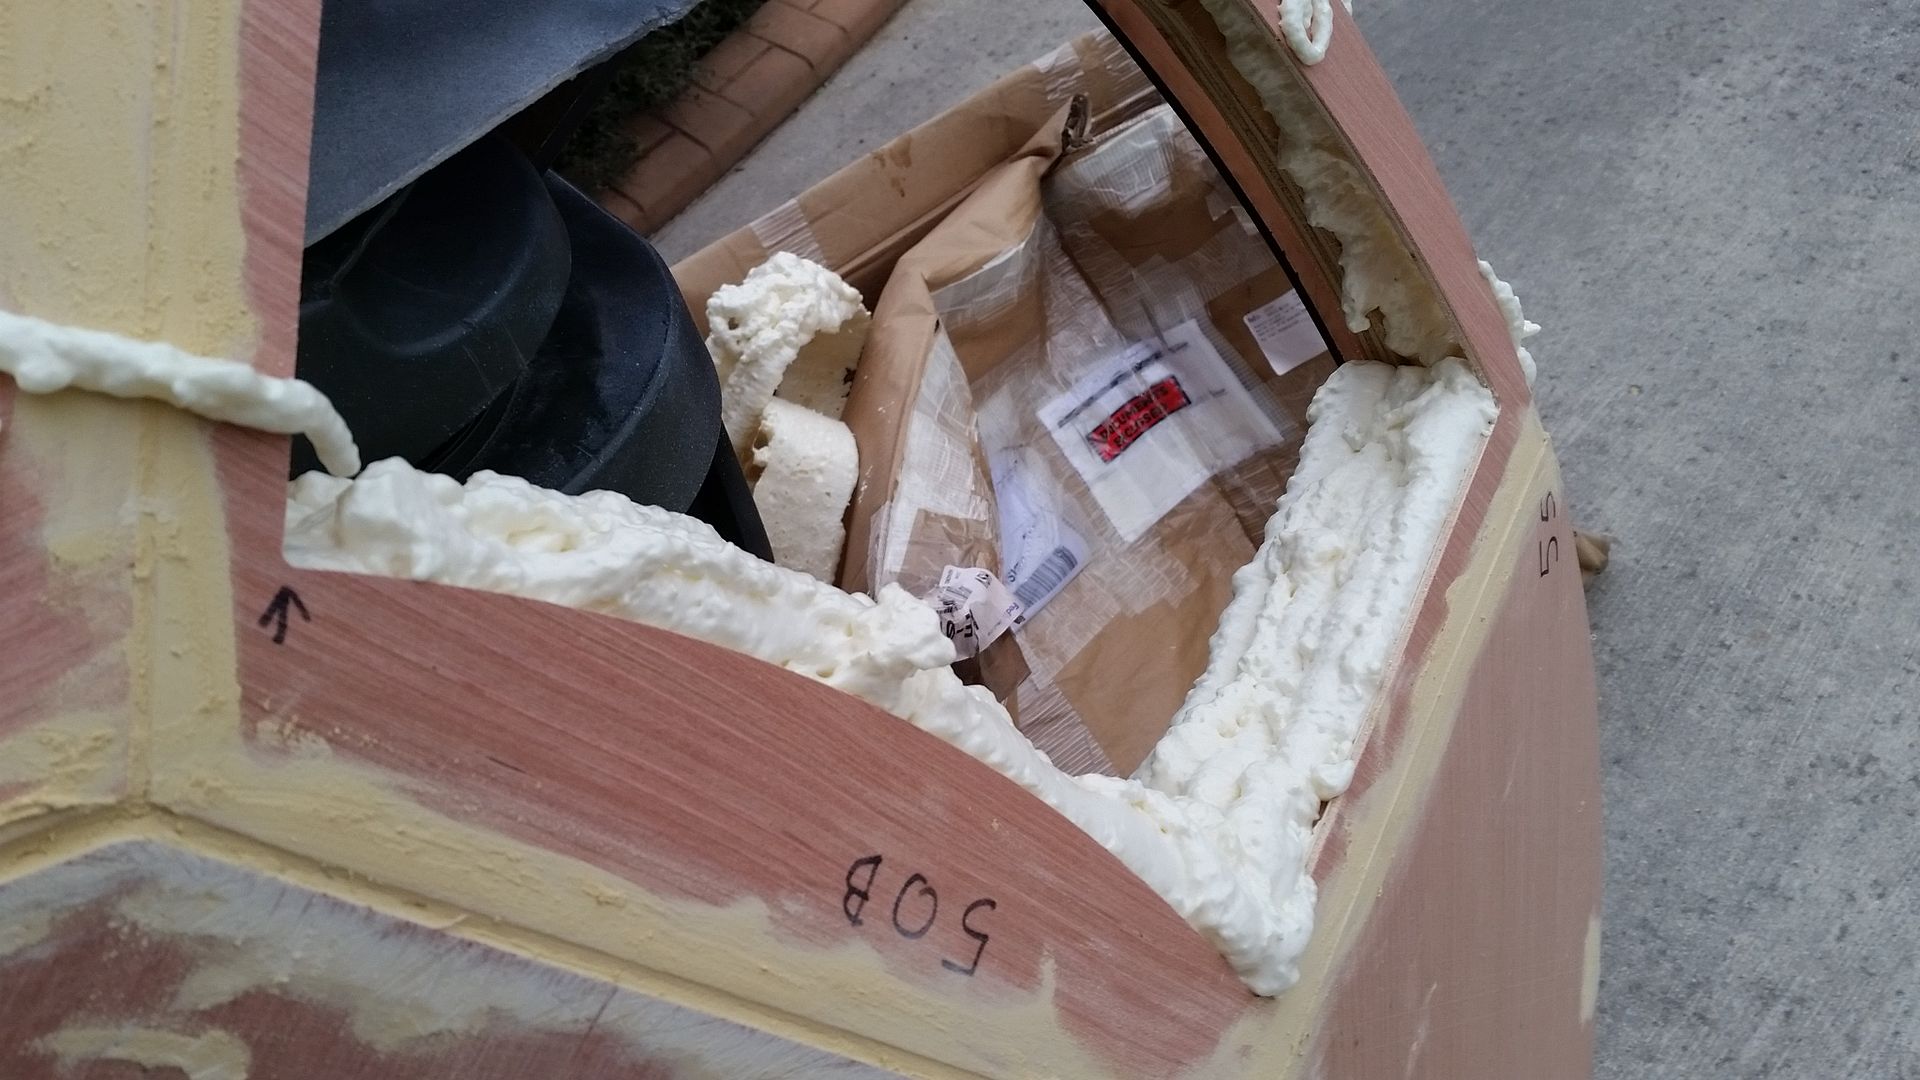
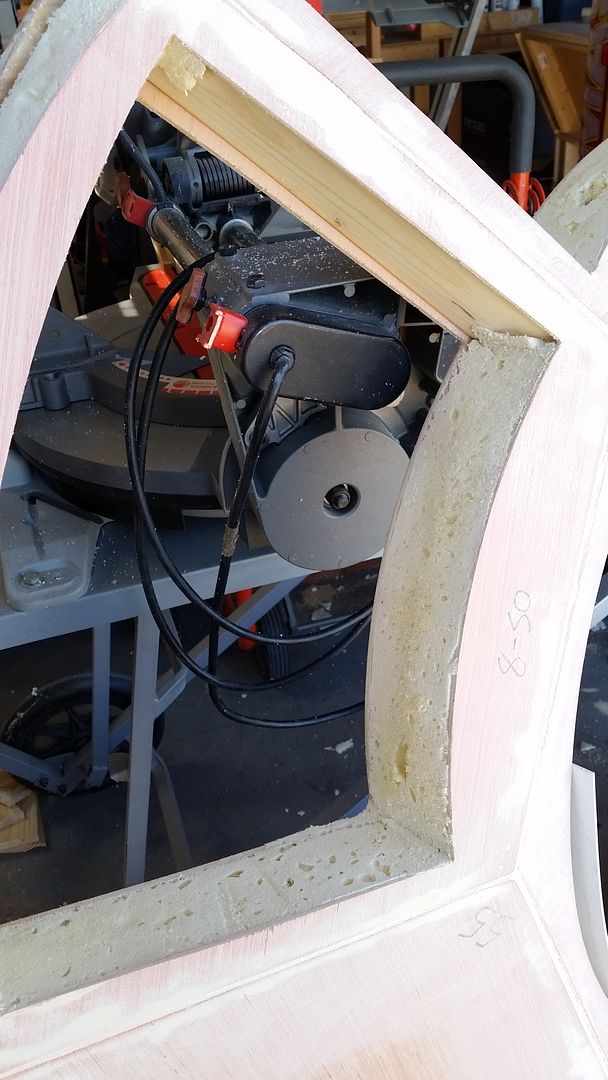
We then added filler to the open edges around each "petal"
20151121_131416_zpstcjjqhws.jpg


I then trimmed the foam
20151121_143410_zpstwwnn8be.jpg


20151121_143416_zpsnejiqouz.jpg


20151121_143421_zps8kdoxdqx.jpg


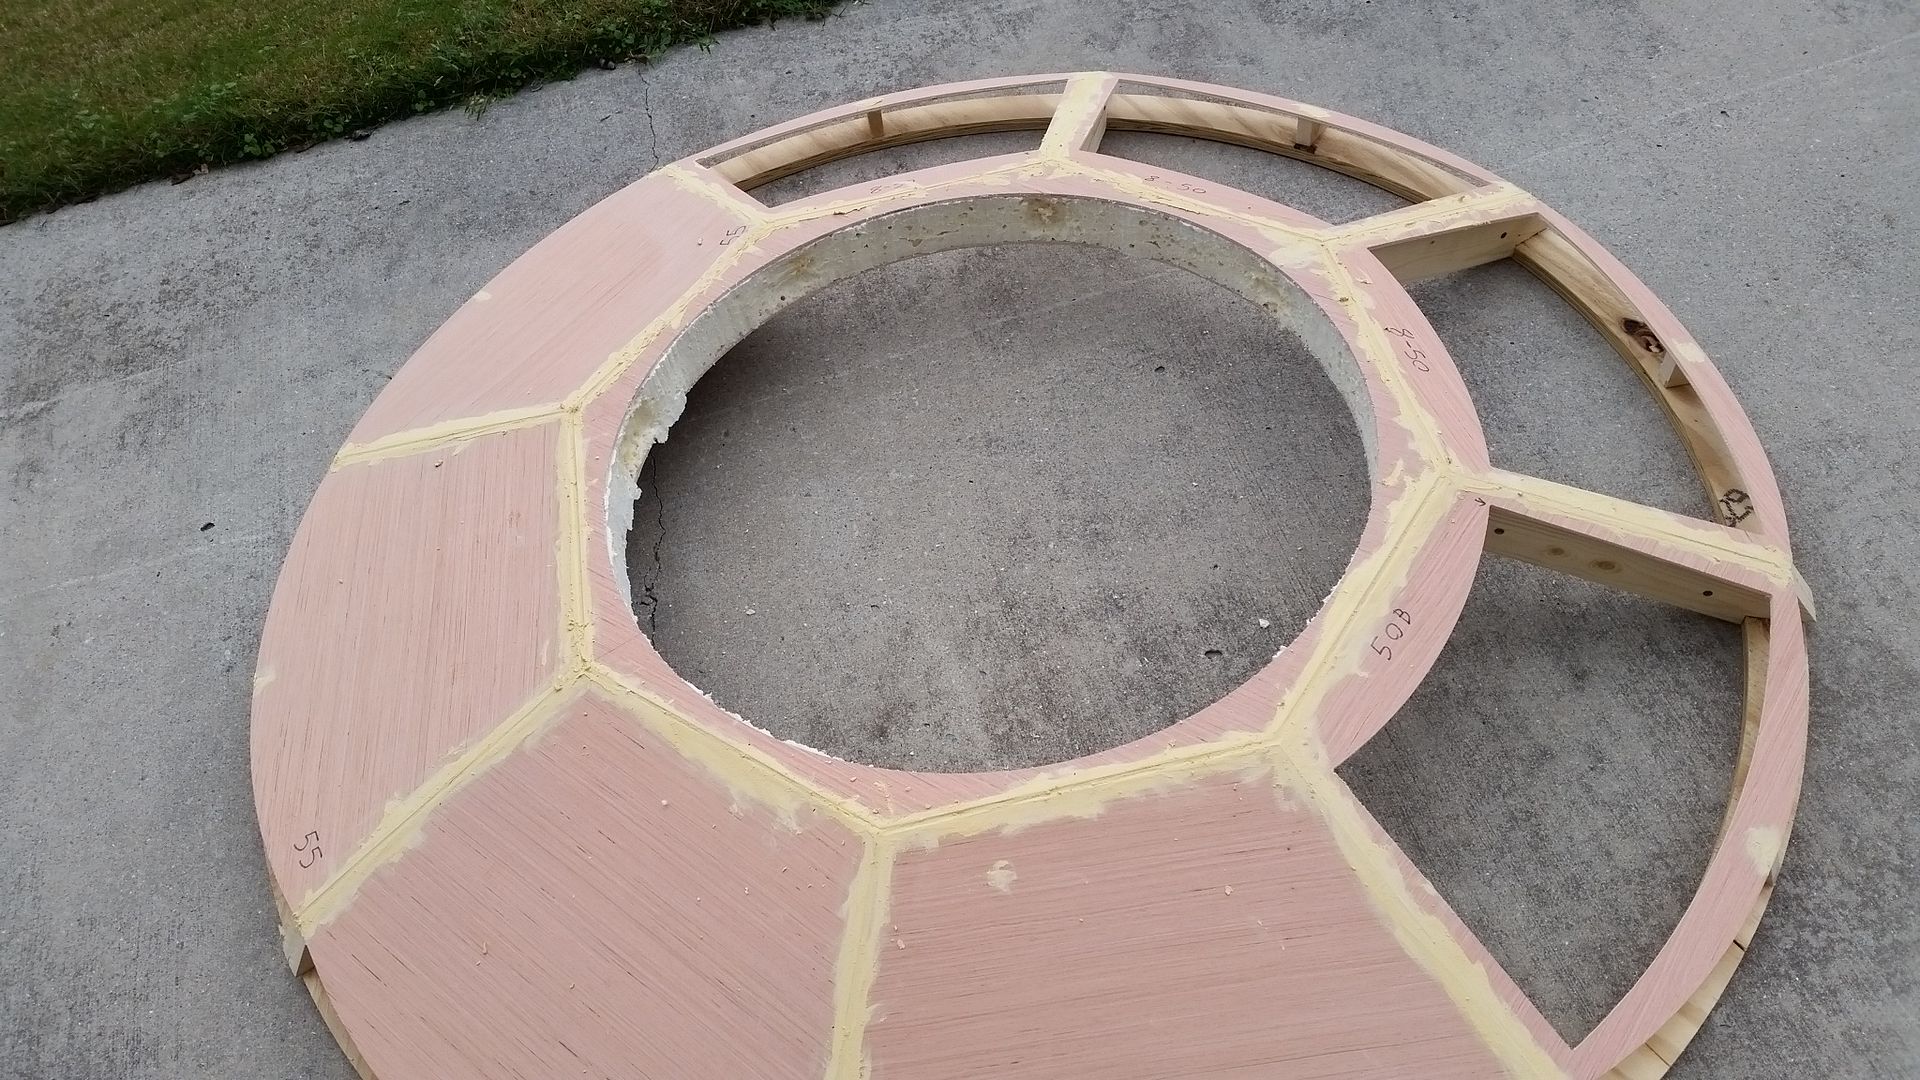
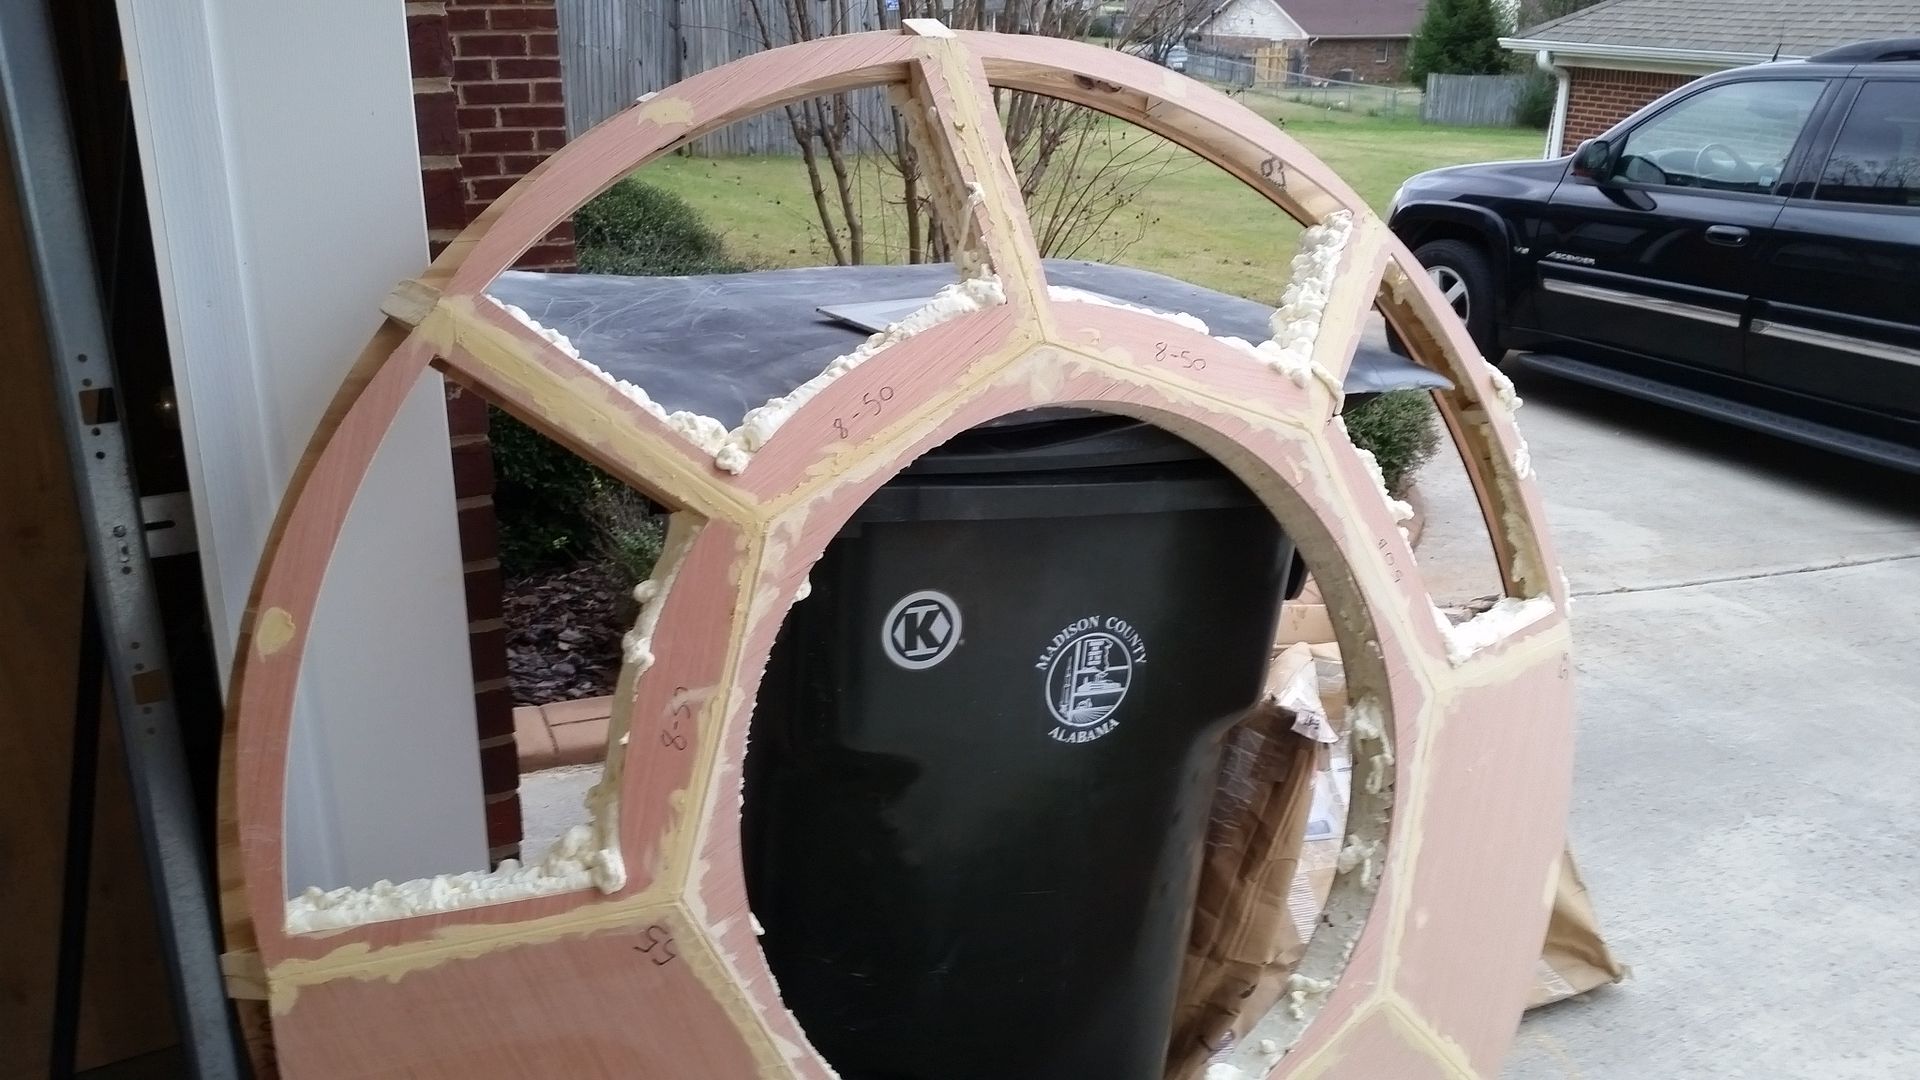
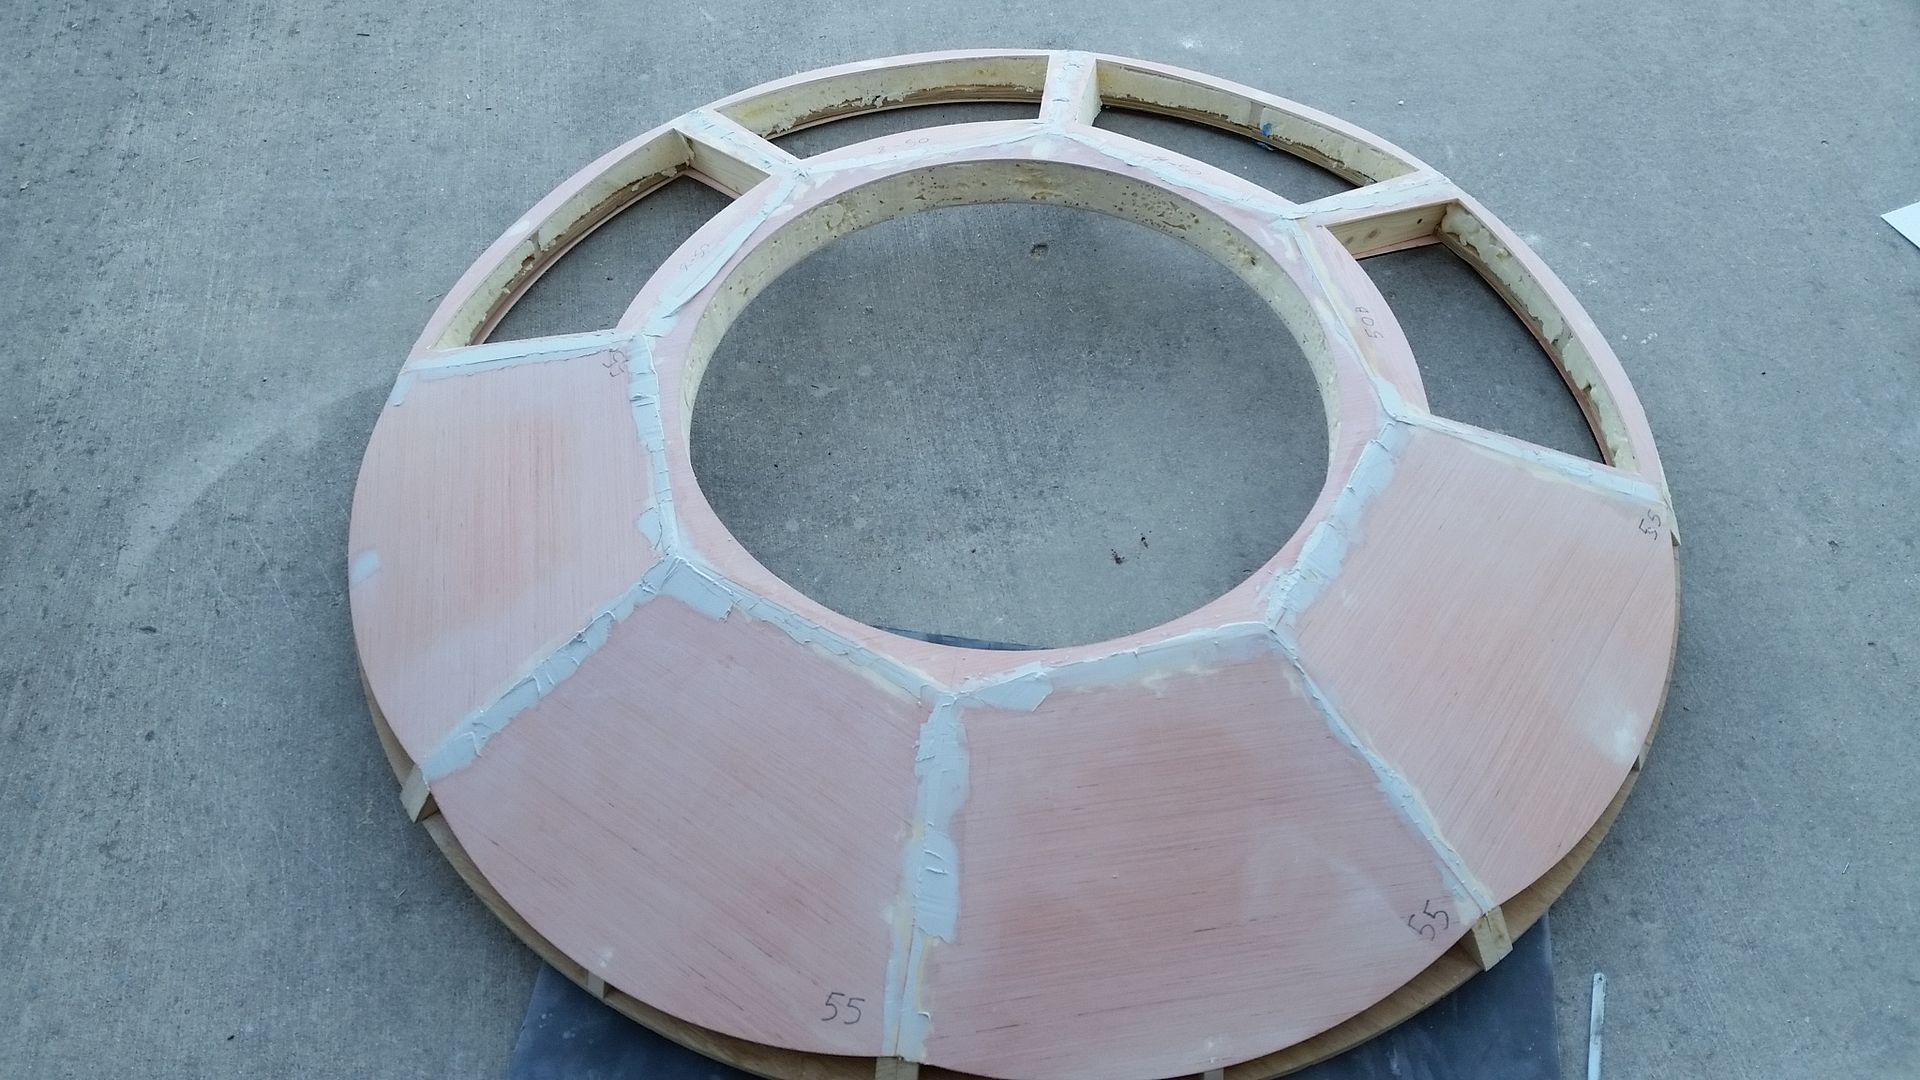
Jessie and I attached the inner "petals" to the window - some material had to be removed so edges could meet
20151121_144551_zpsl5nnlzd2.jpg


Interior "petals" in place - needs lot of attention!
20151121_152448_zpszndta2ao.jpg


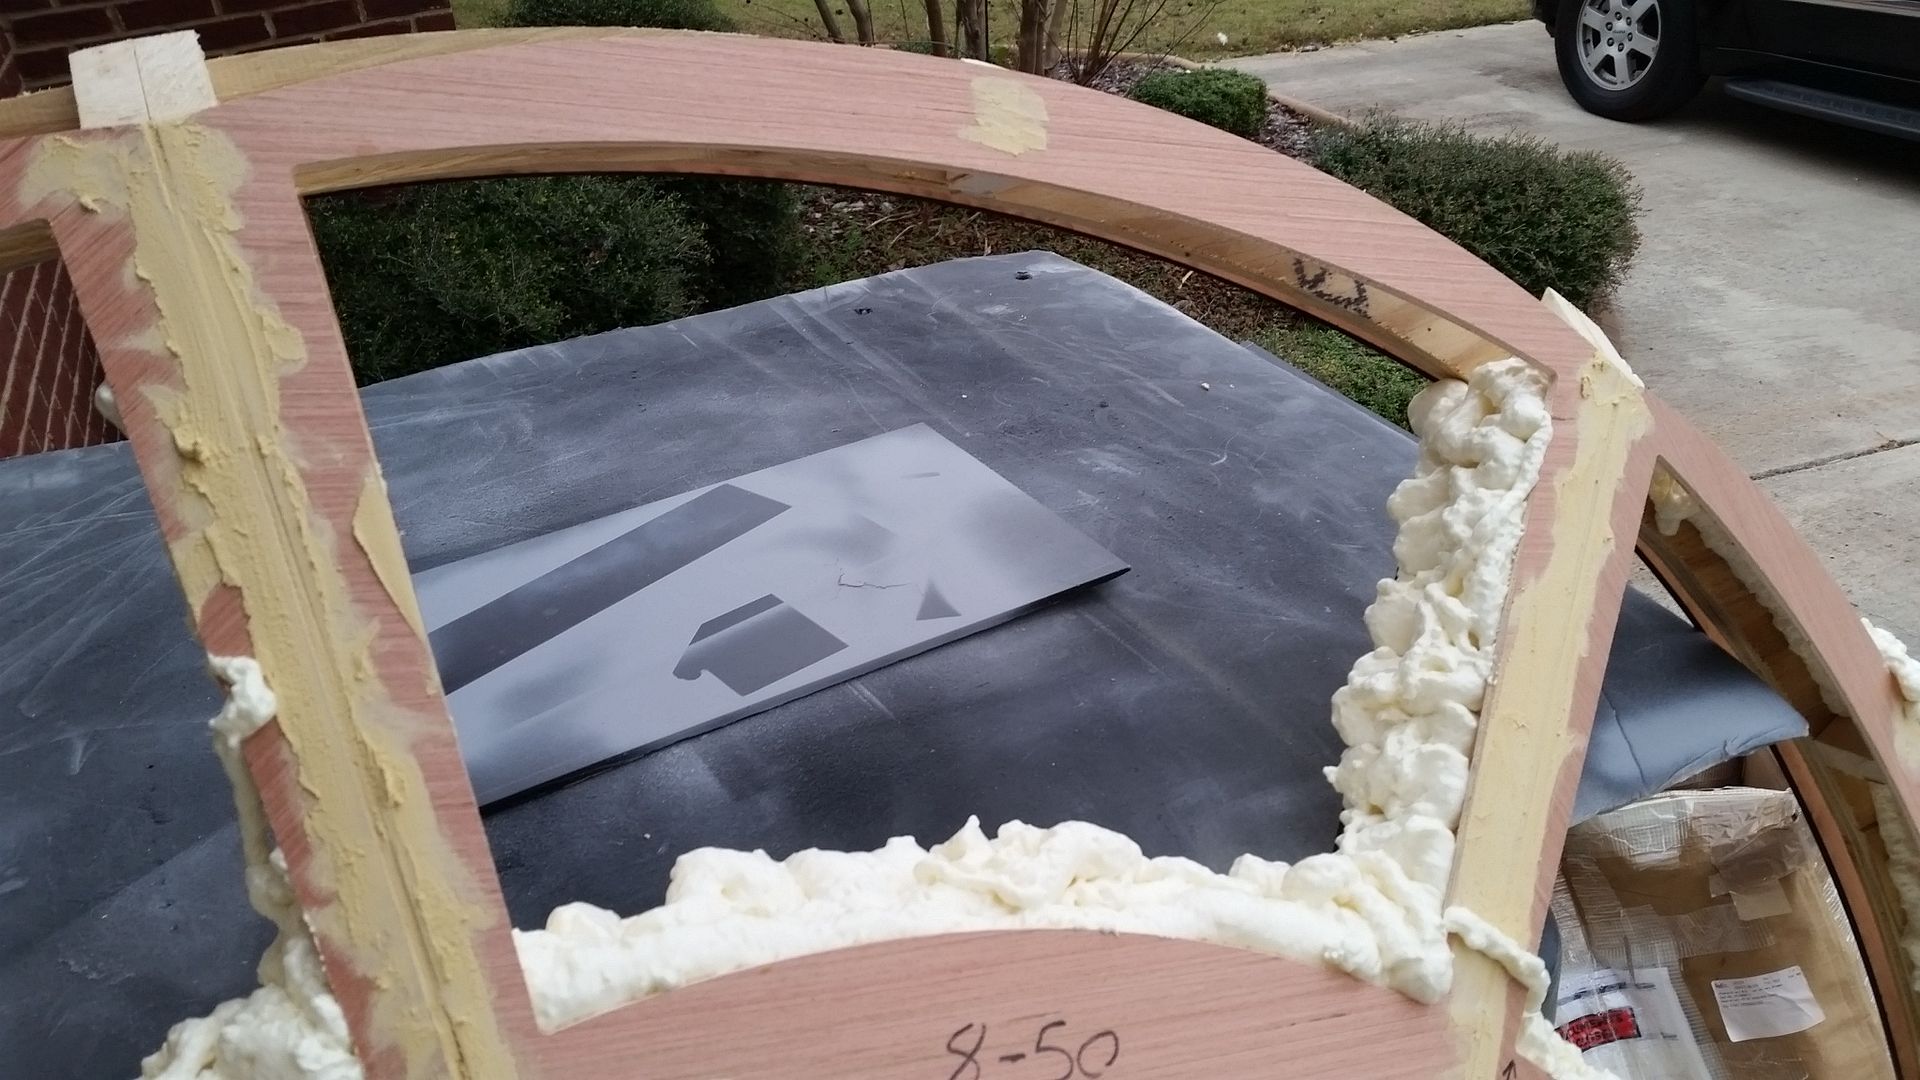
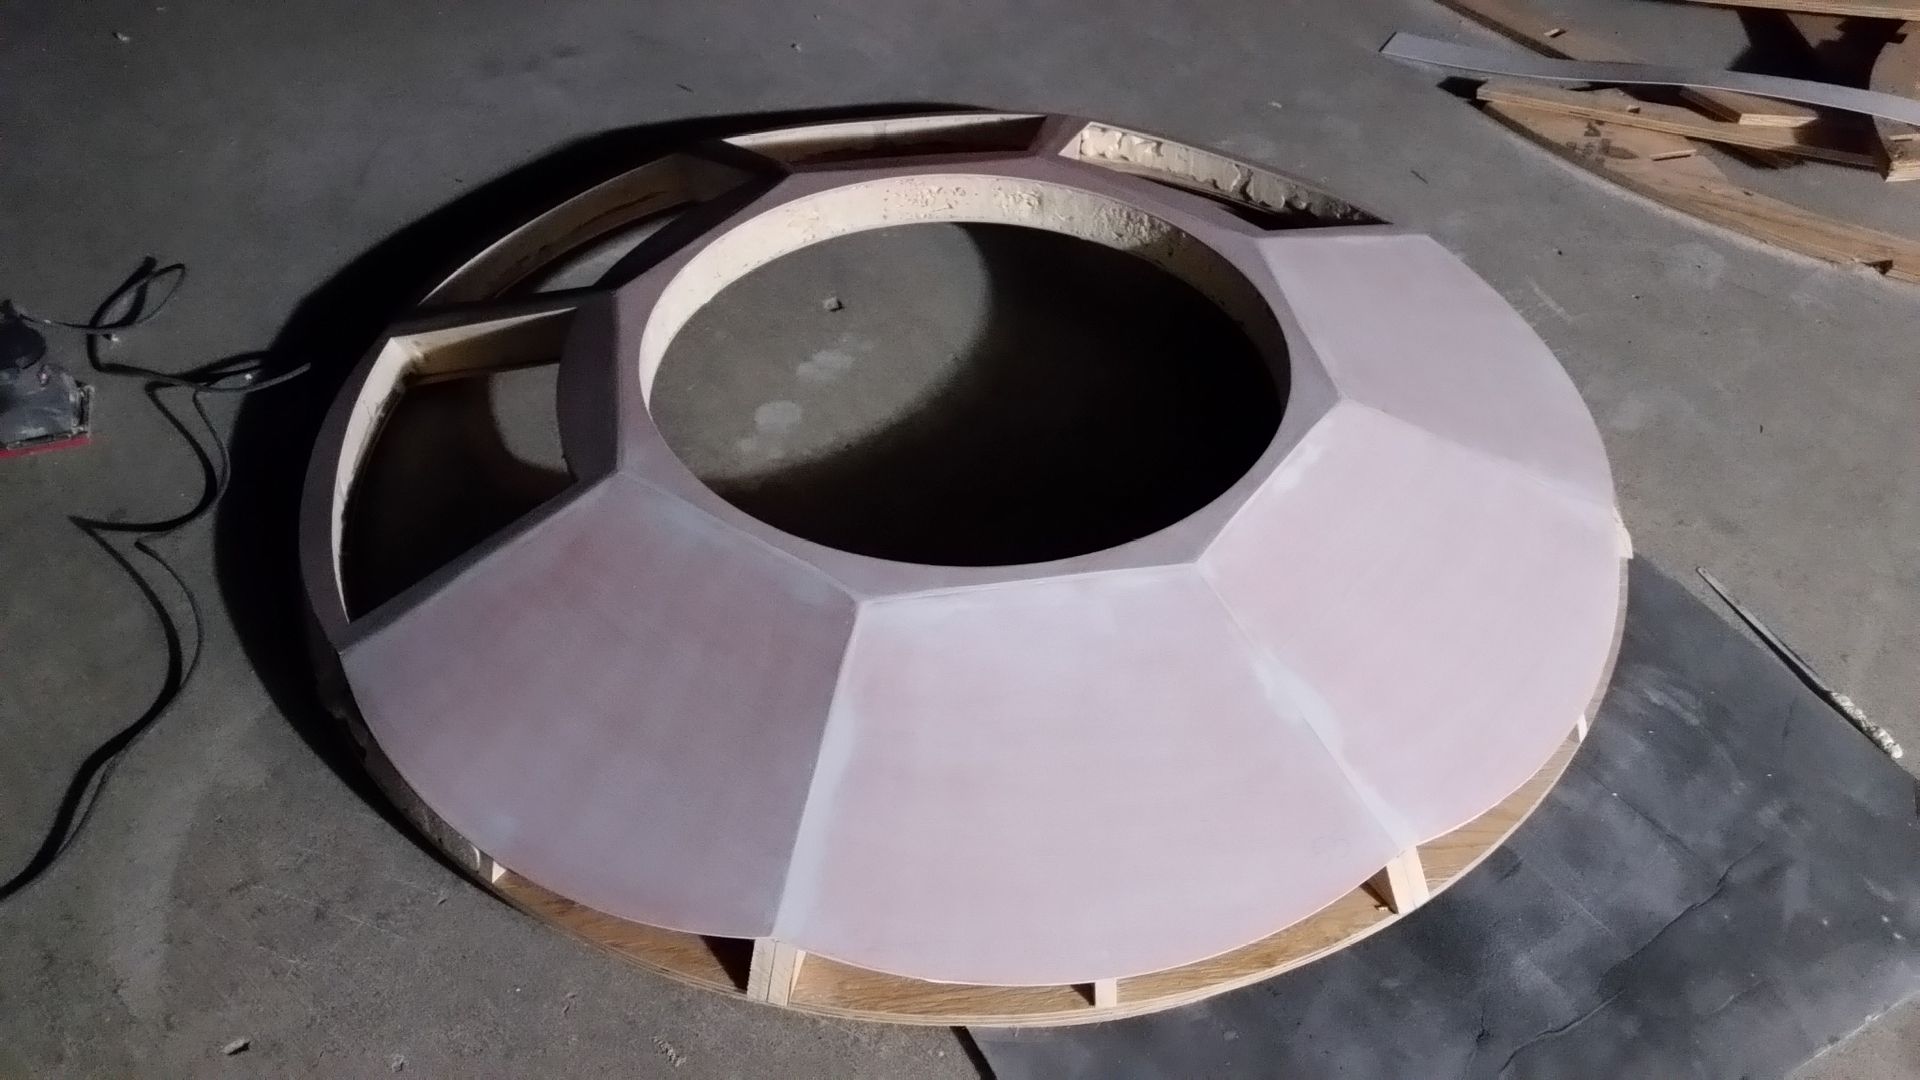
With the "petals" in place I added more foam
20151121_153442_zpssf8497vr.jpg


20151121_153445_zpsu8ajp0js.jpg


20151121_153453_zpsprvggmdk.jpg


20151121_153456_zpszcphkcvu.jpg


This is a FUN process! I'm really enjoying working on the window
20151121_153501_zpsy4tfur0o.jpg


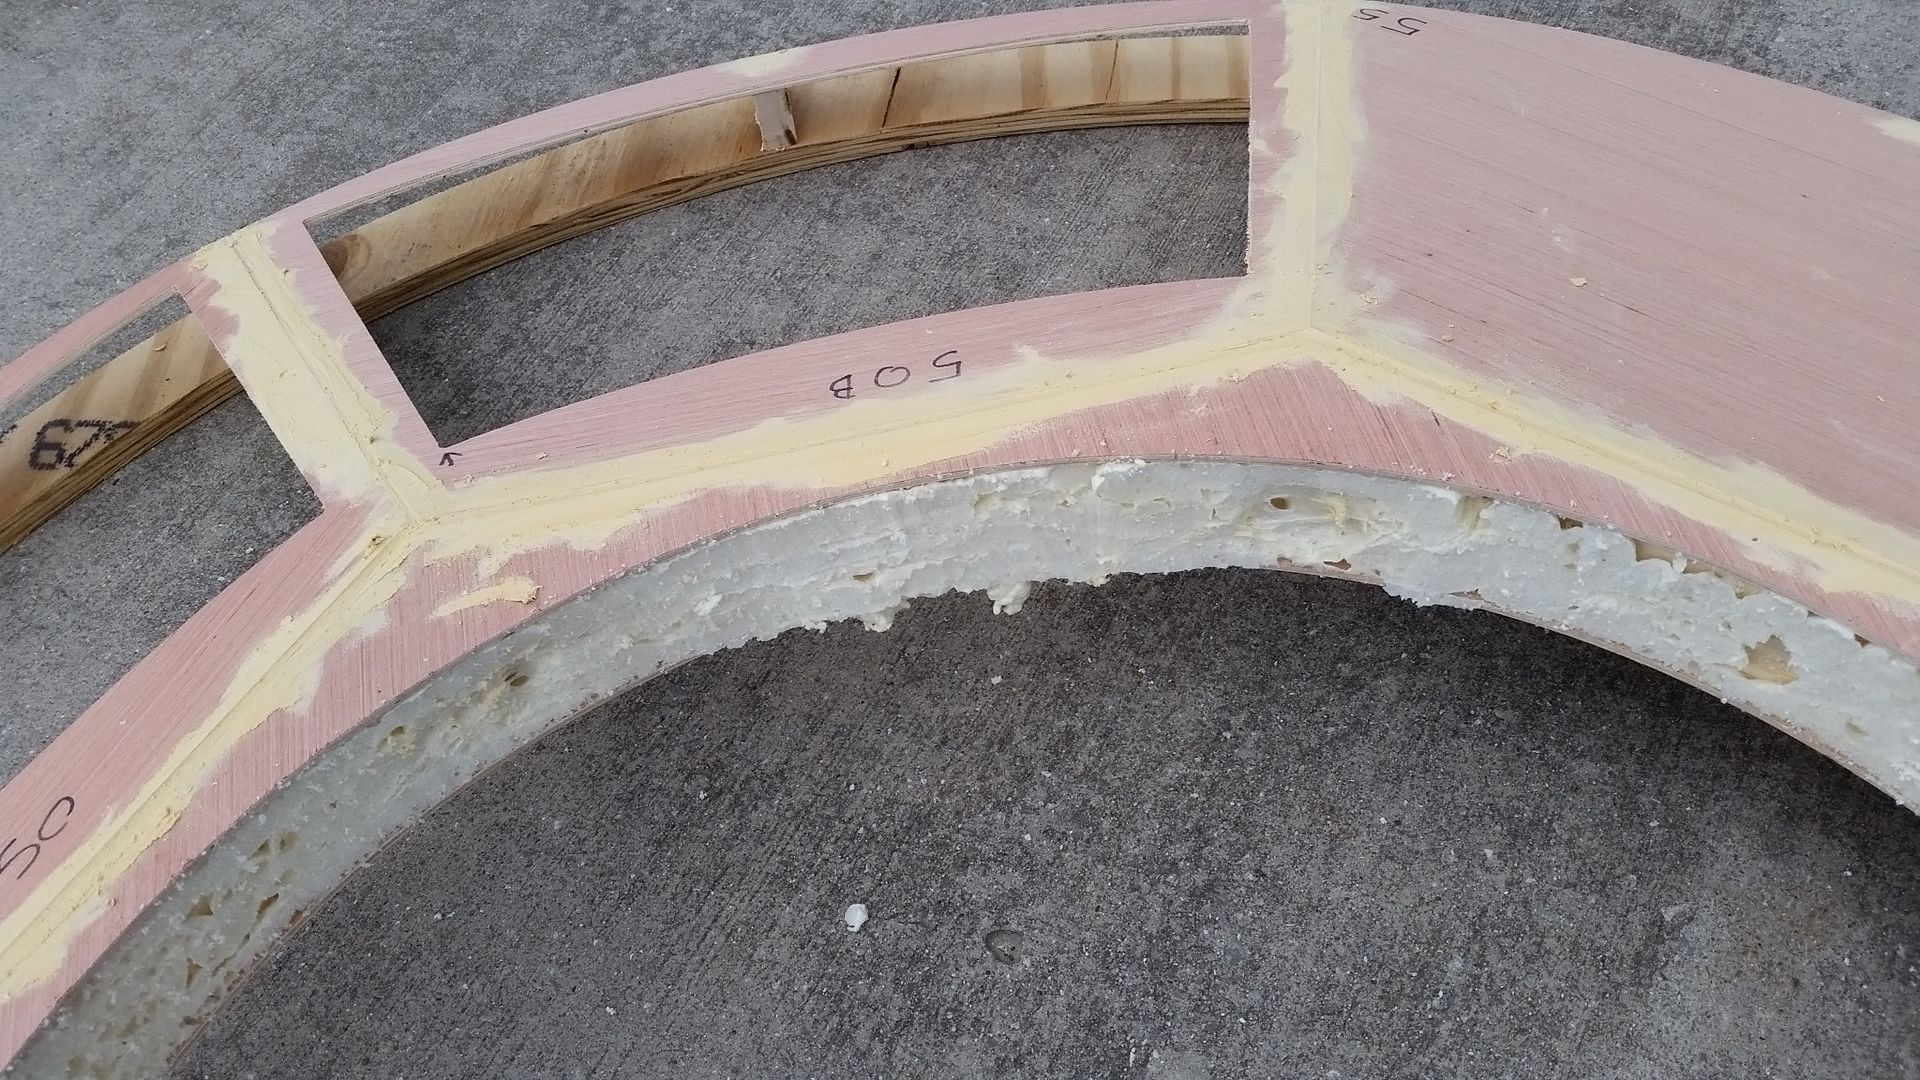
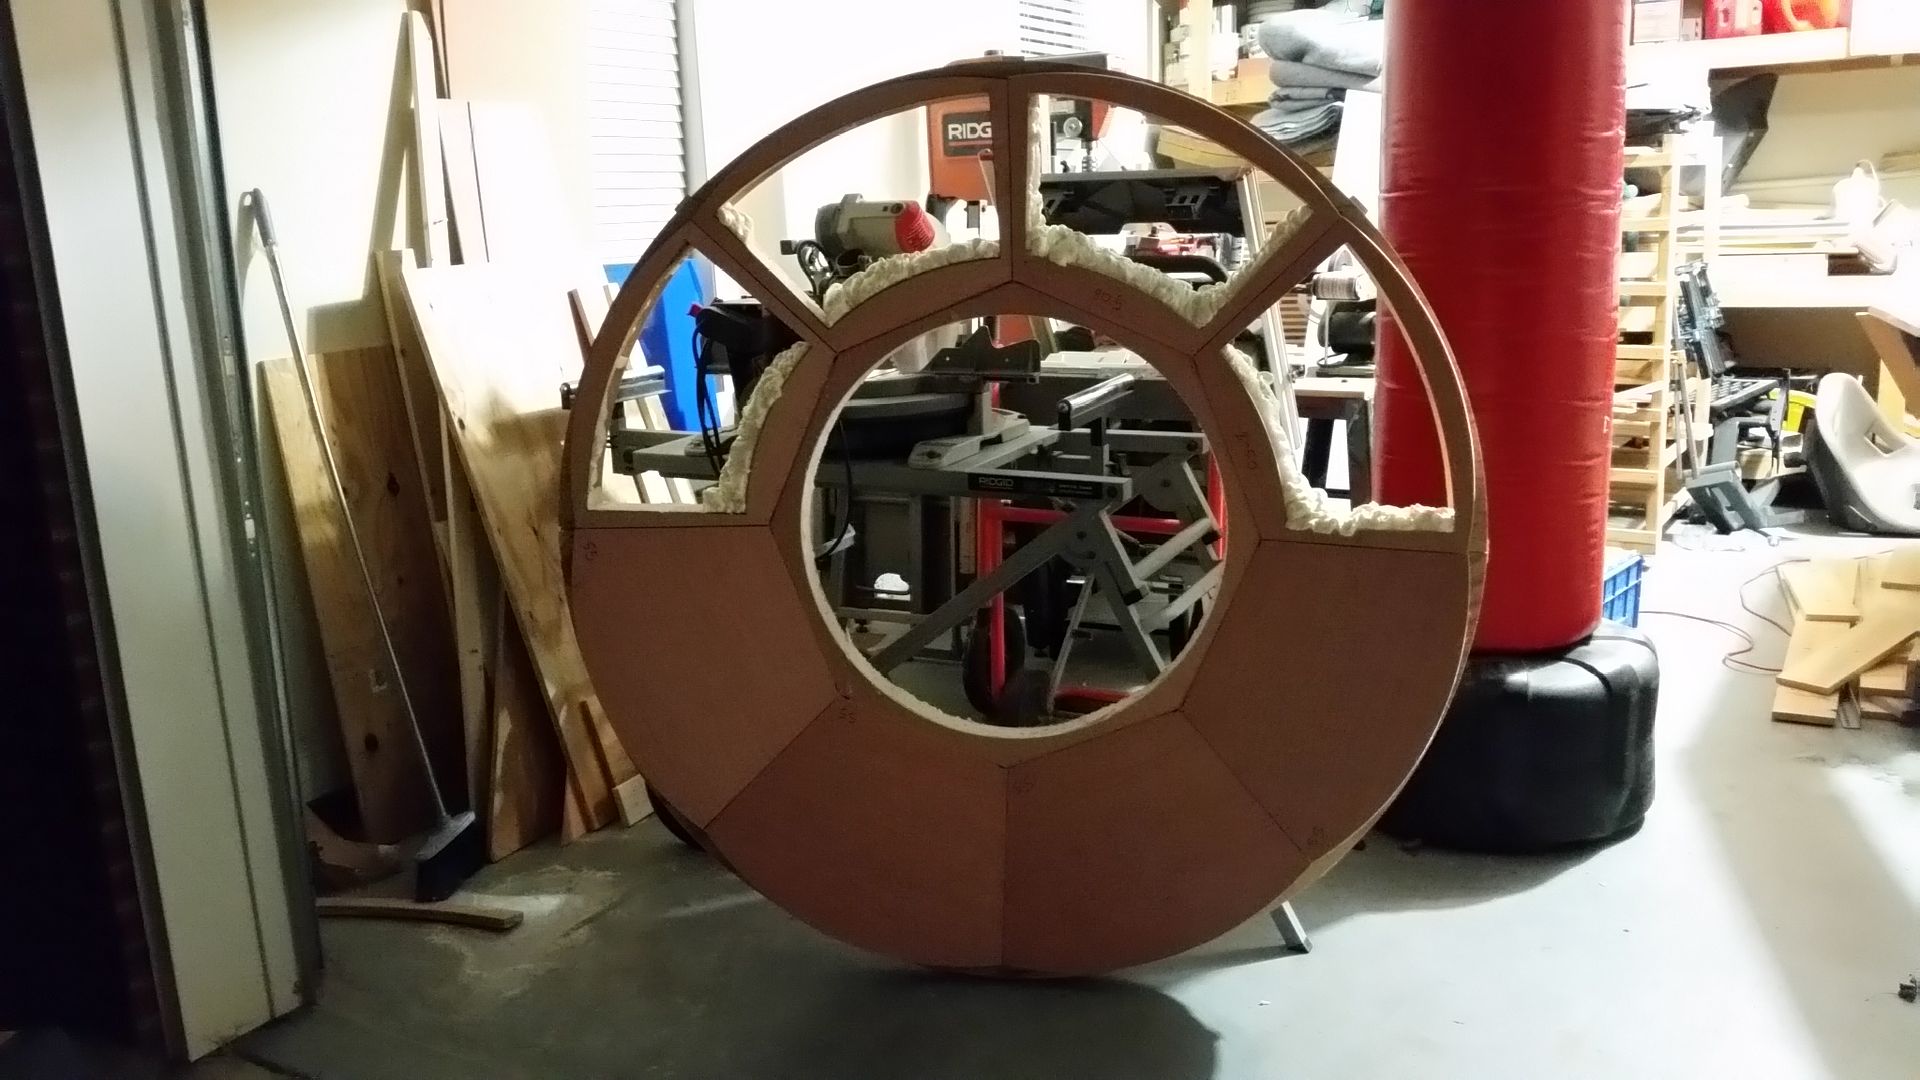
Waiting for the foam to dry
20151121_163336_zpscyfabtjc.jpg


Interior side
20151121_181233_zps6h1skacj.jpg


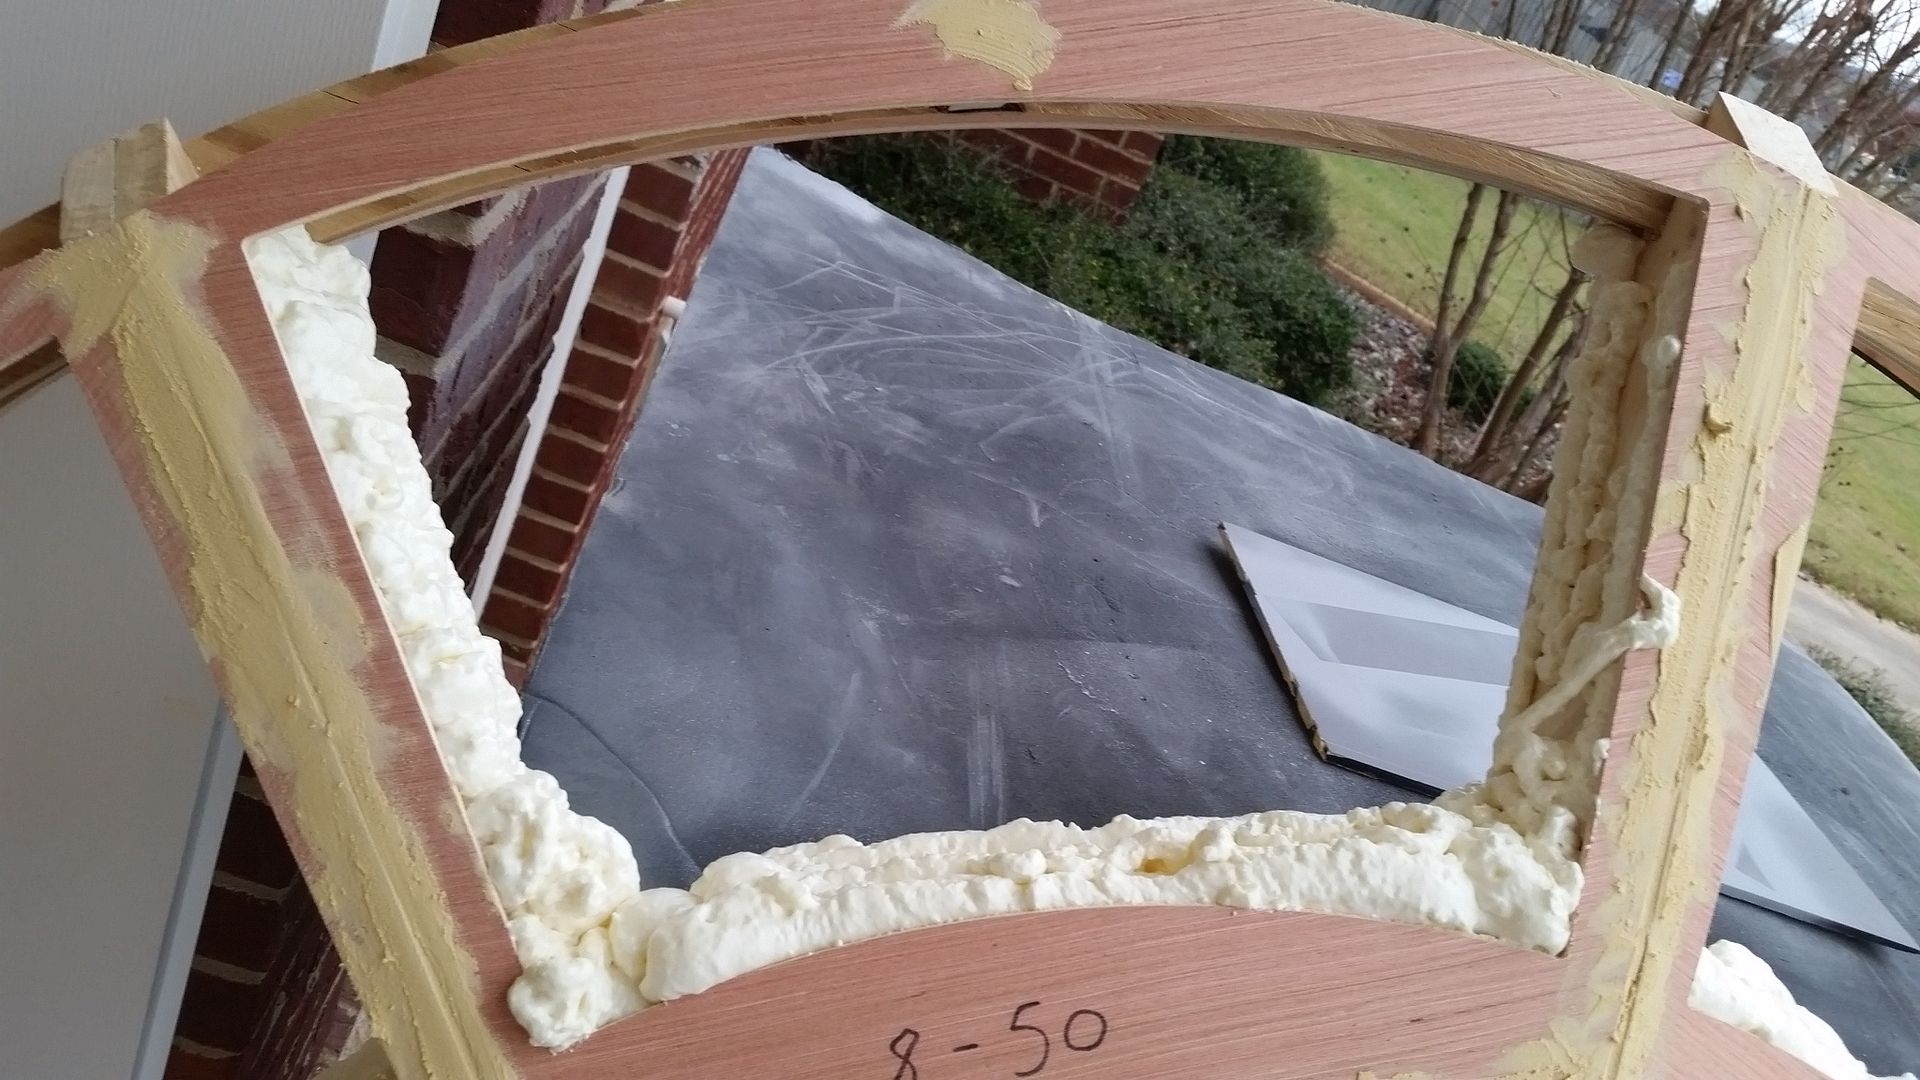
Jessie and Samantha stopped by on Sunday to help out again! Samantha trimmed out all the foam while I relaxed ;)
20151122_115248_zpsat6zhj2p.jpg


20151122_115252_zpsezrnh3rm.jpg


20151122_121738_zps0ibxsc40.jpg


Still more foam to add
20151122_121748_zpsyxyamffn.jpg


After sanding the wood filler I added Bondo to all the exterior seams
20151122_160113_zpszntyop4a.jpg


Sanding the Bondo took me back to my fiber glassing days! Sanded and added first coat of primer on exterior
20151122_172417_zpsn1duyppe.jpg


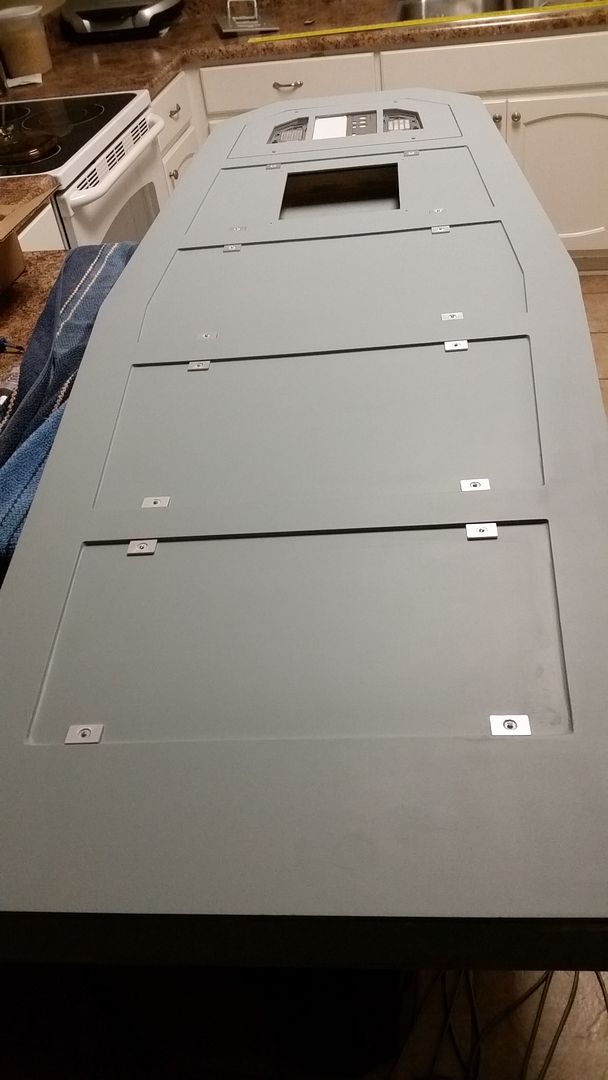
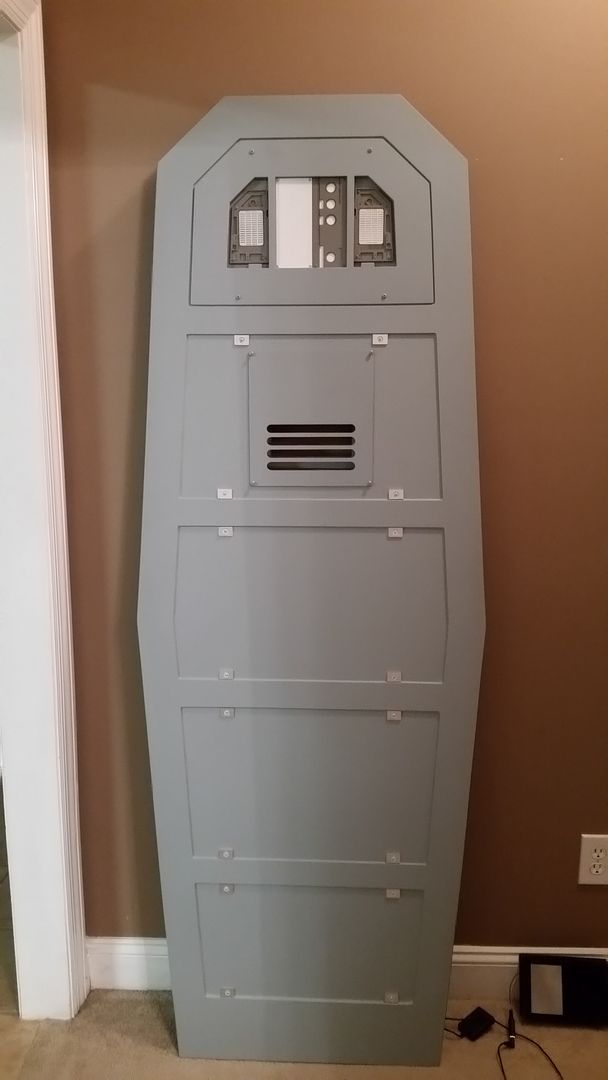
Once all the edges are cleaned, the "petals" secured and everything is all in place I will then cut and add styrene to cover the openings!
20151122_121811_zpsdzn5uqrk.jpg


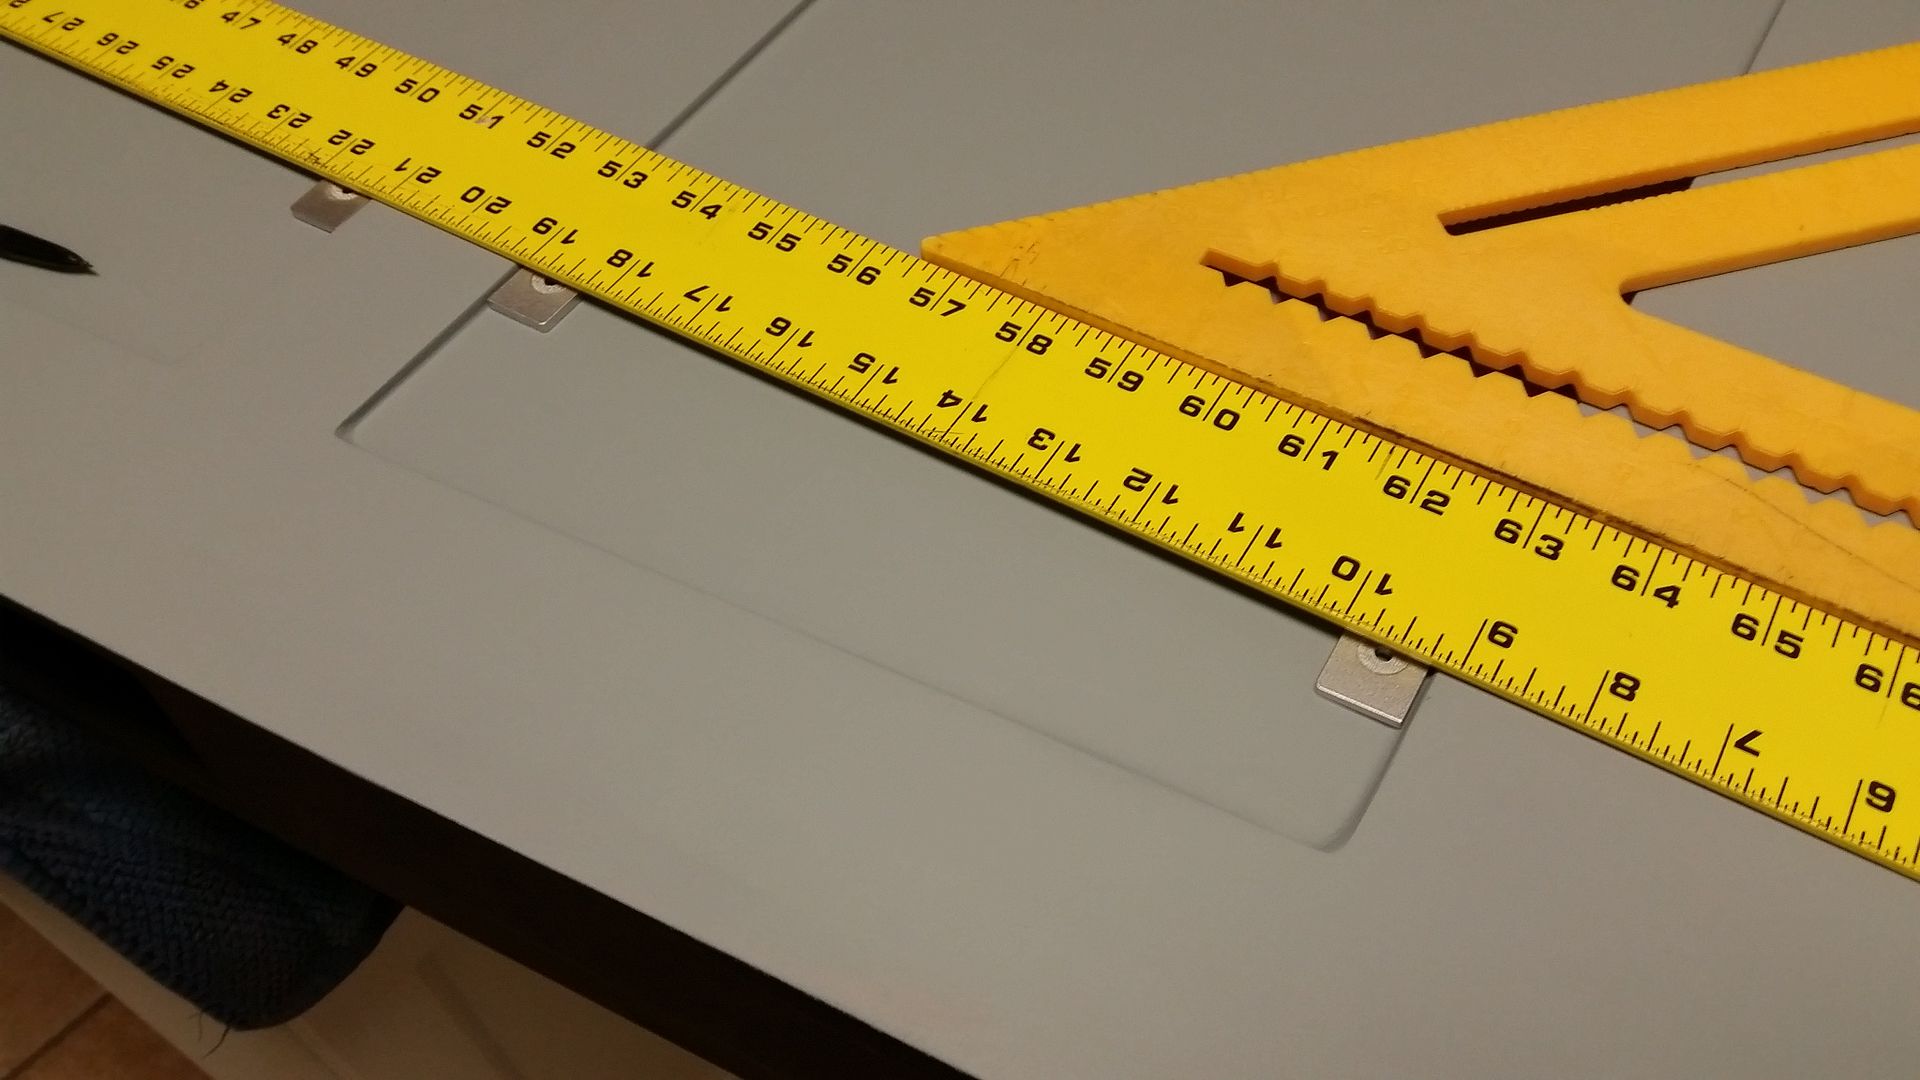
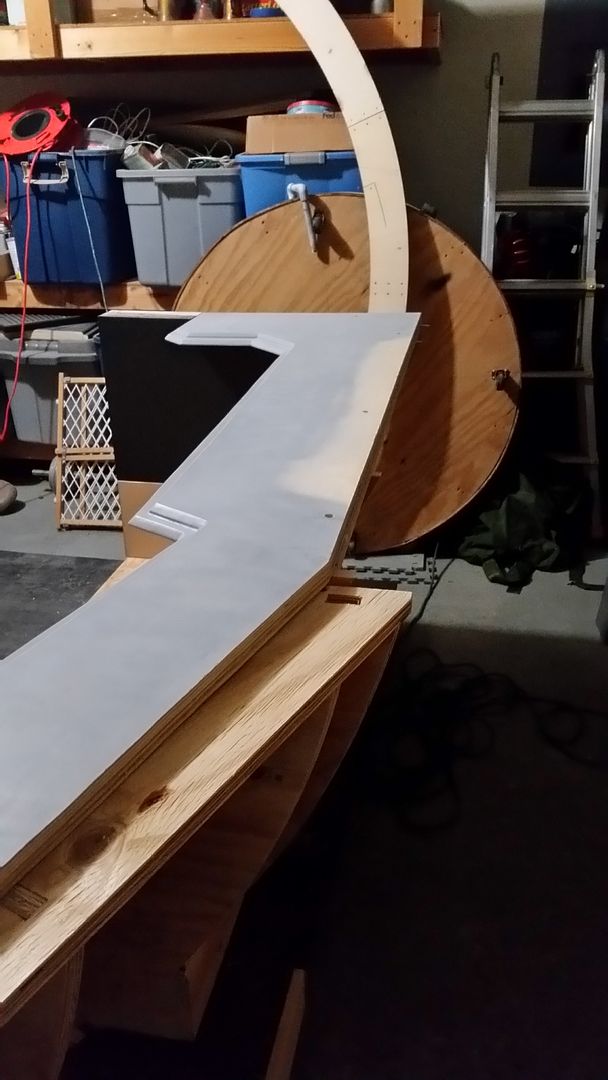
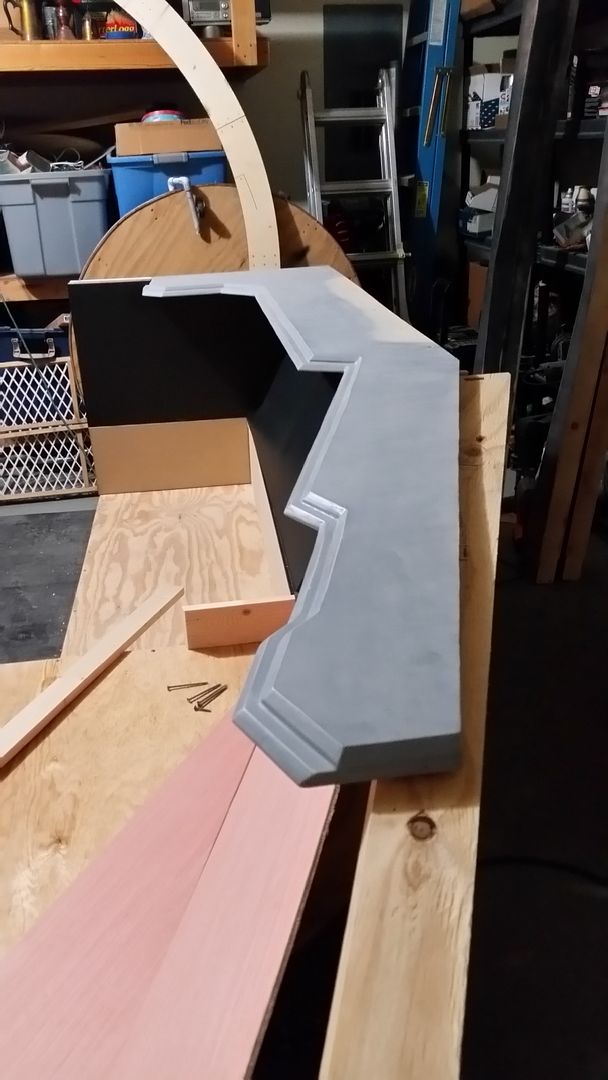
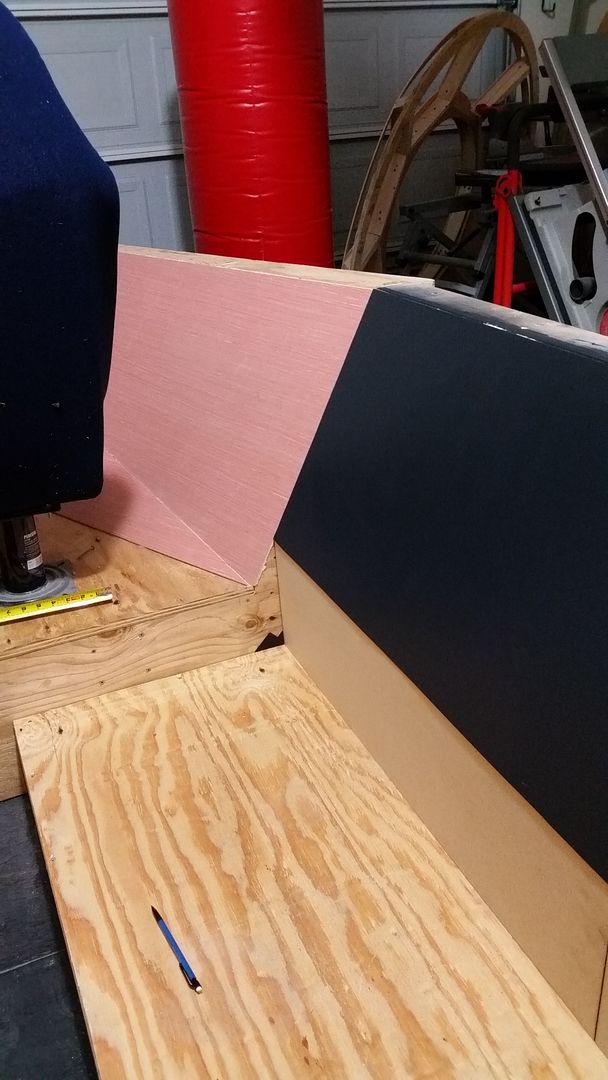
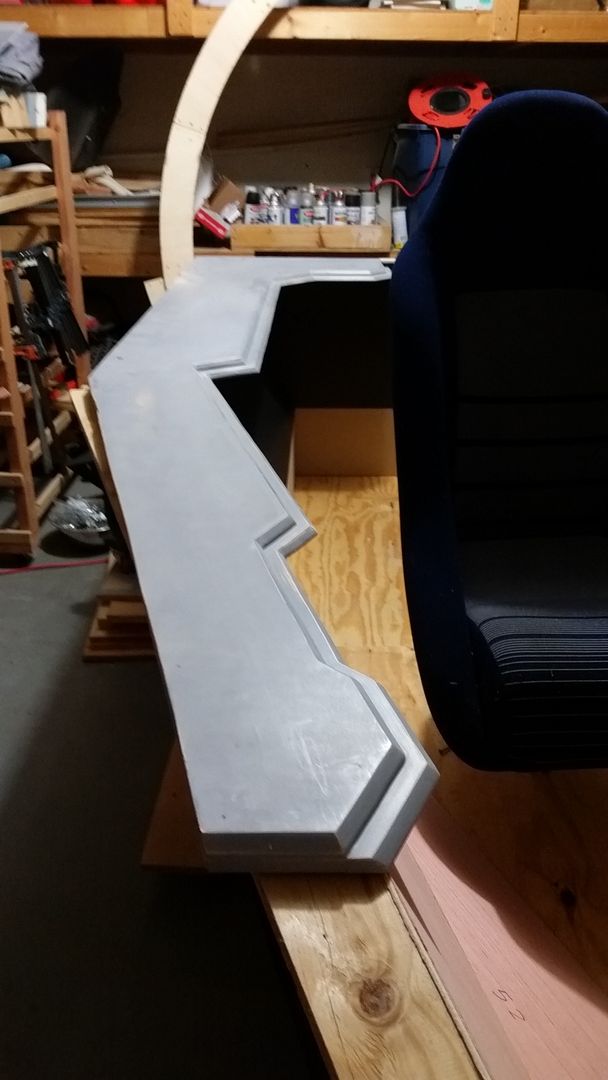
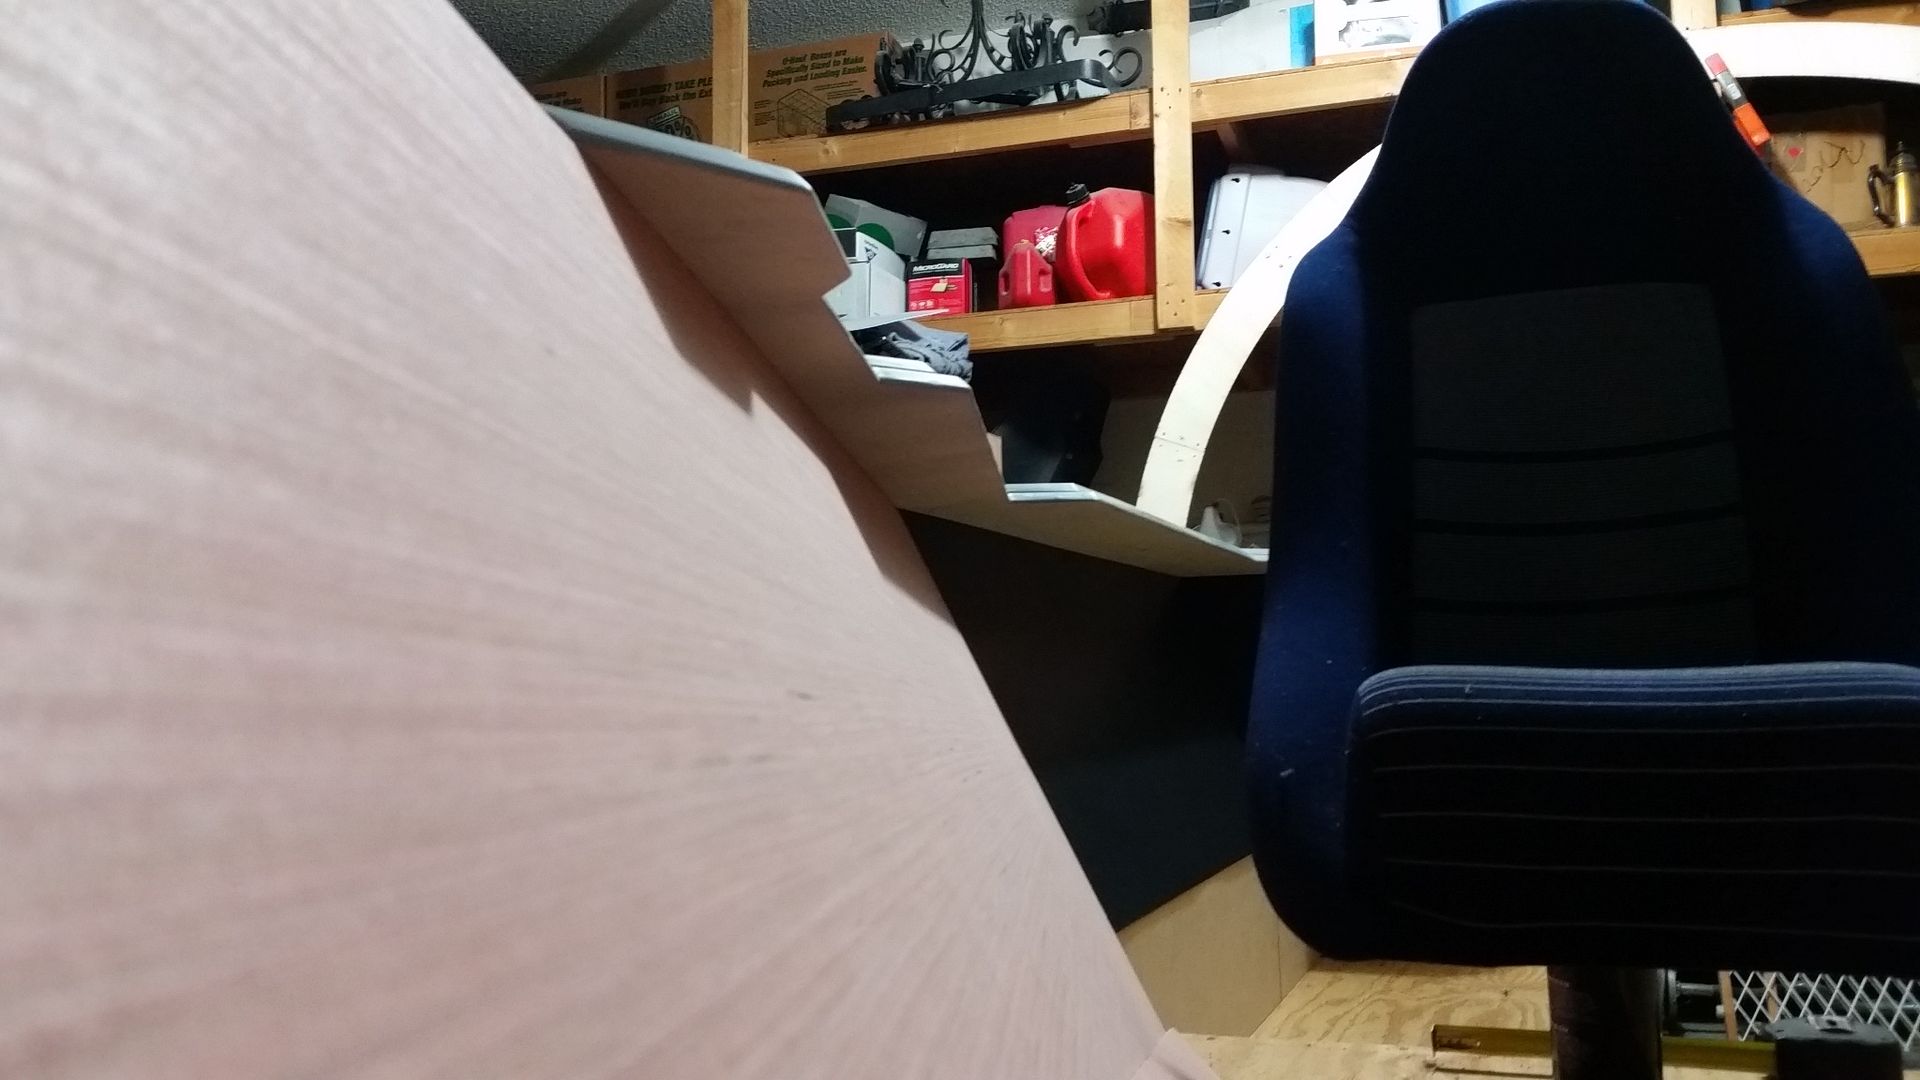
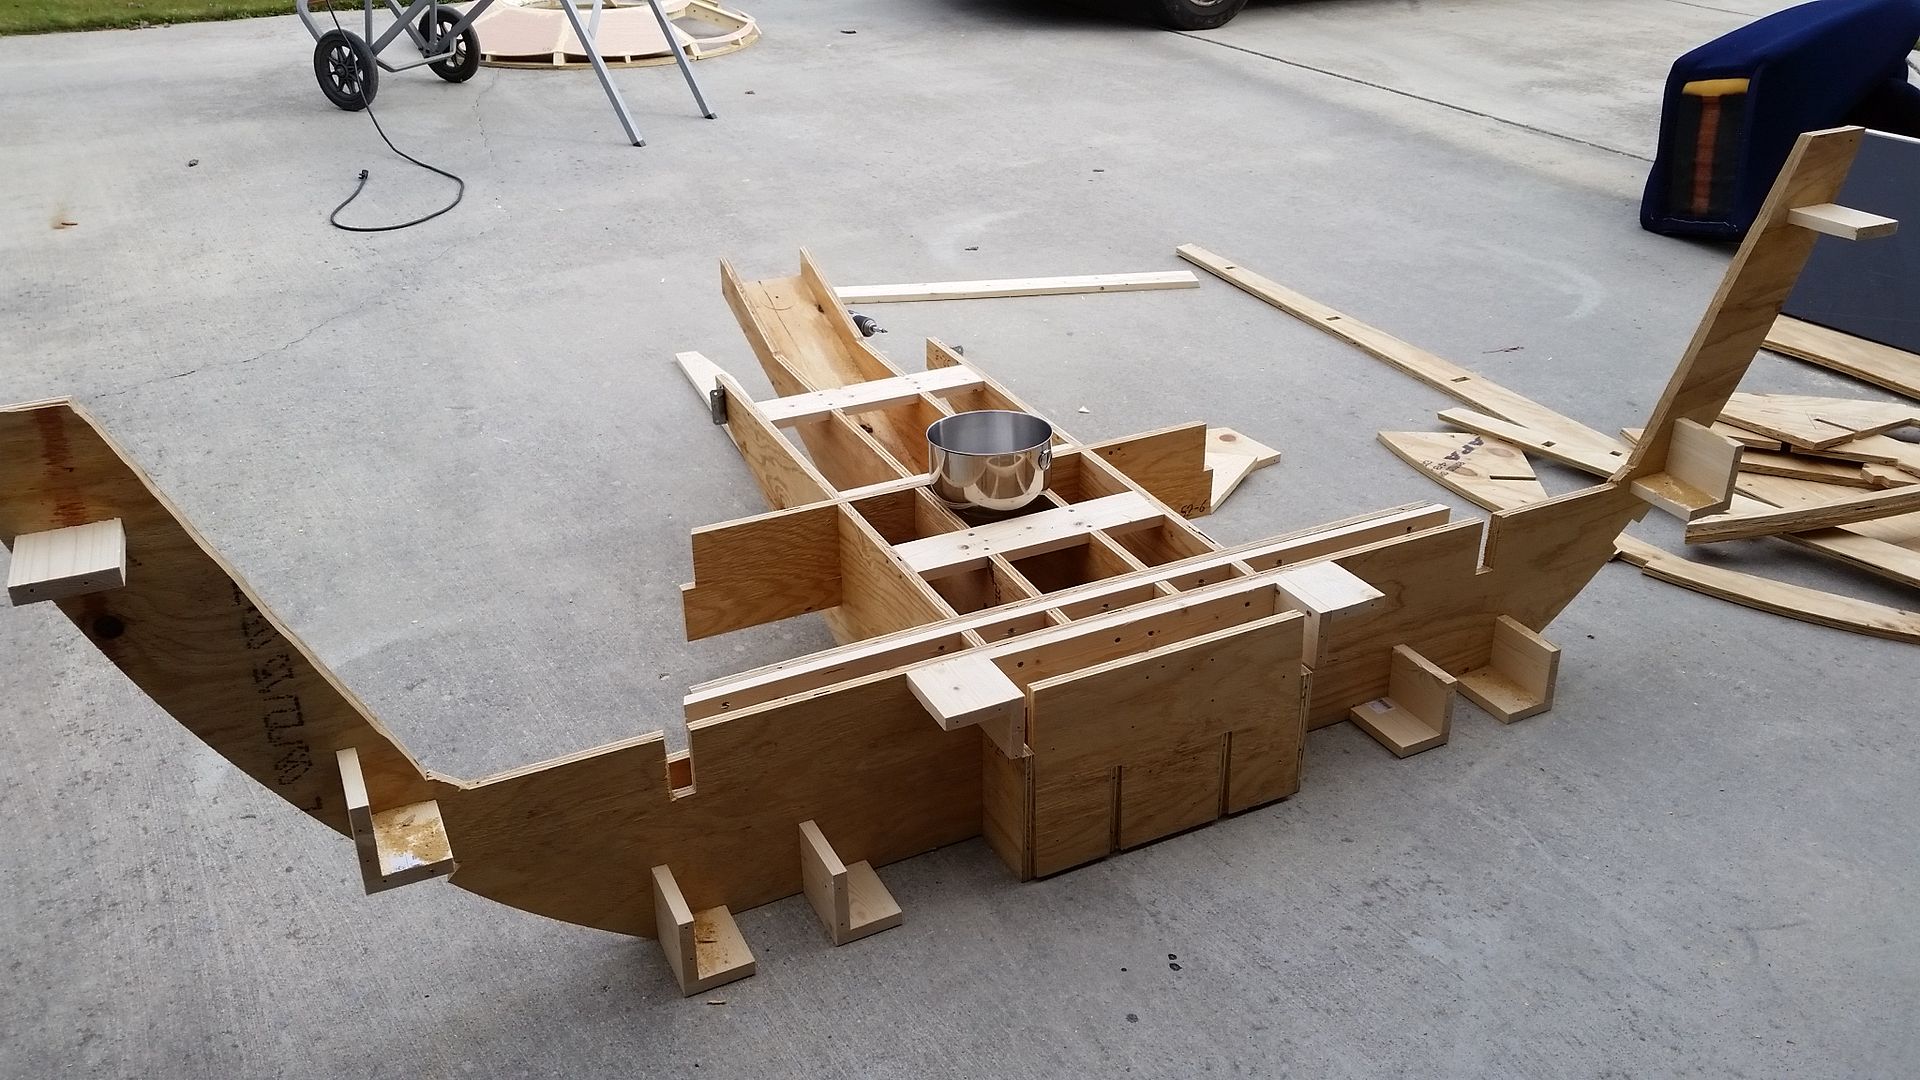
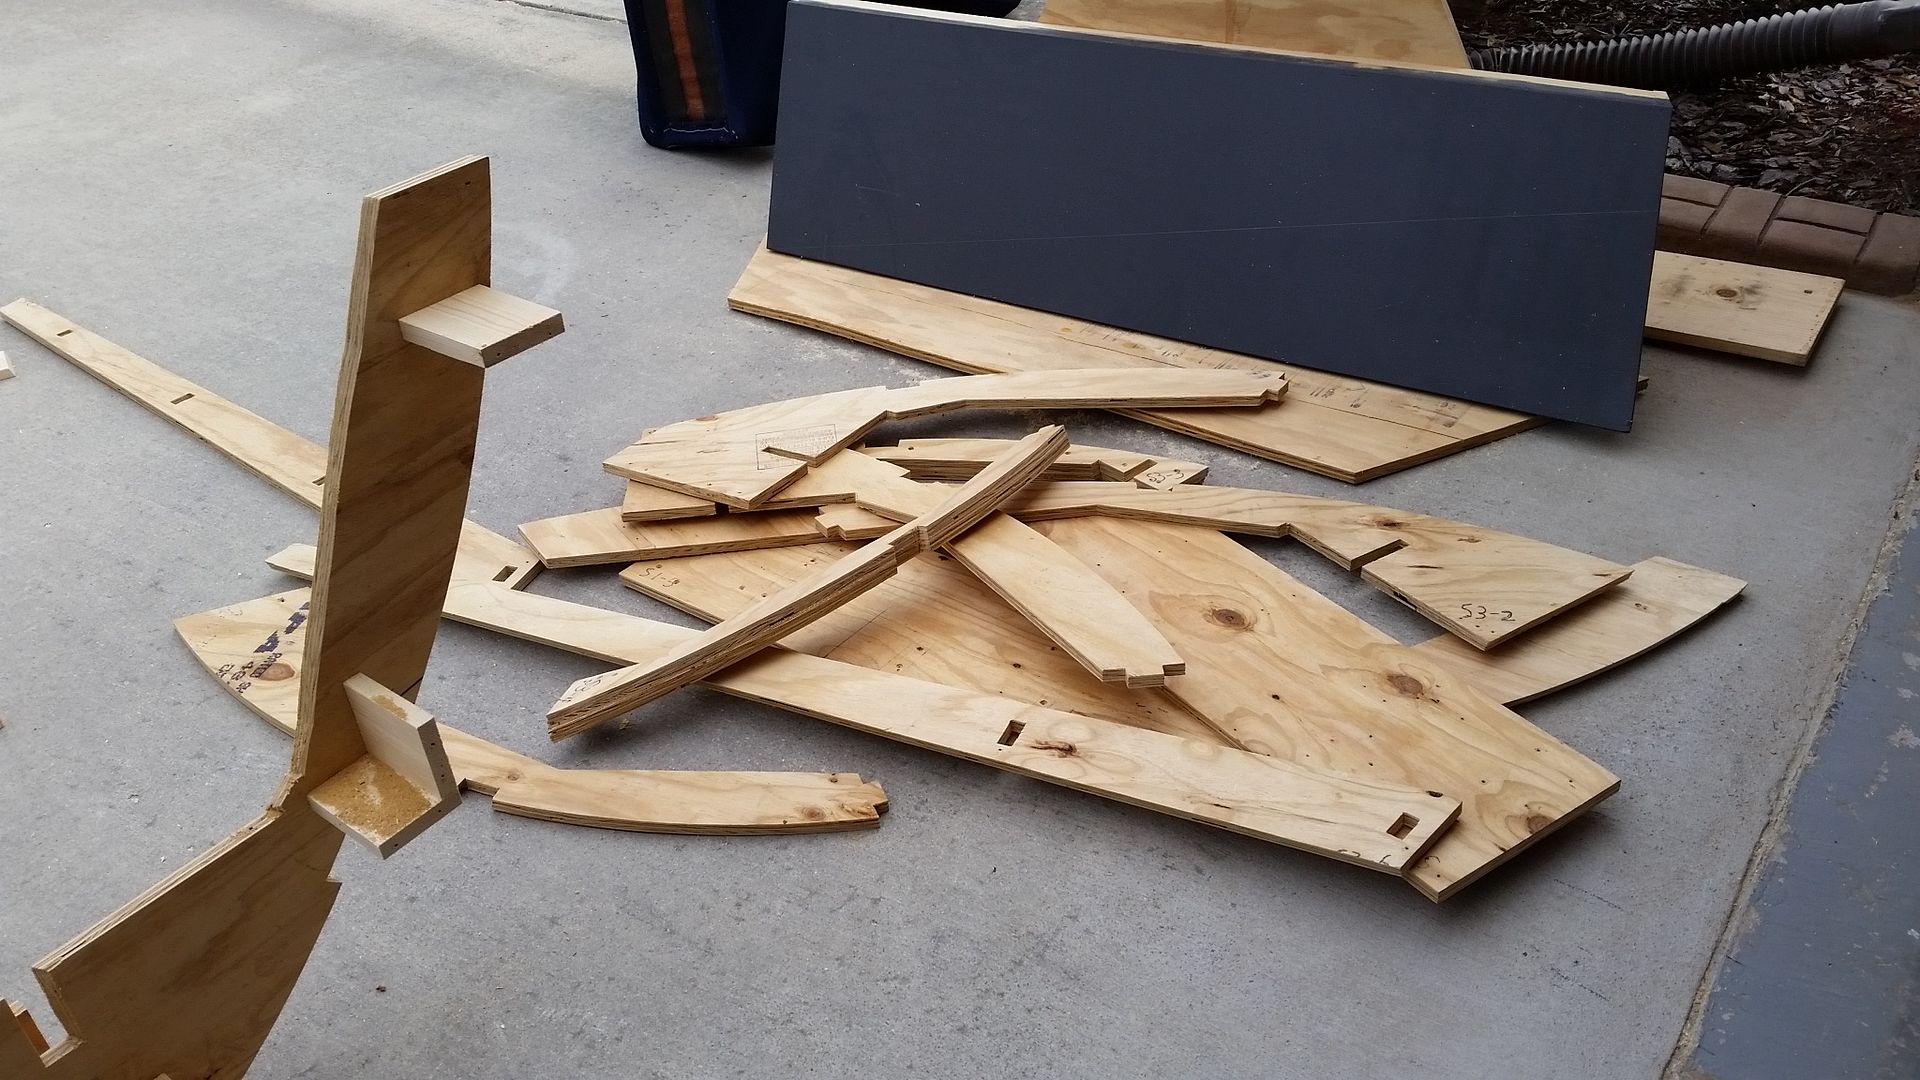
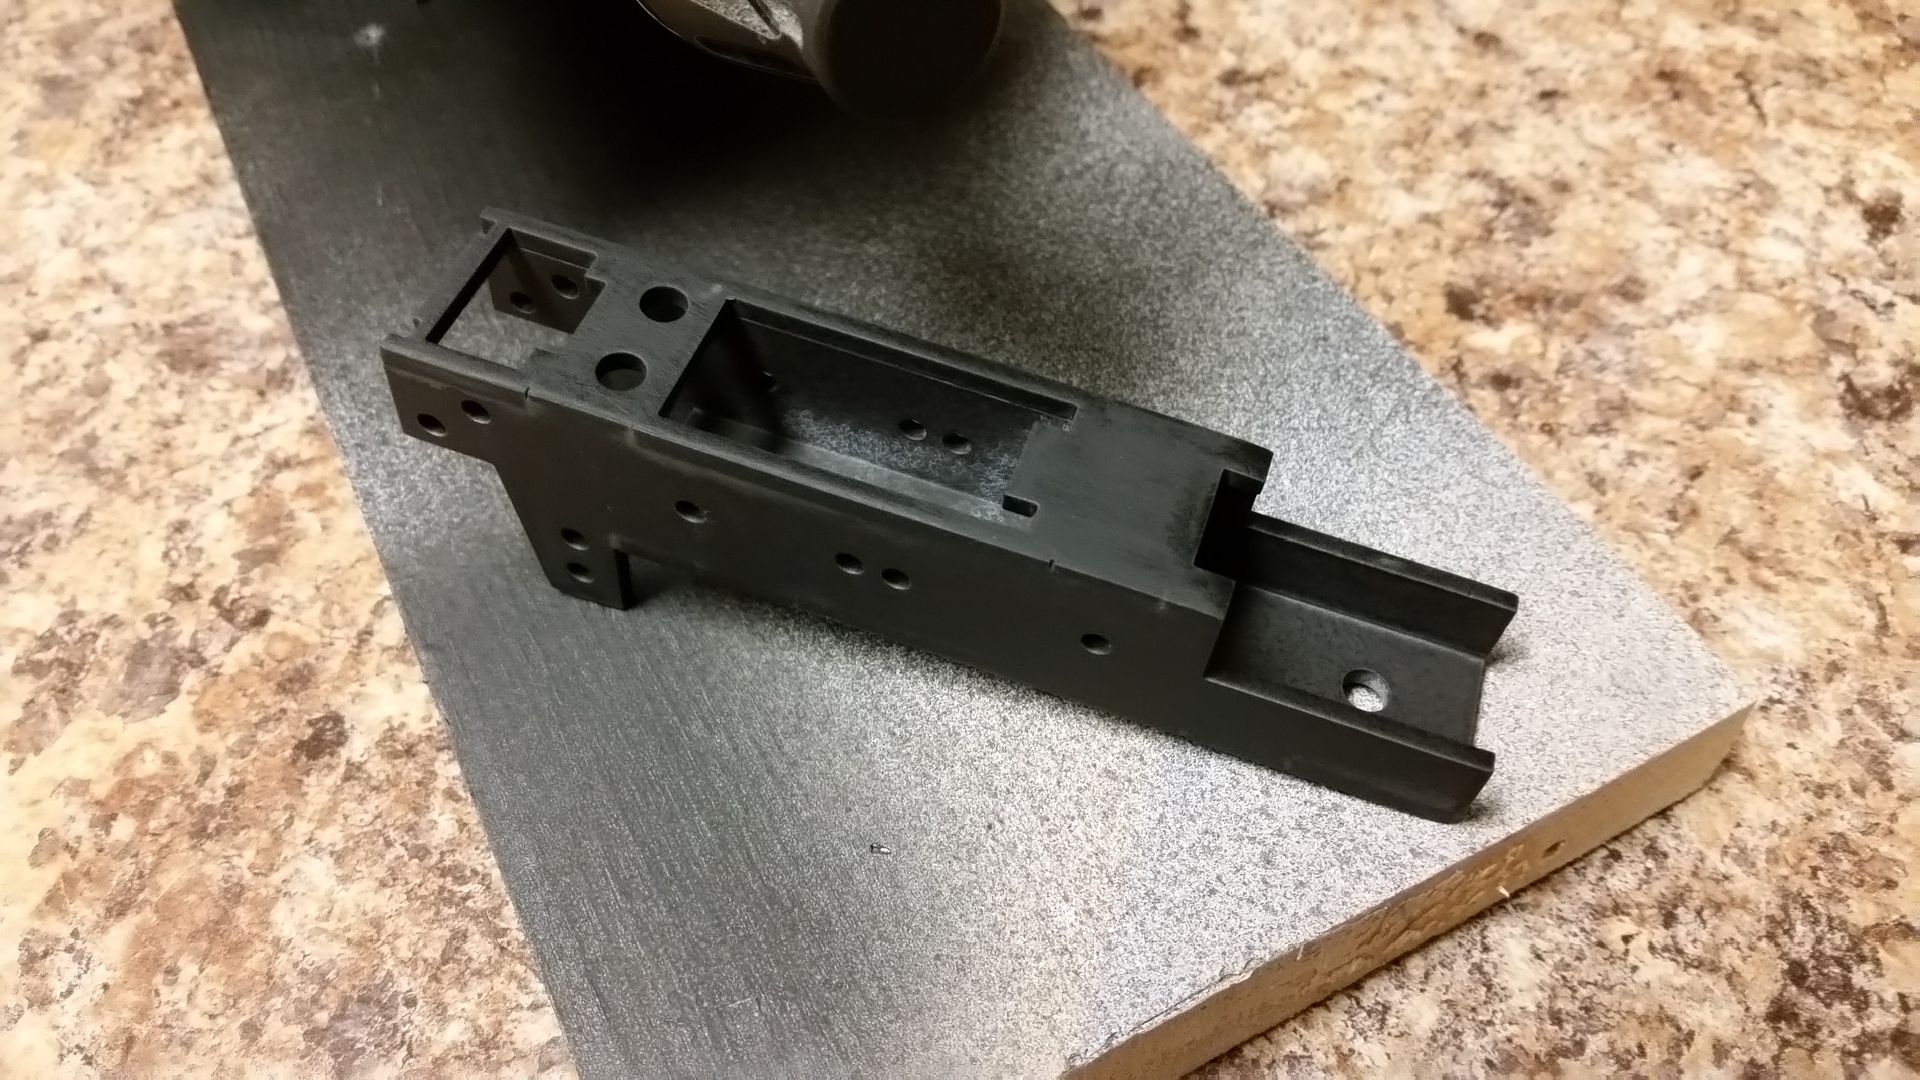
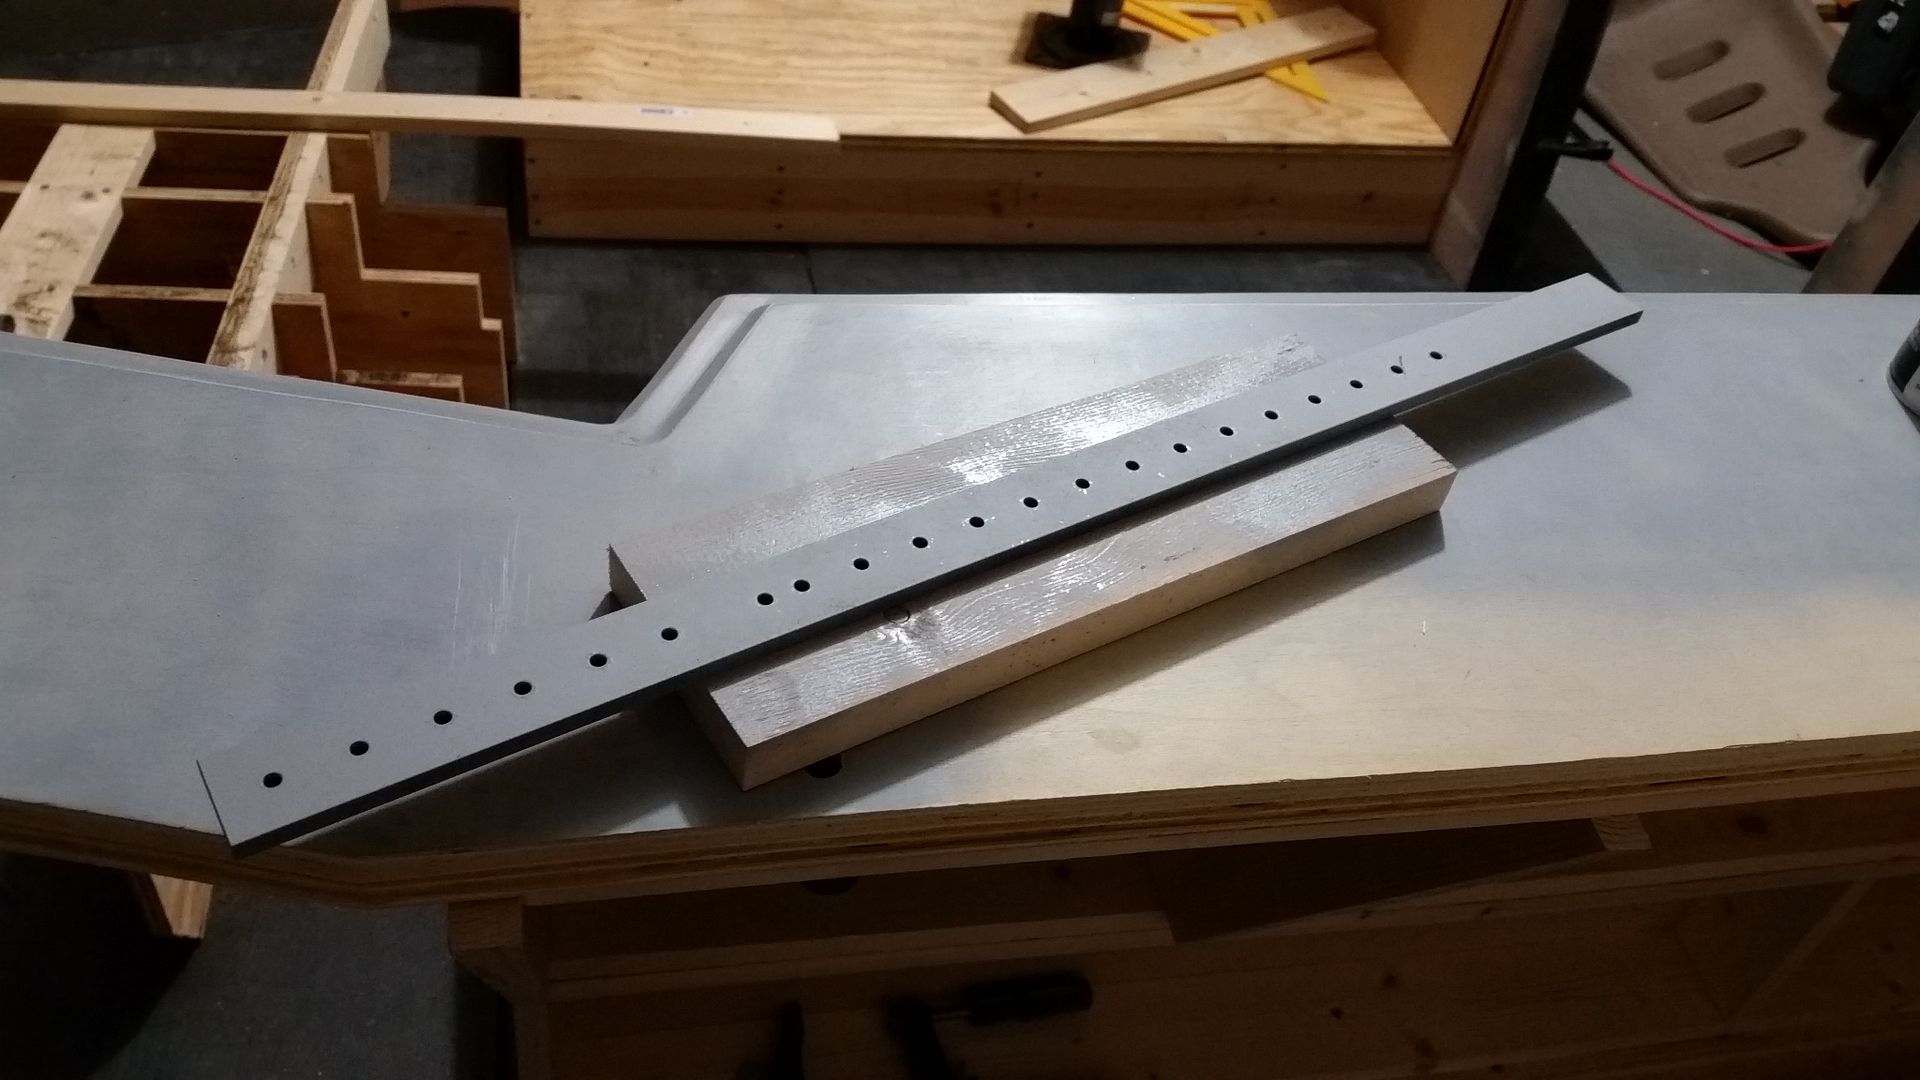
And Finally... Another HUGE Thank You to OperaScot and Daniel for getting all these measurements down and Daniel spending most of Sunday at the CNC cutting the ribs and Volvo panels for the boat frame! I think there is a time lapse vid coming!
20151123_045714_zpsg51vevnf.jpg


Main arch
20151123_045720_zpscvrhi0wg.jpg


Volvo Panels
20151123_045729_zps2onzwrlv.jpg


The big question... does it fit?

YES!
20151123_045445_zpsev44izps.jpg


This is only a dry fit but from what I can see and once everything is aligned... SUCCESS
20151123_045443_zps94ctuqxg.jpg


20151123_045423_zps82w7xybd.jpg


20151123_045420_zpskt0ygqsh.jpg


As always, Thank You Scot, Daniel, Jessie and Samantha for all your help!

More to Follow!
 
Last edited:

Your message may be considered spam for the following reasons:

If you wish to reply despite these issues, check the box below before replying.
Be aware that malicious compliance may result in more severe penalties.
Back
Top