You are using an out of date browser. It may not display this or other websites correctly.
You should upgrade or use an alternative browser.
You should upgrade or use an alternative browser.
1:1 Millennium Falcon Cockpit Replica - Group Build
- Thread starter SteveStarkiller
- Start date
Hi Gang,
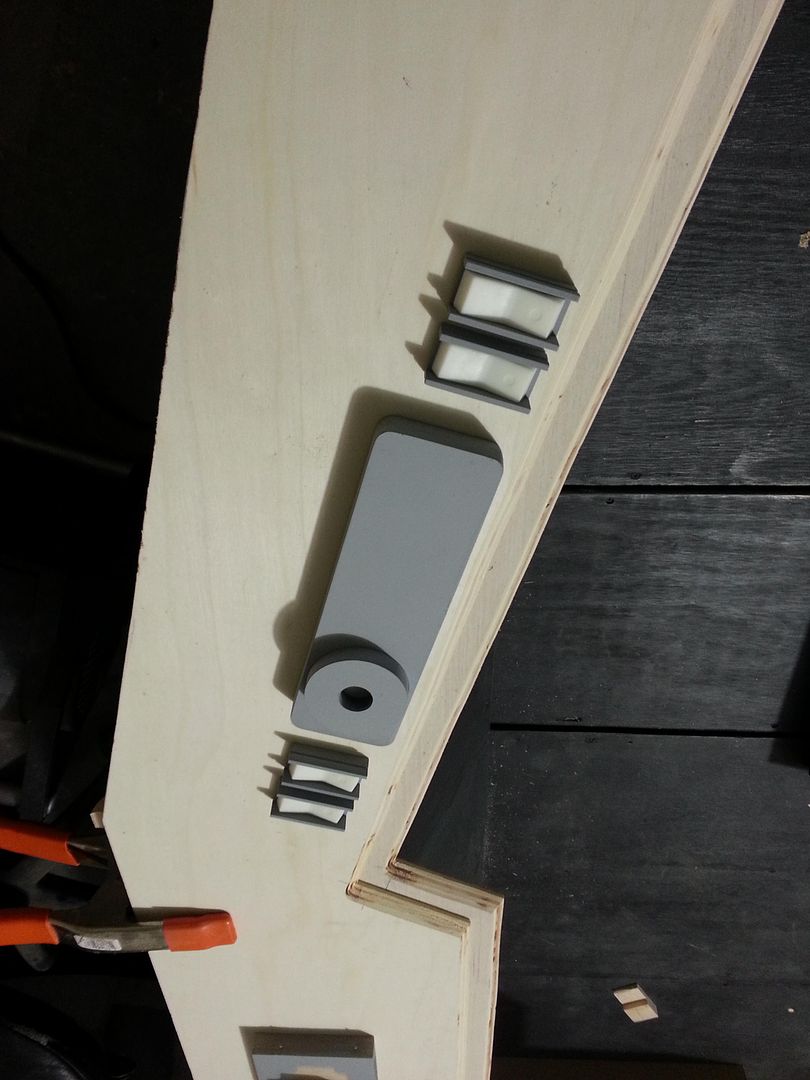
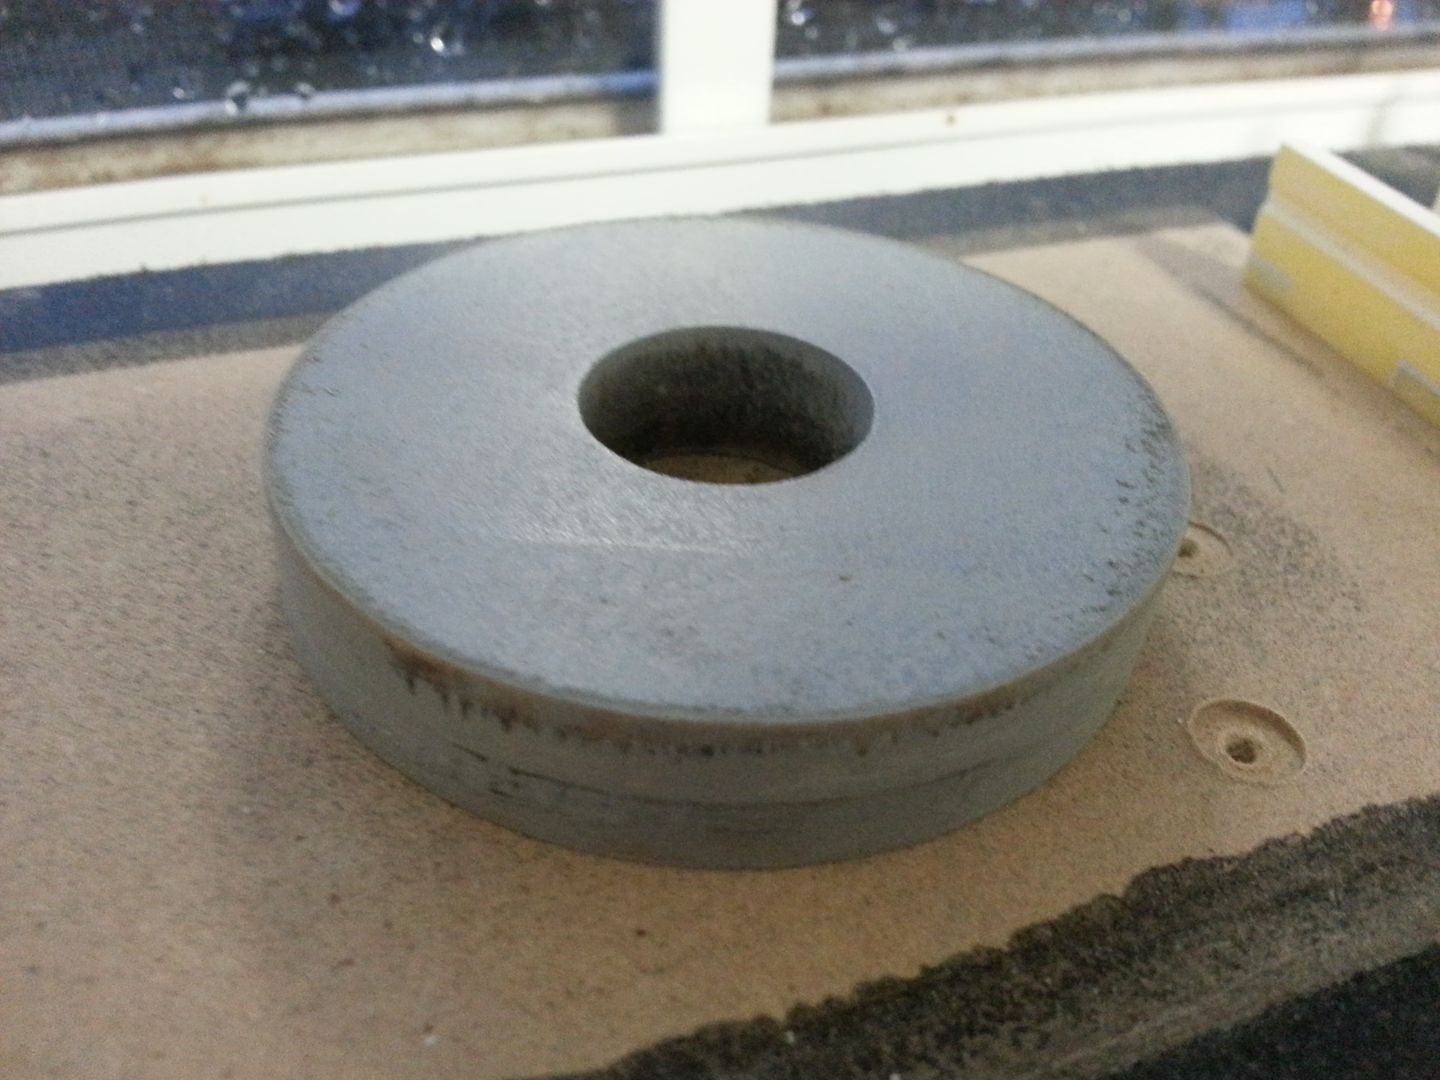
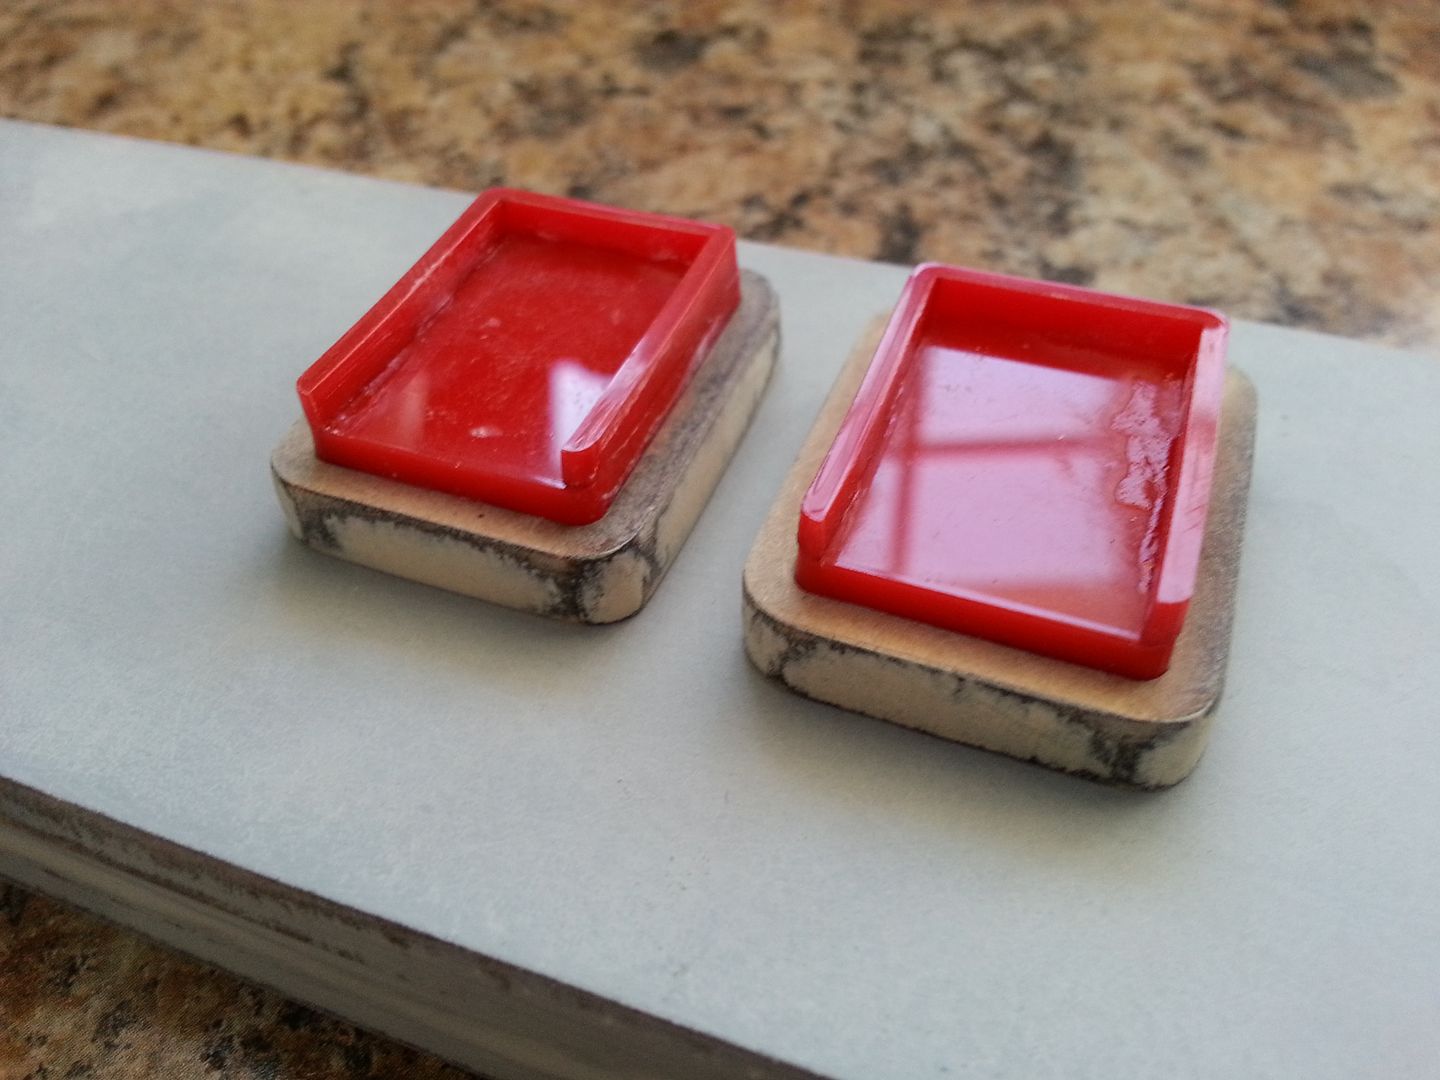
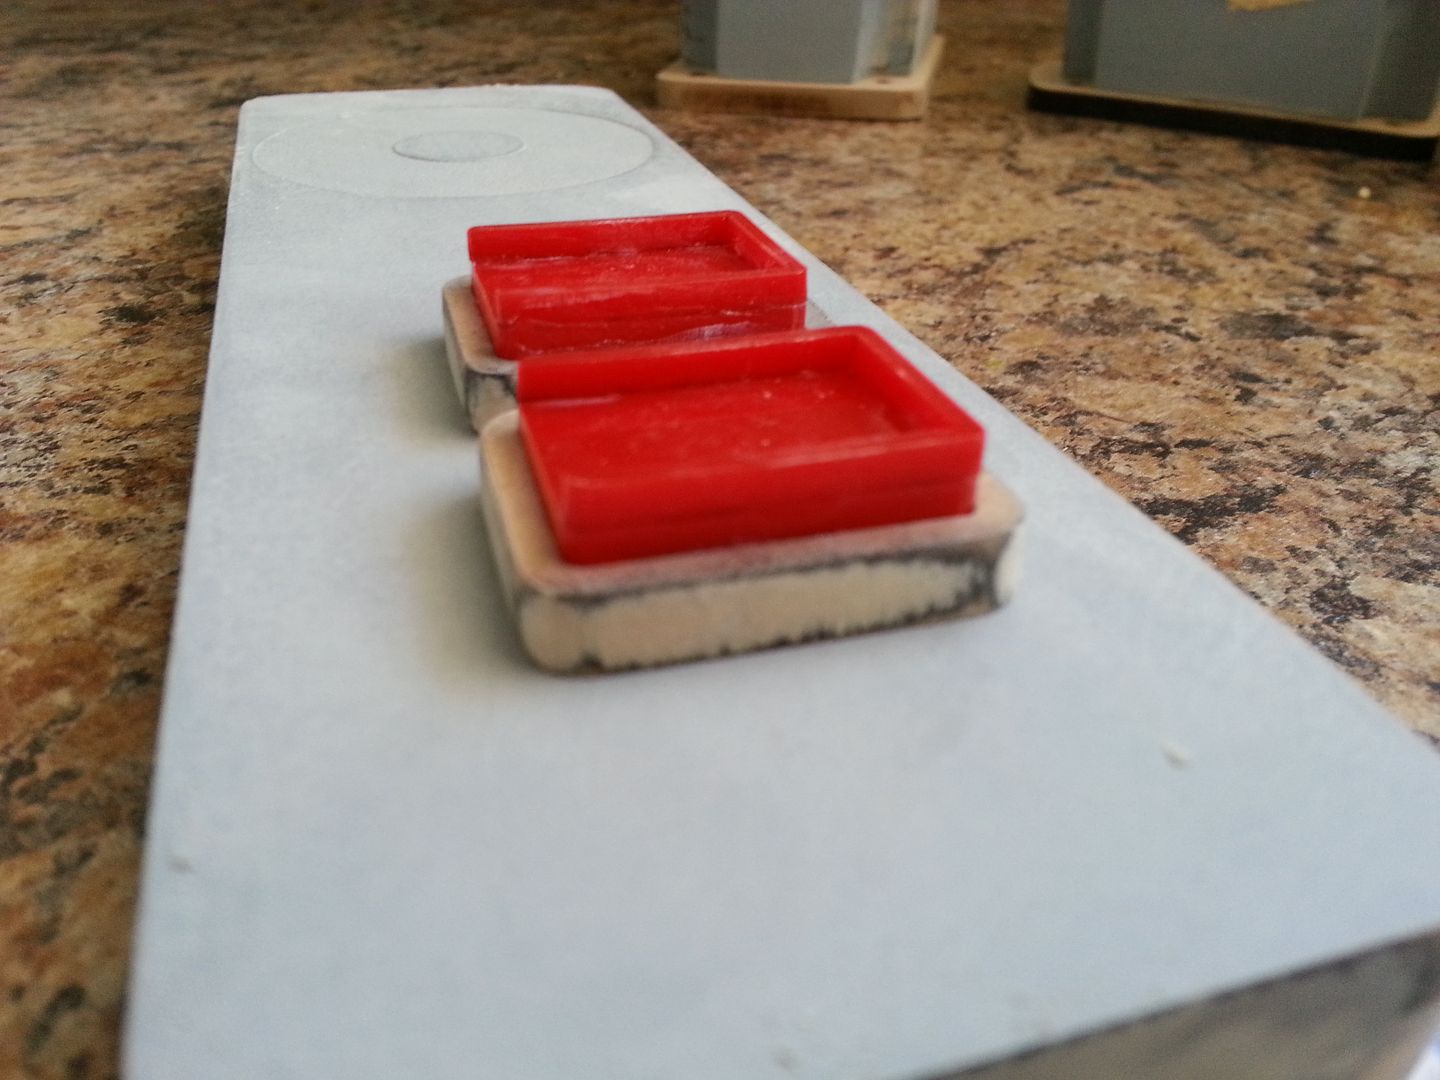
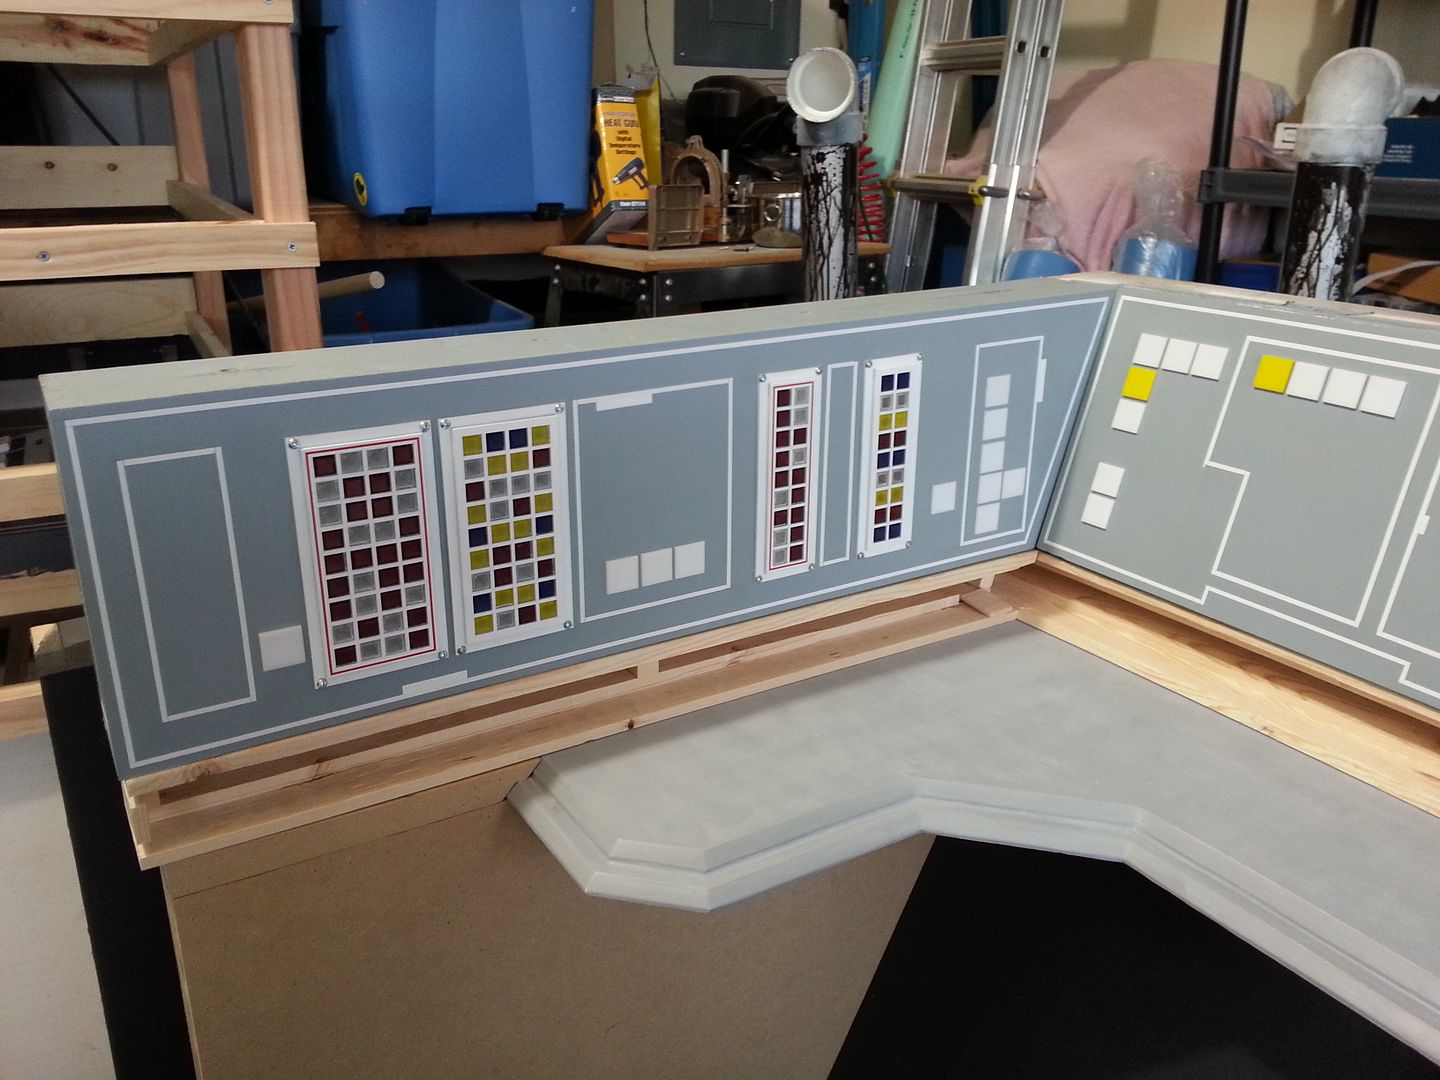
Early Morning Update! We have greeblies! Over the weekend Jessie was plugging away on these shelf greeblies!
I have NO idea what these are but a HUGE thanks to Starkiller for the ref images!
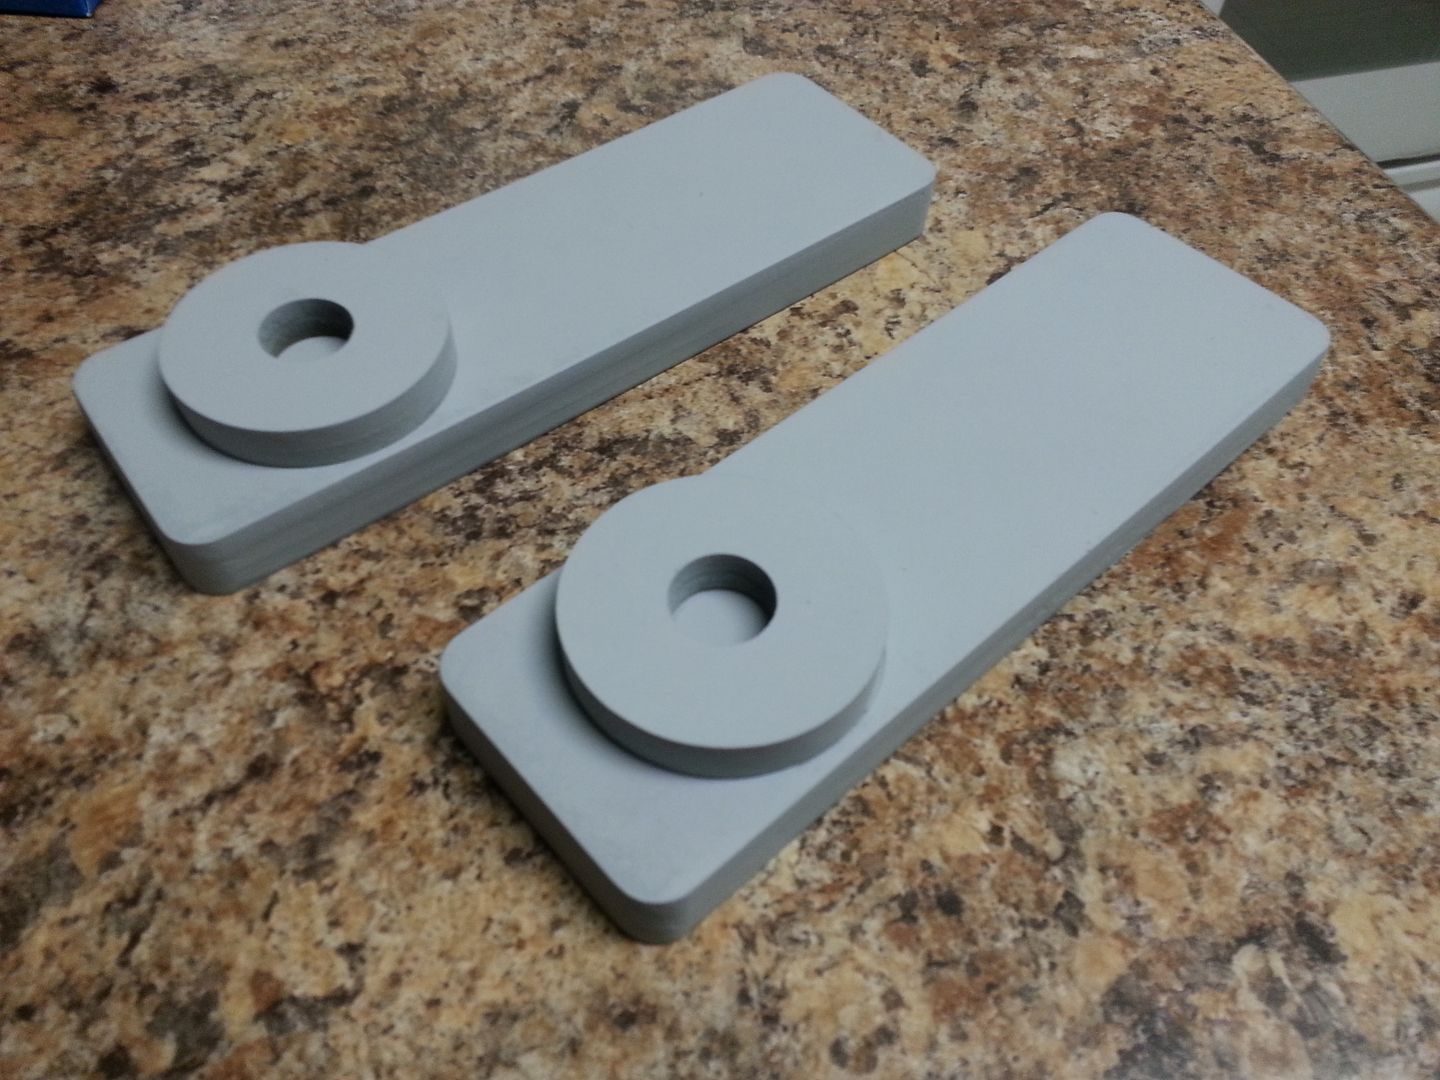
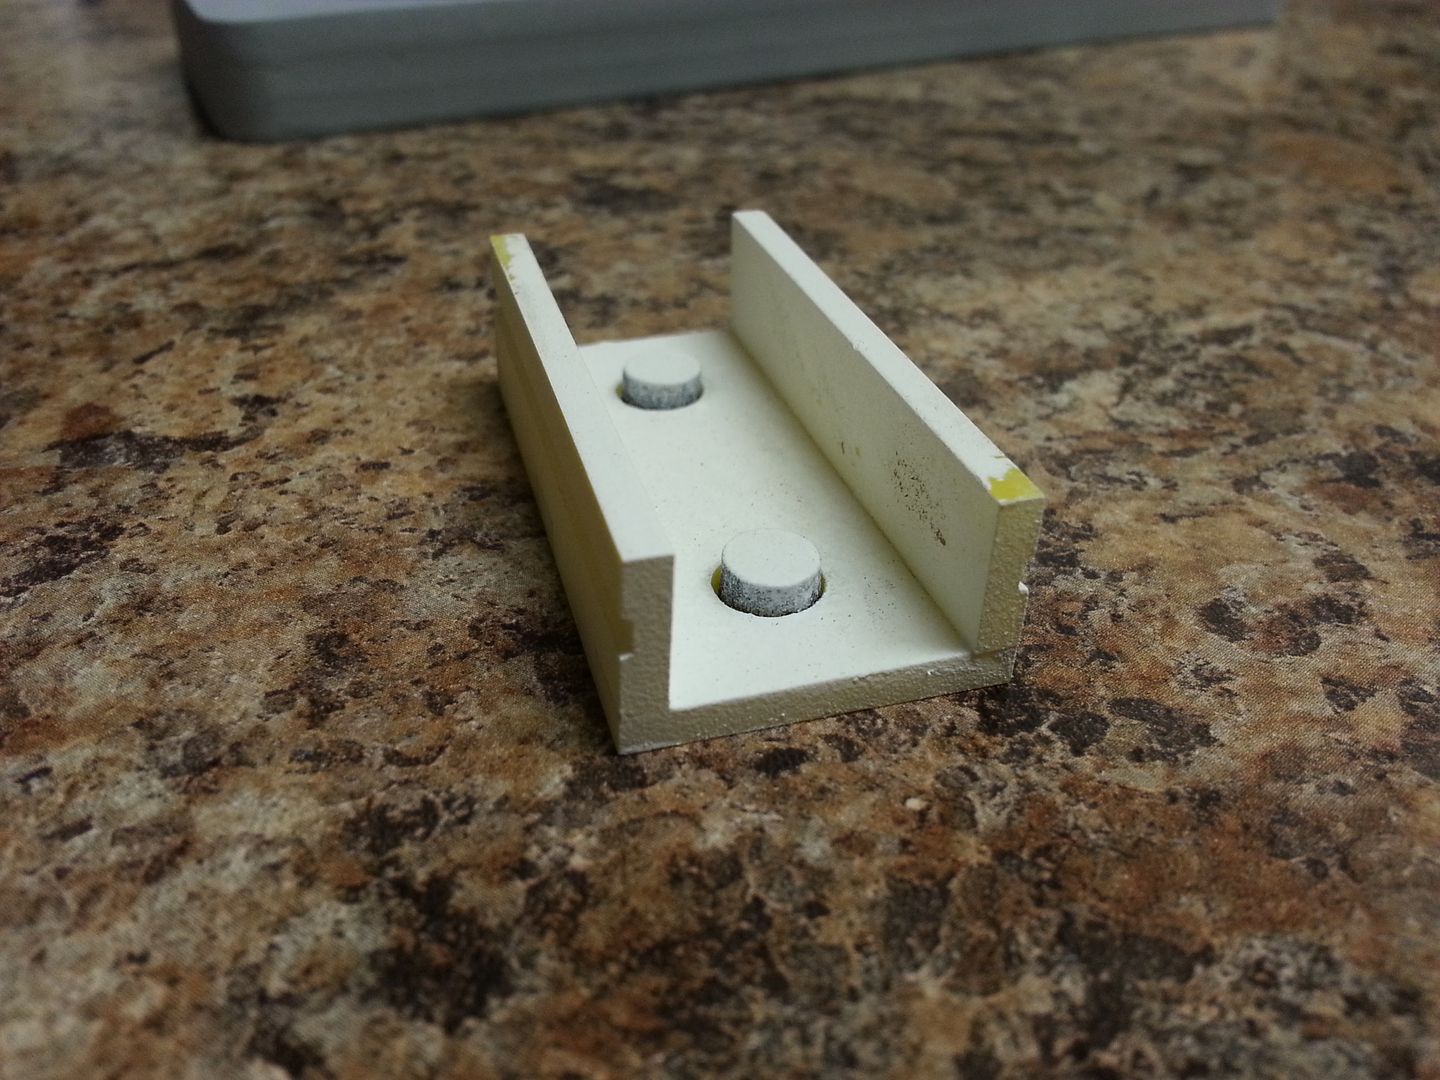
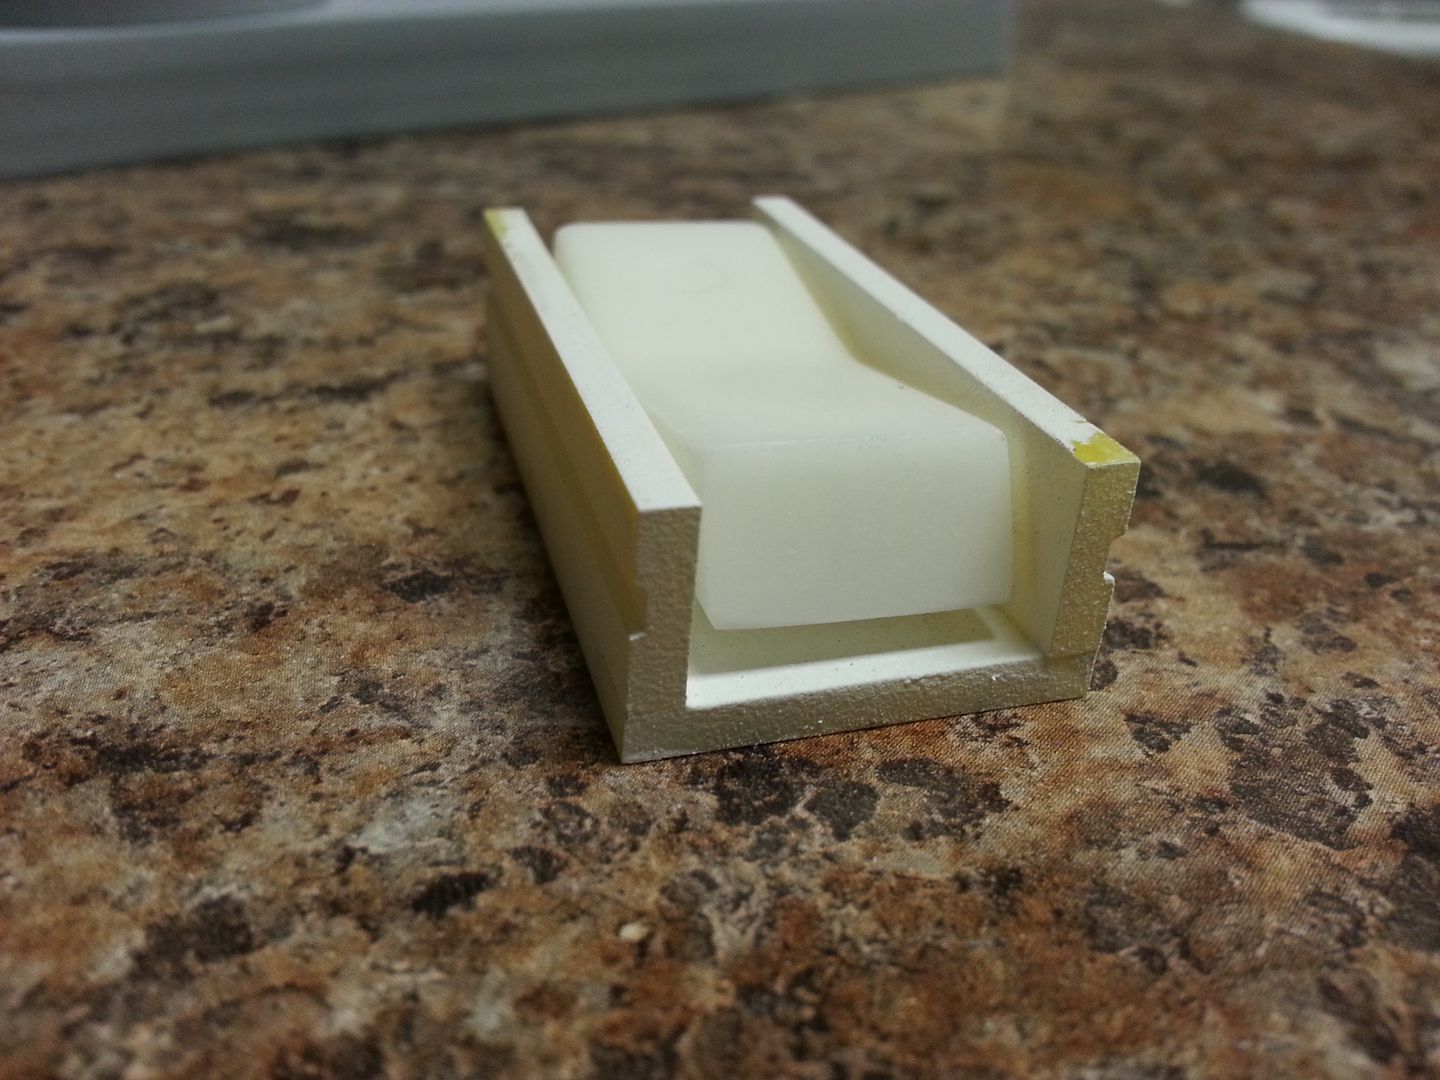
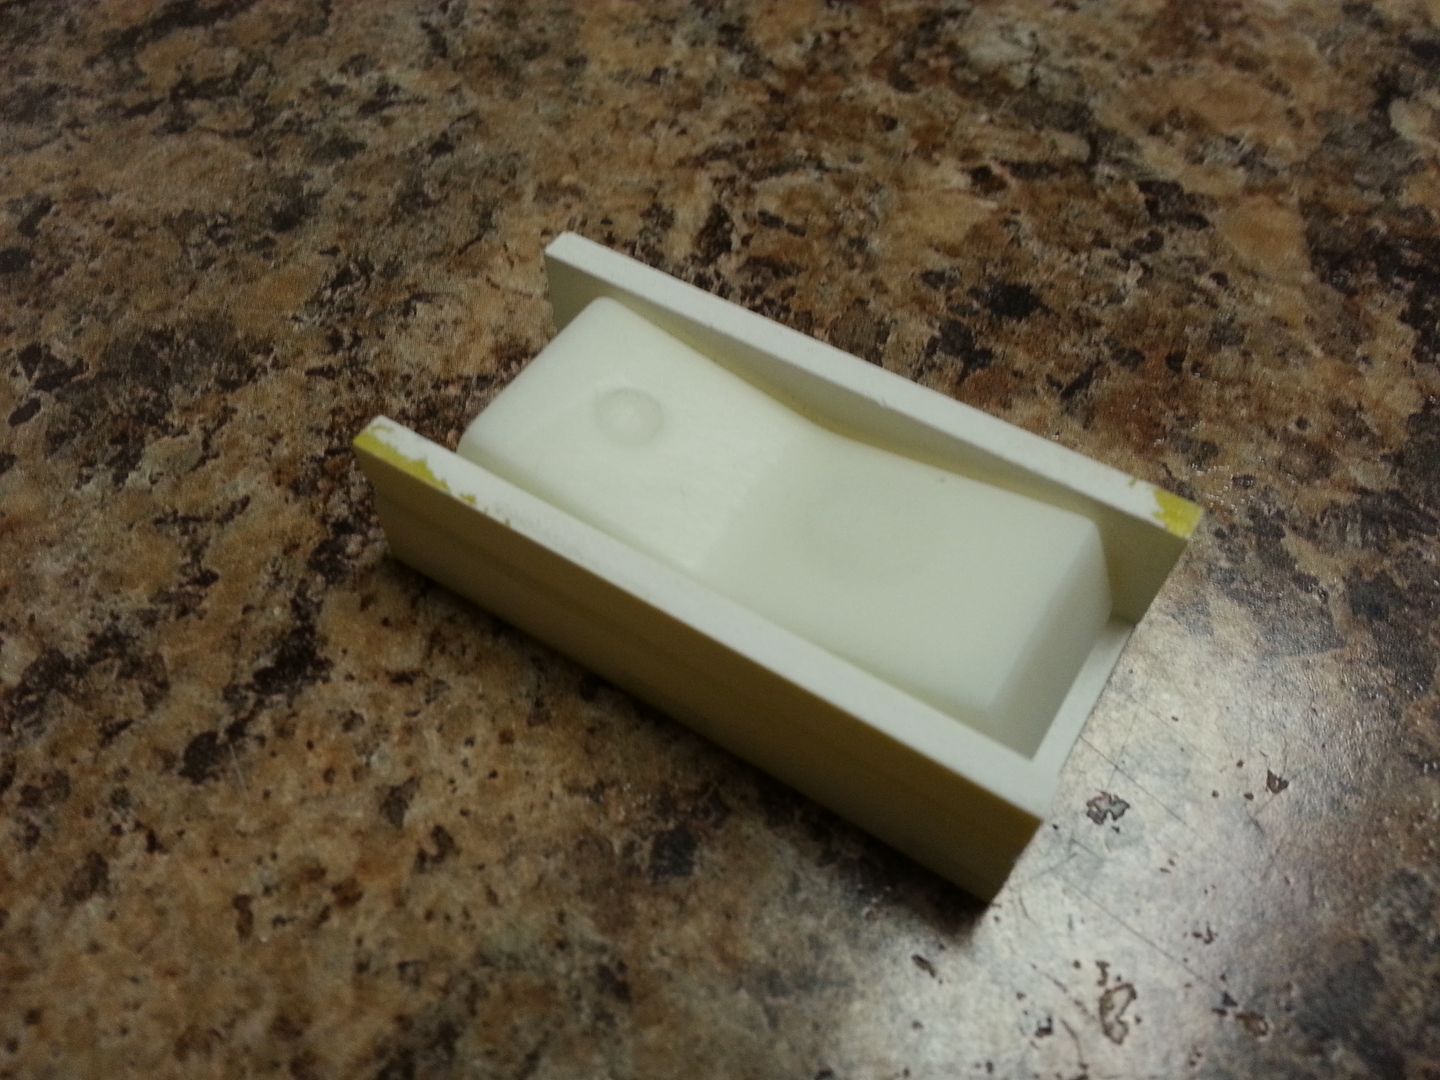
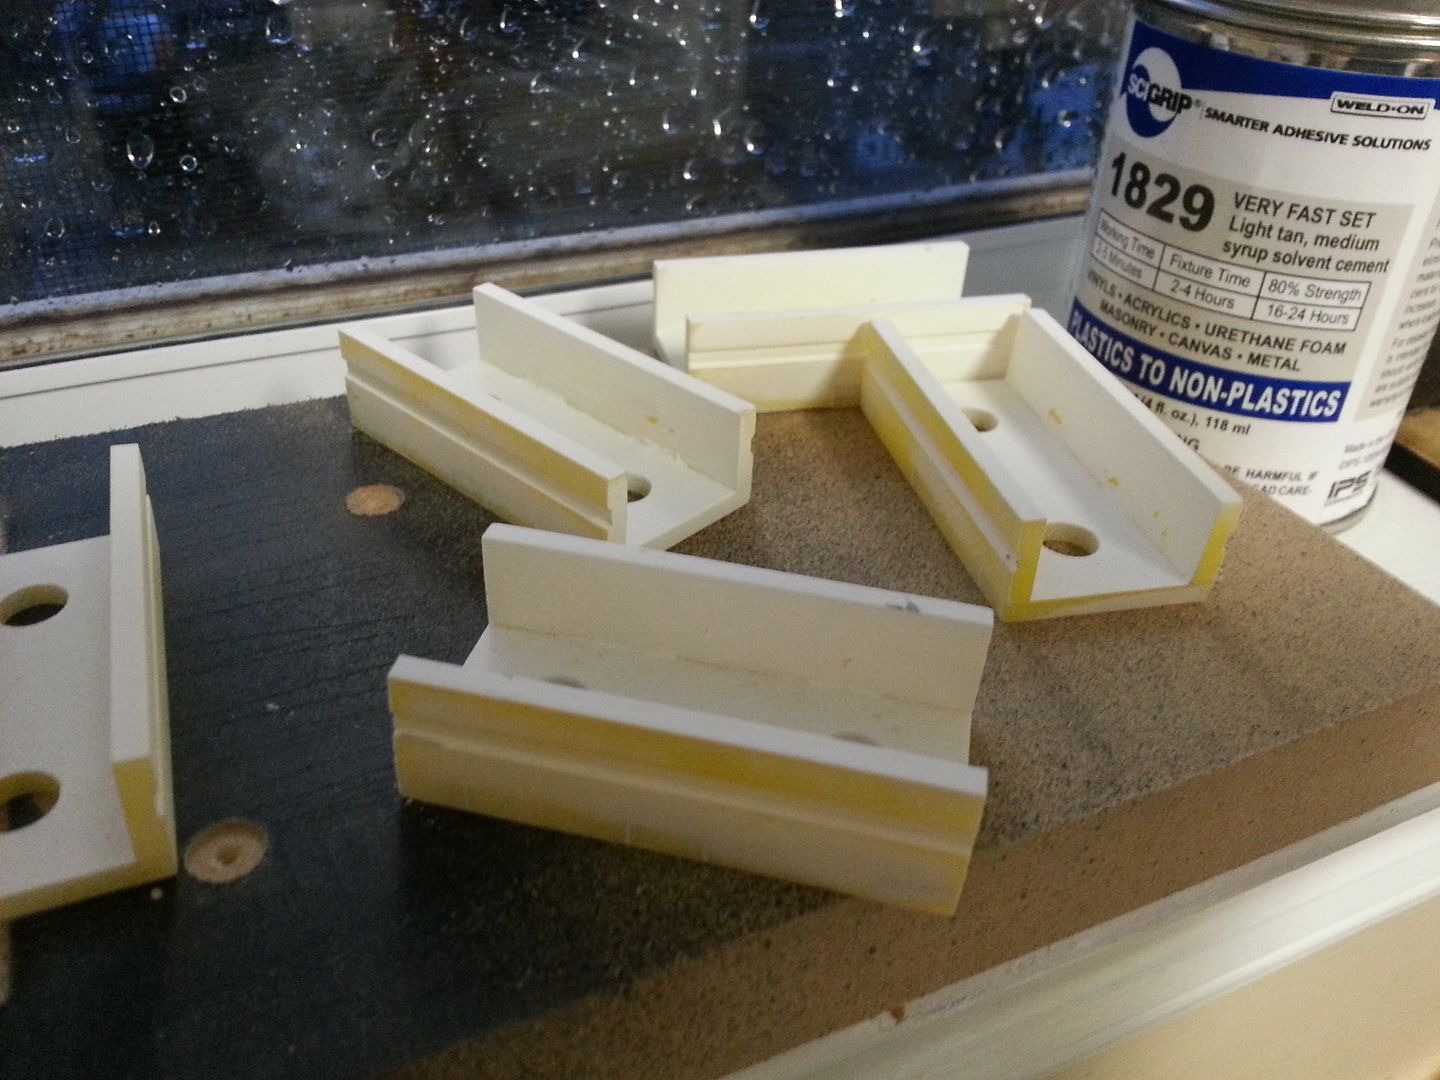
Trying out different design options

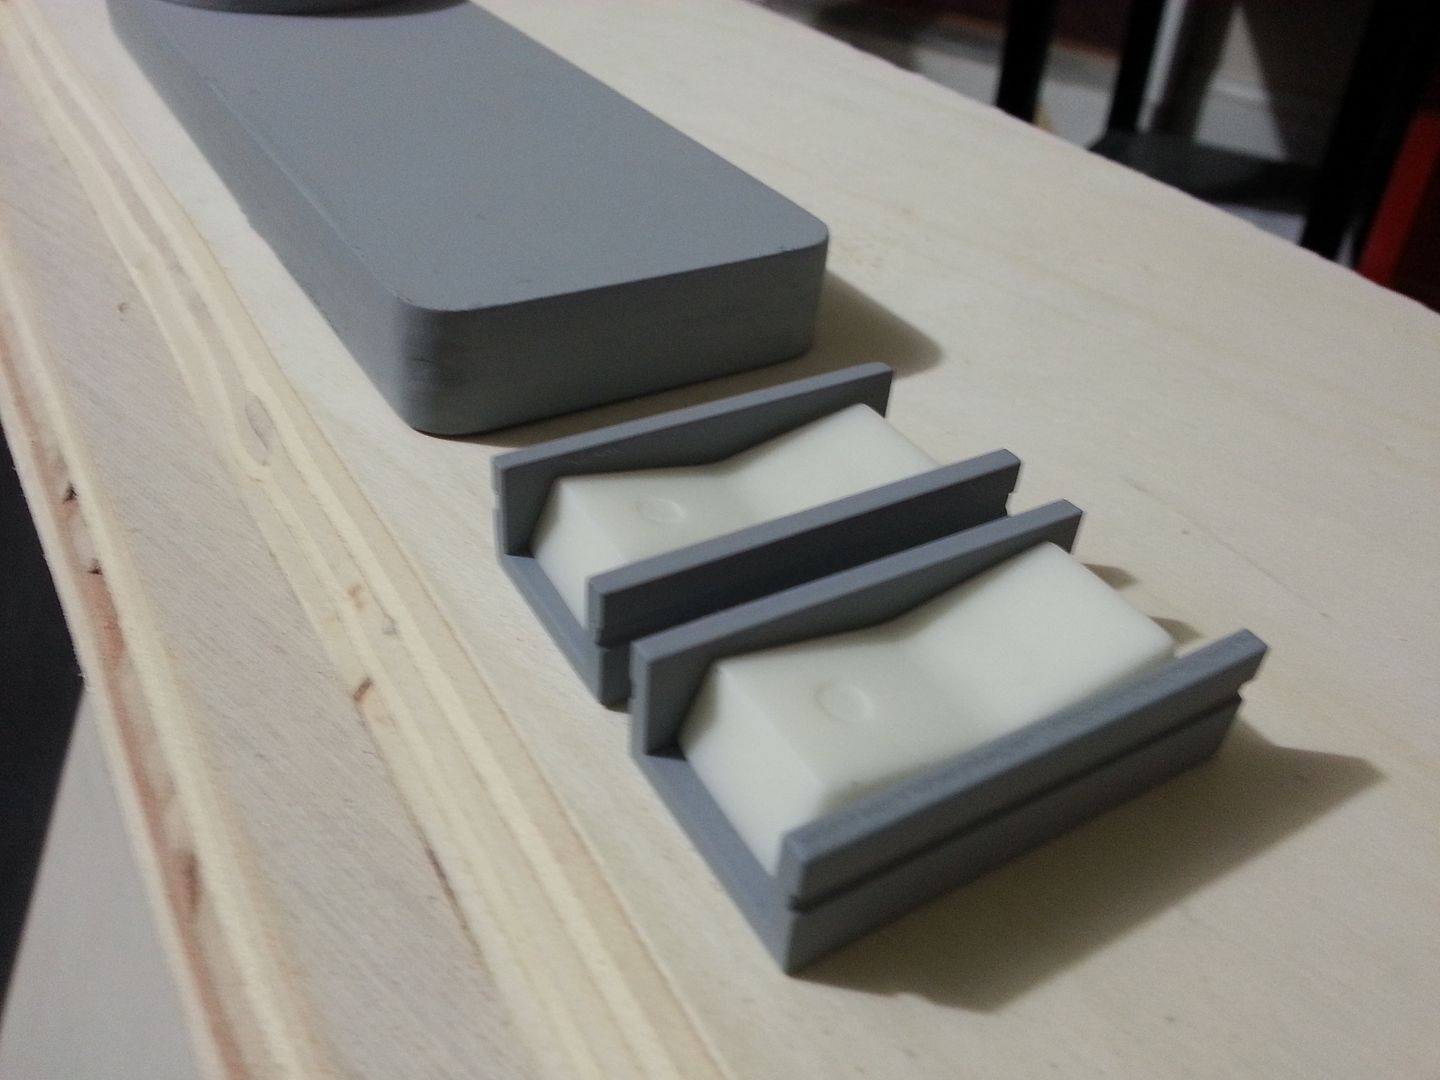
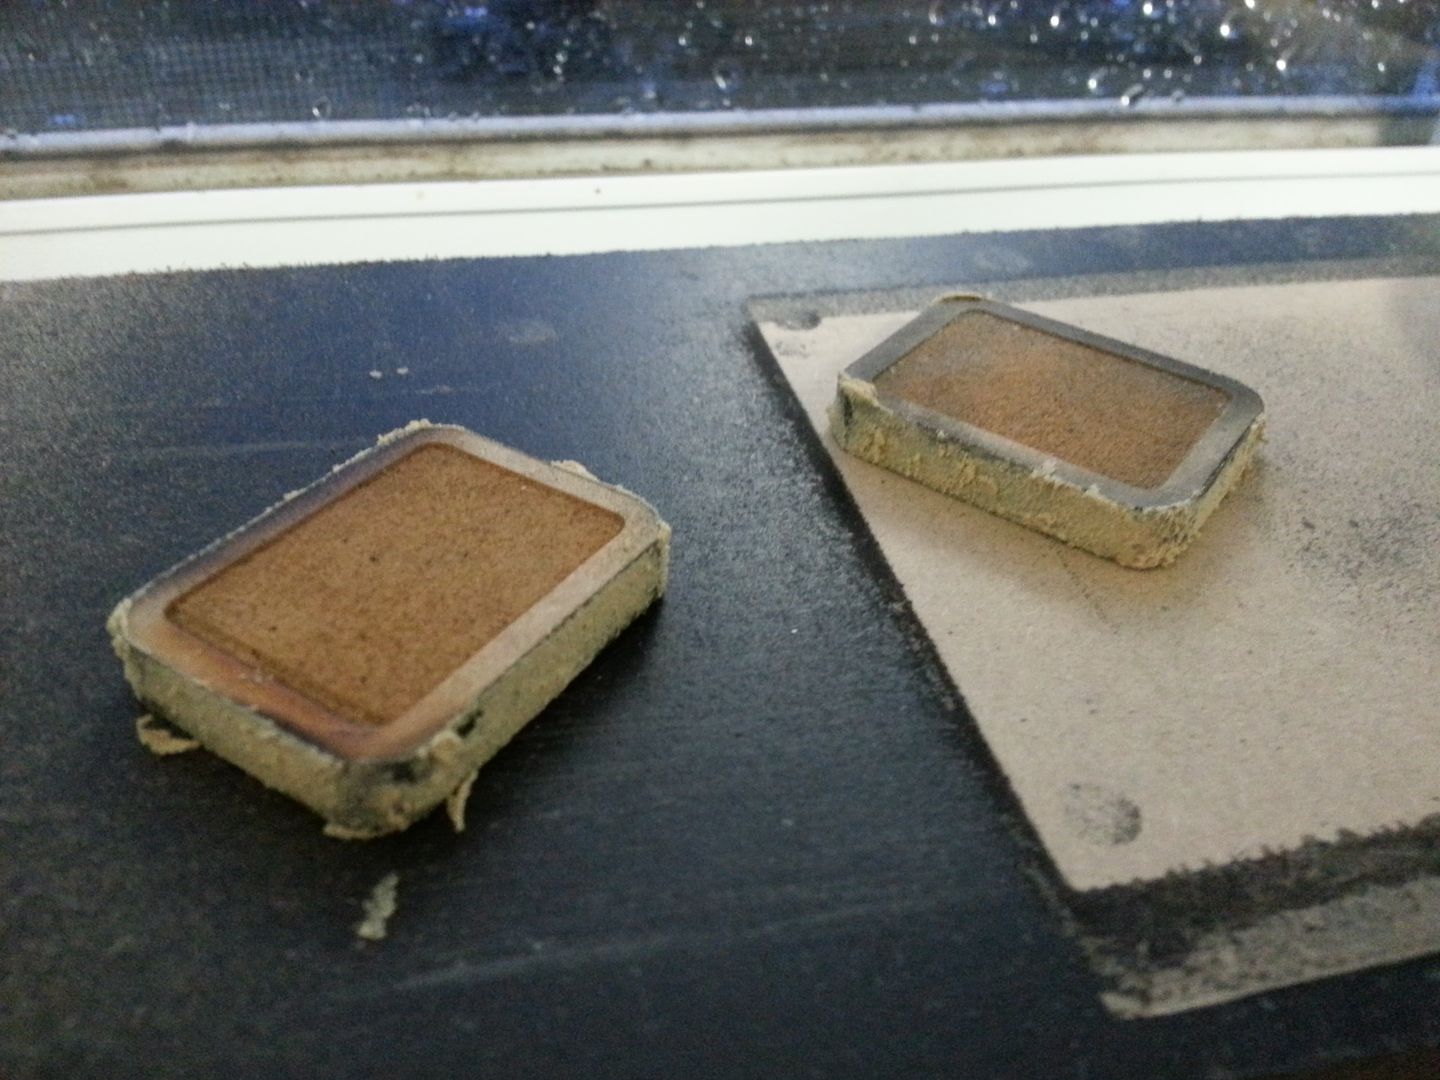
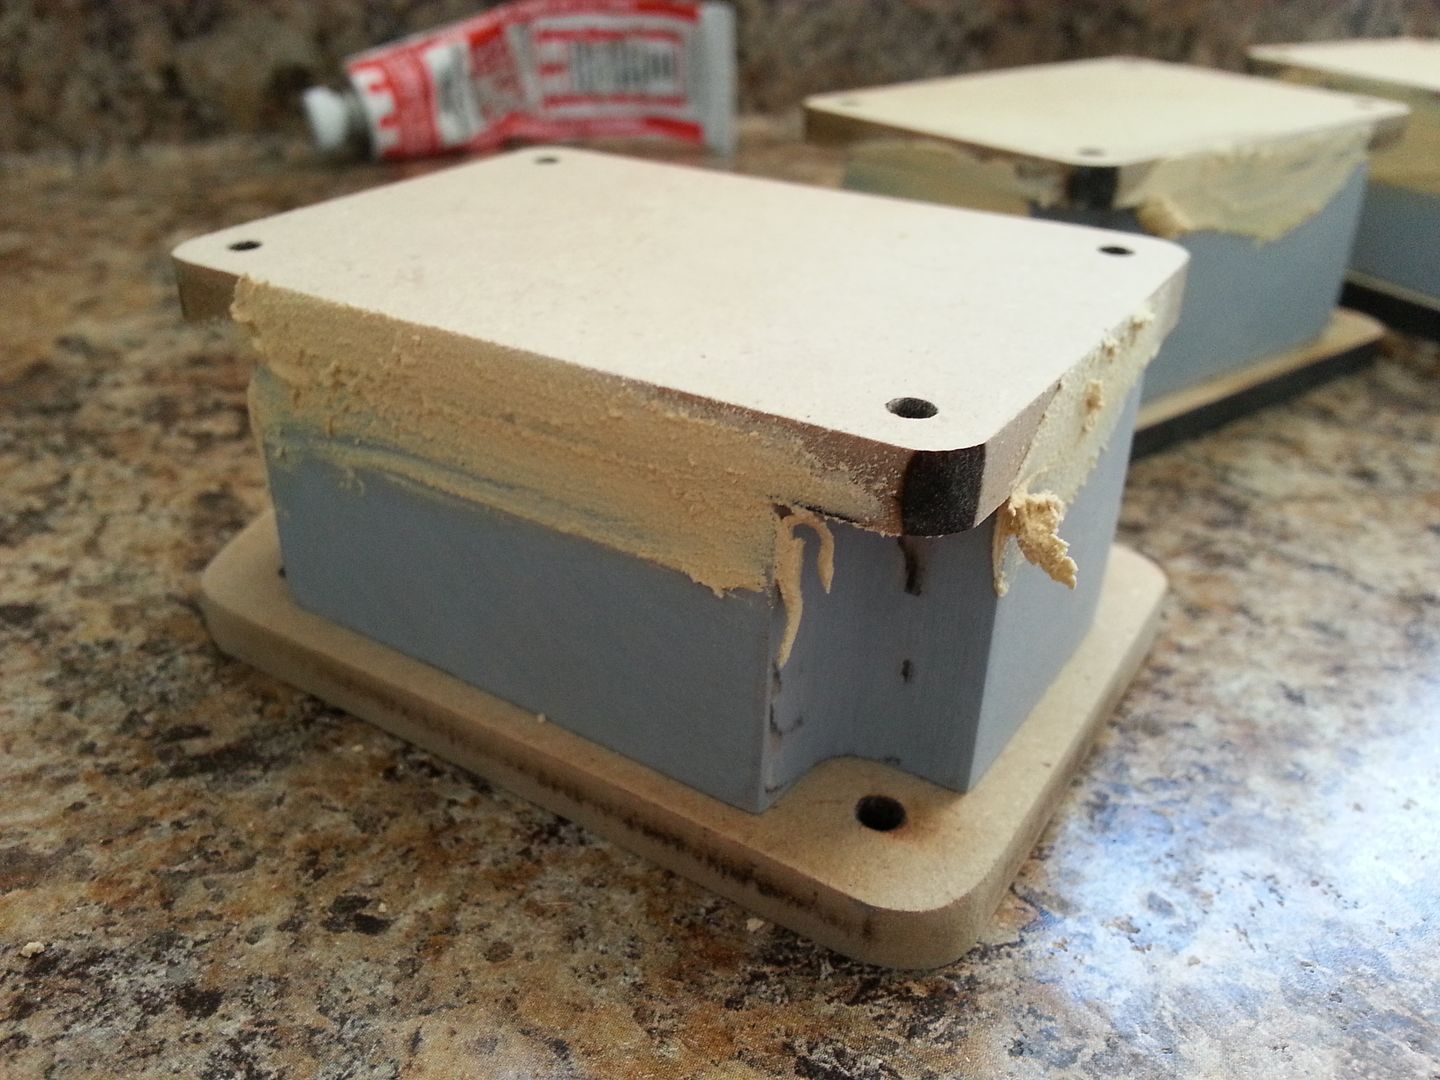
Jessie then laser cut, adhered, filled and sanded these rocker switch surrounds - she spent a few hours at the lab etching those deep cuts on the sides!
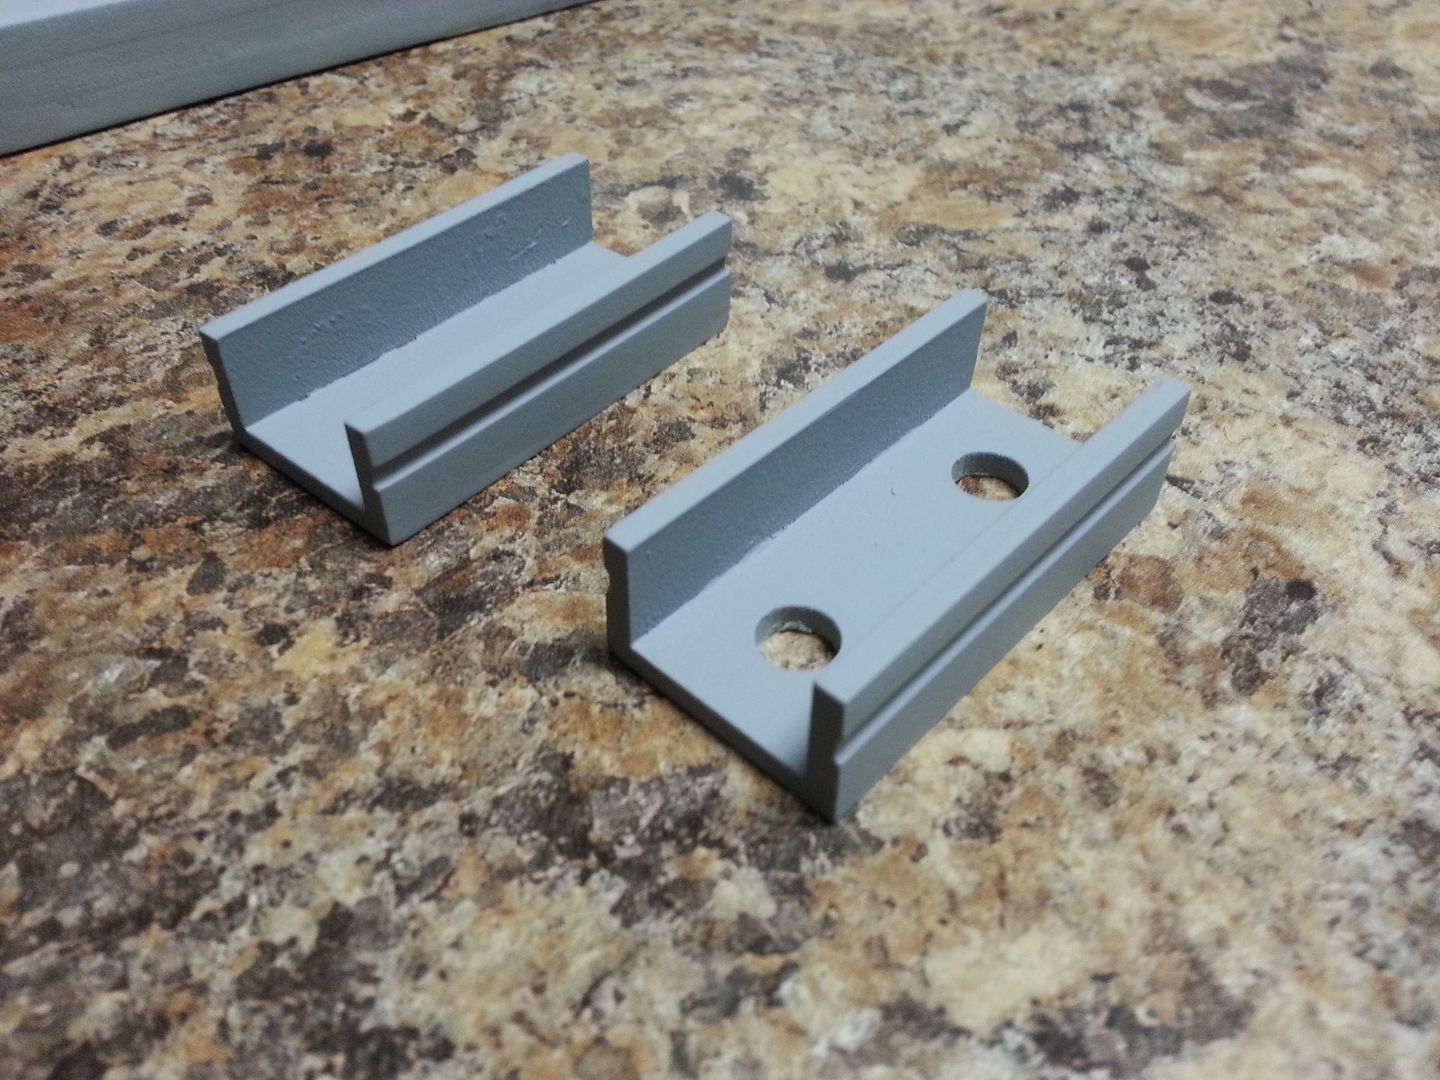
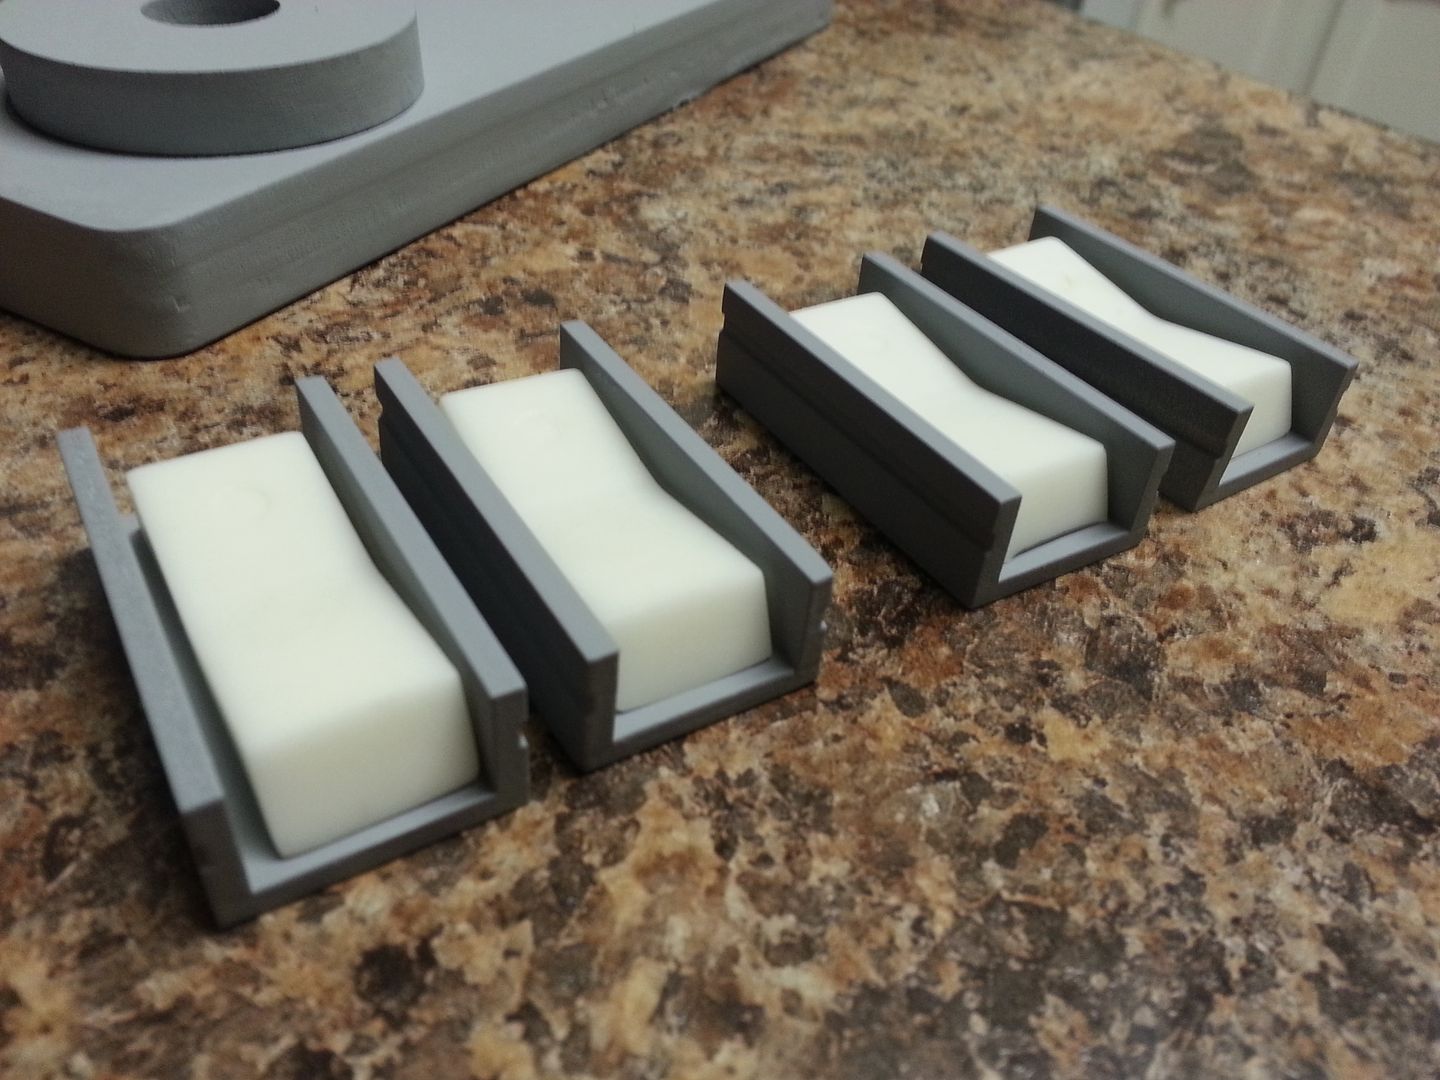
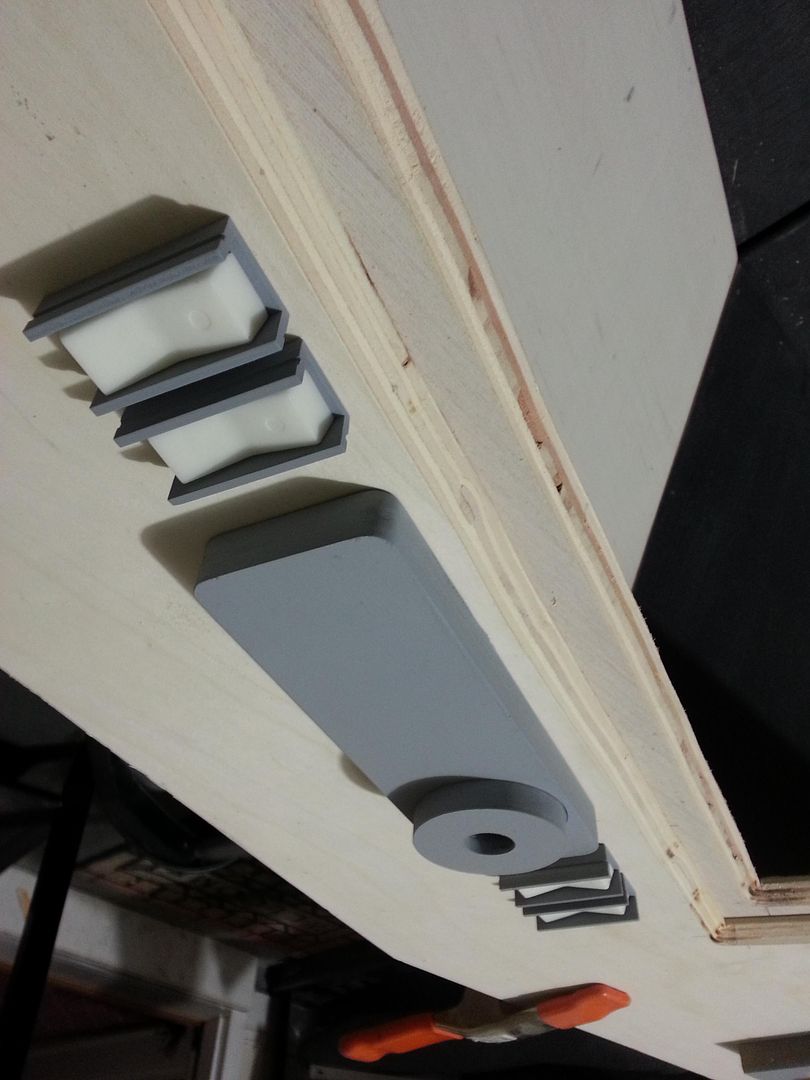
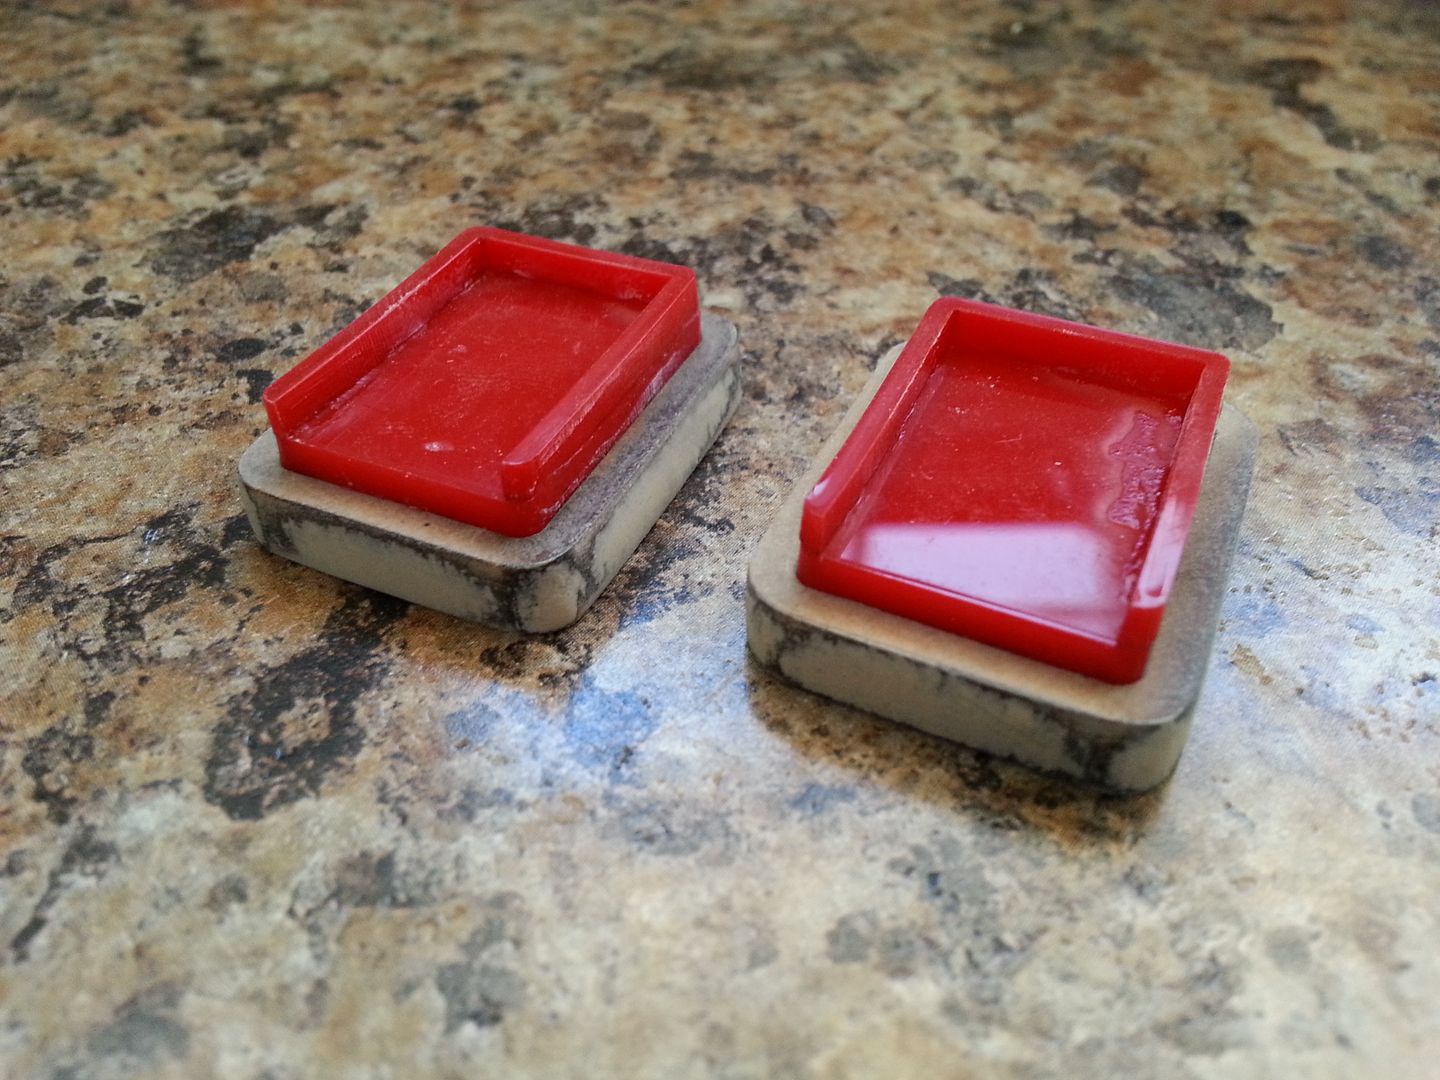
Even though these are just a rough - the rockers look cool against the grey primer
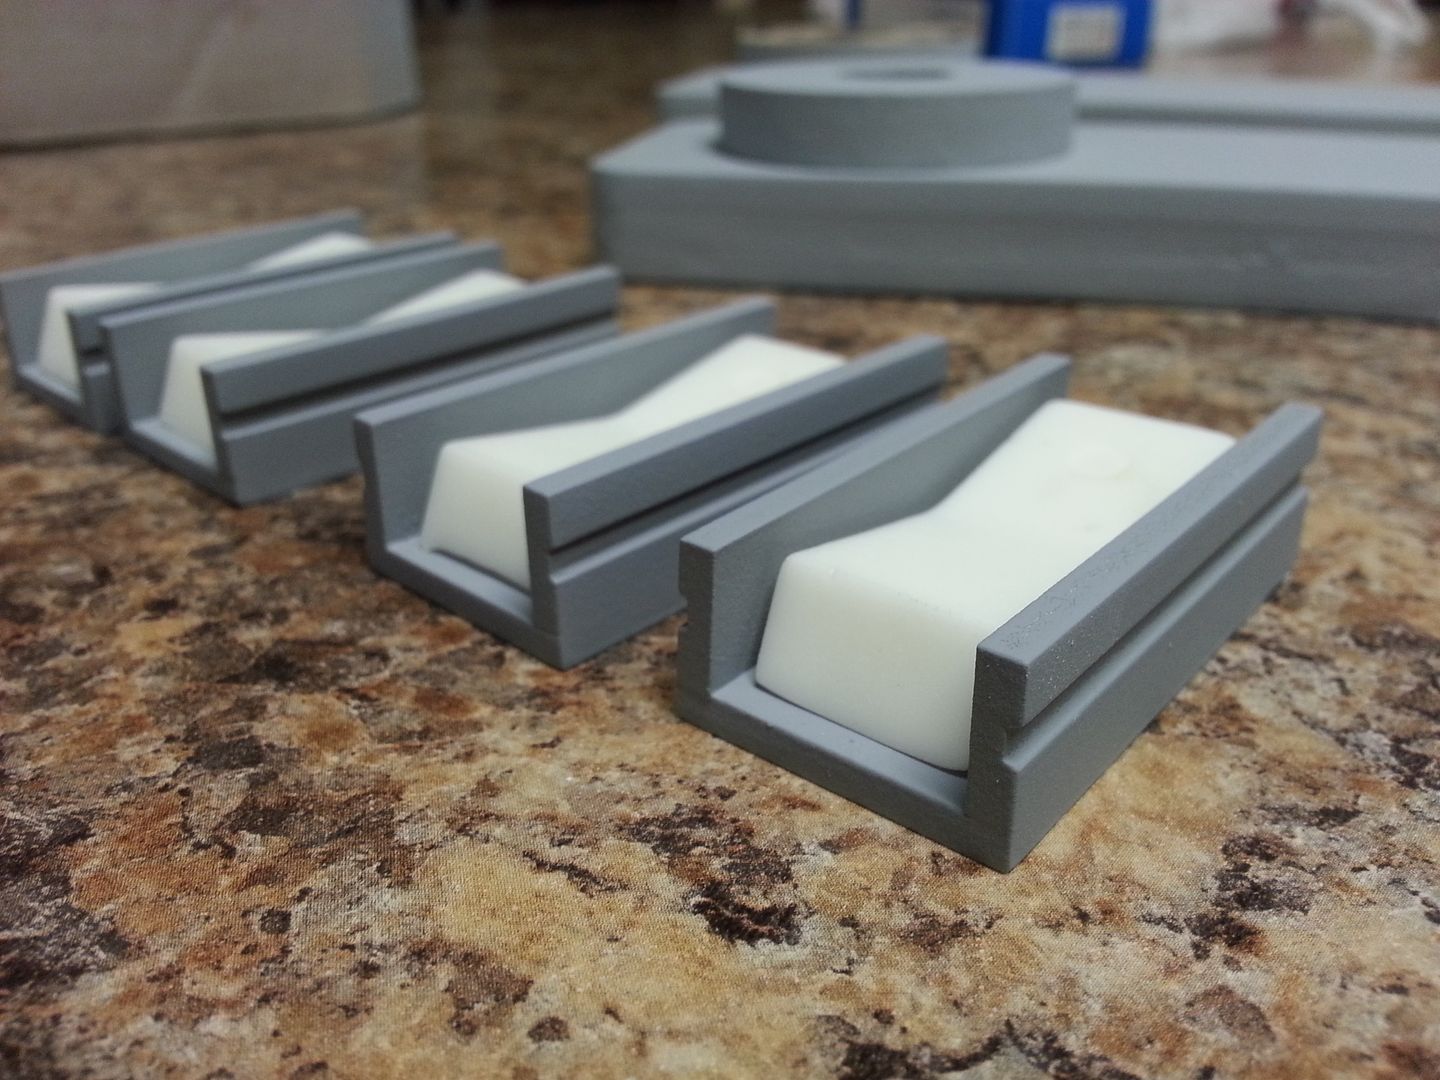
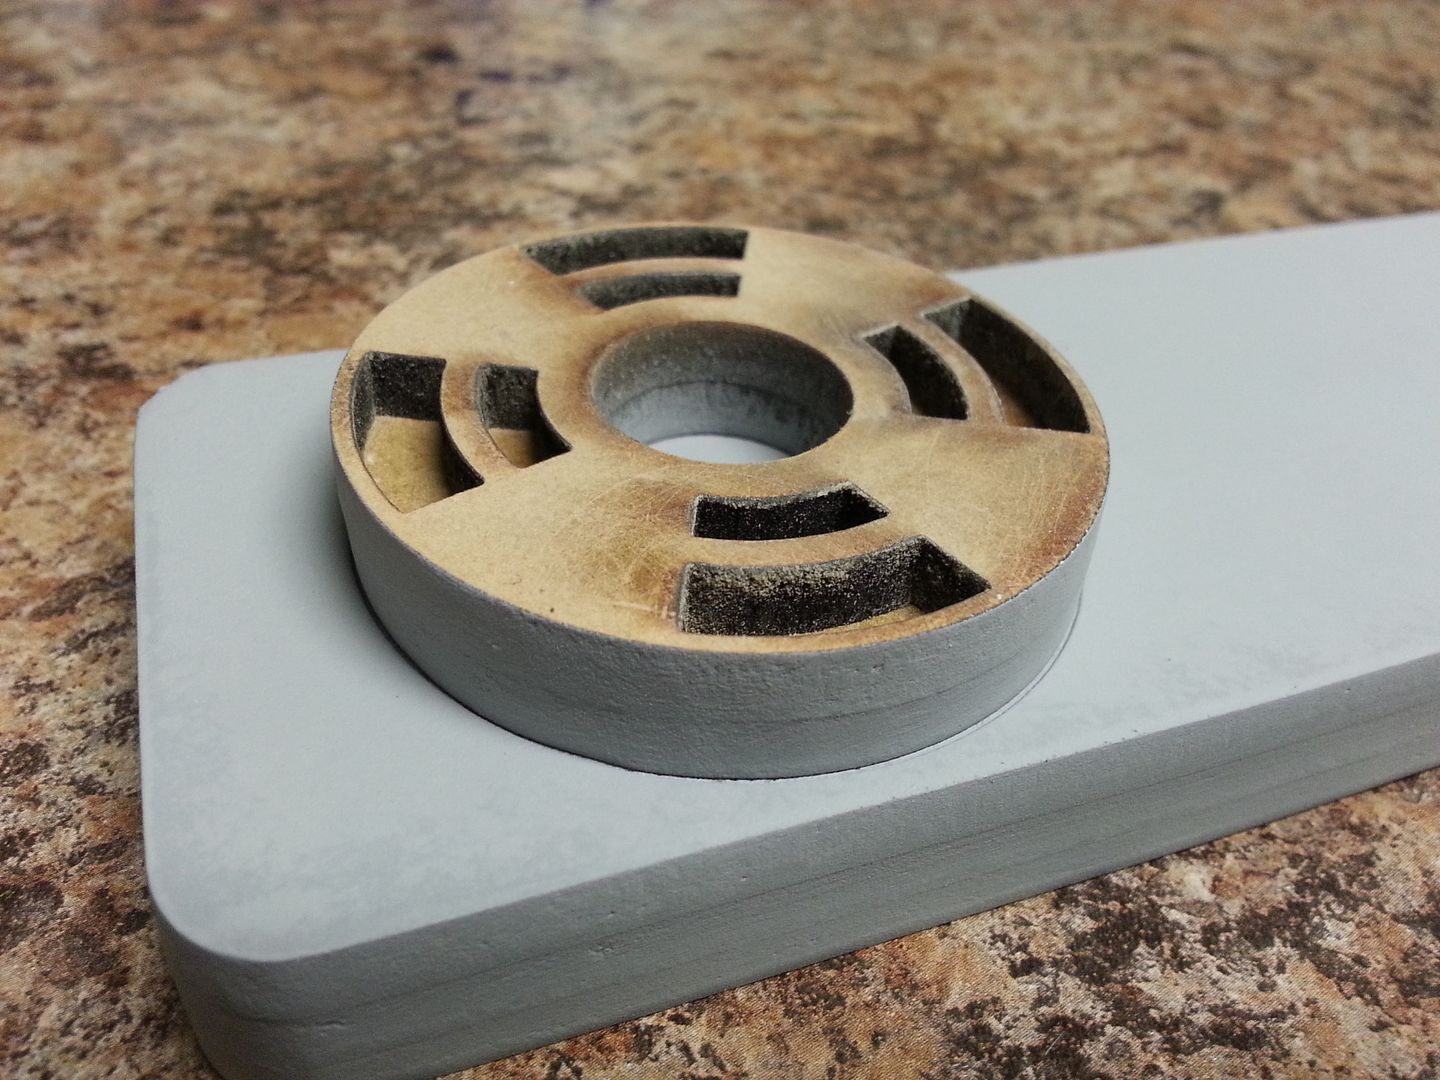
Starkiller's model shows the rocker switch slightly lifted above as if it's suspended in mid air
Still more work to do
This is how they would look on the shelf - approx placement
Still SO MUCH more to do and the weather is calling for rain most of the week... UGH...
Stay Tuned!
Early Morning Update! We have greeblies! Over the weekend Jessie was plugging away on these shelf greeblies!
I have NO idea what these are but a HUGE thanks to Starkiller for the ref images!
Trying out different design options
Jessie then laser cut, adhered, filled and sanded these rocker switch surrounds - she spent a few hours at the lab etching those deep cuts on the sides!
Even though these are just a rough - the rockers look cool against the grey primer
Starkiller's model shows the rocker switch slightly lifted above as if it's suspended in mid air
Still more work to do
This is how they would look on the shelf - approx placement
Still SO MUCH more to do and the weather is calling for rain most of the week... UGH...
Stay Tuned!
crystaloftruth
Member
Looks like a little holoprojector.
SteveStarkiller
Sr Member
awesome stuff as ever.
Hi Gang,
Just wanted to thank everybody for the kind words and support throughout this build. It's been an amazing 2.5 years and it should only get better!
Also, I want to wish those celebrating a very Merry Christmas. I hope you all have a very happy holiday and safe New Year!")
UPDATES!
Work continues on the greeblies!
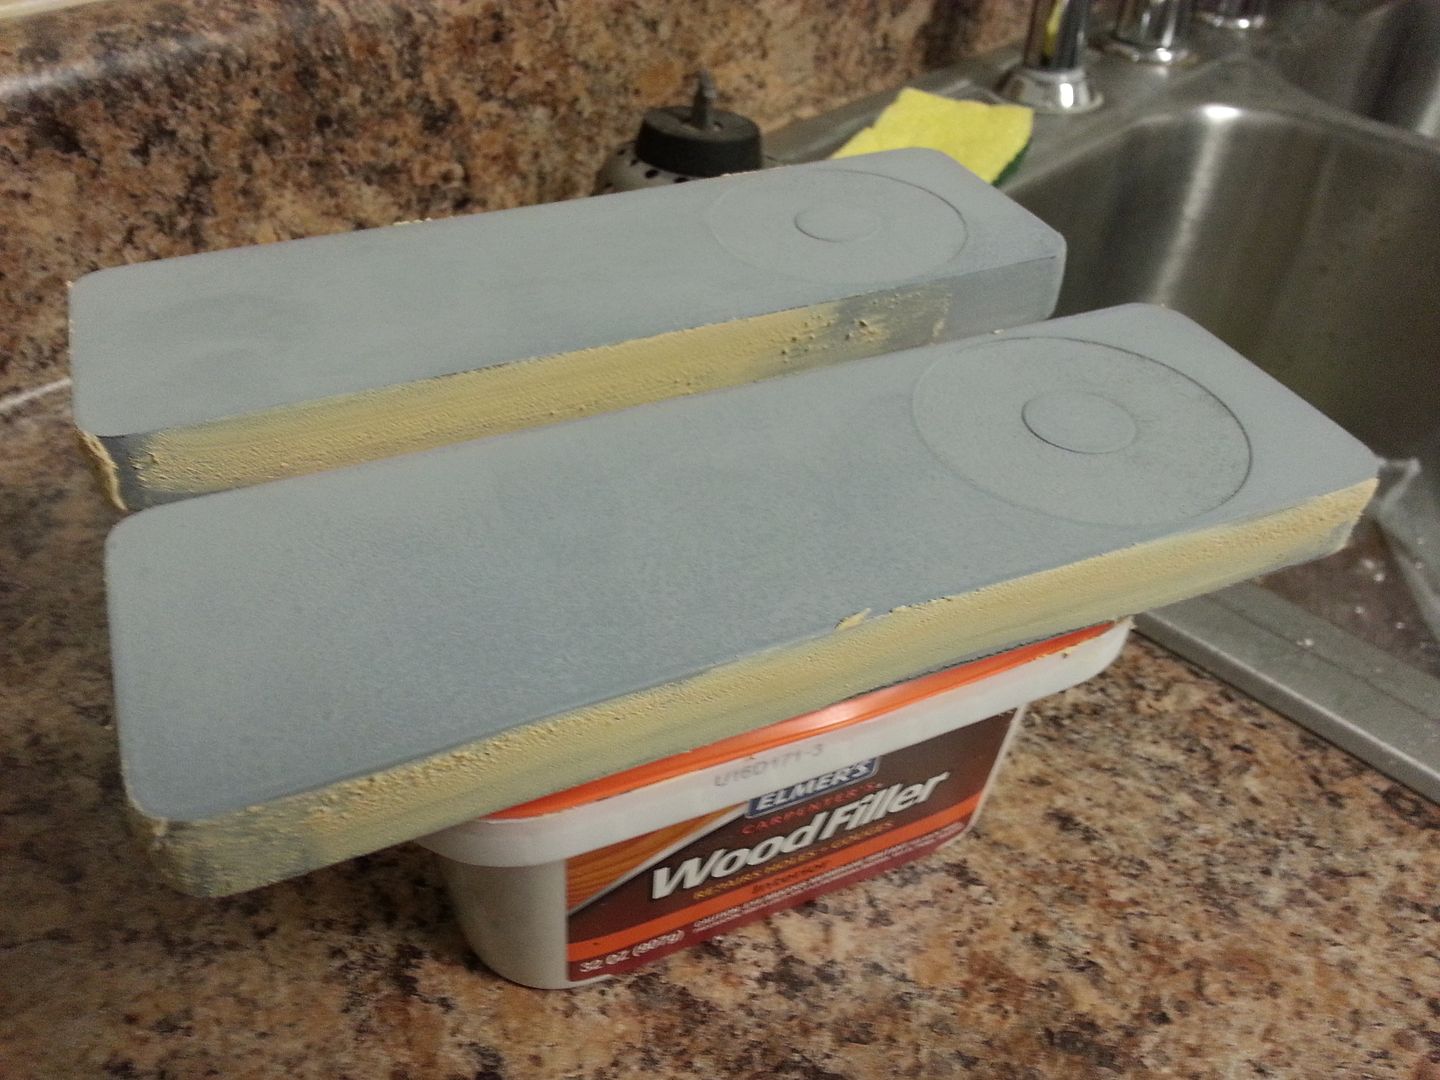
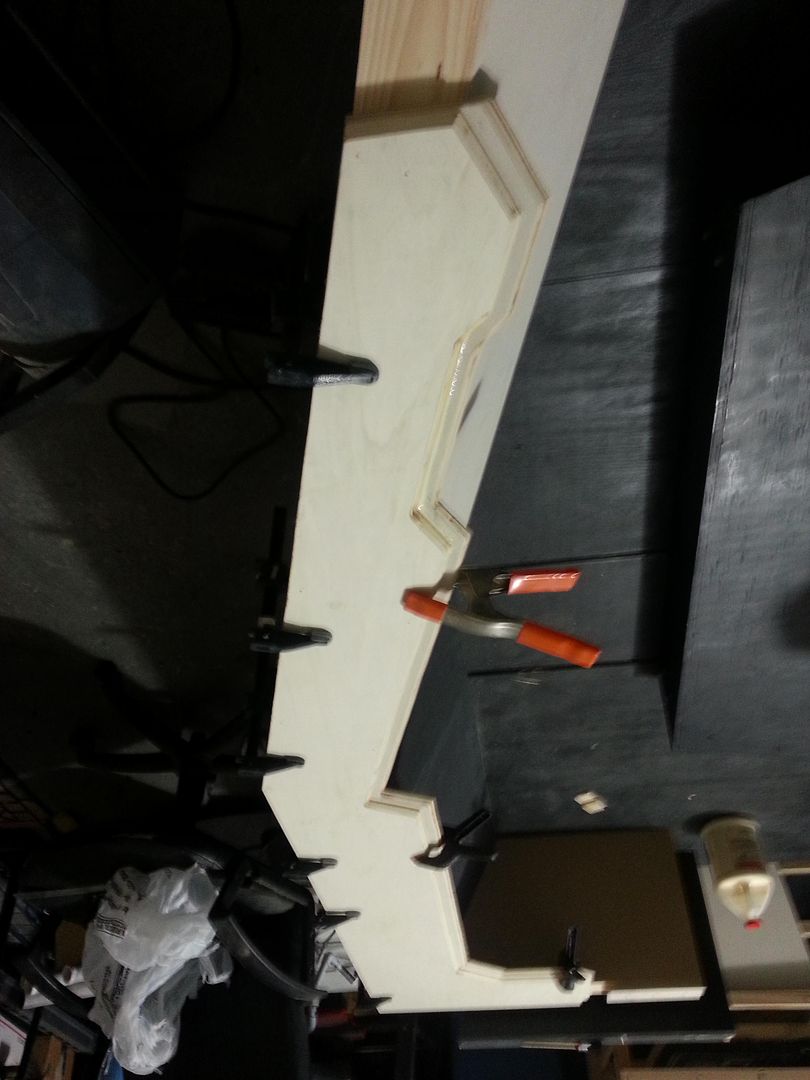
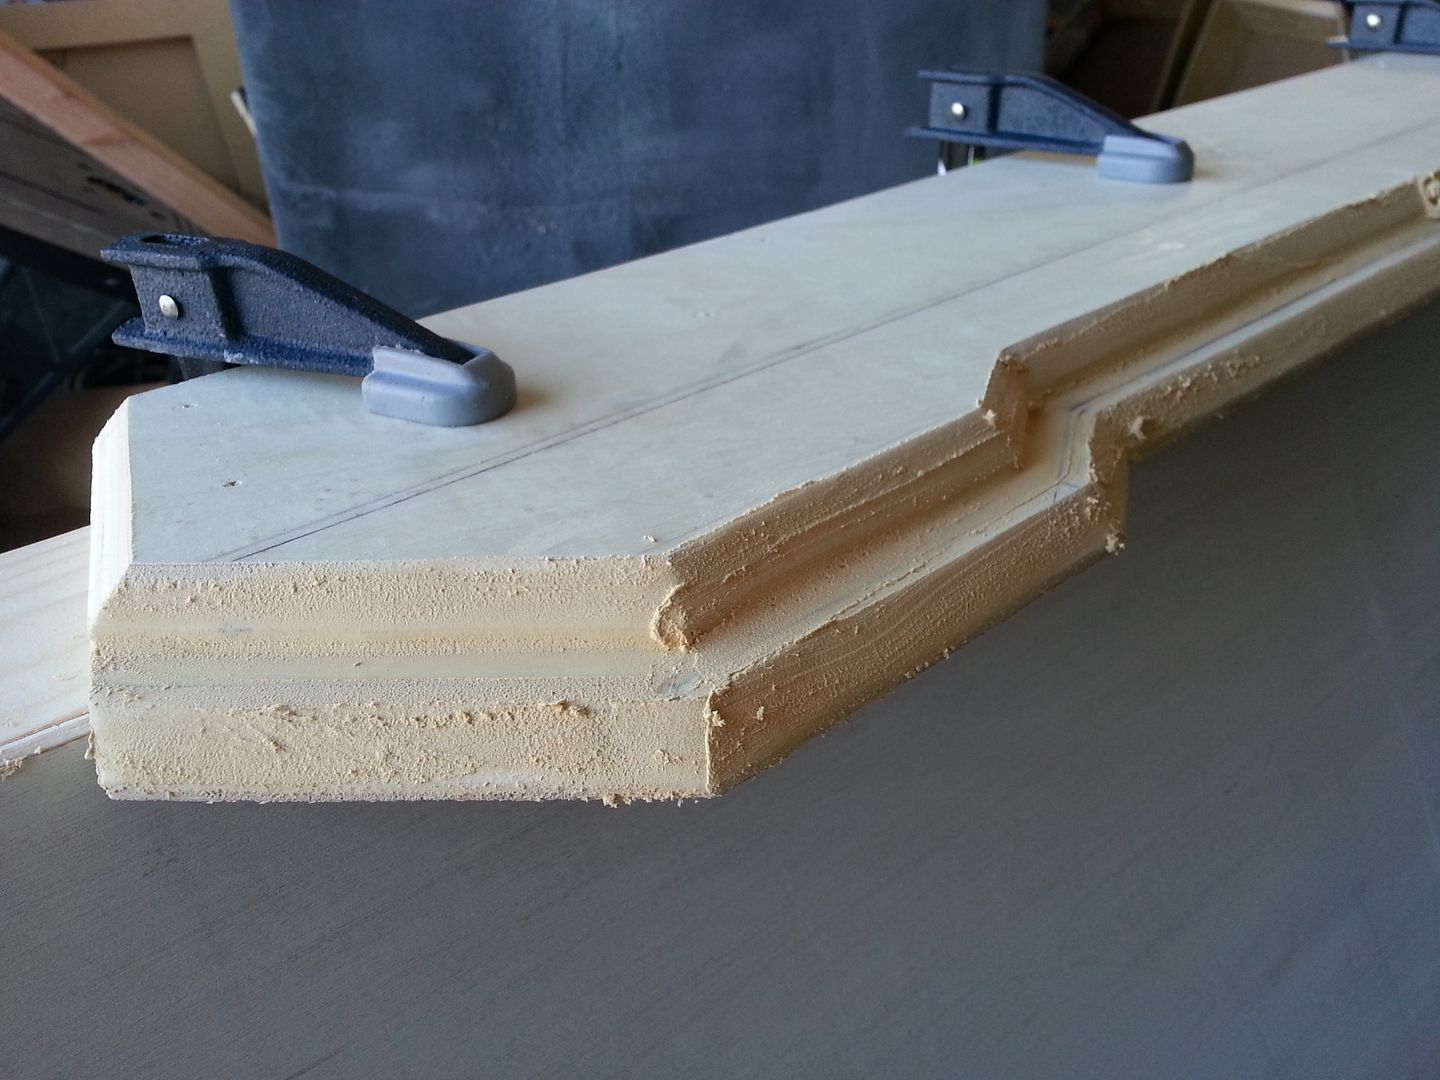
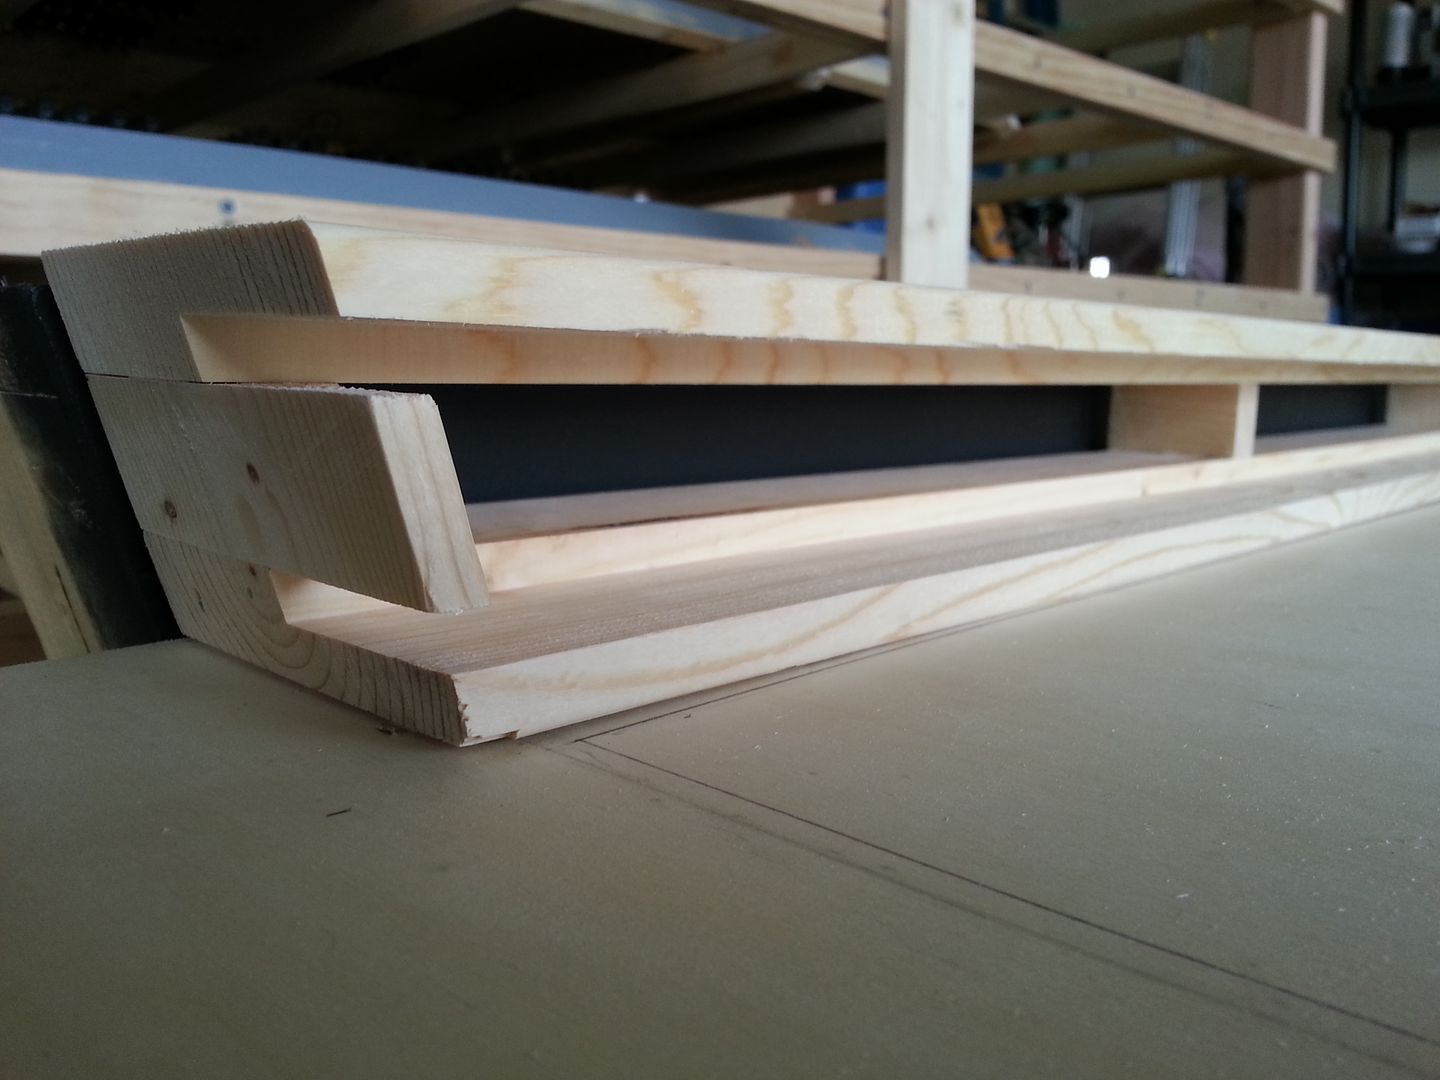
I then jumped in and adhered the two shelf layers together
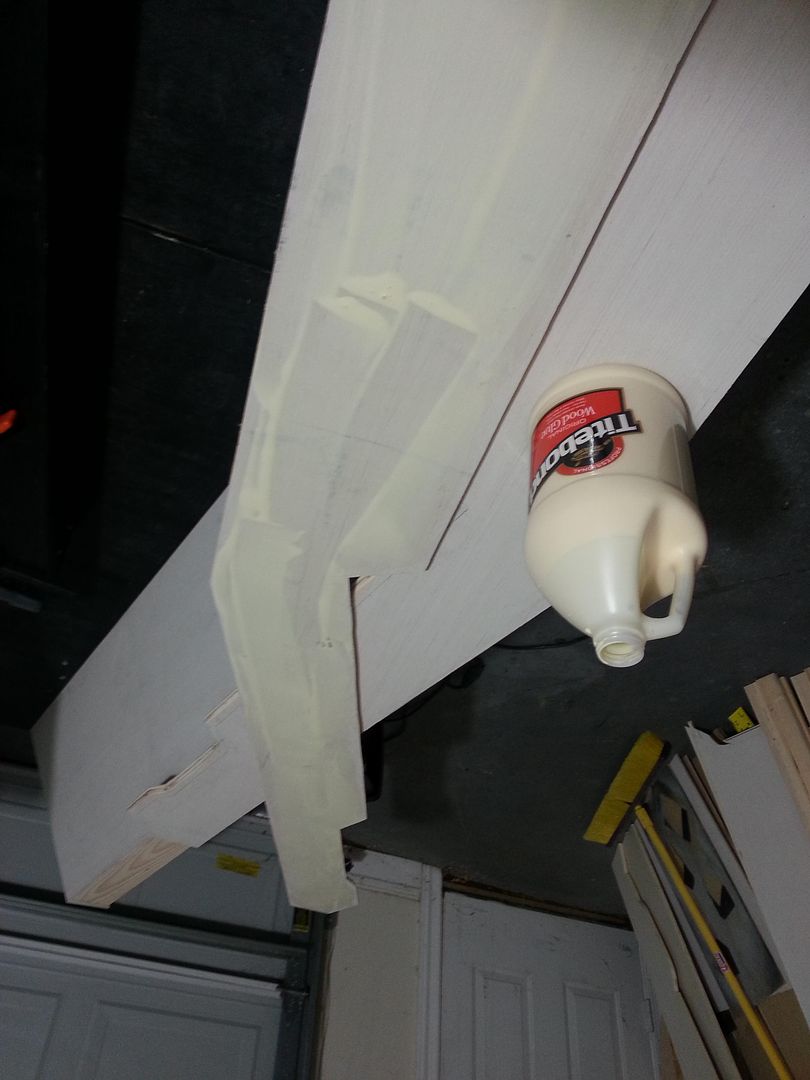
After nailing a few braids I added the clamps
After a few hours I added filler
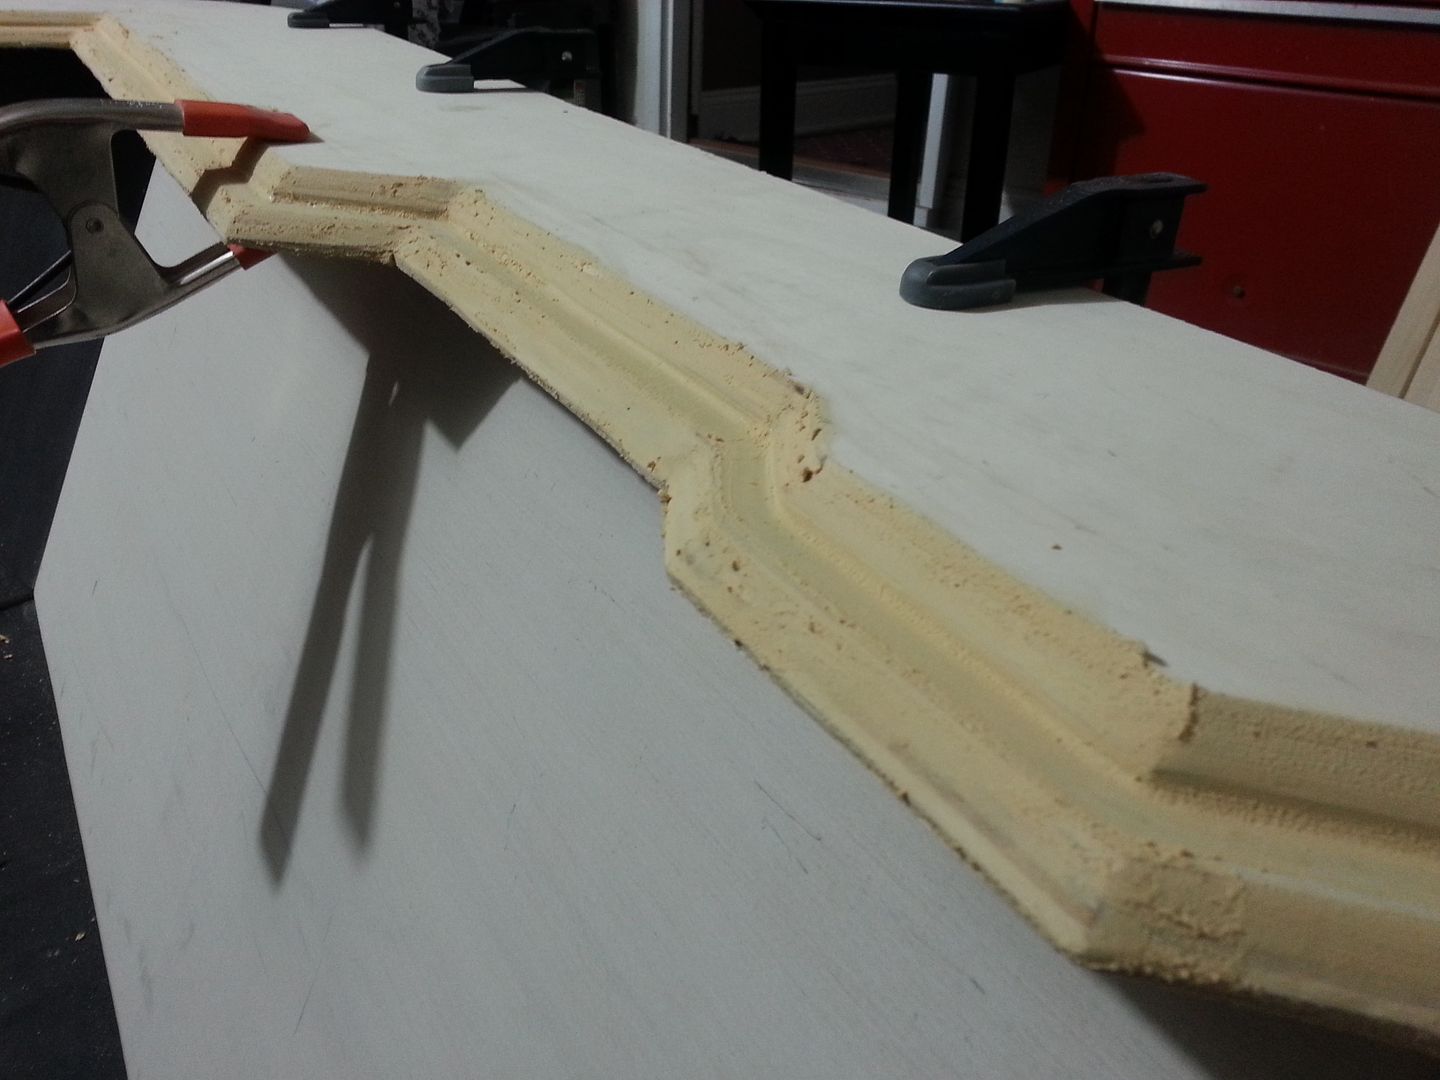
More to Follow!
Just wanted to thank everybody for the kind words and support throughout this build. It's been an amazing 2.5 years and it should only get better!
Also, I want to wish those celebrating a very Merry Christmas. I hope you all have a very happy holiday and safe New Year!
UPDATES!
Work continues on the greeblies!
I then jumped in and adhered the two shelf layers together
After nailing a few braids I added the clamps
After a few hours I added filler
More to Follow!
Hi Gang,
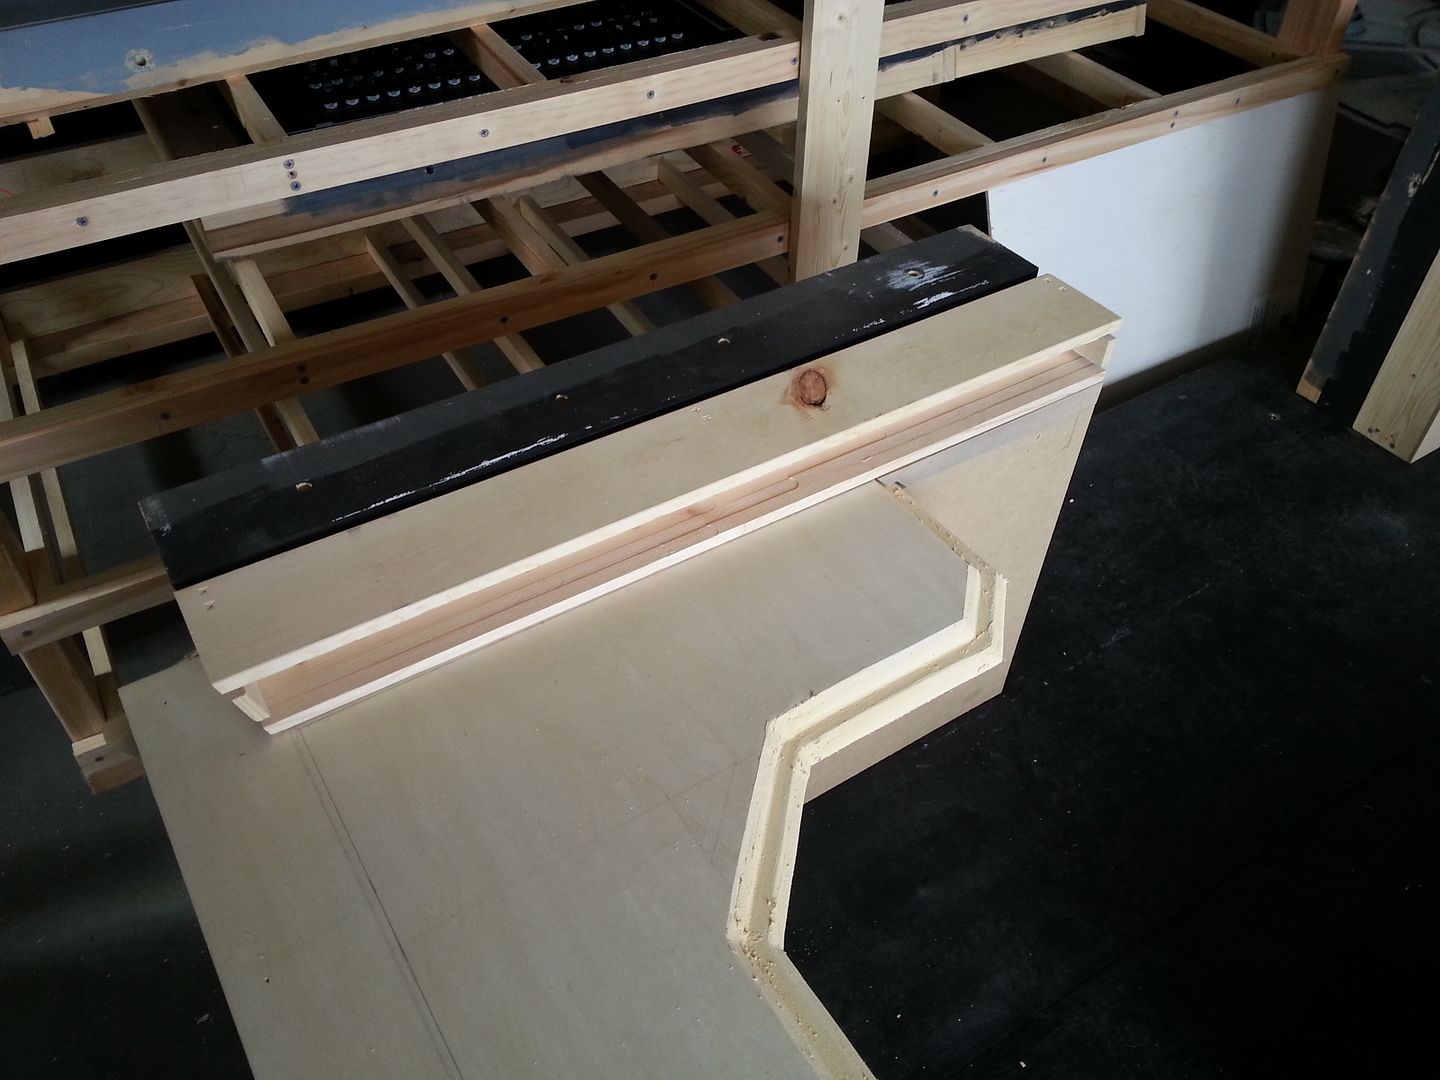
Christmas has given me a Beautiful Day to work!
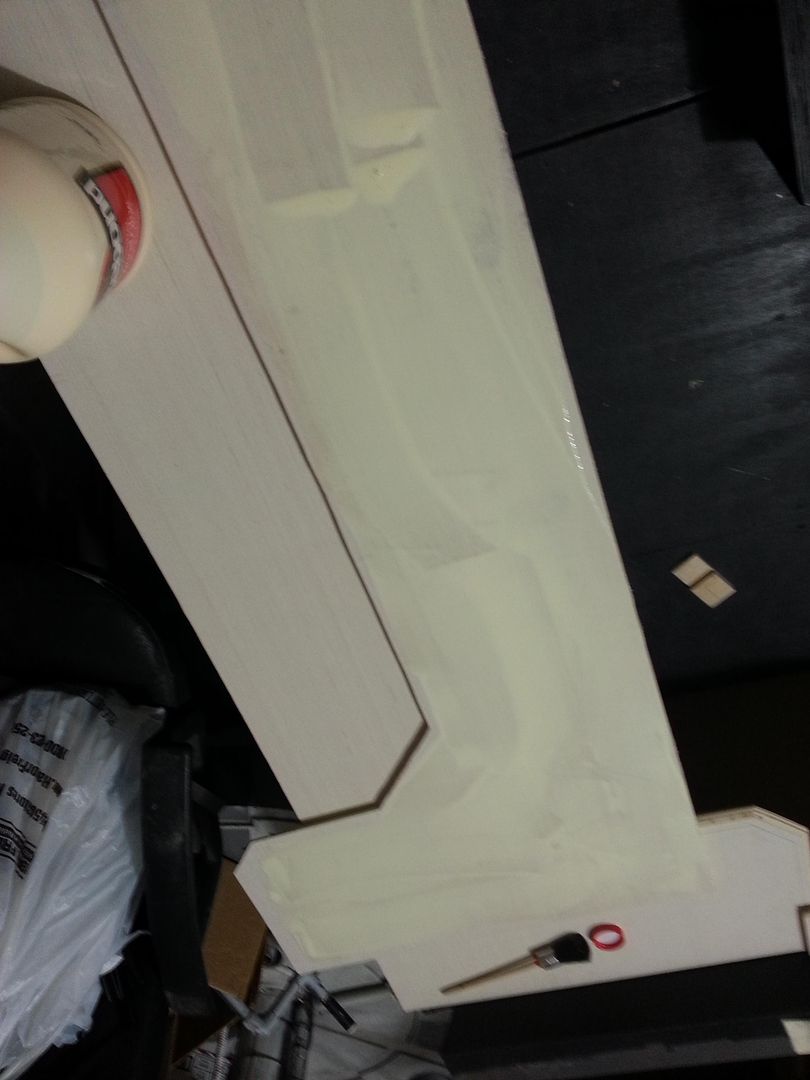
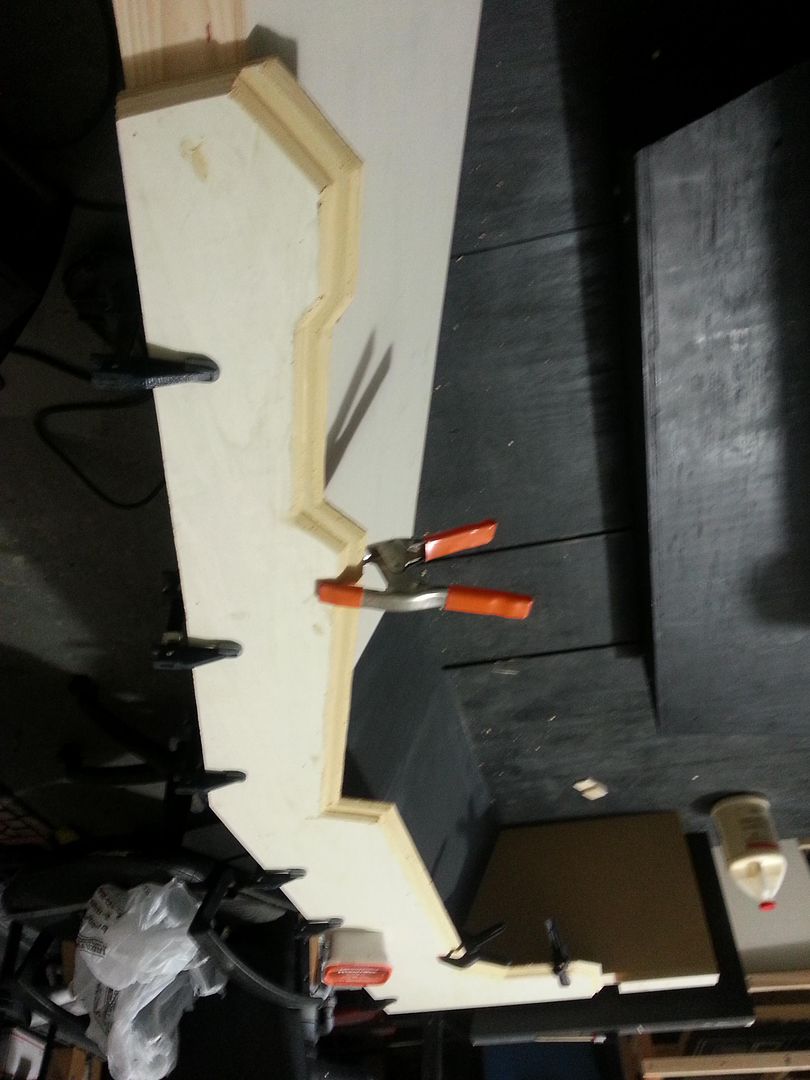
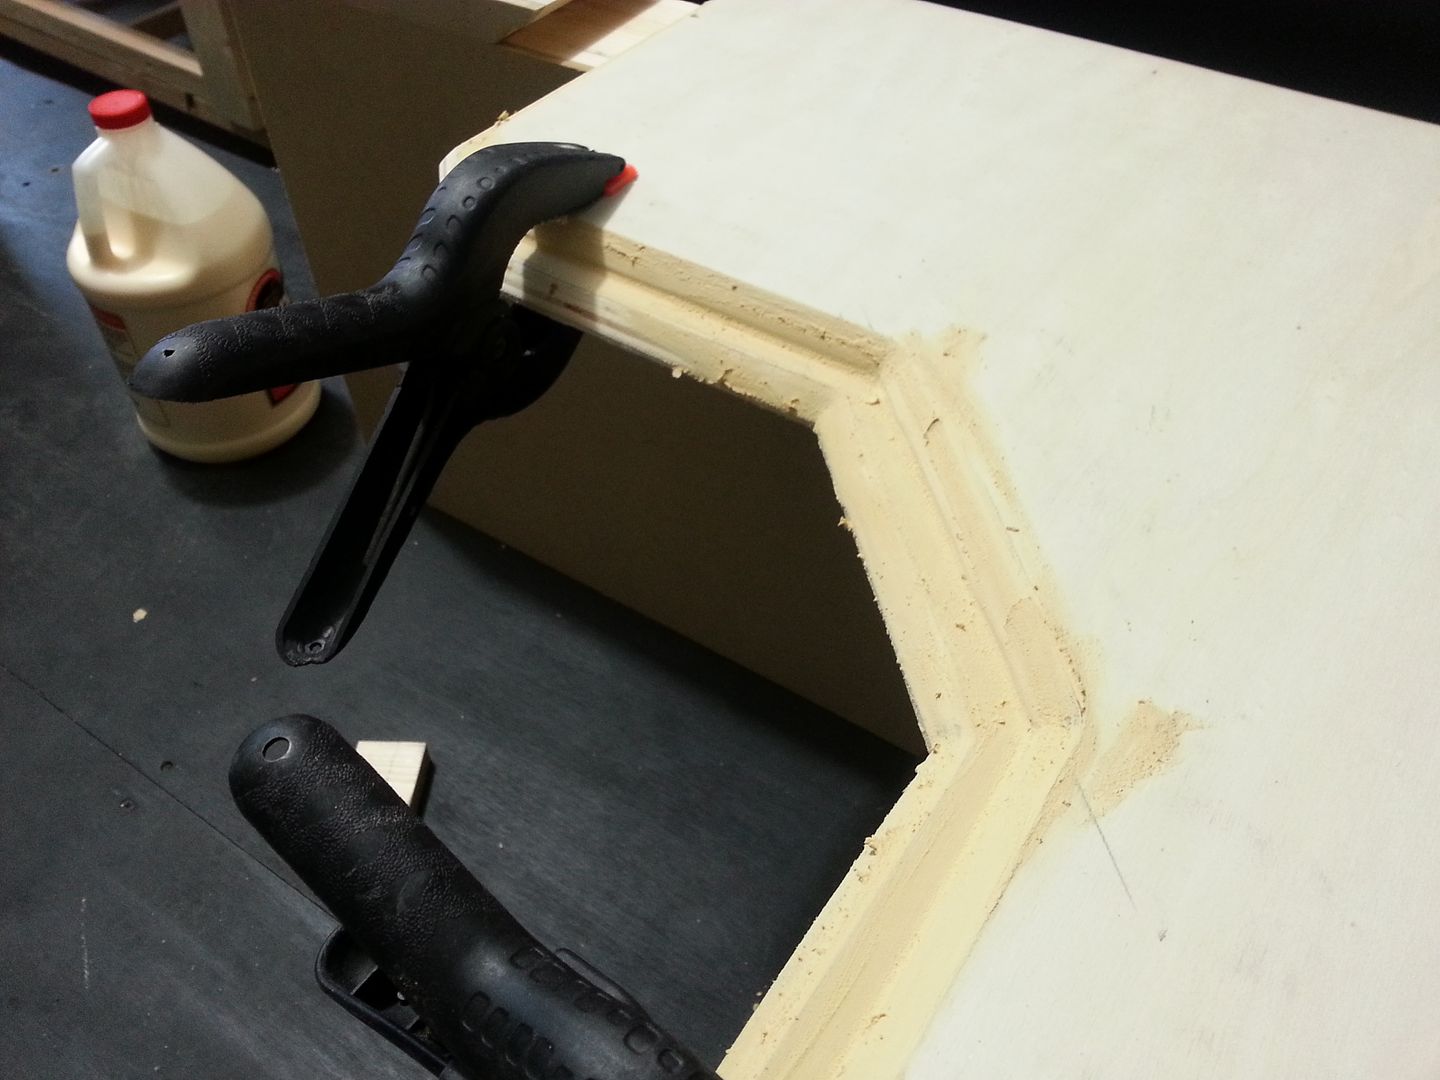
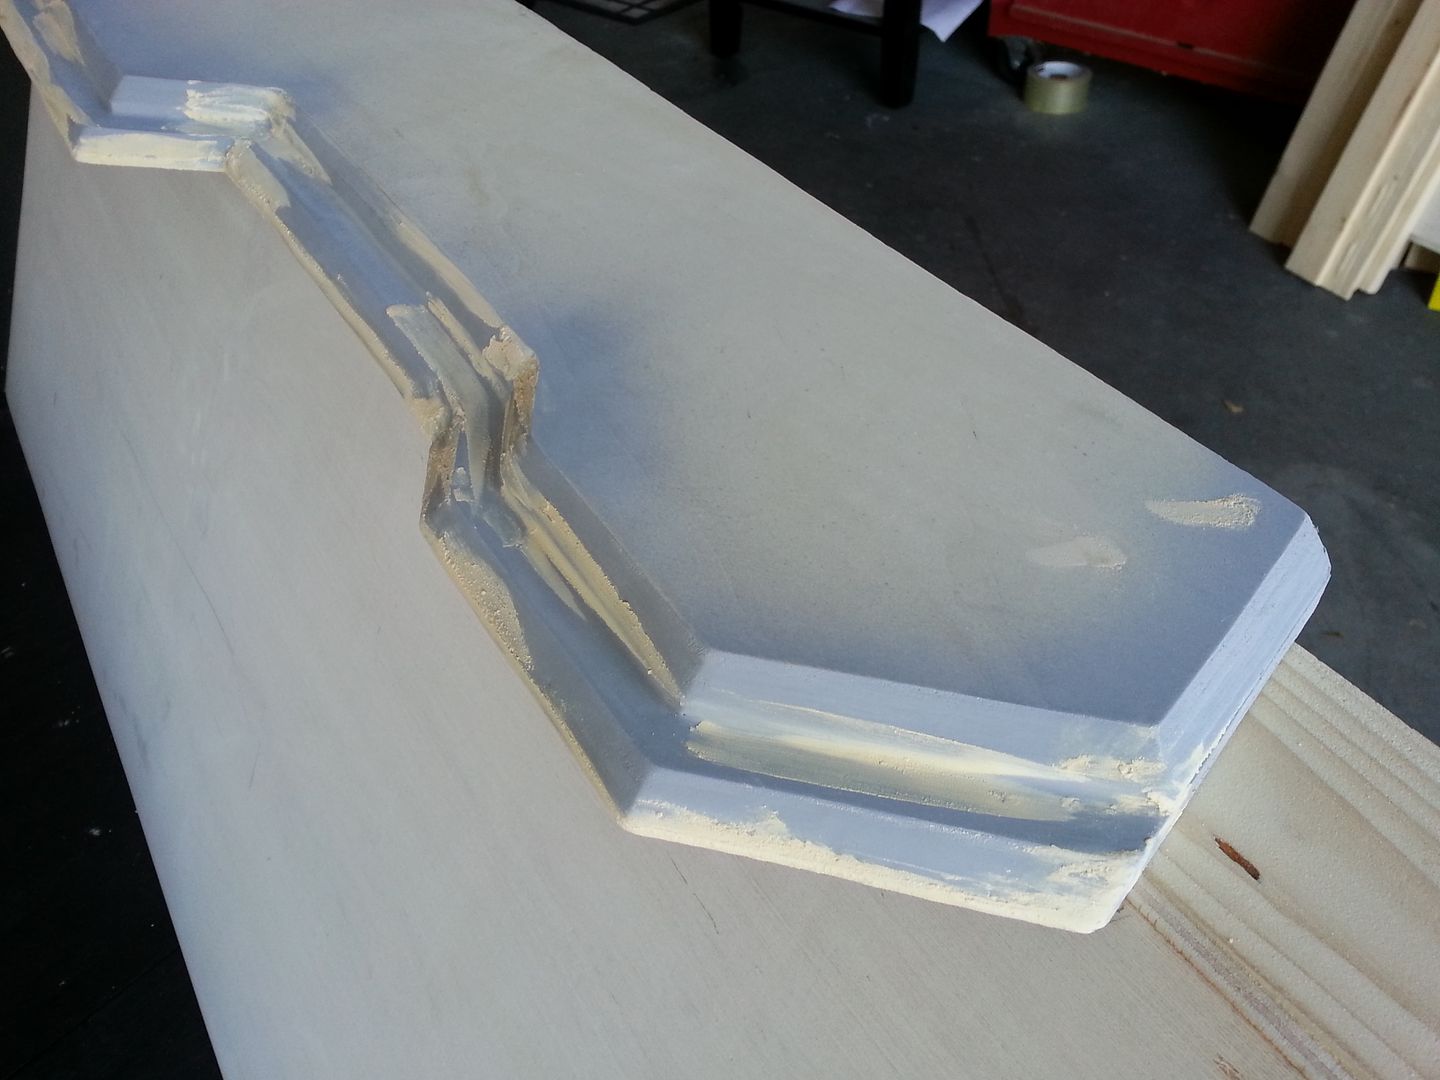
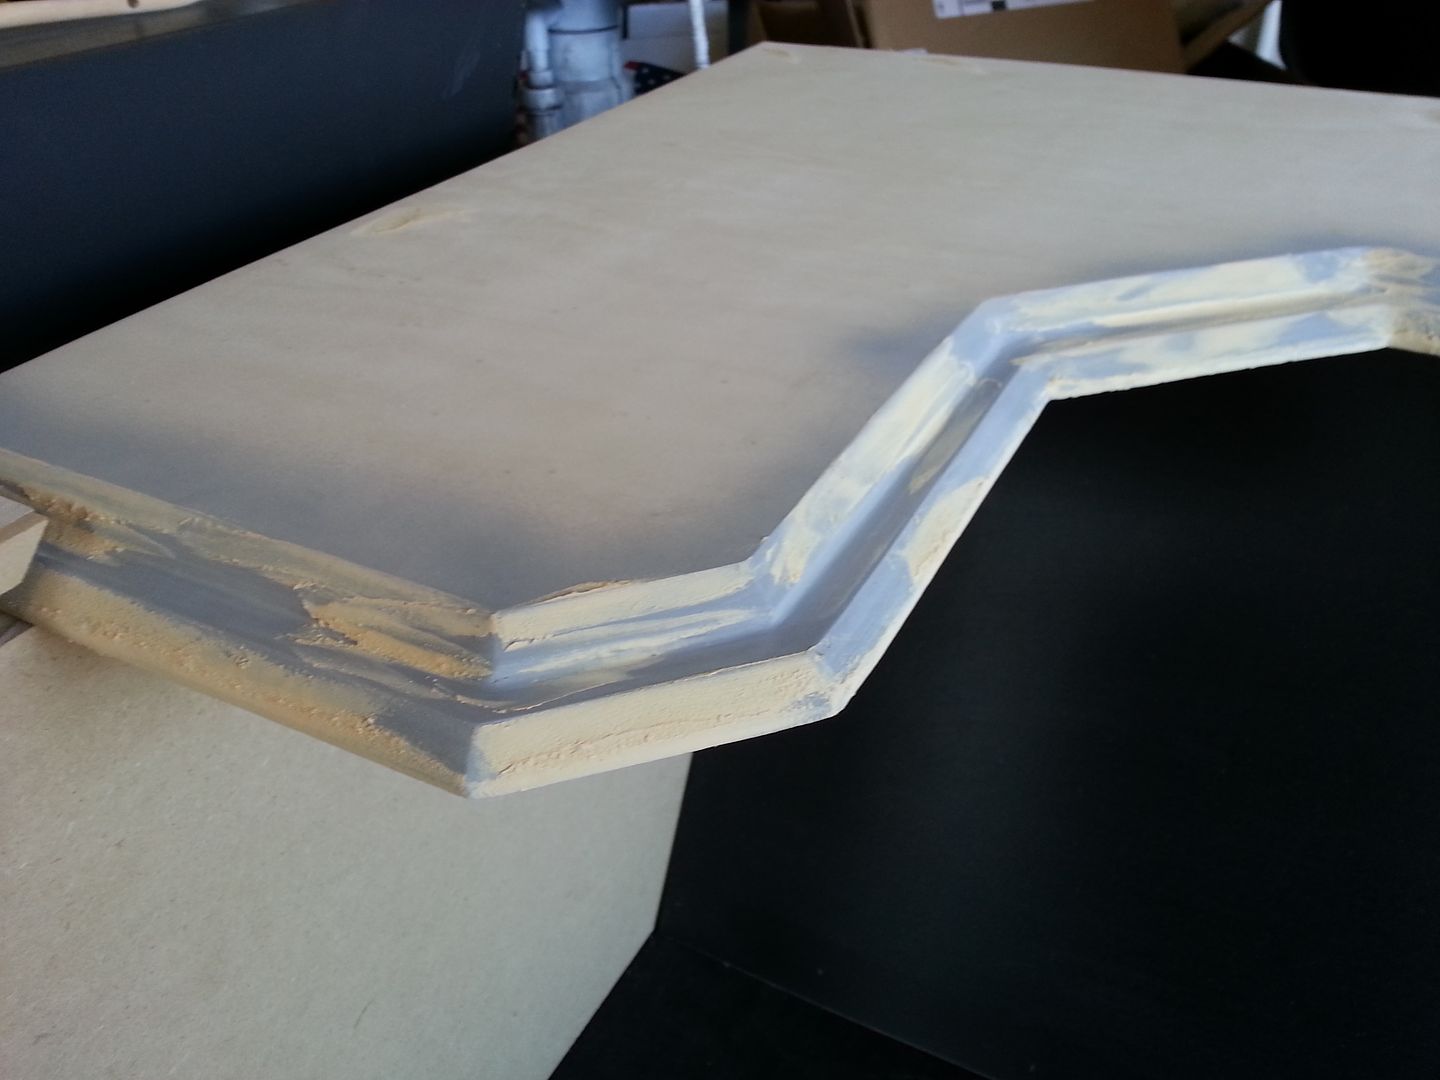
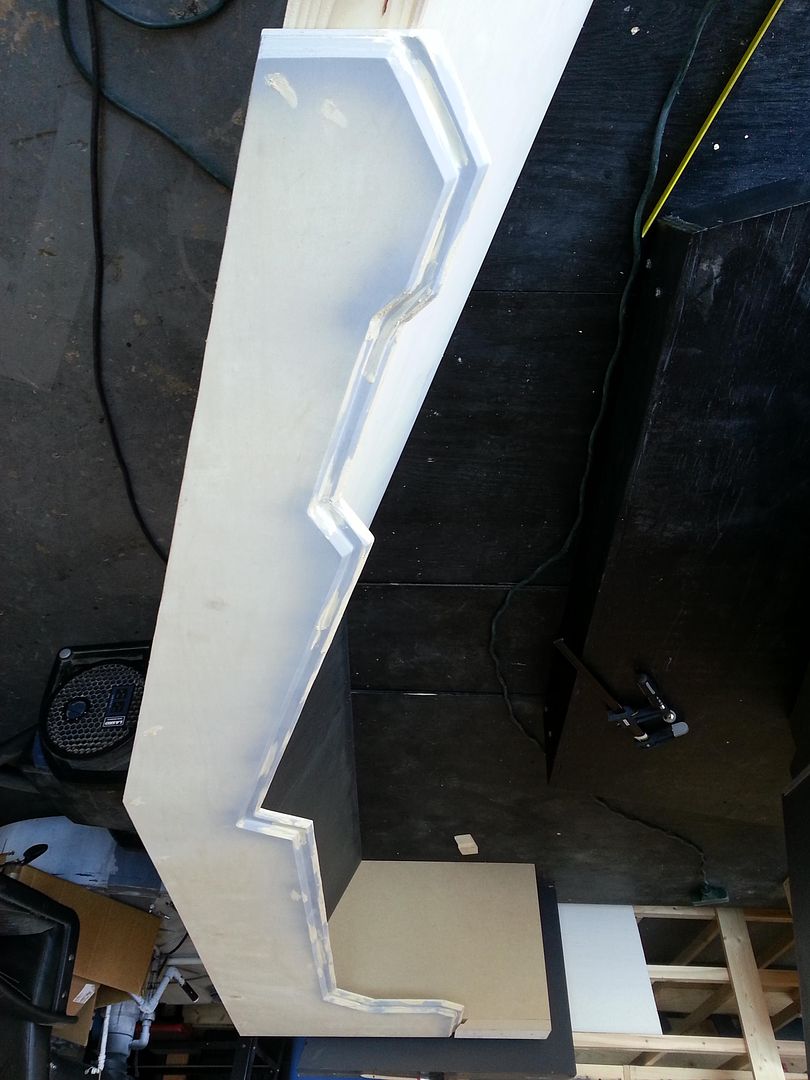
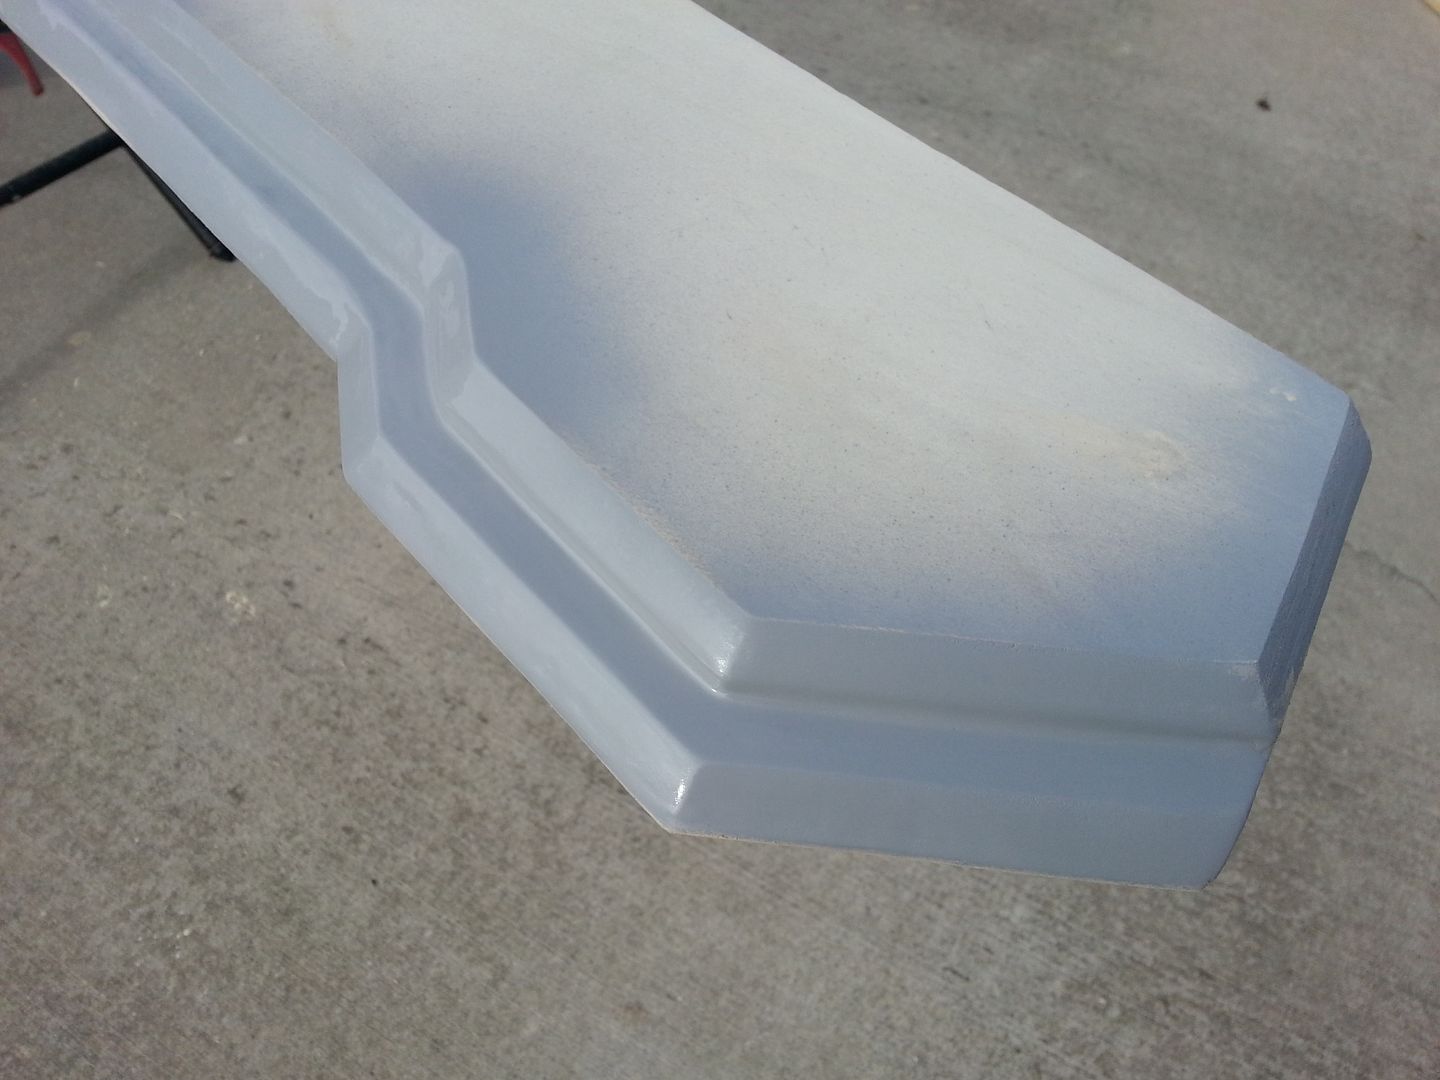
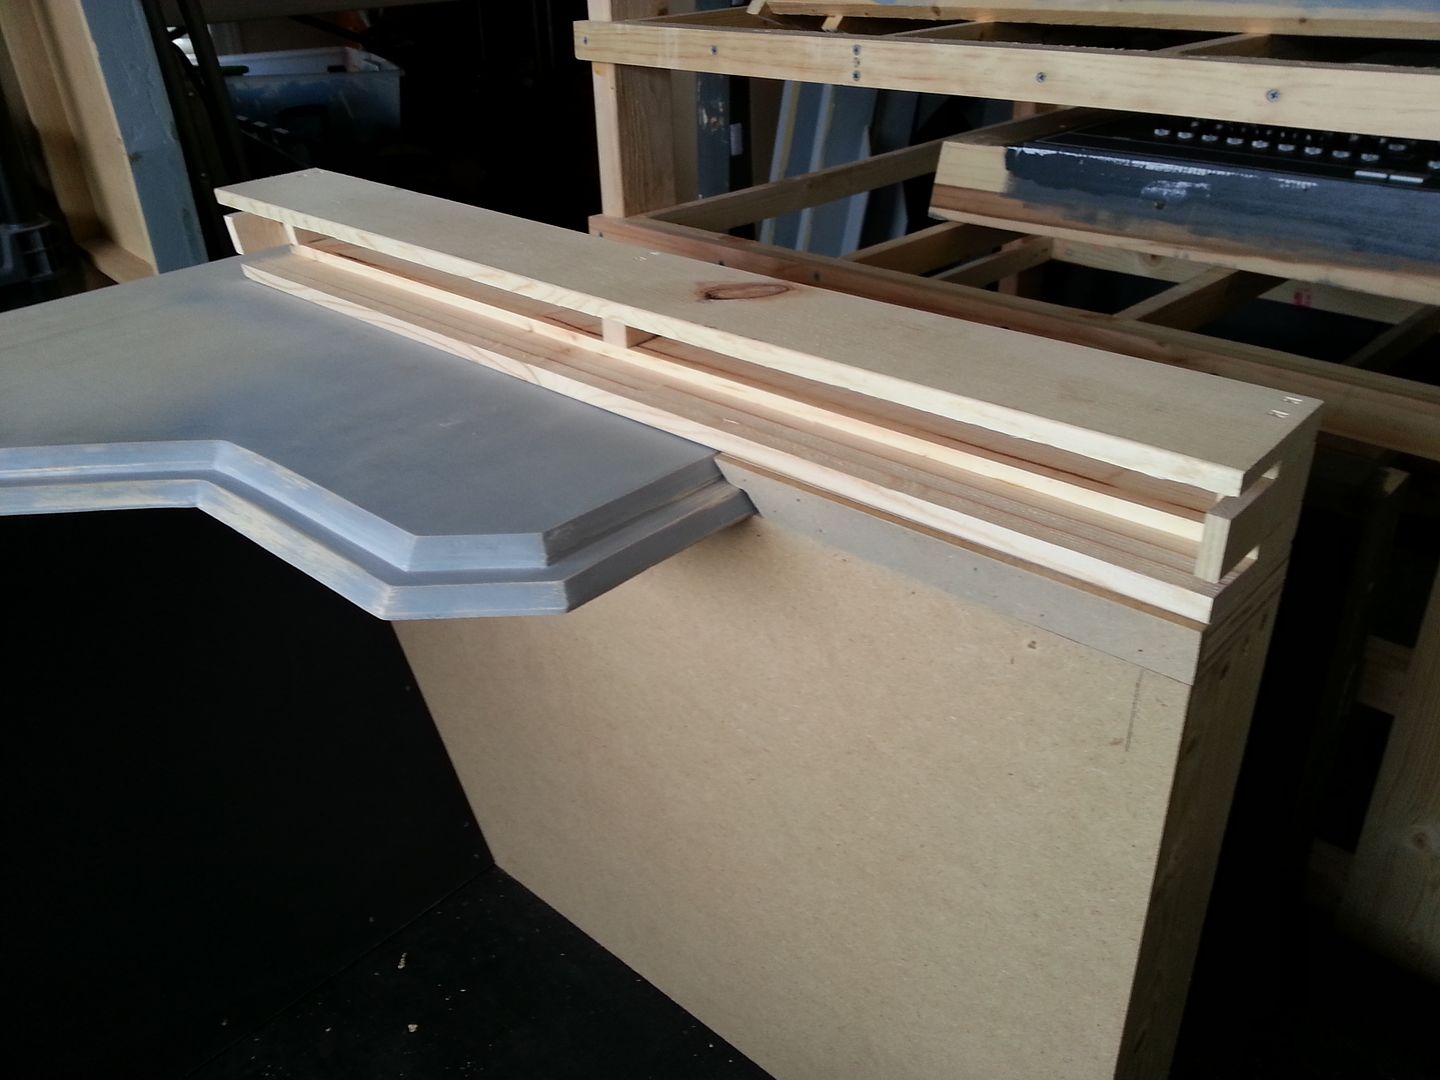
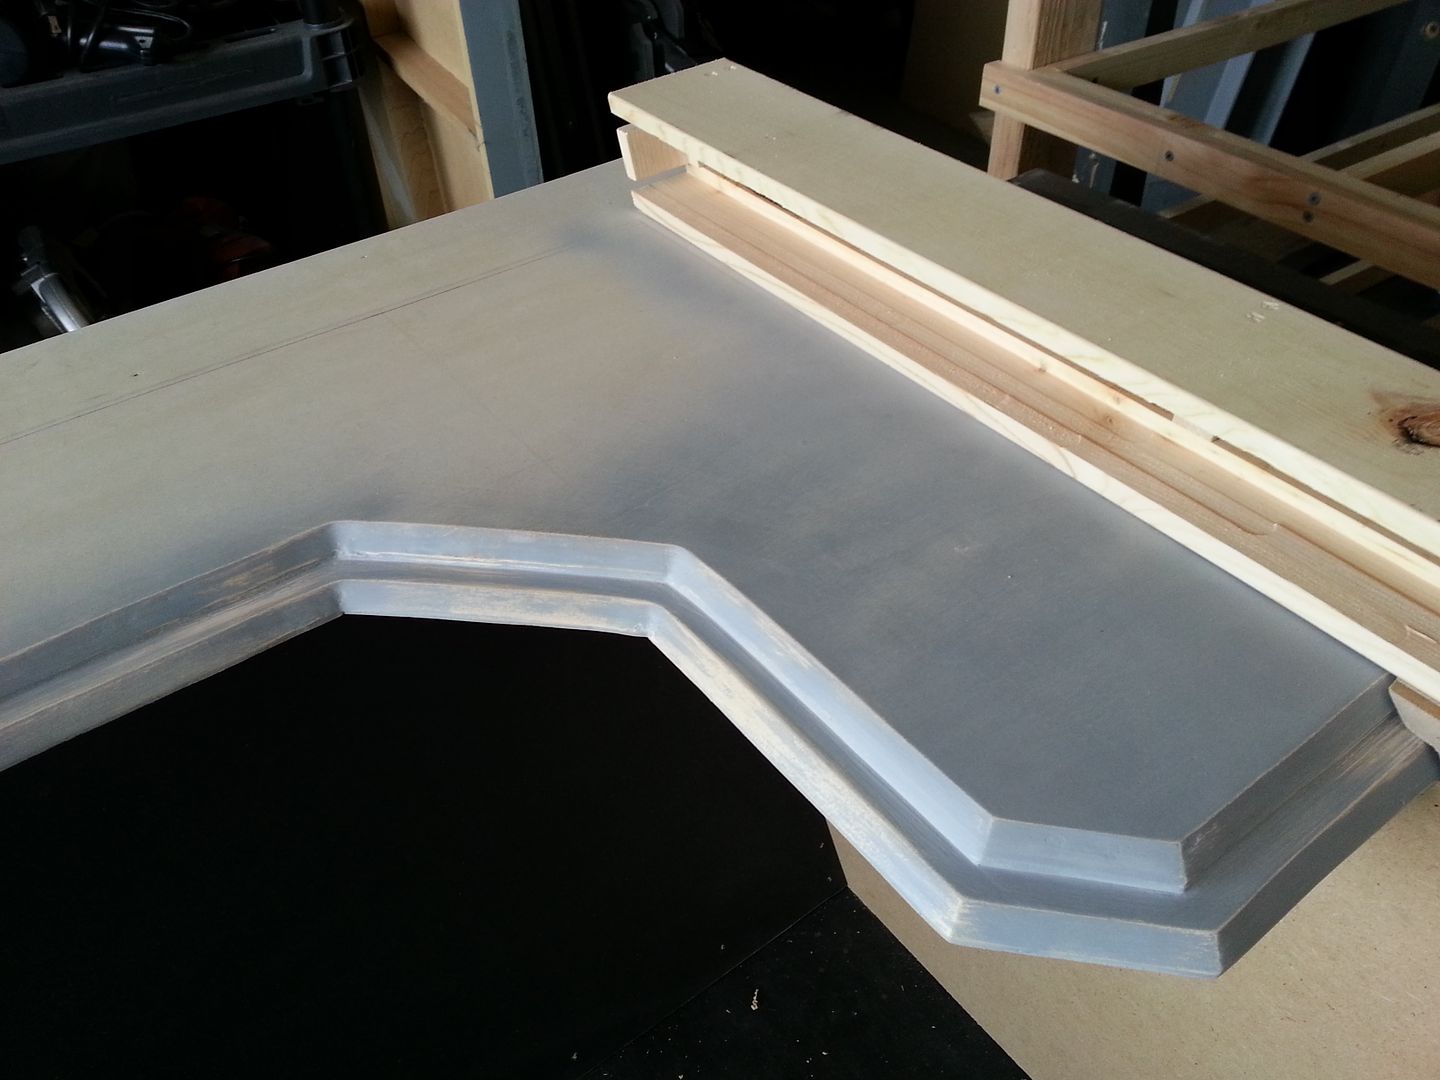
Glued the other two shelf pieces and then added filler

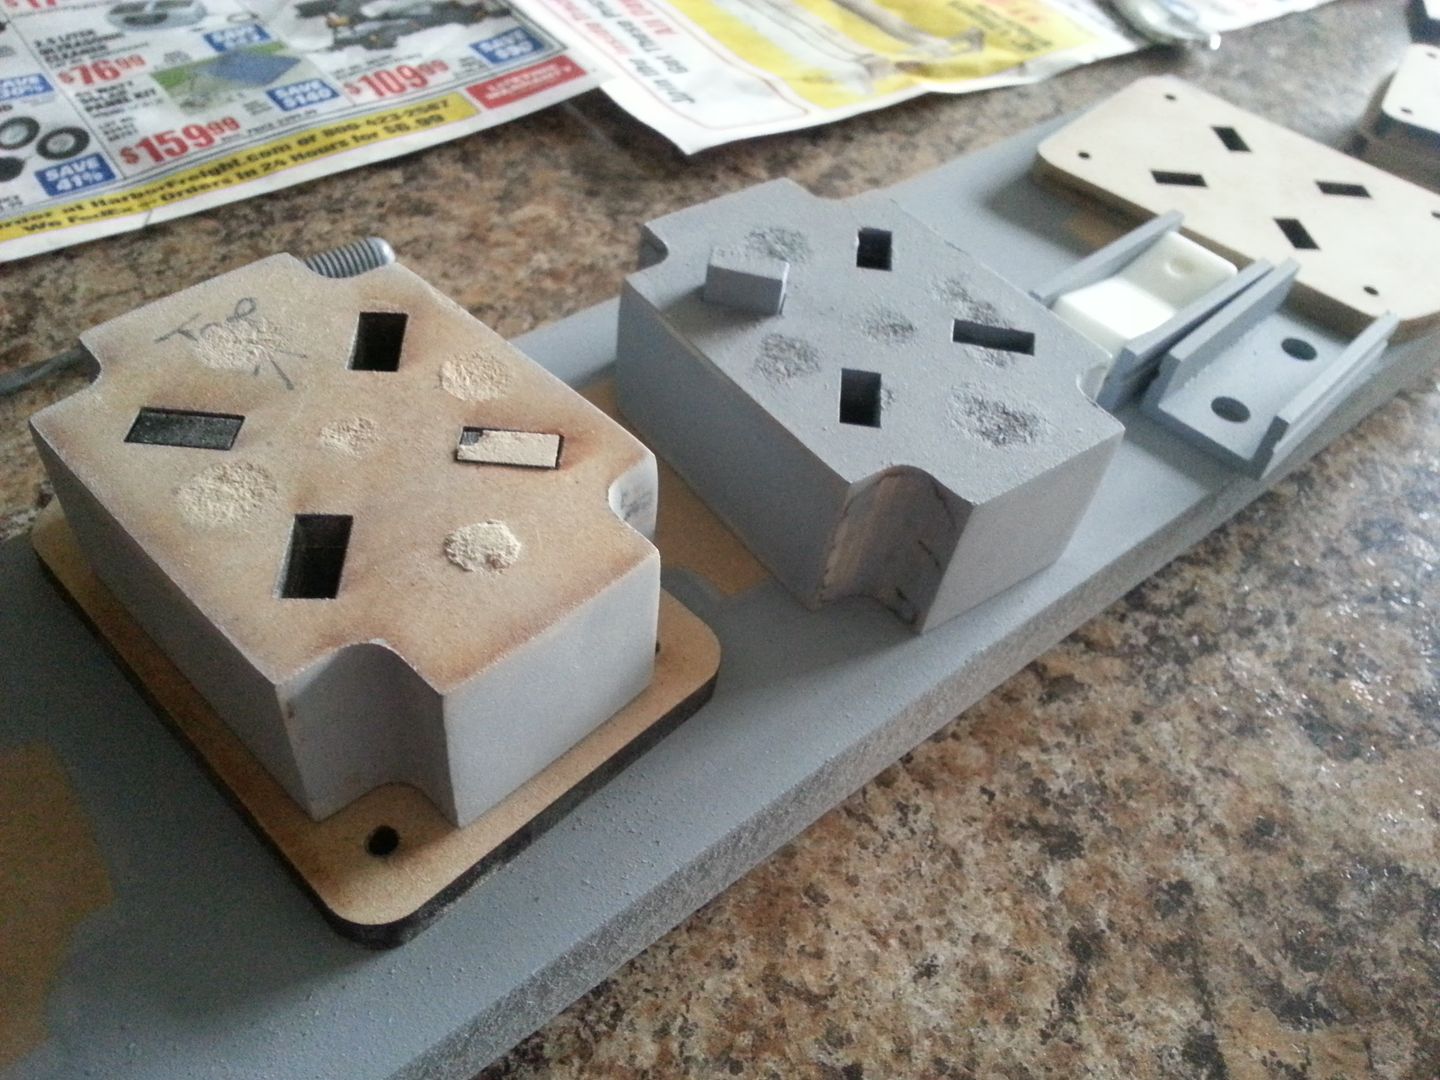
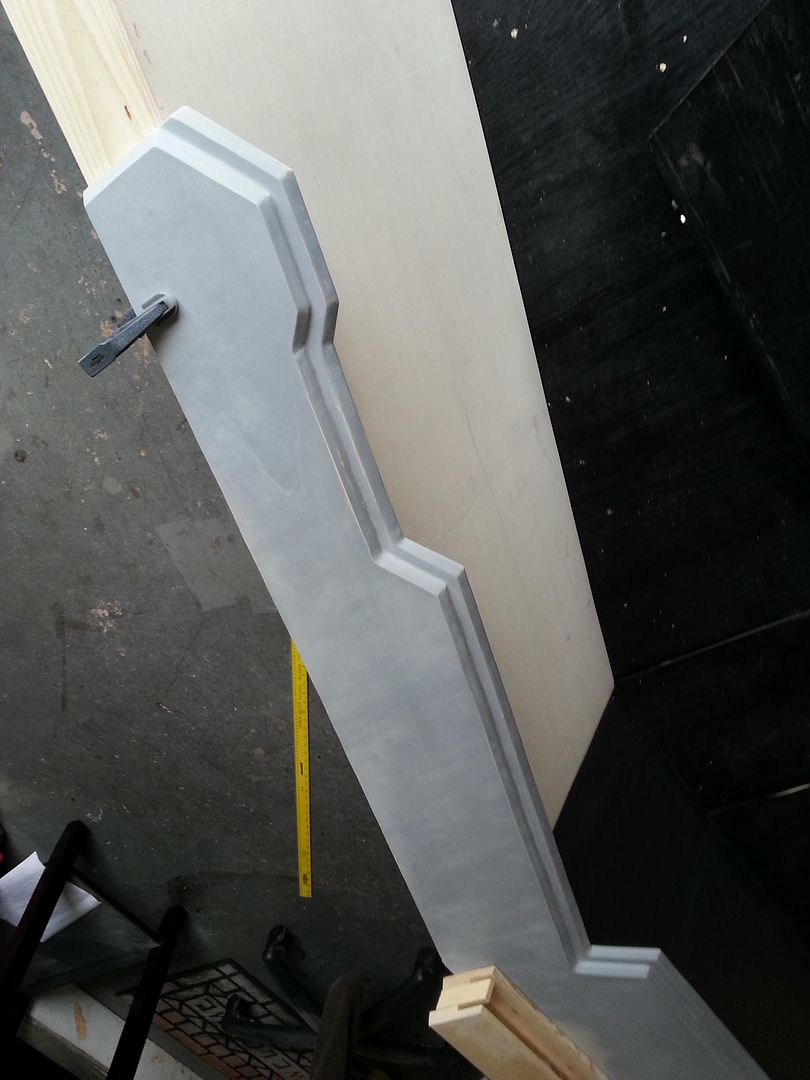
While the shelf was drying I got to work on more greeblies
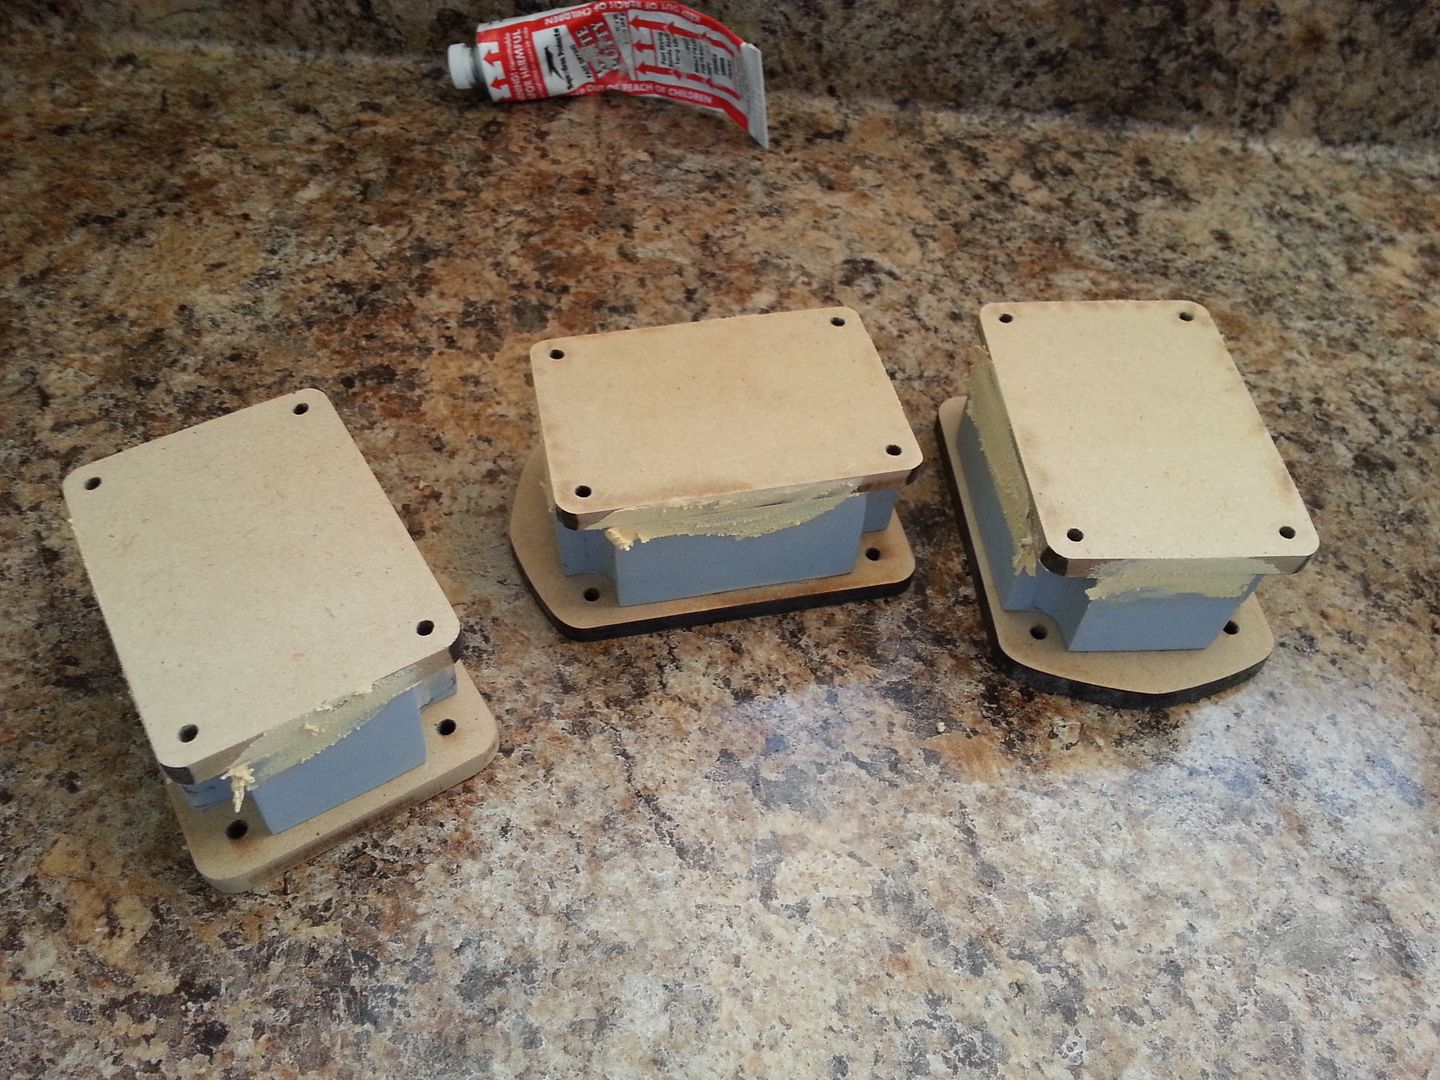
LOTS of sanding
More shelf greeblies
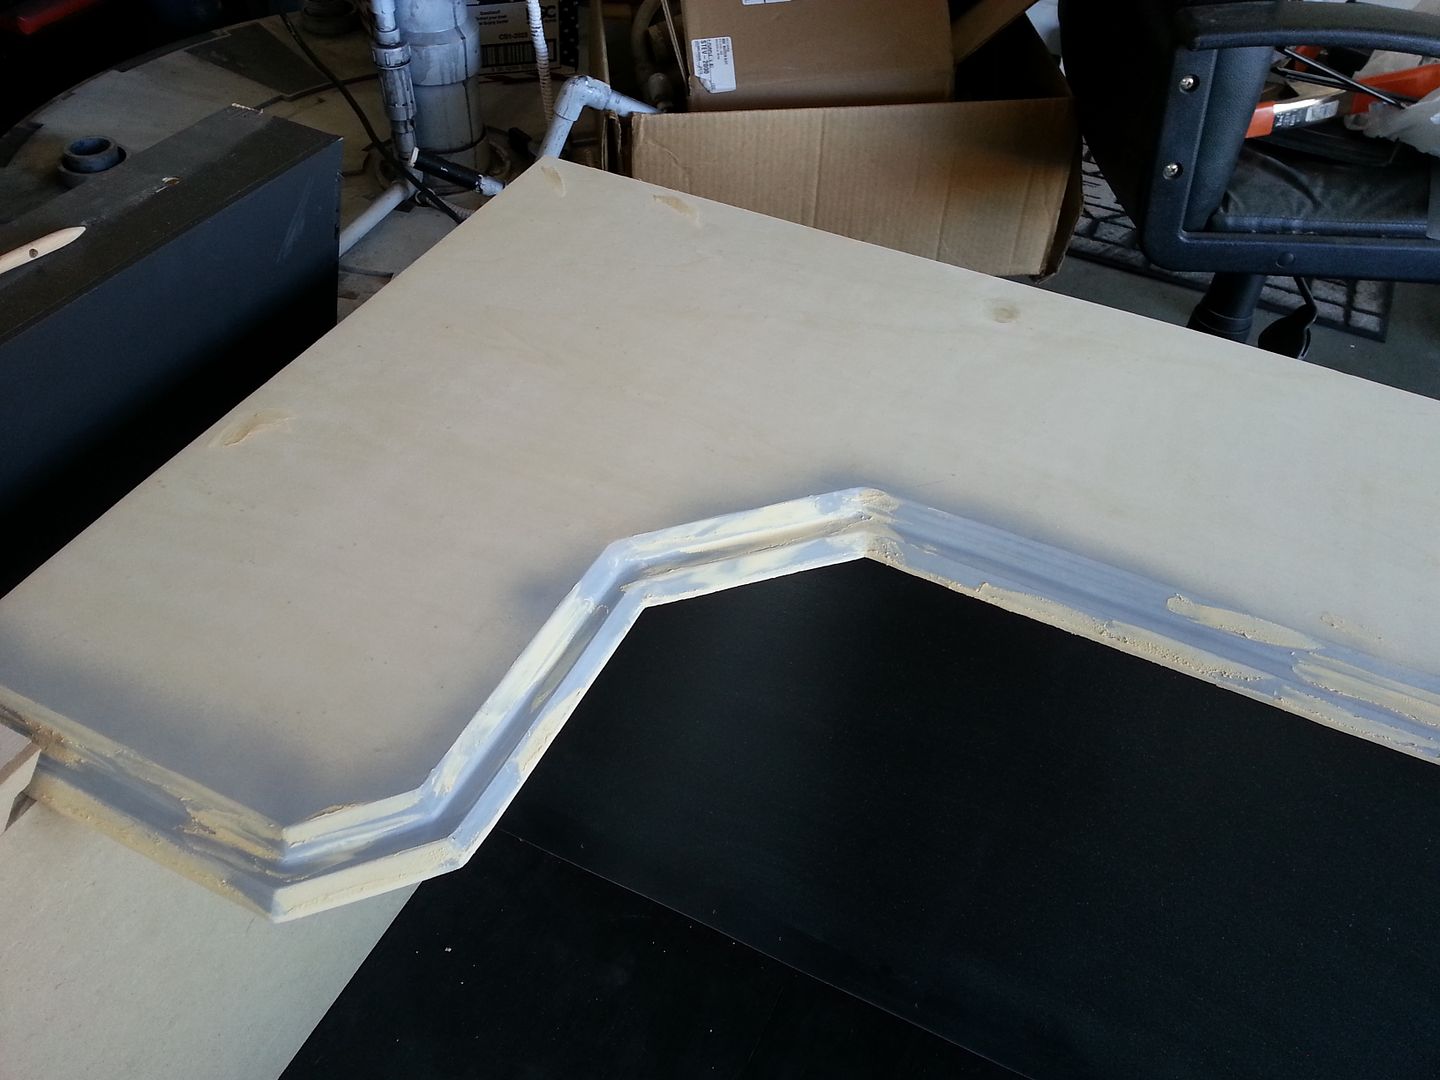
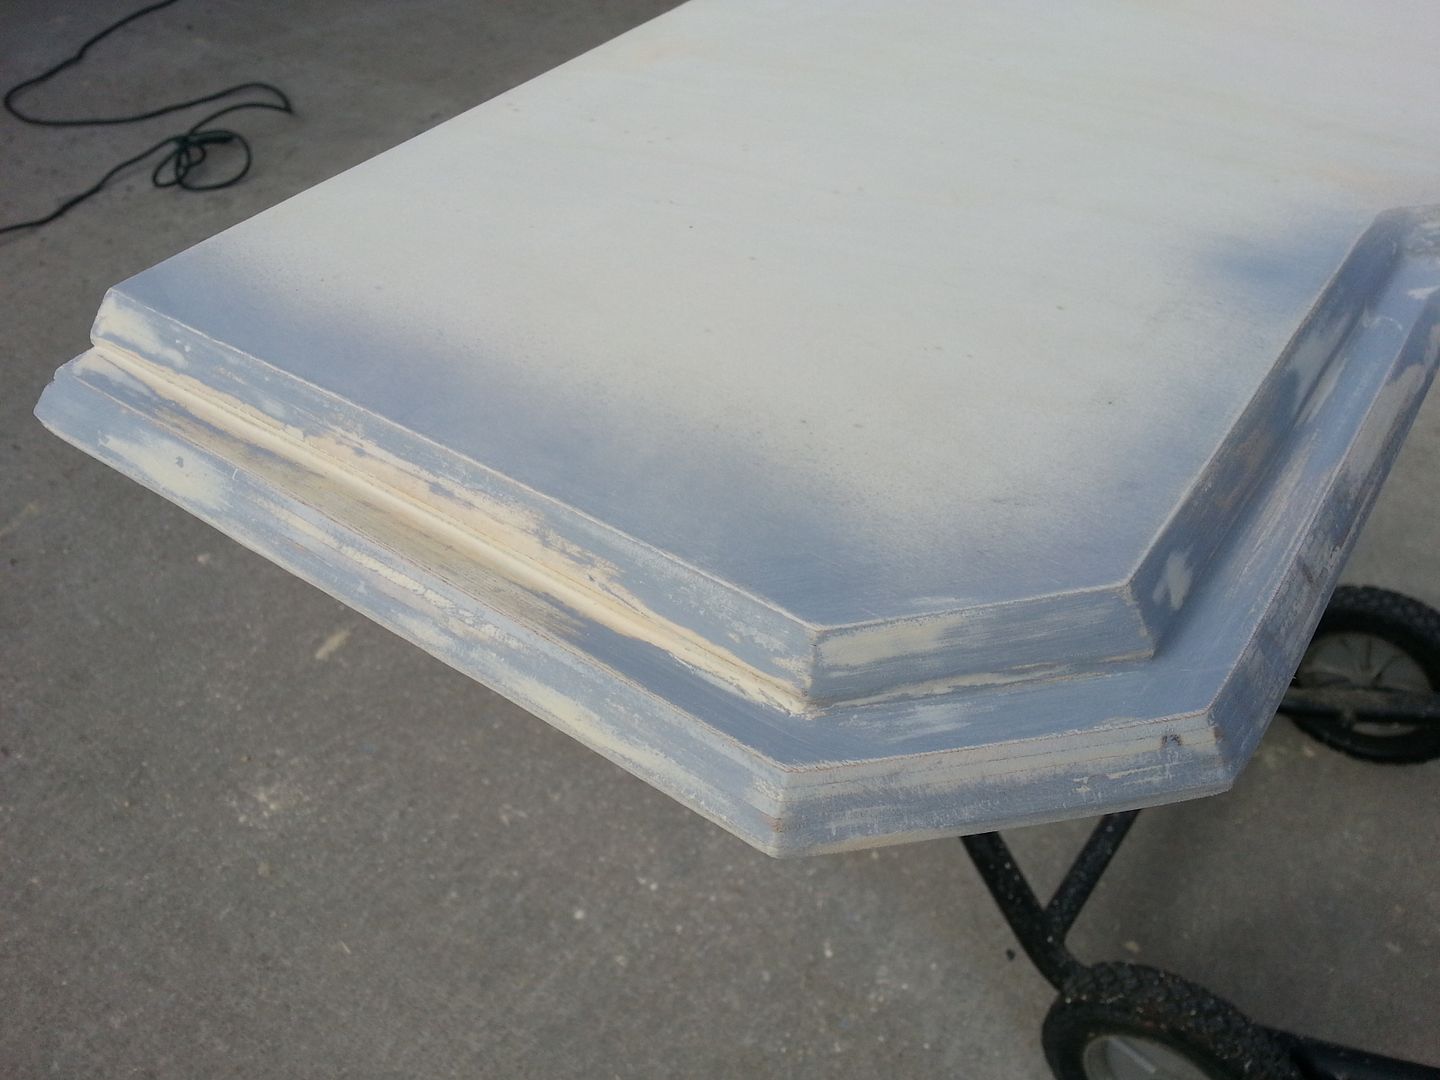
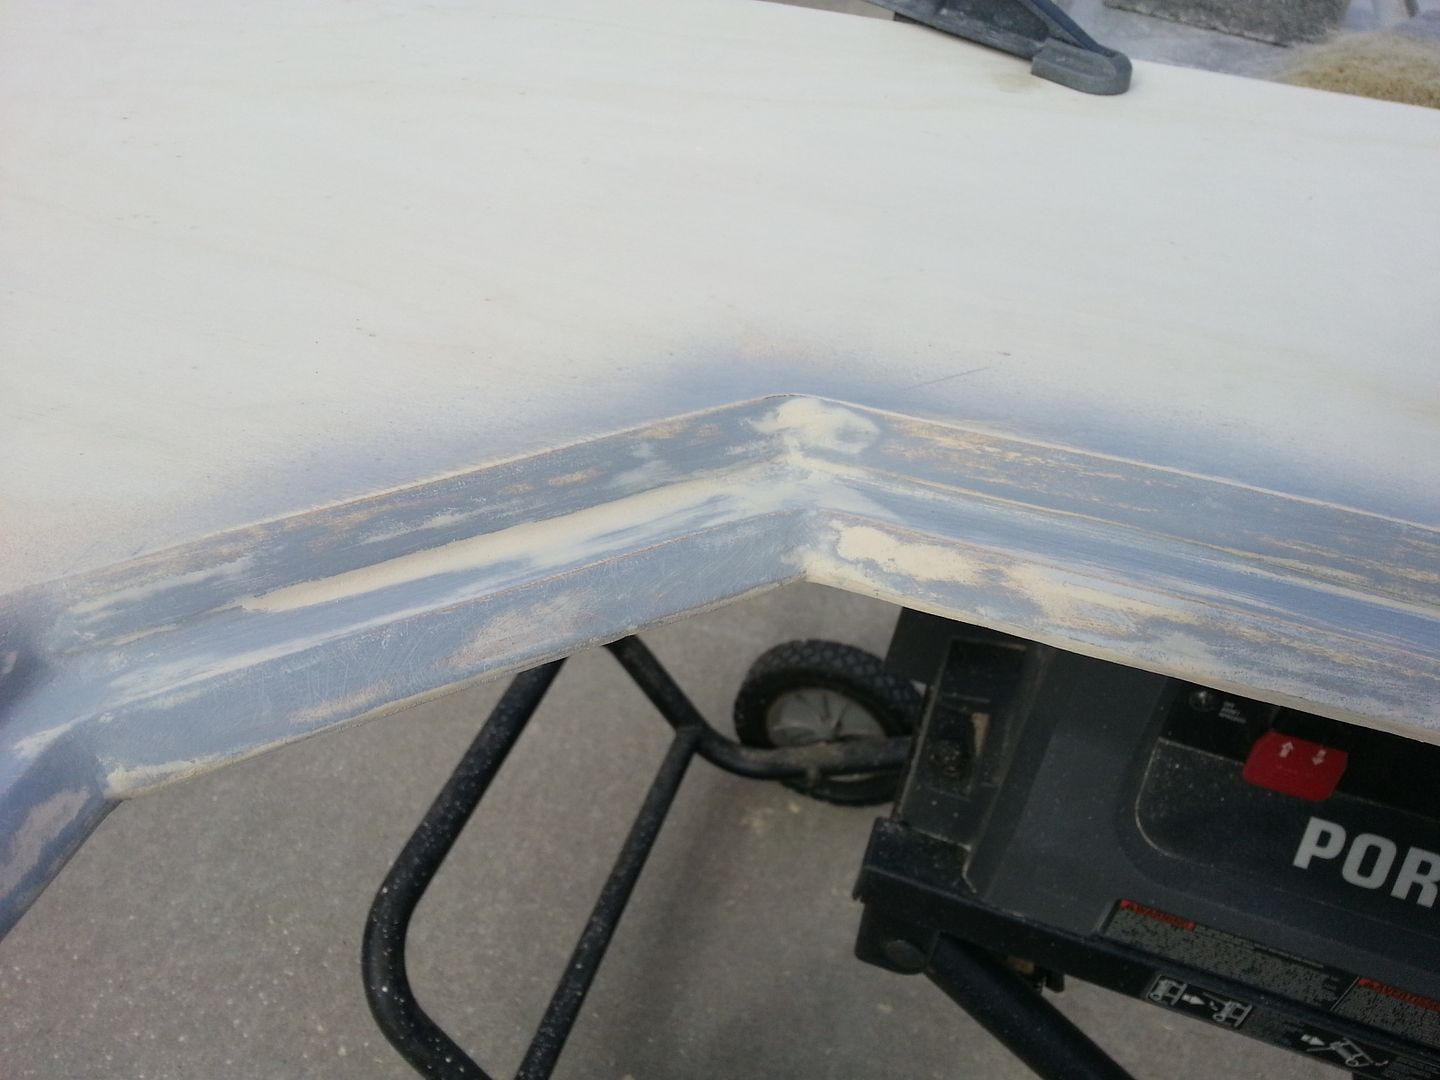
I used up the last of primer /filler on the first shelf - still lots of work to do
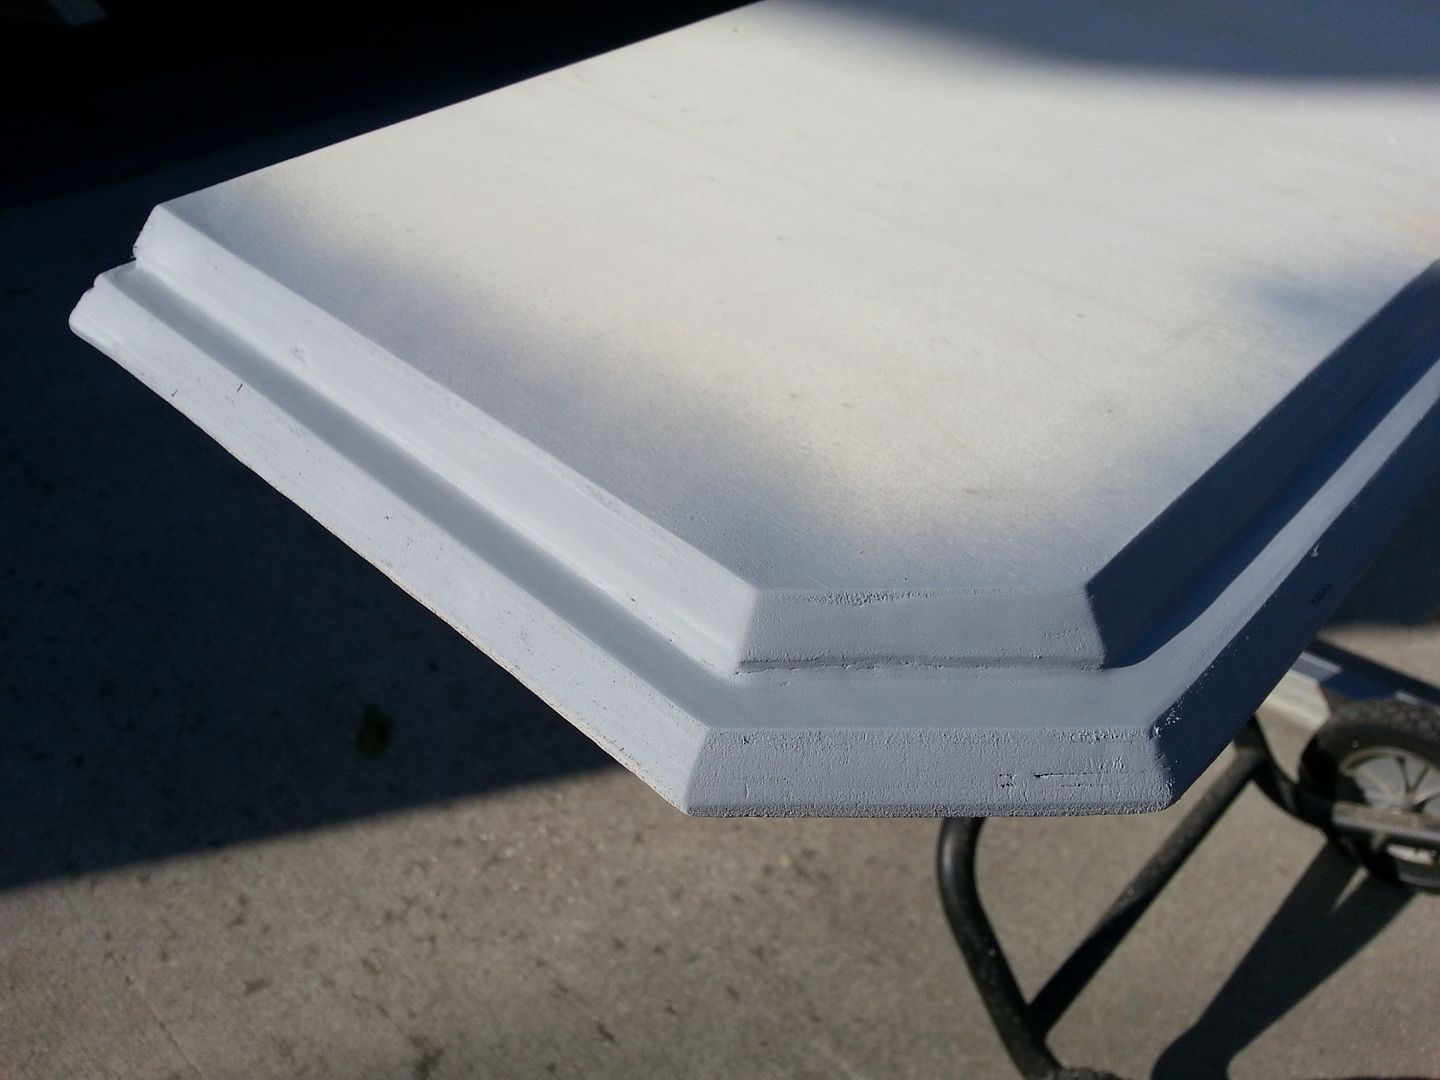
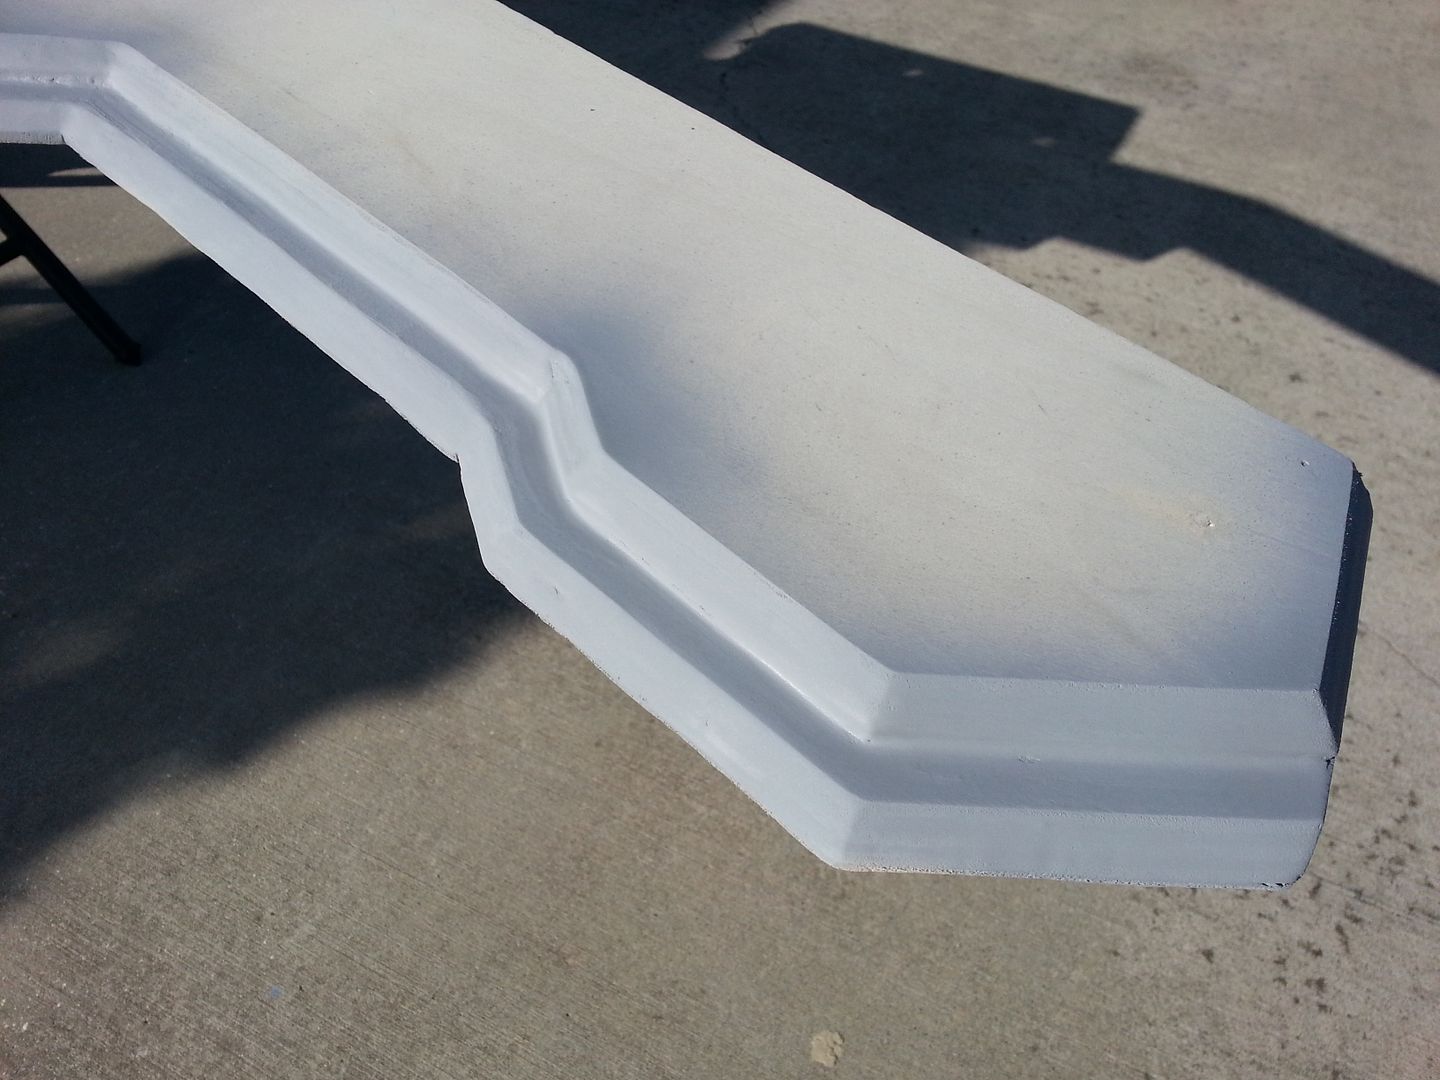
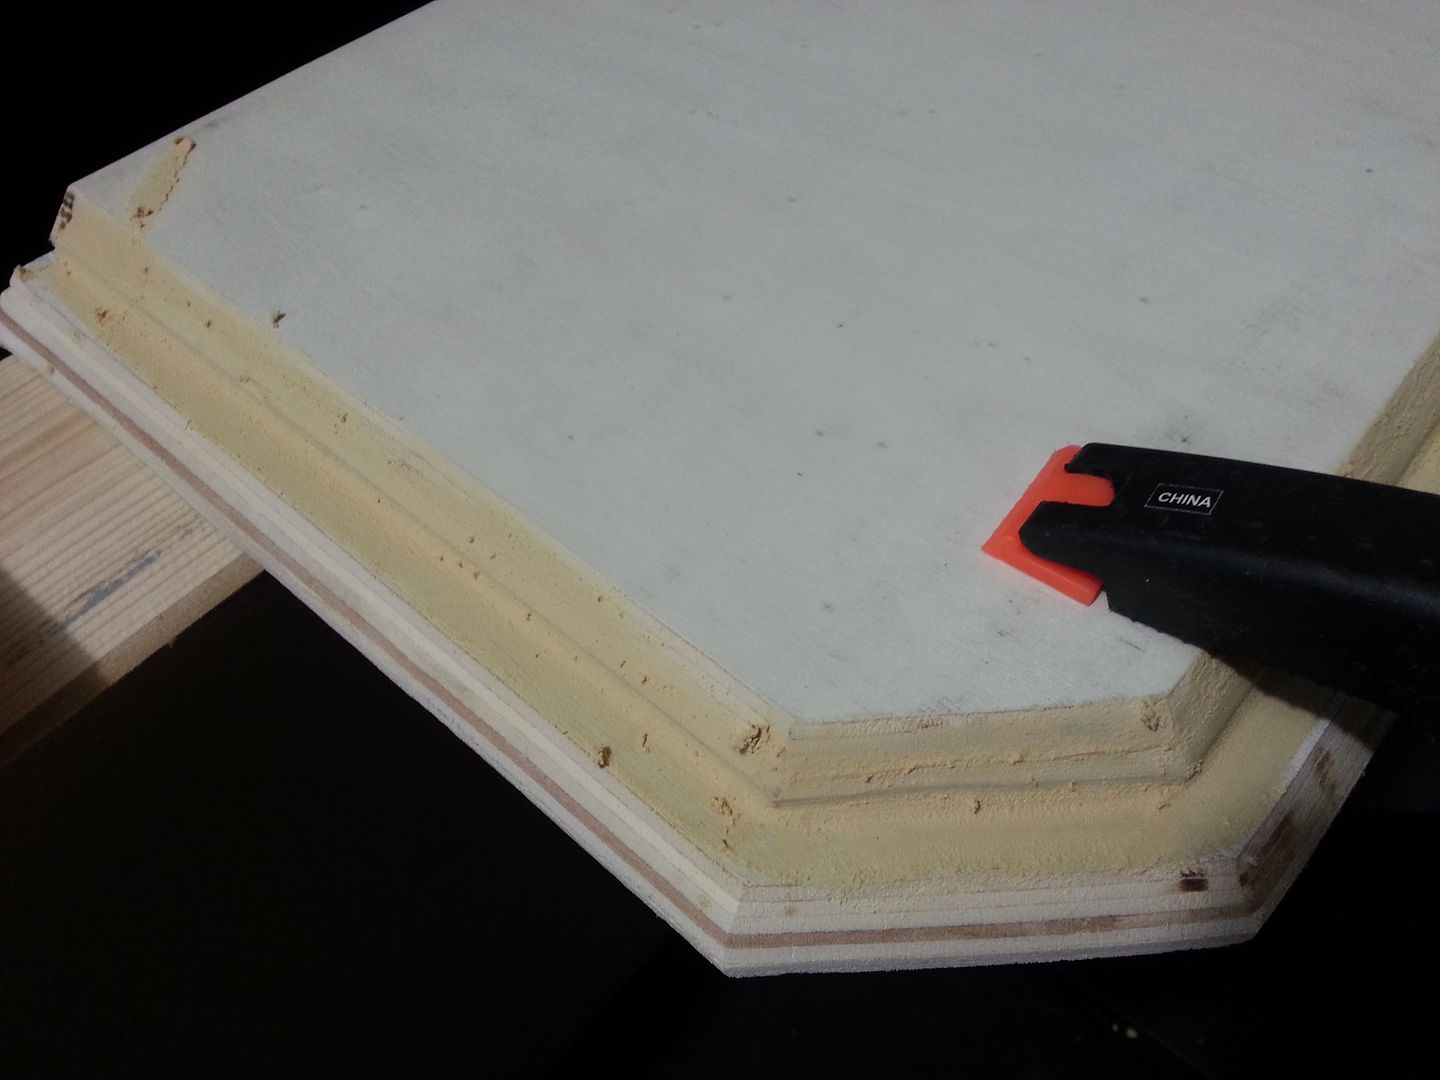
Once the primer / filler dried I added more wood filler
Lots of sanding ahead!
I can't wait for paint!
I ran out of the primer / filler and all the stores closed today.
More to Come!
Christmas has given me a Beautiful Day to work!
Glued the other two shelf pieces and then added filler
While the shelf was drying I got to work on more greeblies
LOTS of sanding
More shelf greeblies
I used up the last of primer /filler on the first shelf - still lots of work to do
Once the primer / filler dried I added more wood filler
Lots of sanding ahead!
I can't wait for paint!
I ran out of the primer / filler and all the stores closed today.
More to Come!
Operascot
Active Member
Nice work, Greg.
I'm out of the theatre today (where the toy is), so I'm hanging with the kids. But, before the day off, I was able to get a few more things taken care of on the quad.
I finally picked up some long enough bolts to attach the ballast portion to the body.
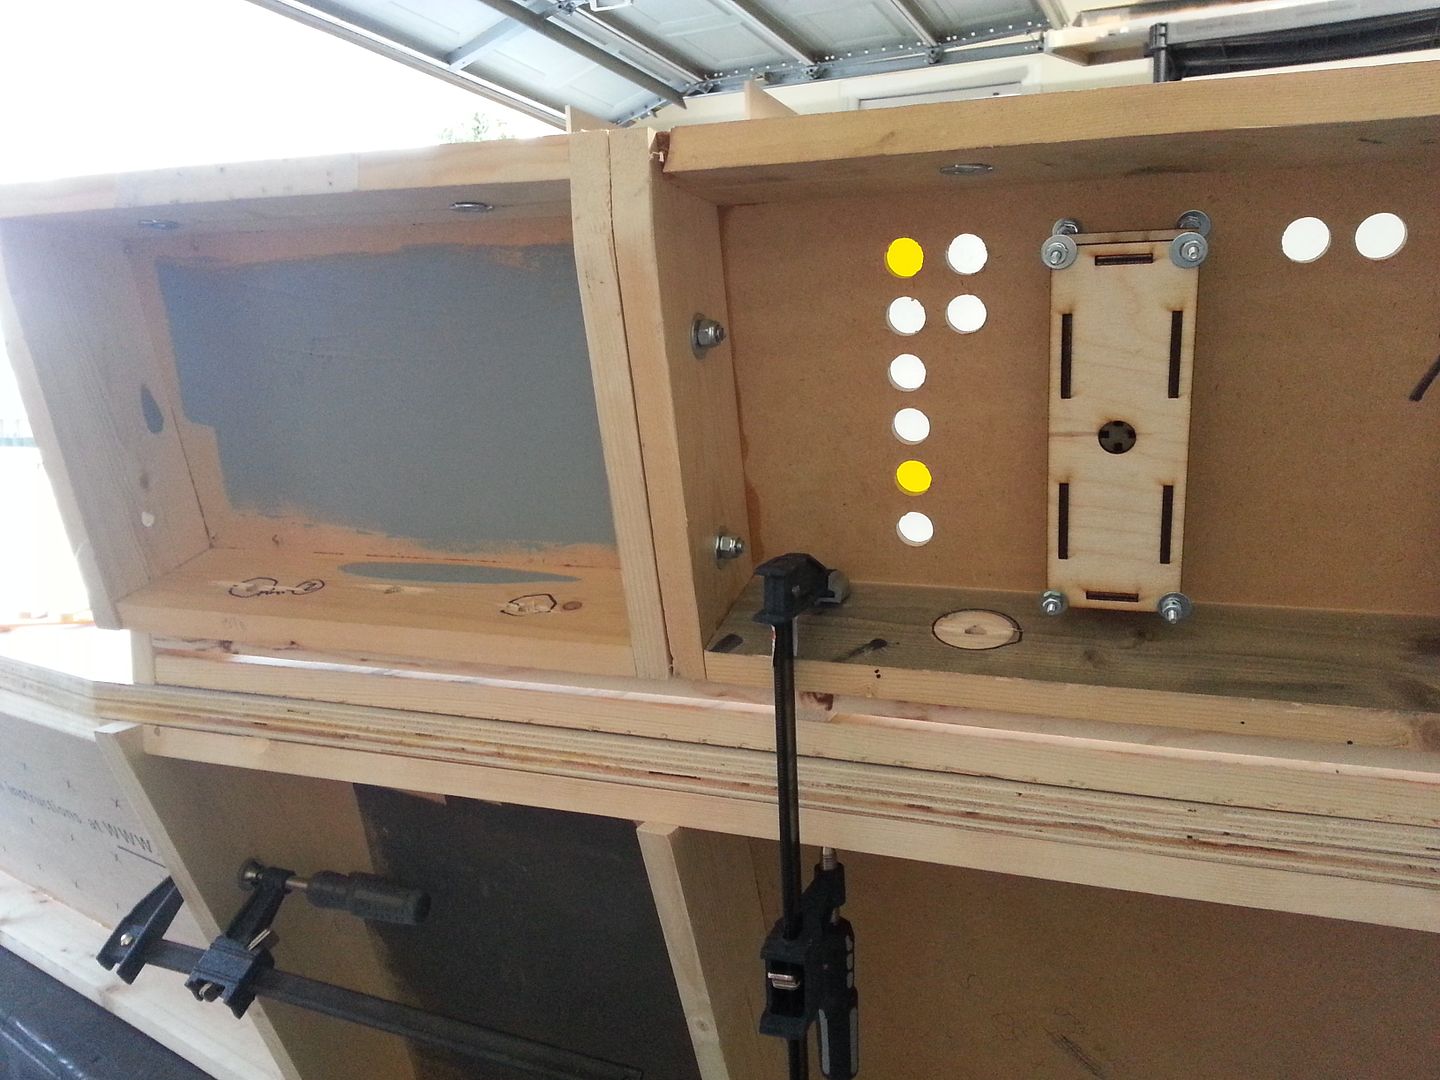
Now it was time to start putting the printed side panels on the plexi backing for the shield walls. I knew going in that I would have some adjustment to do as I added the pieces, and I needed to start with the yoke surrounds.

You know, crazy glue dries almost instantly. When you don't have a craft store anywhere near the job site, or time to get to a location with decent adhesive, you make do, I guess. Either way, securing the ABS printed parts to the plexi was, um, entertaining.
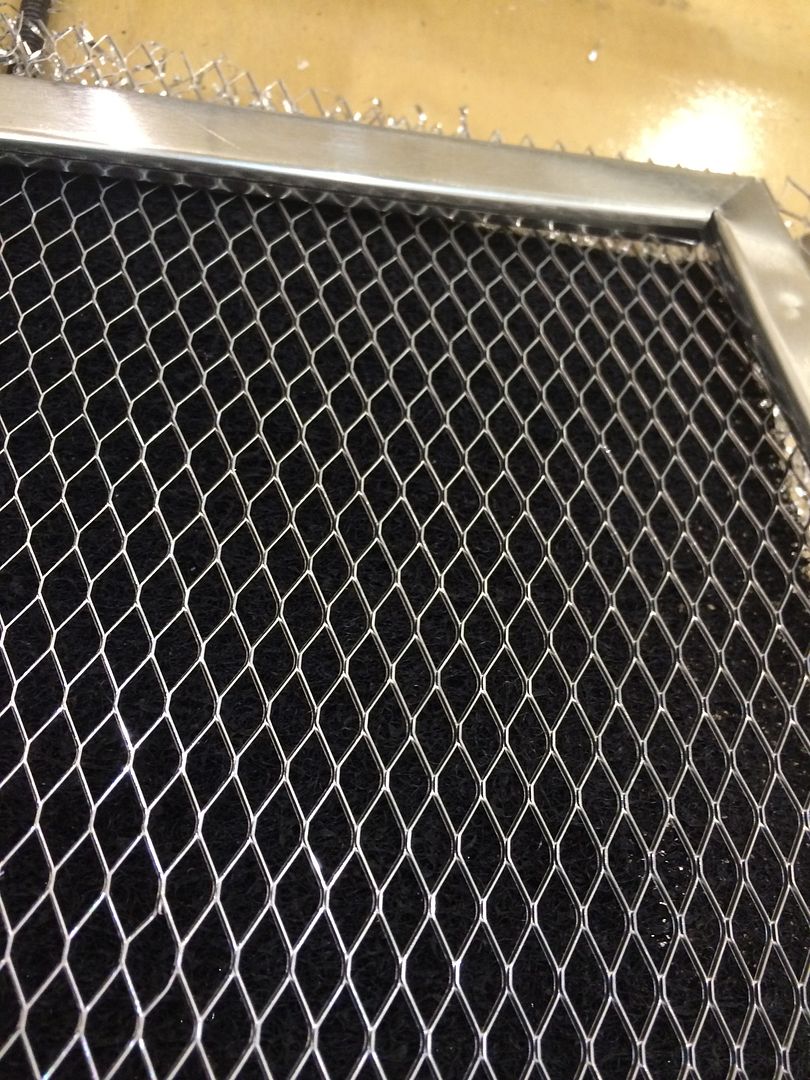
One of the pieces (per side) includes a pair of vents, and I was going to use some window screening material for it. Again, the time constarints of two show days for 8 days in a row came into play, along with the fact that I didn't want to buy a 20' roll of screen for 12 square inches of use. Then the idea of a stove filter popped up.
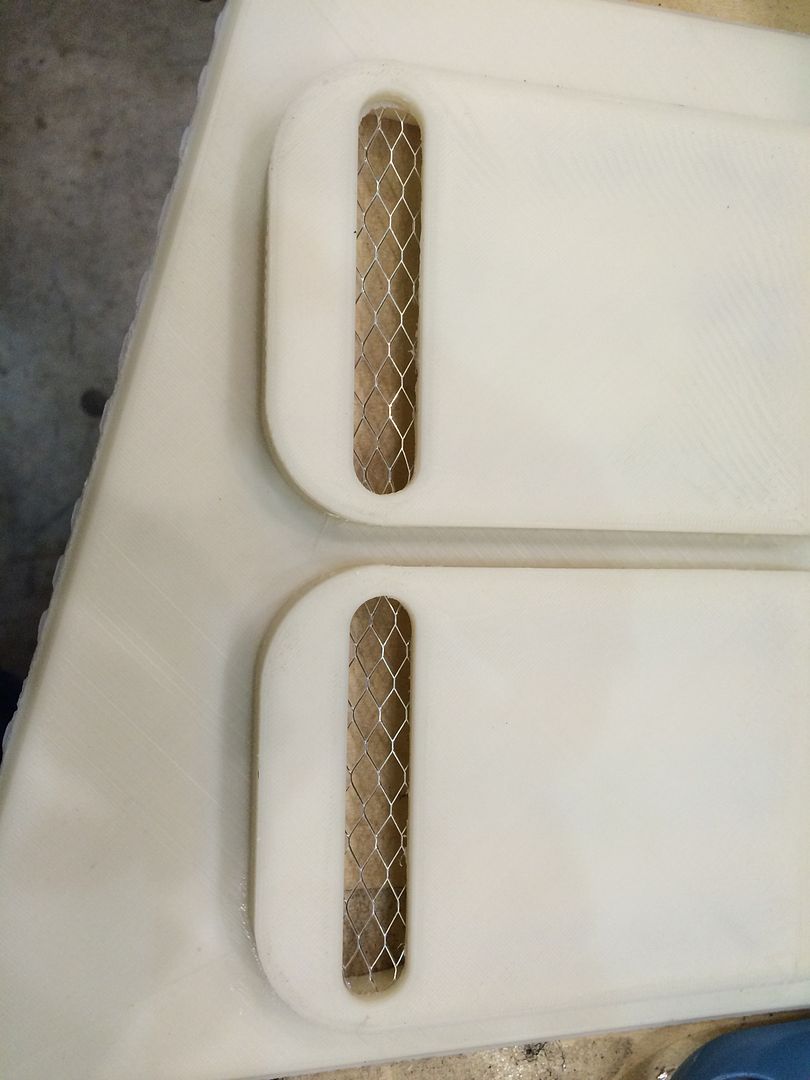
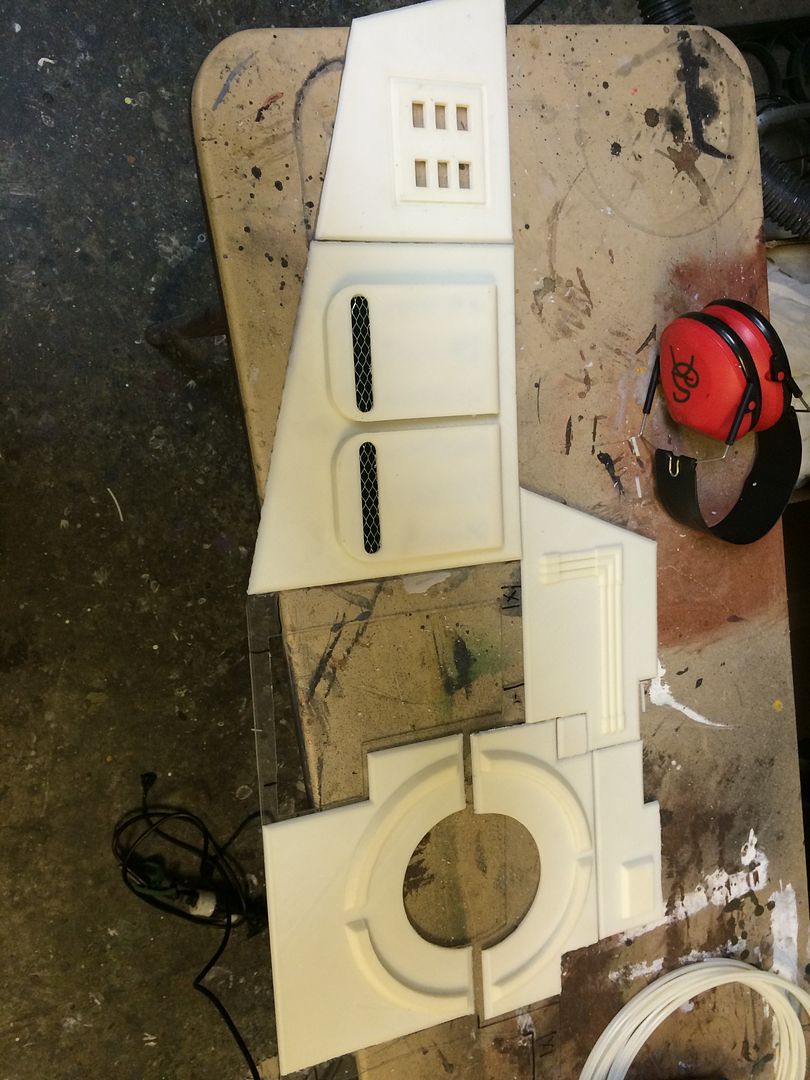
I had printed all the parts to have chamfered edges, so that once the pieces were in place, they would be friction welded together.
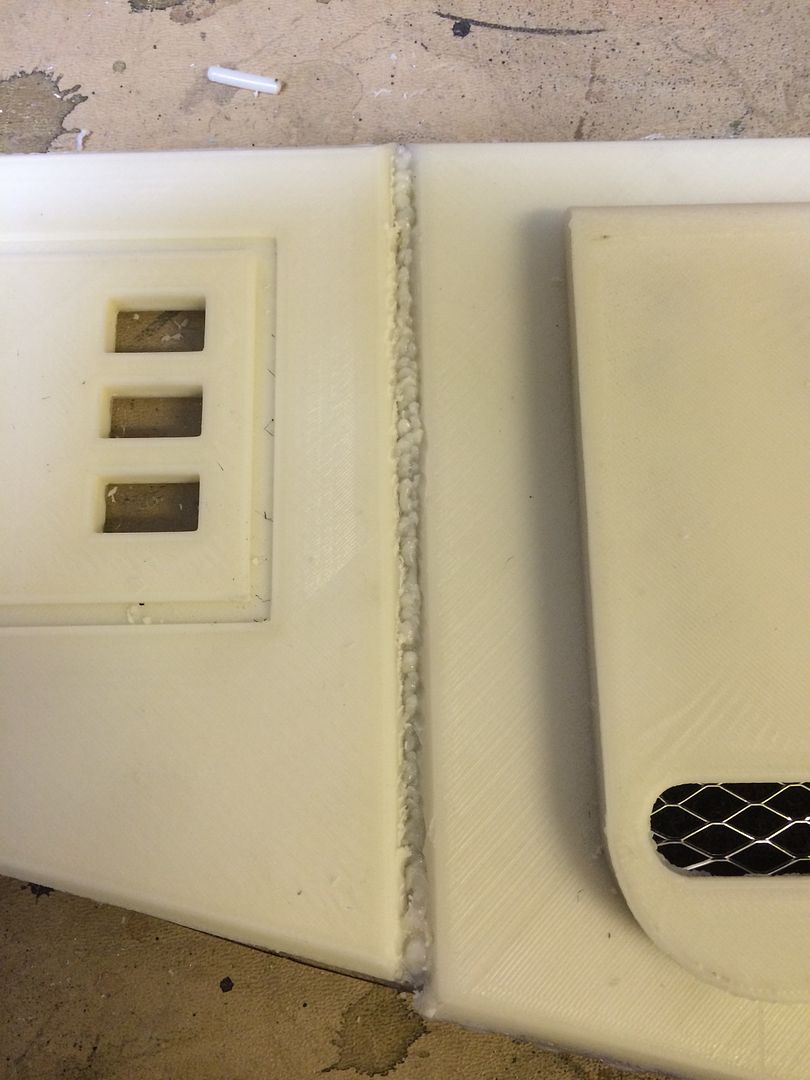
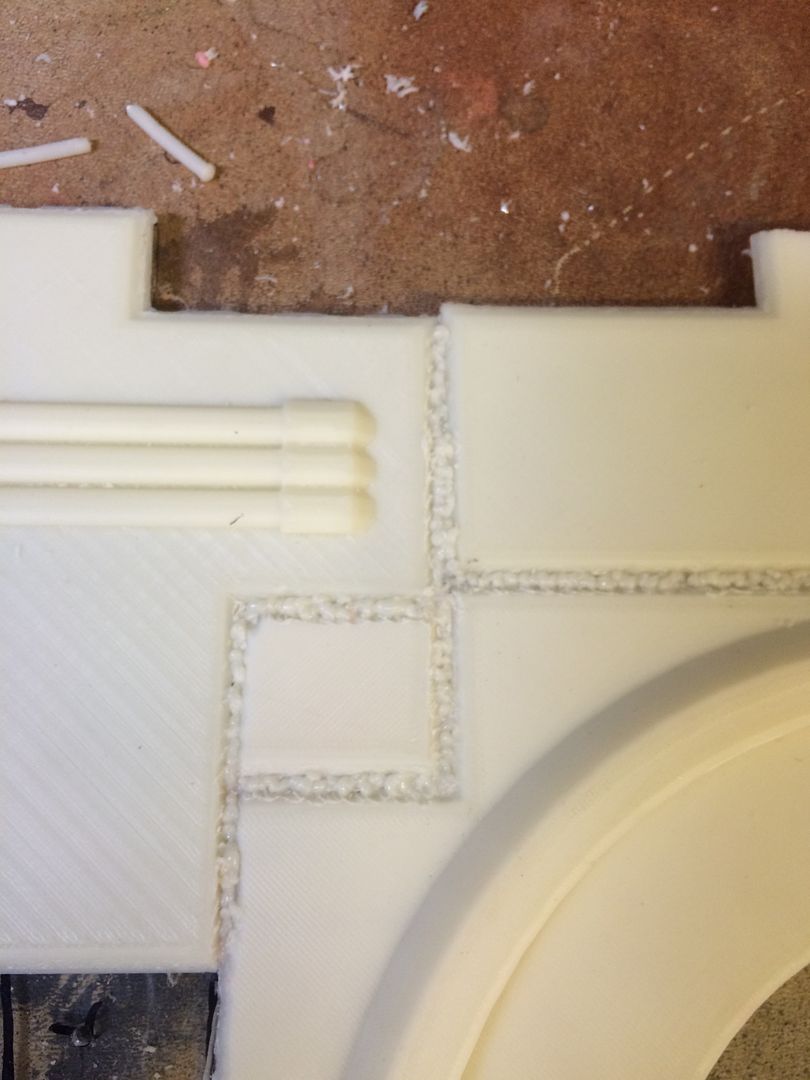
Some of the welds look goo. Others, well, let's just say I'm going to have to weather a couple of spots pretty well.
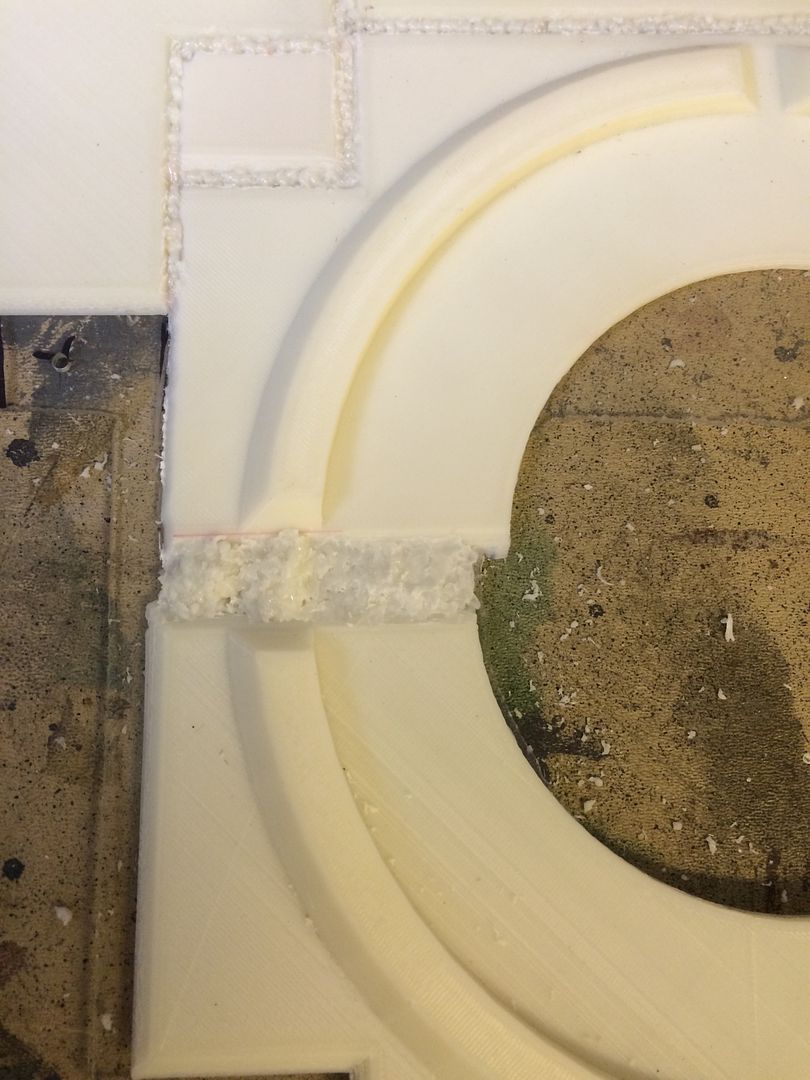
This is for the port wall. I got all the pieces that are not access hatches for the valves glued on and welded to each other and the plexi. The other two parts need a little work yet.
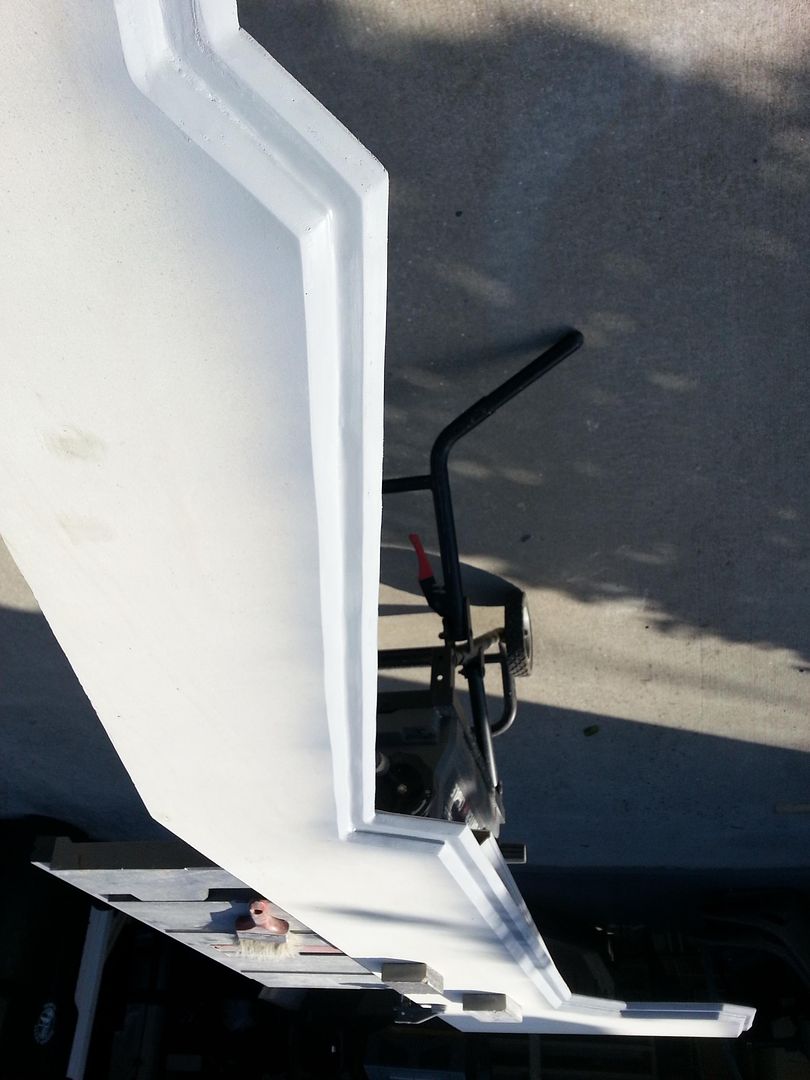
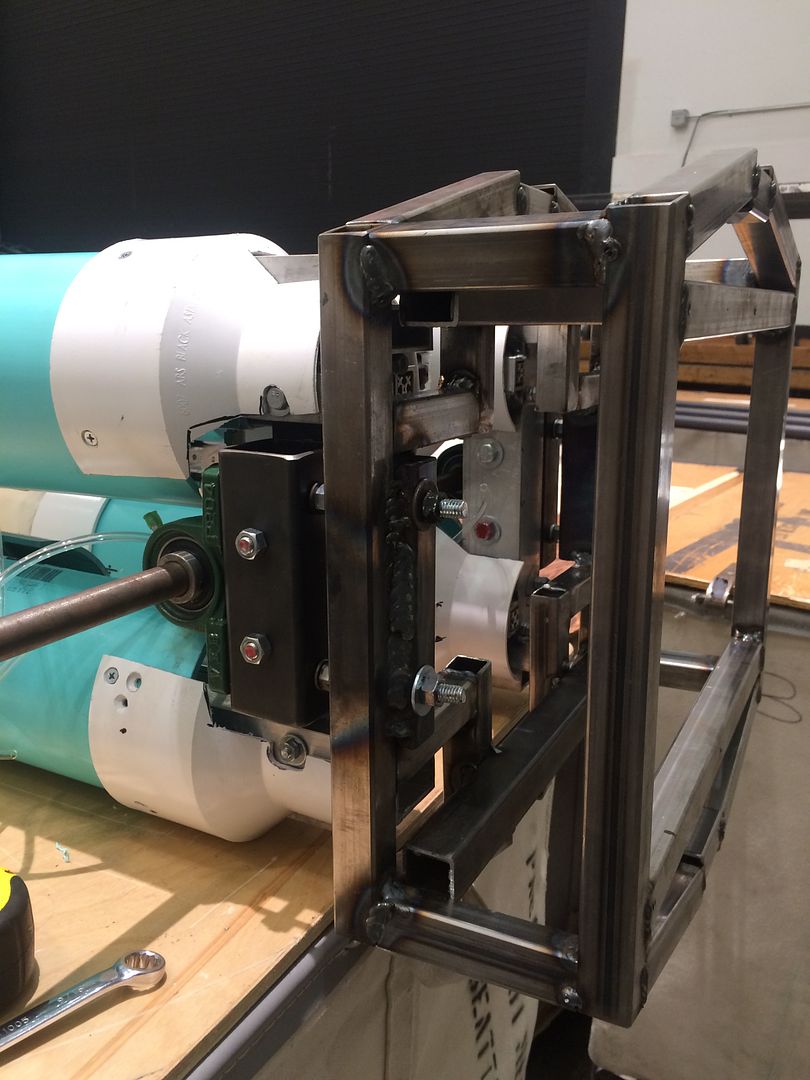
Then it was time to attach the surface to the frame. I love those 10-24 bolts.
The yoke arm is hanging in place in this picture, with the side wall firmly attached in its proper place. In addition, the weird angles piece is atached on the back end of the ballast section. This was how it sat over Christmas.
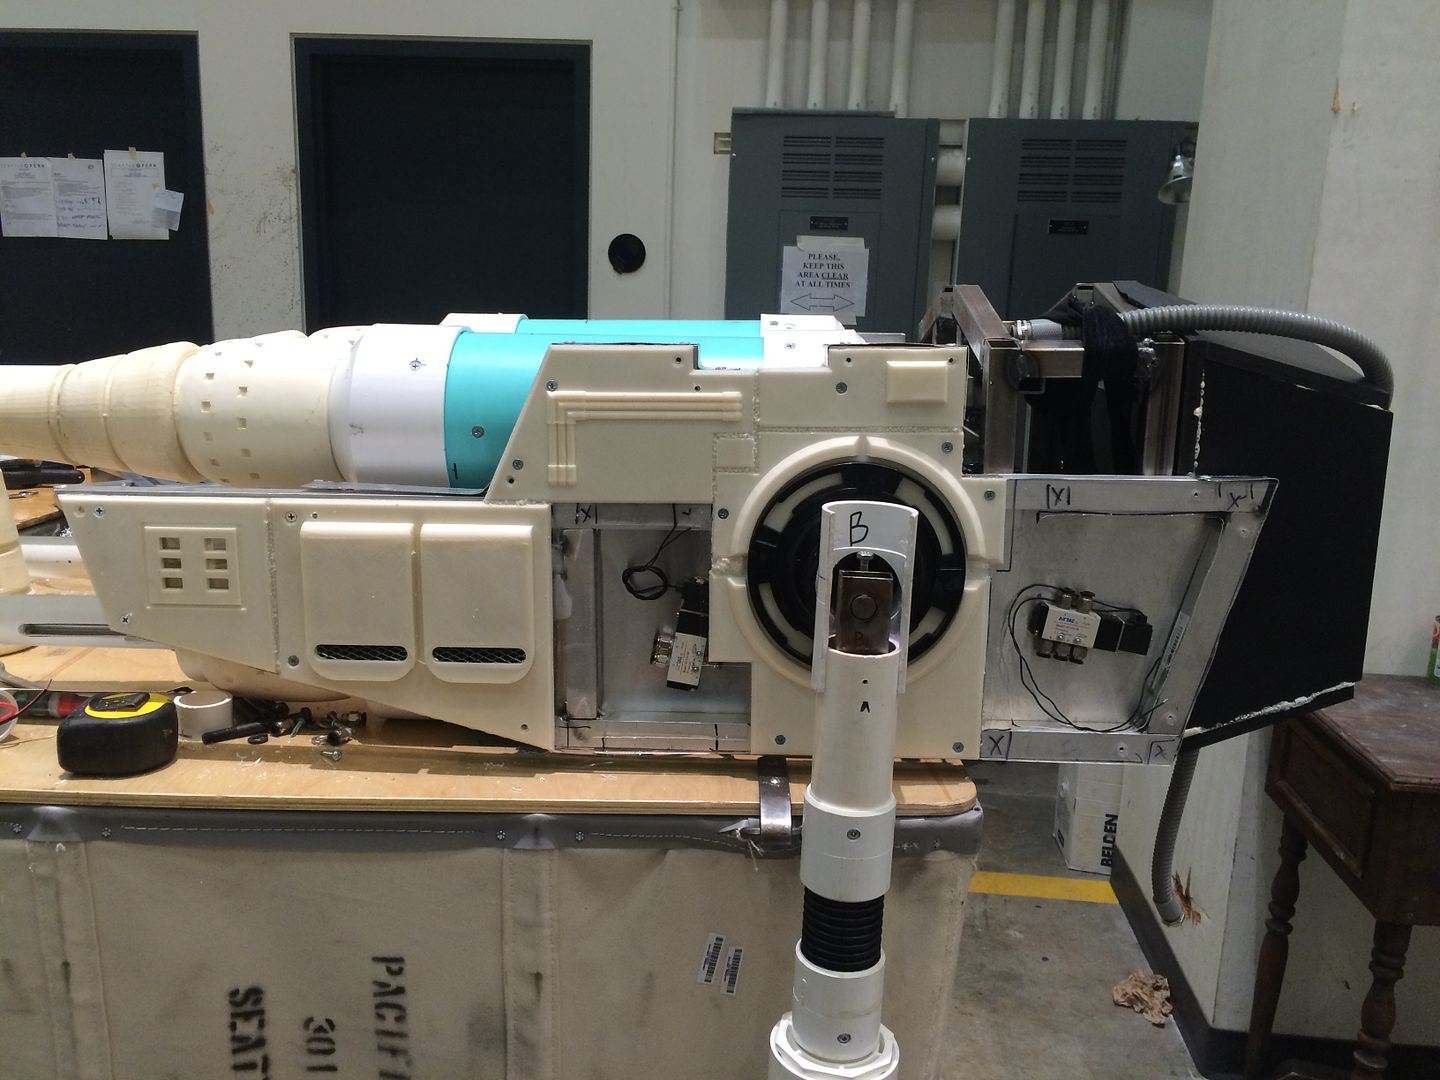
Hope all of you are having a great holiday season.
Scot
I'm out of the theatre today (where the toy is), so I'm hanging with the kids. But, before the day off, I was able to get a few more things taken care of on the quad.
I finally picked up some long enough bolts to attach the ballast portion to the body.
Now it was time to start putting the printed side panels on the plexi backing for the shield walls. I knew going in that I would have some adjustment to do as I added the pieces, and I needed to start with the yoke surrounds.
You know, crazy glue dries almost instantly. When you don't have a craft store anywhere near the job site, or time to get to a location with decent adhesive, you make do, I guess. Either way, securing the ABS printed parts to the plexi was, um, entertaining.
One of the pieces (per side) includes a pair of vents, and I was going to use some window screening material for it. Again, the time constarints of two show days for 8 days in a row came into play, along with the fact that I didn't want to buy a 20' roll of screen for 12 square inches of use. Then the idea of a stove filter popped up.
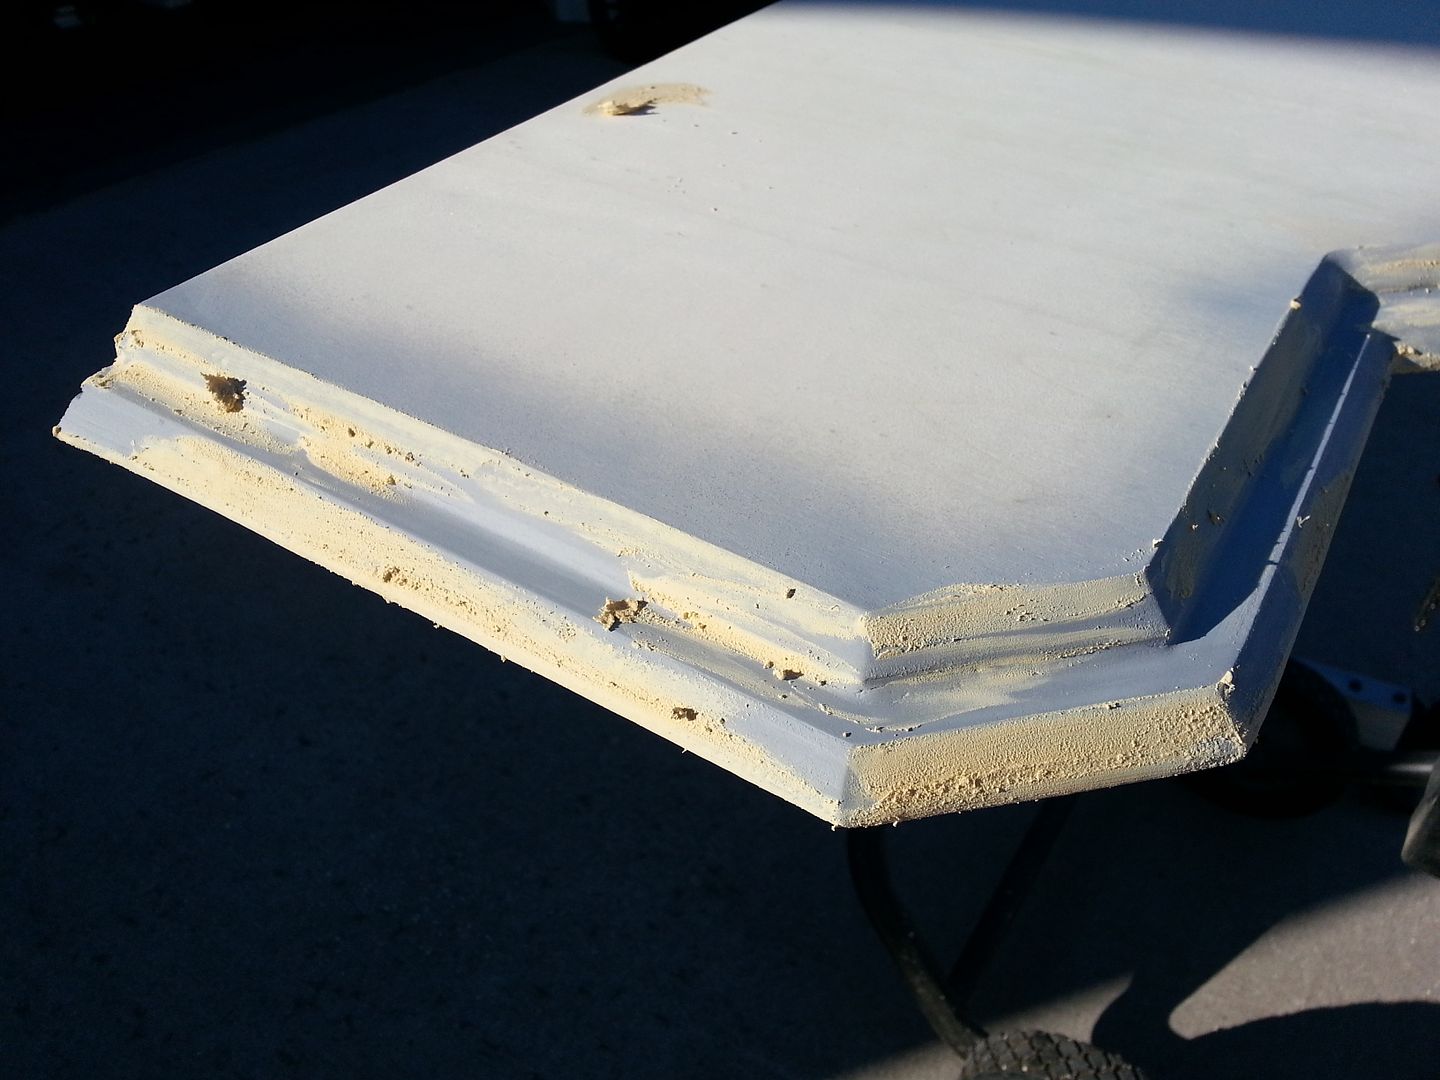
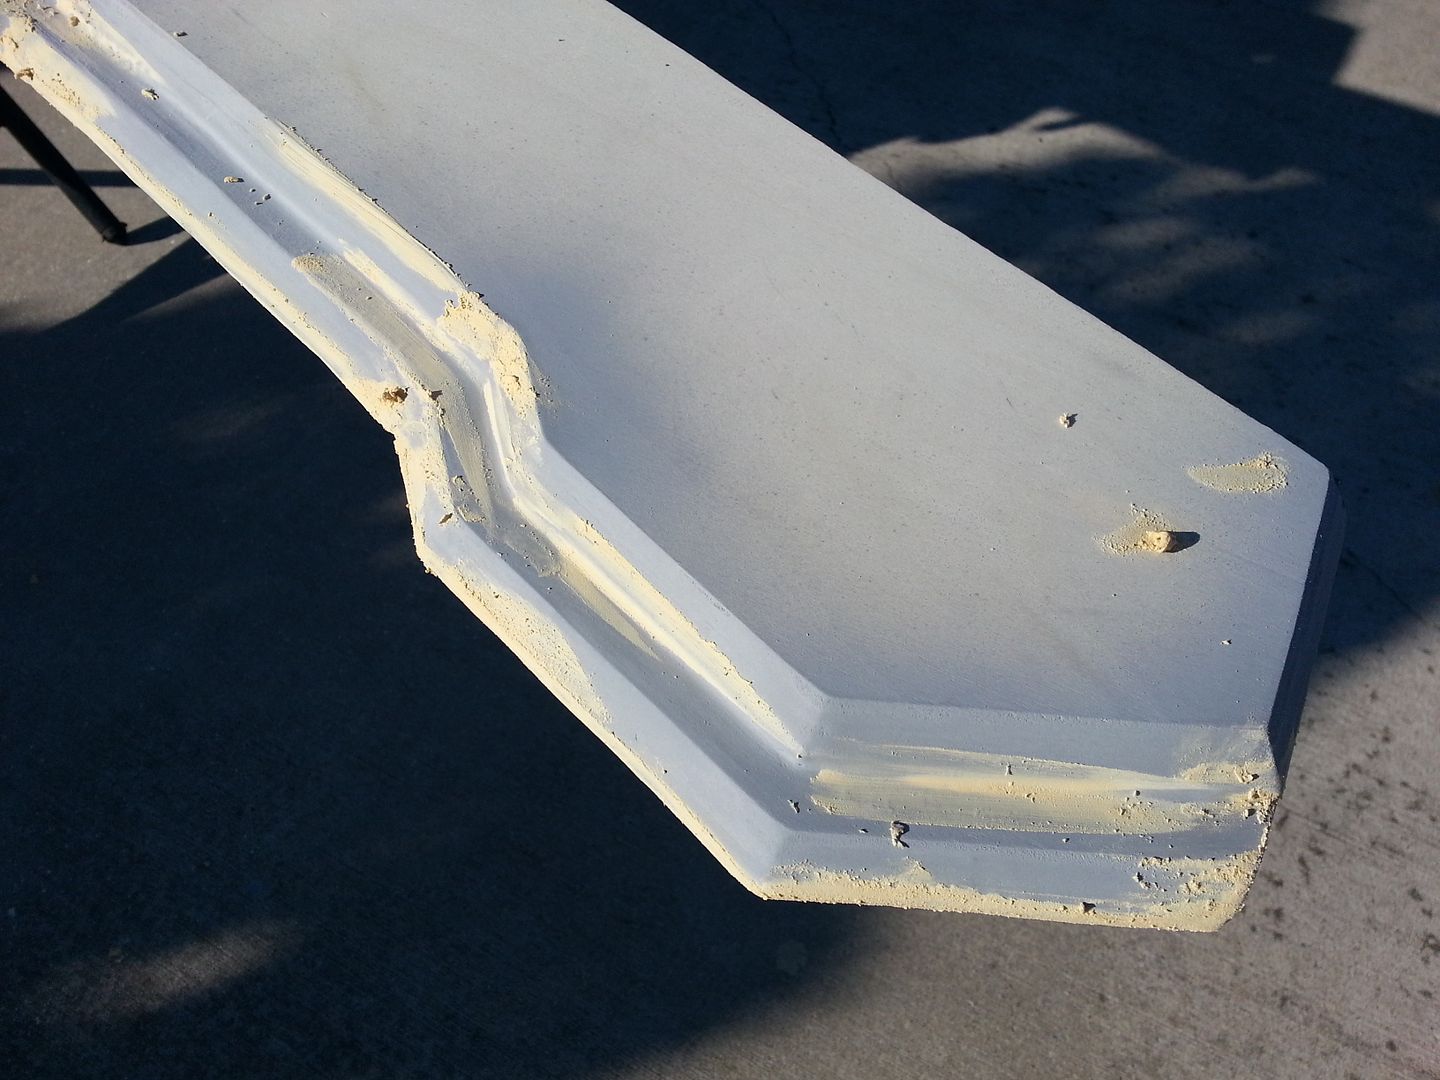
I had printed all the parts to have chamfered edges, so that once the pieces were in place, they would be friction welded together.
Some of the welds look goo. Others, well, let's just say I'm going to have to weather a couple of spots pretty well.
This is for the port wall. I got all the pieces that are not access hatches for the valves glued on and welded to each other and the plexi. The other two parts need a little work yet.
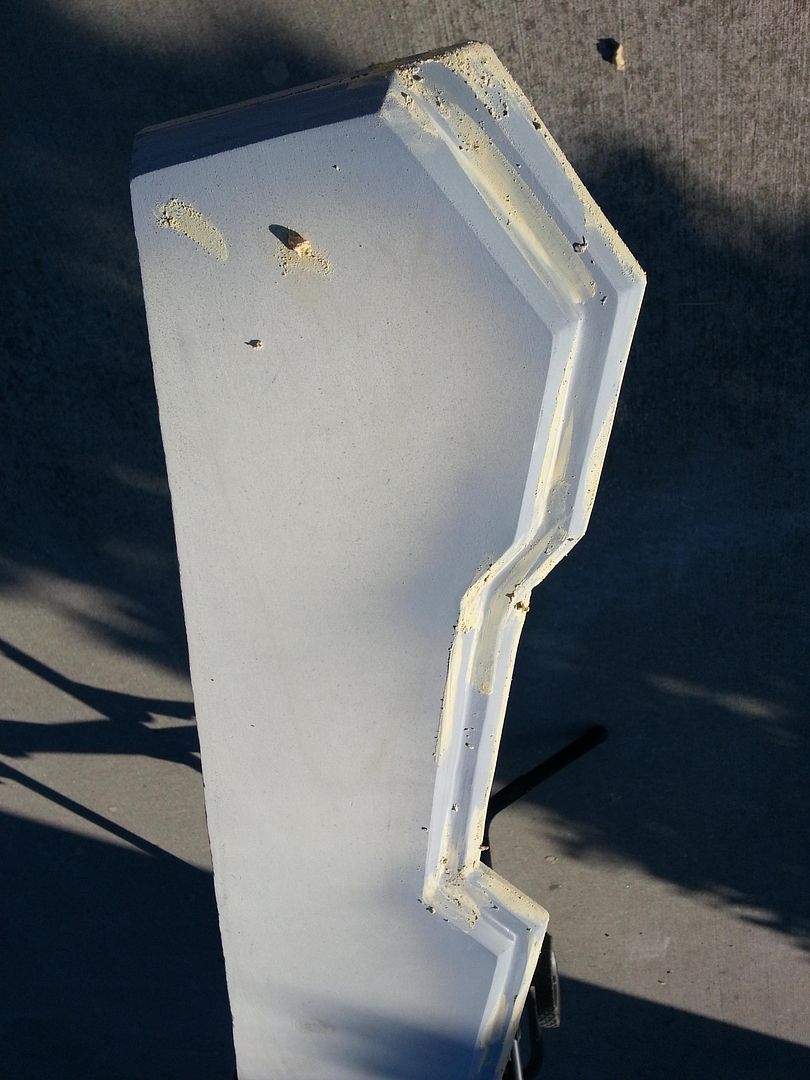
Then it was time to attach the surface to the frame. I love those 10-24 bolts.
The yoke arm is hanging in place in this picture, with the side wall firmly attached in its proper place. In addition, the weird angles piece is atached on the back end of the ballast section. This was how it sat over Christmas.
Hope all of you are having a great holiday season.
Scot
Last edited:
Irken Tech
Well-Known Member
In the spirit of the season, here are some Holiday Special Falcon references for the next project :lol.


trainman
Well-Known Member
That's more like the "Cheech and Chong" version of the Falcon ...with a little bit of "Dumb and Dumber" and "Red Green" mixed in.In the spirit of the season, here are some Holiday Special Falcon references for the next project :lol.
Last edited:
Hi Gang,
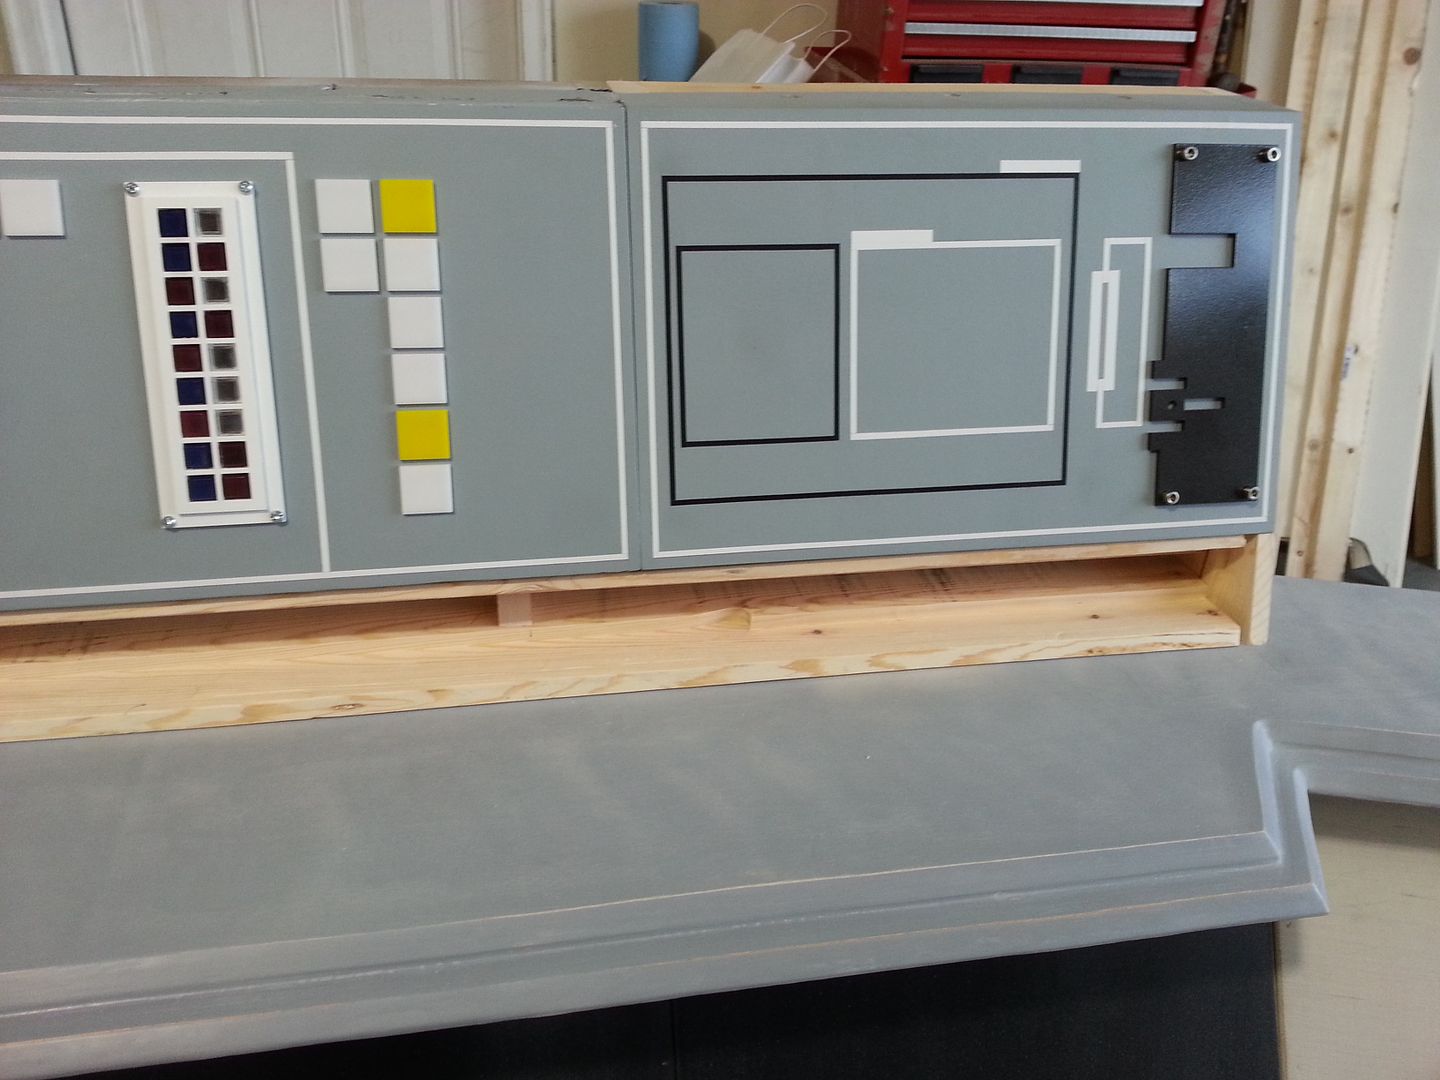
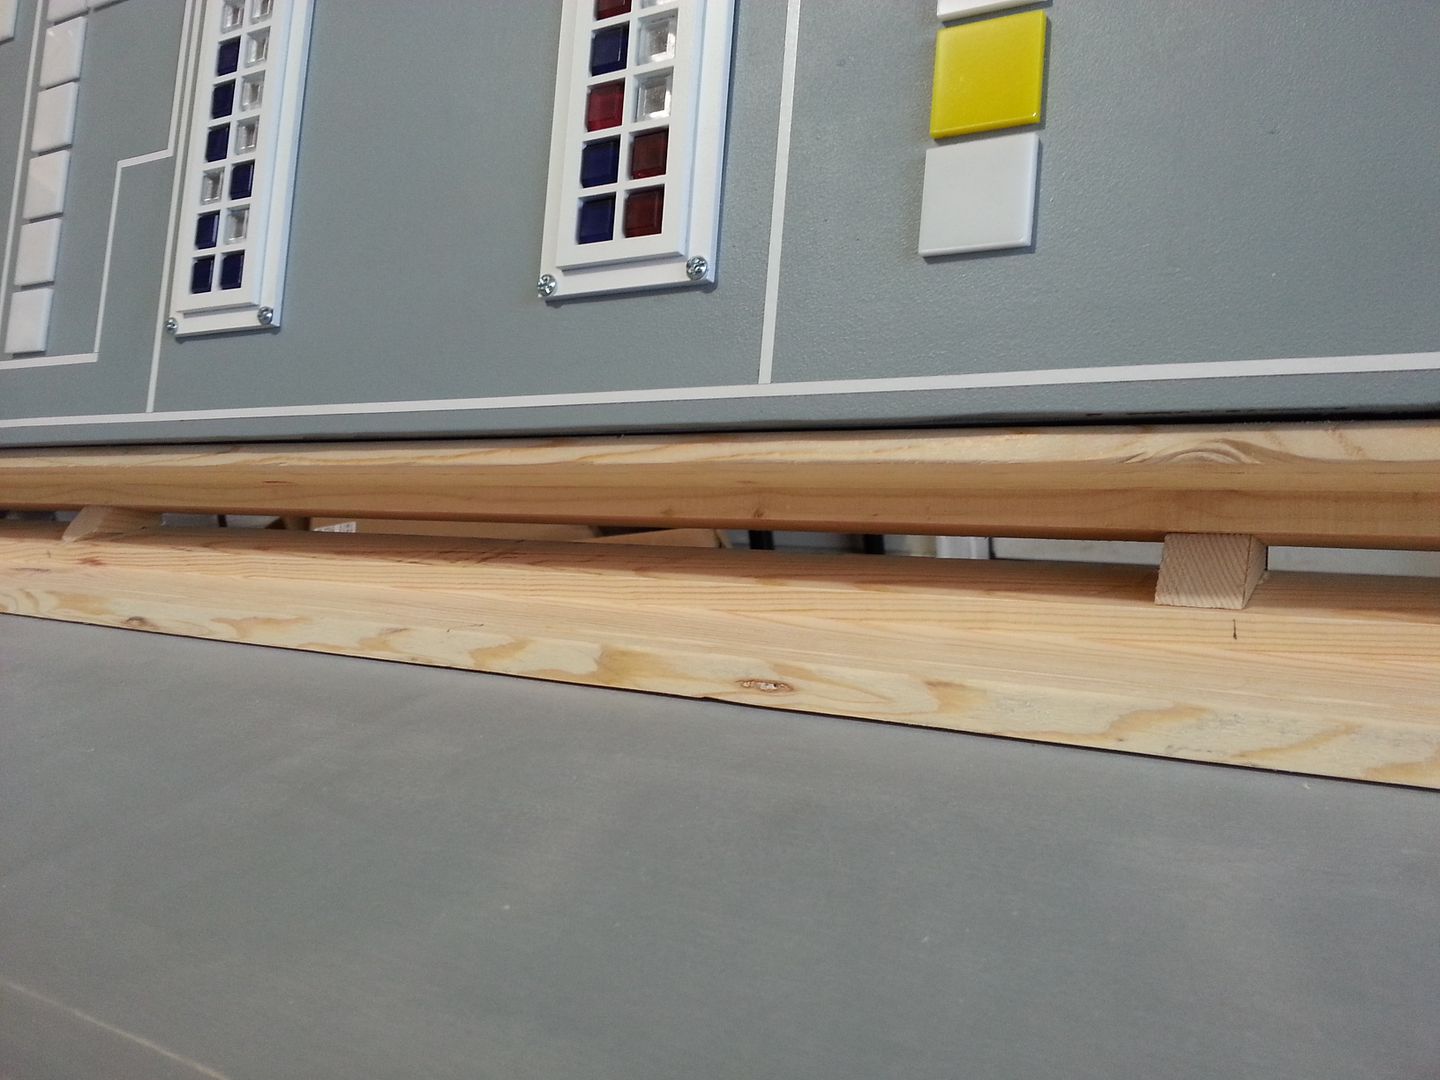
UPDATES! Work on the light bars and shelves continues! I was able to get a lot finished yesterday. They are calling for rain but let's hope for the best!
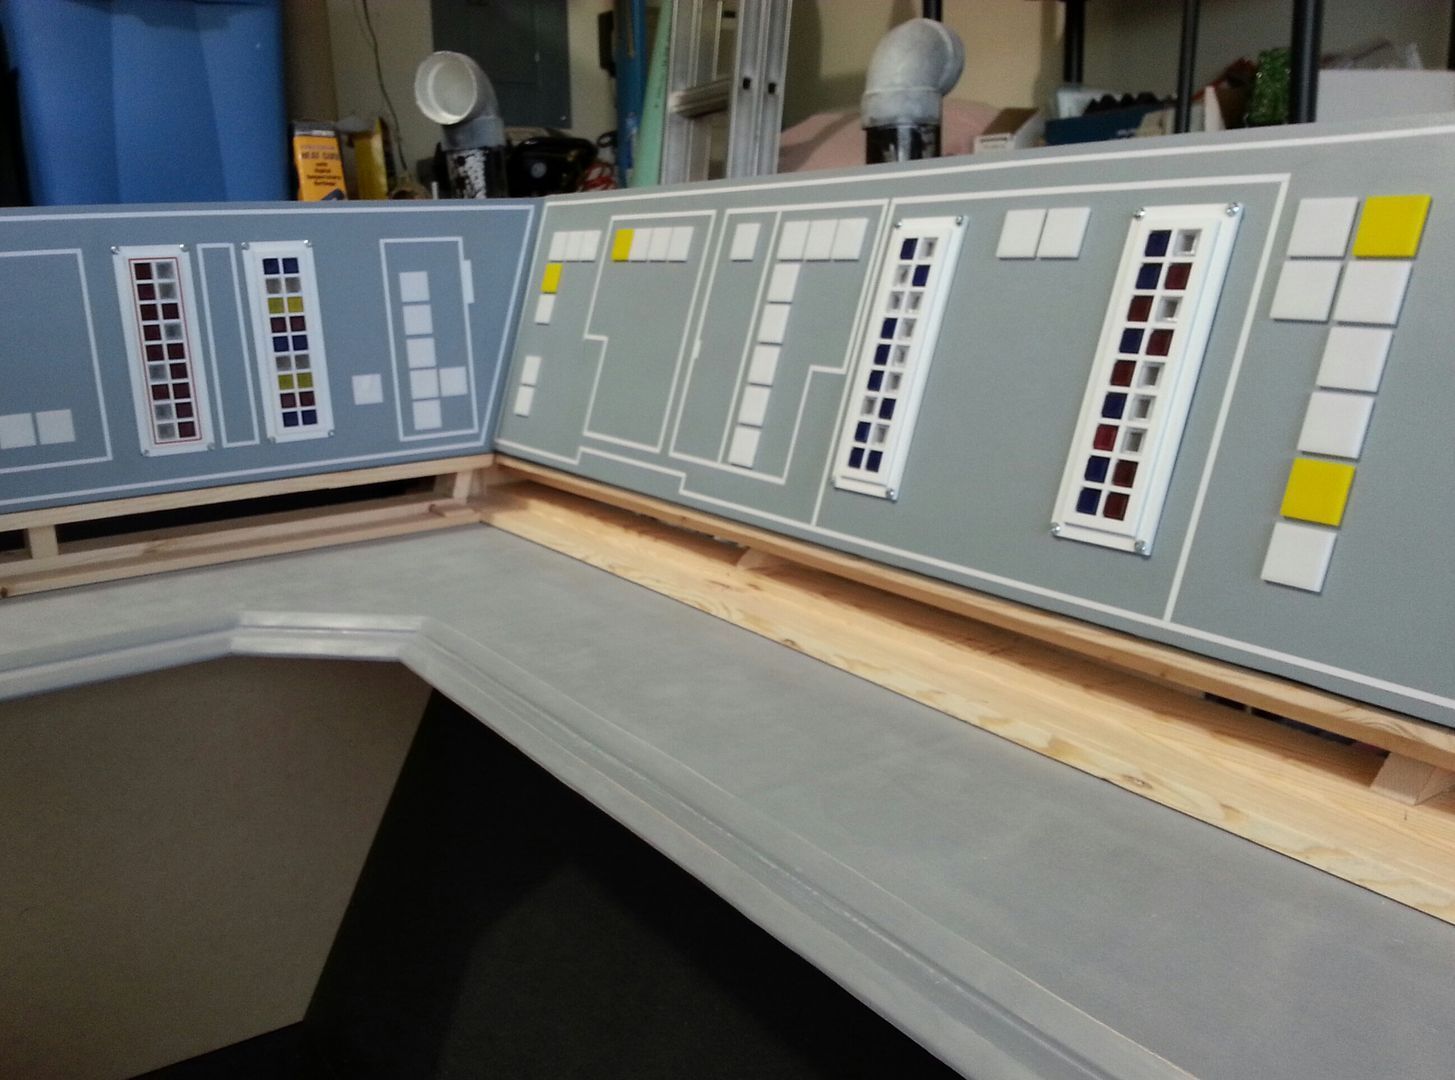
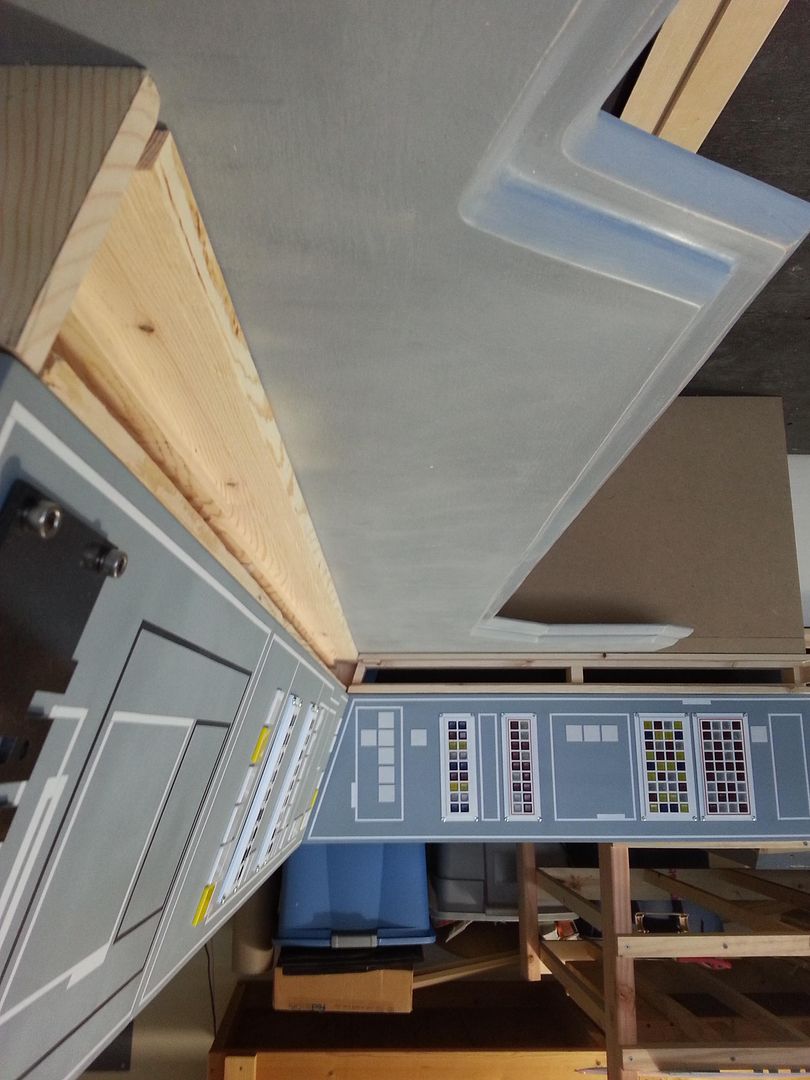
The two rear light bars are finished!
They will be covered with reflective tape to help disperse the light
Han side
Chewie side - note the old panel behind the new bar
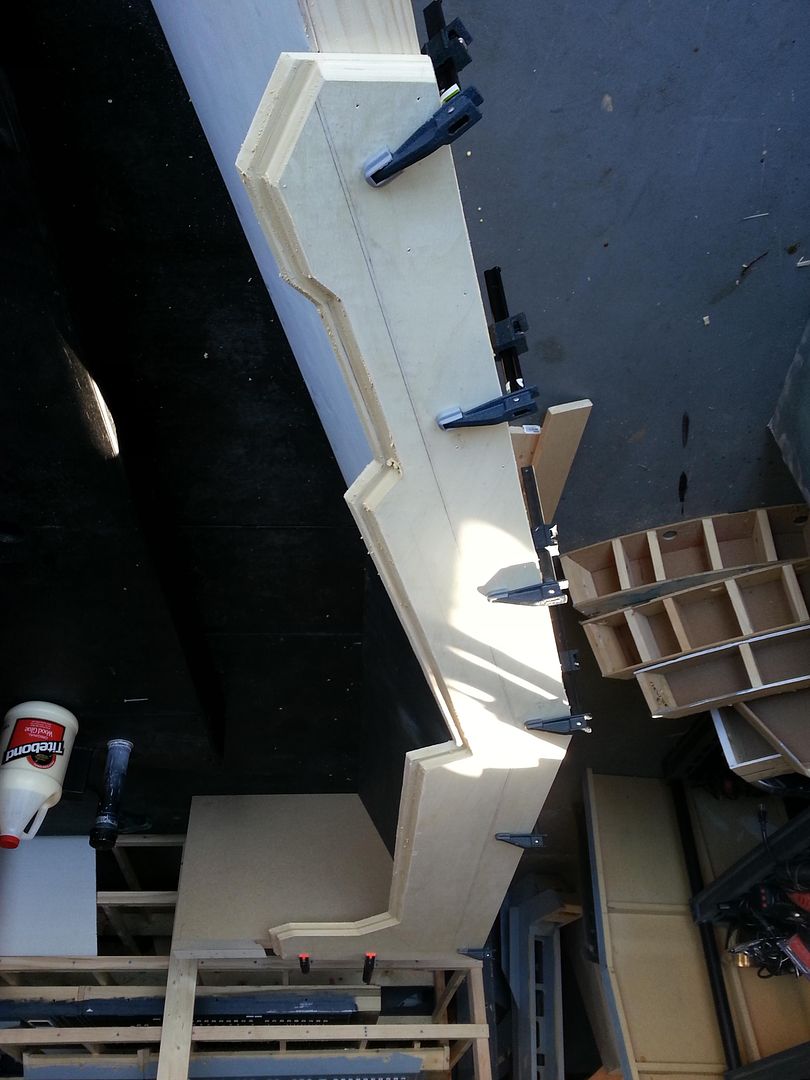
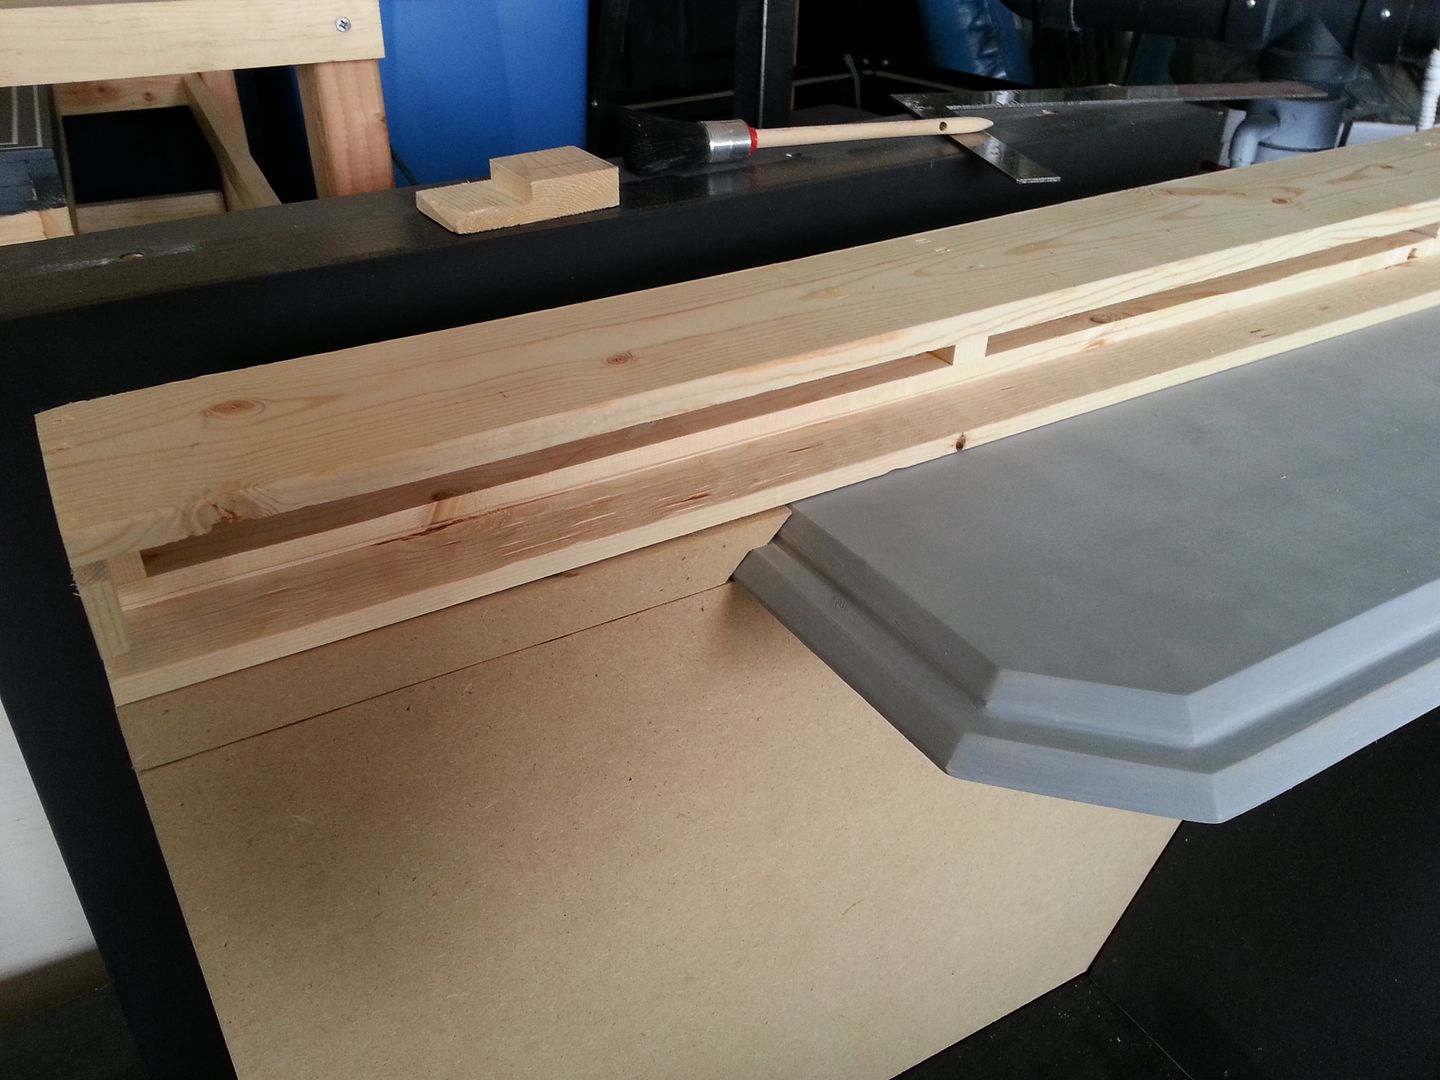
I then jumped back to the shelves - after some more primer/filler... more wood filler and sanding was required
Although the lines are not perfect... I really enjoyed getting my hands dirty again!
MMMMM primer
Nice and snug
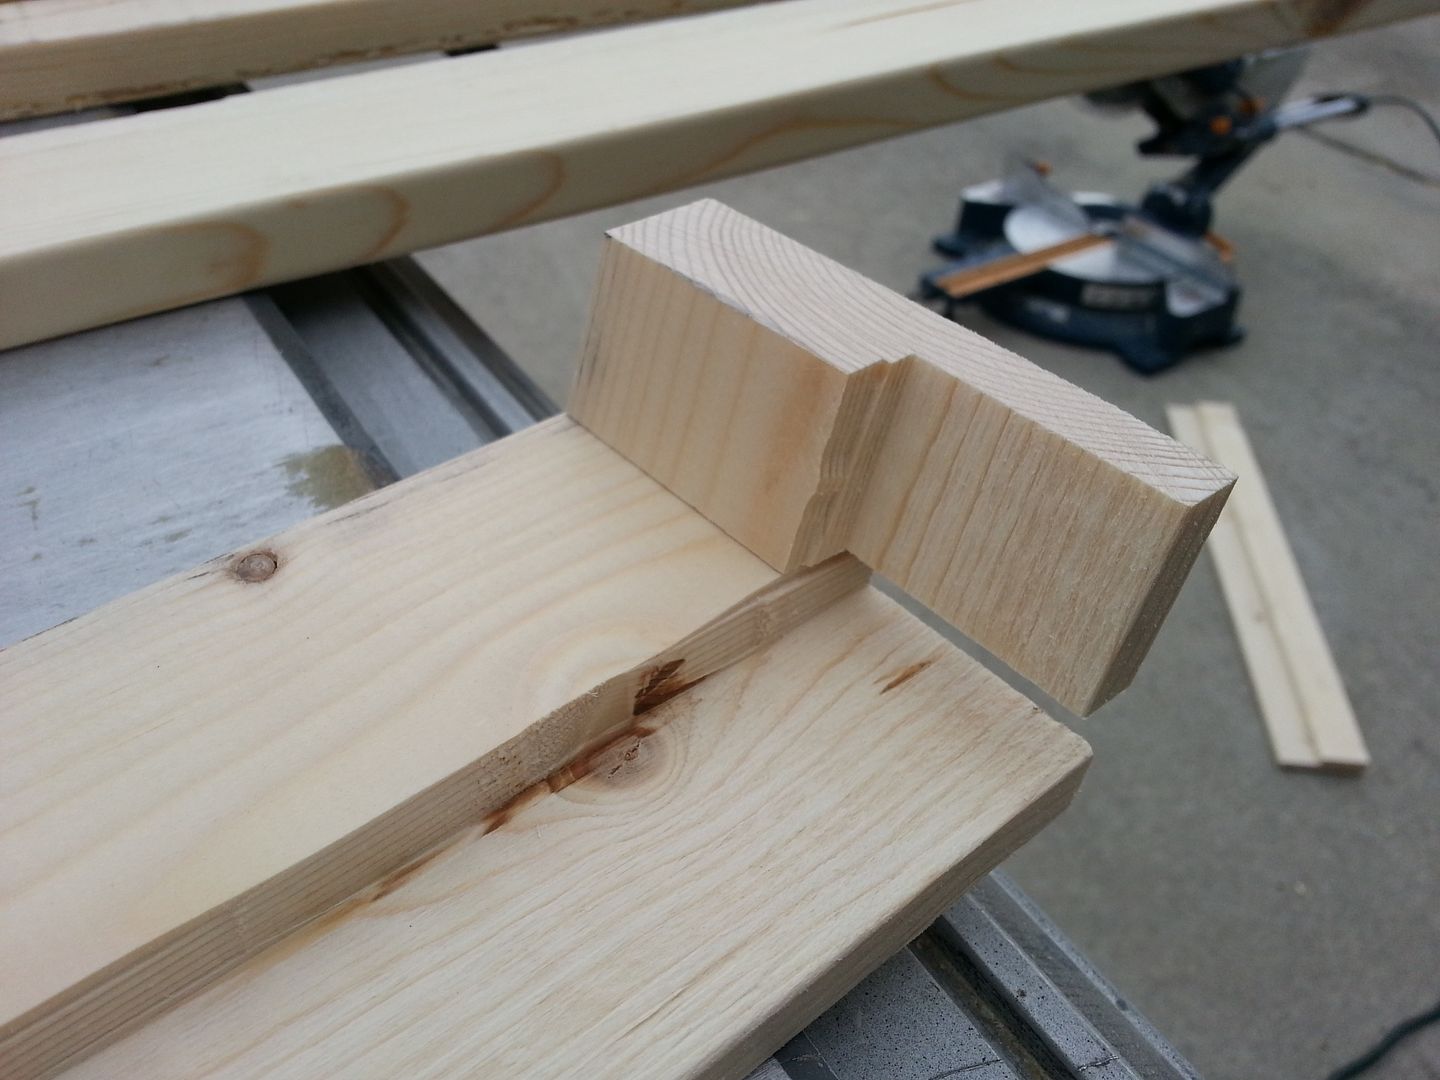
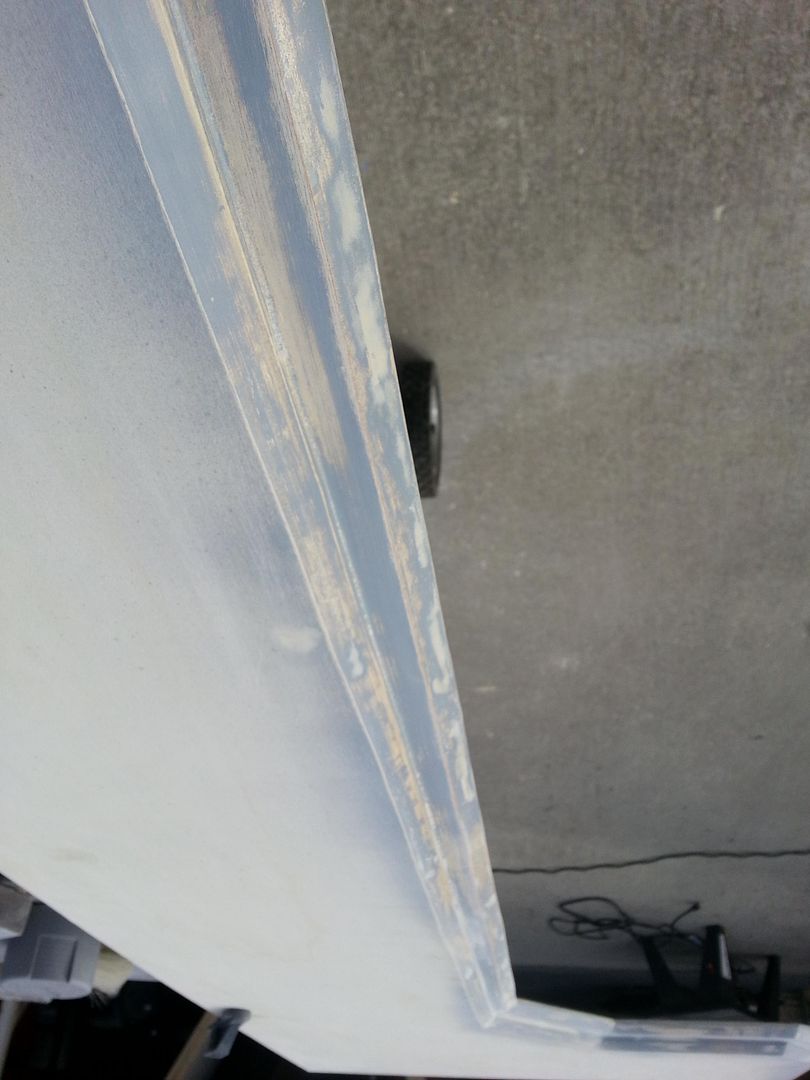
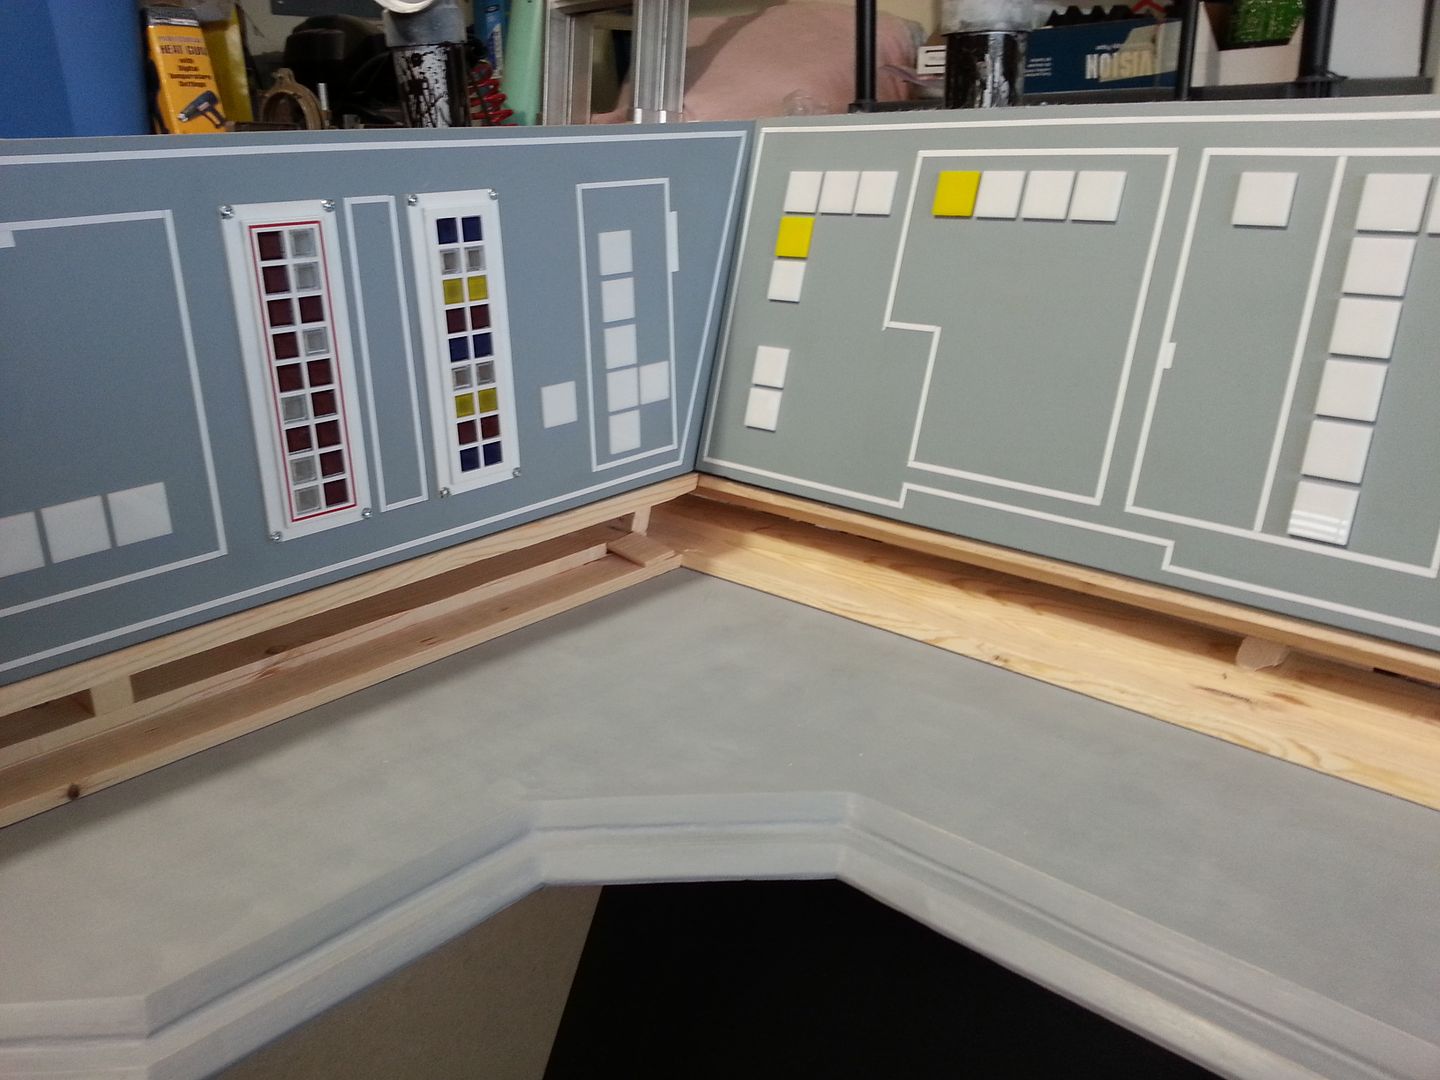
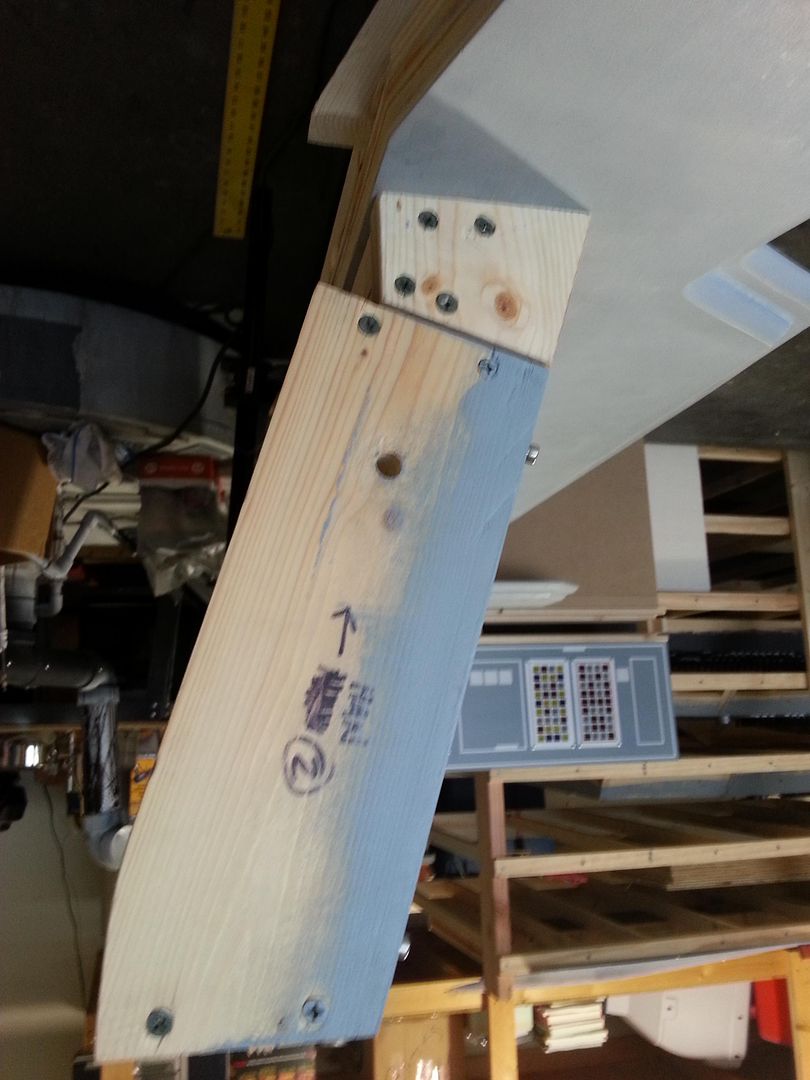
The side light bars were a PAIN! I had to compensate for the fact that side panels were NOT cut with the angle necessary (I have no idea who did that) so I had to work with the existing angles and mod the light bar to work... UGH... First, create a template
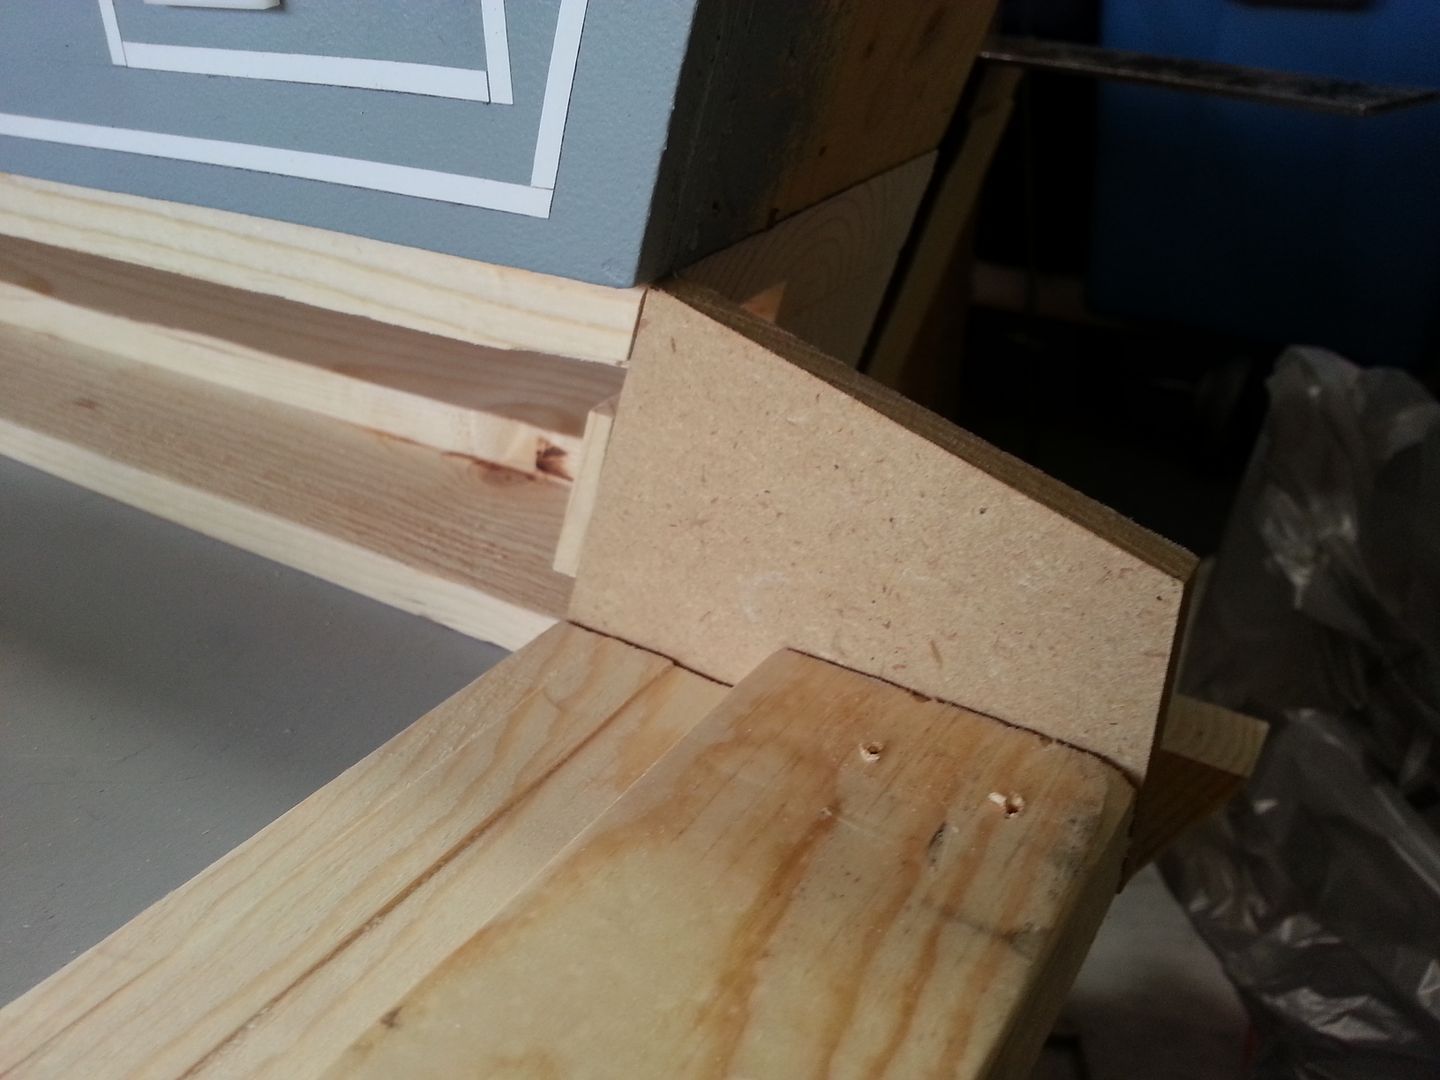
Find the angles and DO IT!
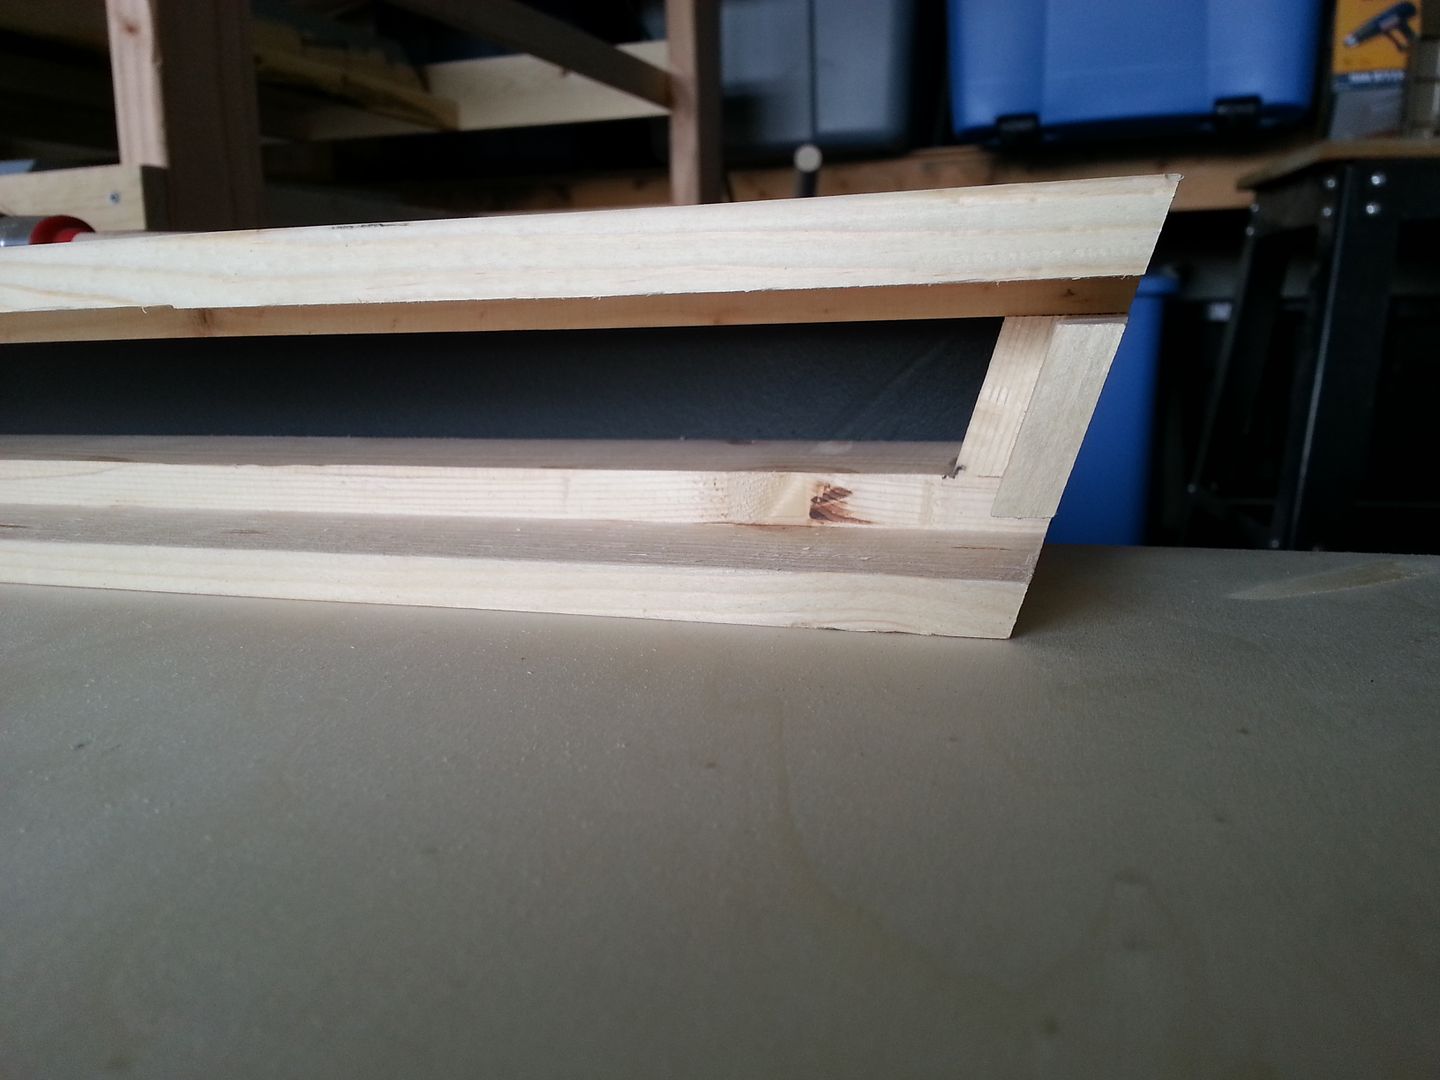
Near perfect fit!
WHOOPS - broken piece!
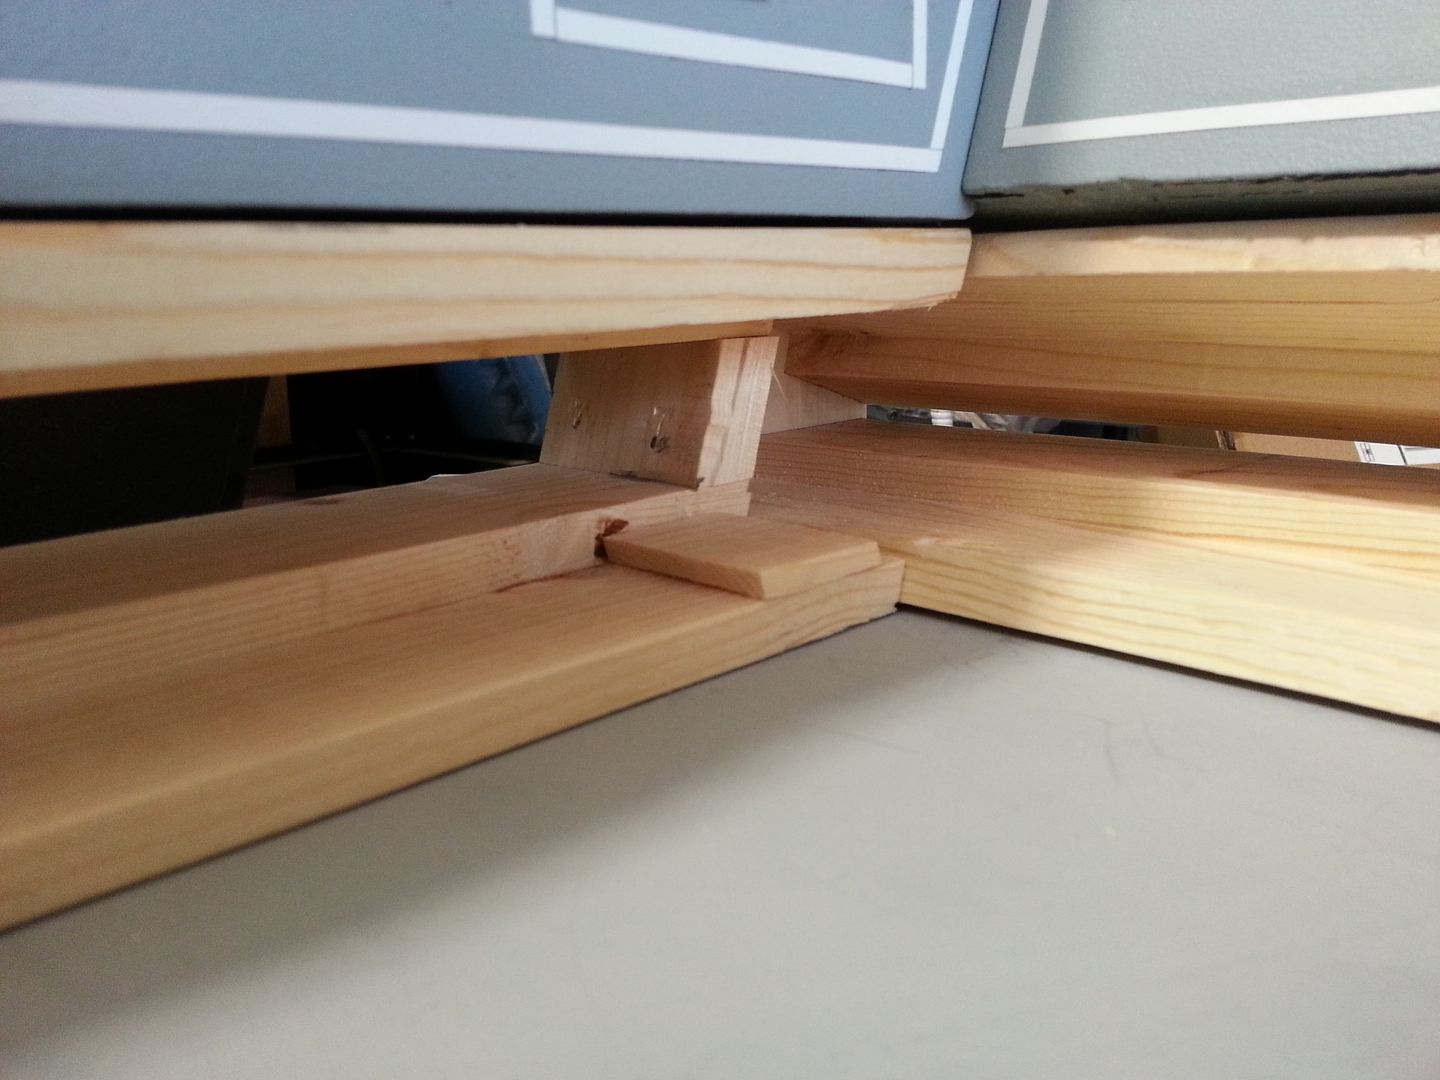
You can see how "someone" messed up the original angle. It was either mod the light bar or rebuild the sides panels... I'm going to go back and mod the two sides again just to give the light bar a little more beef...
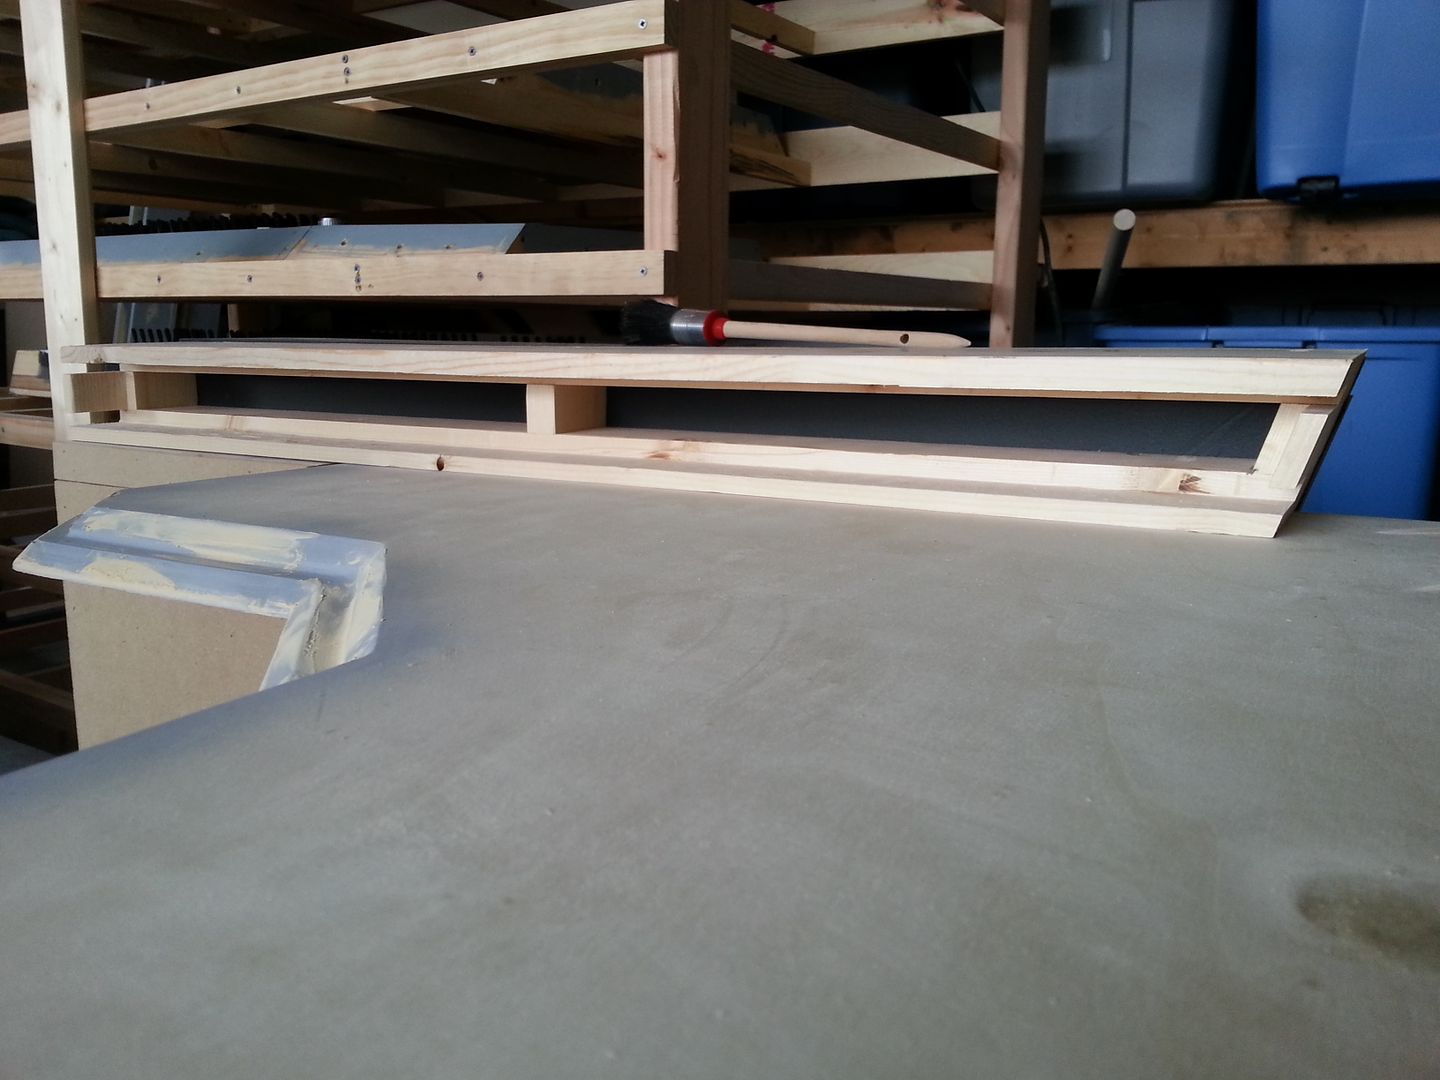
From the back - there isn't a whole of light bar showing
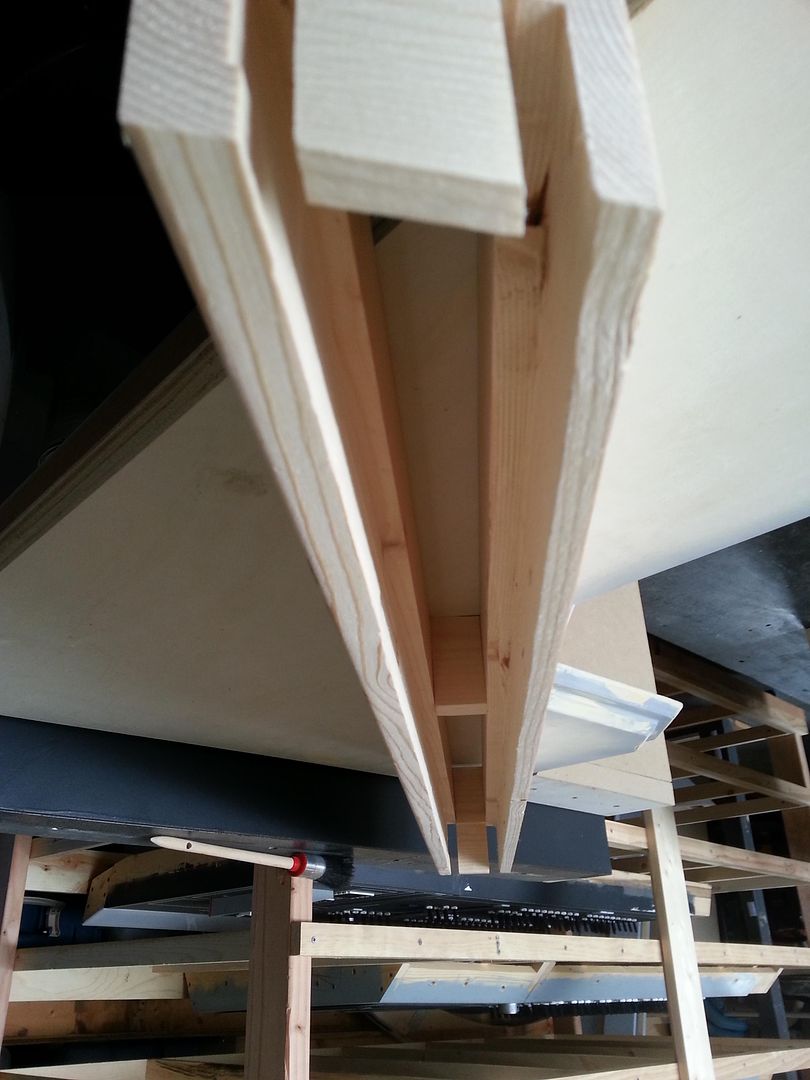
Looking down the shelf... this will look much different with the frosted plexi added!
More to Follow!
UPDATES! Work on the light bars and shelves continues! I was able to get a lot finished yesterday. They are calling for rain but let's hope for the best!
The two rear light bars are finished!
They will be covered with reflective tape to help disperse the light
Han side
Chewie side - note the old panel behind the new bar
I then jumped back to the shelves - after some more primer/filler... more wood filler and sanding was required
Although the lines are not perfect... I really enjoyed getting my hands dirty again!
MMMMM primer
Nice and snug
The side light bars were a PAIN! I had to compensate for the fact that side panels were NOT cut with the angle necessary (I have no idea who did that) so I had to work with the existing angles and mod the light bar to work... UGH... First, create a template
Find the angles and DO IT!
Near perfect fit!
WHOOPS - broken piece!
You can see how "someone" messed up the original angle. It was either mod the light bar or rebuild the sides panels... I'm going to go back and mod the two sides again just to give the light bar a little more beef...
From the back - there isn't a whole of light bar showing
Looking down the shelf... this will look much different with the frosted plexi added!
More to Follow!
The14thDr
Sr Member
Brilliant work so far!!! I think I might start my own Millennium Falcon control console in the New Year. I've heard that the Haynes Workshop Manual for this particular vessel has details on the different controls, and even instructions for flying the old girl.
Could you possibly tell me how wide the overall console is, and how long it is (with the central part included)? And lastly would you be able to tell me the width of the central control panel?
Kind regards, The14thDr
Could you possibly tell me how wide the overall console is, and how long it is (with the central part included)? And lastly would you be able to tell me the width of the central control panel?
Kind regards, The14thDr
ataru72ita
Well-Known Member
Bit late, but still Happy X-mas everyone guys!!
Regards,
Alberto
Regards,
Alberto
What are you planning to use for lights?
Hey OS,
I think guys are planning on LED strips - but I'm not sure. I'm actually seeing Daniel this evening so I'm sure we'll discuss the project.
Similar threads
- Replies
- 2
- Views
- 882
- Replies
- 6
- Views
- 648
- Replies
- 8
- Views
- 578
- Replies
- 11
- Views
- 1,113
- Replies
- 4
- Views
- 2,355