Re: Batman Arkham Asylum Armor Progress Update 1/24/11 Cowl Finished!
I'd suggest making it a 1 piece and cutting a slit along the back so you can get the cast out with a 2 piece mother mold.
Yeah, that crossed my mind but it's tough to get a clean straight line cutting silicone (at least in my experience) and I want as clean a line as possible in the flashing.
for urethane or foam/rubber cowls, most people use stone molds don't they?
I think so and I was considering this but I have no experience with this method and I don't want this project to be my first attempt at making a stone mold. But if it is truly be the best or proper route, I will do it (reluctantly).
I'm assuming you're talking Rebound 25 judging from your other pics
Yup!
you can use Vaseline. Just brush it on liberally and you should be fine.
Do you heat up your vaseline or cut it with anything to thin it out for brushing? What about mixing food coloring in it to see where you have put it on?
Plenty of pics with descriptions in this album. You will need to scroll down a bit, before you get to the molding pics. Just look for orange, lol...
That is some great step by step work there, thanks for posting the link. Do I see you laying down already cured bits of silicone about 3/8" thick so you can gauge the thickness of your mold as your brushing on the layers?
")
I do this with almost every mold I make now.
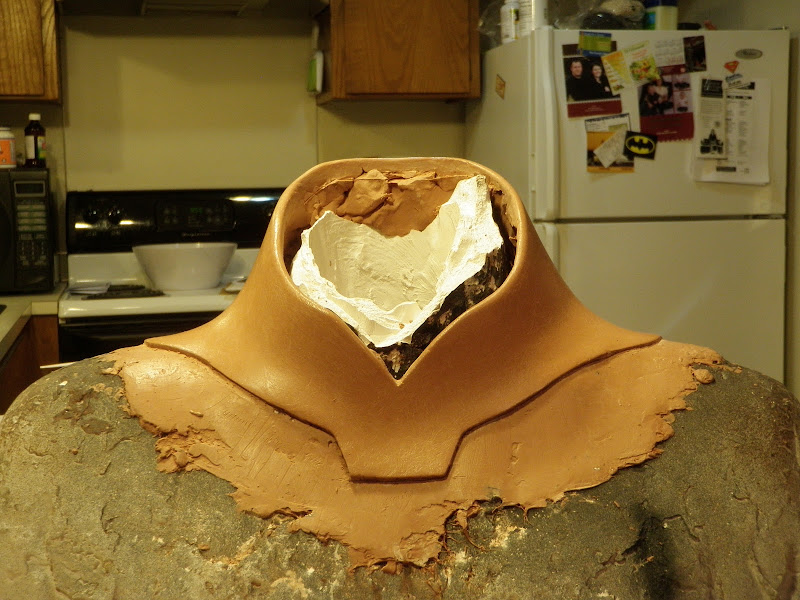
I will say this: I'll NEVER do stone mother molds, again. Free Form Air over a coat or two of 300, all the way...
I'm sorry, what do you mean by Free Form Air over a coat or two of 300?
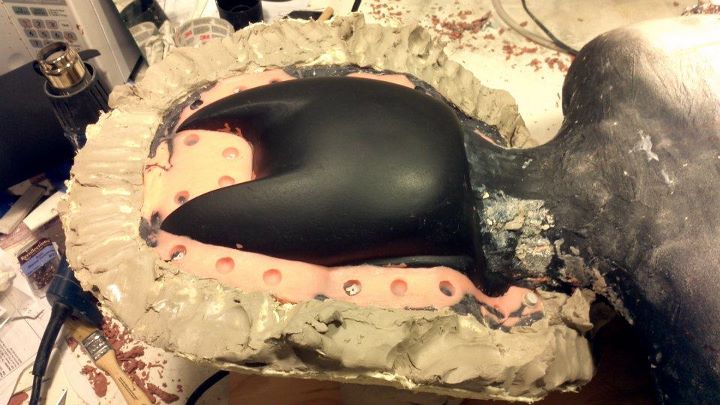
For your waist/thigh armature, that was made via the plaster bandages over spandex/vaso, correct? And after you filled with expanding foam, pulled the bandages off, smoothed the foam and coated in resin, correct? What kind of foam did you use?
Yeah, I did use a spandex suit. Can't remember if I used vaseline or not. I think I risked it without using vaseline (if I remember right). Pulled on some hairs but it wasn't too bad. I used expanding foam that I picked up at my local tap plastics. Their X-30. And it worked great. I did do about 2 small batches for each leg instead of one large batch for fear that a large batch, as it would cure would create too much pressure outward on the plaster bandages. At least with a couple small batches, I knew it would primarily clime its way up without putting too much pressure on the plaster bandage negative. But it may have worked fine if I did one or two batches. Dunno.
Here's the X-30:
TAP X-30 Polyurethane Foam: TAP Plastics
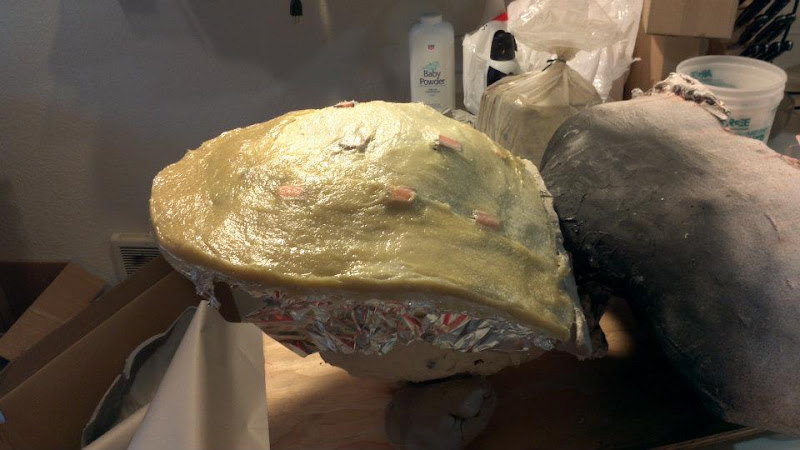
I did intend to peel off the bandages and resin coat it but it became too much of a hassle and I just sanded the bandages down some. I know the dimensions make it slightly larger than mine but for what I'm doing with this project, it should be fine.
Also, I've tossed around the idea of grinding up silicone left after doing a job but couldn't think of what to use. What did you use? Garage sale blender? Thanks!
I picked up a hand powered meat grinder. This was recommended to me by multiple people. I don't think a regular blender would be too successful in getting the job done.
Grinding silicone can get kind of messy. As you grind, the silicone builds static electricity and you have all this teeny bits of silicone trying to jump out of the container as you pick it up and move it around.
I first had an old one I got for free but bought a new one that cut and ground much more easily. It's still a slow process though. Silicone is not conducive to being ground up at all! You can get a pretty good workout in.
Here's an example of one:
Eastman Outdoors #10 Meat Grinder 38213
Again thank you everyone for following my work and please keep the questions and comments coming!