You are using an out of date browser. It may not display this or other websites correctly.
You should upgrade or use an alternative browser.
You should upgrade or use an alternative browser.
Kit of the USS Daedalus NCC-129?
- Thread starter SteveNeill
- Start date
- Status
- Not open for further replies.
SteveNeill
Sr Member
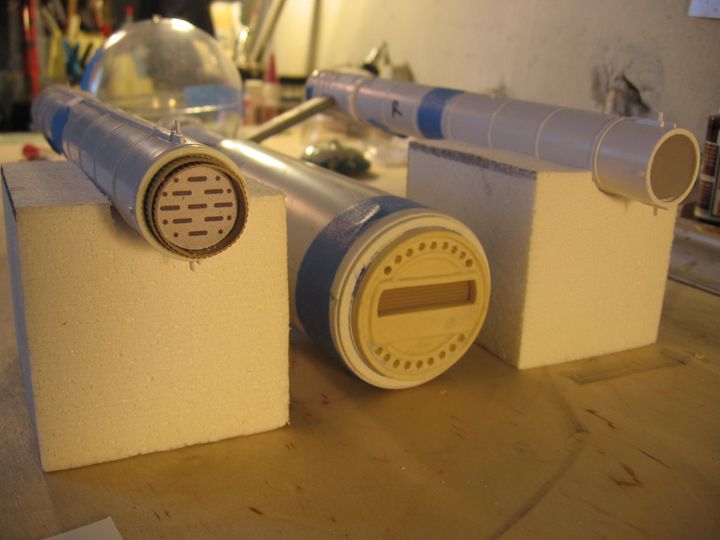
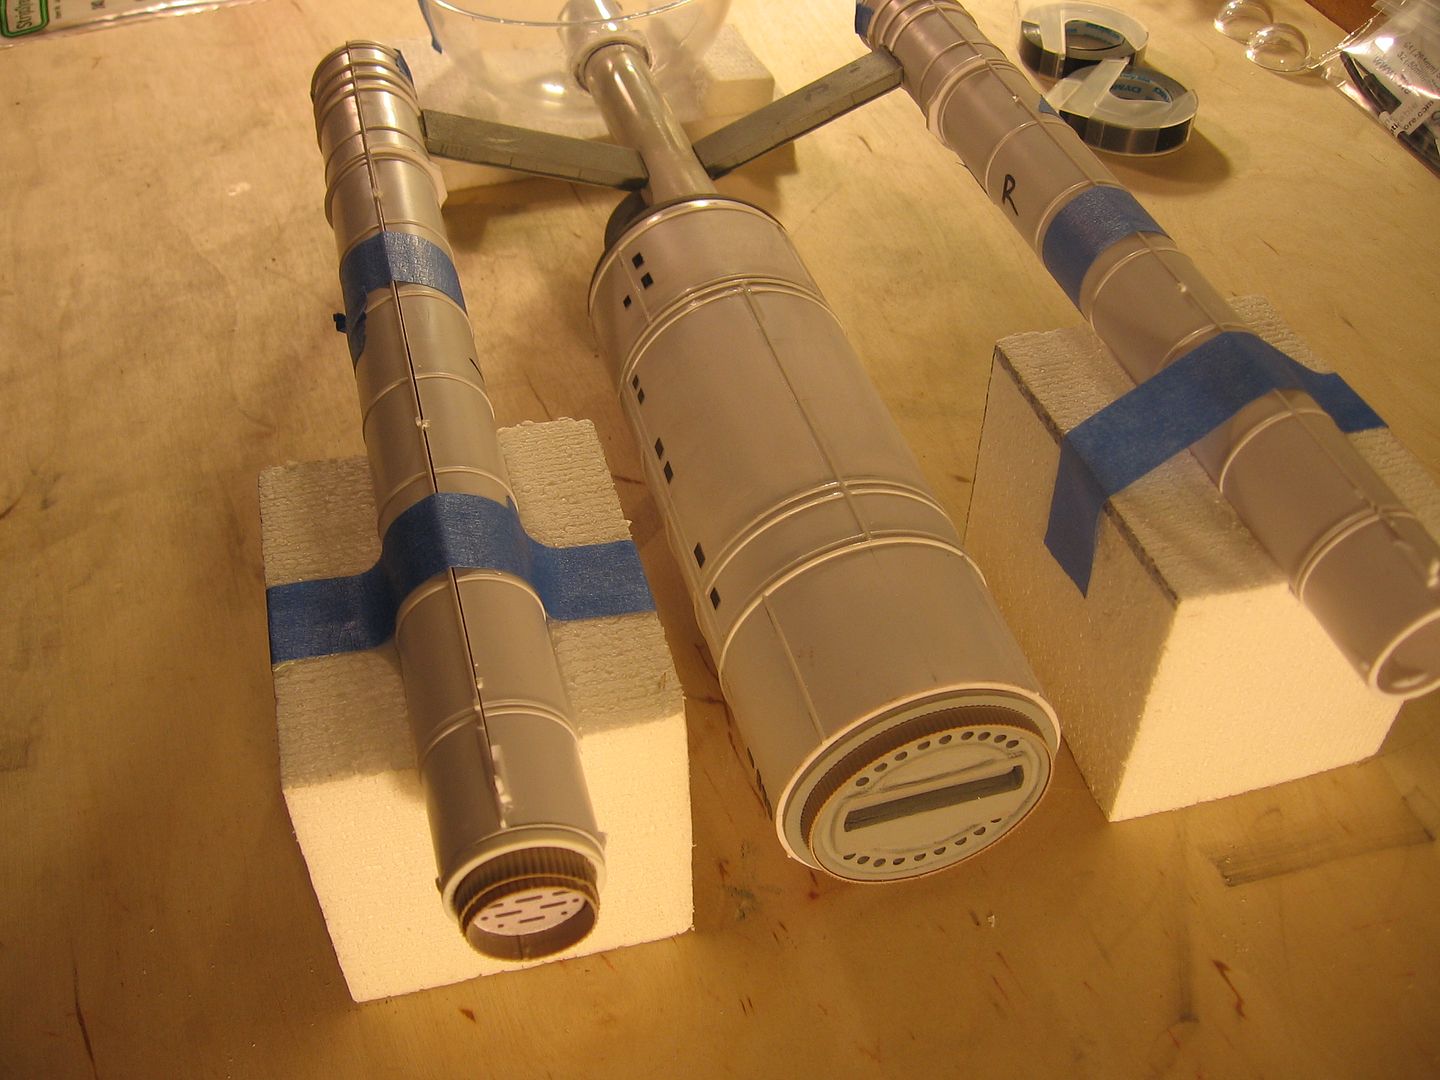
I configured the end cap to be more reminiscent of Greg's original model with regards to the holes than the CG model. Will pointed this out to em and I liked it.
Working from the one photo that really shows this I got it as close as I can. This will be a decal if I can't get it PEed and I probably won't as they have a minimum and set up fee. Or you the builder could try to drill them out but at this size I found it impossible to do without a small mill. By hand just doesn't cut it.
On to the secondary hull detailing.
Steve
feek61
Sr Member
Oh that looks great Steve! I do like that configuration better then the CG version. Doug told me he had a very limited amount of time to build the CG version (although it doesn't look like it at all) so I'm sure it was just easier to repeat that first pattern. Plus, it most likely would not be seen in "In Harms Way".
She's looking grand!!
She's looking grand!!
SteveNeill
Sr Member
That's great Will I appreciate your contribution.
Steve
Steve
trekman1017
Well-Known Member
How much do you think a kit will run?
SteveNeill
Sr Member
No way to tell just yet on that and it's best in the future to keep the Mods happy to PM me until I can post that info in the Junkyard.
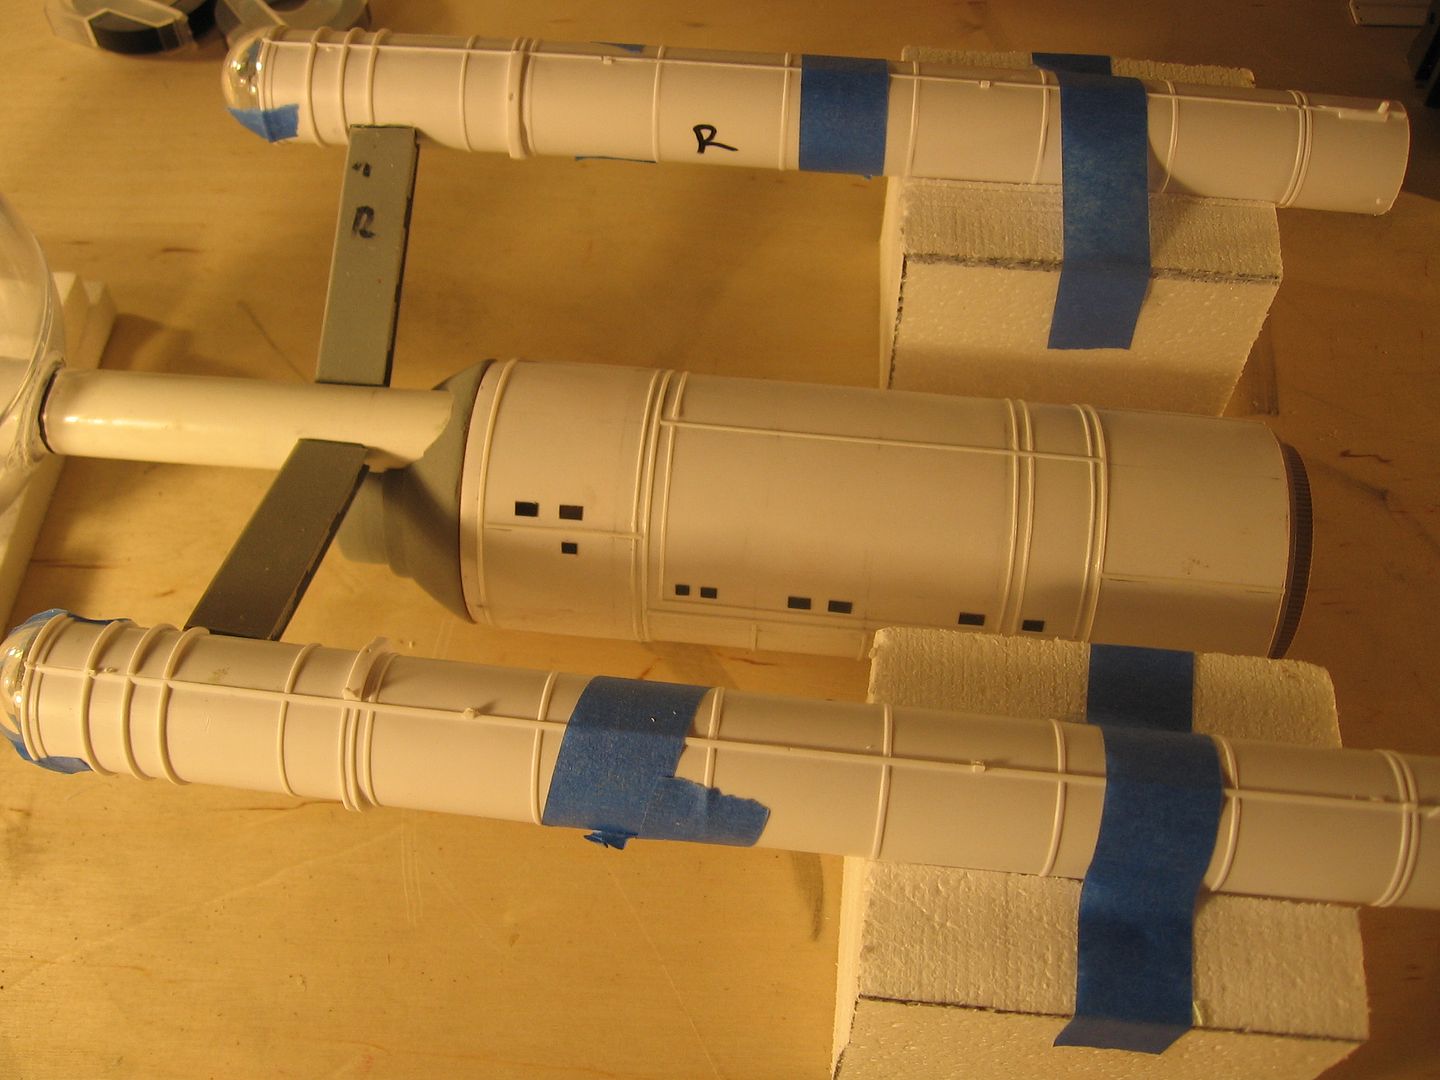
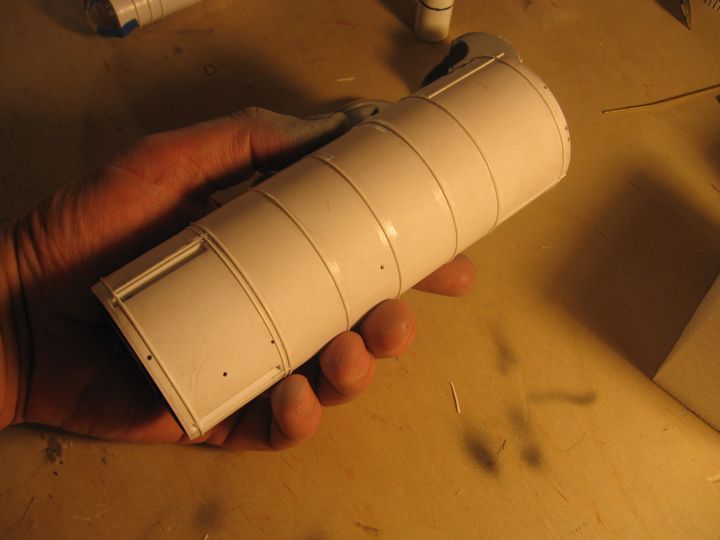
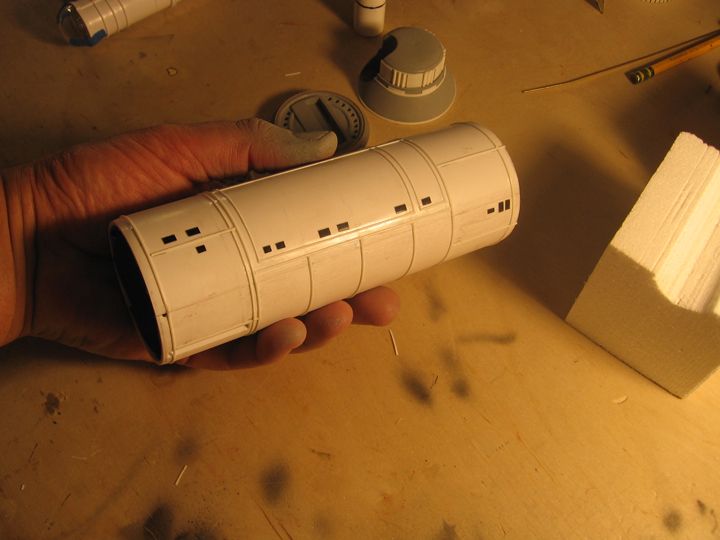
Spent some time putting on the half round panel lines. Most are the same as Greg's model but some are different. Keep in mind Greg made a molds and made two models that I'm aware of. The first was a one off and different from the second made from the molds. Then there's Doug's new renders. I'm trying to create a balance of sorts between all of then while maintaining that over all look of the on seen on DS9.
I added windows with Dymo marker tape. Tests showed if I primer over the tape and then remove it I get a crisp indented window. Works great. I just tacked on a few for looks and still have to play with them a bit more.
I've been slowly cleaning up the other parts.
Tomorrow I'll finish the hull and detail the pylons more and the neck.
Here's some pictures.
SteveNeill
Sr Member
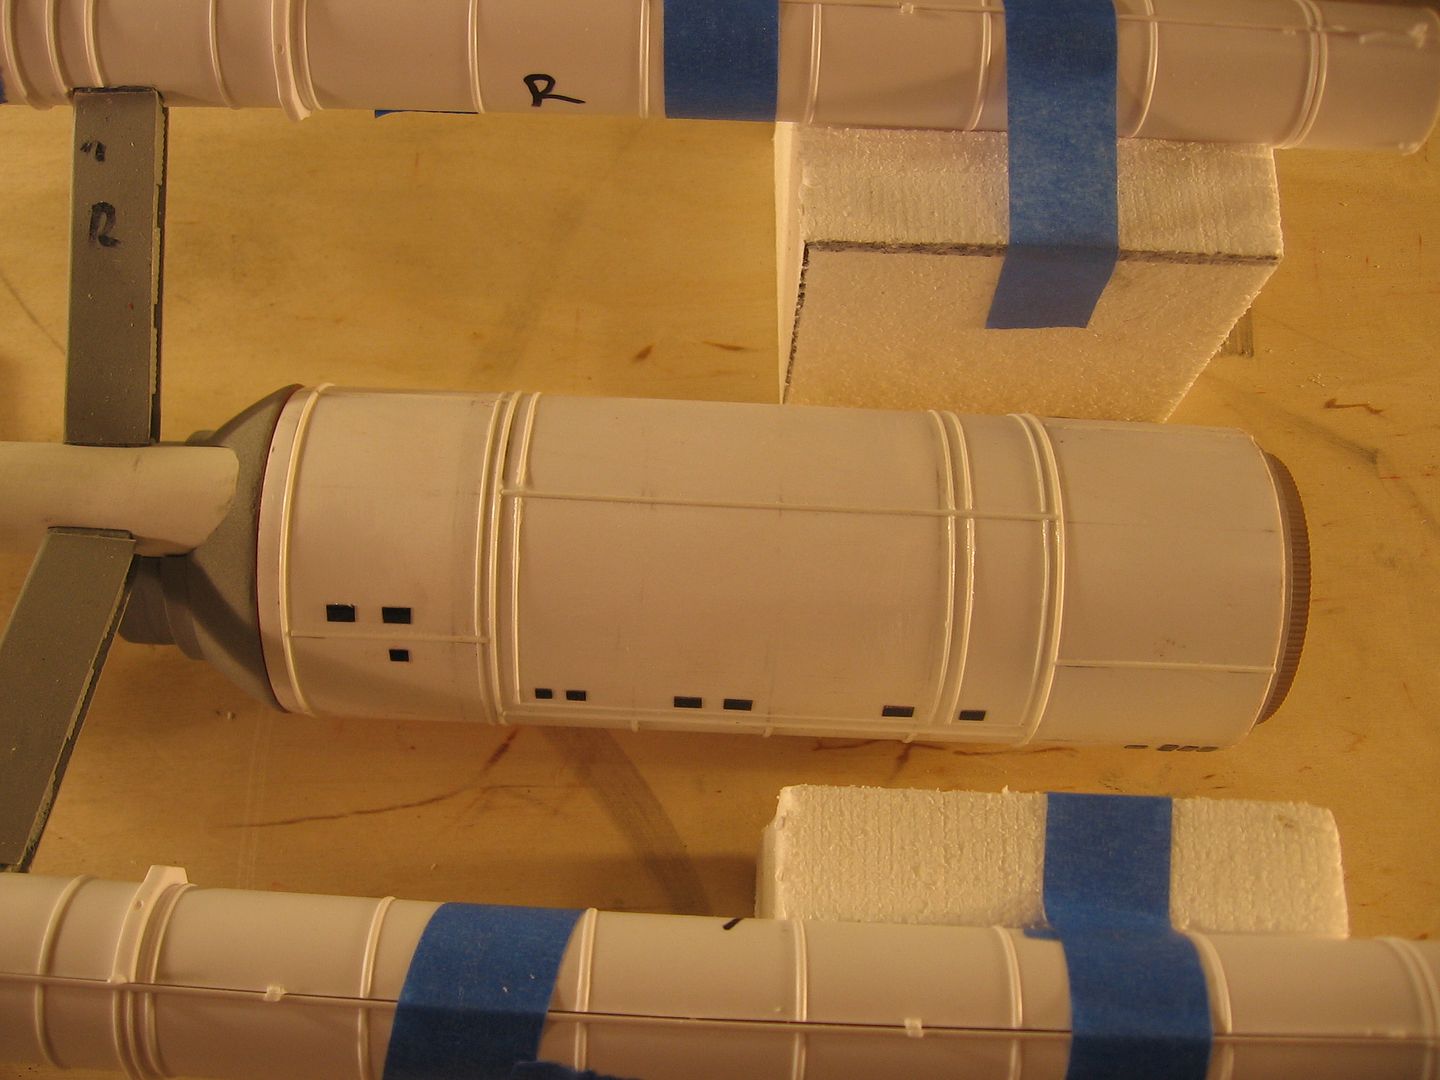
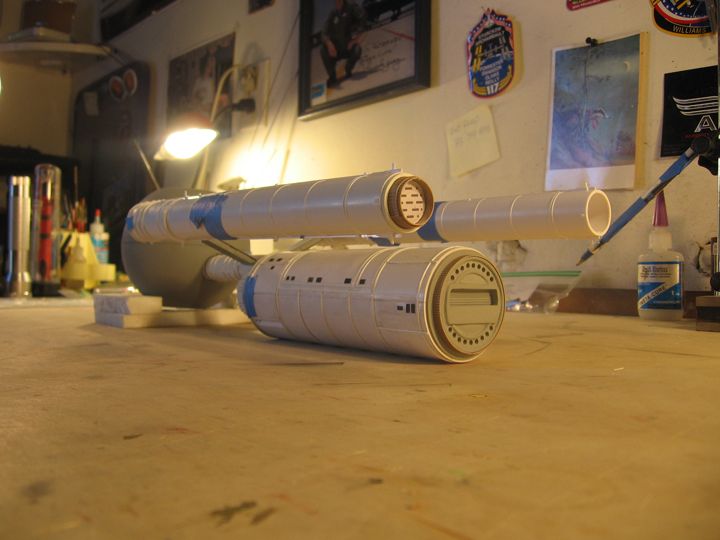
Spent some more time today and got the panel lines on the hull and some windows placed for a look with Dymo tape. Tested showed that once sprayed with primer and removed you get a nice crisp window.
I’m making a blend here between Greg’s two models. The first and the one that was made from molds he made for DSW9. And..Doug’s renders of the CGI model. I’m trying to maintain that look of the DS9 version but taking some liberties along the way. So if you see something your think is wrong it’s deliberate.
Got some more pointing up on the other parts too.
Here are some pictures. Hopefully tomorrow I finish the secondary hull and move on to the neck and ball.
Steve
SteveNeill
Sr Member
Thanks. There's something I like about this ship and always have since I first saw it in my "The Making of Star Trek" when I was in high school. First we had the X-1. Then the SR-71. ")
Steve
P.S. I still have my copy I bought back then.
Steve
P.S. I still have my copy I bought back then.
SteveNeill
Sr Member
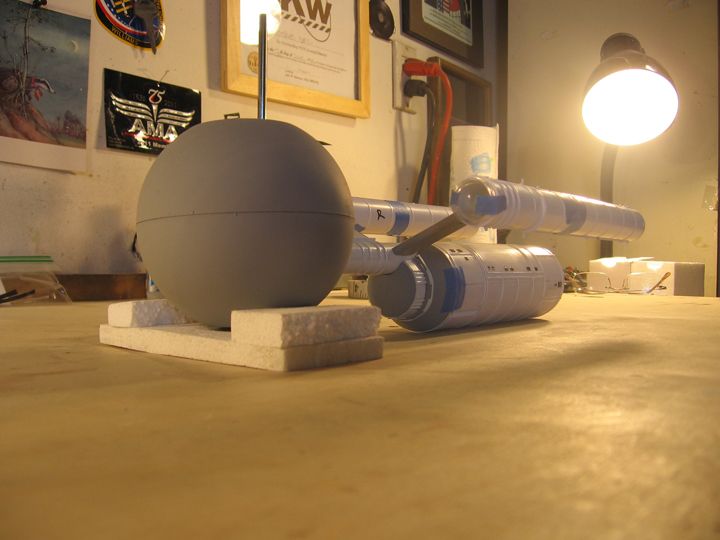
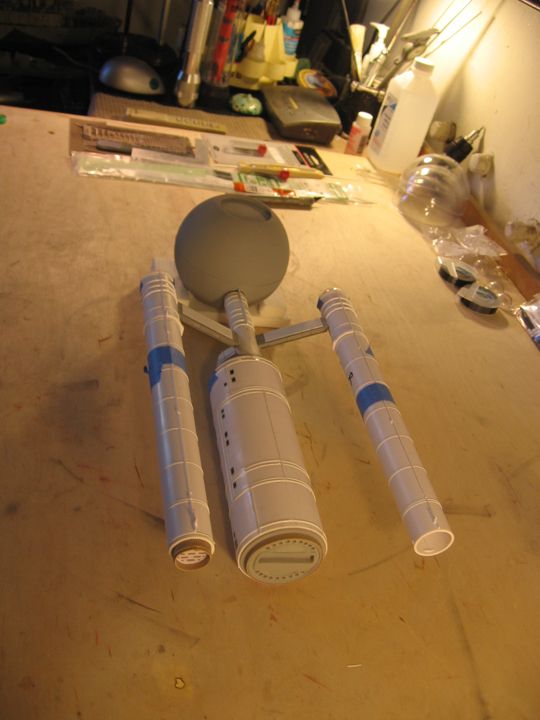
So I took the day off and worked on the Daedalus. Got lots done.
I finished the secondary hull except for the windows. I’ll do all the windows last.
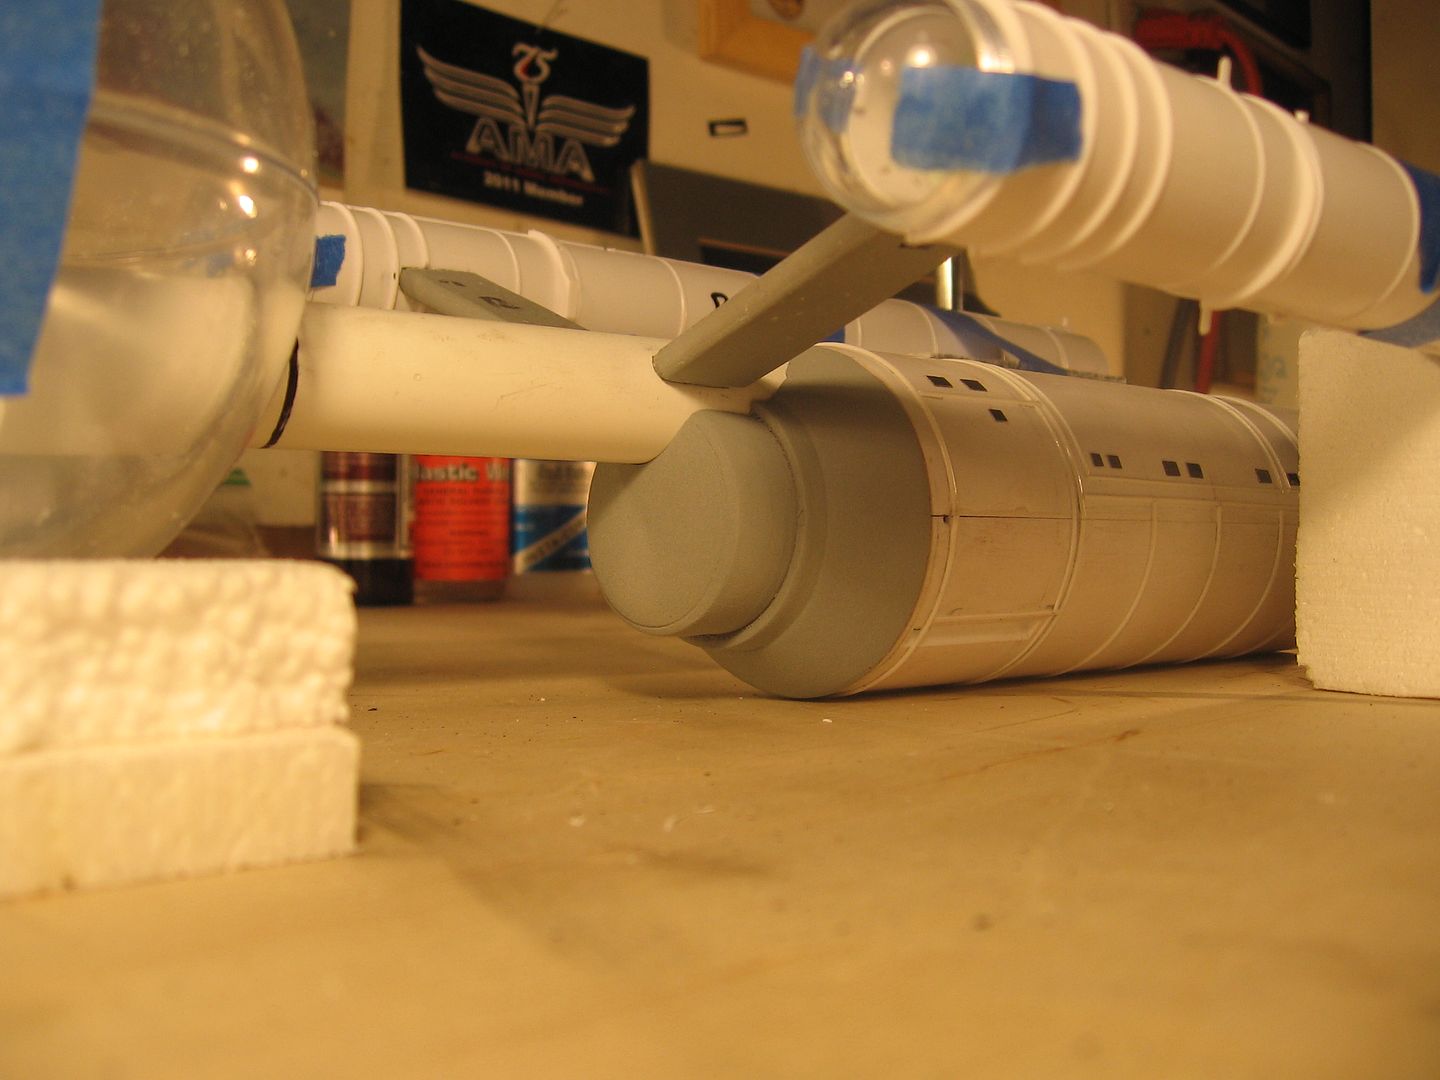
Detailed the neck. Added a bit of detail to the pylons.
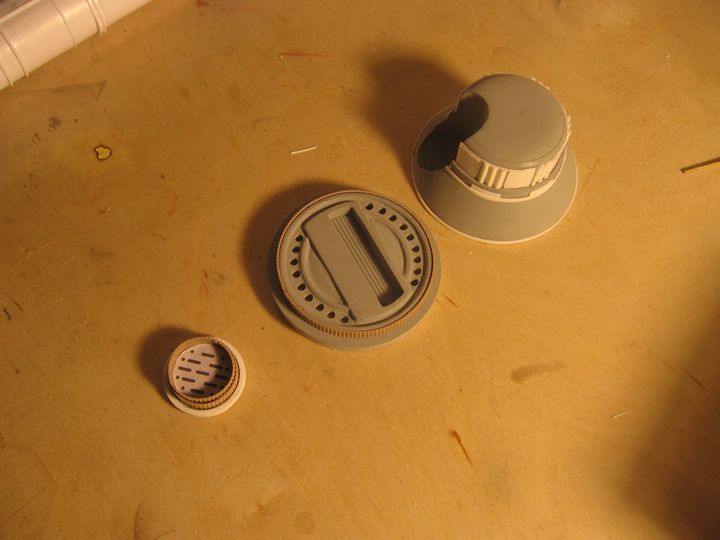
Added all the last details to the sensor array part.
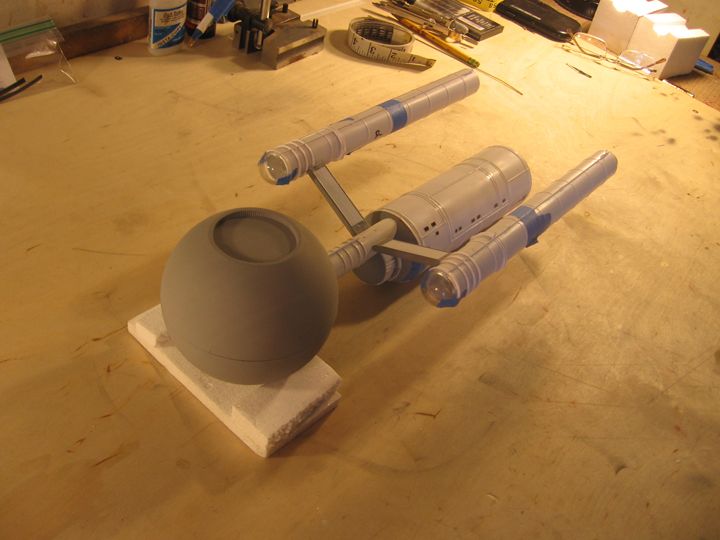
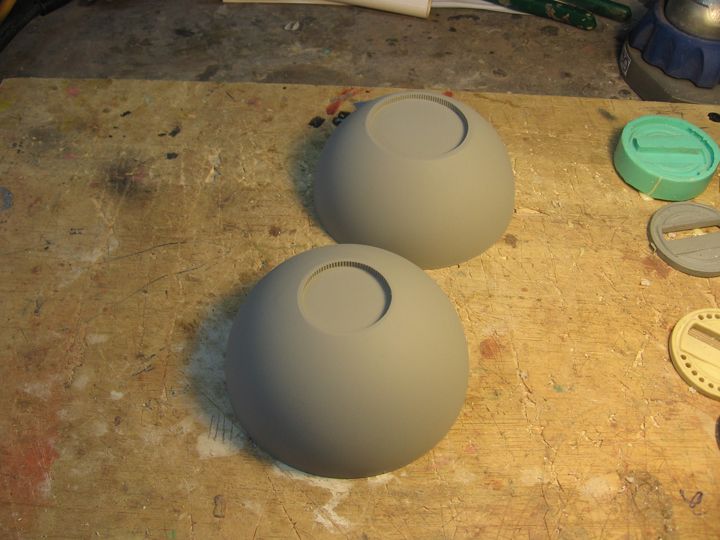
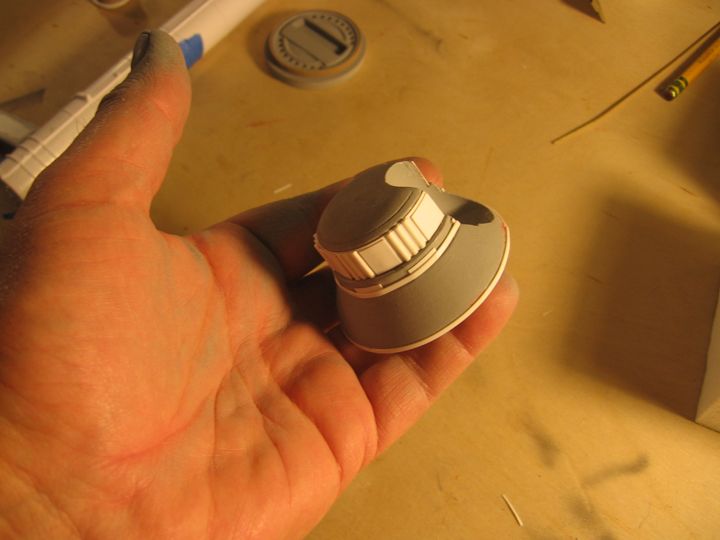
And lastly got the ball started. It took several times cutting the upper hole. The first time it was based off and enlargement of Doug’s 3 views but it just didn’t look big enough so I made it again. And again. I’m happy with it now.
Next up detail the ball. I’ll use the tape and primer trick which it looks like Greg did too. With any luck I’ll finish next weekend and the molds can begin. I figure a gallon of Silicone will do this job. These molds will be cored so all the parts will have nice even thickness and hallow.
Steve
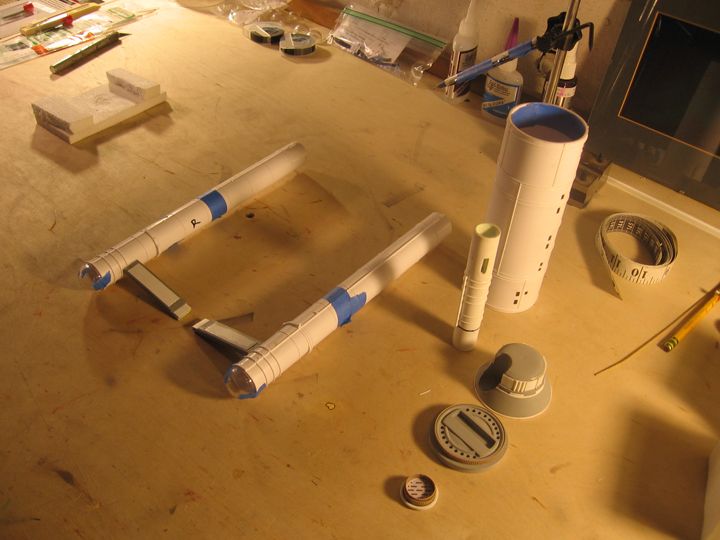

I finished the secondary hull except for the windows. I’ll do all the windows last.
Detailed the neck. Added a bit of detail to the pylons.
Added all the last details to the sensor array part.
And lastly got the ball started. It took several times cutting the upper hole. The first time it was based off and enlargement of Doug’s 3 views but it just didn’t look big enough so I made it again. And again. I’m happy with it now.
Next up detail the ball. I’ll use the tape and primer trick which it looks like Greg did too. With any luck I’ll finish next weekend and the molds can begin. I figure a gallon of Silicone will do this job. These molds will be cored so all the parts will have nice even thickness and hallow.
Steve
robn1
Master Member
More great work, this is gonna be a cool kit.
Compass cutter?
How did you cut the sections out of the hemispheres?..
Compass cutter?
SteveNeill
Sr Member
How did you cut the sections out of the hemispheres? I'm trying to determine the best way to do this myself on a current project.
Surface gage. You can attach a pencil to it or just scribe. They can be very expensive but I found one on amazon a few years ago cheap.
That's how I get parallel lines marked as well. Seam lines and more. Got to have one!
Thanks guys for the droll and Trekman I'm not sure about the price yet.
Amazon.com: Value SG/4-7 W/4&7" Spindles Surface Gage: Home Improvement
Theres a pretty cheap one. Get it! Anything you can turn on a flat surface you can mark perfectly. I use these to mark the water lines on the subs so I can paint them up and add the scum line.
Steve
crackerjazz
Sr Member
Wow, you're breezing through this build, Steve. I was wondering if a 33-inch TOS would be just as quick to build? And I'm sorry to hear about your wife's condition - my prayers go out to you and your wife to give you the strength as you go through this difficult time in your lives.
sweet!!!!!!!
brandomack
Sr Member
Steve, WOW! she looks absolutely amazing!
You're a machine.
You're a machine.
ProfKSergeev
Sr Member
Beautiful! I mastered a teensy Daedalus in 1:1,000th scale ages ago. This has long been one of my favorite designs. Eager to see your progress.
SteveNeill
Sr Member
Thanks a bunch you guys.
Steve
Steve
- Status
- Not open for further replies.
Similar threads
- Replies
- 1
- Views
- 277