Iron Man 2 Briefcase Build

that is THE best pepakura Iron Man get up ive seen bravo

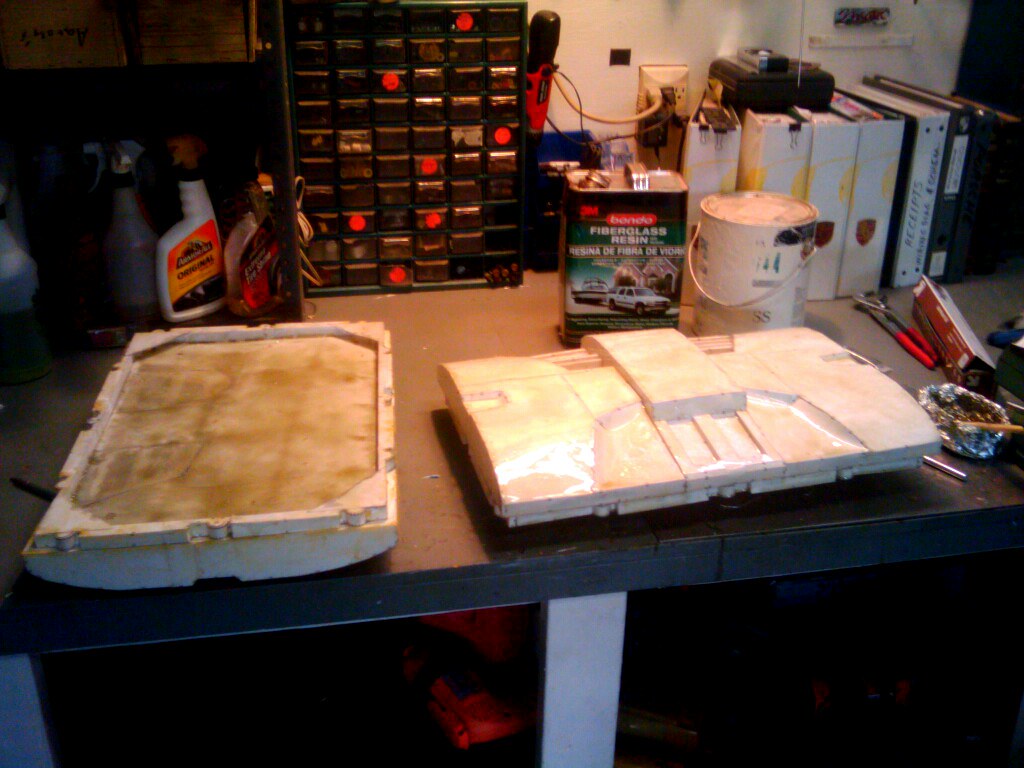
Thank you for the compliment. It took me about a year to make it. To make Pep IM suits look good, its more than just paper, resin and Fglass. The part many folks don't pay attention to are the details and getting a good paintable surface. I'm not saying I'm the best, but there are some tricks of the trade that help get a nice smooth and glossy surface to make it like an automotive paint job. Also there are some tricks working with bondo so it's easier to work with. Also having the proper tools help a ton. IE small files to get into the tight corners, various types of sanding blocks and above all else, a good imagination to be able to picture the end product. But what is all means, is a lot of time, sanding, and patience. =)
 
This item has been cancelled due to severe damage happening to the prop. Since I've started on other projects I don't plan on coming back to this one although I did send the file to ZEN... so he may be starting a build himself.
 
Last edited:
This is fantastic! How do you guys print out the files and type of paper do you use, how does this all work?

Keith -

There's an enormous information thread over in the Costuming forum dedicated to Pepakura, which is the name of a popular piece of software and also the Japanese word for "papercraft". Pop on over and have a read, it should be more than enough to get you started if you're interested. There are also plenty of us around to answer any additional questions you might have. :)

AGFRX7 -

AWESOME work. Kudos for all the prep and paint tips in your other thread as well - I do some minor composite work as an aircraft mechanic, but rarely does any of it have to be pristine enough for a really smooth paint job. I may have pick your brain a little down the road when I'm ready to start the filler process on my own build. :)
 
Ha ha - I thought so! I had my picture taken with you and we chatted for a short while... that briefcase is looking killer
 
Only had time last night to put a layer of fglass on side a and a layer of resin on side b. Gonna be working on this today and making some fglass progress =)

5388127914_00de265a40_b.jpg
 
Putting the pep file together took about 12 man hours.. but that included being distracted by the movies I would put on to act as white noise.

Papercraft is great for that. I watched a whole season of The Wire while working on a Guy-Manuel Daft Punk helmet. :lol
 
Gonna take a break from making anything for a while. My mother is going through Radiation and Chemo and I need to be there for her while she is still around. I did manage to take 1 picture recently of the progress. Side A has been fiberglassed and details have 1 coat of resin and have been sanded, waiting for coat #2 plus rivits in certain places. Please forgive me if I take a while to reply, but I need to be with family.

179673_1705319786760_1050960061_31928675_4012722_n.jpg
 
Man I know it has been awhile, and Im sorry to hear about your mom. Was just checking if you ever finished this project. Great job either way. Your attention to detail is amazing.
 
Man I know it has been awhile, and Im sorry to hear about your mom. Was just checking if you ever finished this project. Great job either way. Your attention to detail is amazing.

I also would like to hear how the project is going and how his mother is.

super cool can you give us the files?

If you read the first post, then just did the 30 seconds of googling you'd know dungbeetle has his own pep site with all of his files and you'd be able to get the files yourself instead of trying to bump an old thread asking for it.

That being said here is your file:

IMsuitcase.pdo - 4shared.com - online file sharing and storage - download
 
Okay... Time to revisit this project after a few years. Long story short, when I added th expanding foam to the interior of the briefcase, it was too much for the resin and fiberglass and it basically ripped it open. I had other fish to fry so this went on the forever back burner. The good news is that now that I have a 3D printer and some skills in rendering, I have a more more detailed 3d file that I built and I have started printing up the pieces already. =)

Completed render
ImageUploadedByTapatalk1438967398.776980.jpg

Breaking the parts down
ImageUploadedByTapatalk1438967407.994314.jpg


Sent from my iPad using Tapatalk
 
This thread is more than 7 years old.

Your message may be considered spam for the following reasons:

  1. This thread hasn't been active in some time. A new post in this thread might not contribute constructively to this discussion after so long.
If you wish to reply despite these issues, check the box below before replying.
Be aware that malicious compliance may result in more severe penalties.
Back
Top