torsoboy
Sr Member
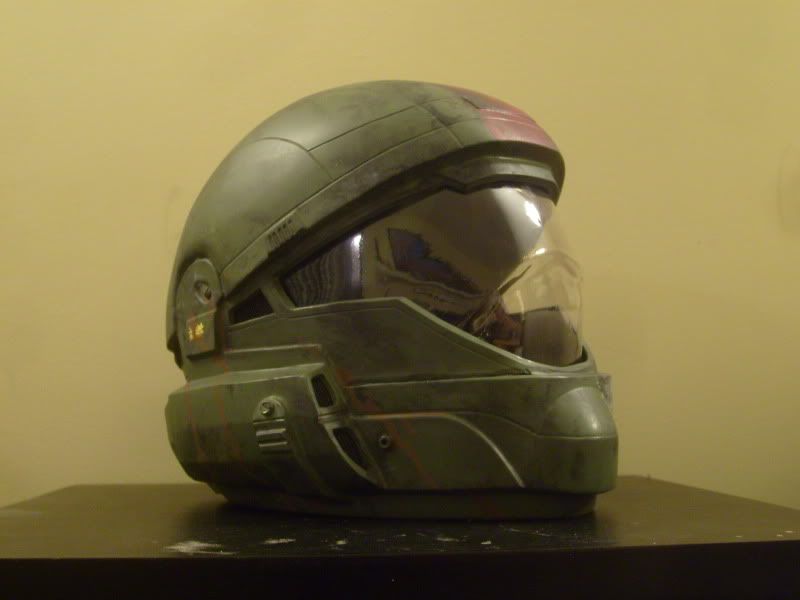
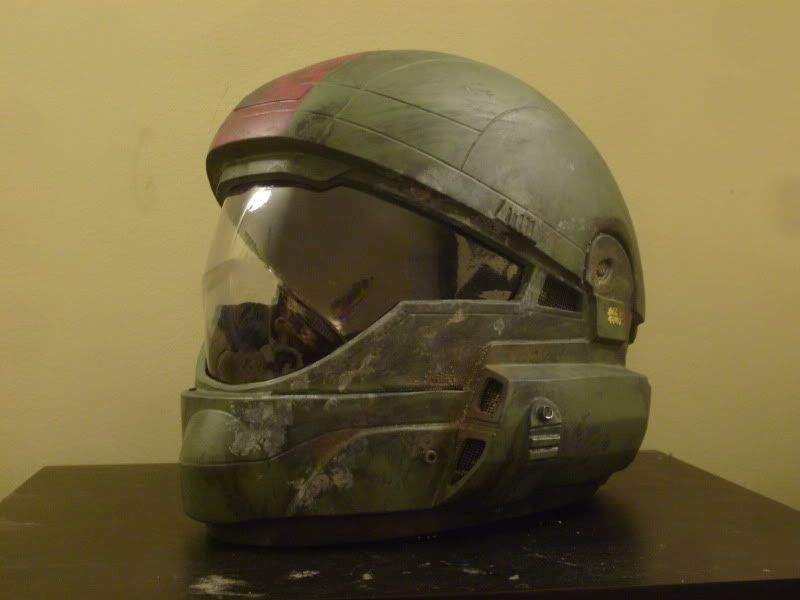
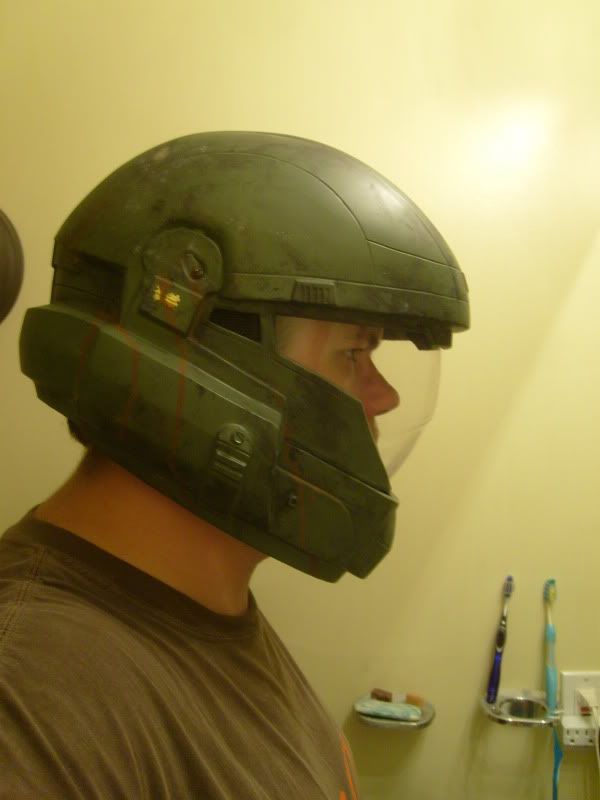
Hello RPF! I'm posting my progress on my Legacy Effects-style ODST helmet from the live action trailer "We Are ODST" for Halo 3:ODST.
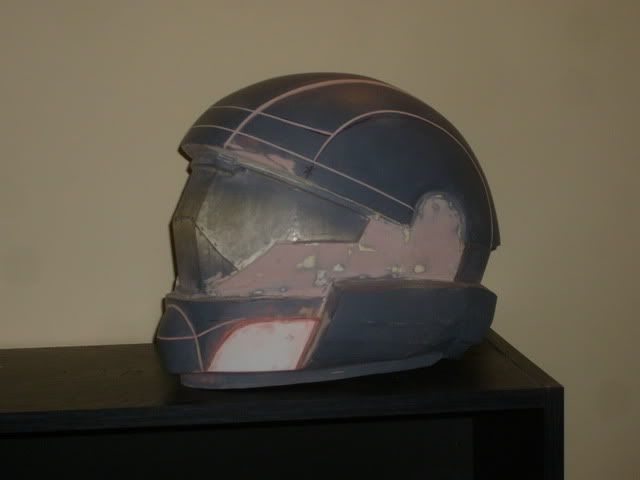
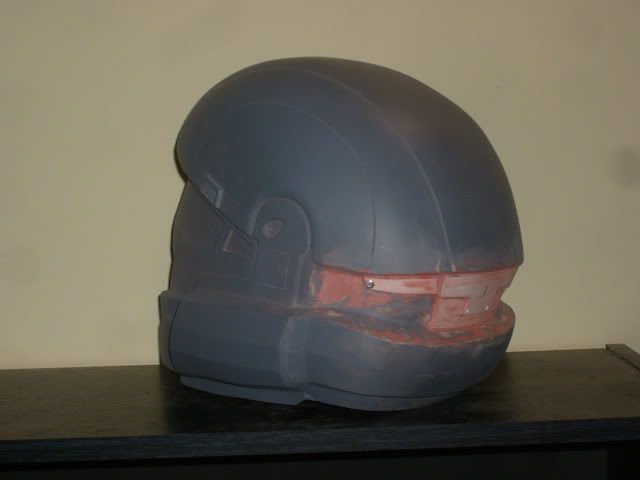
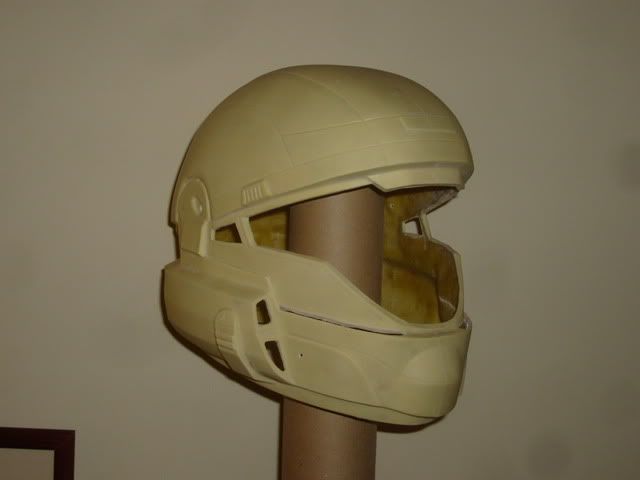
I started off as that medium-definition pepakura file that's floating around out there. I honestly forget who modeled the 3d file, though. I just needed a well-proportioned base. From there, though, I ripped several significant sections of it off and rebuilt them to mimmick the Legacy Effects helmet. This reconstruction included the jaw area, the visor opening, the side vent areas, the ears, and the sides of the dome. I also added the LE-style bottom rim to the helmet. The rest was just left there as a good base to sculpt on later.
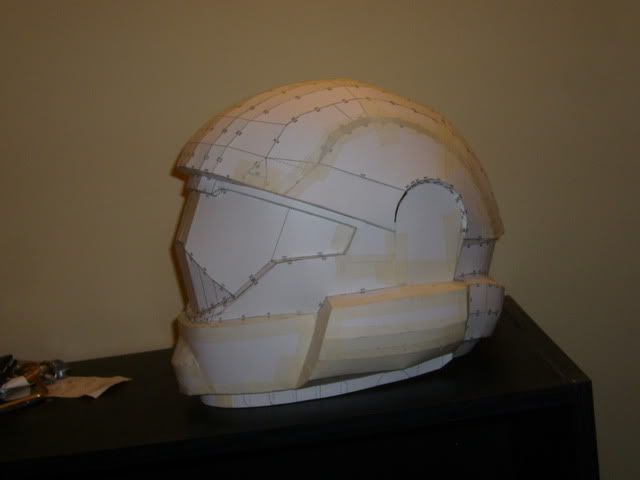
After fiberglassing the paper model, I sculpted in details with bondo, and I used some 2mm sintra and some "For Sale" sign plastic from Wal-Mart to add details. I also added divots in certain places for bolts and screws to go on the final fiberglass castings.
Then I molded it using Smooth-On rubber, and I built the mother mold into each half (so that it was just two big pieces that bolt together).
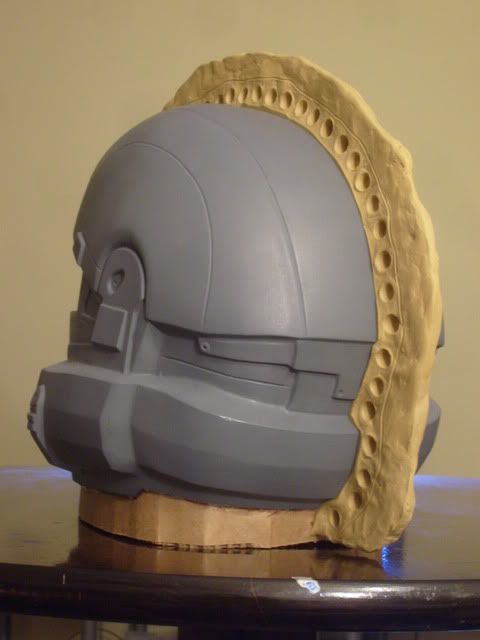
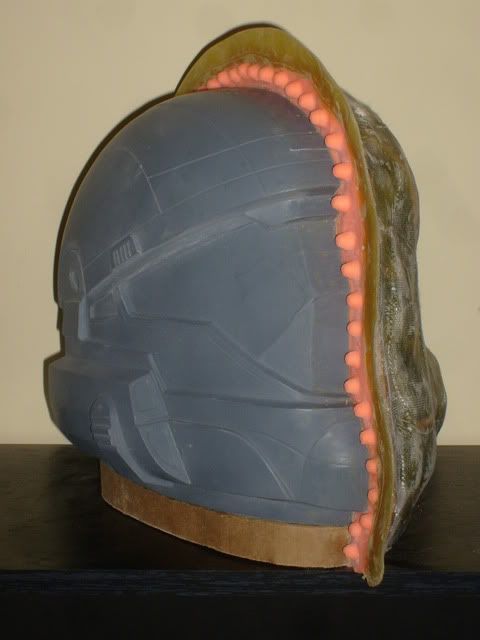
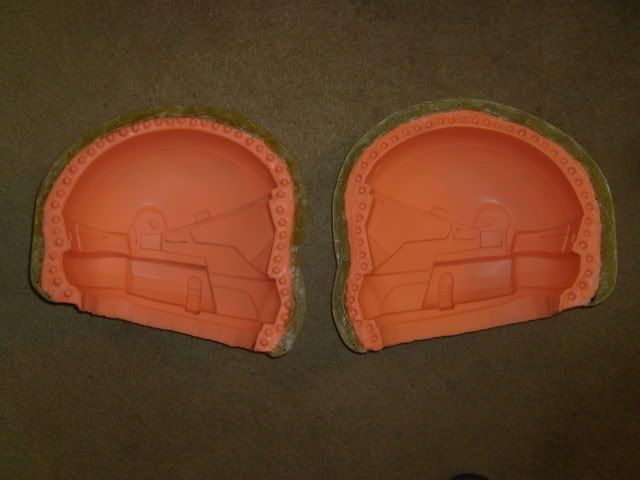
The first few castings I've done have just been fiberglass resin with microbulb filler, backed with fiberglass cloth (two layers). The castings are pretty light and pretty strong, and I've only encountered one or two bubbles. I tried a casting with Smooth-On's Smooth Cast Onyx, and it was an overall success, but due to the speed at which it sets up (I didn't have any curing retardant), there will be some minor bondo work on the bottom of the ears of that particular helmet. For future castings, we're just sticking with the fiberglass resin and micro bulb filler. So far we're 3 helmets into the 4 we need for our group costume.
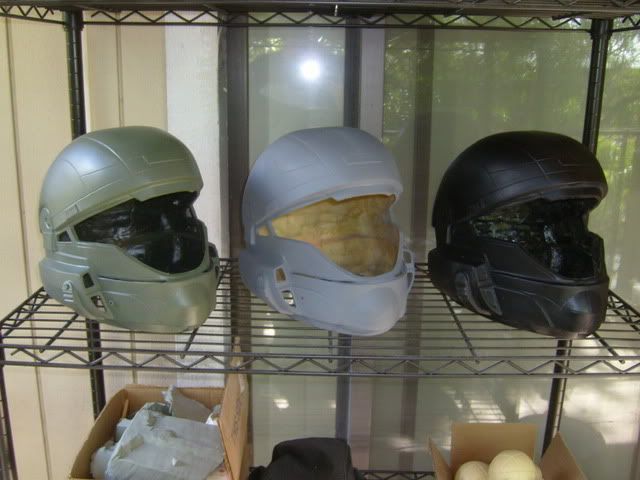
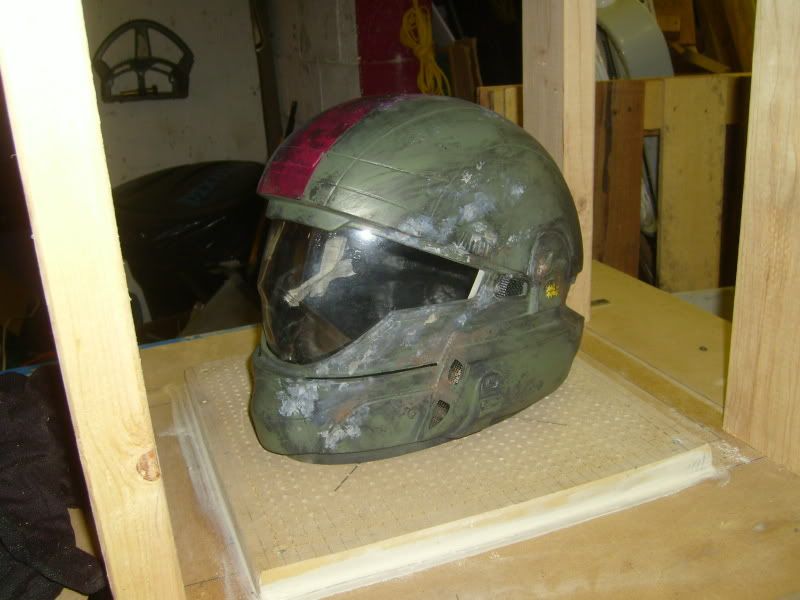
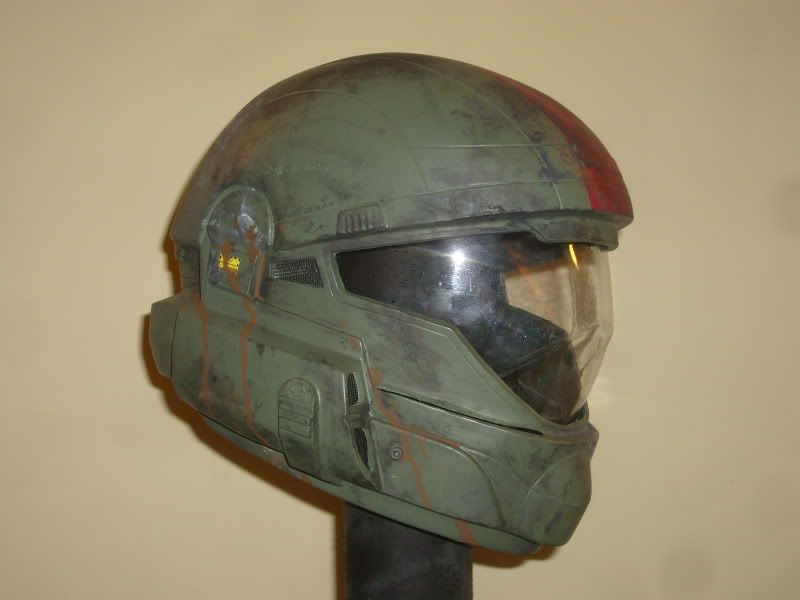
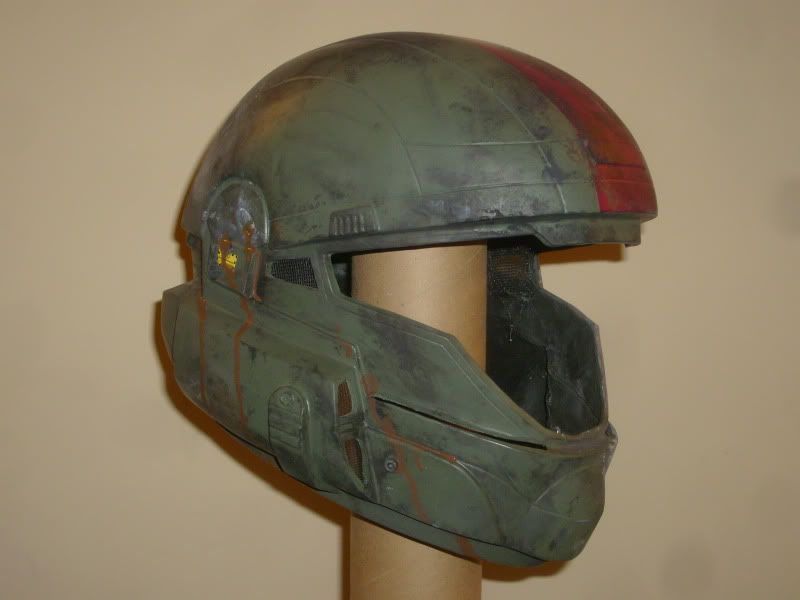
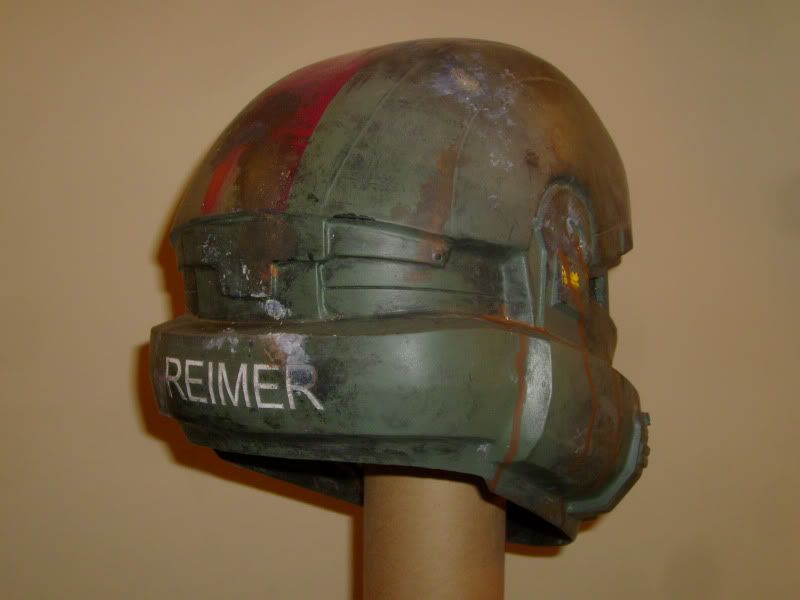
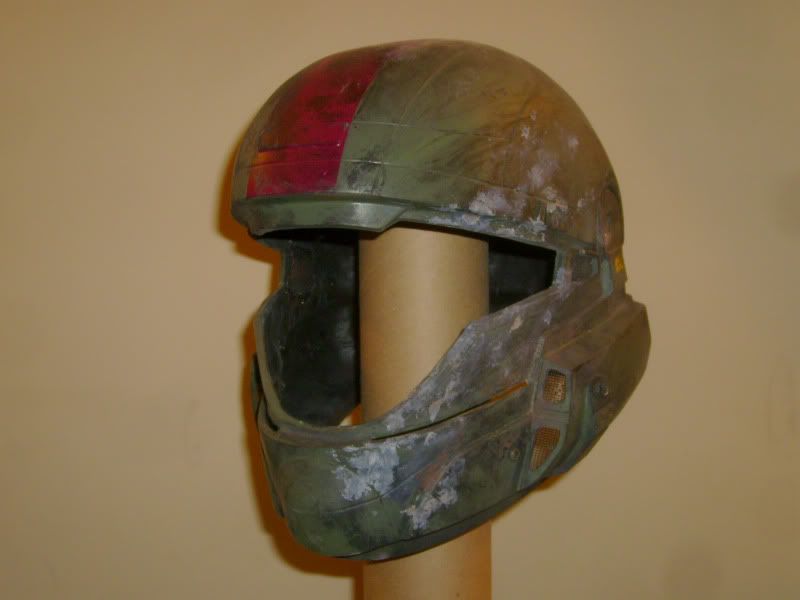
Today I got around to painting my particular helmet. I've been using a combination of acrylic paints, mineral spirits, krylon clear flat, and real dirt to add my effects, not to mention the numerous dings and scratches applied with a screwdriver and light sanding work.
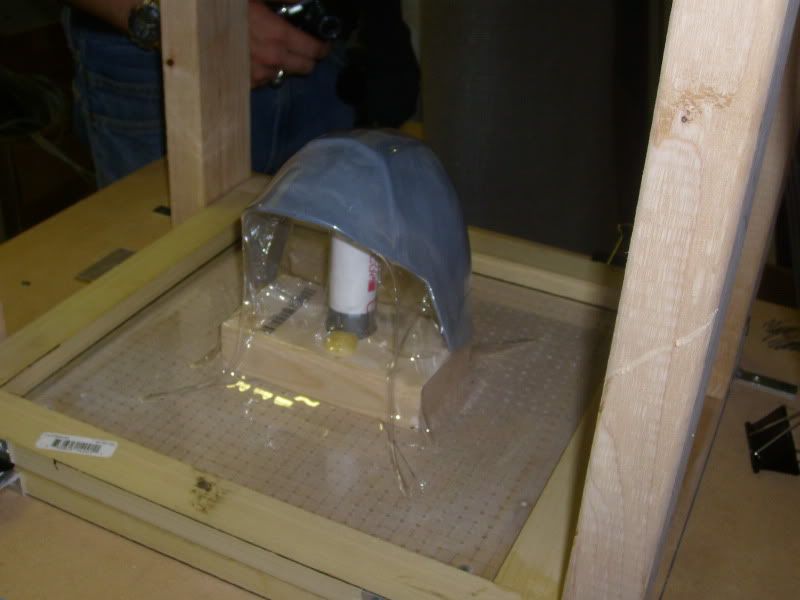
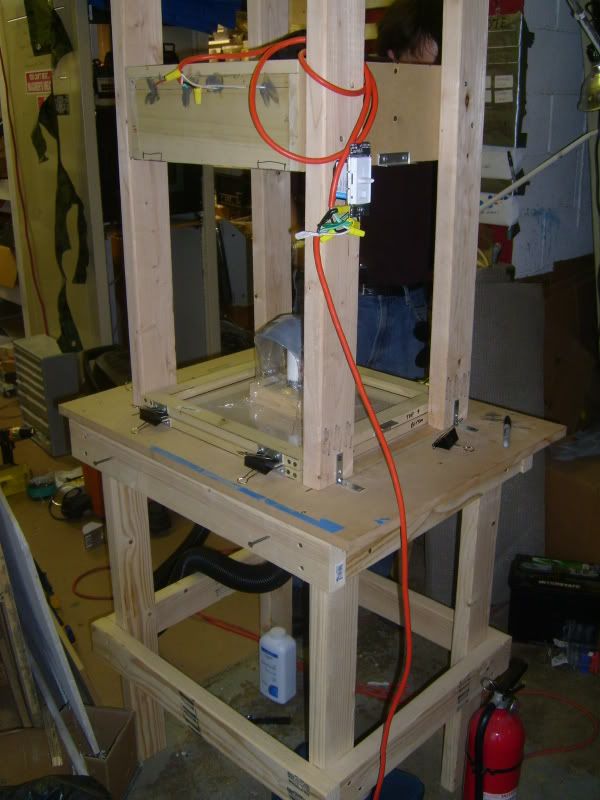
Right now we're in the process of building our small vacuum-forming table (using Volpin Prop's design), and I just ordered our PETG plastic for the visors. My partner in crime says that if the plastic arrives by the weekend, we might have our visors ready to install by Sunday. We'll see how that goes, given shipping and all.
Anyways, thought I'd put up another helmet of mine! Hope you enjoy! I thoroughly appreciae comments I receive from the RPF!
I started off as that medium-definition pepakura file that's floating around out there. I honestly forget who modeled the 3d file, though. I just needed a well-proportioned base. From there, though, I ripped several significant sections of it off and rebuilt them to mimmick the Legacy Effects helmet. This reconstruction included the jaw area, the visor opening, the side vent areas, the ears, and the sides of the dome. I also added the LE-style bottom rim to the helmet. The rest was just left there as a good base to sculpt on later.

After fiberglassing the paper model, I sculpted in details with bondo, and I used some 2mm sintra and some "For Sale" sign plastic from Wal-Mart to add details. I also added divots in certain places for bolts and screws to go on the final fiberglass castings.


Then I molded it using Smooth-On rubber, and I built the mother mold into each half (so that it was just two big pieces that bolt together).


The first few castings I've done have just been fiberglass resin with microbulb filler, backed with fiberglass cloth (two layers). The castings are pretty light and pretty strong, and I've only encountered one or two bubbles. I tried a casting with Smooth-On's Smooth Cast Onyx, and it was an overall success, but due to the speed at which it sets up (I didn't have any curing retardant), there will be some minor bondo work on the bottom of the ears of that particular helmet. For future castings, we're just sticking with the fiberglass resin and micro bulb filler. So far we're 3 helmets into the 4 we need for our group costume.


Today I got around to painting my particular helmet. I've been using a combination of acrylic paints, mineral spirits, krylon clear flat, and real dirt to add my effects, not to mention the numerous dings and scratches applied with a screwdriver and light sanding work.


Right now we're in the process of building our small vacuum-forming table (using Volpin Prop's design), and I just ordered our PETG plastic for the visors. My partner in crime says that if the plastic arrives by the weekend, we might have our visors ready to install by Sunday. We'll see how that goes, given shipping and all.
Anyways, thought I'd put up another helmet of mine! Hope you enjoy! I thoroughly appreciae comments I receive from the RPF!

