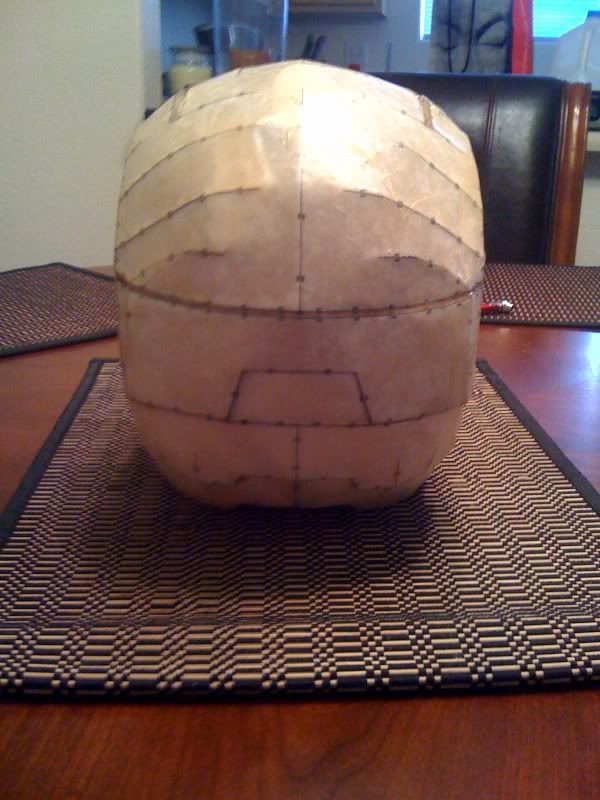
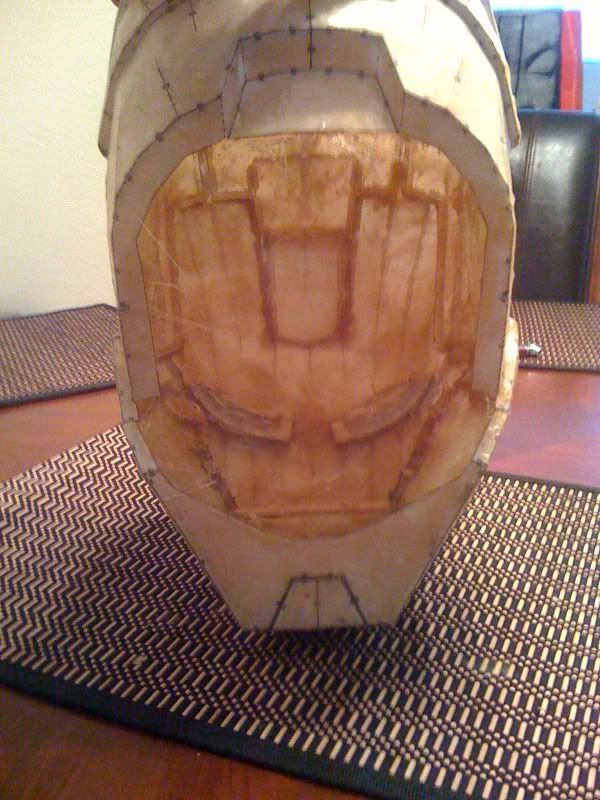
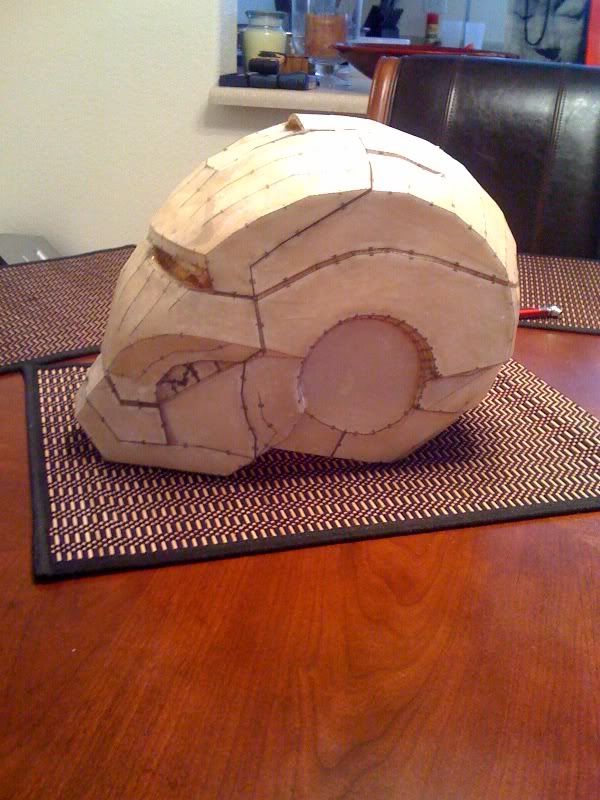
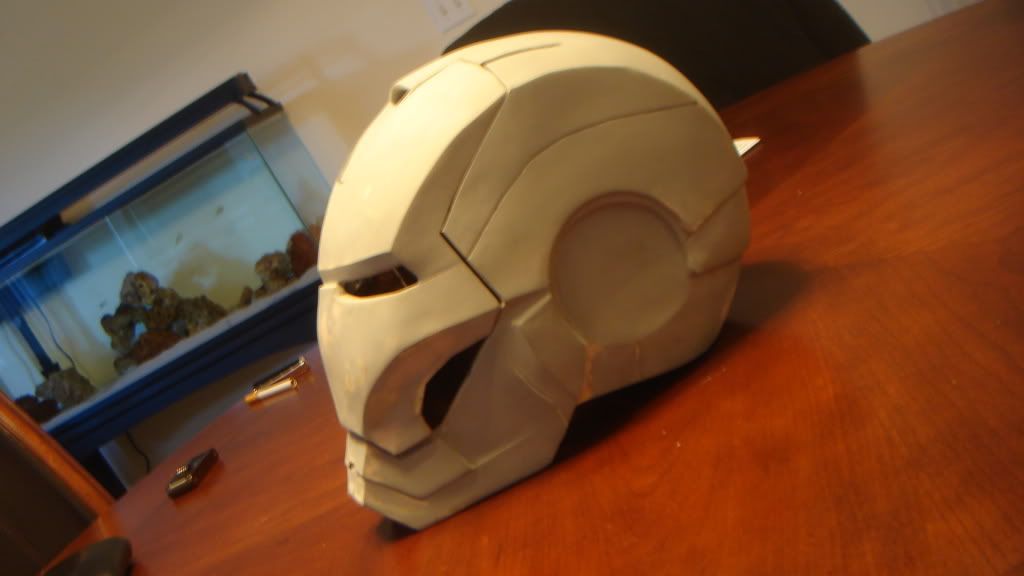
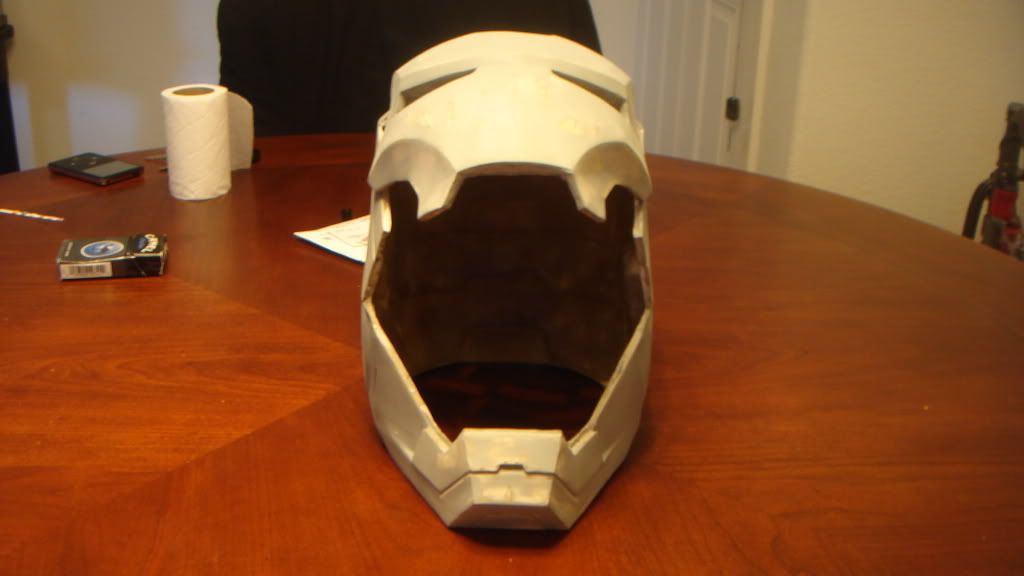
Vegas Vader's V2 iron man helmet filled and primed

Vegas Vader 2

Well-Known Member
first off i would like to thank sharkhead and dubean33 for offering such a accurate model to work on this came out flawless!!(y)thumbsup

it took me almost a month working on and off on this helmet i wanted to make sure all the cuts and folds where as close to perfect. it was a pretty fun build.:)

i just finished brushing 3 coats of resin on the outside and laying some FG mat on the inside. i will then add a layer of smooth-on plastic on the inside to further thicken the inside before i cut the faceplate, jaw section and rear panel i will work on 4 separate pieces.
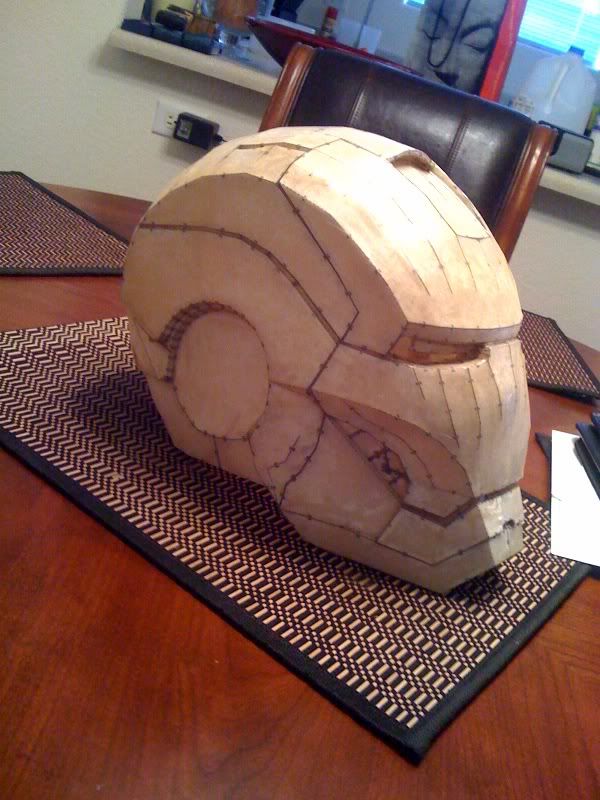
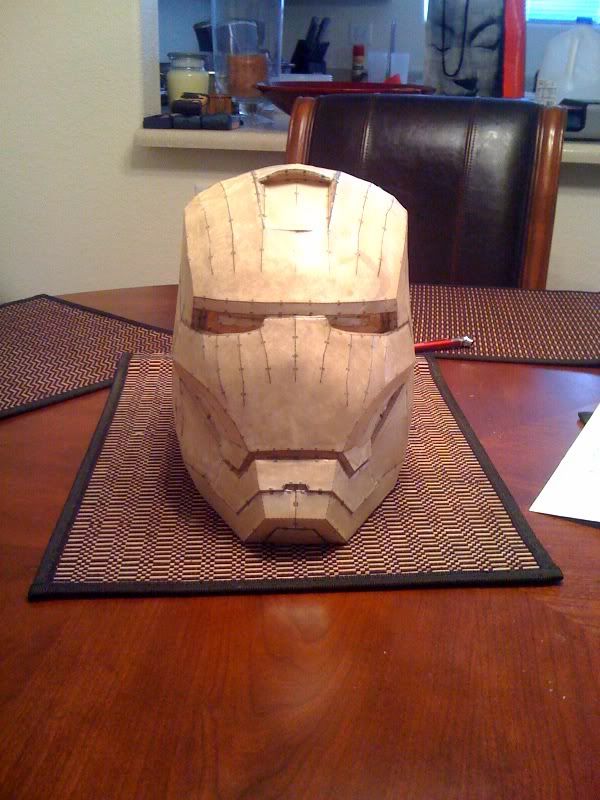
photo-4-2.jpg


photo-1-2.jpg


photo-3-3.jpg


photo-5-1.jpg


photo-2-3.jpg


i will use dynalite body filler for the fairing work.. i will keep this thread up to date as i go.:)
 
Last edited:
Re: Vegas Vader's V2 iron man helmet build by sharkhead and dubean33

Looking very nice. I'm doing the same thing and hoping mine comes out just as nice. I've prolly got another day or two of cutting and gluing. Will watch this thread
 
thanks aron42486:)

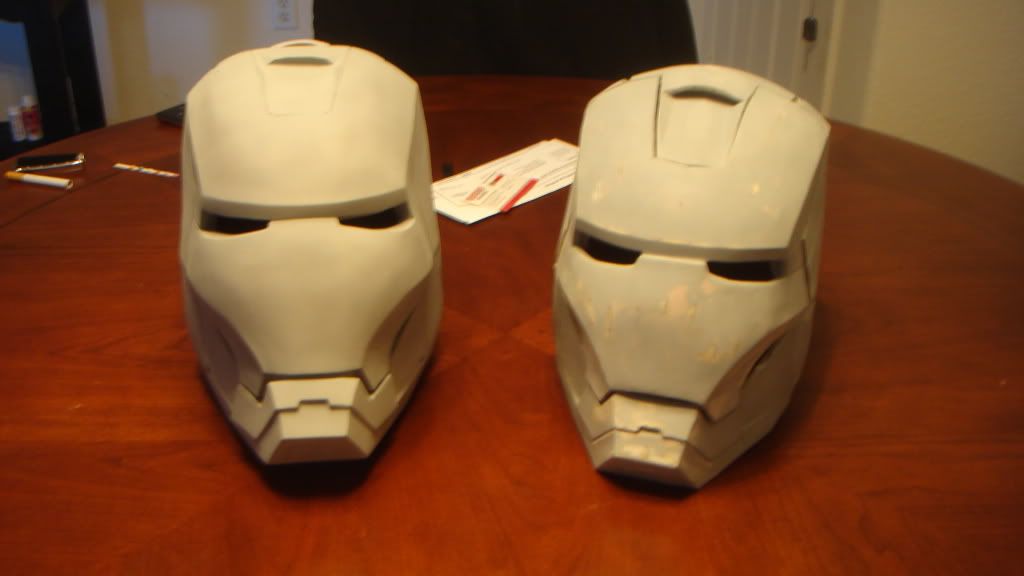
i finally had time to work on the helmet yesterday did allot of smoothing and sharpening but this is still far from done. but you will get the idea on how sharp this helmet will look like compared to the first version i built and casted.:)

DSC07820.jpg


you may notice the jaw details are not there. i had to grind them away due to the resin fusing the jaw details to the faceplate. not a big deal tho. i will just start pepping the detail separately then add it back in again
DSC07819.jpg


here we have the DUNGBEETLE v2 that i built, molded and casted next to the new helmet.

DSC07821.jpg
 
thanks DN,

i was off yesterday so i had time to catch up on some progress the smoothing work was all done in a day. now i will start sharpening the edges and lines.

i applied the filler in thin layers then waited before it fully cured i then started shaping it with norton grainfin p150 grit sandpaper when the shaping was done, i moved on to 60 coarse sandpaper..

it would also help if you had a black&decker mouse sander this would be good to use when smoothing the top of the helmet. but you will still have to sand it by hand after to remove the tiny swirl marks left by the mouse sander.
 
I don't want to jack your thread so I won't post pics/links.. but look in my profile for my threads started to see it... pics nearest the end are most recent.

thanks DN,

i was off yesterday so i had time to catch up on some progress the smoothing work was all done in a day. now i will start sharpening the edges and lines.

i applied the filler in thin layers then waited before it fully cured i then started shaping it with norton grainfin p150 grit sandpaper when the shaping was done, i moved on to 60 coarse sandpaper..

it would also help if you had a black&decker mouse sander this would be good to use when smoothing the top of the helmet. but you will still have to sand it by hand after to remove the tiny swirl marks left by the mouse sander.
 
I also noticed you cut out the eyes? I might do that too before casting as those details kind of got lost during the resin/smooth on stage. Ditto on the cheeks.
 
i can easily rebuild the eyes and cheeks using styrene it will be allot more sharper. are you done with the surface work on your helmet?
 
No I am not. And trust me those pictures make it look like its rougher than it is. It is getting quite "baby ass smooth"

I assume you are casting your helmet also?

i can easily rebuild the eyes and cheeks using styrene it will be allot more sharper. are you done with the surface work on your helmet?
 
i might cast it but if i do it will be cast in 3 pieces using gelcoat fiberglass. i have made over a dozen copies of my v1 helmet using smoothcast now i would like to try something different something more durable
 
Is this route a bit more expensive?

P.S. I am thinking of doing a 3 part still.

But I'd need to dremel the faceplate off and the jaw and then build in the lips for the edges. So that the faceplate has an edge to sit on the edge of the crown, etc.

Currently its all melded together.

I am not sure whether to do crown, jaw and faceplate... or crown, backpiece and faceplate.

i might cast it but if i do it will be cast in 3 pieces using gelcoat fiberglass. i have made over a dozen copies of my v1 helmet using smoothcast now i would like to try something different something more durable
 
here we have the DUNGBEETLE v2 that i built, molded and casted next to the new helmet.

DSC07821.jpg
Your helmet is turning out amazing. Pretty dawg gone smooth too!:thumbsup

I have done the same dungbeetle helmet. Though a very nice helmet, I think the sharkhead/dubean33 helmet is much more accurate. I will be starting the pep on it tonight. If mine turns out as good as yours I will for sure be happy.:)
 
Is this route a bit more expensive?

P.S. I am thinking of doing a 3 part still.

But I'd need to dremel the faceplate off and the jaw and then build in the lips for the edges. So that the faceplate has an edge to sit on the edge of the crown, etc.

Currently its all melded together.

I am not sure whether to do crown, jaw and faceplate... or crown, backpiece and faceplate.

i would recommend using a very thin cut off disk to remove the faceplate.. thats what i did on mine the lips on the faceplate and the helmet are still intact.

i could always remove the jaw when im done casting the 3 pieces.
i will be doing the crown faceplate and back panel when im done just to make the helmet a more solid piece if that makes any sense..
 
Your helmet is turning out amazing. Pretty dawg gone smooth too!:thumbsup

I have done the same dungbeetle helmet. Though a very nice helmet, I think the sharkhead/dubean33 helmet is much more accurate. I will be starting the pep on it tonight. If mine turns out as good as yours I will for sure be happy.:)

thank you.:) just be patient and before you resin the outside just make sure everything is lined up perfectly and if you can, try to make support struts for the helmet that would really help..
 
Well
Looking very nice. I'm doing the same thing and hoping mine comes out just as nice. I've prolly got another day or two of cutting and gluing. Will watch this thread
 
thank you.:) just be patient and before you resin the outside just make sure everything is lined up perfectly and if you can, try to make support struts for the helmet that would really help..

There is one that came with the pep file. It runs from ear to ear. Do you think that will suffice or should I make more?
 
There is one that came with the pep file. It runs from ear to ear. Do you think that will suffice or should I make more?

the one that came with the file is just too flimsy/weak even if resin is applied thats my opinion.:rolleyes i used pencil like wooden dowels to further strengthen the model while i applied 4 coats of resin on the outside. when it cured, i started laying fiberglass on the inside once everything was done i trimmed out the supports then started laying a second layer of FG mat.. worked out pretty well.:)

ive decided to make the full mk3 suit modeled be dancing fool. i finish putting together both shoulder bells both biceps elbows and forearms next up would be the handplate and chest armor..:love and all of the peices will be as smooth and as sharp as the helmet when im done with them..:):)
 
Back
Top