Using a vinyl cutter for Pepakura-many pictures

Skidmark

New Member
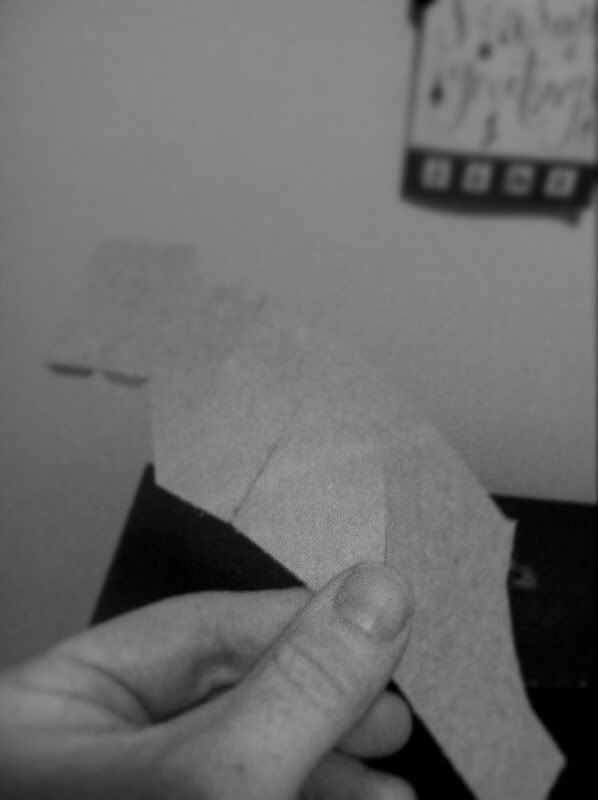
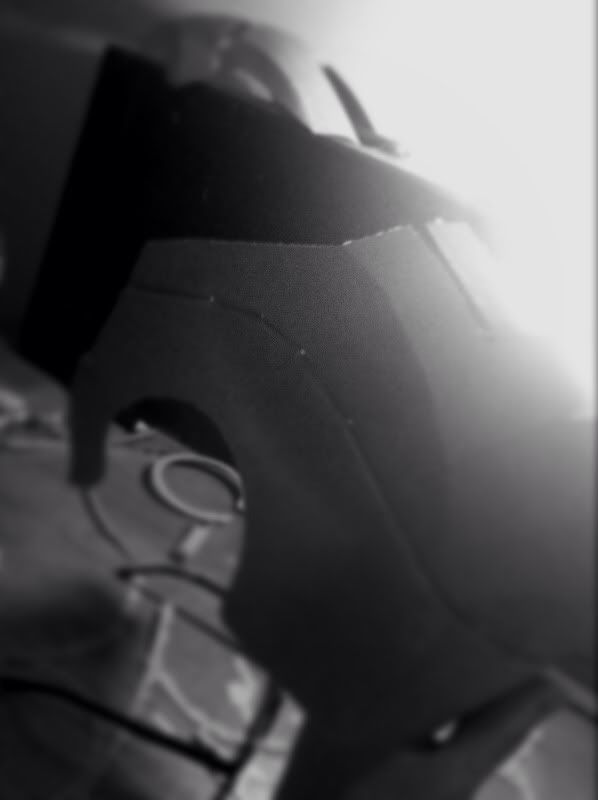
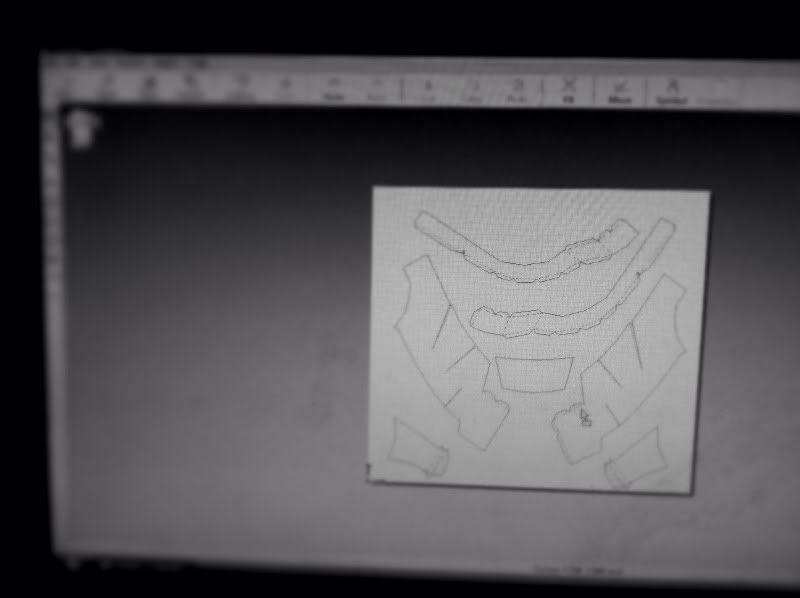
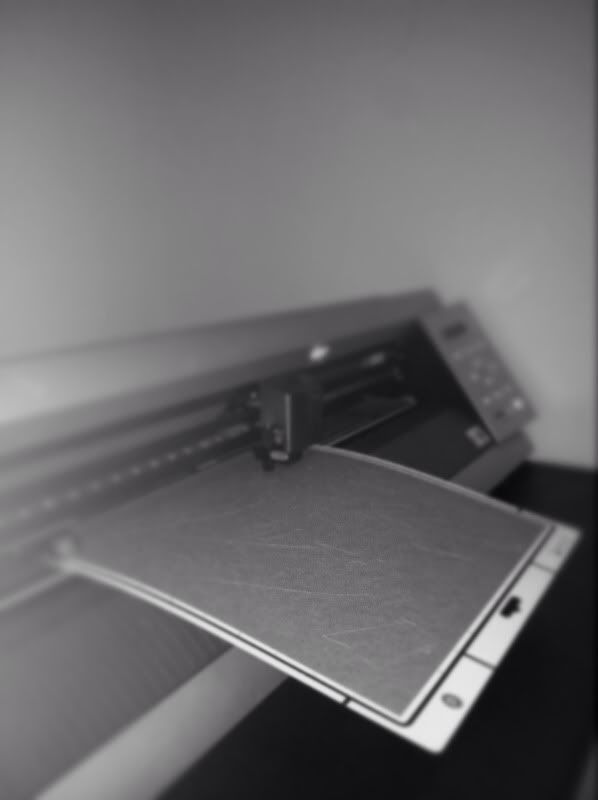
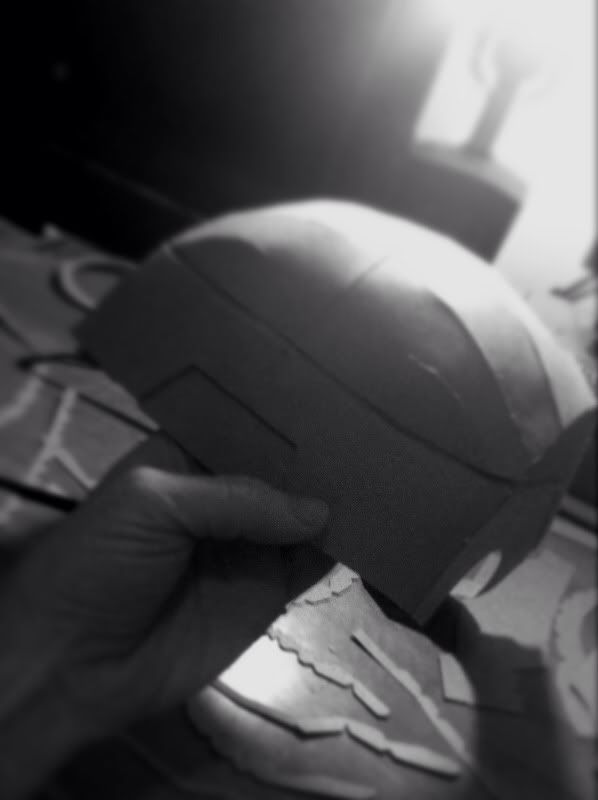
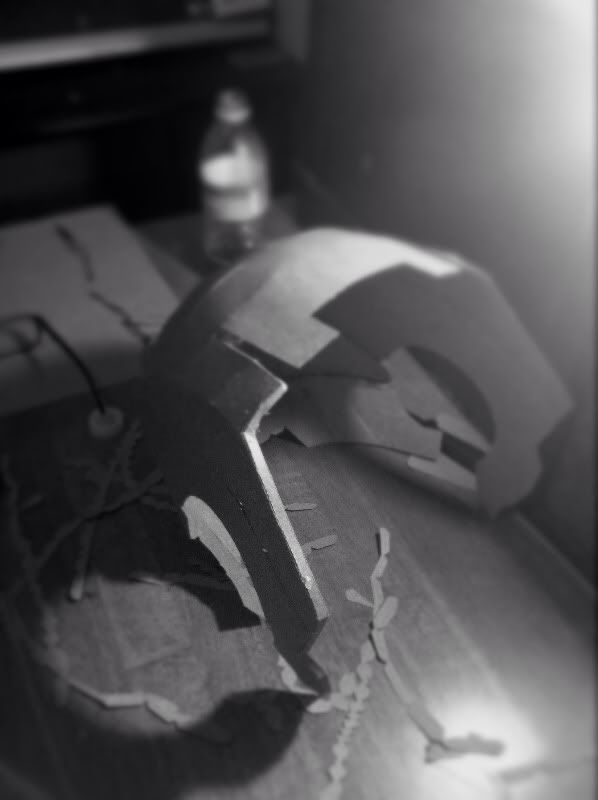
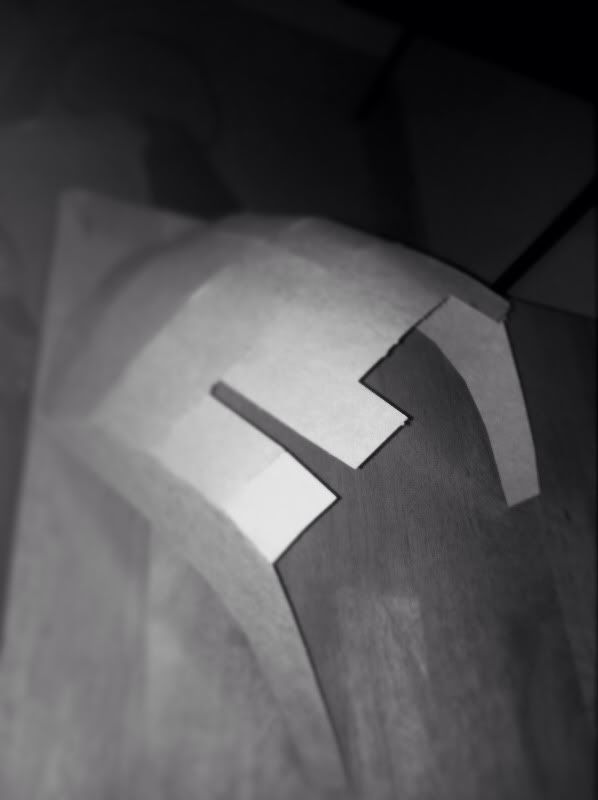
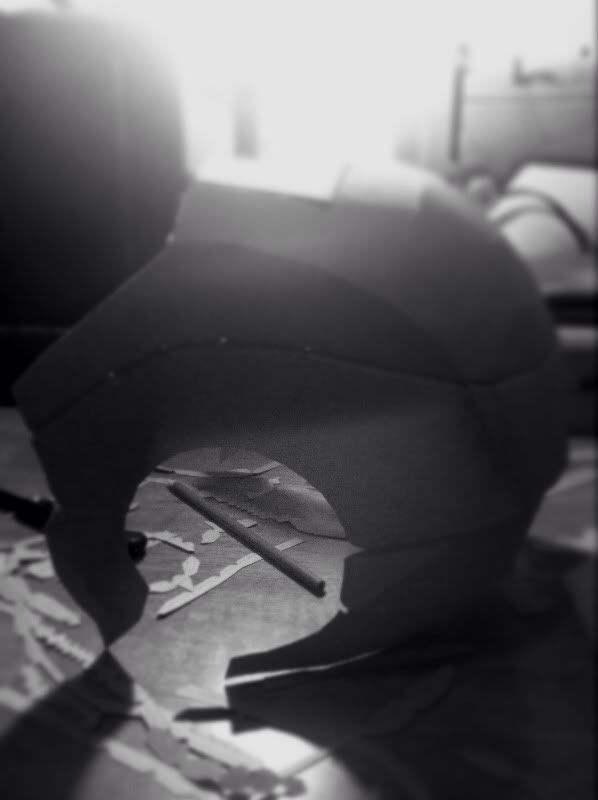
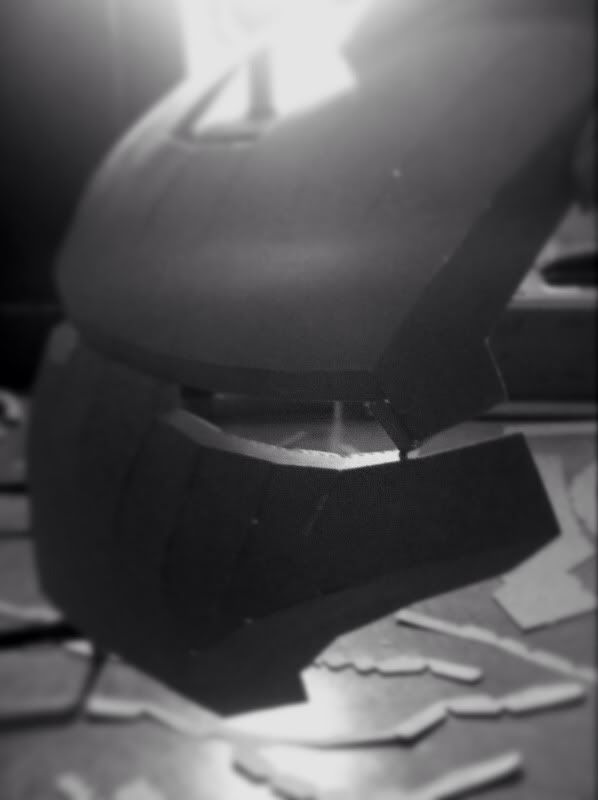
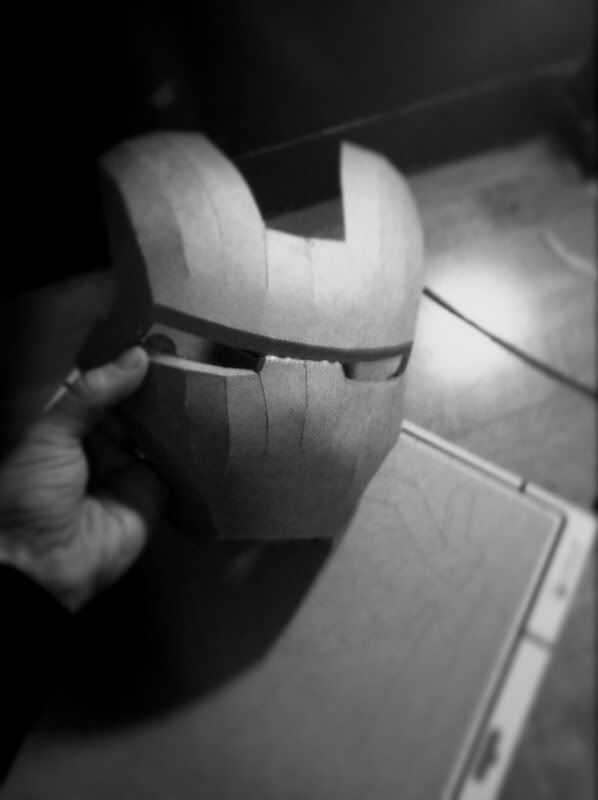
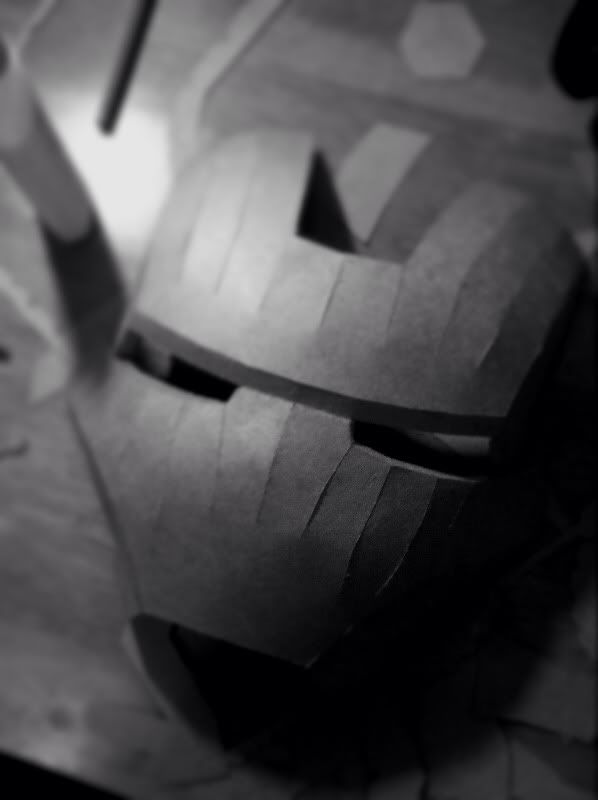
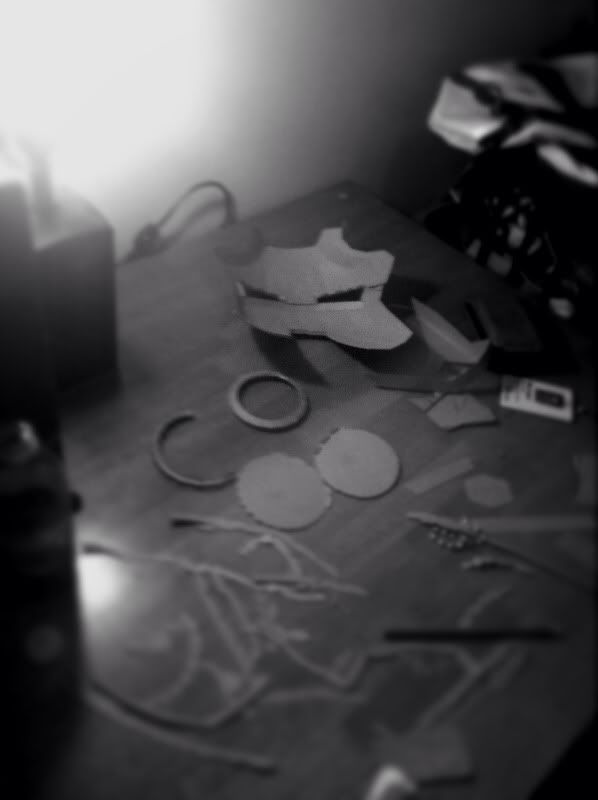
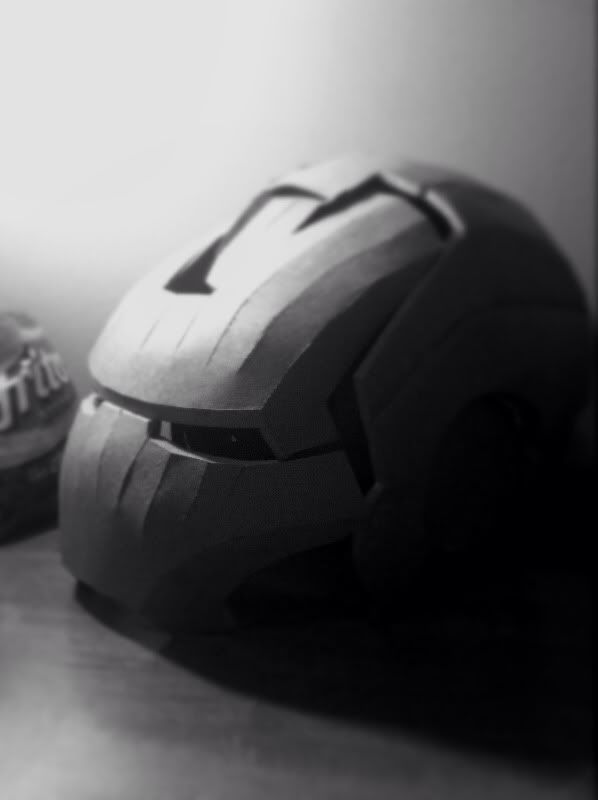
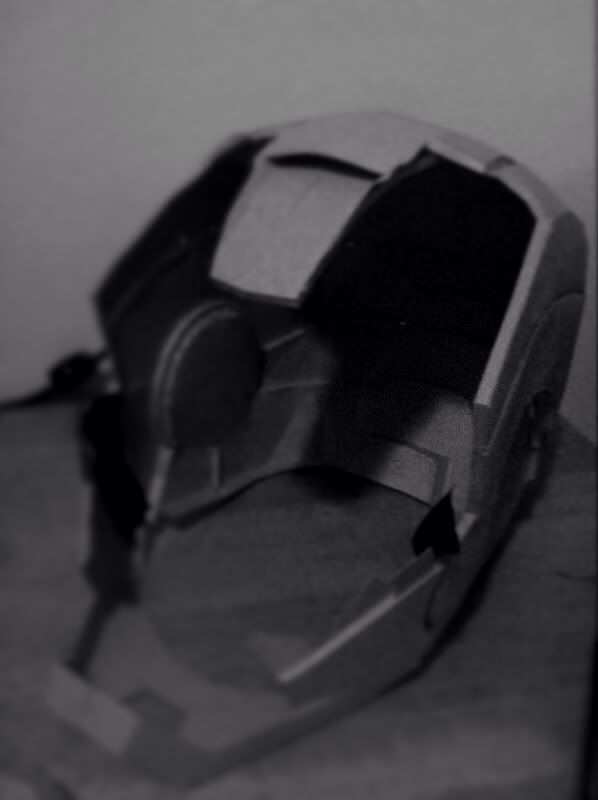
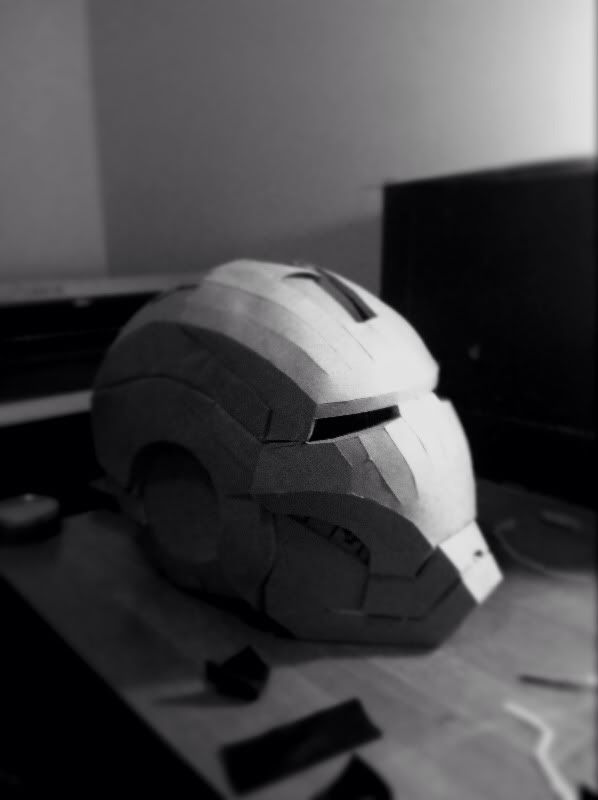
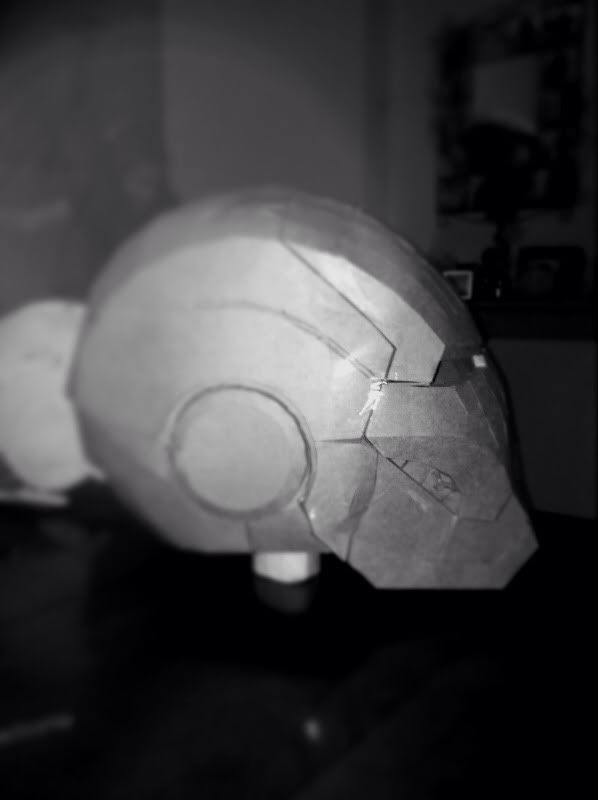
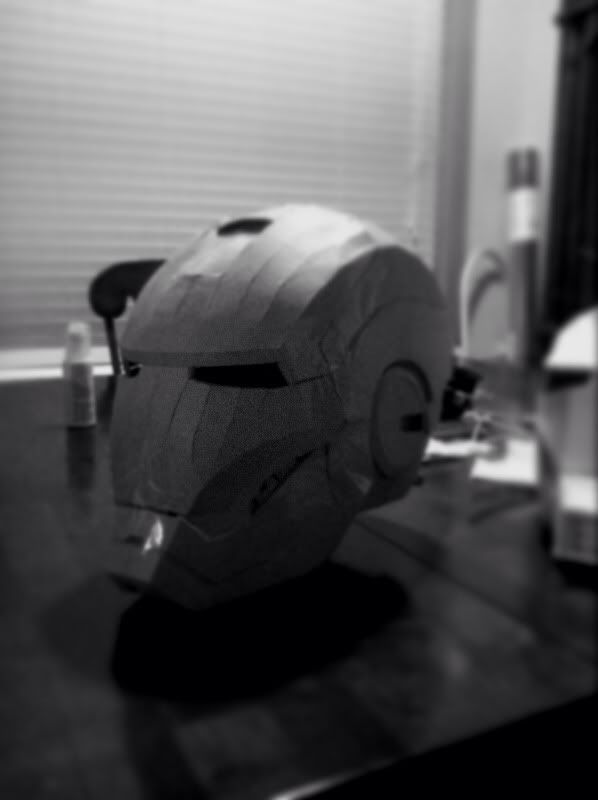
This is only my second stab at pepakura. I own a Roland GX-24 vinyl cutter and decided to force a try at using it to cut the card stock for pepakura. I wanted to start with something intricate so I decided on the Sharkhead / Dubean33- Iron Man Mark VI HD helmet. There is a few steps needed before you can use the file on a vinyl cutter. I first purchased the key for the program thinking that exporting the file to EPS would work, but the export portion does not function properly. So I opted for printing it to file using a PDF printer called foxPDF, but I think as long as a person prints to file and makes sure its in PDF all should be ok no matter the program. Before printing make sure to take off tab nubering on your pep file, this will save you a headache later when cutting. Next I printed a copy of all the pages for a hard copy to refer to as directions. The vinyl cutter still requires another step before it can cut the files. I used CorelX to open the file and export it to EPS. After exporting to EPS I opened that file in Roland Cut Studio were it is prepared for the vinyl cutter by simply adjusting the image for the cutter's loaded paper. To cut the paper you need a backing on the cardstock. I used one from Criket that I purchased at Hobby Lobby for 20 dollars(pack of 2). Speed of the cutter was set to 15 cm/2nd and 150lbs pressure. To load and cut all 10 sheets took only an hour. To adjust the file in Pepakura designer, print to file, open in Corel Drax, export and load to Roland Cut studio took about thirty minutes. Total time to adjust and cut was about an hour and a half. A big bonus was the cutter also cuts the fold lines which helps out later in time saving versus cutting with a razor knife and trying to eyeball and estimate folds. *note some very narrow folds in the circumference of the HD helmet still gave me headaches.
0e77ba7f.jpg


ac87aeed.jpg


c09e0075.jpg


b0833b69.jpg


291afd73.jpg


6d91f61d.jpg


67bc1d5a.jpg


fe402f04.jpg


ce1724e9.jpg


c4b05819.jpg


f3c1e513.jpg


fdf2dcac.jpg


ca92fc42.jpg


f23696a8.jpg


698cc67d.jpg


e2a704e7.jpg


b826de4d.jpg


8ec57b8b.jpg
 
Last edited:
This pep file is three pieces when finished: jaw, face, and head. It is held together with tape for the pictures and for final fitting test before resin. Also missing in the photos are the LED housings in the file. I didn't like them for the purpose of creating a bust, instead I'm going with an LED setup that occupies the entire cavity.
 
Wow, someone had the guts to try this out, good job! I always wondered if this was possible. Does your cutter have a sensor that picks up a registration mark to match the cuts to what's printed?
 
No it doesn't. It was never intended for this. When the files are created your machine pics up on the paper size with optical sensors front and back and rollers on the sides. I used a 13x13 mat with 12x12 paper. My files were converted to 12x12 in pep designer before sending them up the channel to Corel and on to Roland cut. With the 12x12 centered on the mat you just need to be sure to start "orientation on the corner of the paper and the cutter views that point as the point in the corner of the cut image in Roland Cut Studio. It's a quick process around 30 seconds to set up for each cut sheet
 
also there is nothing printed before hand. its simply cut into a blank sheet of cardstock. This particular kind i'm using is papercraft (think cardboard) I learned quickly that this type leaves fibers on the cutting mat's adhesive so I have since went on to plain white cardstock.
 
This thread is more than 12 years old.

Your message may be considered spam for the following reasons:

  1. This thread hasn't been active in some time. A new post in this thread might not contribute constructively to this discussion after so long.
If you wish to reply despite these issues, check the box below before replying.
Be aware that malicious compliance may result in more severe penalties.
Back
Top