TK7713Gra30
Active Member
Hi all,
As promoised the continuing upgrades, this was up my sleeve but real gutted not many replies before.
Please look for other details as previous threads.
Here is how I did it, PM anytime if you like, all scratch
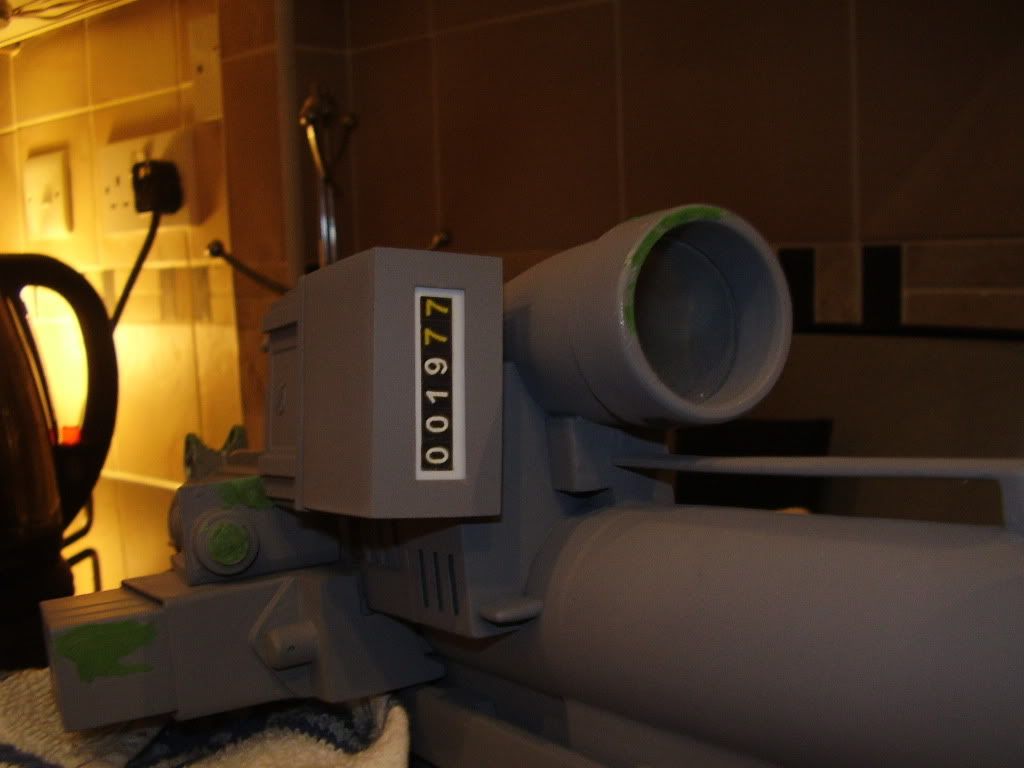
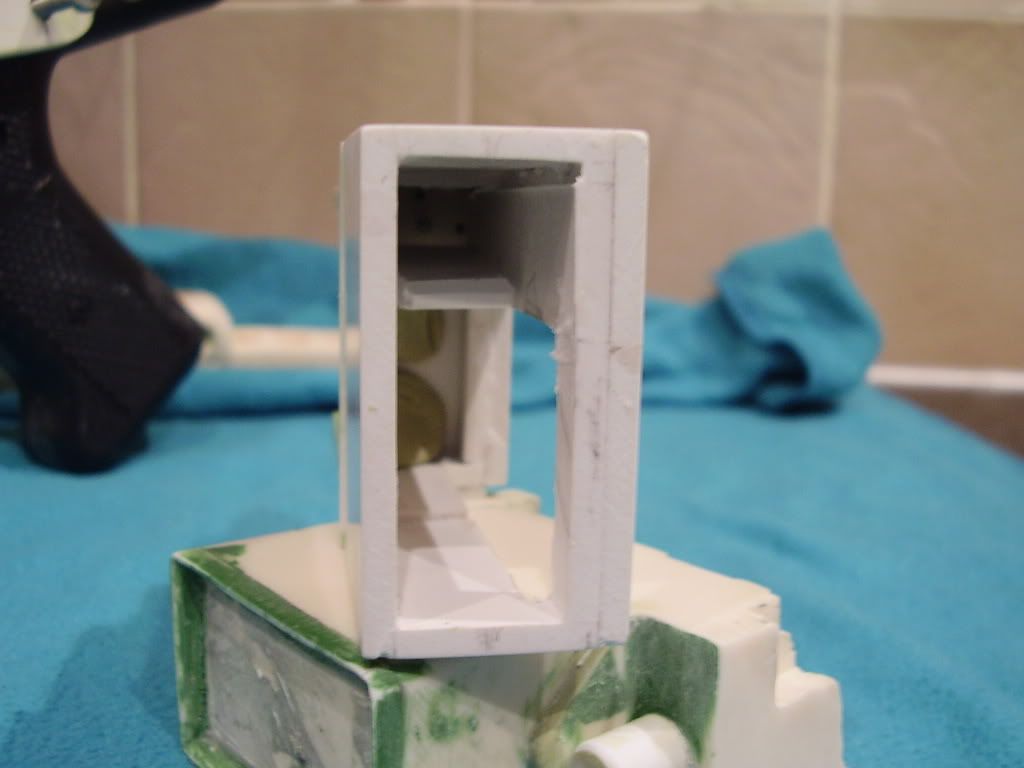
Hollow end aas all plastic,
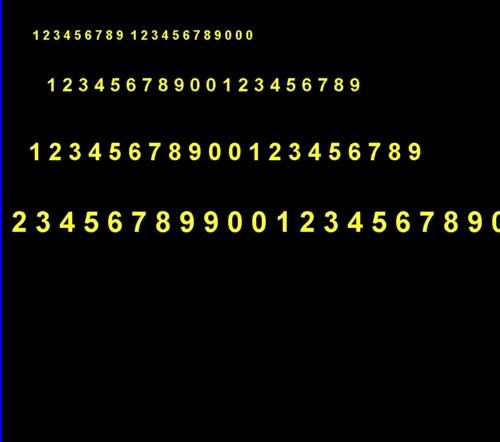
print numbers, I messed up as I ran out of ink and printed yellows at the local store, i painted on top the white and cut in strips
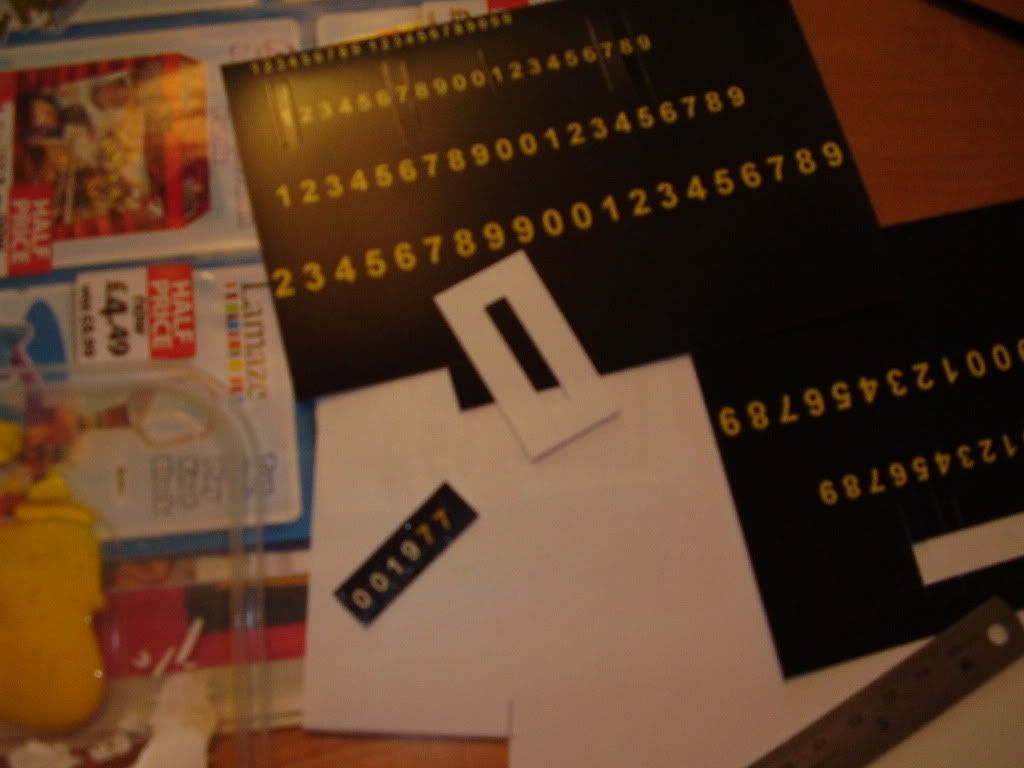
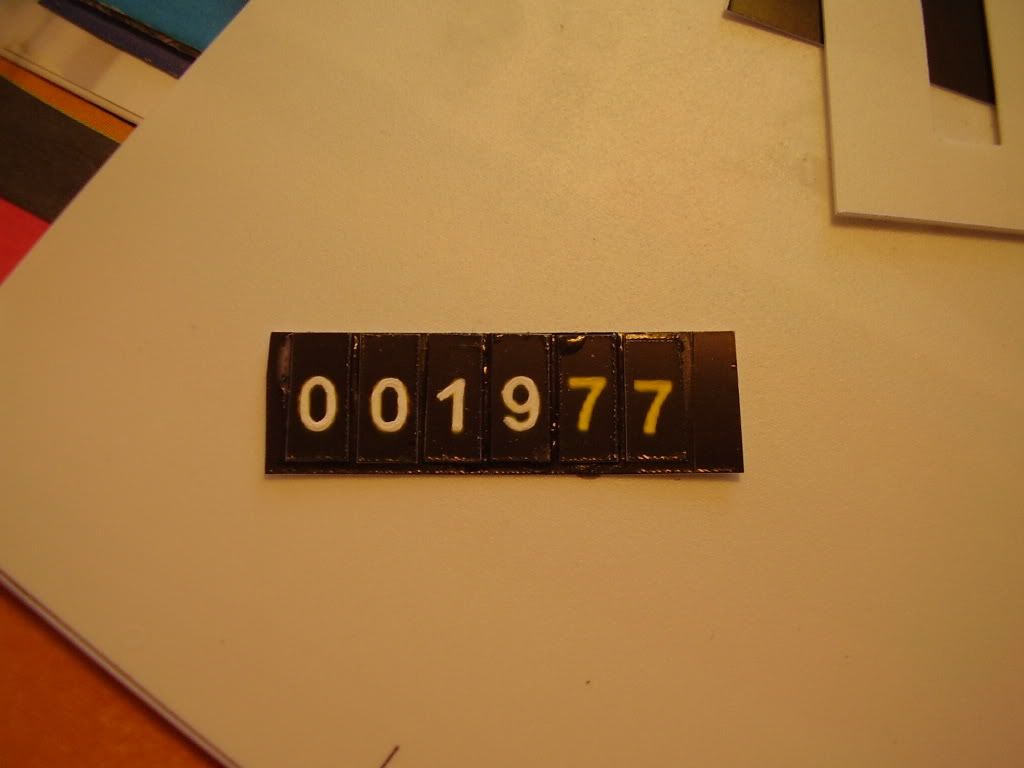
good as number as any ! the surround is now plastic card
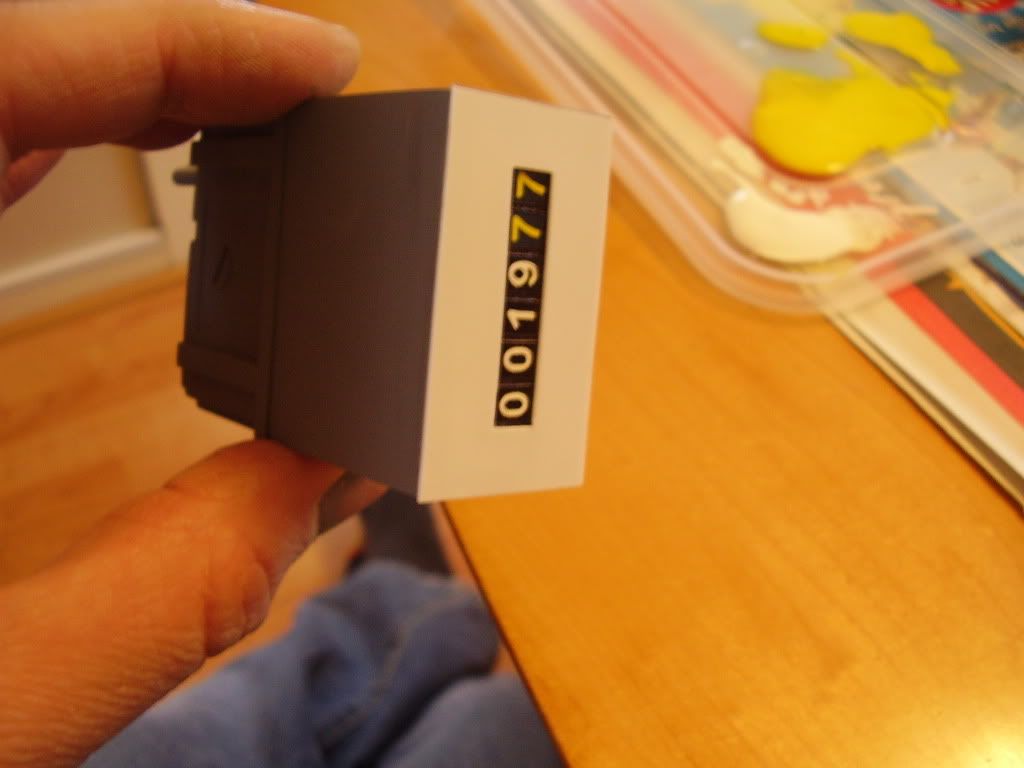
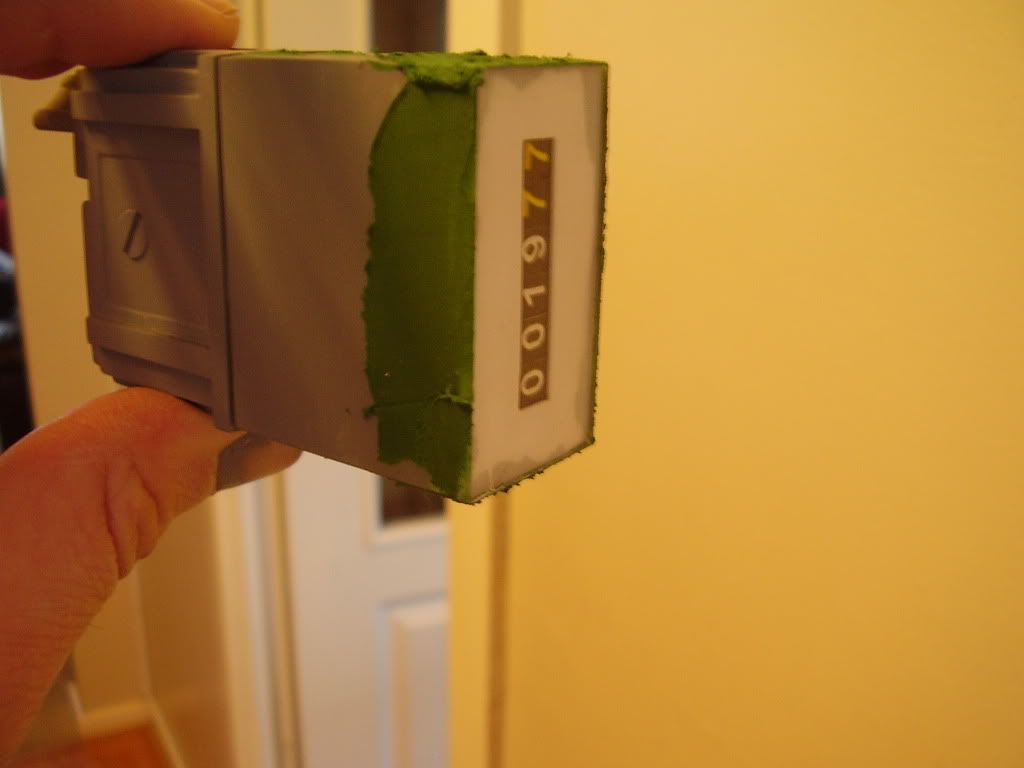
glued and edges filled and clear perspex on top, be careful now, only edges glued.
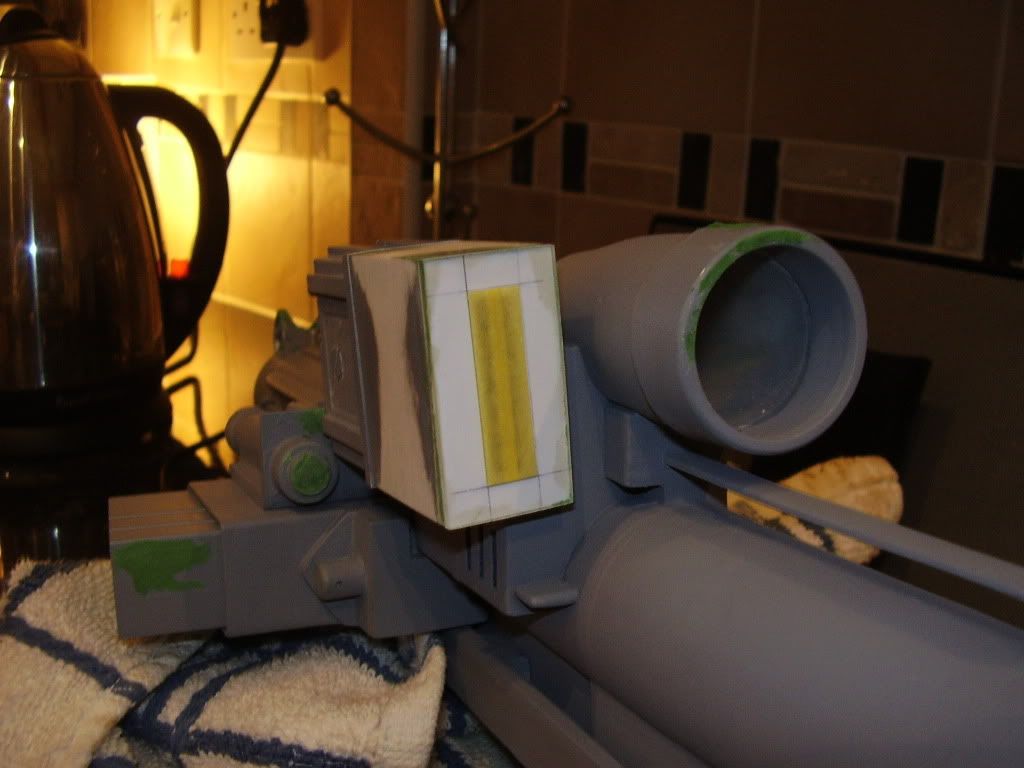
All edges sanded, masked and primed
THE END
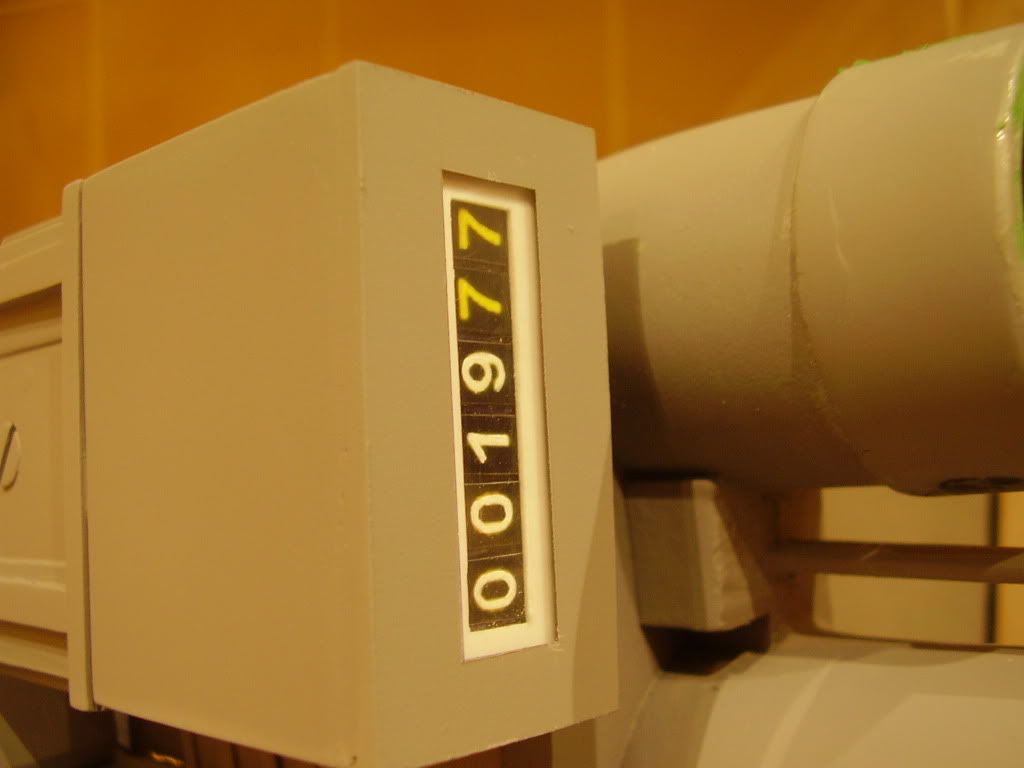
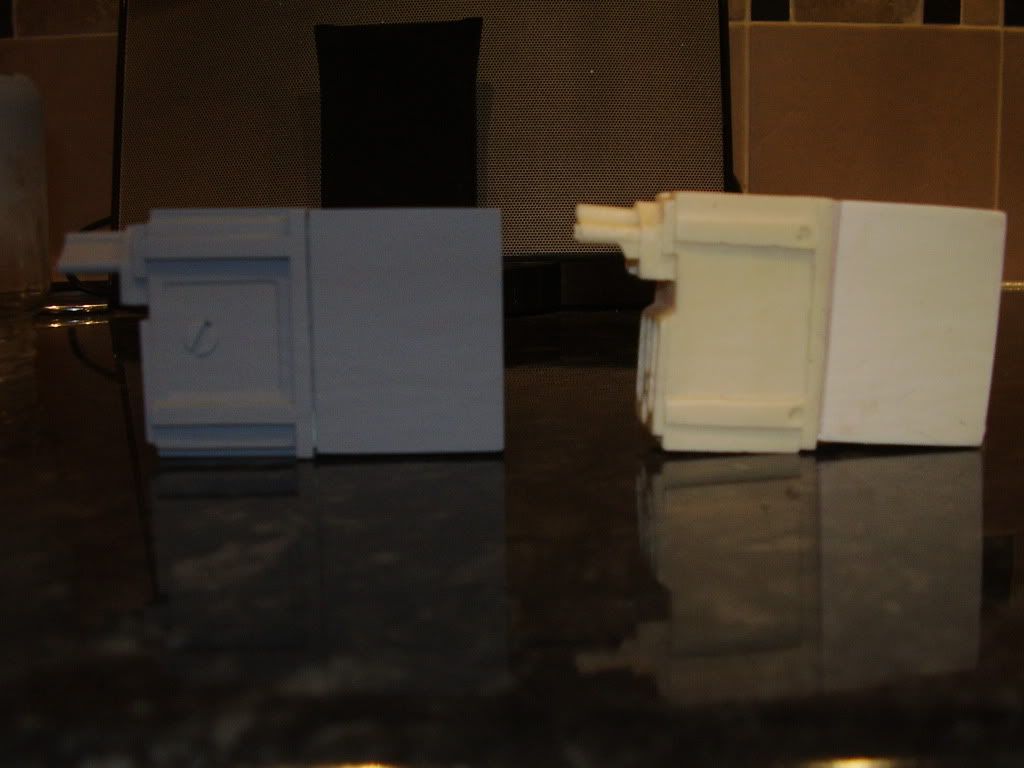
If anyone can post the correct font it would be better.
Am happy to post scales and plans if interested on my build
hope it helps
Graa
As promoised the continuing upgrades, this was up my sleeve but real gutted not many replies before.
Please look for other details as previous threads.
Here is how I did it, PM anytime if you like, all scratch

Hollow end aas all plastic,


print numbers, I messed up as I ran out of ink and printed yellows at the local store, i painted on top the white and cut in strips


good as number as any ! the surround is now plastic card


glued and edges filled and clear perspex on top, be careful now, only edges glued.

All edges sanded, masked and primed
THE END


If anyone can post the correct font it would be better.
Am happy to post scales and plans if interested on my build
hope it helps
Graa
