Third attempt at Sharkman lid, finally coming together. Magnets installed.

FWBulldog

Member
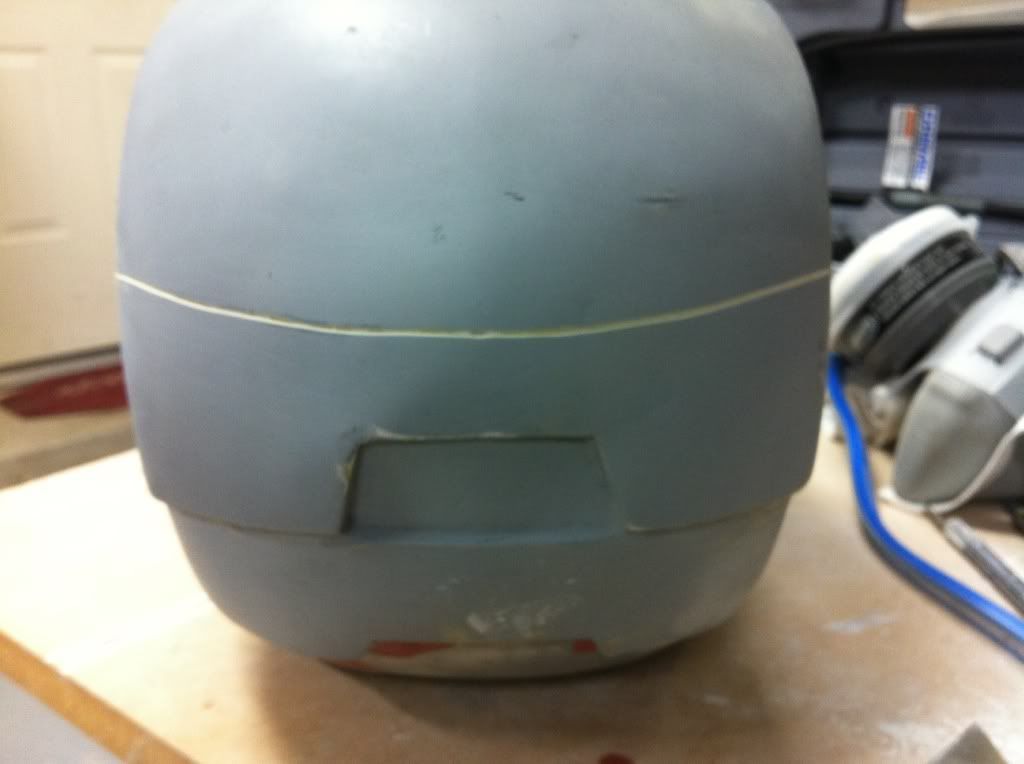
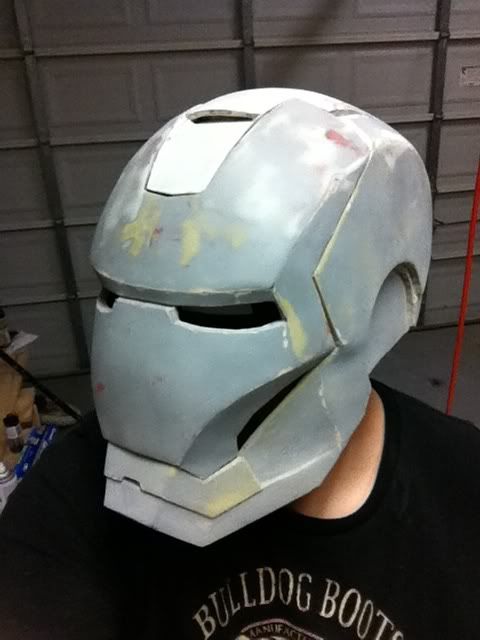
They say you hardly learn anything the second time you get kicked by a horse.... But the third time you pep a Sharkman lid, you should be getting pretty good at it.

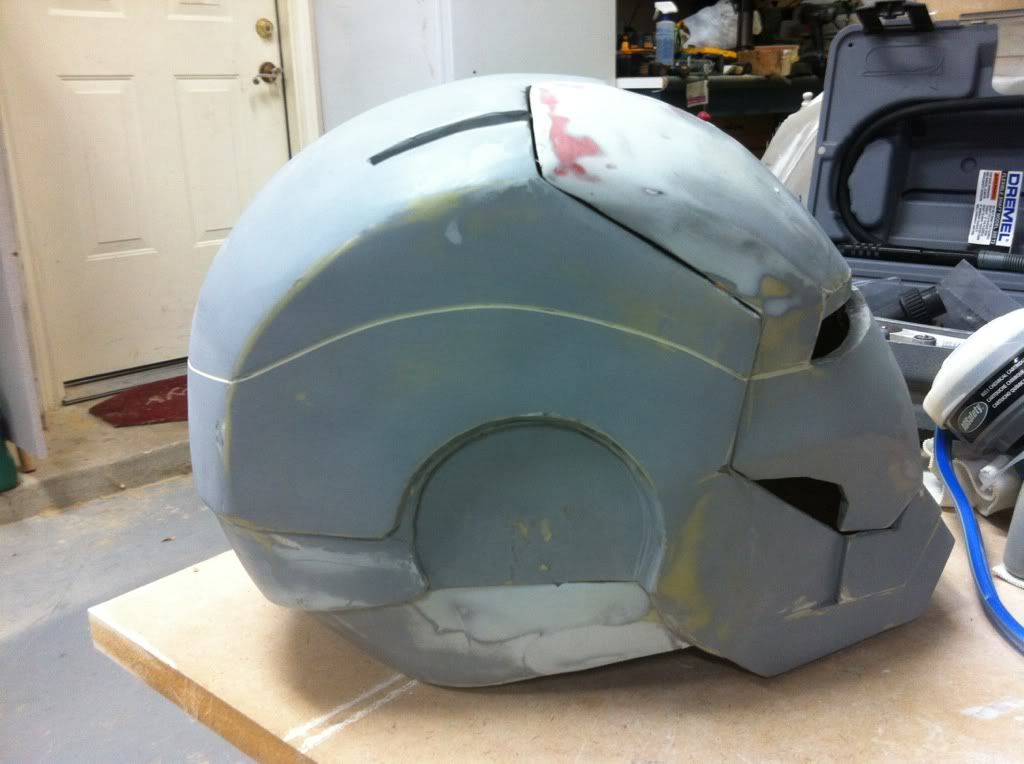
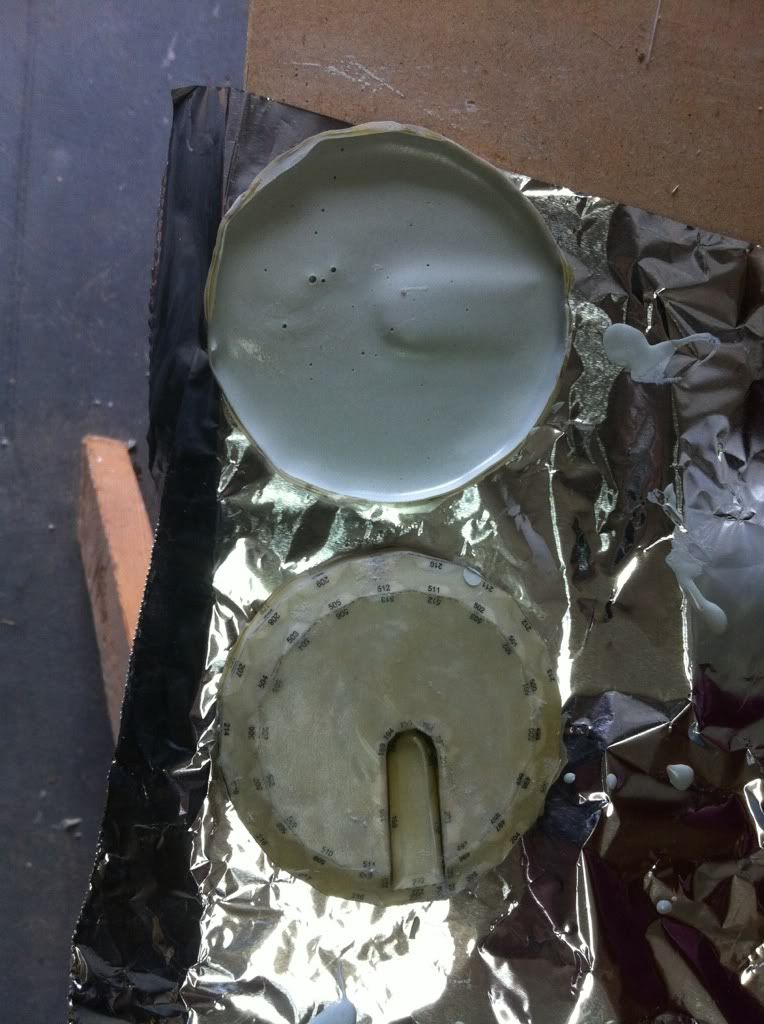
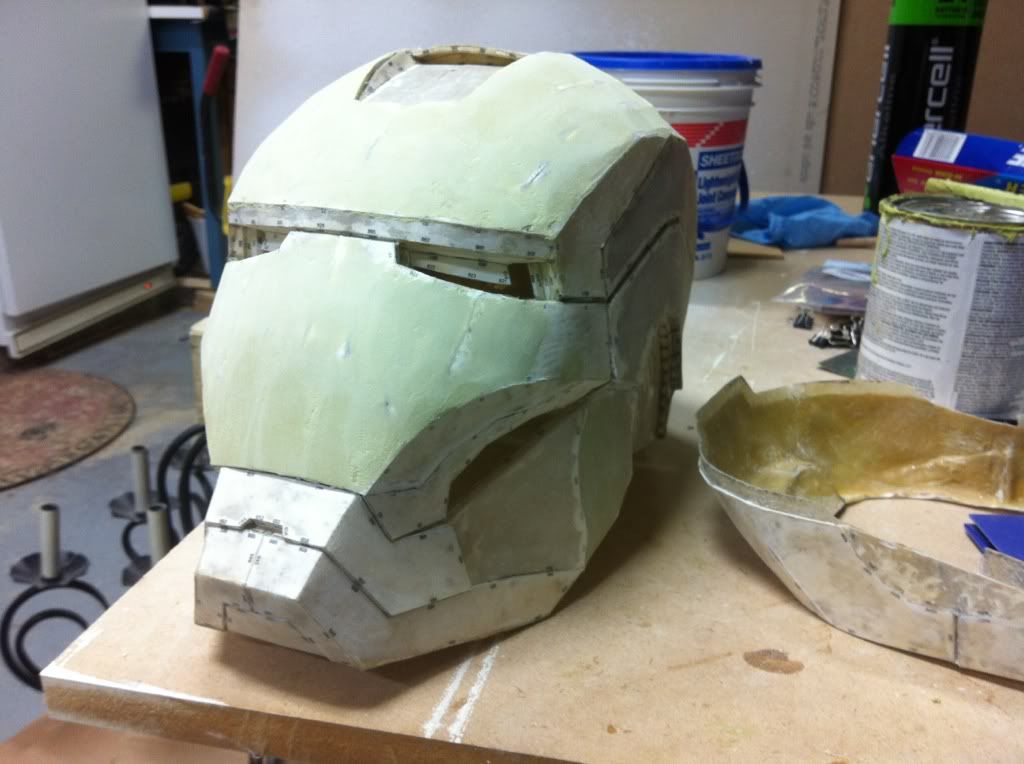
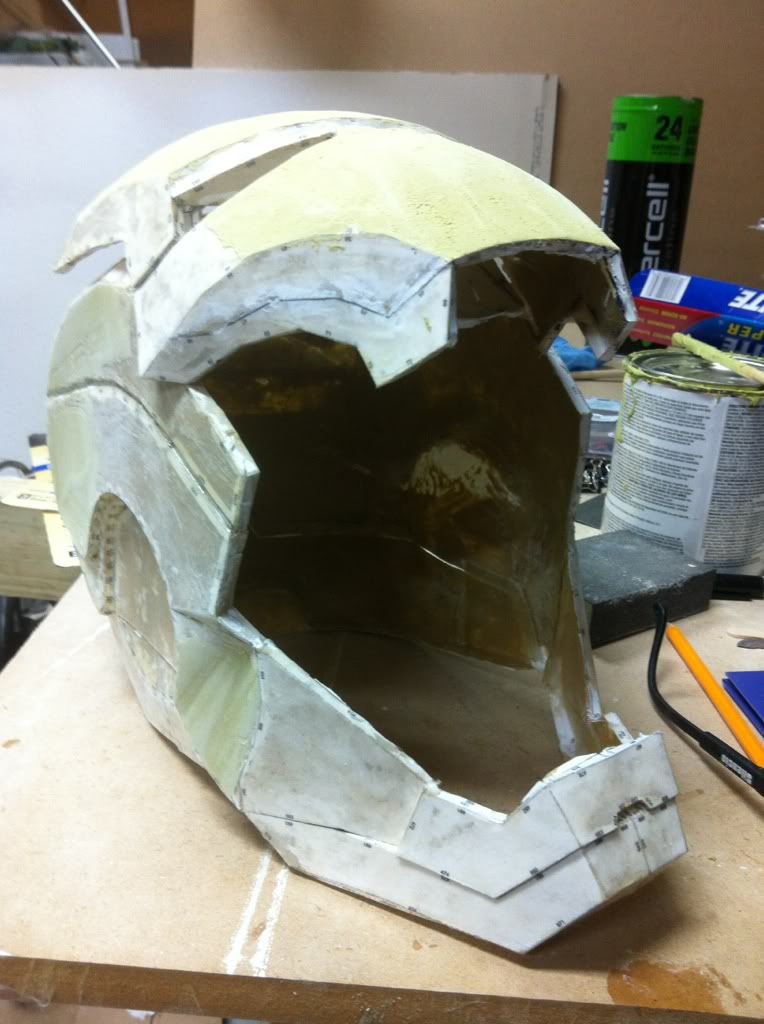
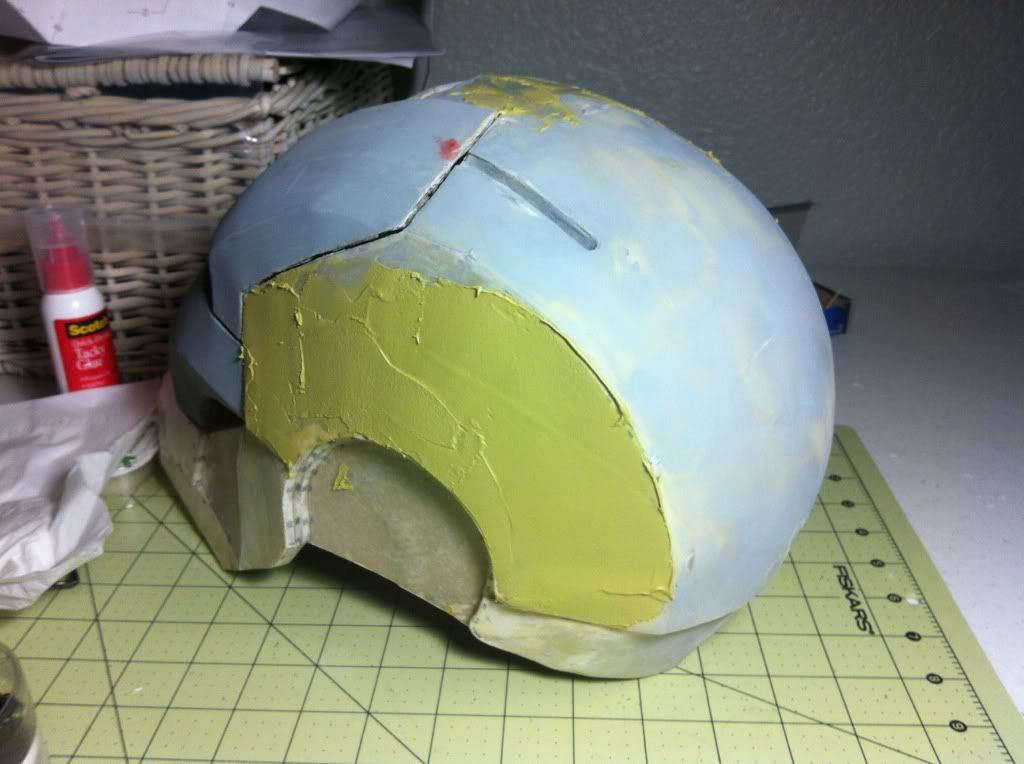
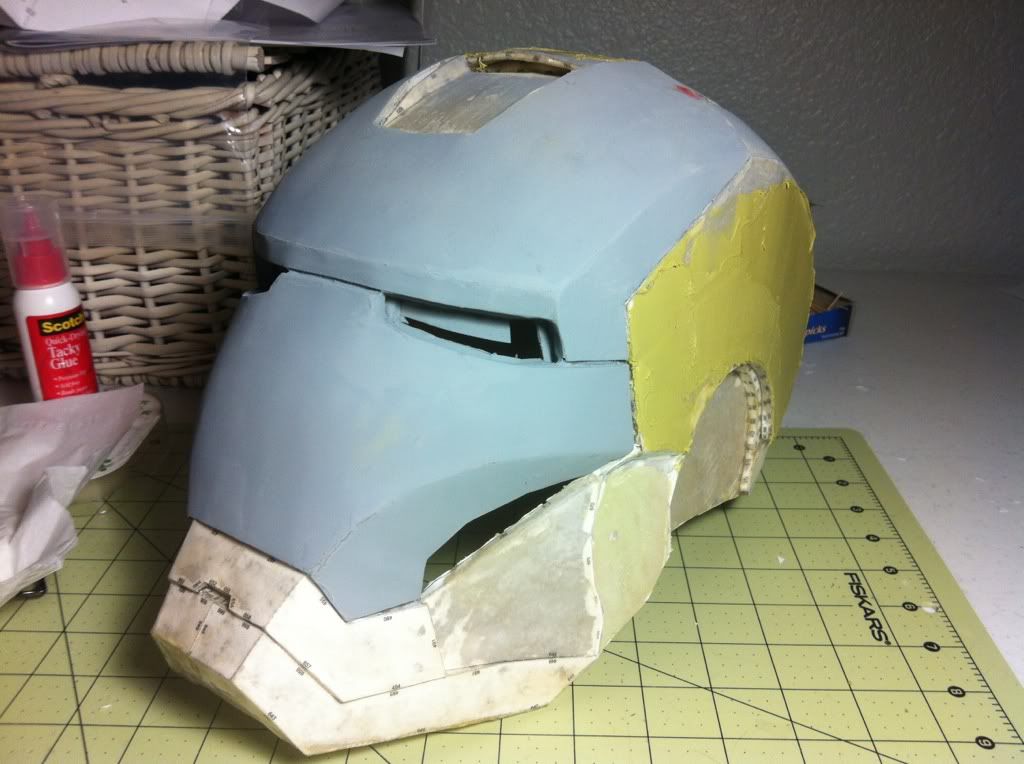
This one is finally taking shape. Got the first coat of bondo on the face plate today. Did some basic shape sanding. I think it's going to turn out ok! Have a ton more work to do, but it's hardened and cut to three pieces.

7303f32a.jpg


52f0b312.jpg


Finished pepping the chest piece too. Need to get my duck tape dummy completed, because the back is next on the list. Love my Silhouette Cameo.


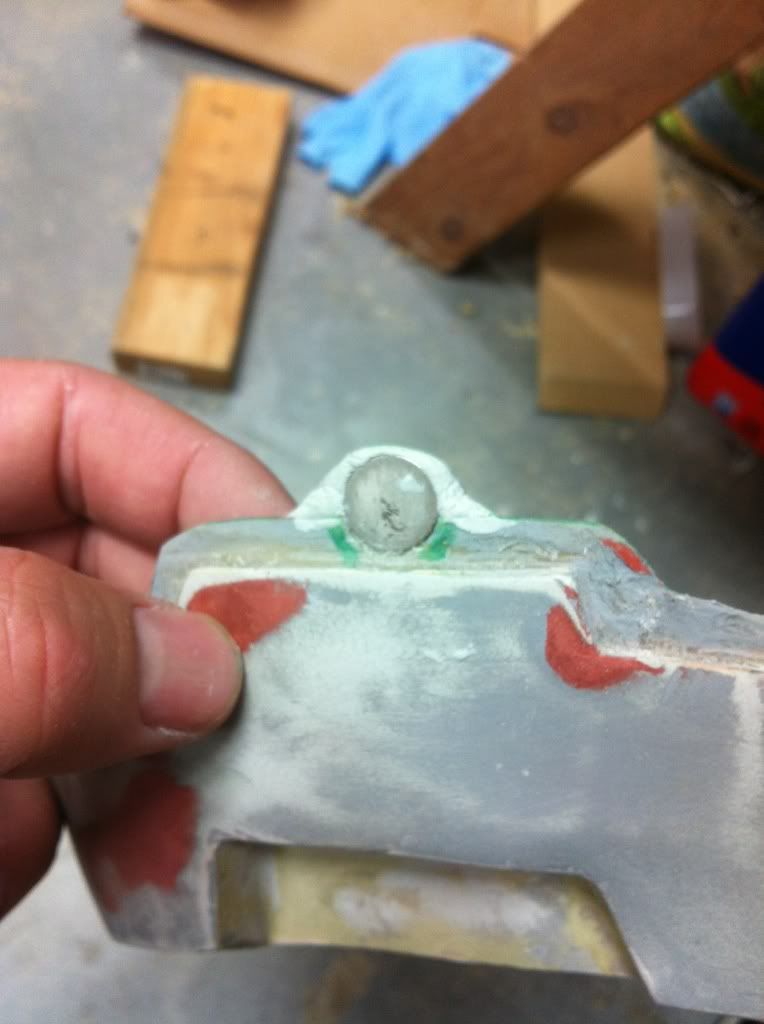
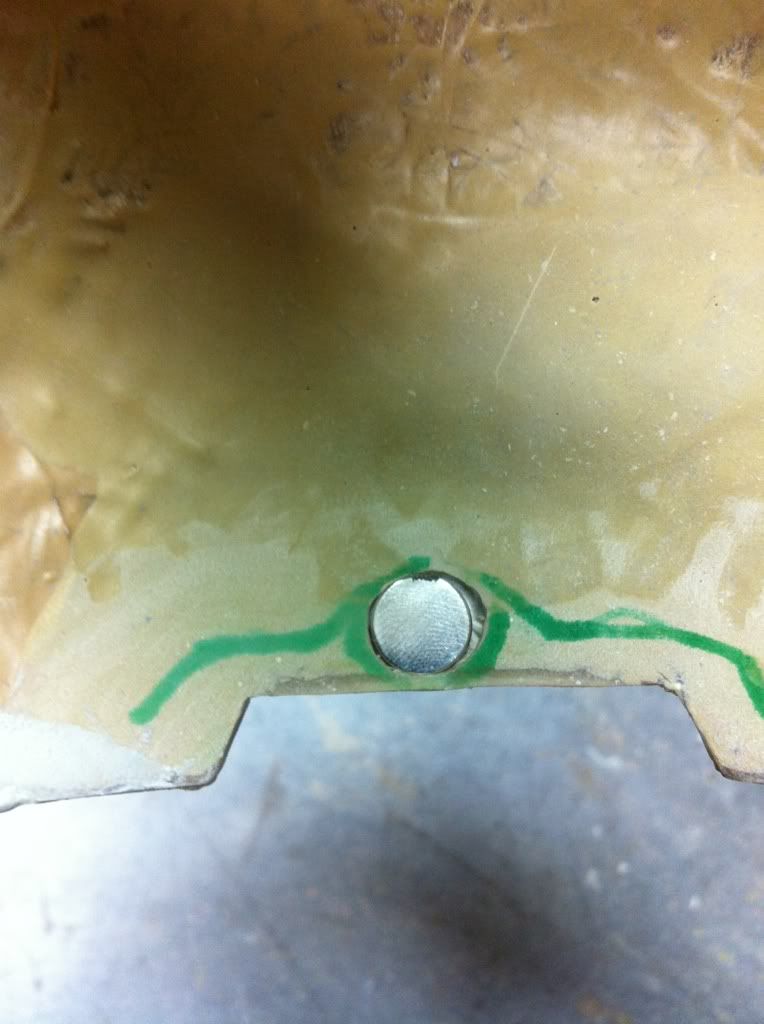
Edit 6/9: magnets installed to hold the back in place.
29e2cf9c.jpg

fdfa372d.jpg

bb4a8c5e.jpg
 
Last edited:
Re: Third attempt at Sharkman lid, finally coming together.

Looks nice and clean man, and you also didn't slather the bondo on. Good job.
 
Re: Third attempt at Sharkman lid, finally coming together.

nice work.. i like your work on the fibreglass backing place.. very clean
 
Re: Third attempt at Sharkman lid, finally coming together.

Looks nice and clean man, and you also didn't slather the bondo on. Good job.

Thanks! My dad owned a body shop, and he showed me that you can shape the bondo while it's drying. When it gets applied, there are always streaks and creases. As it dries, I use a popsicle stick to scrape off the excess, kind of like shaping clay. This really cuts down on sanding, and allows you to shape the bondo. It goes on kind of thick, but you can scrape it down to a thinner, more manageable shape, which results in fewer coats.
 
Re: Third attempt at Sharkman lid, finally coming together.

Got some shaping done on the back, the round contour is starting to look nice. I'm starting to fill in the sides a bit. There was some warping during the resin phase, and the sides were a bit concave. I'll have to cut the detail panel lines in later (not quite sure how to do that yet).

459f896b.jpg


Got a few coats of heavy primer on the faceplate, filled some pinholes, and the countour is almost there. Still lots of work to do on the edges. I'll have to use some bondo to build those out, and then shape them to fit with the lid.

667013c8.jpg


I'm learning a lot. I've read horror stories about putting it on way too thick, but realized that I can also put it on too thin. I'm finding that it's better to put it on a bit too thick, and then use a power hand sander with 80 or 100 grit paper to quickly grind it down to shape. Then I switch to 180, feather the edges, and hit it with some primer. The flaws show up very quickly. Fill the big holes with more bondo, the pinholes with glazing putty, more primer, more sanding, rinse-lather-repeat. Yada, yada, you all know the drill.

Getting the surface of the faceplate right is going to be really hard. I can see why people struggle with this part.
 
Switched to Evercoat Rage, and really like it. It sands down much smoother than Bondo Gold. I know some people say "they're all the same", but I'd have to disagree. Still lots of work to do, but I'm happy with what I've been able to accomplish so far. Every time I apply the filler I get a little bit better.

3a02984f.jpg
 
man i'm jealous with what you have done for now, mine is still in the process of fiberglassing and i'm having a hard time with it. Hope i can harden it soon and put some body filler on it.
 
It still has a very long way to go, but I couldn't resist putting a quick coat of paint on it. It helps find all the spots that need re-work, too.

a85b5c2a.jpg
 
This thread is more than 11 years old.

Your message may be considered spam for the following reasons:

  1. This thread hasn't been active in some time. A new post in this thread might not contribute constructively to this discussion after so long.
If you wish to reply despite these issues, check the box below before replying.
Be aware that malicious compliance may result in more severe penalties.
Back
Top