The Grim Reaper - Halloween 2012 - 2nd Update for 10/30/12

RiggsMcClane

Well-Known Member
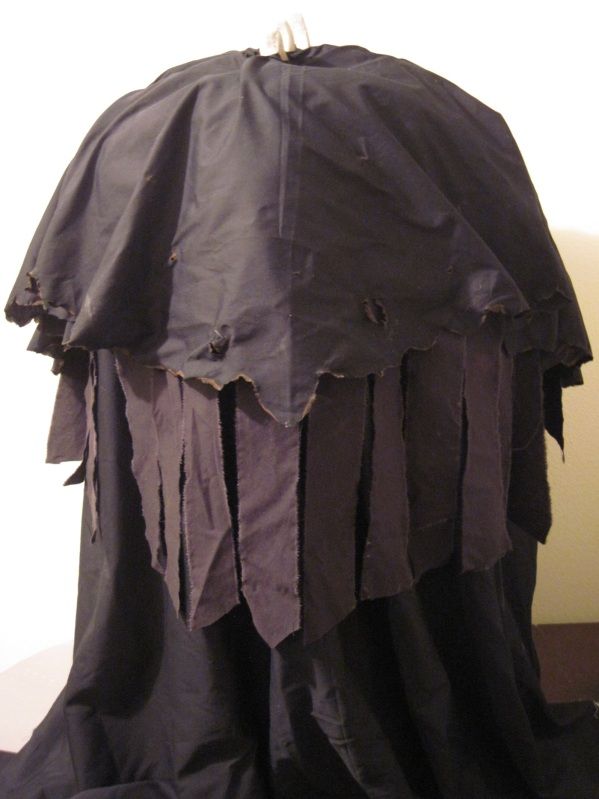
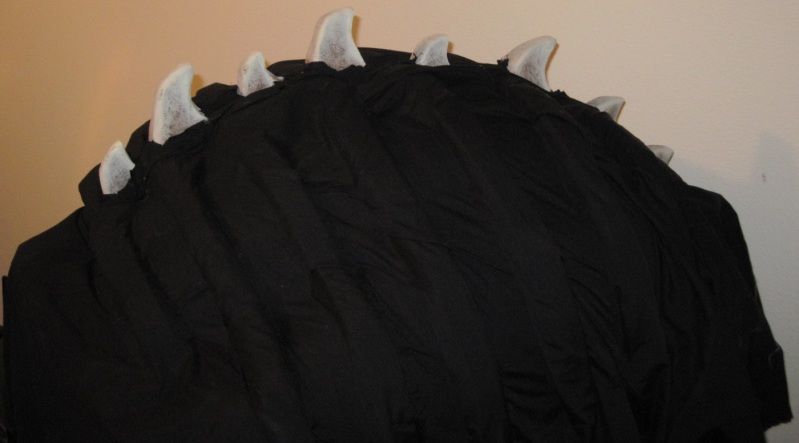
A couple weeks back I got thrown headlong into an upcoming costume party at the Hard Rock. Other projects would be put on hold. All this became a complicated mess because the staff knew very little about the event and what information I could gather was often misleading. So, it caused a few false starts and stops in the build. I more or less finished on time despite all that.


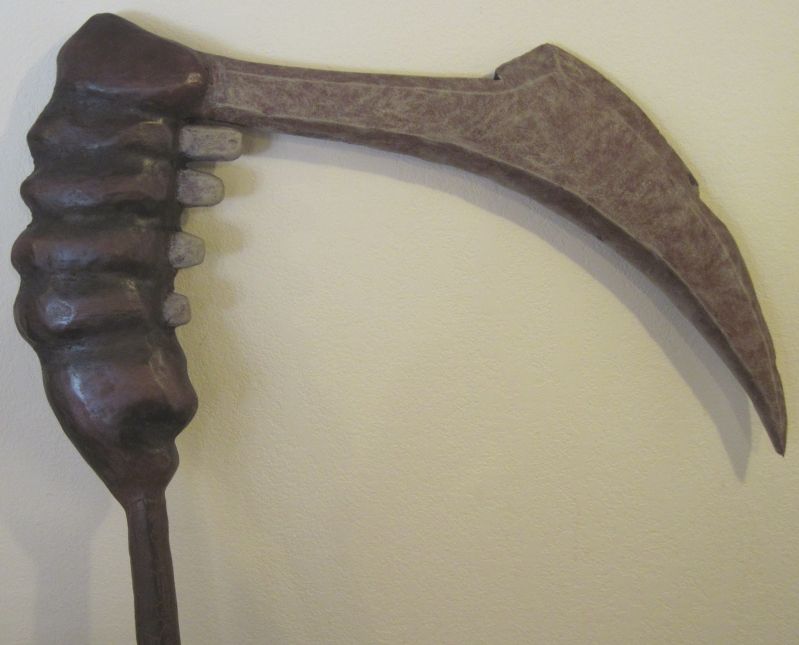
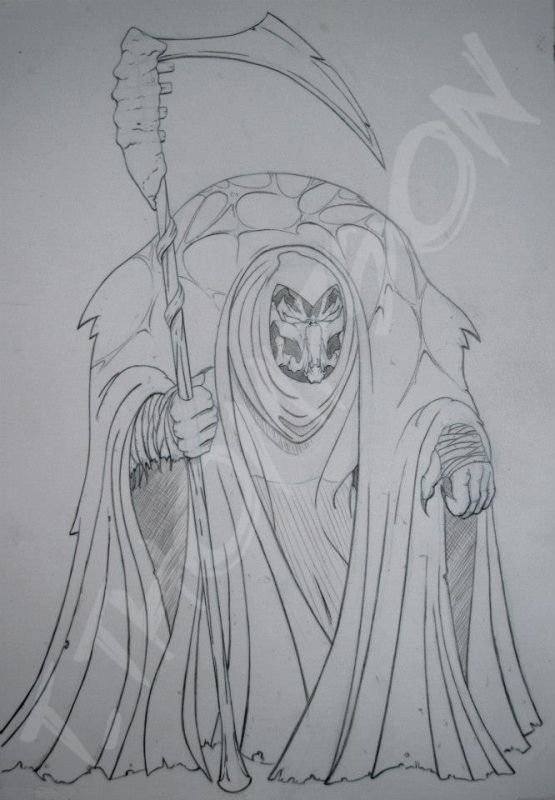
The first thing was coming up with a design. I did a number of costume sketches varying from standard to outright weird before settling on the reaper. I didn't want the gaunt look that had become standard so I changed it up a bit in my final sketch . . .


reapersketch2.jpg


Tonight I'll get more pics edited and posted on the build itself.
 
Last edited:
Re: The Grim Reaper - Halloween 2012

I like your design -- and that's a terrific drawing. I can't wait to see what you come up with.
 
Re: The Grim Reaper - Halloween 2012

The reapers hump was likely one of my biggest projects aside from the mask and scythe. It was no easy feet making it look as large and inhuman as possible while keeping it light. I wasn't sure how to go about it until I stumbled across a length of 1/2 inch pvc in the garage. I purchased a harness (meant to pull deer after hunting) and chopped it up a bit for my purposes. Bought a few elbows, nuts, bolts, and used a heat gun to bend some pipes to fit my back etc. I glued all the bits together and bolted the harness in. The Back Rack, copyright and trademark, was finished. Totally kidding on that last part!

reaperhump1.jpg


Two things came in massively handy. One being spray foam and the other hot glue. I constructed the base from cardboard and the remaining from poster board. Everything was hot glued in place and then pull tied to the pvc. I was originally only going to do a simple hump but different ideas hit me as I worked on it. I wanted to stay away from some cliches but hold onto others. So I spray foamed in strips over the poster board and then cut them down to make a ribcage. I then did the same for the dino like vertebrae and paper mached over them.

reaperhump2.jpg


All in all, with material added, it weighed maybe ten pounds. Akin to a backpack with a couple books in it and felt much the same.
 
Re: The Grim Reaper - Halloween 2012 - Update 10/29/12

A bit more digging in the garage and I had come up with two lightly used paint poles. I quickly chopped a couple bits off and glued a dowel in the end of one pole making them attachable. I followed this up by drawing out a larger version of the scythe onto cardboard. I layered several pieces over one end and hot glued it all into place.


cardboardscythe.jpg


I then spray foamed, shaped, and paper mached over it all adding details as I went.

foammachescythe.jpg


I changed up the handle from the original sketch now giving it a brimstone look. I also added chard bits to the rack of ribs and paint to match.

brimstonehandle.jpg


My two/three week time constraint predicted the final paint-up. I would have liked a great deal more variety in the paint but there was just no time for it. Maybe next year . . .

topscythe.jpg


I did end up doing a length of intestine to wrap around the handle but it never made it onto the final piece. I took a crappy movie poster (yes, hyper cube 2 had to die) and took a slice from it. I tight rolled it and used crinkled tape around it to simulate veins. I then painted over it with latex and unrolled it.

latexintestine2.jpg


Don't be shy, tell me what ya think guys. lol
 
When it came to draping my homemade under structure I was very particular, in the beginning. I wanted something creepy, cool, and of course black but it dawned on me how costly that would become. For such a large project you could quickly rack up fifty or more dollars in material alone. As luck would have it I found an old black bed sheet at a local garage sale and paid next to nothing for it. I then bought new king and single sheets all running half the cost of fancy material.


I started from bottom up. Hanging the largest sheet from the underside of the hump. I used the garage sale sheet for added material in the front as well as embellishments on the back. Having faded a bit it worked well for separating the newer blacks. I burnt and frayed the edges with a lighter. I had very little time for sewing so hot glue became a handy tool in seaming the majority of the costume.


humpcloth.jpg


Up top the smaller sheet was put in place and holes trimmed for the spine. Hot glue was used once more to hold the material in place over the ribcage.

ribcagecloth.jpg


After a great deal of searching I finally found a pair of cheap hands that didnt looks so bad. I dug up an old cream colored sheet stuffed away in the closet and no longer in use. I tore it in strips and wrapped a long sleeve black tshirt with it and (of course) hot glue it in place.

bandagedarm.jpg


No animals were harmed in the making of this costume. However, fifty or more glue sticks died in the process.
 
Last edited:
Back
Top