Too Much Garlic
Master Member
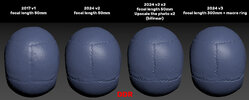
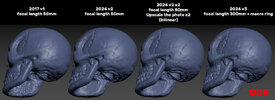
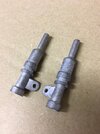
Working on the chip. I'm going to incorporate details from the normal sized chip as well as the oversized one, as well as doing a version including the unused thin rectangular chip detail to go between the nodes on the normal chip

 www.icollector.com
 www.icollector.com
 www.icollector.com
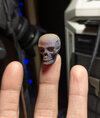
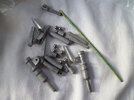
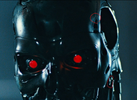
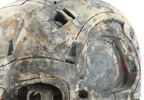
And this is where I'm at so far.

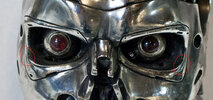
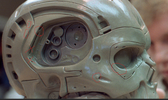
Terminator 2: Judgement Day T2 Hero Cyborg CPU Brain Chip Miniature Screen Used
Terminator 2: Judgement Day T2 Hero Cyborg CPU Brain Chip Miniature Screen Used - Hollywood Parts
www.icollector.com
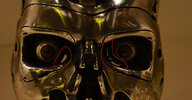
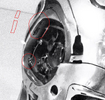
Terminator 2: Judgement Day T2 Hero Cyborg CPU Brain Chip Oversized Screen Used in Close-Ups
Terminator 2: Judgement Day T2 Hero Cyborg CPU Brain Chip Oversized Screen Used in Close-Ups - Hollywood Parts
www.icollector.com
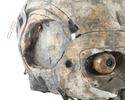
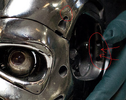
Terminator 2 Brain Chip Prototype Prop
Terminator 2 Brain Chip Prototype Prop - Premiere Props
www.icollector.com
And this is where I'm at so far.
")