DrunkenMynock
Active Member
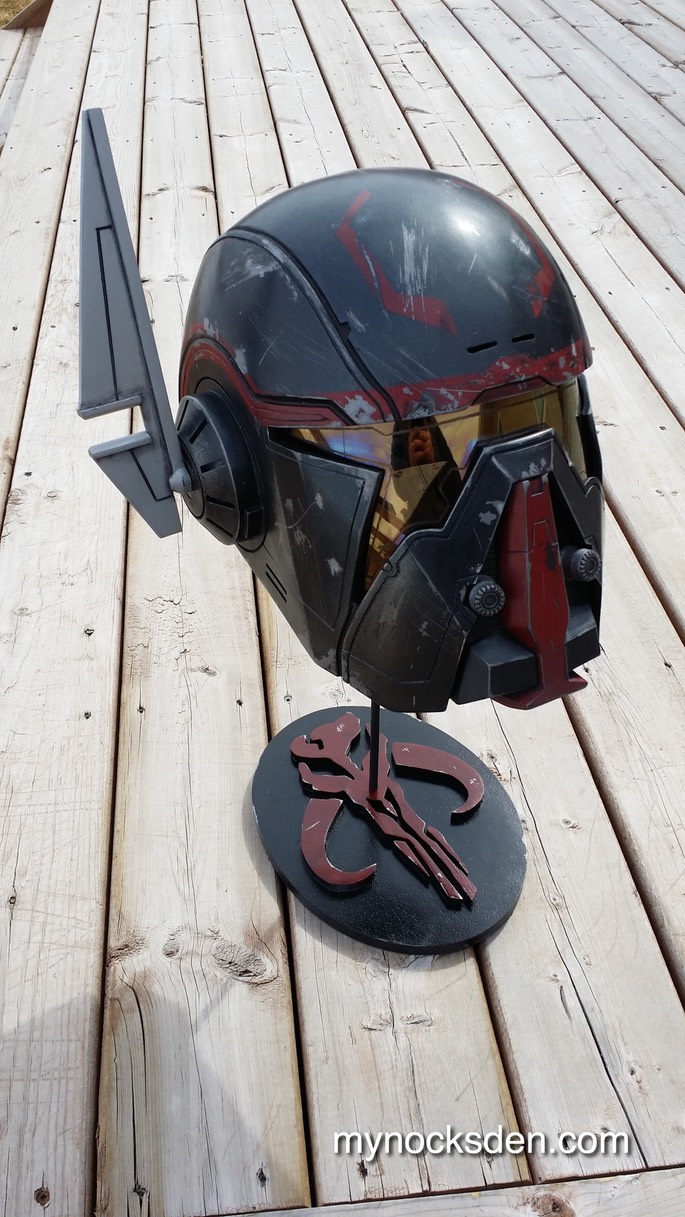
Hey guys. As part of my SWTOR Bounty Hunter Shae Vizla armour project (see RPF thread here: http://www.therpf.com/f79/mynocks-swtor-shae-vizla-hunters-exalted-armor-build-wip-218893/), I decided to build Vizla's blaster pistol as seen in the SWTOR trailer "Deceived". The blaster appears in the game in many different custom colours and configurations as well, which makes it an ideal sidearm for any custom BH costume from SWTOR. I'm cross posting this WIP thread from my website, mynocksden.com for ease of reference.
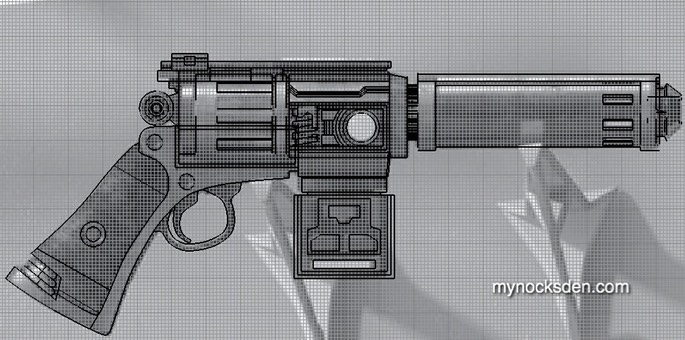
Once again, I began by assembling a collection of images of the blaster….
… and imported the profile shot into Rhino.

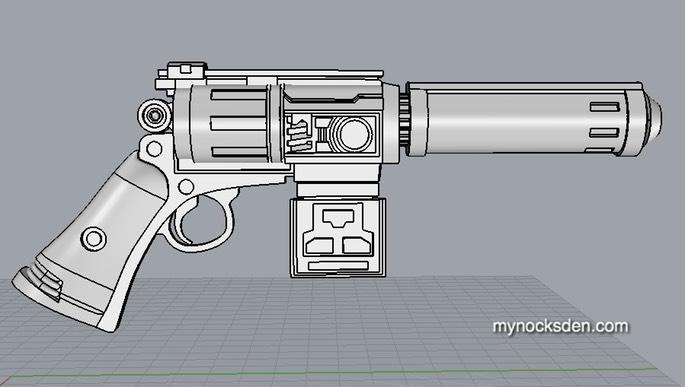
Next, I began tracing the detailing using curves (lines) in 2D, and then started to pull them out into 3D structures.
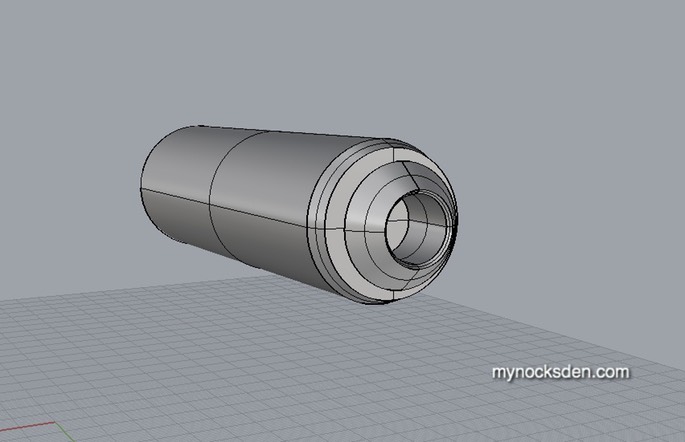
Most recessed areas were then made by splicing the surfaces with curves drawn in the first step, and then recessed using the “offset surface” function.
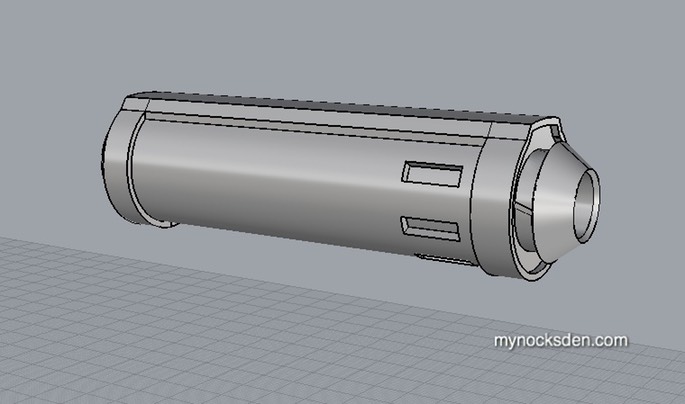
Pulling curves into 3D and offsetting surfaces to create detail pattens was how the majority of the blaster was modelled.
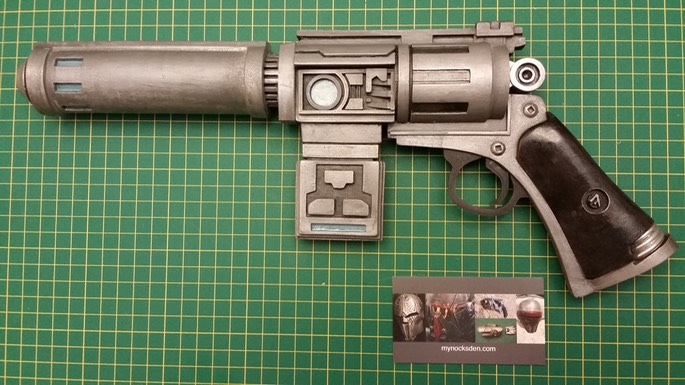
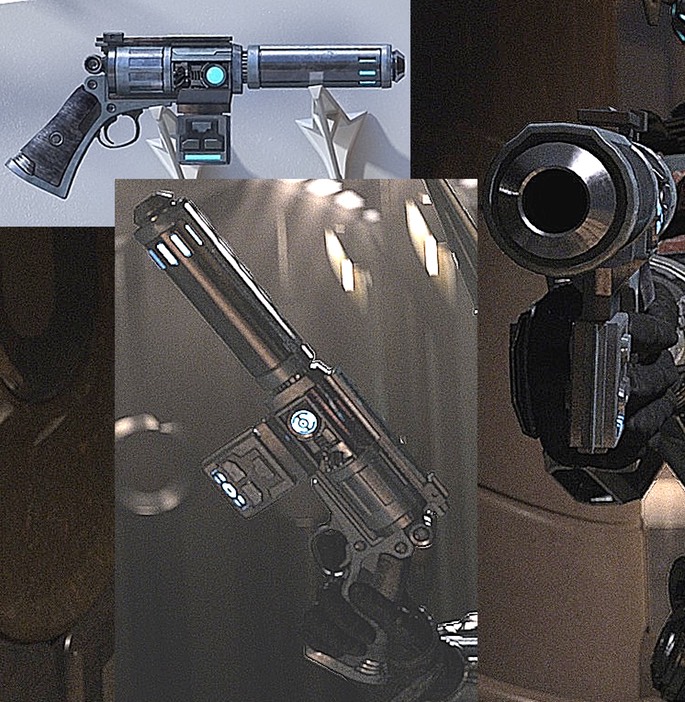
Here is a comparison shot of the reference image and the finished blaster model.
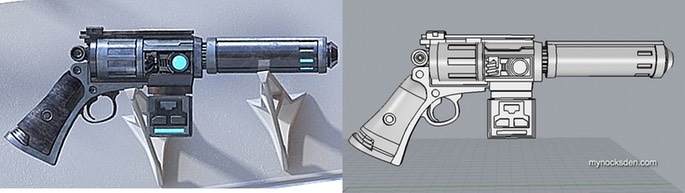
You’ll notice that the area above the magazine is slightly different in the completed model than in the reference shot. This is because the blaster model in the reference image is itself slightly different than that used in the trailer.
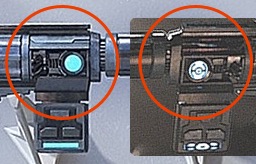
Granted, the two reference shots show opposite sides of the blaster, however, based on everything I’ve seen, I believe that the two sides are mirror images of each other. In any case, I wanted the blaster to be as close to the trailer material as possible, so I decided to make this area resemble the image on the right.
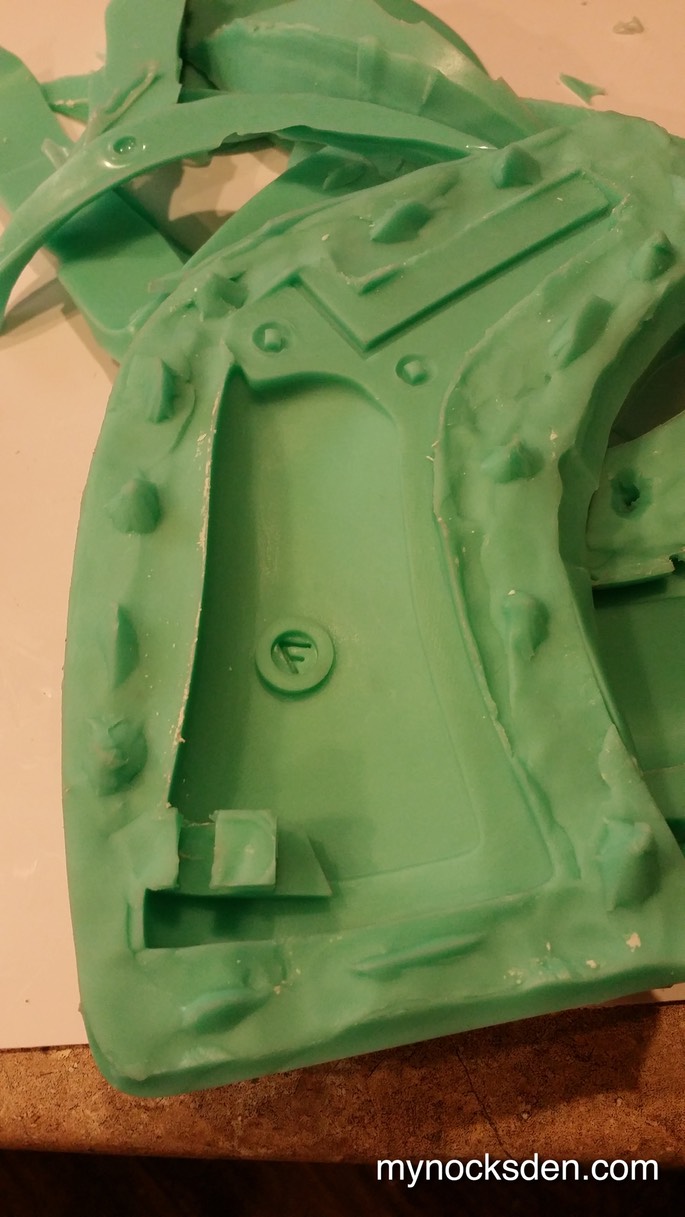
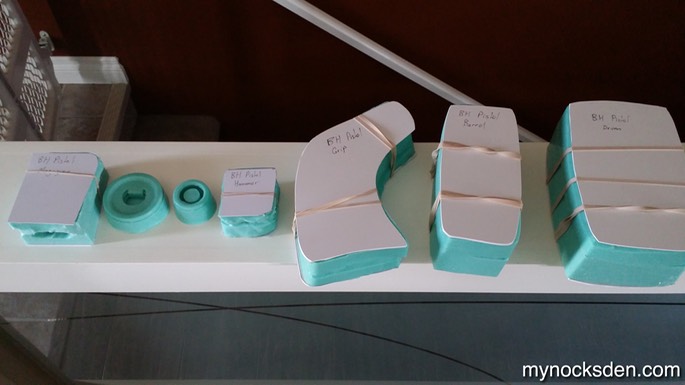
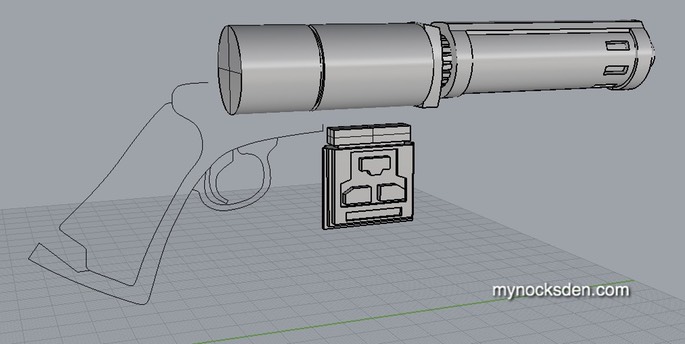
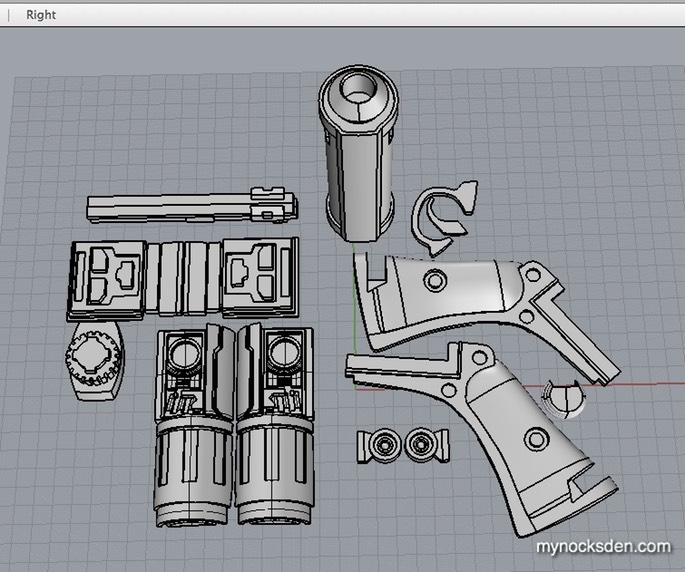
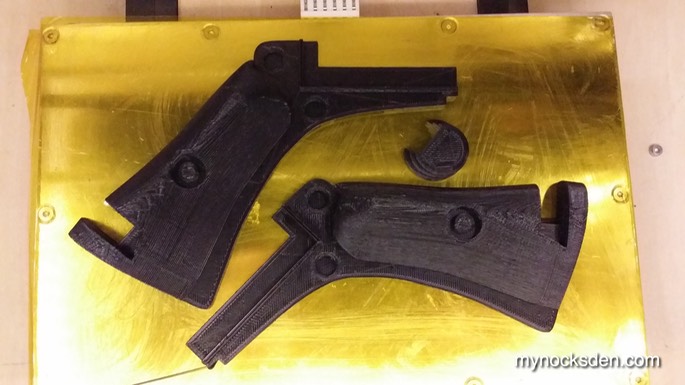
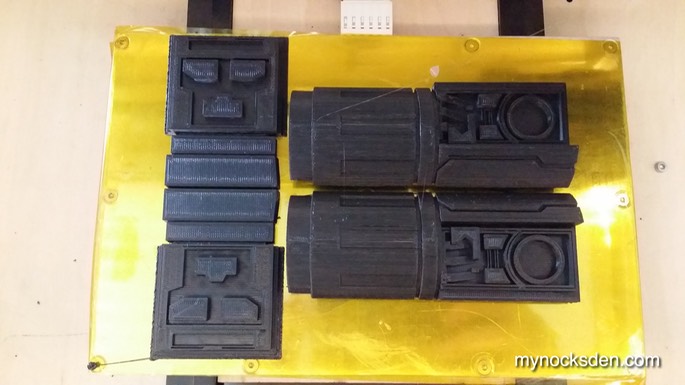
Next, I split the blaster model as shown below, and using a tolerance of 0.2, modelled protrusions and invaginations (what a terrible word) so that everything would snap together like lego.
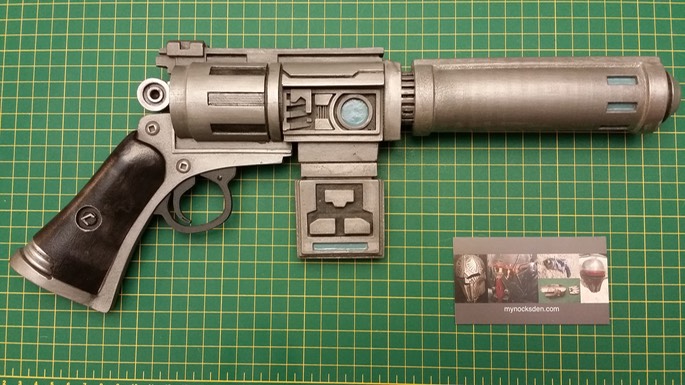
After all the pieces were printed, I assembled the blaster and realized that I had sized it too small. It felt like a kids’ toy rather than a punch-packing energy weapon.
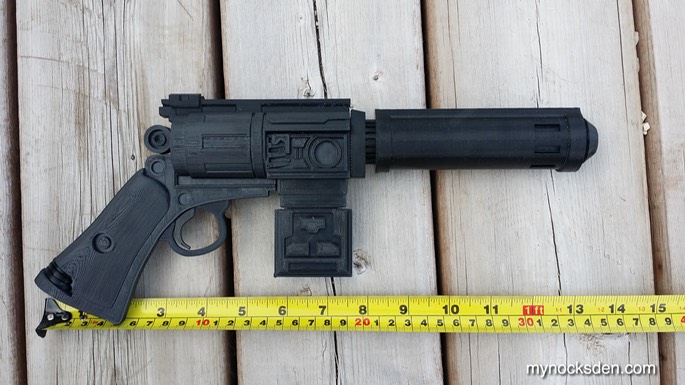
FAIL.
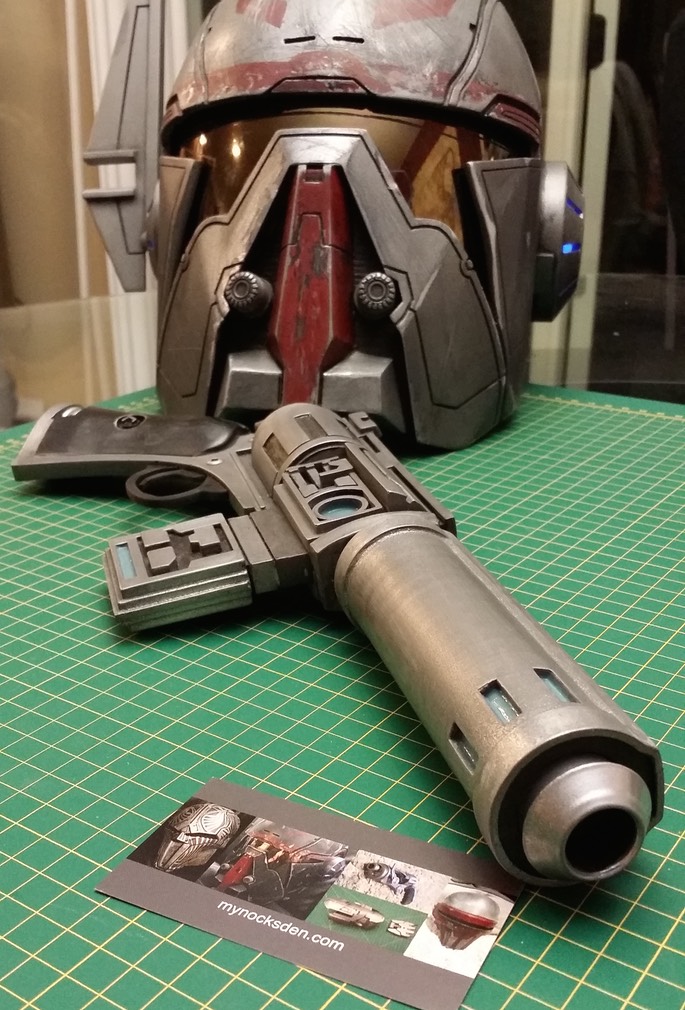
So, I went back to the model, sized it up proportionally in 3D so that the inner curve of the handle was 1 cm longer from trigger to the butt of the grip, and printed all the pieces anew.
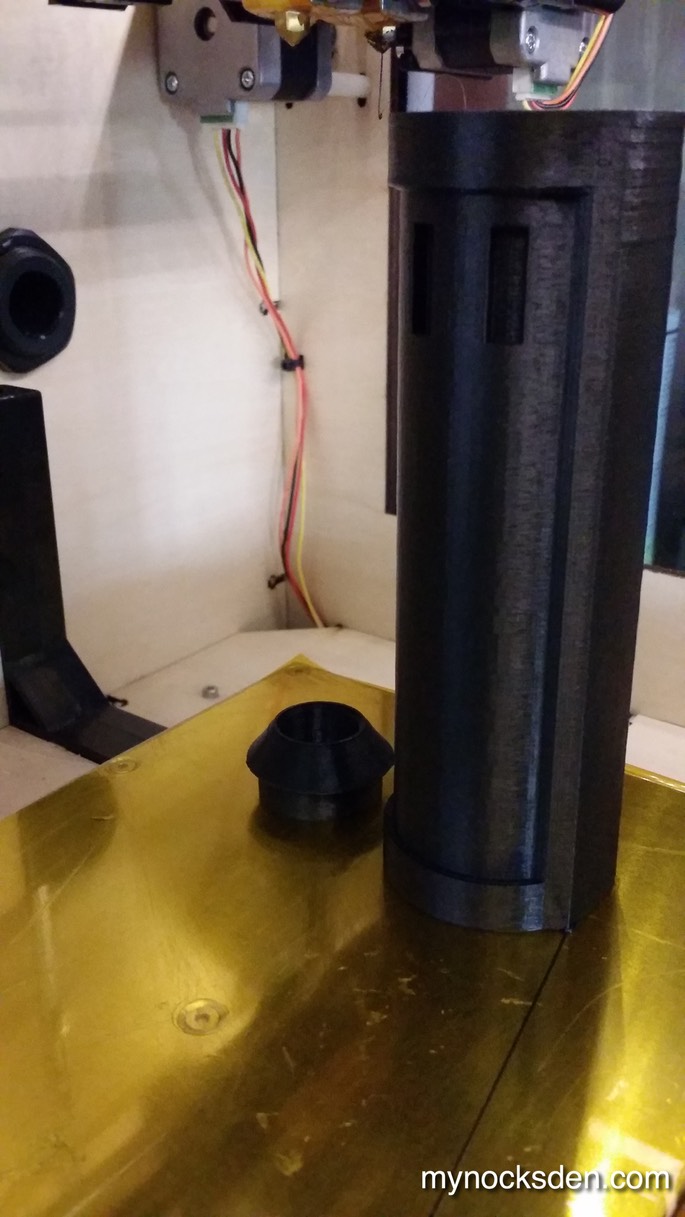
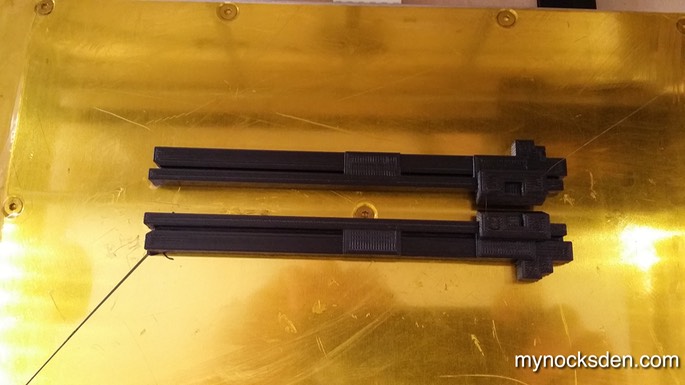
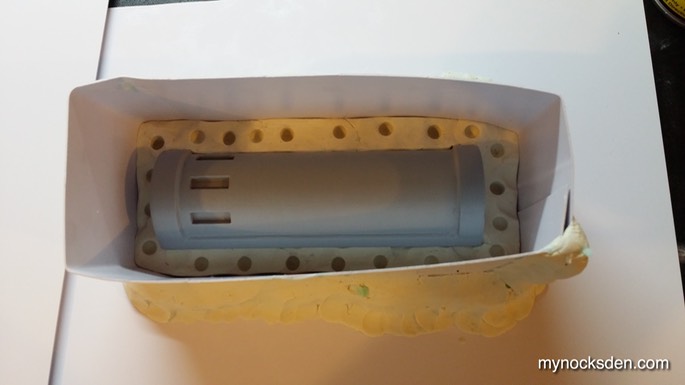
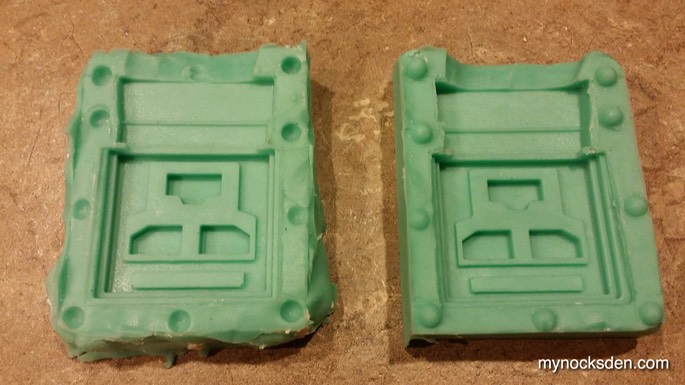
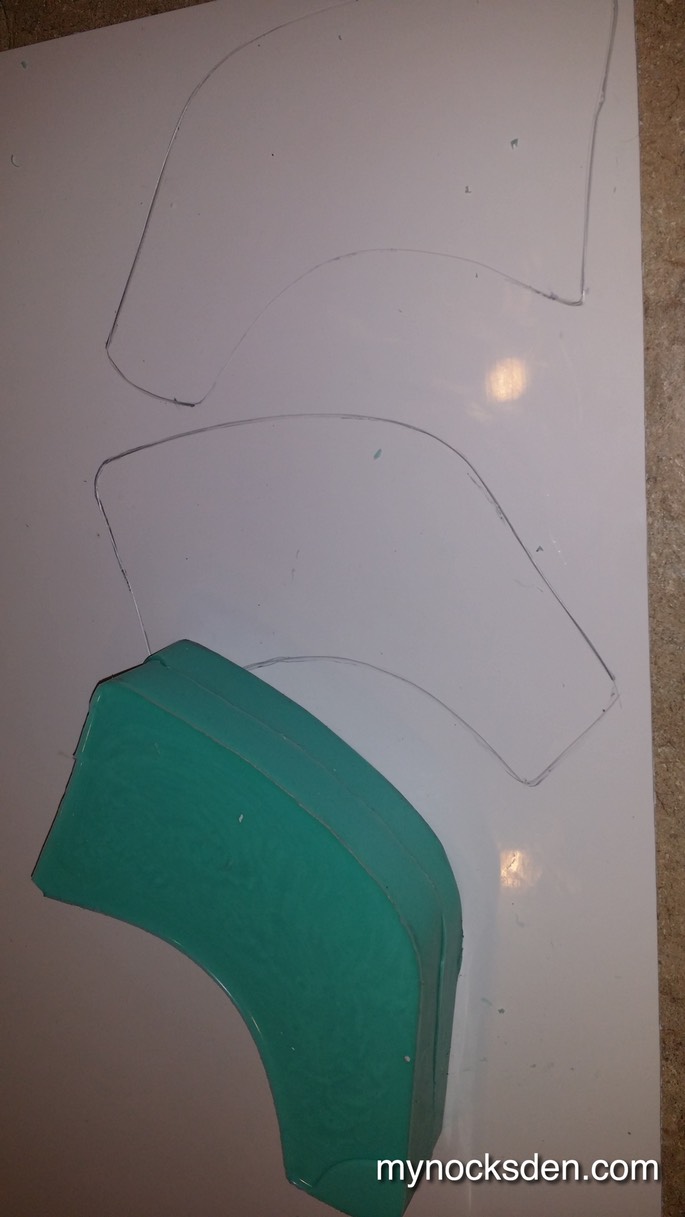
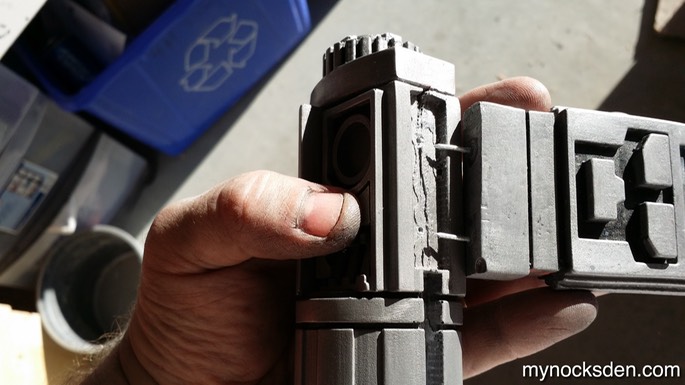
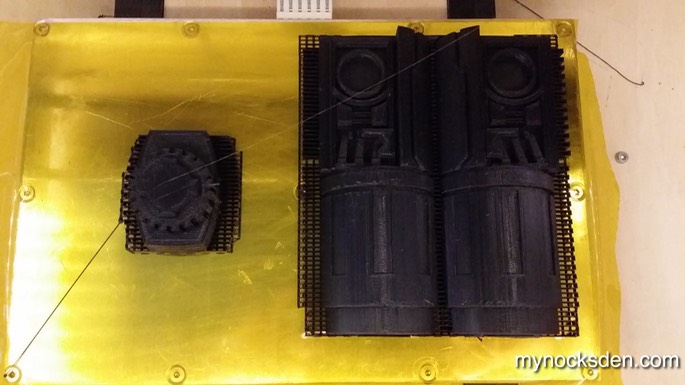
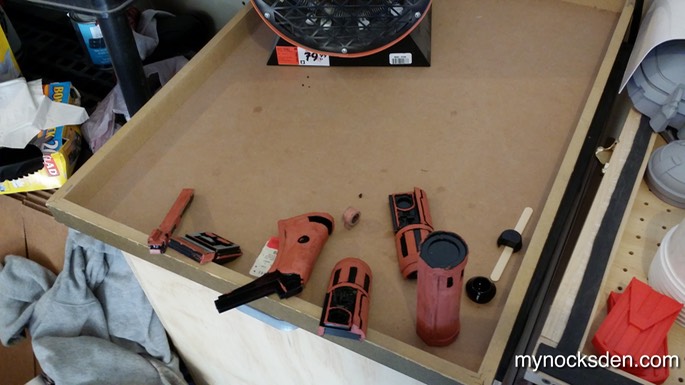
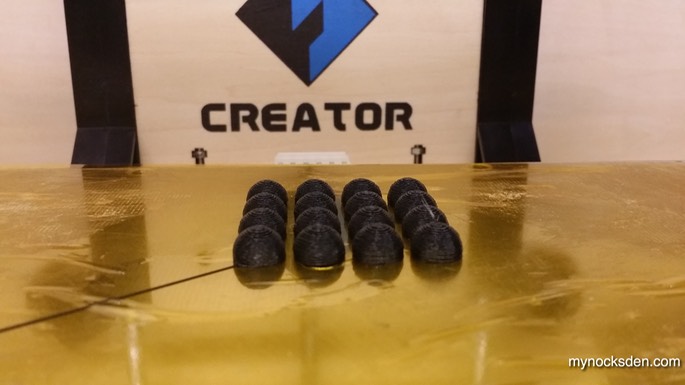
The middle drum and magazine (photo above) were printed without support raft despite the large undercuts on the drum. This was a mistake, as the plastic strands within the undercuts ended up unravelling somewhat, which also created curling at the corners as seen in the photo below.
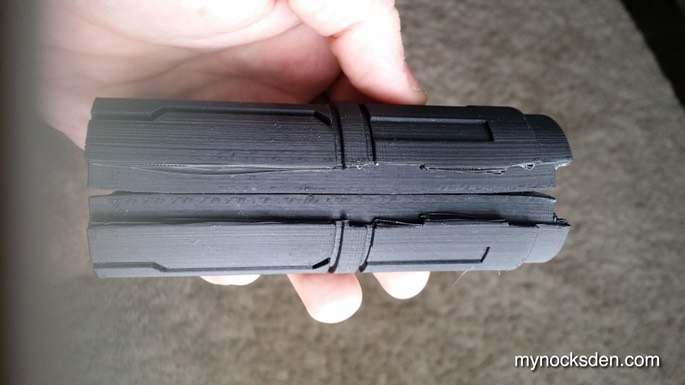
I reprinted these parts with a raft, which solved the problem.
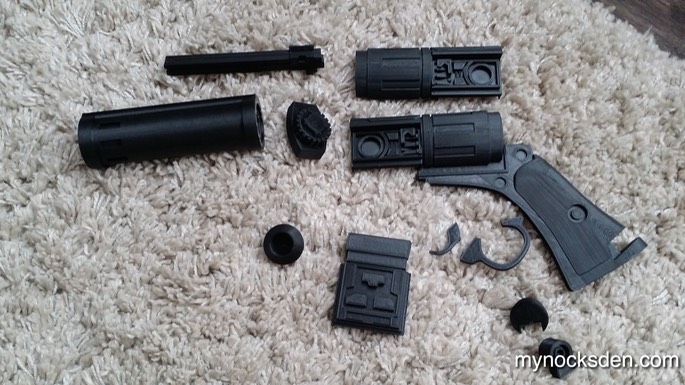
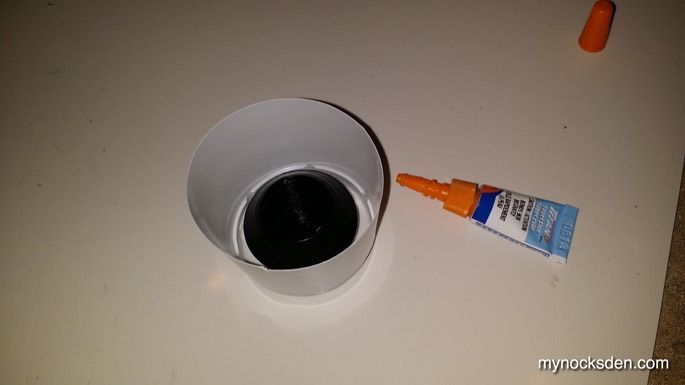
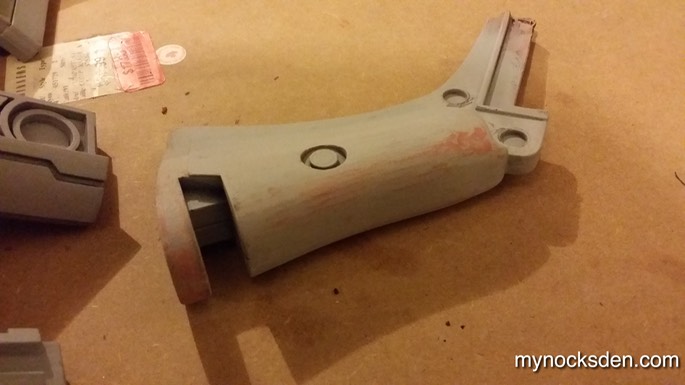
Next, I proceeded to glue the two halves of each major part together using superglue.
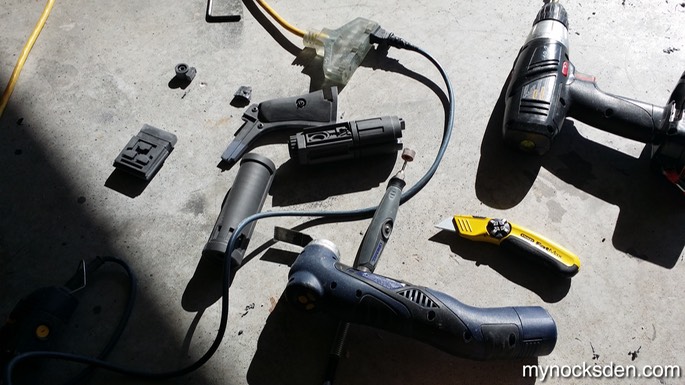
Once the halves of all major pieces were glued together, I vapour smoothed everything using acetone, a method that is discussed in more detail in the middle of the page here.
When soaking the paper towels inside of the paint can with acetone it’s important to let the excess acetone drain out so that it doesn’t trip onto the plastic. It’s also a good idea to elevate the parts you’re treating off the floor, in case some acetone does run down. For this reason, I place all the parts I’m treating onto popsicle sticks.
After treating the parts for about an hour, I placed them in front of a heater to drive the acetone out of the plastic quicker.
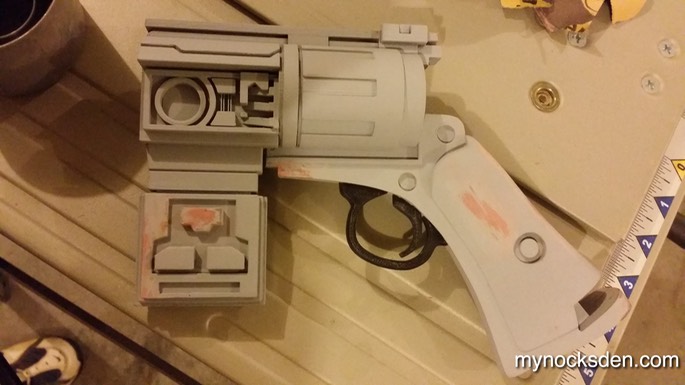
I still had to use Bondo spot putty to smooth out some sections, so I applied the putty, and again, let everything sit in front of a heater to speed up curing time.
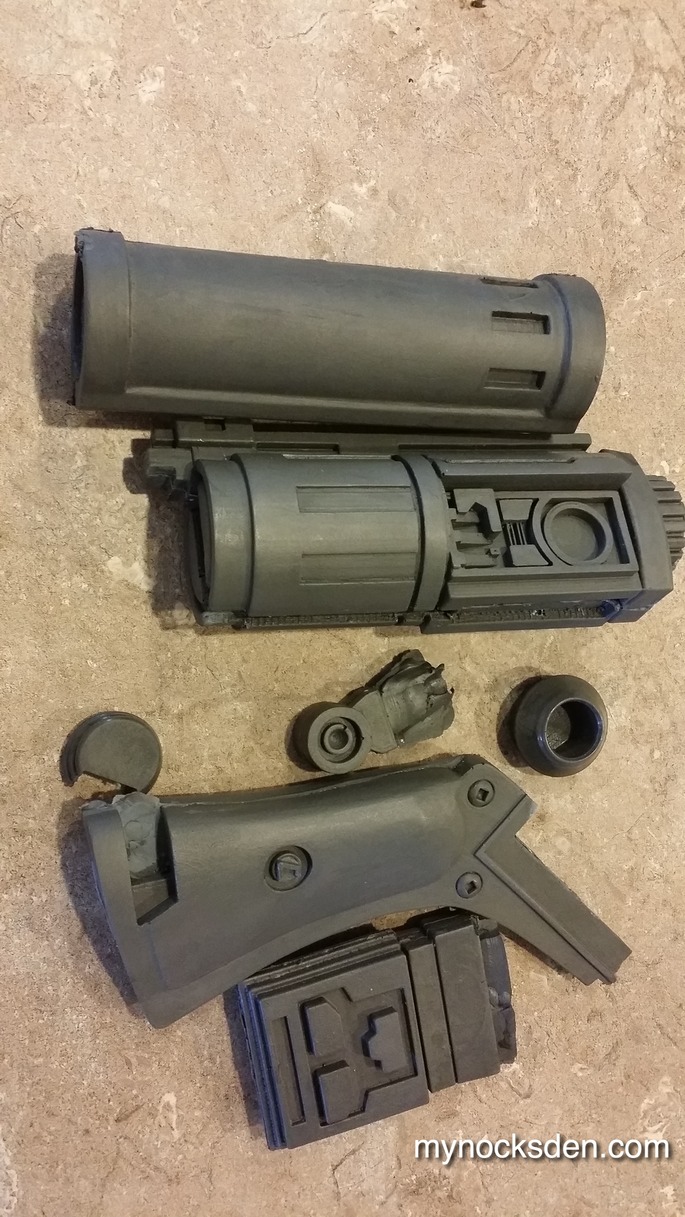
Using Dupli-Color automotive primer, I primed the parts to spot any trouble areas, let it dry for 5 minutes in front of the heater, and used more Bondo spot putty to touch up what needed to be done.
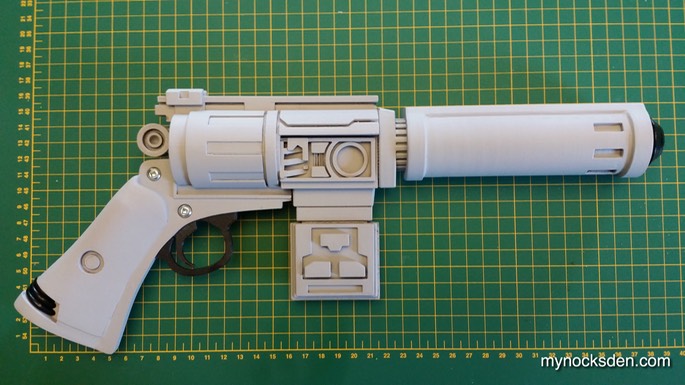
I repeated this process several more times...
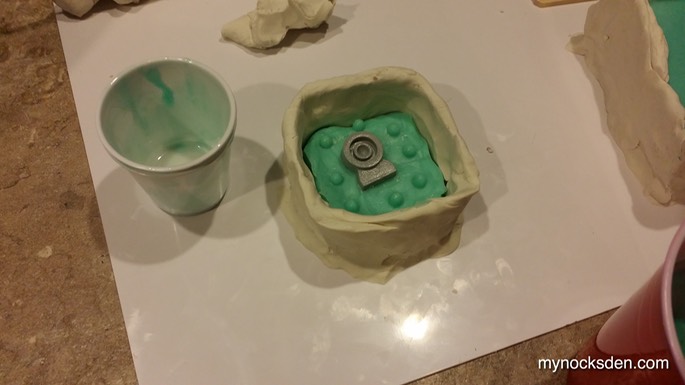
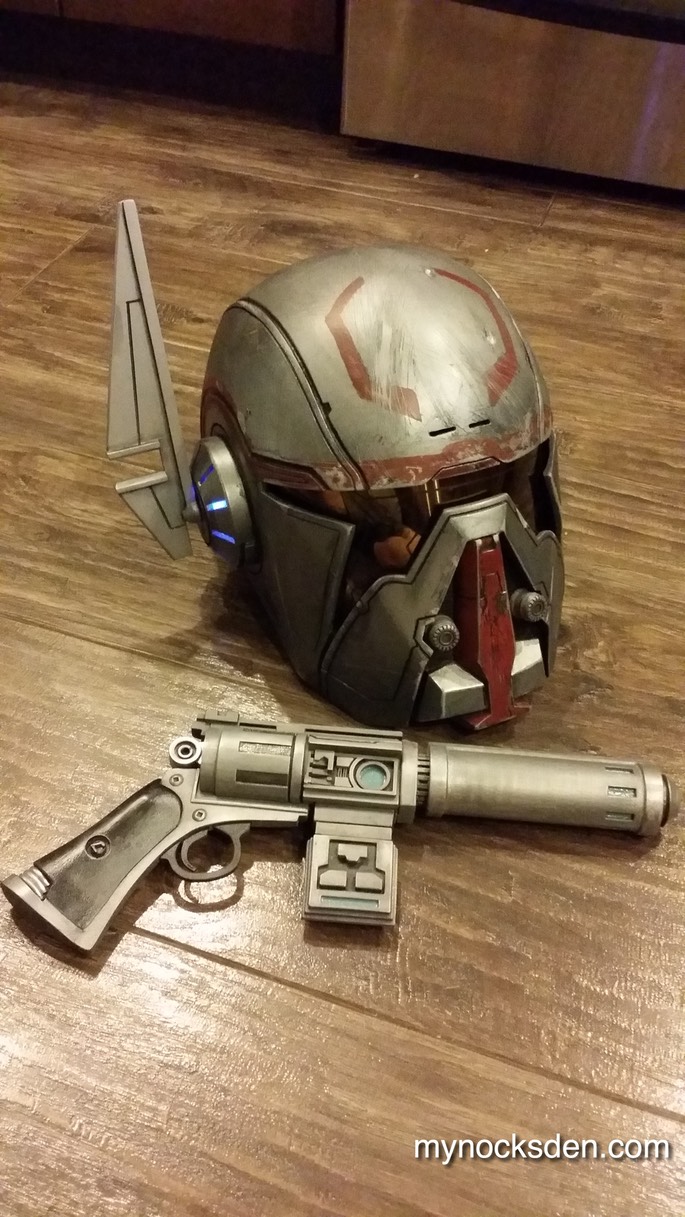
… until the blaster was as smooth as possible. Since this will be molded in a two half mold, to help reduce the amount of seam cleanup needed in some of the more obvious (and some hard to reach areas), I decided to mold the muzzle and the black dials in the grip separately. The trigger and trigger guard on the final blaster will be 3D printed for strength.

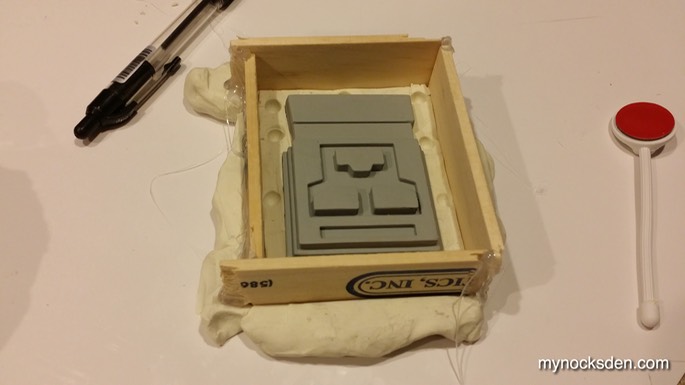
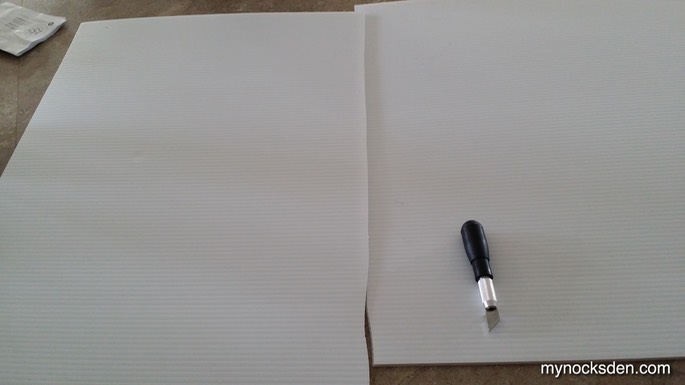
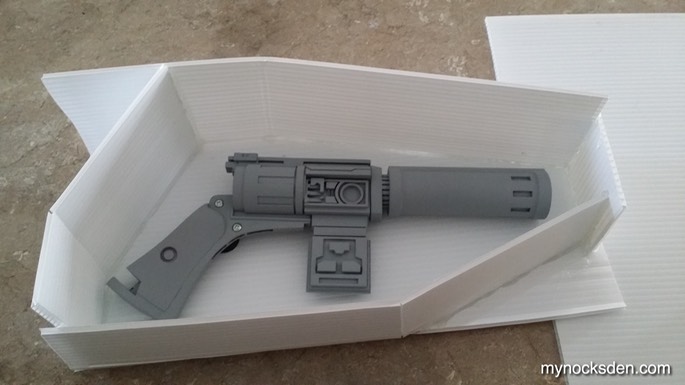
Next, using some corrugated plastic sheeting (don’t know what it’s called) that I got from a local hardware store, and a hot glue gun, I quickly put together a little container in which the blaster would be molded. Instead of doing a simple rectangle, I shaped the box to hug the contours of the gun, which would help save silicone in the end (this stuff is pricey).
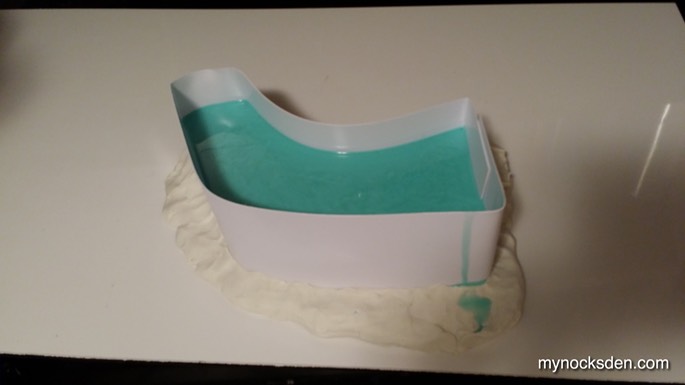
I was going to use plasticine to burry half of the blaster into for molding, but then I realized I had some Mold Mad 30 silicone left over from doing my V3 Sith Acolyte mold nearly 2 years ago. I figured since this stuff was way past its shelf life date, I would not risk using it for making anything worthwhile; however, I did read that it could still technically be used if one wished, so I figured I’d try and use it up as the throwaway separator in this build.
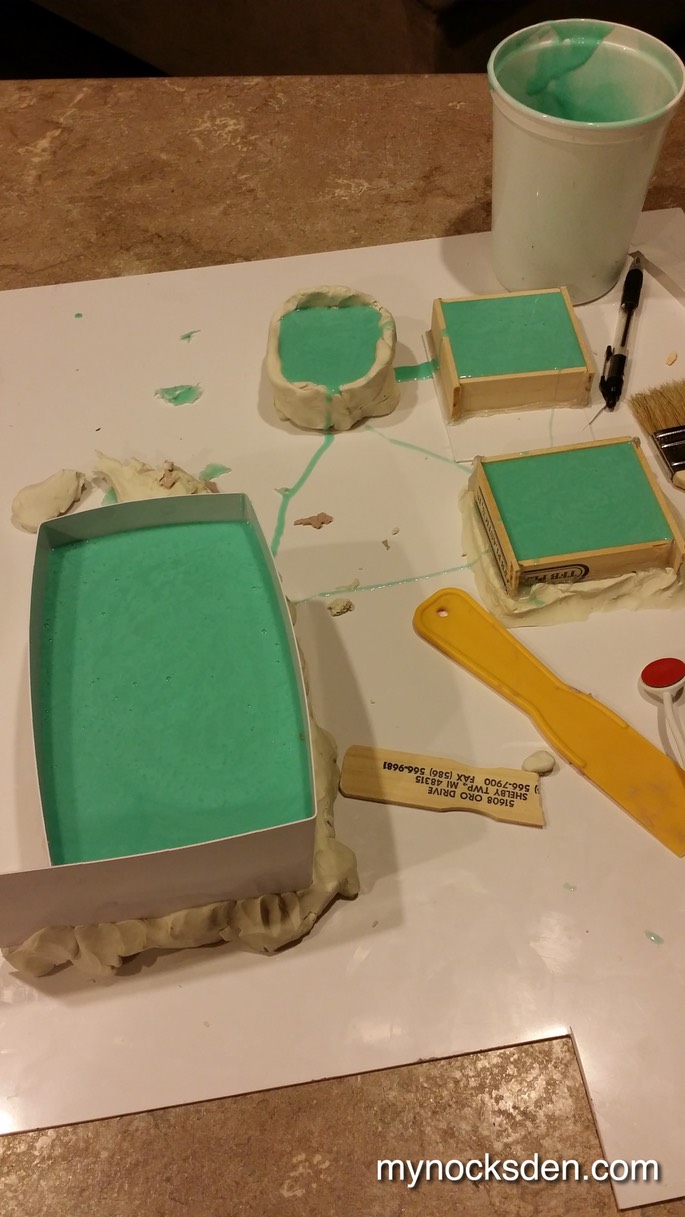
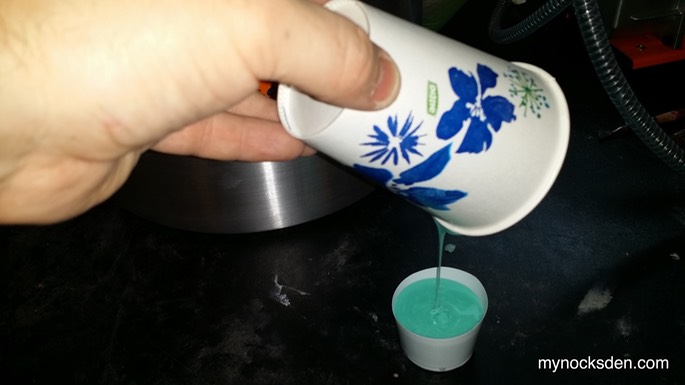
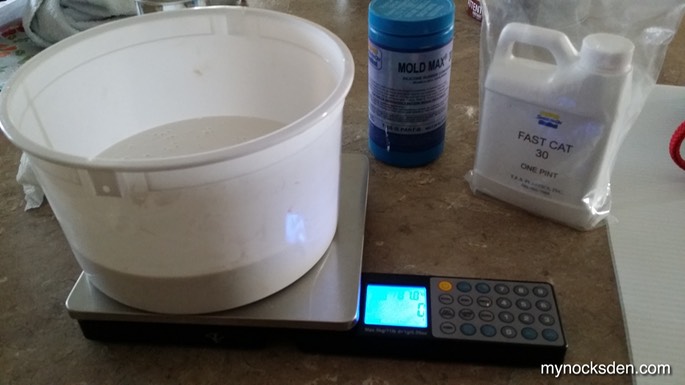
This stuff comes in part A and B, and needs to be mixed in a 100:10 by weight using a scale. Normally, it takes 16 hours for it to cure to usable hardness, however I did purchase some Fast Cat 30 catalyst a while ago to use specifically with this silicone; if mixed 100A:15Catalyst by weight (no original part B), the curing time can be shortened to as little as 30 minutes. So, I put an empty mixing container onto the scale, zeroed the scale, poured in part A and noted the weight.
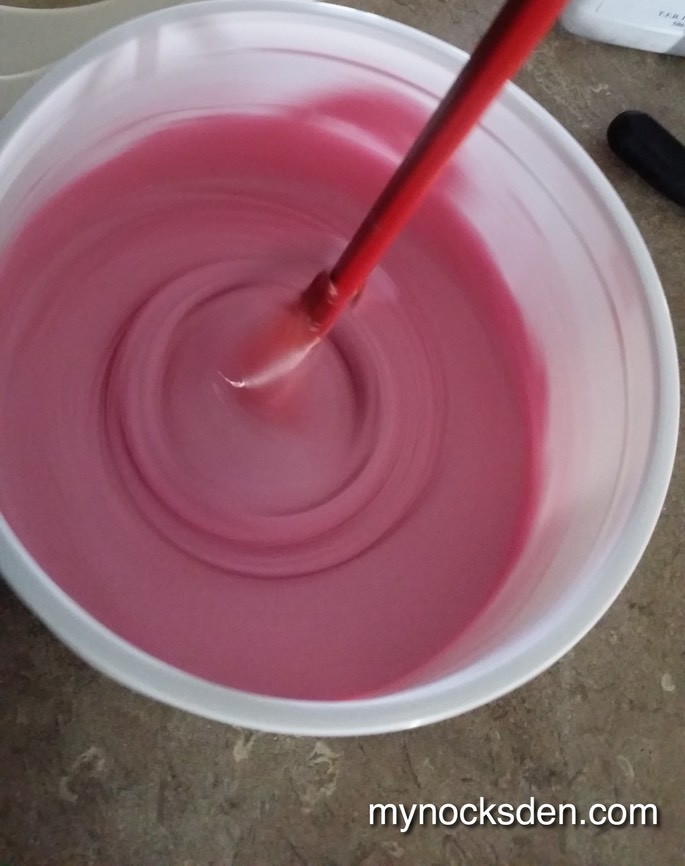
Next, I measured out the appropriate amount of the catalyst, dumped this in, and stirred everything until a uniform pink colour was achieved. Normally, this silicone can be mixed by hand using a paint stir stick, but because it sat for 2 years, part A had become as thick as tar, which called for a drill with a mixing bit.
Adding the maximum amount of catalyst shortens the pot life to about 5 minutes, but in my experience it was more like 2 minutes; by the time I finished stirring, the stuff was noticeably thicker, so I had to pour quickly.
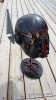
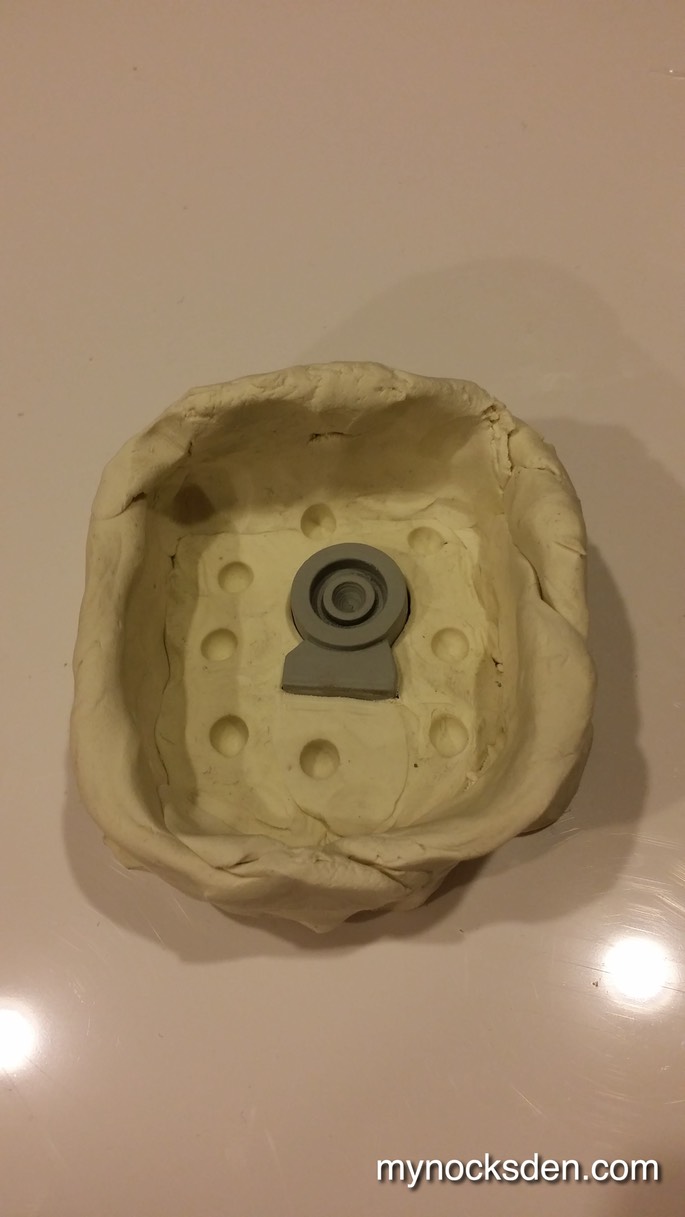
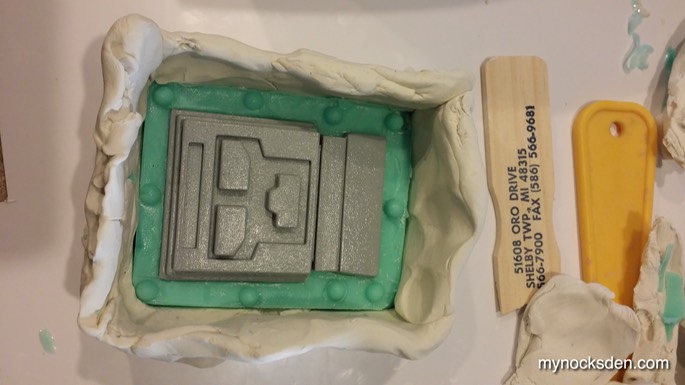
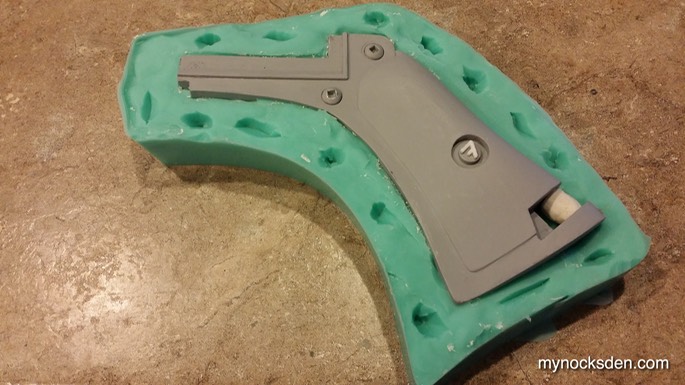
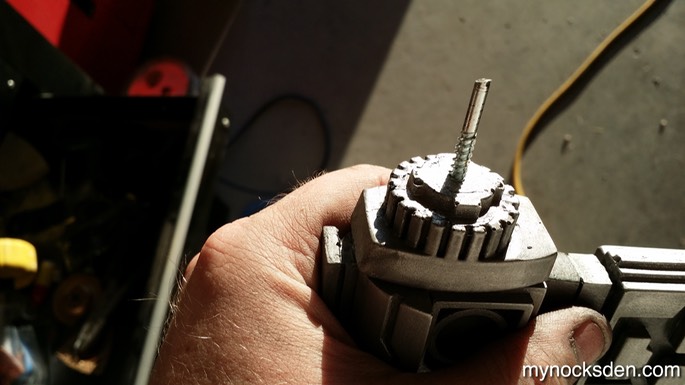
After I poured the goo as evenly and as quickly as I could, I pressed the blaster in (after coating it in mold release), and used the butt end of a stir stick to try to smooth out any unevenness on the surface. I then 3D printed some registration keys I had made for my original 2-part Shae Vizla helmet mold…
...and superglued them to the silicone surface all around the blaster.
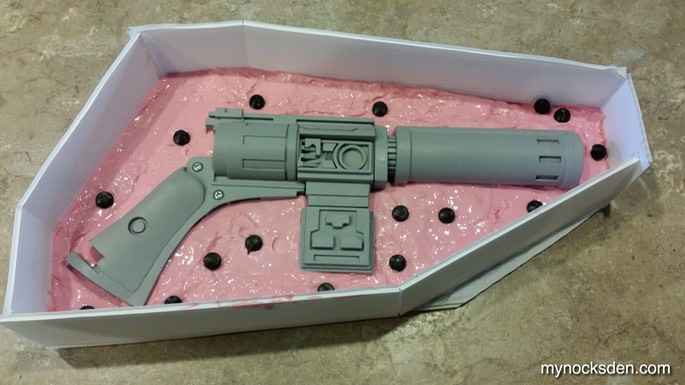
I sprayed the inside of the box with mold release, and the next step will be to use Rebound 25 to create the first half of the actual mold.
To be continued...
Once again, I began by assembling a collection of images of the blaster….
… and imported the profile shot into Rhino.
Next, I began tracing the detailing using curves (lines) in 2D, and then started to pull them out into 3D structures.
Most recessed areas were then made by splicing the surfaces with curves drawn in the first step, and then recessed using the “offset surface” function.
Pulling curves into 3D and offsetting surfaces to create detail pattens was how the majority of the blaster was modelled.
Here is a comparison shot of the reference image and the finished blaster model.
You’ll notice that the area above the magazine is slightly different in the completed model than in the reference shot. This is because the blaster model in the reference image is itself slightly different than that used in the trailer.
Granted, the two reference shots show opposite sides of the blaster, however, based on everything I’ve seen, I believe that the two sides are mirror images of each other. In any case, I wanted the blaster to be as close to the trailer material as possible, so I decided to make this area resemble the image on the right.
Next, I split the blaster model as shown below, and using a tolerance of 0.2, modelled protrusions and invaginations (what a terrible word) so that everything would snap together like lego.
After all the pieces were printed, I assembled the blaster and realized that I had sized it too small. It felt like a kids’ toy rather than a punch-packing energy weapon.
FAIL.
So, I went back to the model, sized it up proportionally in 3D so that the inner curve of the handle was 1 cm longer from trigger to the butt of the grip, and printed all the pieces anew.
The middle drum and magazine (photo above) were printed without support raft despite the large undercuts on the drum. This was a mistake, as the plastic strands within the undercuts ended up unravelling somewhat, which also created curling at the corners as seen in the photo below.
I reprinted these parts with a raft, which solved the problem.
Next, I proceeded to glue the two halves of each major part together using superglue.
Once the halves of all major pieces were glued together, I vapour smoothed everything using acetone, a method that is discussed in more detail in the middle of the page here.
When soaking the paper towels inside of the paint can with acetone it’s important to let the excess acetone drain out so that it doesn’t trip onto the plastic. It’s also a good idea to elevate the parts you’re treating off the floor, in case some acetone does run down. For this reason, I place all the parts I’m treating onto popsicle sticks.
After treating the parts for about an hour, I placed them in front of a heater to drive the acetone out of the plastic quicker.
I still had to use Bondo spot putty to smooth out some sections, so I applied the putty, and again, let everything sit in front of a heater to speed up curing time.
Using Dupli-Color automotive primer, I primed the parts to spot any trouble areas, let it dry for 5 minutes in front of the heater, and used more Bondo spot putty to touch up what needed to be done.
I repeated this process several more times...
… until the blaster was as smooth as possible. Since this will be molded in a two half mold, to help reduce the amount of seam cleanup needed in some of the more obvious (and some hard to reach areas), I decided to mold the muzzle and the black dials in the grip separately. The trigger and trigger guard on the final blaster will be 3D printed for strength.
Next, using some corrugated plastic sheeting (don’t know what it’s called) that I got from a local hardware store, and a hot glue gun, I quickly put together a little container in which the blaster would be molded. Instead of doing a simple rectangle, I shaped the box to hug the contours of the gun, which would help save silicone in the end (this stuff is pricey).
I was going to use plasticine to burry half of the blaster into for molding, but then I realized I had some Mold Mad 30 silicone left over from doing my V3 Sith Acolyte mold nearly 2 years ago. I figured since this stuff was way past its shelf life date, I would not risk using it for making anything worthwhile; however, I did read that it could still technically be used if one wished, so I figured I’d try and use it up as the throwaway separator in this build.
This stuff comes in part A and B, and needs to be mixed in a 100:10 by weight using a scale. Normally, it takes 16 hours for it to cure to usable hardness, however I did purchase some Fast Cat 30 catalyst a while ago to use specifically with this silicone; if mixed 100A:15Catalyst by weight (no original part B), the curing time can be shortened to as little as 30 minutes. So, I put an empty mixing container onto the scale, zeroed the scale, poured in part A and noted the weight.
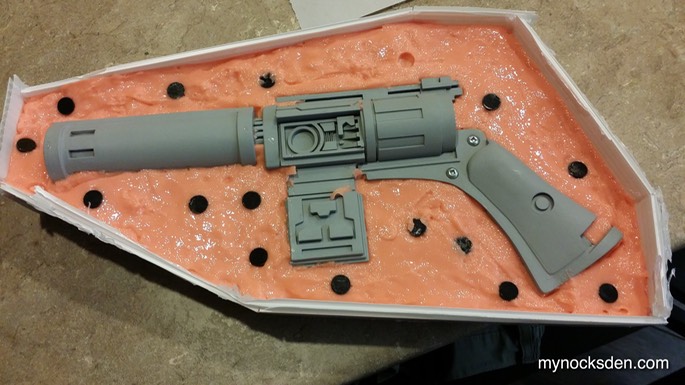
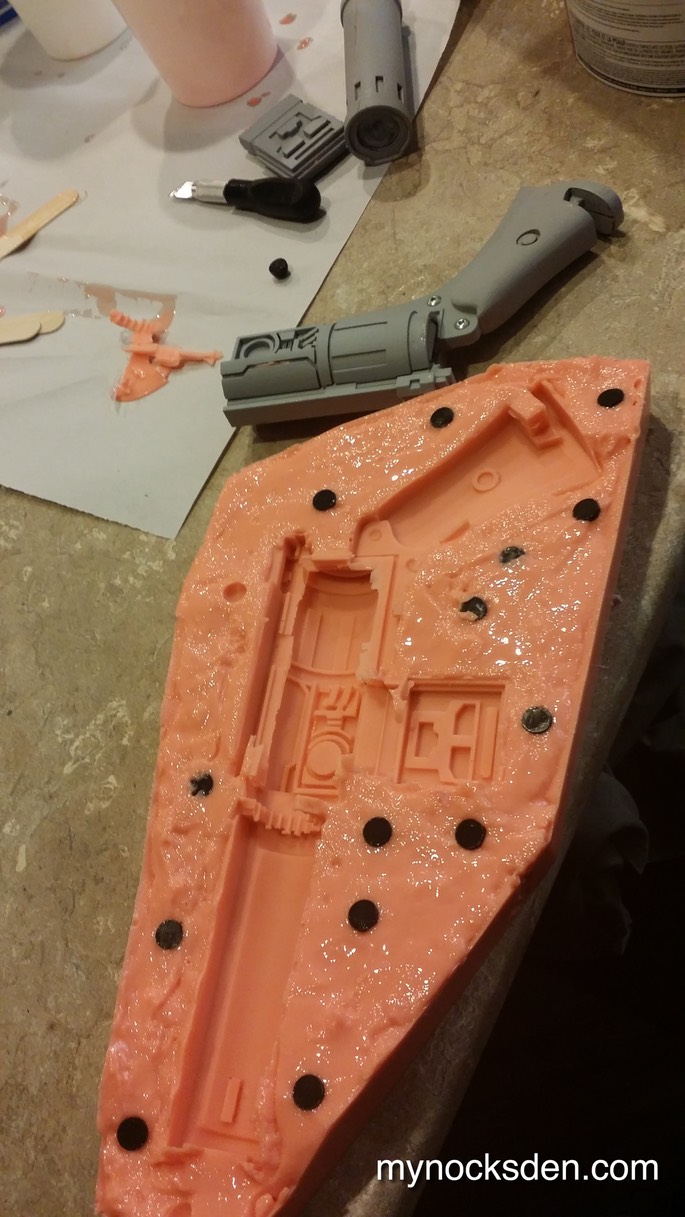
Next, I measured out the appropriate amount of the catalyst, dumped this in, and stirred everything until a uniform pink colour was achieved. Normally, this silicone can be mixed by hand using a paint stir stick, but because it sat for 2 years, part A had become as thick as tar, which called for a drill with a mixing bit.
Adding the maximum amount of catalyst shortens the pot life to about 5 minutes, but in my experience it was more like 2 minutes; by the time I finished stirring, the stuff was noticeably thicker, so I had to pour quickly.
After I poured the goo as evenly and as quickly as I could, I pressed the blaster in (after coating it in mold release), and used the butt end of a stir stick to try to smooth out any unevenness on the surface. I then 3D printed some registration keys I had made for my original 2-part Shae Vizla helmet mold…
...and superglued them to the silicone surface all around the blaster.
I sprayed the inside of the box with mold release, and the next step will be to use Rebound 25 to create the first half of the actual mold.
To be continued...
Last edited:
") I've used clay, I've used plasticine, and I have done many mold making tutorials myself for the same (just a few of the links below)
I've used clay, I've used plasticine, and I have done many mold making tutorials myself for the same (just a few of the links below)