superjedi
Sr Member
Merry Christmas to me! ")
This was a model I got for a present a few days ago. It's the Bad Azz Models resin Battlestar Valkyrie kit. I had a blast building this!
The given scale is 1/2500, and the kit is extremely well-molded in a nice white resin. It comes with a couple of lengths of tiny styrene rod to make the gun barrels, and a piece of thin wire for piping/antenna detail.
It also comes with a sheet of 4 decals. Two landing deck decals for the flight pods, and two ridiculously tiny, yet perfectly printed ship names for the pod exteriors.
As with my "Big G," I got into it so much that I didn't even take any in progress pictures. But here she is complete.
Overall, the kit is right around 10" long, and it's packed with an incredible amount of detail.
Construction is pretty straightforward. The main hull is one piece, the head is two pieces (upper and lower), each flight pod is two parts (upper and lower), the engines are separate parts and they all attach to a center engine block, which is glued to the aft end of the fuselage.
The small engine "flaps" are tiny separate pieces, as are each of the many gun turrets.
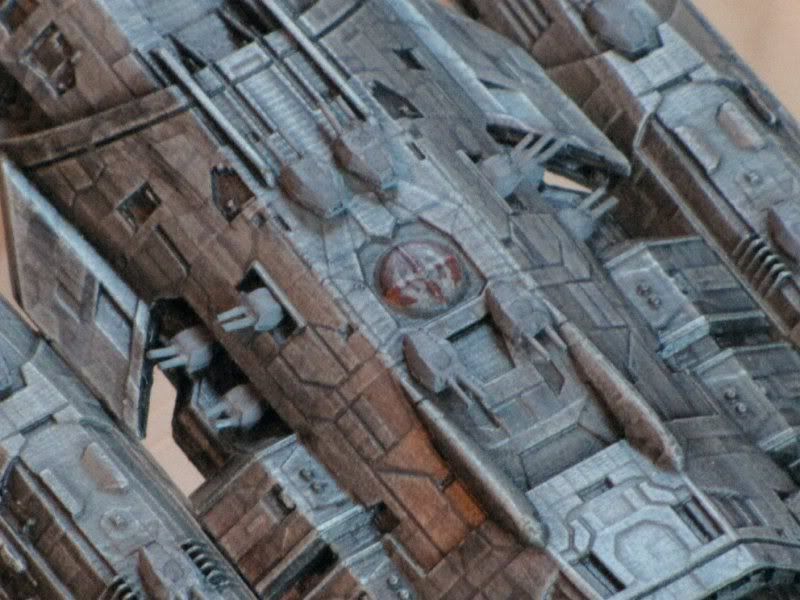
Here's a shot of the center hull section, to see some of the detail going on here.
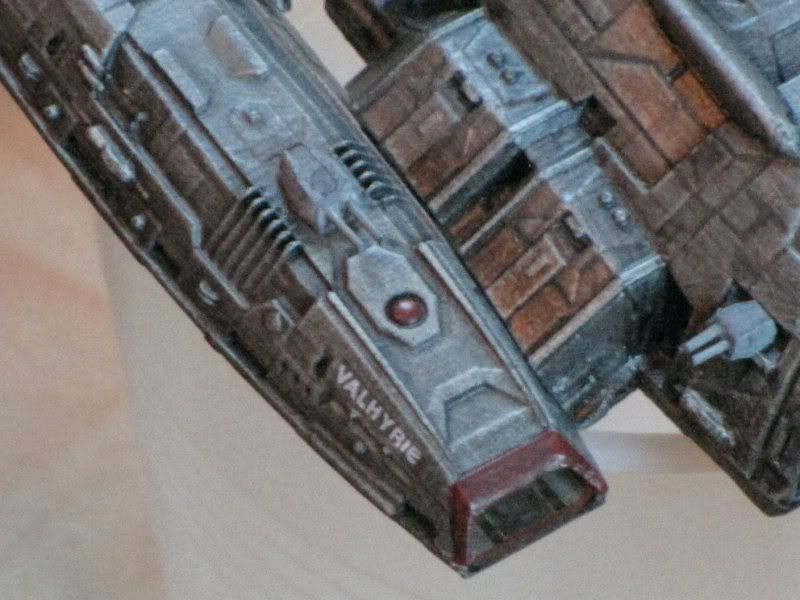
Another close pic of the starboard flight pod. This decal is soooo small!!
There was barely any clean up to do, just some less-than-paper thin flash around a couple of seams. Once I had removed the flash and washed all the parts, I began painting in subassemblies to make detail painting easier.
I chose Testors Gull Gray as a base coat. I knew that further weathering would darken it up considerably.
The Gull Gray basecoat was given a shoe polish wash (per Cylon75's excellent method!), buffed with steel wool, and allowed to dry. After that, I went back with some contrasting gray acrylics and a very fine 000 paint brush and painted some panels in slightly different tones. I also "cheated" some extra panel lines here and there into the paint job.
For the red detailing, I used Polly Scale Rock Island Maroon, a darkish red.
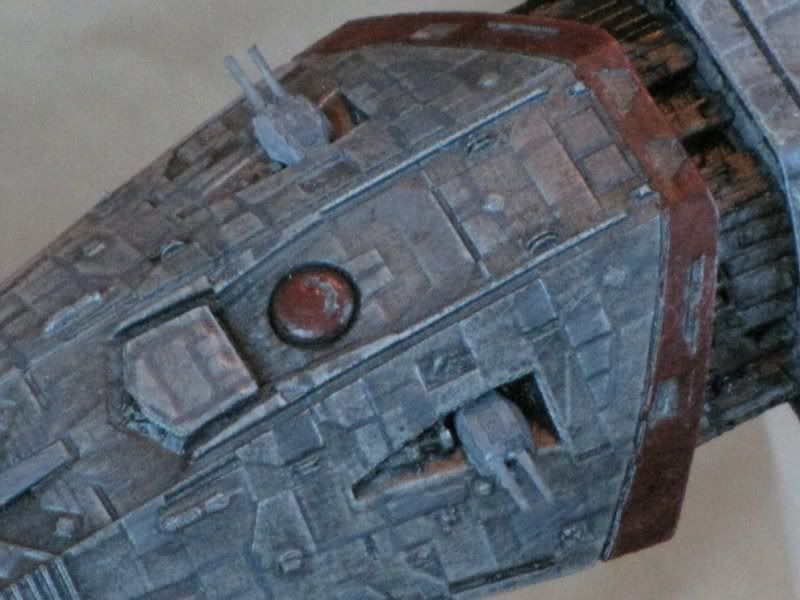
Here's a close shot of the head which shows some of the paneling work.
After all that, I did the shoe polish wash again, just to darken everything up a bit more. I wanted the overall tone to be close to the Galactica's armor plating.
The guns and engine flaps went on after all the major painting and assembly was complete. The guns were given a base coat of Polly Scale CSX Gray and then given a black acrylic wash after I attached them to the hull.
Making those gun barrels was a real bugger! My eyeballs really got a workout during that process. . . :confused

I didn't even put on all the guns that came with the kit! There are several really tiny ones, even smaller than the ones I used. I'm still considering whether I want to put them on or not.
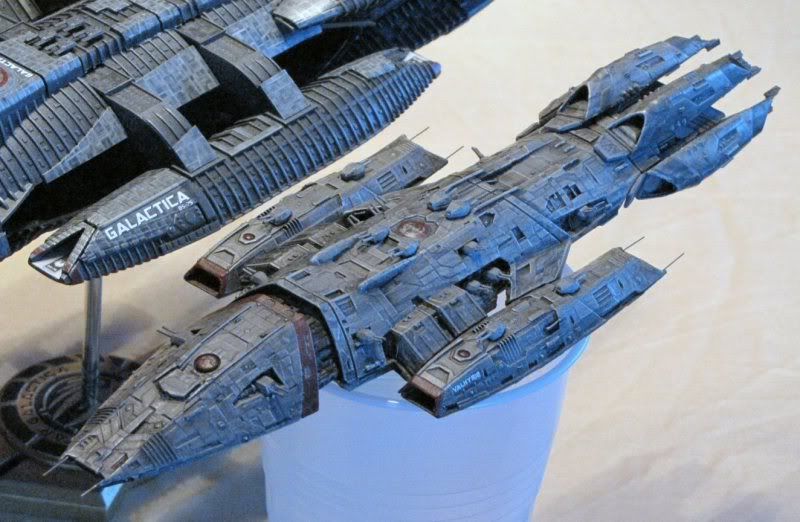
All in all, a really nice offering and a great addition to my growing BSG fleet. Here are a couple of shots of the Valkyrie in formation with her big sister.

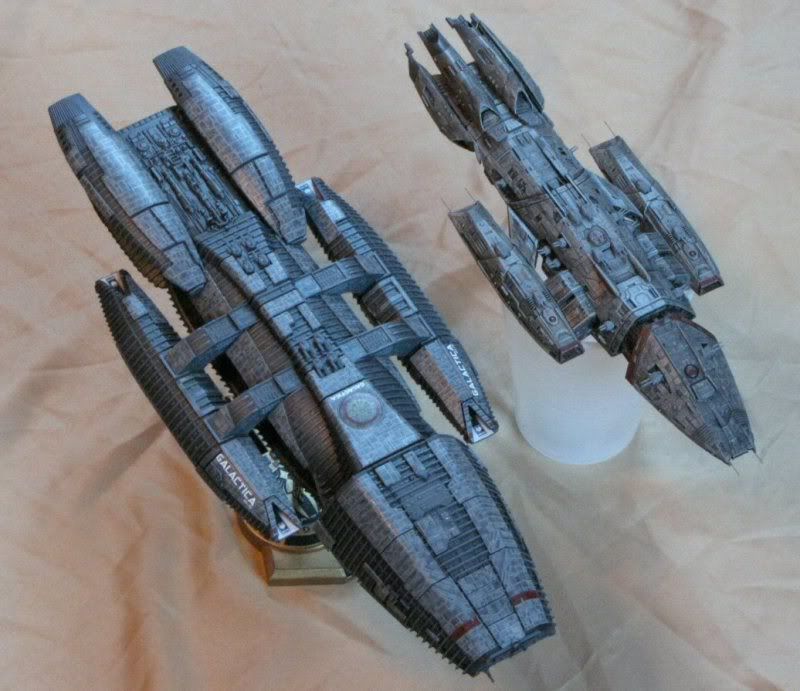
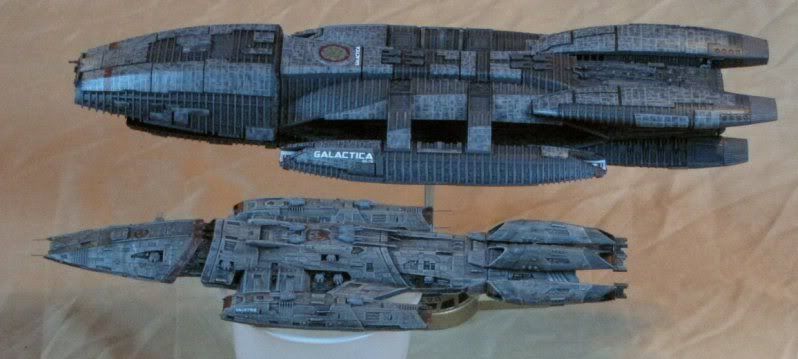
I still plan to make a group display once I get a few more rag tag fleet ships, so the Val will remain perched on a plastic cup until then. :lol
Thanks for looking, and hope everyone has a happy and safe New Year!
This was a model I got for a present a few days ago. It's the Bad Azz Models resin Battlestar Valkyrie kit. I had a blast building this!
The given scale is 1/2500, and the kit is extremely well-molded in a nice white resin. It comes with a couple of lengths of tiny styrene rod to make the gun barrels, and a piece of thin wire for piping/antenna detail.
It also comes with a sheet of 4 decals. Two landing deck decals for the flight pods, and two ridiculously tiny, yet perfectly printed ship names for the pod exteriors.
As with my "Big G," I got into it so much that I didn't even take any in progress pictures. But here she is complete.
Overall, the kit is right around 10" long, and it's packed with an incredible amount of detail.
Construction is pretty straightforward. The main hull is one piece, the head is two pieces (upper and lower), each flight pod is two parts (upper and lower), the engines are separate parts and they all attach to a center engine block, which is glued to the aft end of the fuselage.
The small engine "flaps" are tiny separate pieces, as are each of the many gun turrets.
Here's a shot of the center hull section, to see some of the detail going on here.
Another close pic of the starboard flight pod. This decal is soooo small!!
There was barely any clean up to do, just some less-than-paper thin flash around a couple of seams. Once I had removed the flash and washed all the parts, I began painting in subassemblies to make detail painting easier.
I chose Testors Gull Gray as a base coat. I knew that further weathering would darken it up considerably.
The Gull Gray basecoat was given a shoe polish wash (per Cylon75's excellent method!), buffed with steel wool, and allowed to dry. After that, I went back with some contrasting gray acrylics and a very fine 000 paint brush and painted some panels in slightly different tones. I also "cheated" some extra panel lines here and there into the paint job.
For the red detailing, I used Polly Scale Rock Island Maroon, a darkish red.
Here's a close shot of the head which shows some of the paneling work.
After all that, I did the shoe polish wash again, just to darken everything up a bit more. I wanted the overall tone to be close to the Galactica's armor plating.
The guns and engine flaps went on after all the major painting and assembly was complete. The guns were given a base coat of Polly Scale CSX Gray and then given a black acrylic wash after I attached them to the hull.
Making those gun barrels was a real bugger! My eyeballs really got a workout during that process. . . :confused
I didn't even put on all the guns that came with the kit! There are several really tiny ones, even smaller than the ones I used. I'm still considering whether I want to put them on or not.
All in all, a really nice offering and a great addition to my growing BSG fleet. Here are a couple of shots of the Valkyrie in formation with her big sister.
I still plan to make a group display once I get a few more rag tag fleet ships, so the Val will remain perched on a plastic cup until then. :lol
Thanks for looking, and hope everyone has a happy and safe New Year!

