ST Nemesis Phaser Rifle Build *FINISHED - PICS POSTED*

TridCloudwalker

Sr Member
RPF PREMIUM MEMBER
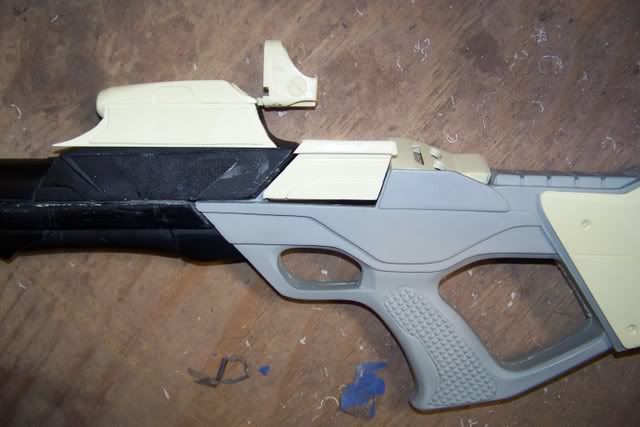
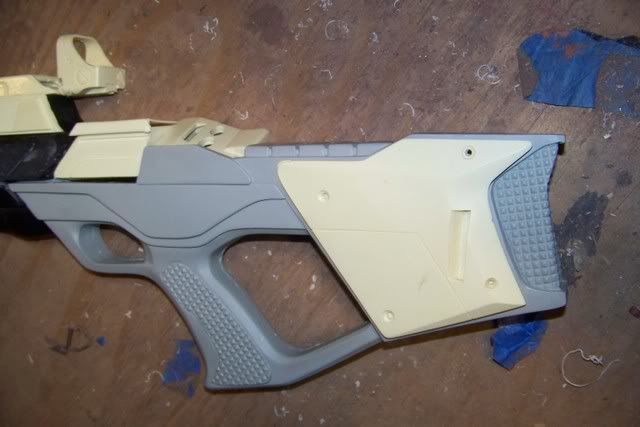
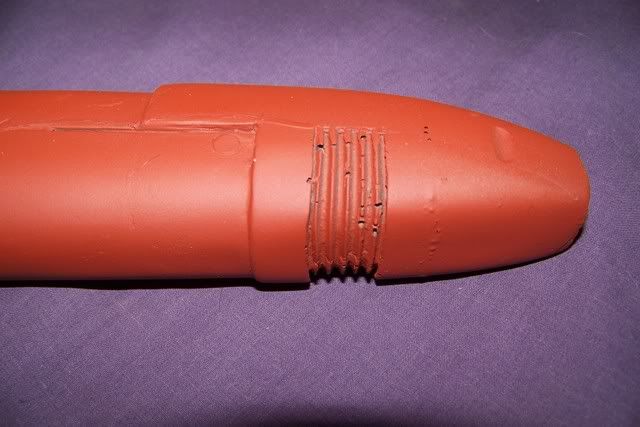
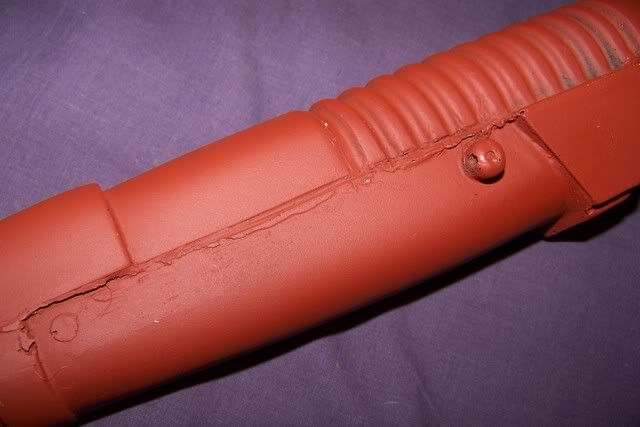
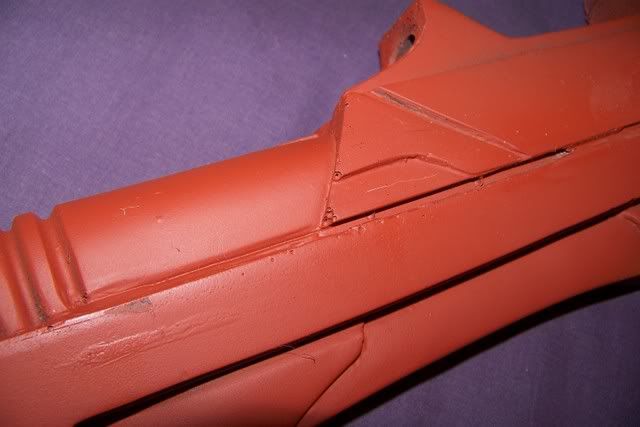
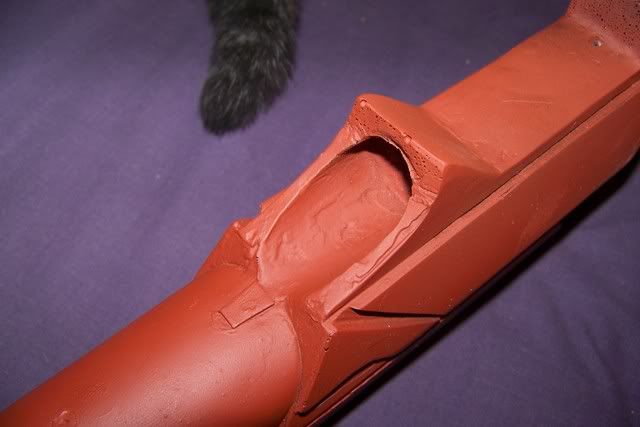
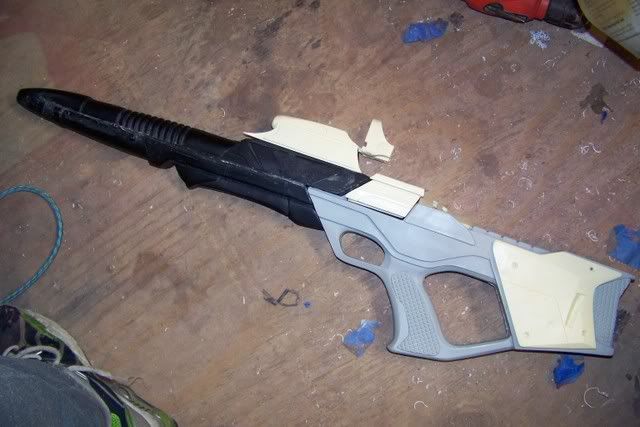
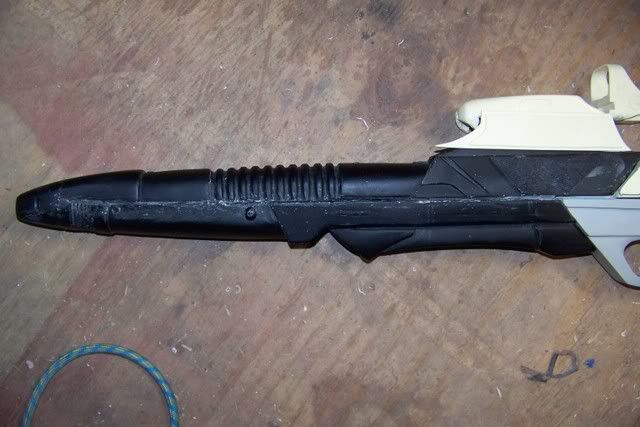
Here's a little preview of my newest project. This is a Star Trek Nemesis Phaser Rifle that I'll be building for Funky Jedi. This will be a static build. No lights or sounds. However, I will be constructing some internals so that the trigger can be pulled, and the power cell cover wil l be able to be slid off so you can see the (sadly) unlit cell.

I'm not possitive who made this kit. I THINK it might be mastered by judgedredd off a screen used rifle and cast by Le Marchand. If either of you guys could take a look and let me know, it'd be appreciated.

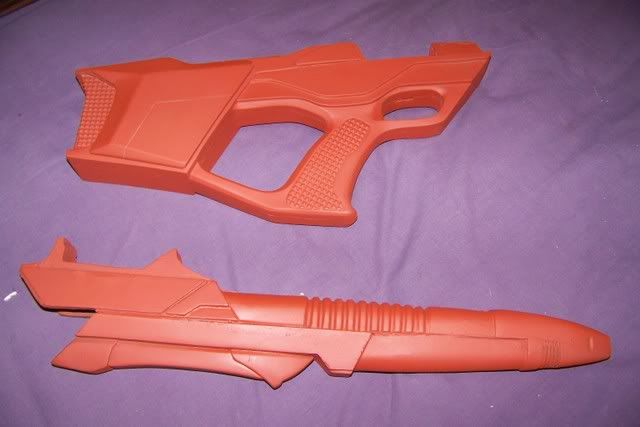
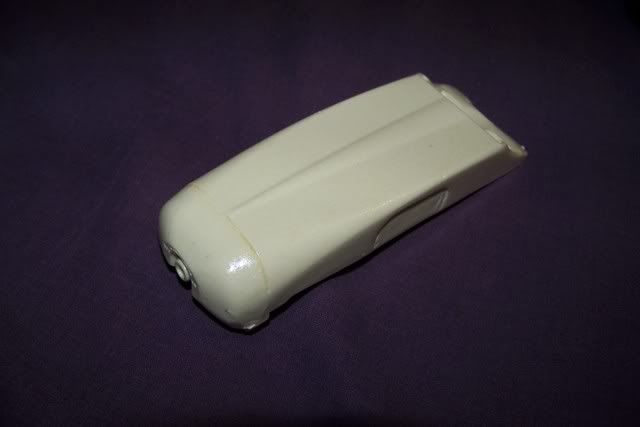
Anyway, here are a couple shots of the kit (minus a few small pieces I didn't bother to put in the shots):
100_0868.jpg

100_0869.jpg

100_0870.jpg

100_0871.jpg
 
Last edited:
Re: ST Nemesis Phaser Rifle Build

Yup, it's judgedredd's kit, used to be mine, sold it to funky Jedi, can't wait to see it built, it's a incredible piece, I'm sure funky will love it!
 
Last edited:
Re: ST Nemesis Phaser Rifle Build

Not much of an update, as I need to get some supplies. However, I wanted to show everyone this kit in detail for those who aren't familiar with it, and also to illustrate what I'll be doing to it.

First off, judgedredd, this is a BEAUTIFUL kit. Seriously. Amazing. I want one of these so bad, so if you do decide to have another run made, let me know. Here's a beauty shot of the main body that I've primered to I can start finding flaws to fix:
100_0918.jpg


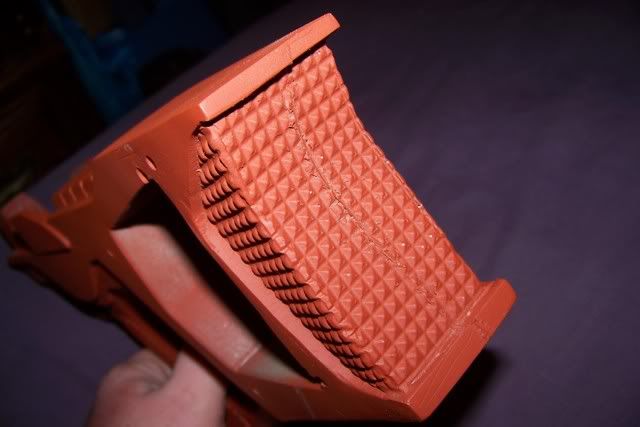
And boy did I find some. As beautiful as this kit is, this particular casting is a bit messy (probably made toward the end of the molds life). It's certainly not hopless, far from it in fact, but I realize I gave Funky Jedi a much lower price than I should have for the work. lol Enjoy the deal, buddy! :) One flaw I'm not going to be able to make 100% invisible is the seam line running right up the back of the textured stock:
100_0919.jpg


I have something cool planned for the finish on that stock though that will make the seam repair almost unnoticable. Rest assured, though, there will be much grumbling and cursing while I file away at it. I'd be happy to have the girfriend take video of me acting like an a** if it'll amuse you.

Next up, pin holes and seam lines galore. Lots of rough stuff here, but nothing a little putty and a lot of sanding/filing will take care of. Most of the time I'll spend on this kit will be these, so updates will be slow coming for a little bot while I work on them. Though, once done, this thing will fly. By the way, if anyone happens to have a metal post they could spare to replace the molded in one in the second pic(where the sling attaches), I'd be most greatful:
100_0920.jpg

100_0921.jpg

100_0922.jpg

100_0923.jpg


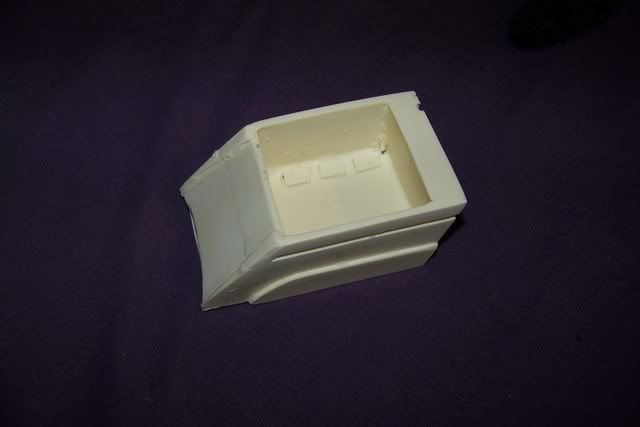
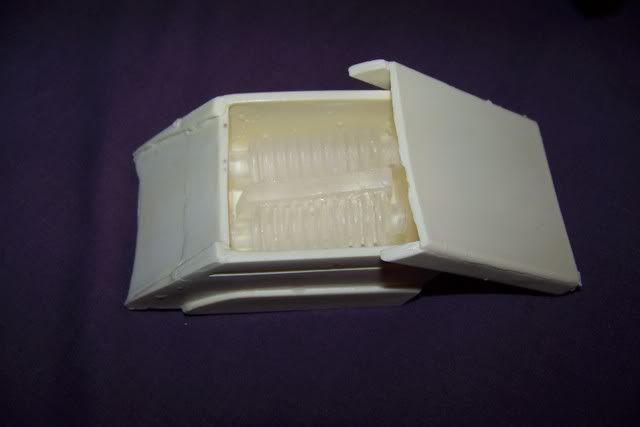
Here are two shots of the power box. The first is just the box, and the second has the sliding cover on it, and the clear cast power cell inside. Since this wont be lit, I suppose I'll just zap the cell with a coat of clear red:
100_0924.jpg

100_0925.jpg


This is...well...I don't know. Part of the aiming mechanisms maybe? It goes right above where the flashlight get secured. I think it housed a laser sight in the original:
100_0926.jpg


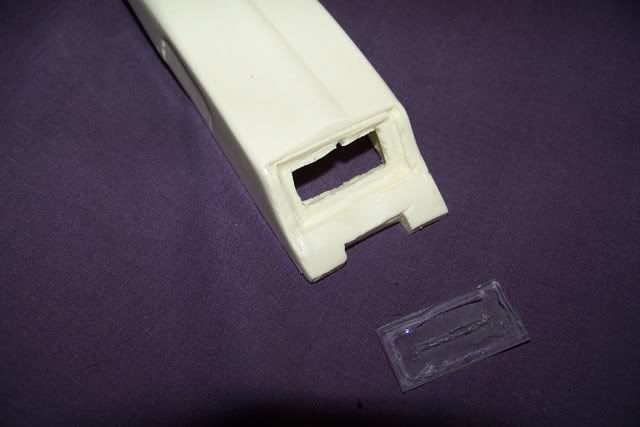
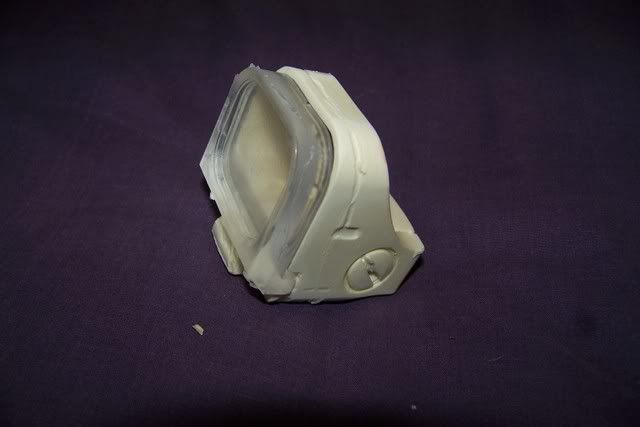
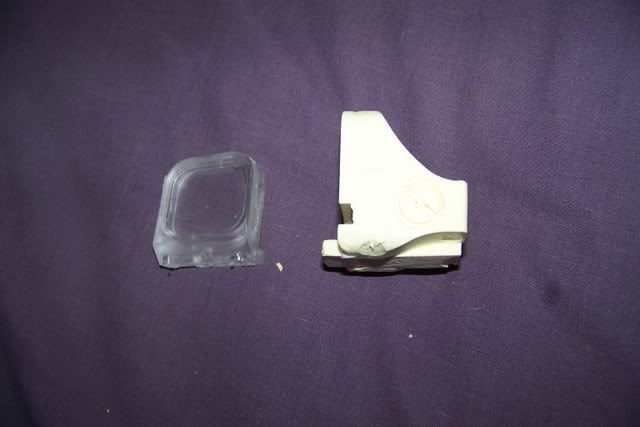
A shot of the rear of that piece. The clear cast window is utterly useless. It has so many bubbles and imperfections, it'd be a cruel joke to actually use it. I'll just cut out a piece of a CD case or use some slide glass:
100_0927.jpg


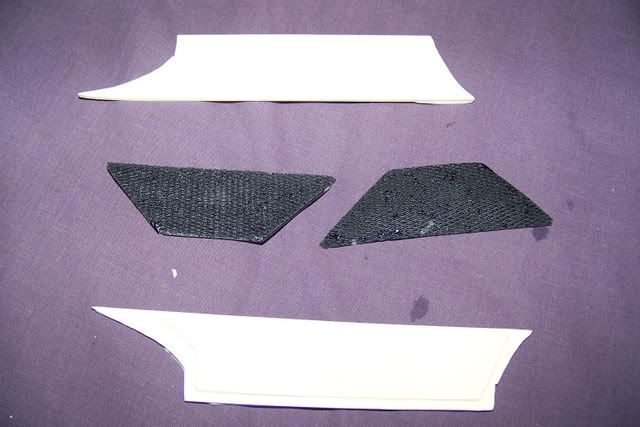
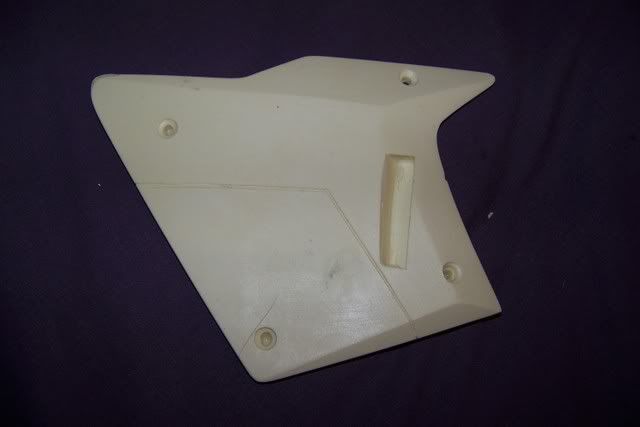
Here are some side panels. The black textured ones are purely cosmetic. The other ones make up the side of the housing for the "laser sight." I've notice that in pics of screen used rifles, these panels are just flat and undetailed and covered with a strip of chrome mylar tape. However, the kit pieces are ribbed like the back of an auto pistol's slide. I'm not exactly sure why that is. I know judgedredd cast a screen used gun, and chopped it down into kit form. Was this part a creative fabrication on his part, or did the rifle he cast actually have this detail on it?? Unfortunately, my photo is too washed out for you to see what I'm talking about, but you all have imaginations:
100_0928.jpg


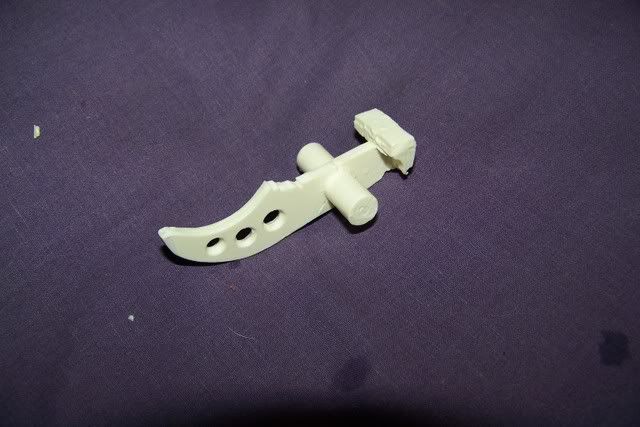
Trigger. Self explanetory, though I will be constructing a spring mechanism that will allow Funky to press the trigger with delight while he makes "Peww Peww" noises:
100_0929.jpg


Optical targeting scope? Sounds like a good name. I don't know what any of this stuff is, but I do know how it goes together. :) The clear piece, though not perfect, will look quite nice after it's been dipped in Future:
100_0930.jpg

100_0931.jpg


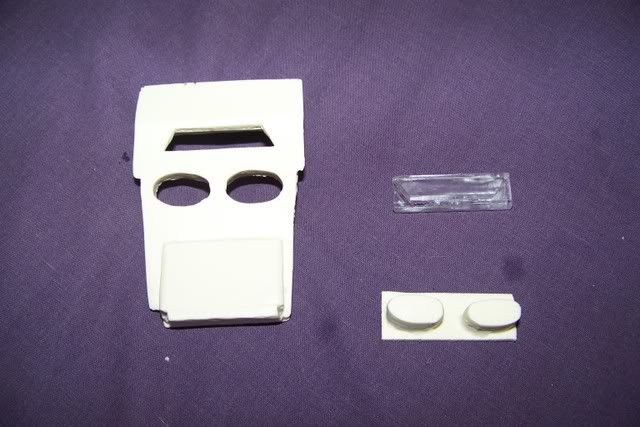
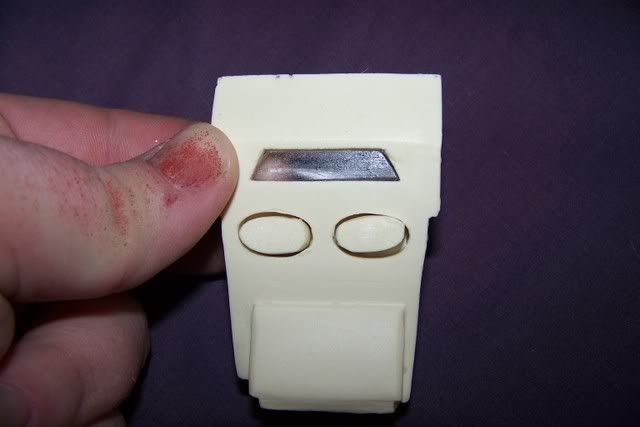
Power setting plate. The holes for the buttons are way too bog and really uneven. That's going to be a fun puttying night. Also, the buttons are completelyflat across the top. Shouldn't they be smooth and curved, or are they correct as they are? The window for the illuminated power bars is nicely cast, however, I have no idea what I should put underneath it. Perhaps some dark grey ribbed styrene so it looks like a powered down power bar?
100_0932.jpg

100_0933.jpg


Seatbelt/sling roll cover plate. Not a single flaw on it that I can see. Beautifully cast. Just need to file out the slot:
100_0935.jpg


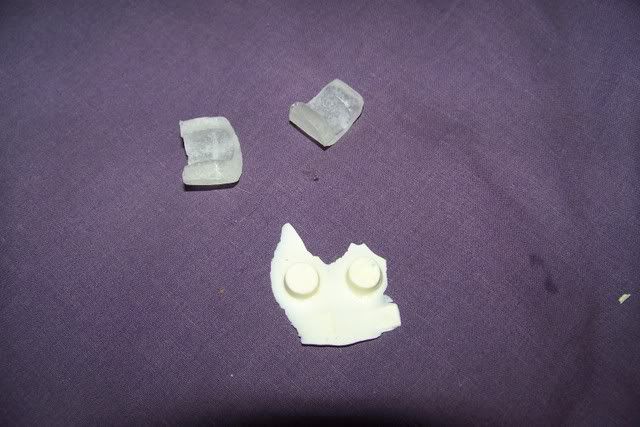
And does any one know what these nipple-like things are and where they go?? I cannot figure it out for the life of me. I'm pretty possitive those clear pieces are just scraps, but the twonubs look like they should go somewhere. Help:
100_0934.jpg


That's all for now. Putty work starts tomorrow, and yet another trip to the auto store to start choosing colors for the body. Comments, questions, and critisisms are greatly appreciated.
 
Re: ST Nemesis Phaser Rifle Build

I believe the two clear pieces of scraps go over the 2 round pegs on the trigger inside to allow it to move freely, I think, thats all I could figure out they would be for, as for the two pegs, i'm not sure, have to look into it, its looking good with a coat of primer, there is alot of work to be done, looking good, keep us updated!!!
 
Re: ST Nemesis Phaser Rifle Build

Here's some shots I could find, cant pinpoint the two resin pieces though

nr3c02.jpg


nr3c06.jpg
 
Re: ST Nemesis Phaser Rifle Build

This texture looks like a florescent light diffusion panel (overhead, 3' by 4')
Flexible enough to bend into that shape it you remove all the resin texture to a smooth surface.

Just a thought.


And boy did I find some. As beautiful as this kit is, this particular casting is a bit messy (probably made toward the end of the molds life). It's certainly not hopless, far from it in fact, but I realize I gave Funky Jedi a much lower price than I should have for the work. lol Enjoy the deal, buddy! :) One flaw I'm not going to be able to make 100% invisible is the seam line running right up the back of the textured stock:
100_0919.jpg
 
Re: ST Nemesis Phaser Rifle Build

The scope looks like a 'holographic' sight.
You could find a cheap Airsoft knockoff & replace, thus gaining more detail.
 
Re: ST Nemesis Phaser Rifle Build

Wow, I had no idea it needed so much work. I opened it months ago to check for contents then reboxed it. Trid, seeing what needs to go into it, I'll PM you with compensation because DAMN, dude, that looks FANTASTIC! I have no doubt that this is going to turn out great. :thumbsup
 
Re: ST Nemesis Phaser Rifle Build

Pricy??? It's ONLY money!!:lol

I dont know if there is an airsoft version or not. That's the older holosight model. The newer style looks like the eotech. If I built one, I would put a holosight up there. But I don't have a kit. Plus, you would have a working sight. How cool... I wonder what it would take to turn a FC rifle kit from rodd.com into nemesis....
 
Re: ST Nemesis Phaser Rifle Build

Not that much, you would just have to redo the side panels with some styrene, make a new sight for the top and a new paint scheme
 
Re: ST Nemesis Phaser Rifle Build

Not much of an update, as I need to get some supplies. However, I wanted to show everyone this kit in detail for those who aren't familiar with it, and also to illustrate what I'll be doing to it.

First off, judgedredd, this is a BEAUTIFUL kit. Seriously. Amazing. I want one of these so bad, so if you do decide to have another run made, let me know. Here's a beauty shot of the main body that I've primered to I can start finding flaws to fix:
100_0918.jpg


And boy did I find some. As beautiful as this kit is, this particular casting is a bit messy (probably made toward the end of the molds life). It's certainly not hopless, far from it in fact, but I realize I gave Funky Jedi a much lower price than I should have for the work. lol Enjoy the deal, buddy! :) One flaw I'm not going to be able to make 100% invisible is the seam line running right up the back of the textured stock:
100_0919.jpg


I have something cool planned for the finish on that stock though that will make the seam repair almost unnoticable. Rest assured, though, there will be much grumbling and cursing while I file away at it. I'd be happy to have the girfriend take video of me acting like an a** if it'll amuse you.

Next up, pin holes and seam lines galore. Lots of rough stuff here, but nothing a little putty and a lot of sanding/filing will take care of. Most of the time I'll spend on this kit will be these, so updates will be slow coming for a little bot while I work on them. Though, once done, this thing will fly. By the way, if anyone happens to have a metal post they could spare to replace the molded in one in the second pic(where the sling attaches), I'd be most greatful:
100_0920.jpg

100_0921.jpg

100_0922.jpg

100_0923.jpg


Here are two shots of the power box. The first is just the box, and the second has the sliding cover on it, and the clear cast power cell inside. Since this wont be lit, I suppose I'll just zap the cell with a coat of clear red:
100_0924.jpg

100_0925.jpg


This is...well...I don't know. Part of the aiming mechanisms maybe? It goes right above where the flashlight get secured. I think it housed a laser sight in the original:
100_0926.jpg


A shot of the rear of that piece. The clear cast window is utterly useless. It has so many bubbles and imperfections, it'd be a cruel joke to actually use it. I'll just cut out a piece of a CD case or use some slide glass:
100_0927.jpg


Here are some side panels. The black textured ones are purely cosmetic. The other ones make up the side of the housing for the "laser sight." I've notice that in pics of screen used rifles, these panels are just flat and undetailed and covered with a strip of chrome mylar tape. However, the kit pieces are ribbed like the back of an auto pistol's slide. I'm not exactly sure why that is. I know judgedredd cast a screen used gun, and chopped it down into kit form. Was this part a creative fabrication on his part, or did the rifle he cast actually have this detail on it?? Unfortunately, my photo is too washed out for you to see what I'm talking about, but you all have imaginations:
100_0928.jpg


Trigger. Self explanetory, though I will be constructing a spring mechanism that will allow Funky to press the trigger with delight while he makes "Peww Peww" noises:
100_0929.jpg


Optical targeting scope? Sounds like a good name. I don't know what any of this stuff is, but I do know how it goes together. :) The clear piece, though not perfect, will look quite nice after it's been dipped in Future:
100_0930.jpg

100_0931.jpg


Power setting plate. The holes for the buttons are way too bog and really uneven. That's going to be a fun puttying night. Also, the buttons are completelyflat across the top. Shouldn't they be smooth and curved, or are they correct as they are? The window for the illuminated power bars is nicely cast, however, I have no idea what I should put underneath it. Perhaps some dark grey ribbed styrene so it looks like a powered down power bar?
100_0932.jpg

100_0933.jpg


Seatbelt/sling roll cover plate. Not a single flaw on it that I can see. Beautifully cast. Just need to file out the slot:
100_0935.jpg


And does any one know what these nipple-like things are and where they go?? I cannot figure it out for the life of me. I'm pretty possitive those clear pieces are just scraps, but the twonubs look like they should go somewhere. Help:
100_0934.jpg


That's all for now. Putty work starts tomorrow, and yet another trip to the auto store to start choosing colors for the body. Comments, questions, and critisisms are greatly appreciated.
The 2 little curves if you look close to the back, have a L and R for left and right. They are to hold the trigger in place. As to the nipples, there should be 4, this is to relace the ends of the crystal powercell, as they are to or should be metal on both ends. I will put some of my rifle up for you. I got a copy from ISS when they did the movie. It was poured, just never used..Kev:angel
 
Re: ST Nemesis Phaser Rifle Build

Yeah, after looking at them, the only difference is the bushnell sight, and some type of a normal round flashlight to mount. Side panels would be a breeze too. Makes me wish I had the money for a kit...I would like to do a display with a dolphin phaser and rifle in that nifty wall mount that seemed to be hidden everywhere on the enterprise E...:love
 
Re: ST Nemesis Phaser Rifle Build

Wow, I had no idea it needed so much work. I opened it months ago to check for contents then reboxed it. Trid, seeing what needs to go into it, I'll PM you with compensation because DAMN, dude, that looks FANTASTIC! I have no doubt that this is going to turn out great. :thumbsup

No problem, my friend. I meant it jokingly, and you're compensating me very fairly. I honestly just love building these things up. This is going to be a very fun and interesting challenge.

This texture looks like a florescent light diffusion panel (overhead, 3' by 4')
Flexible enough to bend into that shape it you remove all the resin texture to a smooth surface.

Just a thought.

A VERY good idea, unfortunately the pyramid patterns in the panels are concave, and the rifle ones are convex.
 
Last edited:
Back
Top