I dragged my old AMT Enterprise out of my parents' attic a couple of weeks ago, and it was in a sorry state. I'd done a lot of modifications on it back in 1979-ish, in order to light it up, but for some reason I never got around to painting it. It ended up packed away in the attic for a few decades.
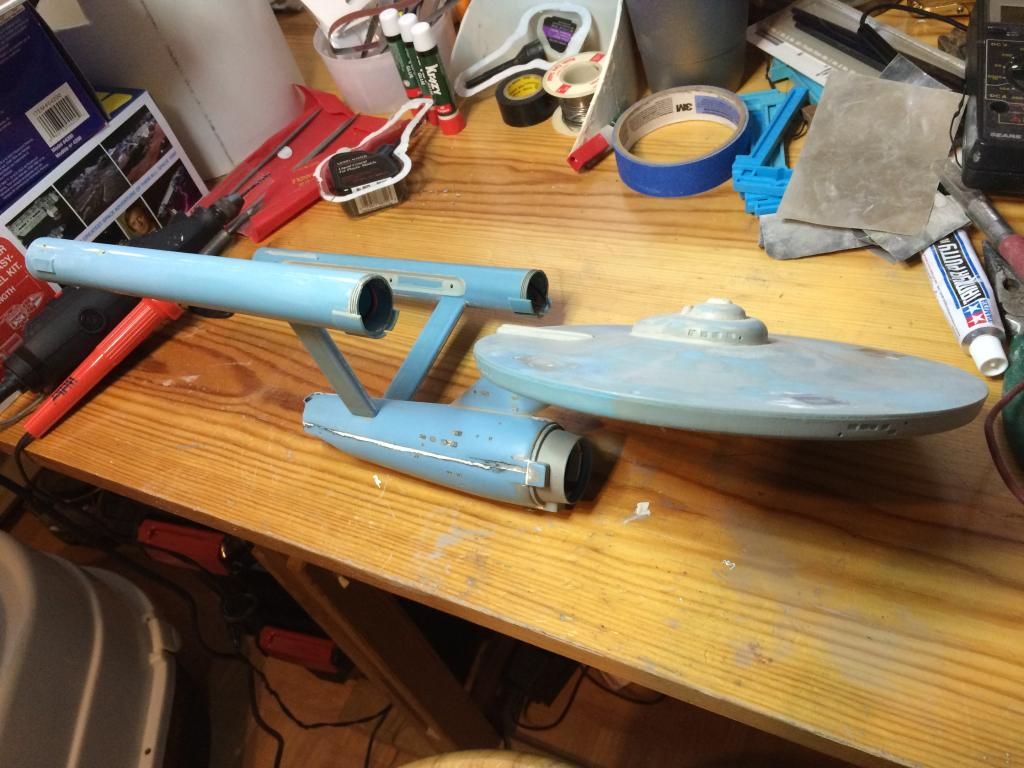
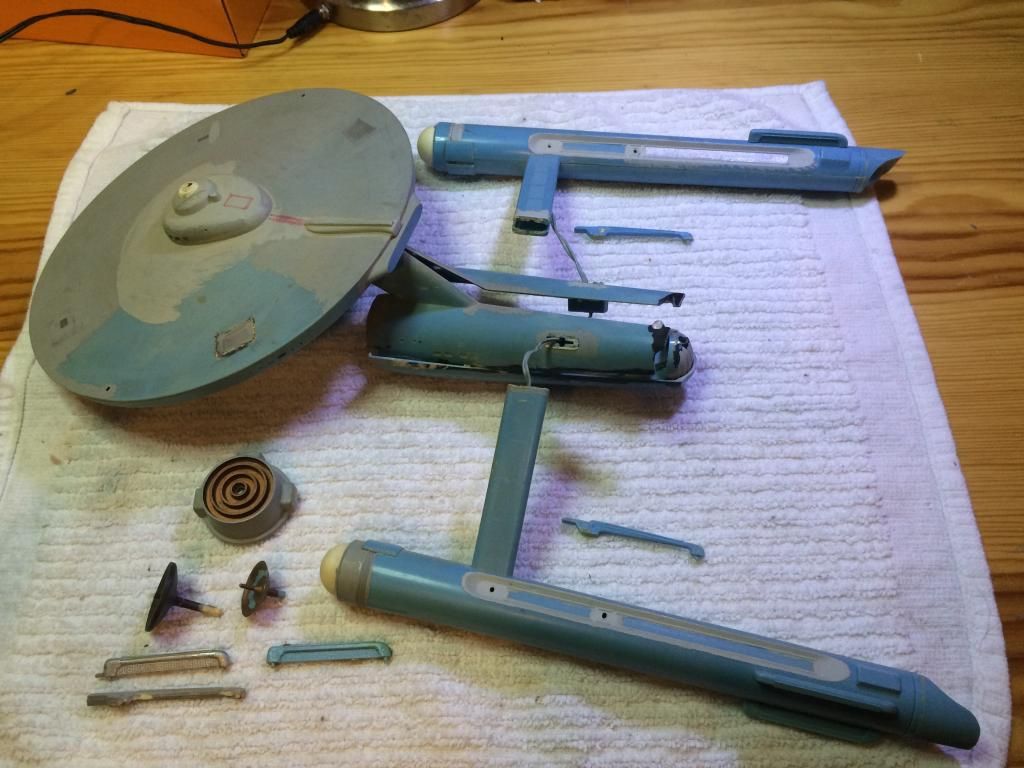
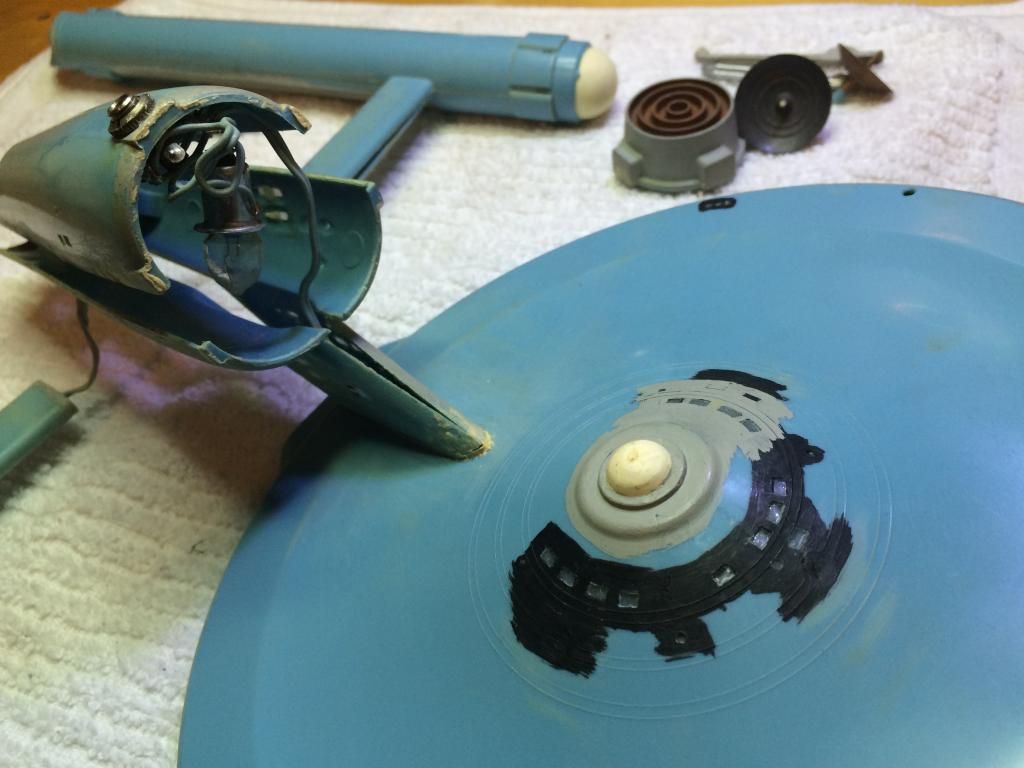
Here's what she looked like when I got her down. The tube cement I used to use gave up the ghost on a lot of the parts (I've noticed this on many of my old models - that stuff doesn't last like the liquid cement that properly bonds the plastic together), and somehow the engine struts got snapped off, leaving their tabs glued into the holes in the secondary hull. In this picture you can see some extra parts - there's a mix of this blue plastic later version and white parts from an earlier version. In the lower left, you can see two different deflector dishes, and some extra engine parts.
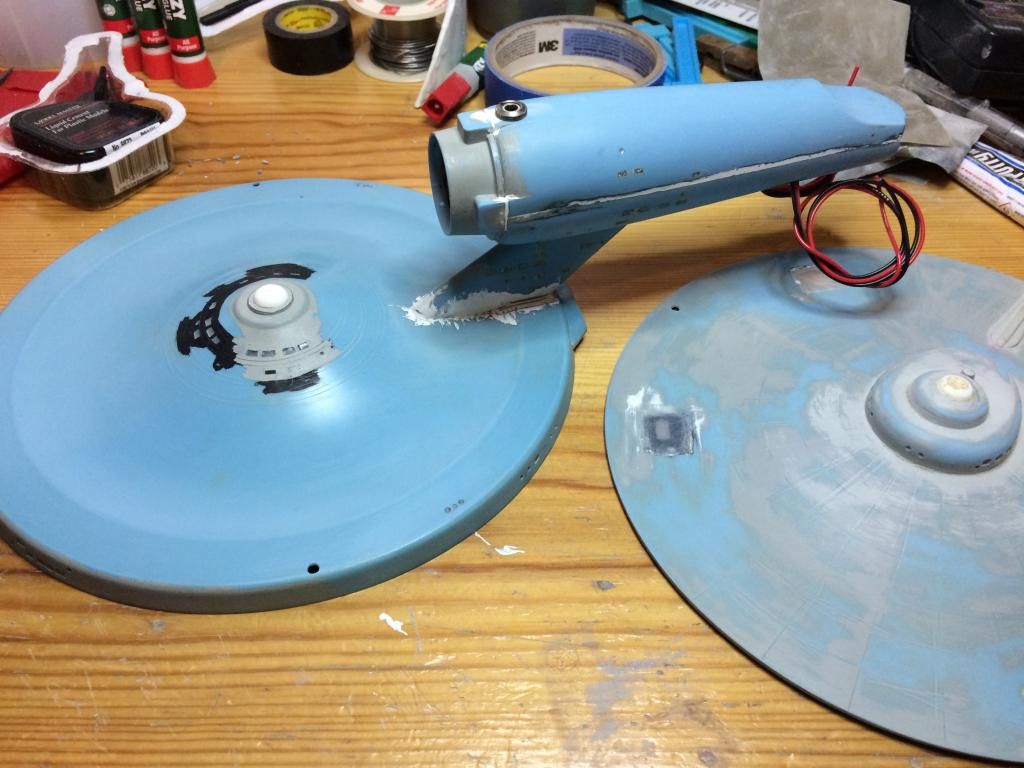
Here's a closeup where you can see how I carefully cut out each of the windows with an Xacto knife and filled them with what appears to have been white glue. There's a 1/8" jack on the bottom to supply power, and a big flashlight bulb inside the secondary hull. The white domes on the front of the engines are grafted in from the older white kit (so light can show through them) and the white domes on the top and bottom of the primary hull are the ends of tanks from a Space:1999 Eagle model. There were a bunch of tiny lightbulbs inside the model, probably none of them (except the big flashlight bulb) bright enough to really be seen in normal room lighting. Perhaps that's why I abandoned the project.
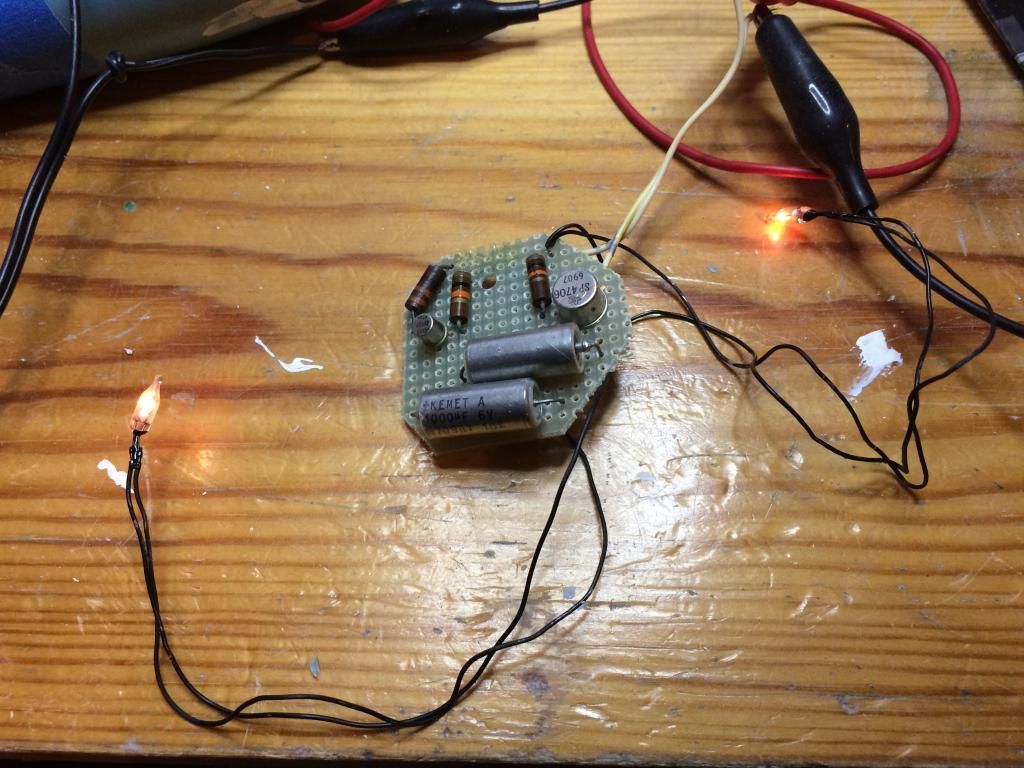
When I cracked open the saucer, I discovered there was a blinker circuit with tiny lightbulbs, to blink the red and green port/starboard marker lights. I'd forgotten I'd even included this! I wired it up, but my Dad almost certainly drew up the circuit for me. I was thrilled to find that it still works - here it is caught mid-blink:
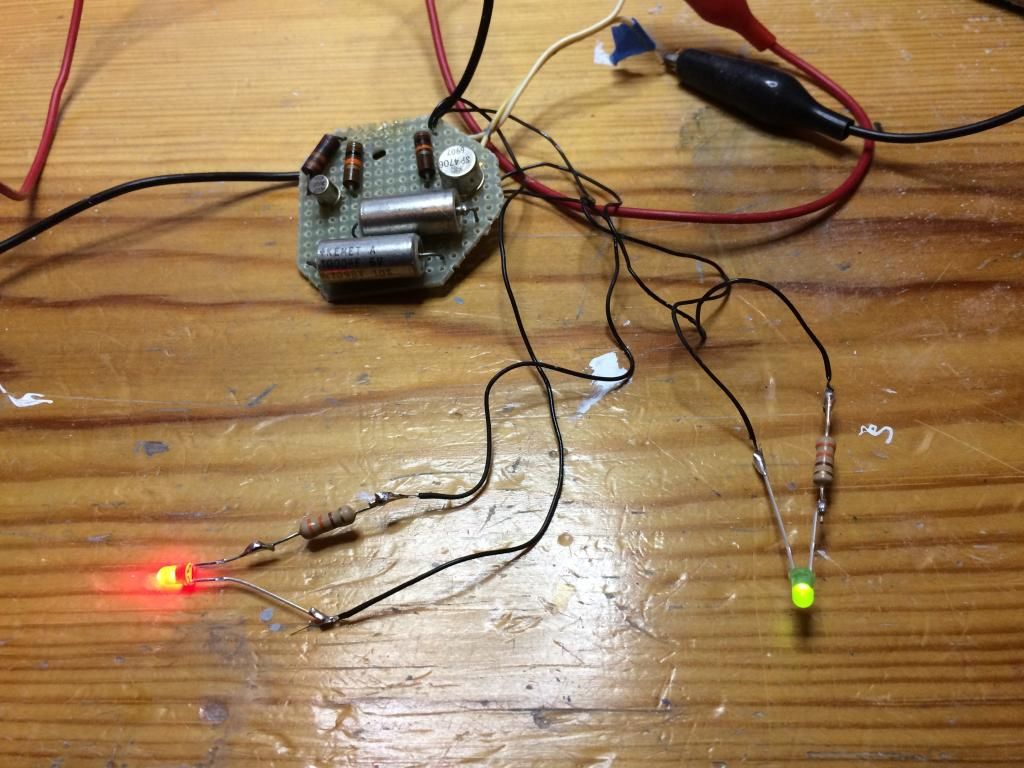
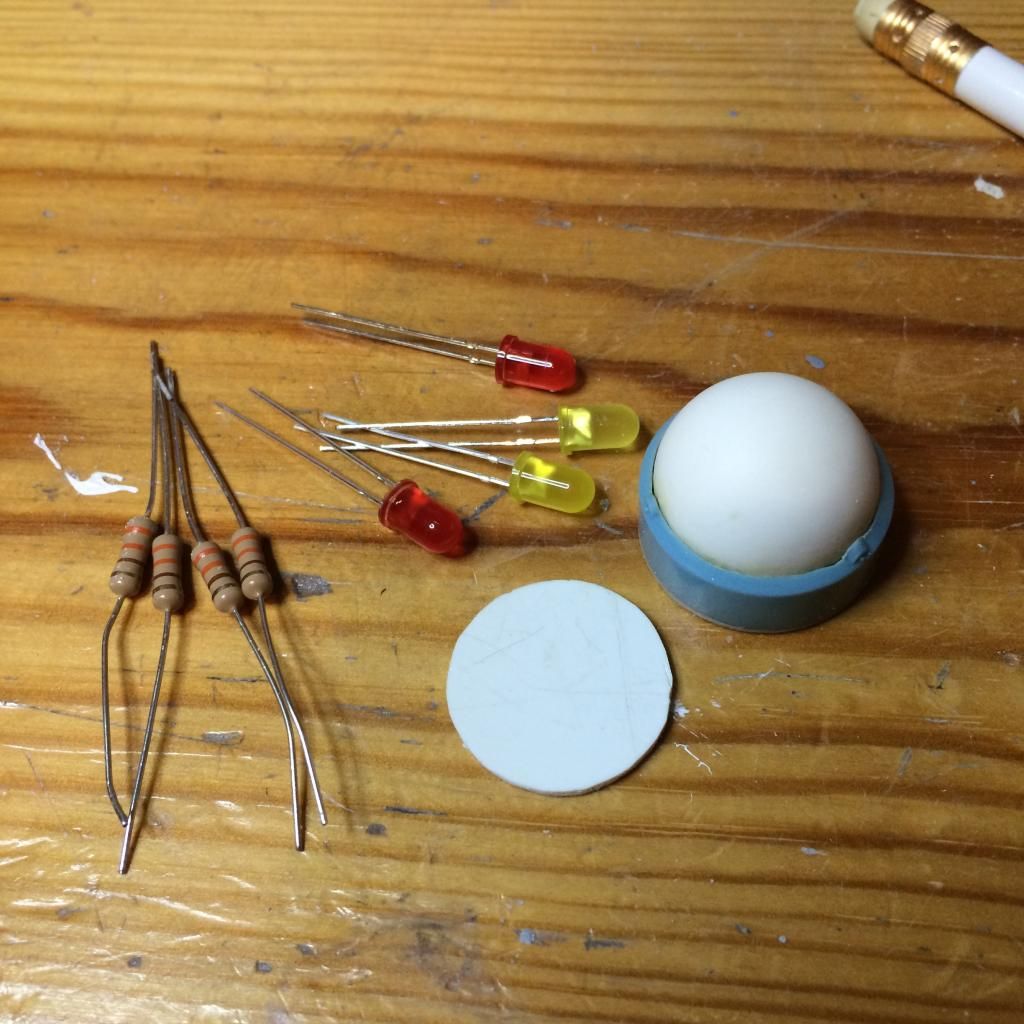
In this refurbishment, the first order of business is to replace the light bulbs with LEDs, partly to make them brighter, and partly so I don't have to worry so much about one of them burning out when it's sealed up inside the model. I'm not going to worry about improving the accuracy of the model - my plan is to finish it as it was originally intended to be finished, except with more reliable lighting.
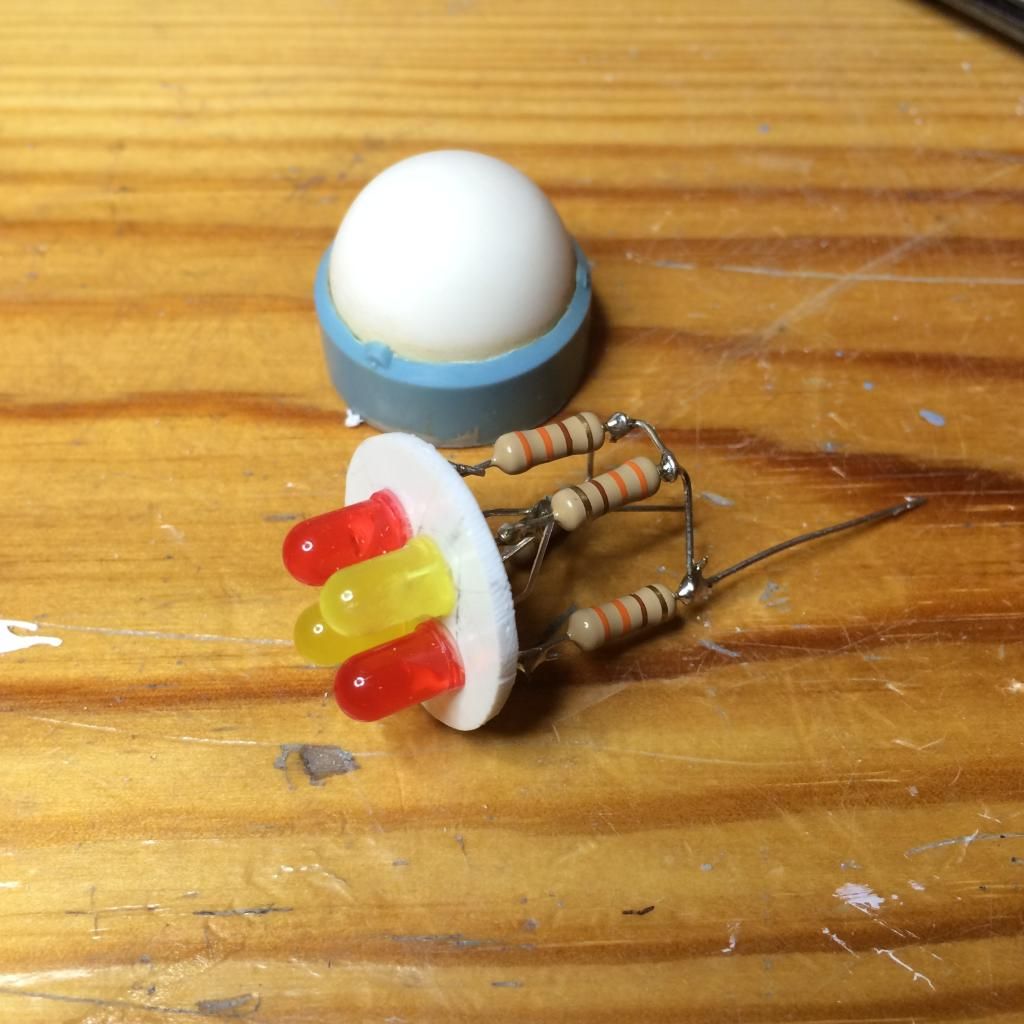
Here's the blinker with the bulbs replaced with LEDs:
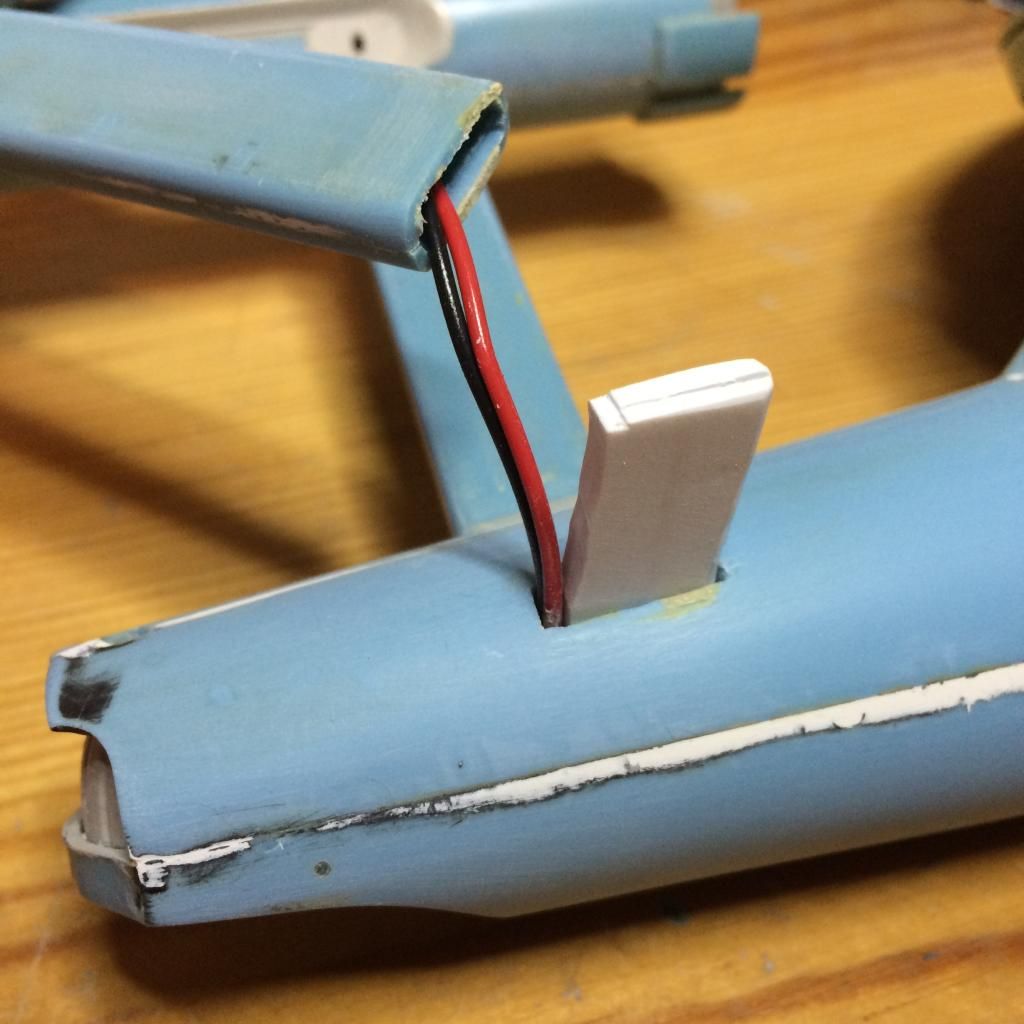
I started re-assmbling the secondary hull, reinforcing some areas with sheet styrene (including along the sides of the hull where there were just tiny alignment tabs), installed styrene tubing to rout wires, and started installing the new LED lighting:
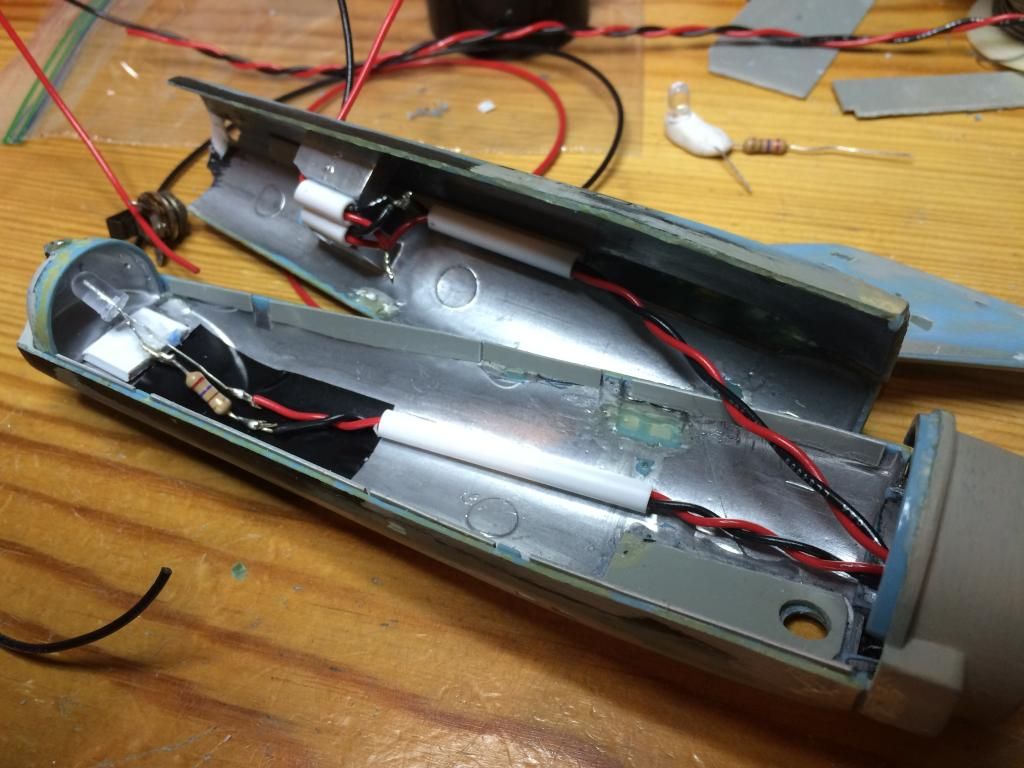
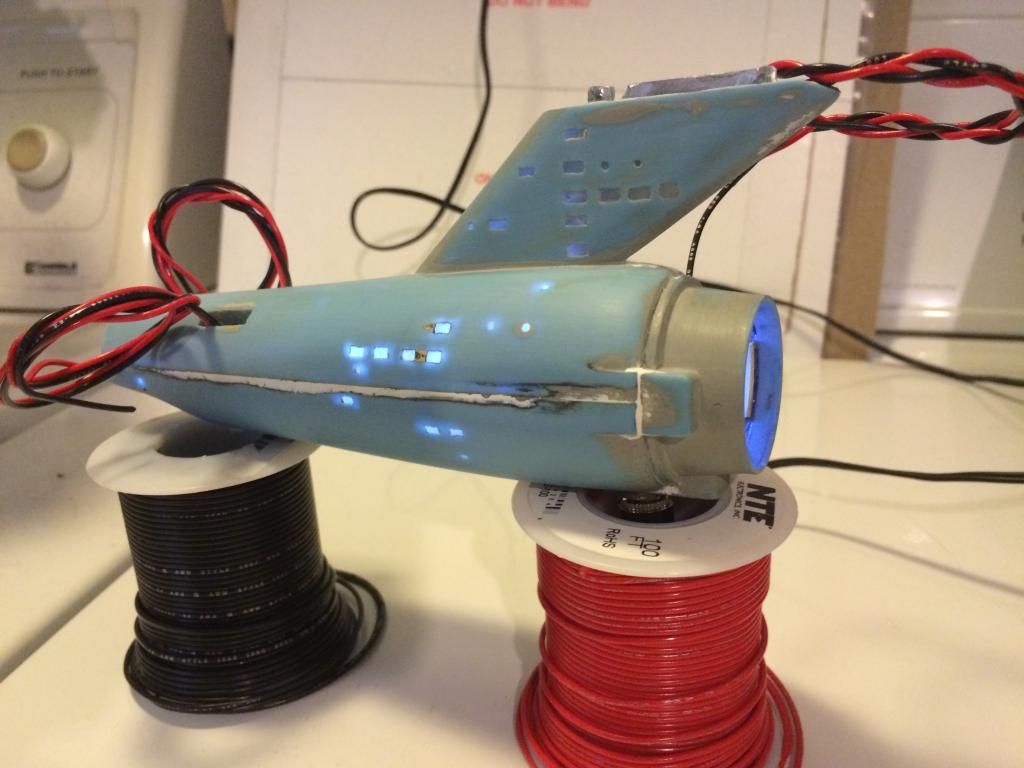
Here's the secondary hull all glued together, with three white LEDs inside. Now the lighting is actually visible in normal room lighting. I'll have to do a lot of masking around all those windows and paint a dark coat to block light bleed-through before it gets its final paint job.
Here's what she looked like when I got her down. The tube cement I used to use gave up the ghost on a lot of the parts (I've noticed this on many of my old models - that stuff doesn't last like the liquid cement that properly bonds the plastic together), and somehow the engine struts got snapped off, leaving their tabs glued into the holes in the secondary hull. In this picture you can see some extra parts - there's a mix of this blue plastic later version and white parts from an earlier version. In the lower left, you can see two different deflector dishes, and some extra engine parts.
Here's a closeup where you can see how I carefully cut out each of the windows with an Xacto knife and filled them with what appears to have been white glue. There's a 1/8" jack on the bottom to supply power, and a big flashlight bulb inside the secondary hull. The white domes on the front of the engines are grafted in from the older white kit (so light can show through them) and the white domes on the top and bottom of the primary hull are the ends of tanks from a Space:1999 Eagle model. There were a bunch of tiny lightbulbs inside the model, probably none of them (except the big flashlight bulb) bright enough to really be seen in normal room lighting. Perhaps that's why I abandoned the project.
When I cracked open the saucer, I discovered there was a blinker circuit with tiny lightbulbs, to blink the red and green port/starboard marker lights. I'd forgotten I'd even included this! I wired it up, but my Dad almost certainly drew up the circuit for me. I was thrilled to find that it still works - here it is caught mid-blink:
In this refurbishment, the first order of business is to replace the light bulbs with LEDs, partly to make them brighter, and partly so I don't have to worry so much about one of them burning out when it's sealed up inside the model. I'm not going to worry about improving the accuracy of the model - my plan is to finish it as it was originally intended to be finished, except with more reliable lighting.
Here's the blinker with the bulbs replaced with LEDs:
I started re-assmbling the secondary hull, reinforcing some areas with sheet styrene (including along the sides of the hull where there were just tiny alignment tabs), installed styrene tubing to rout wires, and started installing the new LED lighting:
Here's the secondary hull all glued together, with three white LEDs inside. Now the lighting is actually visible in normal room lighting. I'll have to do a lot of masking around all those windows and paint a dark coat to block light bleed-through before it gets its final paint job.
Last edited:
")