ready to mold mk3 DB V2 Iron Man HELMET

Vegas Vader 2

Well-Known Member
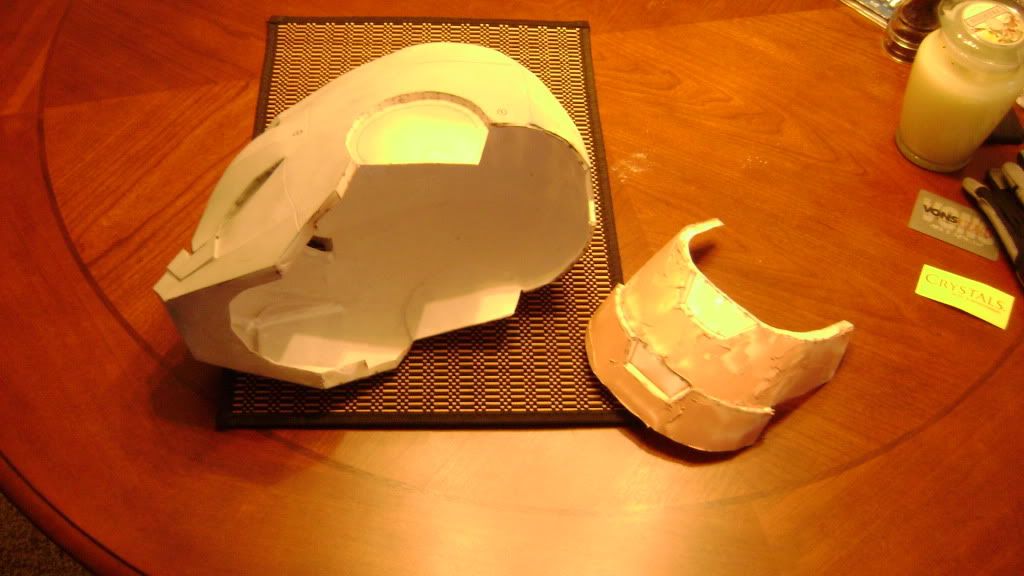
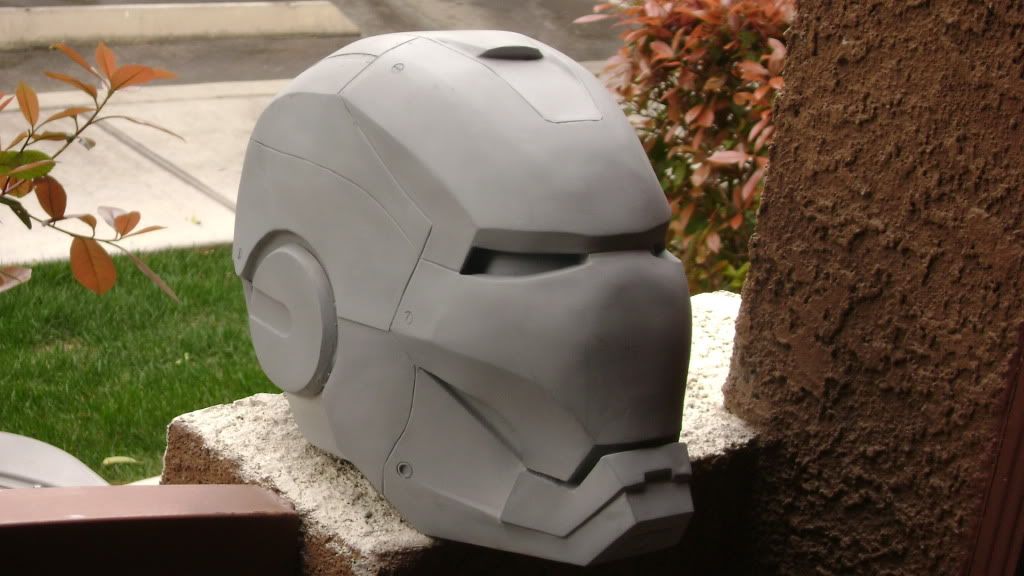
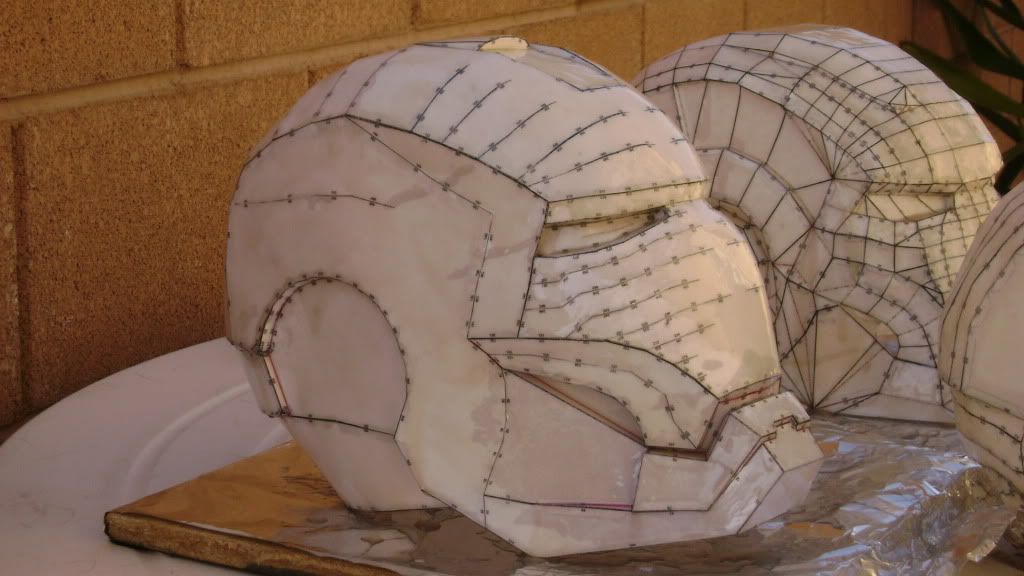
i dunno if you are all tired of seeing Iron Man helmets being made, but i am here to show my progress so far:) the helmet is originally scaled to 265cm i have a 24 inch head the helmet fits me perfectly. and it was so easy to put together.
DSC07630.jpg


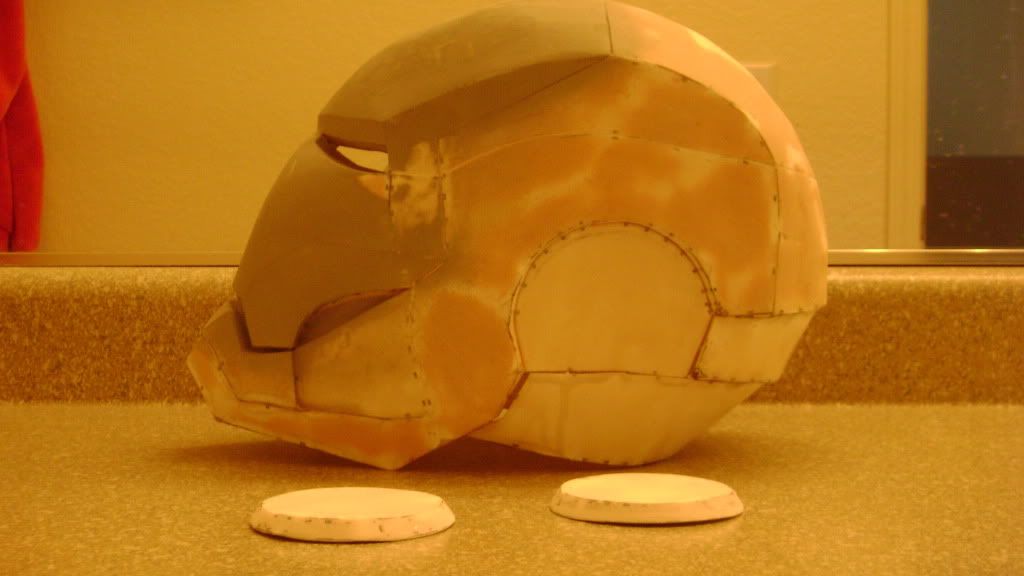
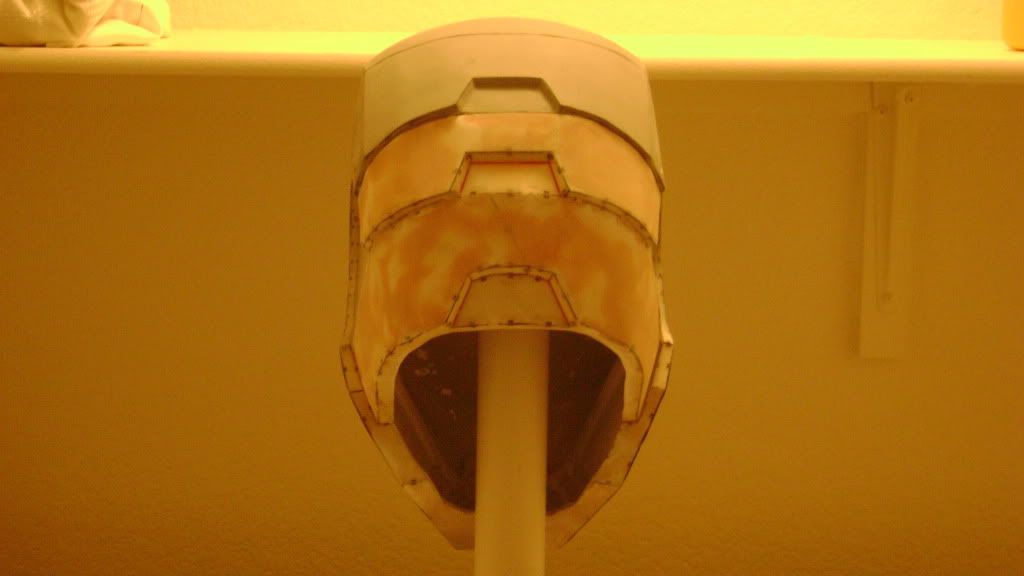
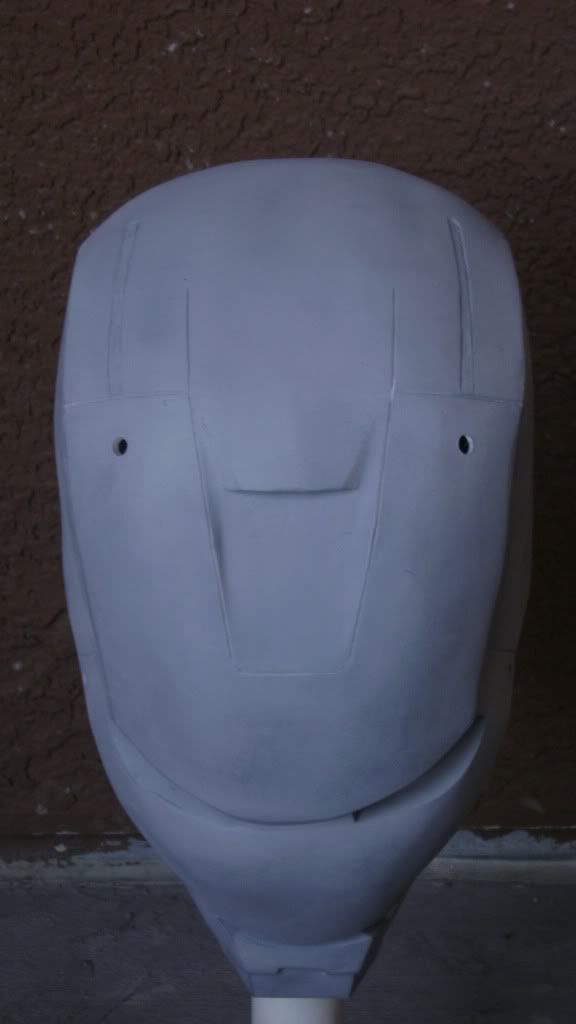
i reinforced the helmet by adding smooth cast 320 to further reinforce the helmet. the amazing thing about this type of resin is that the paper soaks it up very well and that it would be easier to sand high areas down.
DSC07673.jpg

DSC07666.jpg

DSC07659.jpg

DSC07668.jpg


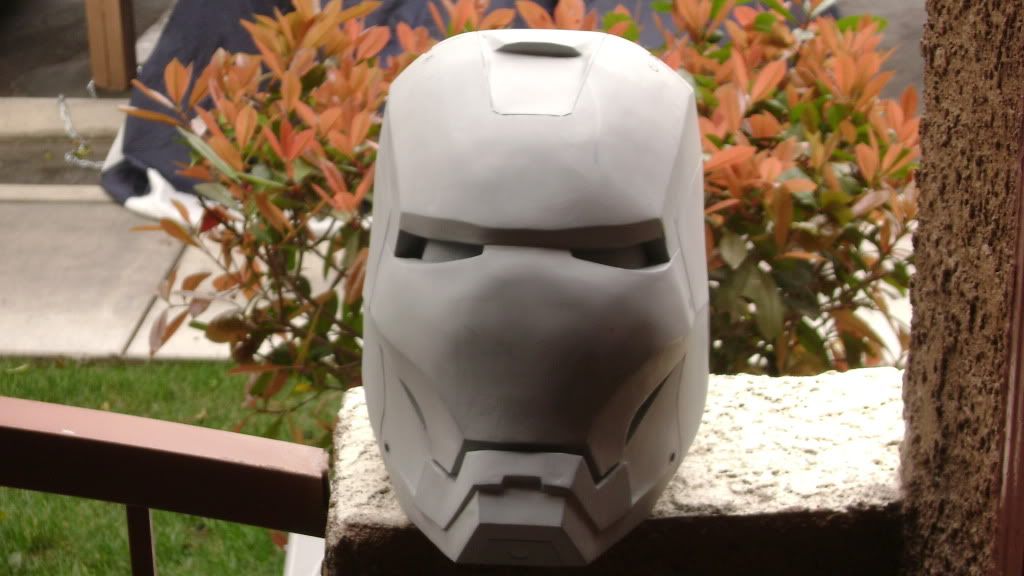
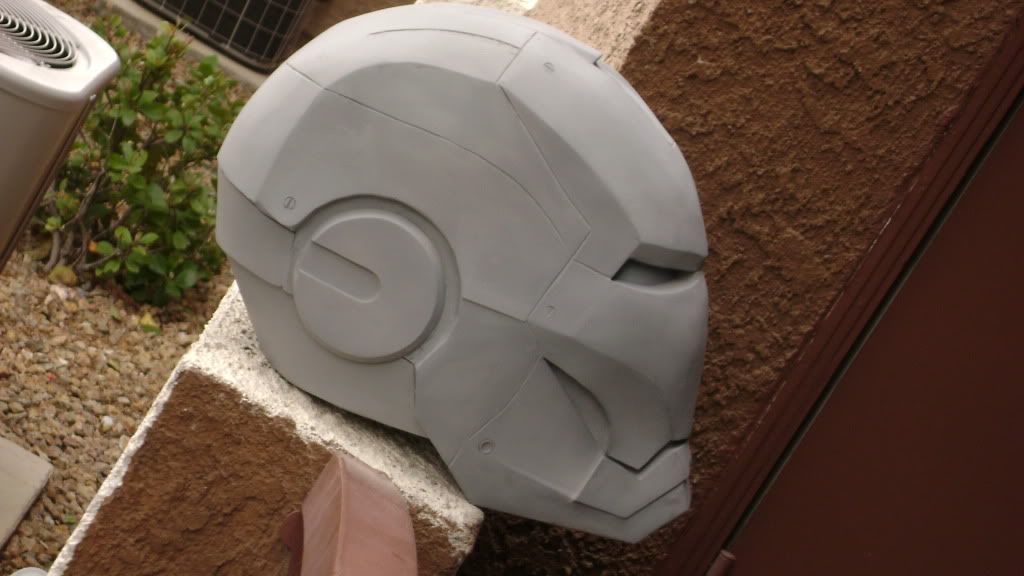
and now here is the primed helmet ready for rubber!!:cool
DSC07681.jpg

DSC07680.jpg

DSC07679.jpg


feed back would be great!!:)
 
Last edited:
I think it looks great. The more of these I see, the more excited I get that I will FINALLY finish one. I sent ya a PM, but I wanted to ask, did you use Smooth Cast for all of it. OR just the initial coat and then Bondo after that. I'd love to hear more about your process. Smooth Cast seems like the way to go for people who want to use less toxic supplies.
 
first i applied 1 coat of polyester resin on the outside to give it some support then waited a day for it to cure.. i then used smooth cast 320 and rotocast the inside to further reinforce the helmet. once the proper thickness was built up, i then started applying thin layers of bondo one section at a time then i used a mouse sander to get the surface as smooth and as sharp as possible.
 
Maybe I'm gonna say something really dumb and stupid, but the difficult part about bondo it's sanding after it hardens. So, to have the least work to do, pay attention on how you lay the bondo on the parts. The smoother the layer, the less work you'll have to do afterwords with sanding.

Also, for some details, bondo is not good. You should try aves or milliput ;)

Again, maybe I said something you all already know... :D

Oh...and sanding, even with the finest sheets won't save you from having tiny holes in the bondo. To cover them use body putty ;) I use Tamiya and it works pretty well ;)
 
Vegas, please turn your helmet upside down and with the inside part of the helmet facing you, measure your helmet from side to side, right where the sides below the ears end.

Mine measures: 16,5 cm

DSC07668.jpg
 
what pep file is that vegas? looks different from the ones ive seen.

Says right in his title DB v2 = Dungbettle Version2 . Version one is far better IMO, this one has something up with the eyes and it's a bit on the slim side. His first version is by far the best out there.
 
Maybe I'm gonna say something really dumb and stupid, but the difficult part about bondo it's sanding after it hardens. So, to have the least work to do, pay attention on how you lay the bondo on the parts. The smoother the layer, the less work you'll have to do afterwords with sanding.

Also, for some details, bondo is not good. You should try aves or milliput ;)

Again, maybe I said something you all already know... :D

Oh...and sanding, even with the finest sheets won't save you from having tiny holes in the bondo. To cover them use body putty ;) I use Tamiya and it works pretty well ;)

thanks for the advice i kinda knew that already,this is not the first helmet ive built/painted. i have used aves epoxies and tamiya body putty on some of my works before but i find bondo to be easier to work with in some areas. after sanding the bondo, i will then apply the body filler and sand it with fine grit sand paper. this is what i do to all of my projects. thanks for the advice, im sure members here will find this very informative!!(y)thumbsup
 
Last edited:
thanks for the advice i kinda knew that already,this is not the first helmet ive built/painted. i have used aves epoxies and tamiya body putty on some of my works before but i find bondo to be easier to work with in some areas. after sanding the bondo, i will then apply the body filler and sand it with fine grit sand paper. this is what i do to all of my projects. thanks for the advice, i hope members here will find this very informative!!(y)thumbsup

Careful not to go to fine before primer or you will loose your hard edges and end up with an uneven surface like the faceplate in your pics.
 
Vegas, please turn your helmet upside down and with the inside part of the helmet facing you, measure your helmet from side to side, right where the sides below the ears end.

Mine measures: 16,5 cm

DSC07668.jpg

the lower opening where you marked the photo is 6 inches with the back part out its 7 inches
 
Careful not to go to fine before primer or you will loose your hard edges and end up with an uneven surface like the faceplate in your pics.

yea that brow area is still bugging the heck out of me tho.. thanks for pointing that out!:)

good to have some iron man builders hereto show the way. i may work on that area still before molding it.
 
the lower opening where you marked the photo is 6 inches with the back part out its 7 inches

Then my helmet should fit your melon :D
But, it's too early to say. I have to make the mold again. It got broken 2 hours ago :D

Anyways, Finhead is right, usually primering is useful to understand when you need to subtract or add bondo. Also, the sand mouse has to be used really softly and with a fine sand paper. It can take out A LOT of material!

Yep, your faceplate needs a little bit of material in the front area, below the eyes. The sideview of your helmet kicks butt anyways ;)

YOU CAN DO IT! :D

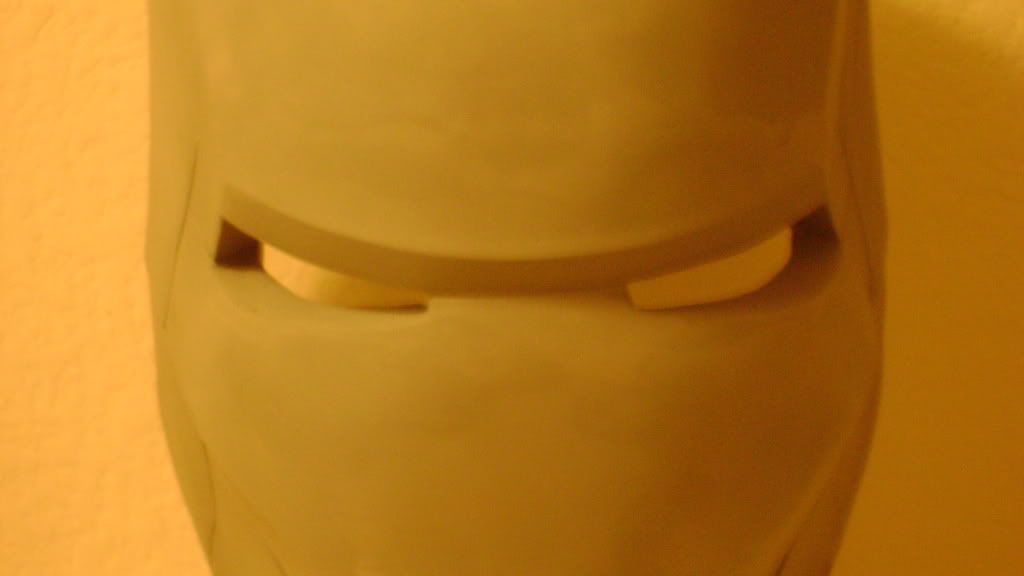
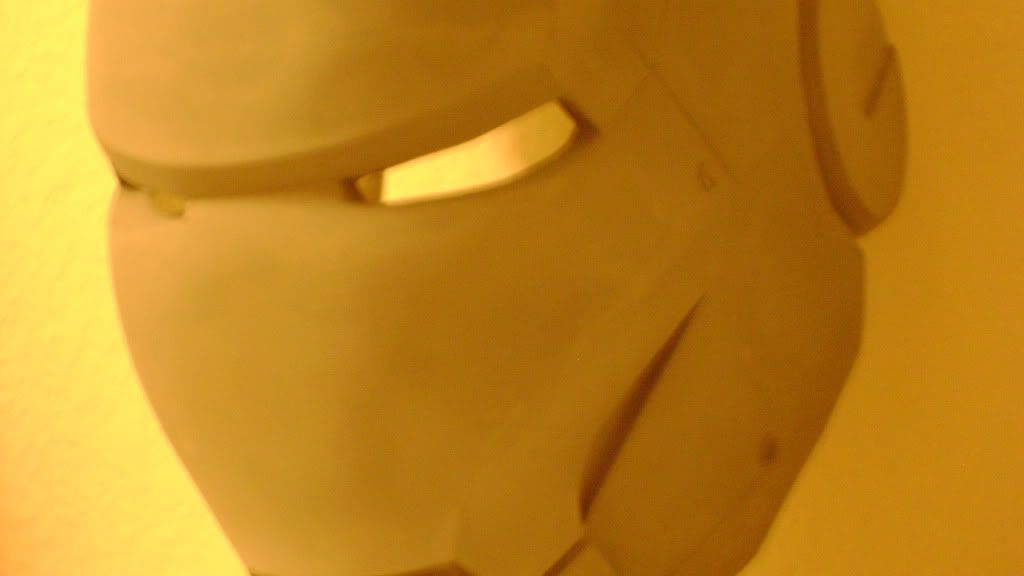
i have examined the brow on the face plate and it does need some work and needs to be addressed before i make a mold out of it.. pls i am open to any suggestions!!(y))
 
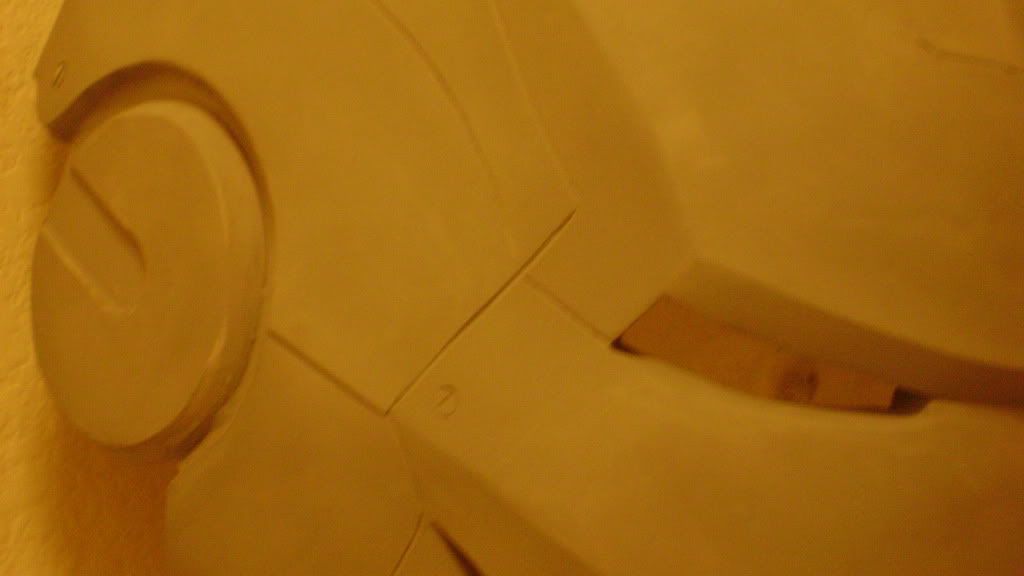
i am almost done refining the brow here are some close up photos of the work that was done.:) i hope to make this helmet as sharp and as symmetrical as possible. i am thinking of opening up the face plate.. then it will turn into a 3 piece helmet molded separately. any suggestions?


DSC07683.jpg

DSC07685.jpg

DSC07684.jpg
 
You mean your going to make it exactly like mine. :) Take a look at my thread if you want to see what it looks like. :cool
 
You mean your going to make it exactly like mine. :) Take a look at my thread if you want to see what it looks like. :cool


i don't think i can make mine exactly like yours.:lol :p but don't get me wrong, i really like how you built your v1 db helmet!! thats why i sent you that PM!:love and that's what inspired me to finish up the version 2 db. so what do ya think? :D
 
You mean your going to make it exactly like mine. :) Take a look at my thread if you want to see what it looks like. :cool

That's how our dad did it, that's how america does it, and I guess it worked out pretty well so far!

Masked Rider did it, Fettster did, I think even Russel sculpts did it that way ;)

I think it's the best and most common way to do an Iron Man Helmet ;)
So go for it Vegas! And by the way, detailing is coming along really well!

so now I have to say: YOU CAN REALLY DO IT! :D
 
Back
Top