Quick Intro and a Star Wars shelf build (Pics Up!)

ReverendCasey

New Member
Hey everyone! Great to be here! Resident Noob Reverend Casey at your service... I would just like to start off by saying I'm totally new to this whole scene and completely geeked about it. I started shopping Force FX lightsabers on teh interwebz, one click led to another, next thing I know, I'm here! I never knew something like pepakura even existed and after alot of reading I have to say, I'm excited at the possibilities. Admitedly, Im technologically handycapped but I have always been very artistic and with a comunity this helpful I doubt there is anything I won't be able to catch on to. I am buying a new computer in a week or two so the costume making will have to wait for now. (Also, I have major questions reguarding ways to work on a Mac, I sure could use advice on) But I figured Im currently working on something productive. And while it's not quite a model, it seems like this may be a good place to talk about it sooo here goes! (sorry if this doesn't fit the posting criteria of this forum, like I said, I'm a noob!)

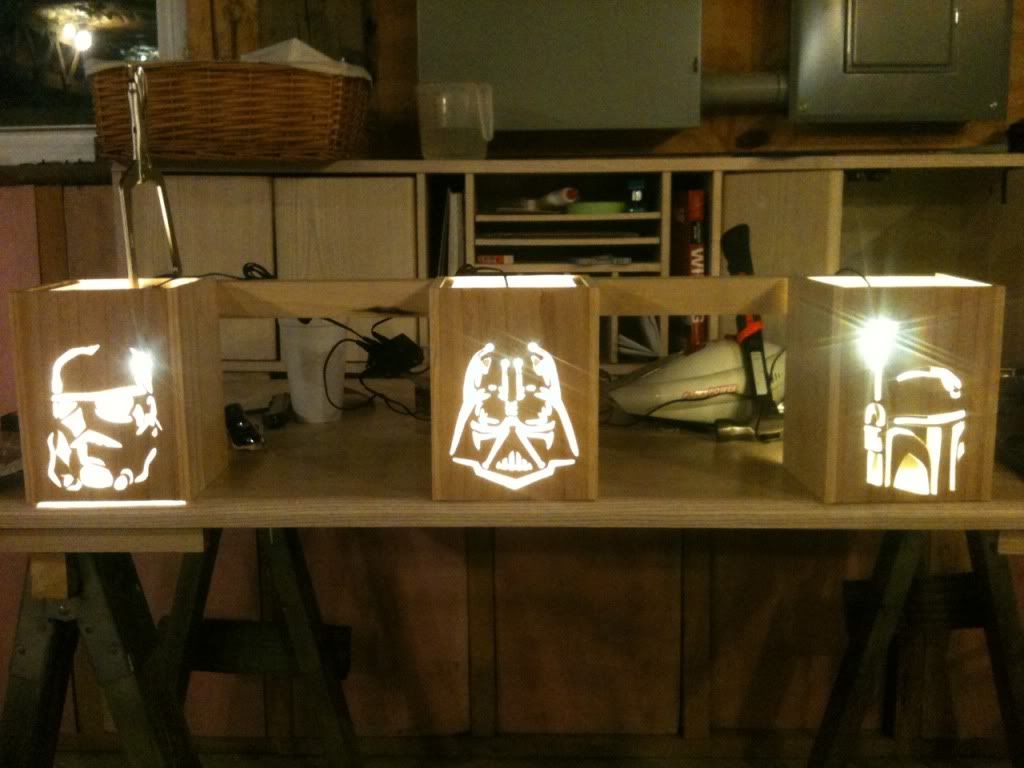
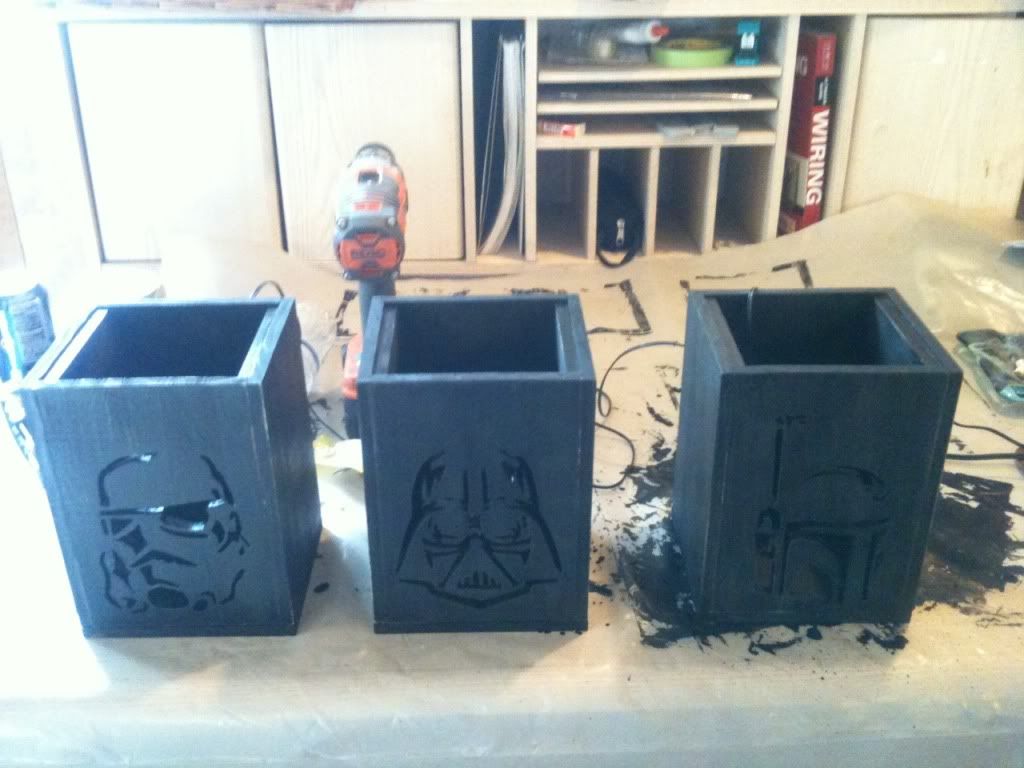
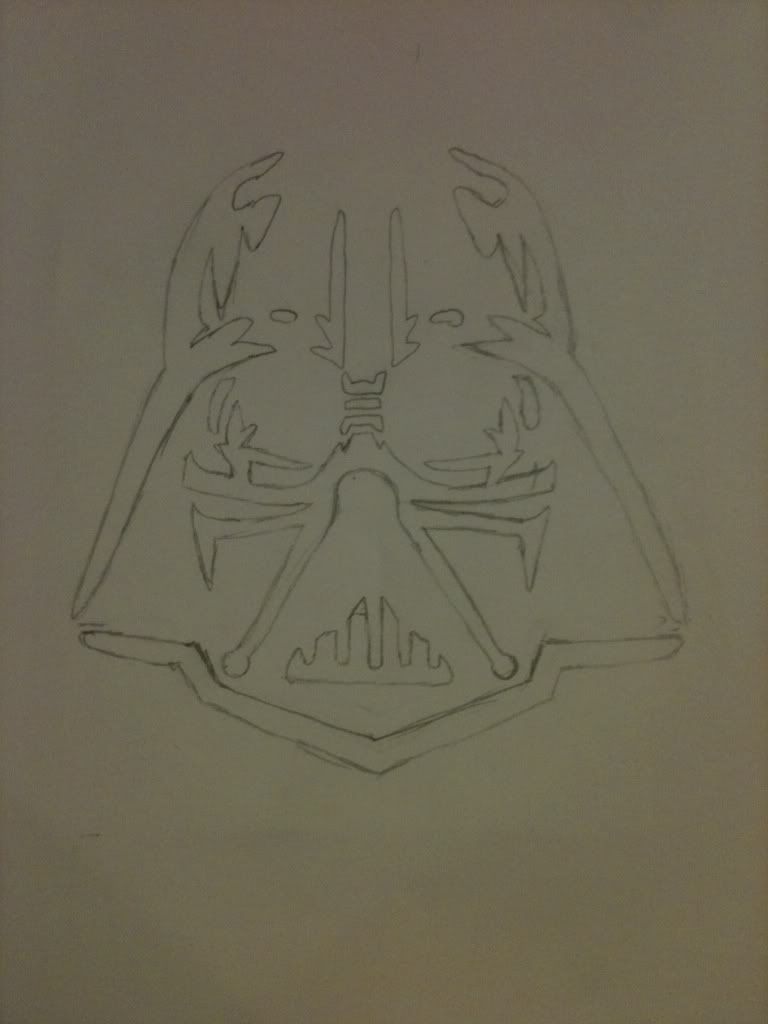
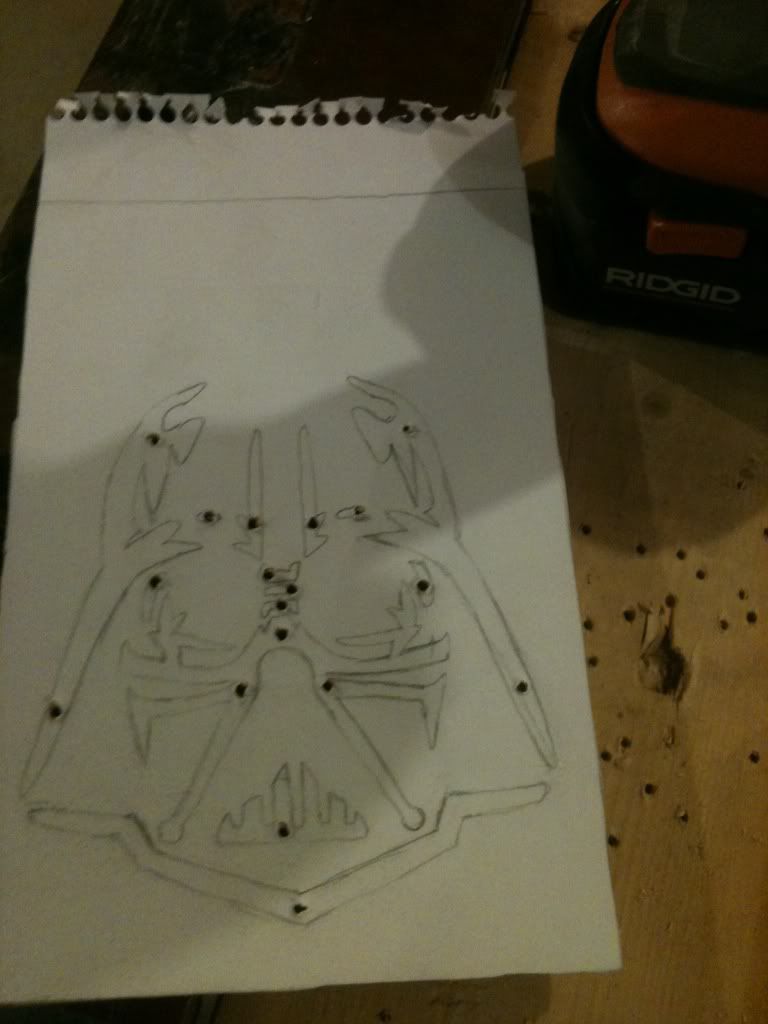
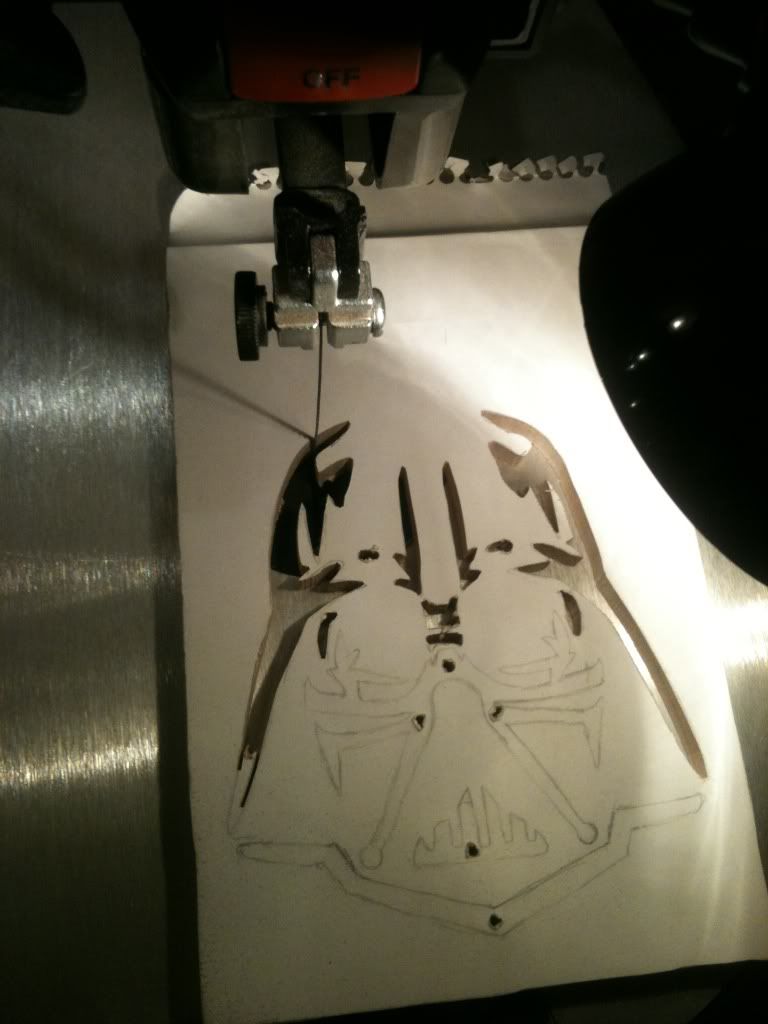
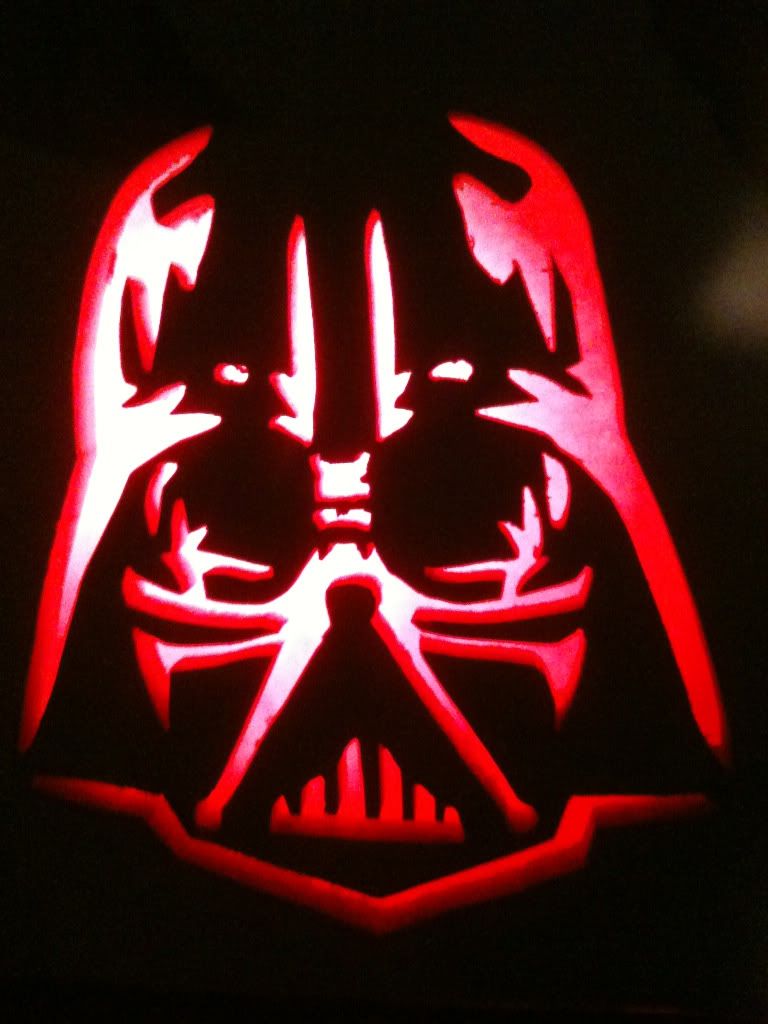
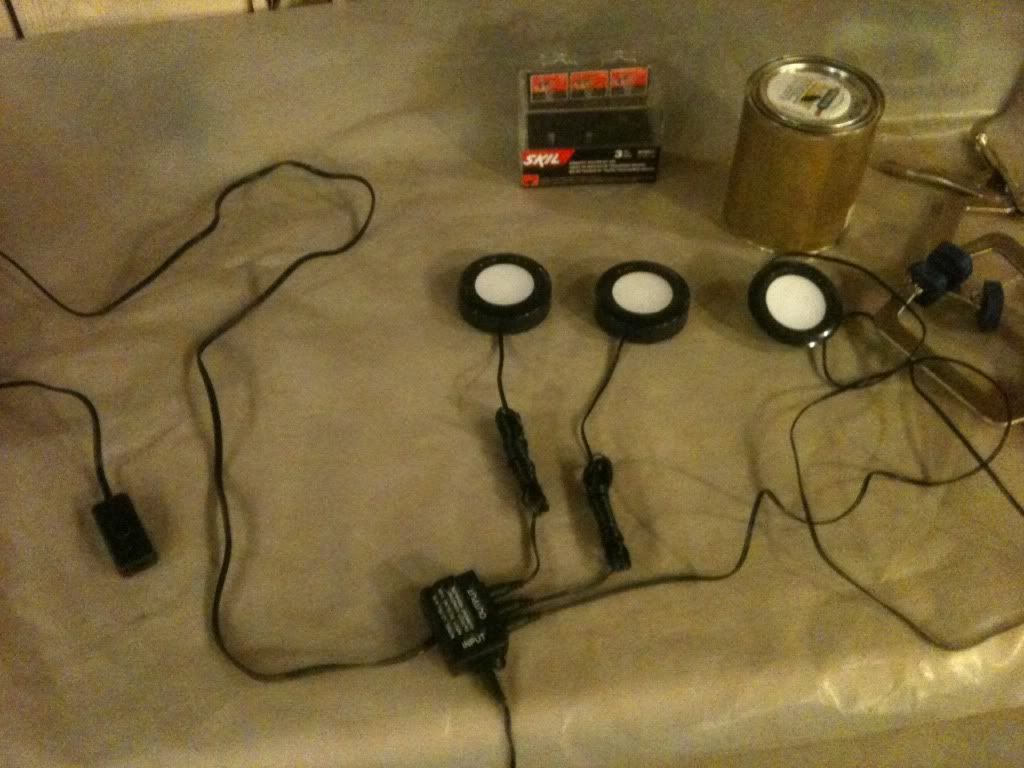
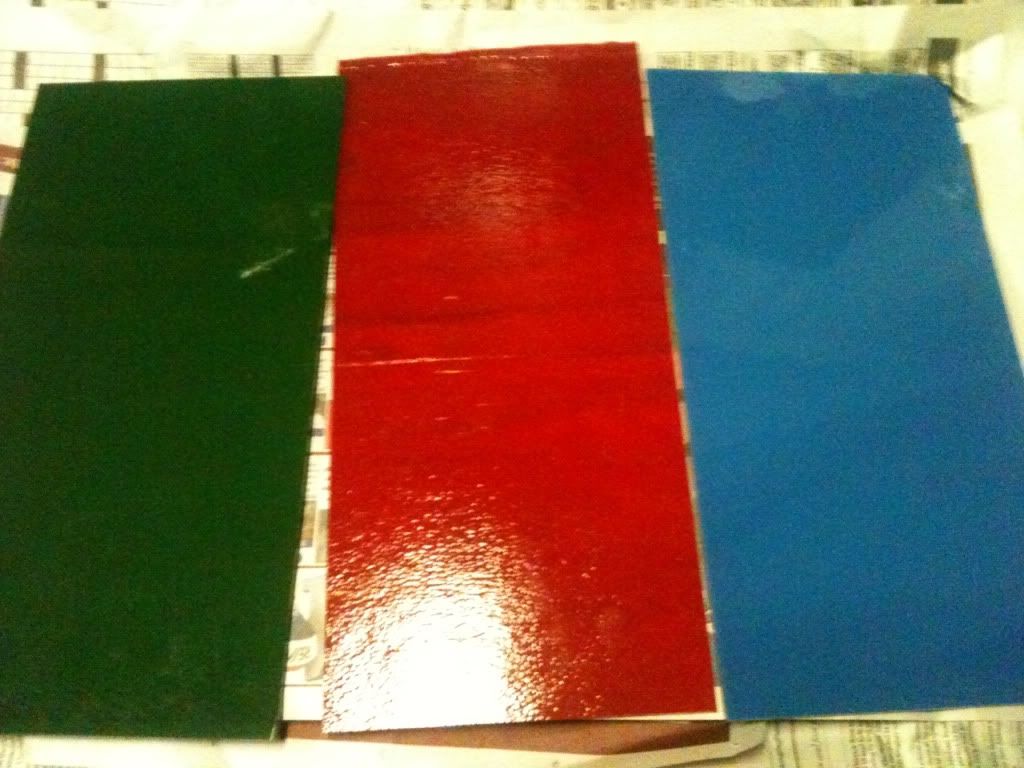
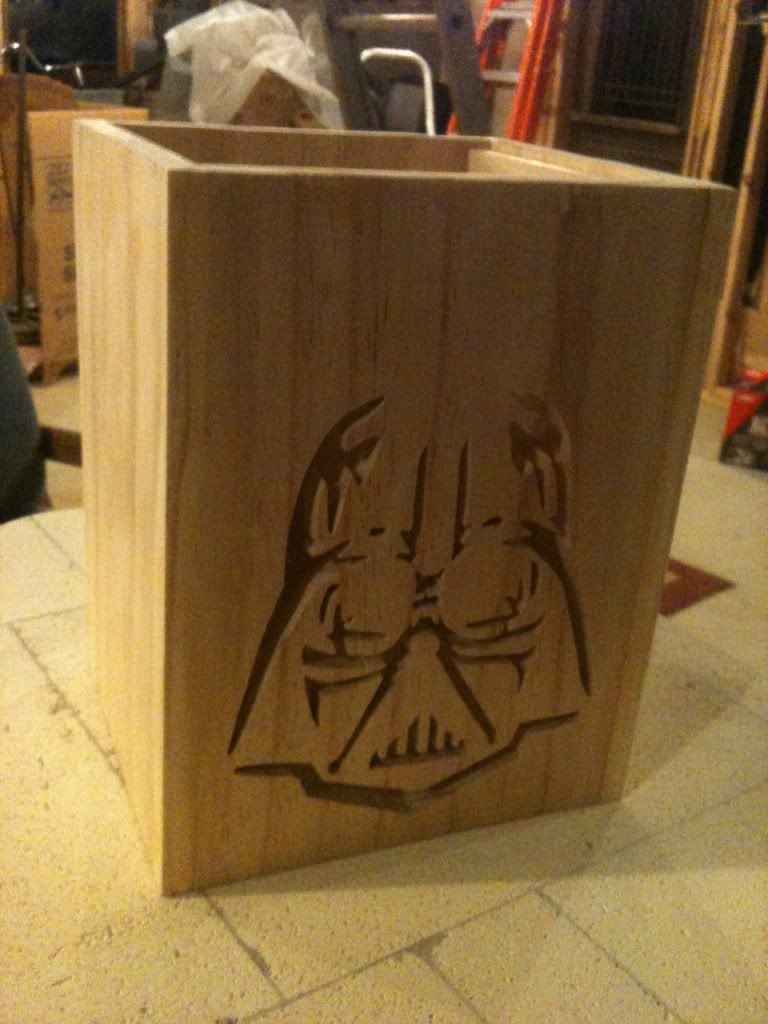
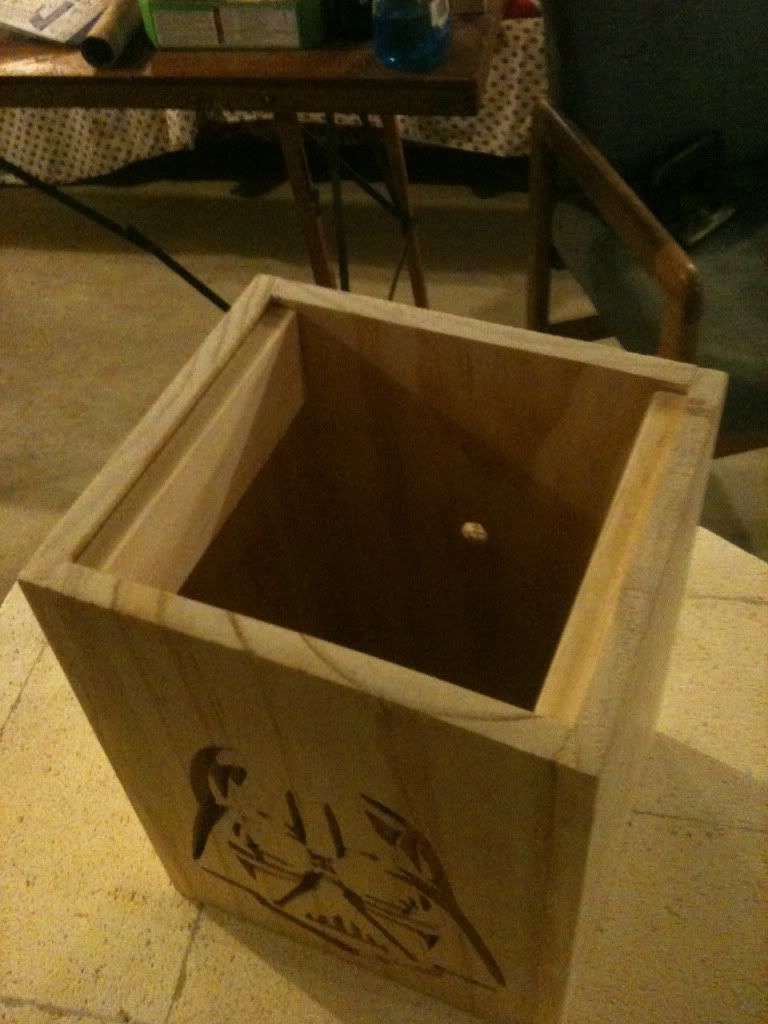
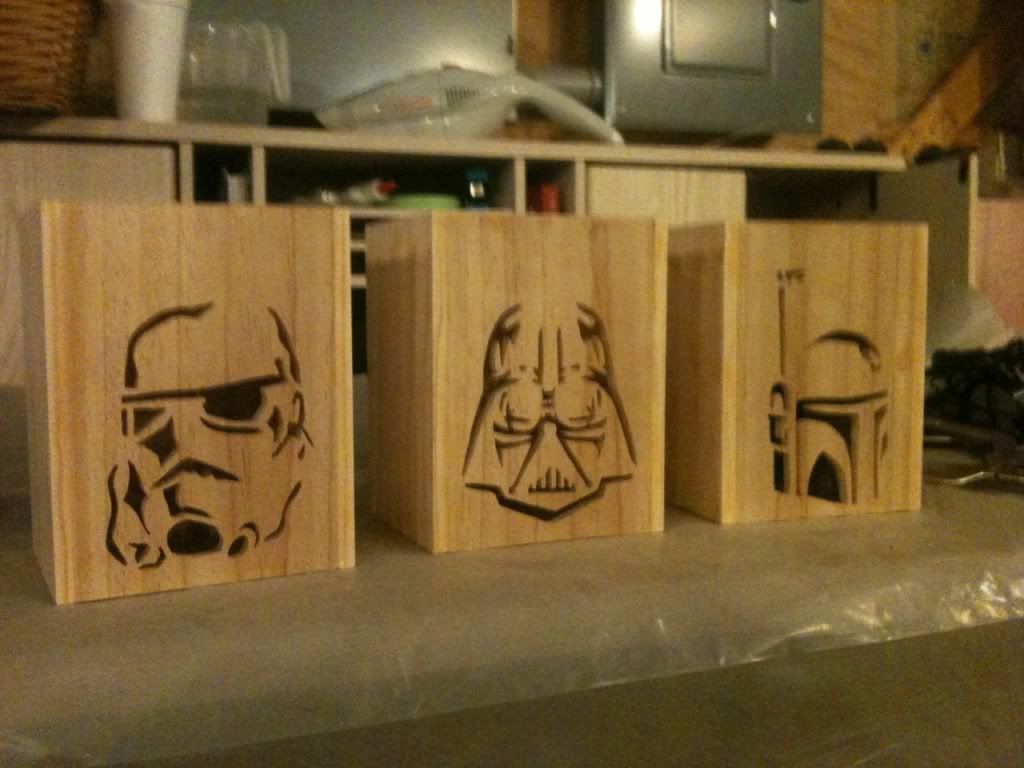
Ok... So for Christmas I was given a set of Star Wars candy jars. I received Vader and a Stormtrooper. I later bought Boba Fett to complete the collection. I wasn't sure what I wanted to do with them though. But I just got a new scroll saw. Just goofing around with my saw, I cut out a silouette of Boba Fett from a pumpkin stencil I found on google. And I really liked how it turned out. So I decided a great first project for my saw would be to build a custom shelf to display my candy jars on. Complete with backlighting.

I have made decent progress but am currently without a way to post my pictures. (Hoping to have some up by later tonight or tomorow)

So, that's really it for now. Just wanted to introduce myself and tell y'all what I've been workin on! Also, anybody that's tech savvy and wants to talk tech with me I'd be appreciative. (was dead set on buying a mac till I found out that pep wont work on a mac. So I need to find out if there are easy ways around it or if I'm stuck buying a PC...) Any advice or comments are always welcome. Thanks!
 
Last edited:
Re: Quick Intro and a Star Wars shelf build

Ok guys I'm back... Here are some shots of tHe current progress and process... Like I said befor, I'm currently sans computer so that means no printer either. But no biggy. So I found stencils on the google for Vader, ST, and Boba. Then drew them out onto my pad
75fd8fbf.jpg

After I had them drawn out I used spray adhesive to stick them to the wood. For wood I'm using 3/8" pine craft board because it's easy. Once my patterns were on I drilled all my holes and started sawing.
5810b8cb.jpg

8de008f9.jpg

Here is Vader with some red light shining behind it to give ya an idea of what I'm going for.
c5a4945e.jpg

Sooo, the plan is to build the three of them in their own boxes. And connect the three boxes with a bar across the back. The whole thing will be stained black with colored glass in them. Red for Vader, green for Boba, and blue for the StormTrooper. And they will have LED lights in each. I will post more later
 
Last edited:
Hey all. I've got some pics to post here.
Here is the light kit I snagged from Lowe's. It should be pretty perfect.
f431b32f.jpg

I went to the glass shop and came home with these three pieces. I know it makes more sense to do the Storm Trooper in white, but I'm going with blue because i think white would look too plain next to the red Vader and green Boba.
0bfd27e6.jpg

The plan is to put the colored stuff inside the cutouts and then use clear glass on the tops. It's nice because the candy jars are a tad smaller than the boxs so there should be a little bit of white light that shines up onto them.

Here is the Vader box with all four sides on. Right now I left all the bottoms off because it'll be easier to work the stain into the cutouts and it'll be easier to install the lights.
a9b083e3.jpg

This is a close up of the steps I put in the top. Where the clear glass wil sit.
76389861.jpg

And here is a shot of the three boxs together.
2a758ec4.jpg

I filled all my seams with wood filler to prevent light from escaping. And hid all of my nail holes.
I plan on mounting them onto a 3' piece of 2"x2". Going across the top. I'll route out the back so I can hide the wiring. After all, I want it to look nice and clean. Toward to bottoms of the boxes I'm going to hide a small chunk of 2"x2" on each of them. That should help them fight gravity and prevent them from sagging.
Here is a shot of them with the 2"x2" clamped on the back and the lights hanging in the back :)
ae8efc27.jpg

The only thing I'm still trying to figure out is how I plan to hang the shelf as a whole. I have a few ideas in mind but haven't fully decided on anything...

Sooo that's about it for now. I have some satin black minwax, I'm gonna give them the first coat tonight hopefully. Gonna have a busy week. But I reaaallly hope to have this thing wrapped up by the end of the week.

Hope you guys enjoy the progress! And any suggestions on mounting the shelf are greatly appreciated!
 
Hey all. Here is a quick peek at the boxes with the first coat of stain down.
348d640a.jpg

But I've ran into a small roadblock, with my glass. I tested out the new stuff I brought home. And the green and blue are both a little too thick so the light doesn't shine thru like I wanted. As I result, I'll have to switch to a lighter opaque color. Or maybe just go get three translucent panels. But I wont have time to get out to the glass shop again till the weekend likely. I was planning on mounting the lights and attaching the bottoms but All of this has me feeling pretty emo about the project lol. Stay tuned
 
Great ! Why dont you use just color gels instead of glass ?

I'm afraid I'm not familiar with what your talking about? Idk... I was going with glass because I have a kiln in the basement lol it just kinda made sense to buy glass and then use what's left for my other endeavors. But at this point I'm certainly up for suggestions.
 
I'm afraid I'm not familiar with what your talking about? Idk... I was going with glass because I have a kiln in the basement lol it just kinda made sense to buy glass and then use what's left for my other endeavors. But at this point I'm certainly up for suggestions.

Thats what we use on set (for the lights), those are heat resistant (to à certain degree of course). Here's a better explanation :

Color gel - Wikipedia, the free encyclopedia

Hope this helps !
 
Thats what we use on set (for the lights), those are heat resistant (to à certain degree of course). Here's a better explanation :

Color gel - Wikipedia, the free encyclopedia

Hope this helps !

Thanks for the info! However in reading that, I found that they have a short life and fade. As someone that has worked with them, can I ask you what the longevity of them truely is? I wouldn't want them to fade away on me. And while I'm sure those little LED pucks don't get as hot as studio lights, it does heat up in those little boxes.

Also, How easy are they to work with? Specifically cutting them. Thanks!
 
Well dont worry about the fade, they are perfectly calibrated and can be altered over time but that's only a problem when you're shooting with a camera, because they're a lot more sensible than the eye ! And if after some years you think you should replace them, go for it ! A sheet is quite cheap ! :)

As for cutting, just a hobby knife with a ruler for a clean cut or scissors if you're in a rush, they cut like a sheet of paper ! :)
 
Well thanks for the advice MonsieurTox! I'be went ahead and ordered a pack from amazon. So that takes me out of my end of the week self-imposed deadline. Project will be on the back burner for a while. But once it picks up again I'll be sure to post progress.
 
Hey all... Sorry it's been a while. Kind of fell off of the motivation wagon. Buuut my color gels came in the mail Saturday and they are perfect sooo im back to being excited :) (Big ups to Monsieur once again for the tip!) I have classes from 8-4 all week but I'm hoping to work on this in the evenings and with any luck I should have her on the wall by the weekend! Stay tuned.
 
This thread is more than 12 years old.

Your message may be considered spam for the following reasons:

  1. This thread hasn't been active in some time. A new post in this thread might not contribute constructively to this discussion after so long.
If you wish to reply despite these issues, check the box below before replying.
Be aware that malicious compliance may result in more severe penalties.
Back
Top