WINGNIT
Well-Known Member
So after lurking on the sidelines for years and buying tons of stuff off the junkyard, I wanted to do my first studio scale from scratch. From what I can tell, this is the "entry level", studio scale 101 project most go for. I've done studio scale kits, and have scratch built, but never together. After reading the threads and seeing how much you guys have ID'ed, I am truly amazed. I also realized how much repetition there is with some kit parts, so I got started buying kits for this and other projects...

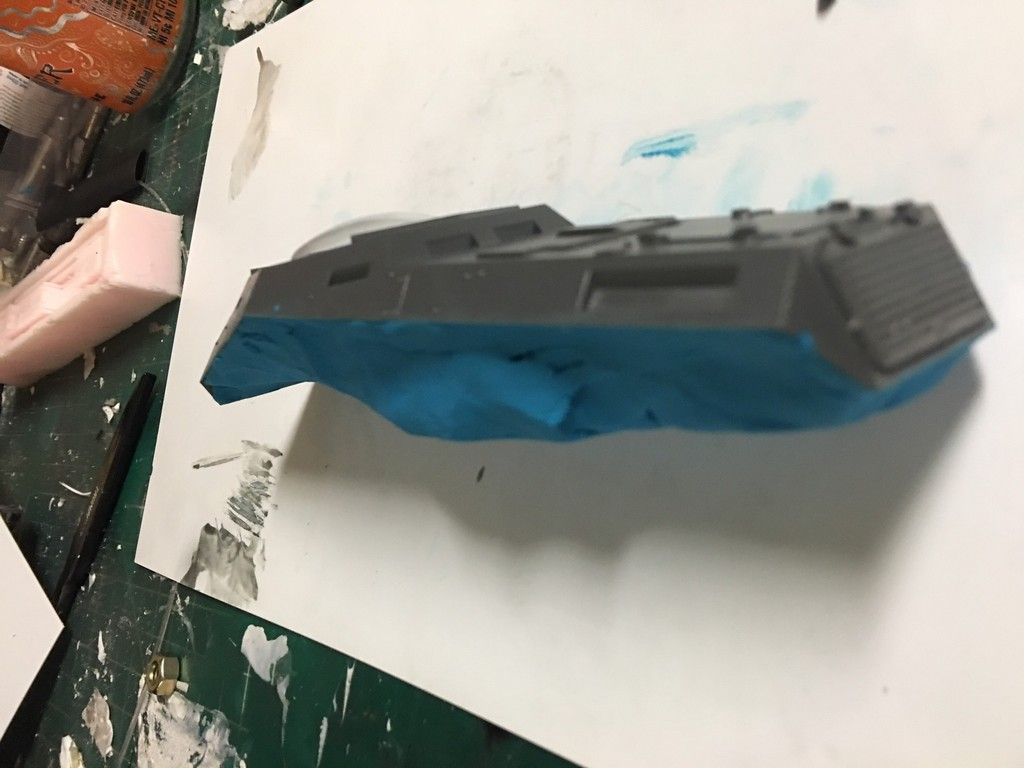
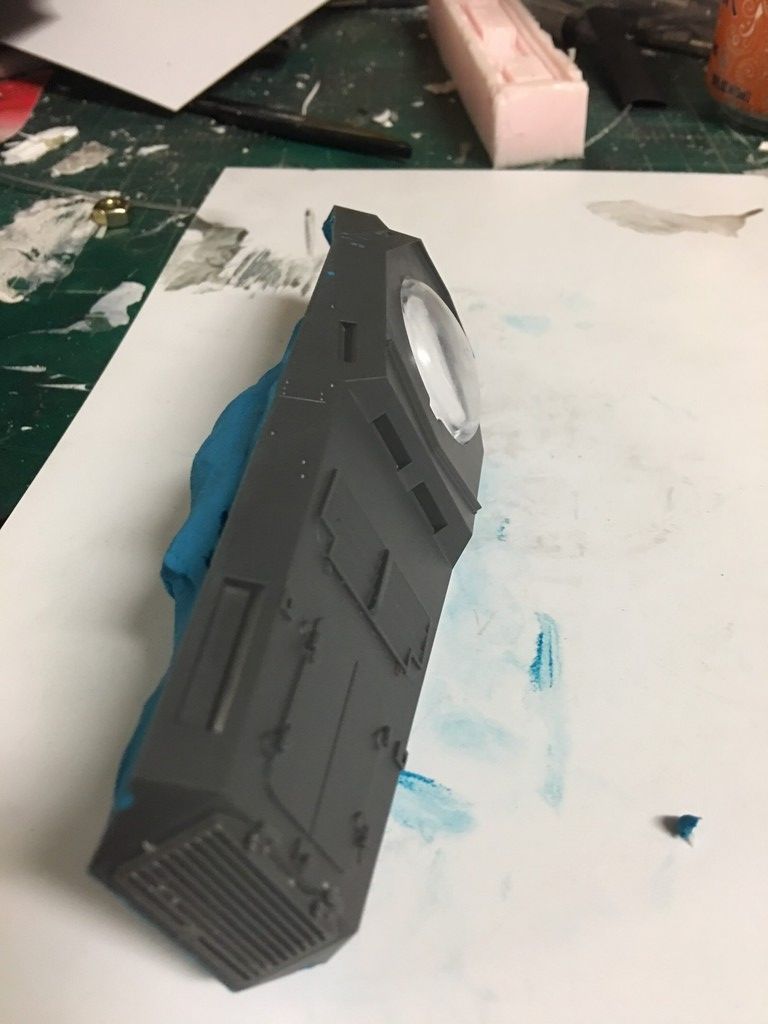
I decided to go with casting the 8 Rad hull with the plastruct piece in place. The original hull will have a mounting point hidden under a removable Plastruct part (via magnet) for mounting in the center for mounting on the wall. I will likely hide a pow plug there too. I will also go with a mounting point on the nose under the T-34 wheel (once I get my hands on it). The armature will just be a 1/4" threaded rod cut to size and secured with two tee nuts. The threaded rod will have a 1/4" t-joint threaded down the center and connect to the side tee nut mounting point via a small threaded rod...so it'll be, "strong like bull".
I also plan to light the main engine with cool blue LED's.
In reading the various threads of these awesome builds, I missed one key point. I went for the 1/20 scale Lotus and later saw that other people were using the 1/12 scale for the engine bell. Which is correct?
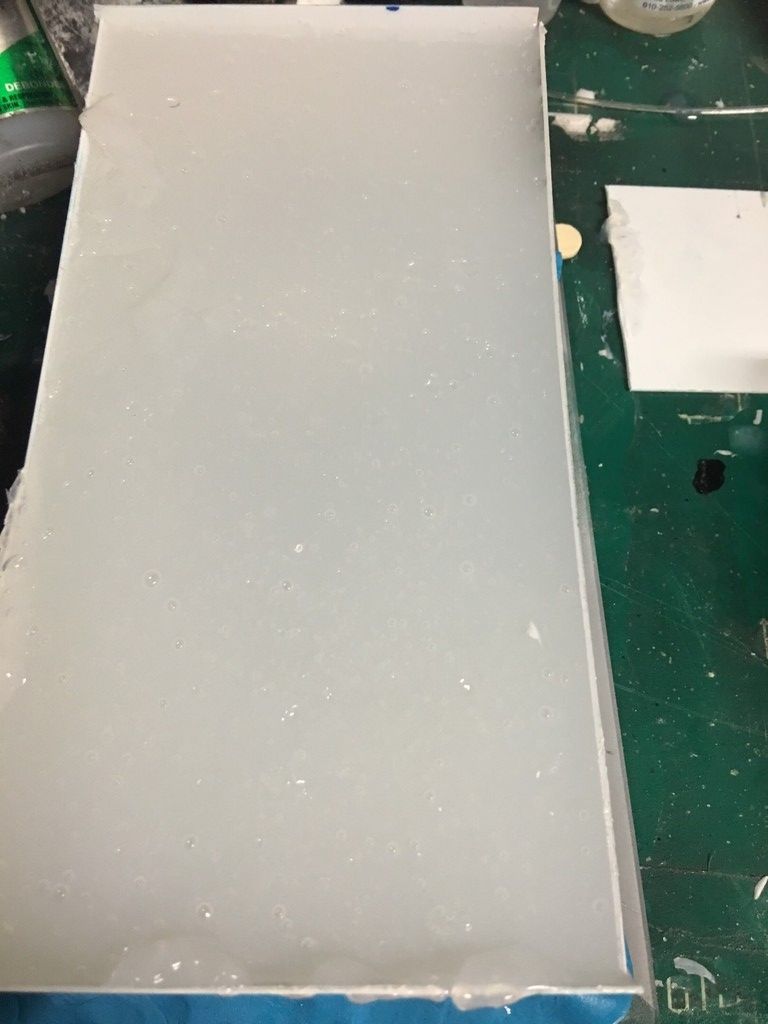
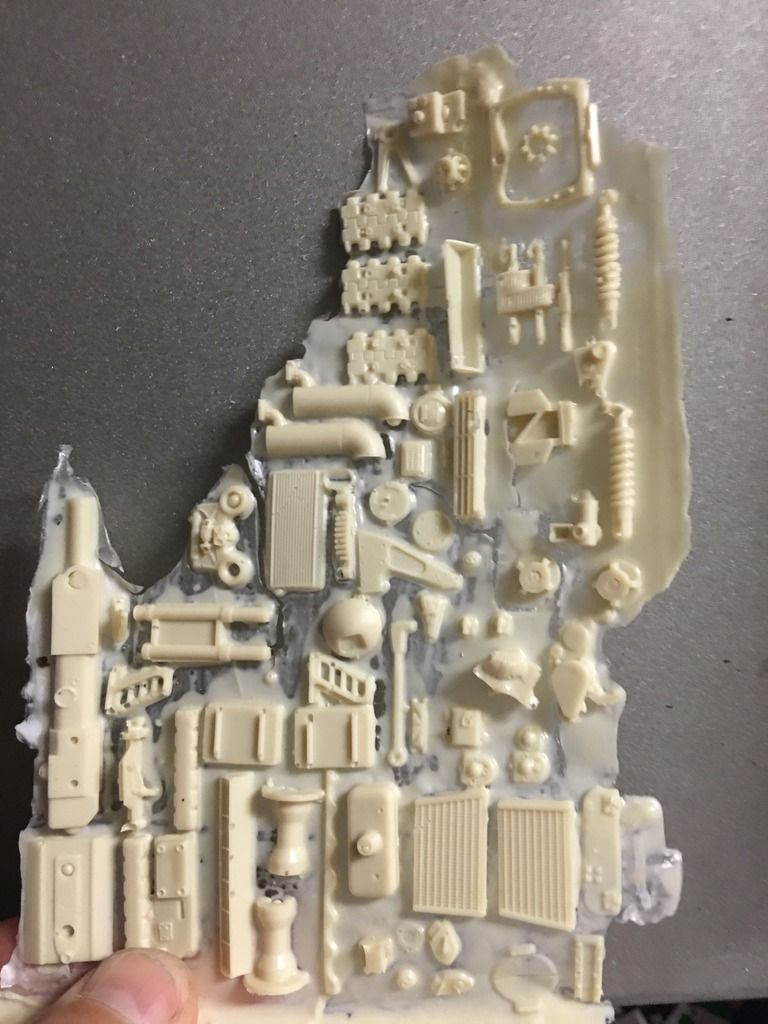
Anyway, I got some silicone in yesterday and started prep work to mold the hull and dropped some of the Karl, smaller 8 RAD bits, and the Flakerviering parts in a separate mold to make copies along with other plant-on parts for my Y-wing and other projects. The silicone should be fully cured in the am, so after work, I should be able to slush cast some hulls.
I hope I can do the same justice to this that so many others have done so far!
Thanks for looking!
-Robin
I decided to go with casting the 8 Rad hull with the plastruct piece in place. The original hull will have a mounting point hidden under a removable Plastruct part (via magnet) for mounting in the center for mounting on the wall. I will likely hide a pow plug there too. I will also go with a mounting point on the nose under the T-34 wheel (once I get my hands on it). The armature will just be a 1/4" threaded rod cut to size and secured with two tee nuts. The threaded rod will have a 1/4" t-joint threaded down the center and connect to the side tee nut mounting point via a small threaded rod...so it'll be, "strong like bull".
I also plan to light the main engine with cool blue LED's.
In reading the various threads of these awesome builds, I missed one key point. I went for the 1/20 scale Lotus and later saw that other people were using the 1/12 scale for the engine bell. Which is correct?
Anyway, I got some silicone in yesterday and started prep work to mold the hull and dropped some of the Karl, smaller 8 RAD bits, and the Flakerviering parts in a separate mold to make copies along with other plant-on parts for my Y-wing and other projects. The silicone should be fully cured in the am, so after work, I should be able to slush cast some hulls.
I hope I can do the same justice to this that so many others have done so far!
Thanks for looking!
-Robin