Noeland
Master Member
I should probably start by saying I have not played any of the Wolfenstein games. I have interest in this because I'm a rabid fan of Axel Torvenius, the artist who designed many of the guns for the new generation of Wolfenstein games. And also, I'm a world war buff, especially the weapons used. The Luger pistol is a particular favorite of mine.
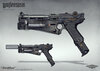
Here is the artwork I'm talking about.

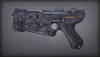
They altered the art a bit for the game itself, and made it shorter. Like this:

So a few years back when my wife purchased my first 3D printer as a gift for me, I went on the hunt for a model of this gun to be one of my first tests of the printer.
I found Sluka Industries and immediately downloaded his model. I did it on Etsy though, but it looks like he no longer has it for sale there. But it is on his site.
 www.slukaindustries.com
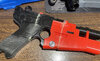
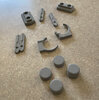
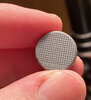
Now, I only had a mini printer, a monoprice mini, so I had to splice the every loving crap out of it to fit on the tiny 5" print bed. But, undeterred:

That isn't why the project sat unfinished for a few years though, that had to do with serious family commitments, and me not having much personal time for prop building because of them. At any rate, I have time now.
I knew I wanted to create a system for myself to smooth the print lines, and to learn different ways to fasten and manipulate the materials involved in 3D printing. I wanted to use this project to learn that stuff, so I did that slowly over time. These photos are not terribly recent.


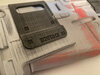
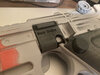
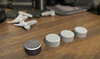
I do a sanding/filing pass on the model itself, before priming it. I use 2in1 filler primer once I get it where I like it. I like gray primer for many reasons. For me, this is the meat and potatoes of smoothing. Priming, sanding, evening out the lines and in this case, the terrible seams.
Eventually I got it to looking like this:


I was pretty happy with the smaller details, and the fact that you could reas this stuff.
I knew that I wasn't going to be finishing this out the same way it looks in the game, I wanted to give this more of a battlefield pick up vibe, and then modified kind of look. Like they decided to strip it of Nazi insignia, remove the paint off the grips to let the wood show, etc. Like the resistance decided to rebuild it.


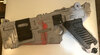
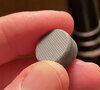
I gave the grips a basecoat of satin tan krylon with the intention of painting in a wood grain, and then giving them a matte clear coat. I used Krylon Camo paint, the ultraflat black for the gun itself. It reminds me a lot of a nonreflective parkerized finished.
Here are some shots of it finished up. A little rough here and there, but it was a great learning experience for me. I have several more shots to upload and share of the work on the grips, that I will do a little later on. They were fun for me, I had not tried to replicate wood grain in a long time.


I also like to use real screws, and any metal parts I can on a build like this. I added real luger grip screws as well.
The landyard tab was an idea I got when a company I buy a lot of C&R weapons from, Classic Firearms. They were selling some very nice, and very expensive Swiss Lugers. Some of them had a cool leather tab connected to the lanyard loop.
More soon. I am already working on the second one, that I was able to print up with no splicing.")
Been a minute since I posted any builds.
Here is the artwork I'm talking about.
They altered the art a bit for the game itself, and made it shorter. Like this:
So a few years back when my wife purchased my first 3D printer as a gift for me, I went on the hunt for a model of this gun to be one of my first tests of the printer.
I found Sluka Industries and immediately downloaded his model. I did it on Etsy though, but it looks like he no longer has it for sale there. But it is on his site.
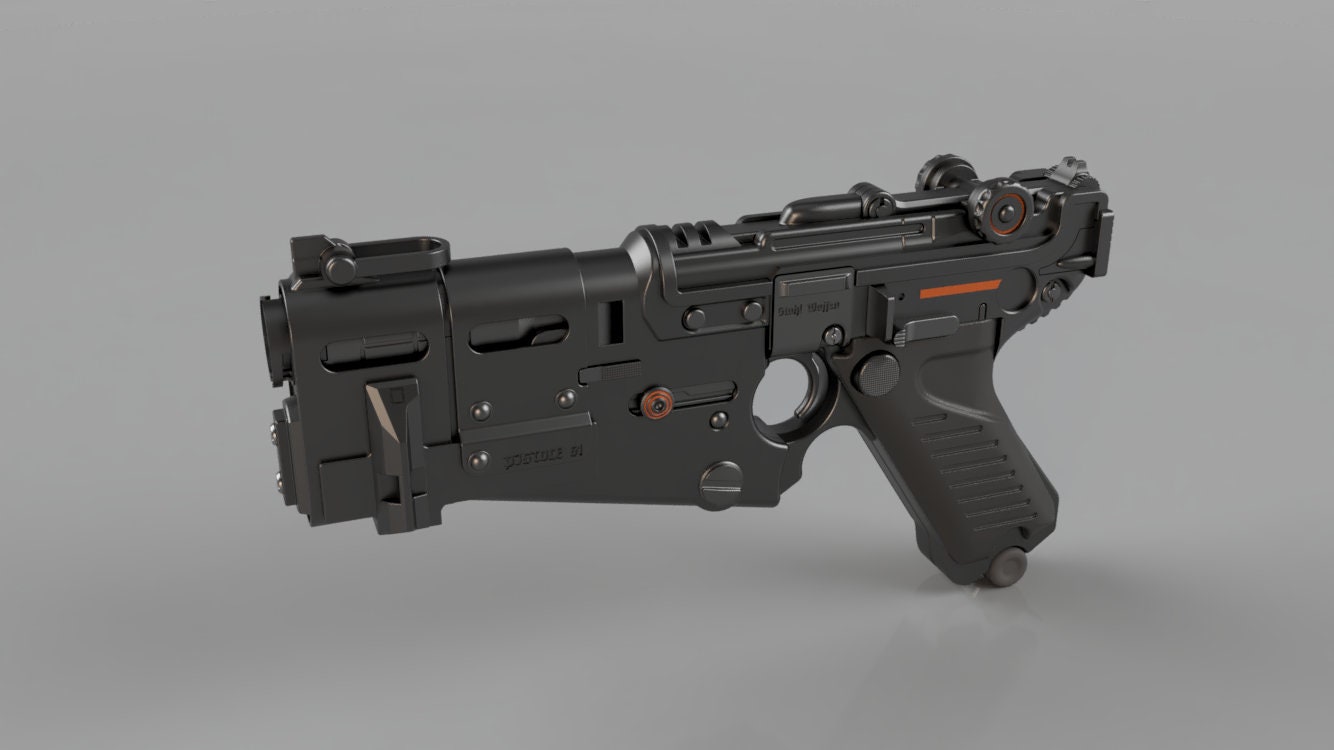
Wolfenstein II: The New Colussus Pistol (Luger 61) - Model for 3D Printing
**BEFORE YOU BUY**This is not a physical item! You are purchasing the 3D model *FILES*, not 3D print, or a finished prop. **THANK YOU**A model of the Pistol (Luger 61) from Wolfenstein II: The New Colossus.Certain aspects of the pistol (mainly certain screw heads) have been left unmodeled due to th
www.slukaindustries.com
Now, I only had a mini printer, a monoprice mini, so I had to splice the every loving crap out of it to fit on the tiny 5" print bed. But, undeterred:
That isn't why the project sat unfinished for a few years though, that had to do with serious family commitments, and me not having much personal time for prop building because of them. At any rate, I have time now.
I knew I wanted to create a system for myself to smooth the print lines, and to learn different ways to fasten and manipulate the materials involved in 3D printing. I wanted to use this project to learn that stuff, so I did that slowly over time. These photos are not terribly recent.
I do a sanding/filing pass on the model itself, before priming it. I use 2in1 filler primer once I get it where I like it. I like gray primer for many reasons. For me, this is the meat and potatoes of smoothing. Priming, sanding, evening out the lines and in this case, the terrible seams.
Eventually I got it to looking like this:
I was pretty happy with the smaller details, and the fact that you could reas this stuff.
I knew that I wasn't going to be finishing this out the same way it looks in the game, I wanted to give this more of a battlefield pick up vibe, and then modified kind of look. Like they decided to strip it of Nazi insignia, remove the paint off the grips to let the wood show, etc. Like the resistance decided to rebuild it.
I gave the grips a basecoat of satin tan krylon with the intention of painting in a wood grain, and then giving them a matte clear coat. I used Krylon Camo paint, the ultraflat black for the gun itself. It reminds me a lot of a nonreflective parkerized finished.
Here are some shots of it finished up. A little rough here and there, but it was a great learning experience for me. I have several more shots to upload and share of the work on the grips, that I will do a little later on. They were fun for me, I had not tried to replicate wood grain in a long time.
I also like to use real screws, and any metal parts I can on a build like this. I added real luger grip screws as well.
The landyard tab was an idea I got when a company I buy a lot of C&R weapons from, Classic Firearms. They were selling some very nice, and very expensive Swiss Lugers. Some of them had a cool leather tab connected to the lanyard loop.
More soon. I am already working on the second one, that I was able to print up with no splicing.
Been a minute since I posted any builds.