You are using an out of date browser. It may not display this or other websites correctly.
You should upgrade or use an alternative browser.
You should upgrade or use an alternative browser.
My TOS GALACTICA BUILD
- Thread starter MARK M3
- Start date


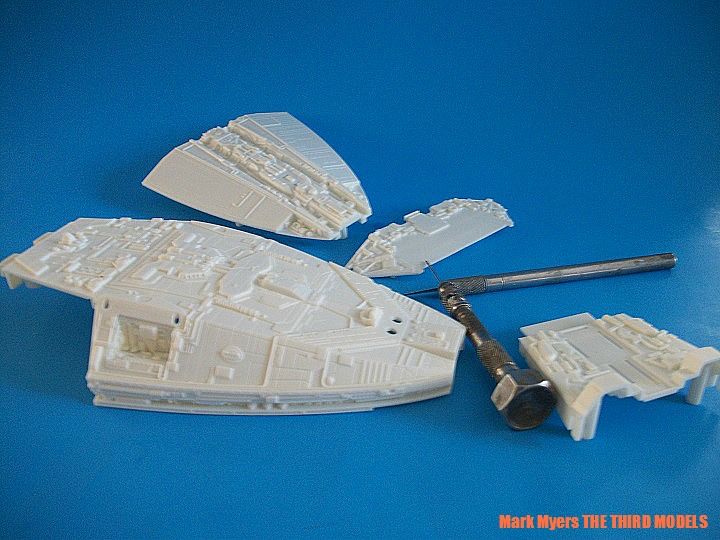
I have started on the "head" of the Galactica. I needed to fill in the gaps for the port and starboard inserts. Not a big deal.
As seen in the picture, the detail is crisp and clean. Now I am drilling out the portholes for installation of the fiber optics.
after that the interior of the model will be treated for light leaks...
As seen in the picture, the detail is crisp and clean. Now I am drilling out the portholes for installation of the fiber optics.
after that the interior of the model will be treated for light leaks...

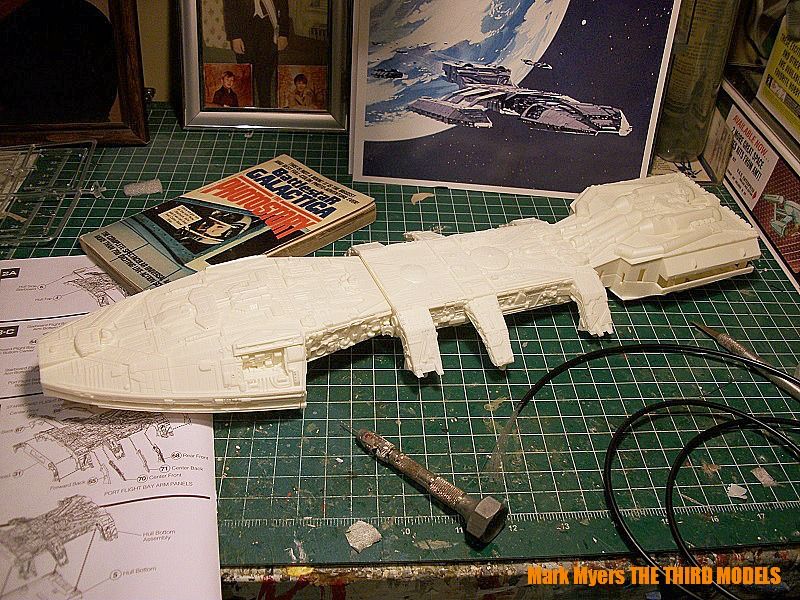
I have drilled out the portholes in the head and neck and even in the main body area, to thread my Fiber Optics through. I also drilled out openings in the connector slots to allow the wires and optics to be threaded through.
I drilled out the portholes in the bridge module...as is.
The model is pretty much dry fitted together and fits together like a glove. Very little seam filling(if any).
I drilled out the portholes in the bridge module...as is.
The model is pretty much dry fitted together and fits together like a glove. Very little seam filling(if any).

That looks fantastic! What's your plan for paint?
Other than the bridge, which is easily fixable, I think Moebius definitely hit this one out of the park!!
I agree sir! I haven't decided on the paint scheme yet. After I drill out all the port holes, then it's time to light block, Then I will detail paint the ship.
UPDATE...
I have assembled the model with cement and dry fitting, so I can easily dis assemble the ship to Light block, and finish the drilling for the fiber Optics. I also know how I will be threading the wires through the ship...

Here's a comparison shot net to the old Monogram kit...
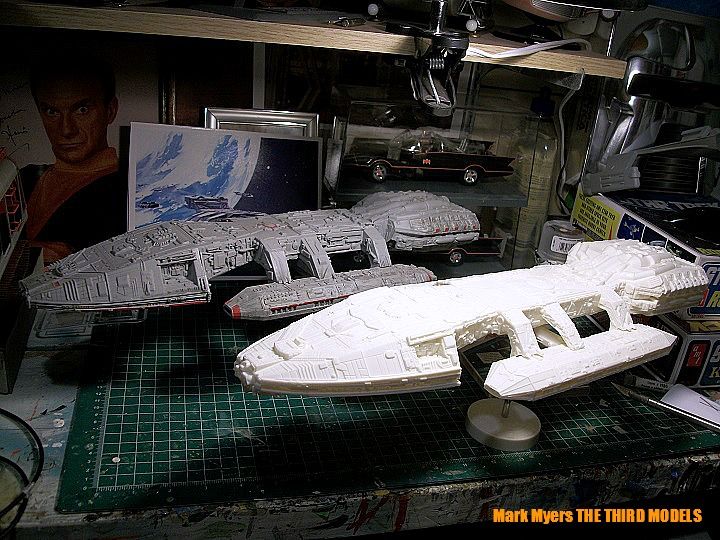
I have assembled the model with cement and dry fitting, so I can easily dis assemble the ship to Light block, and finish the drilling for the fiber Optics. I also know how I will be threading the wires through the ship...

Here's a comparison shot net to the old Monogram kit...


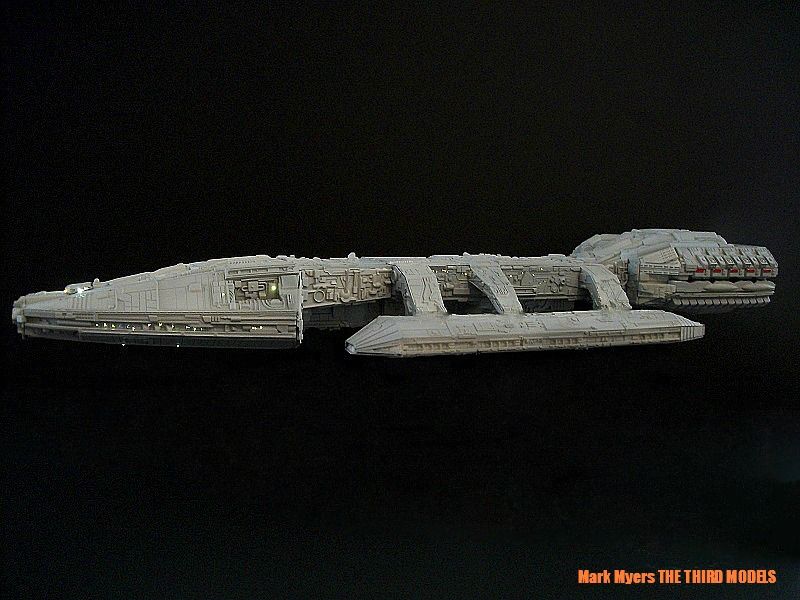
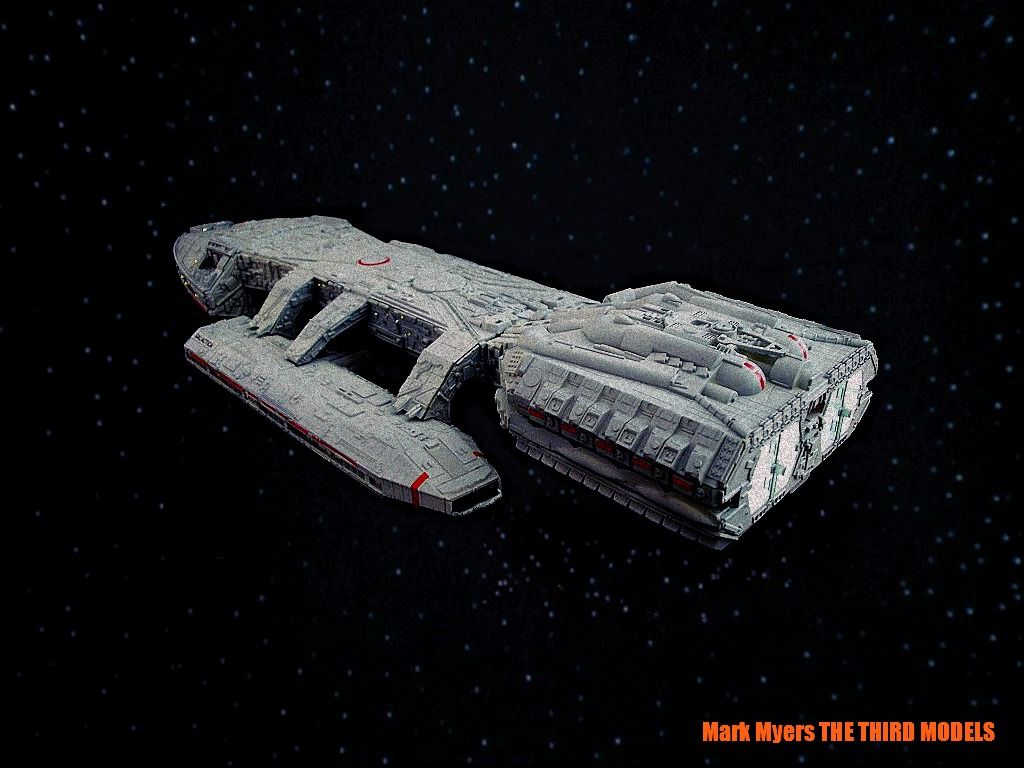
I have toned down the lighting to reflect the scale of this ship...I don't like overly bright models.
I still need to Air brush the Launch bays and add the red markings...
(Again, It's not finished yet. I am still refining the model and look to my taste.)
I still need to Air brush the Launch bays and add the red markings...
(Again, It's not finished yet. I am still refining the model and look to my taste.)


A Rear engine shot. Again, I don't like lights for the sake of lights. I added them to where I could see them on the Filming Miniature(yes, I omitted some). The lighting has been adjusted to believable scale And color...They didn't have white LEDS that look blue back in 1977, they used Incandescent lighting.

great job.
in one shot they look blue, then yellow after you adjusted them.
did you switch from a white source to a yellow for the fiber optics?
Before final assembly, I swapped out the White LEDS FOR THE WARM yellow ONES. The white were too bright for this scale and looked blue...BOTH WRONG for this model.


Similar threads
- Replies
- 11
- Views
- 1,011