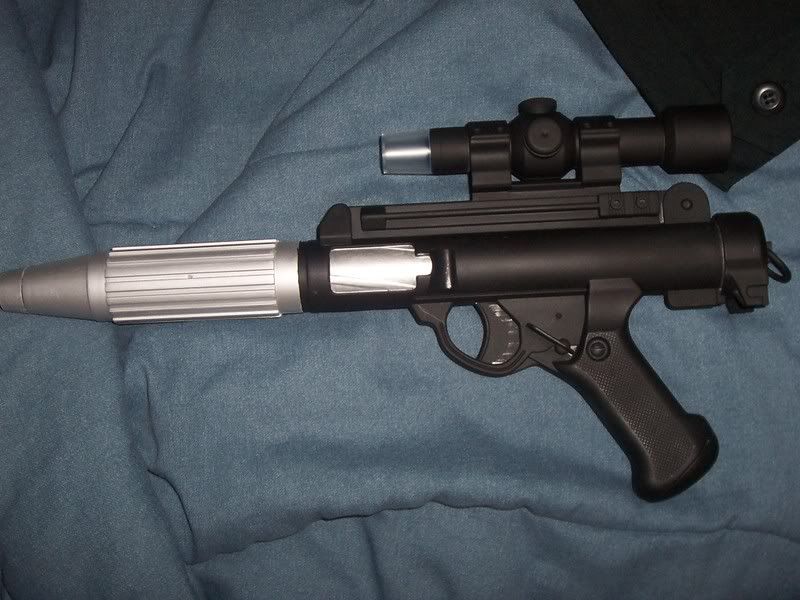
Here's a quick little project I did for fun and to have a cheap displayable prop to hang on the wall (because Lord knows I can't afford MR replicas).
I took the standard Nerf Rebel Blaster and completely disassembled it. I foolishly forgot to take in progress pics. I sawed off the end of the barrel right before the rear sight, glued in a bunch of strip styrene to the inside, and laminated some sheet around it. This allowed me to lengthen the rear of the barrel by about an inch or so, which makes it more or less the accurate length, and prevents the stock clip from digging into my thumb.
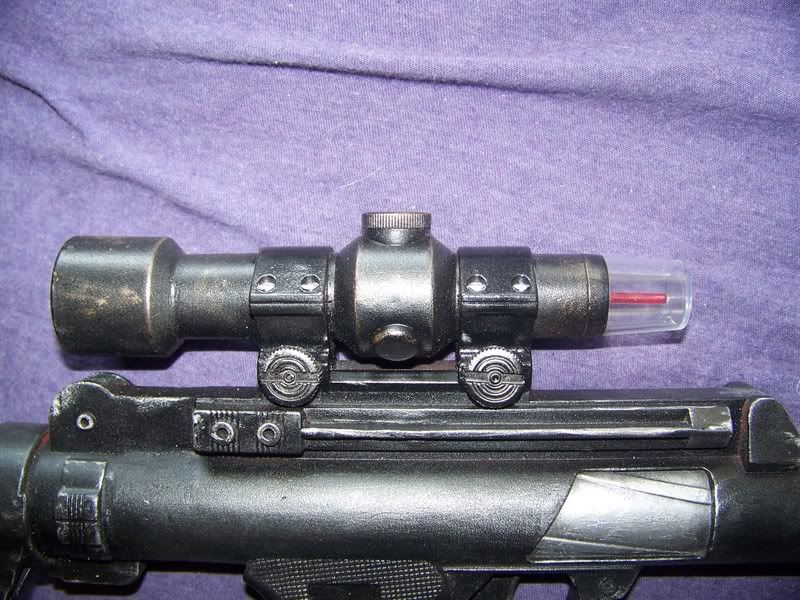
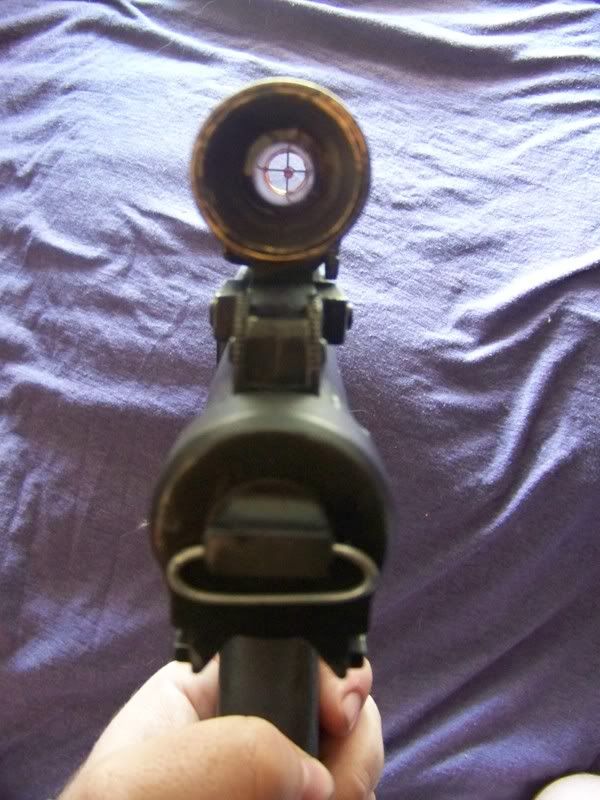
I removed the light from the scope and placed it in a piece of brass rod which I ran down the length of the inside of the barrel. The now hollow scope was also fitted with a piece of brass tube along with a clear red rod to simulate the single point. The clear endcap was completely submerged in Future and stood upright tp dry, and is now crystal clear. I also added a faux lens to the rear of the sight.
The trigger still activates the LED, and the batteries are still housed in the handle, but I managed to remove the unsightly hump. Changing the batteries requires cracking open a bondo seal, and then resealing/painting everything, but I don't foresee really having to worry about changing the batteries, as the gun is just a display piece and is rarely used.
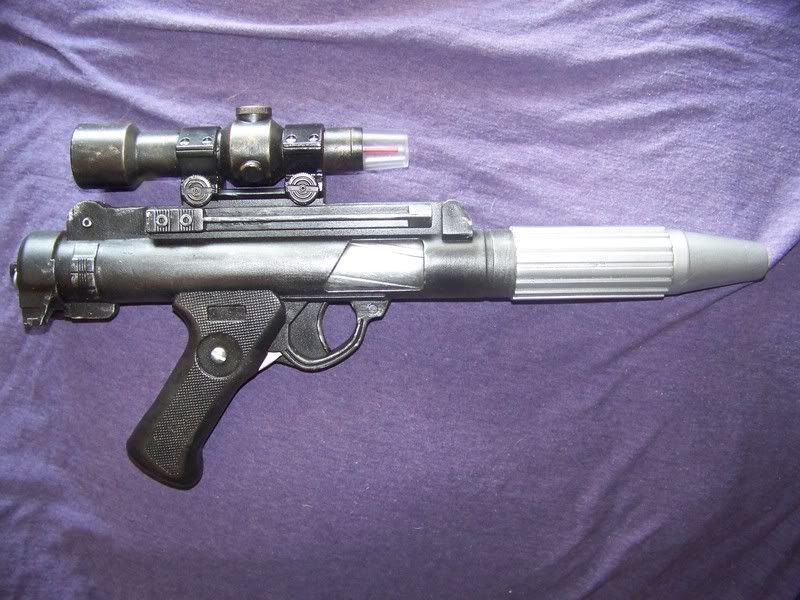
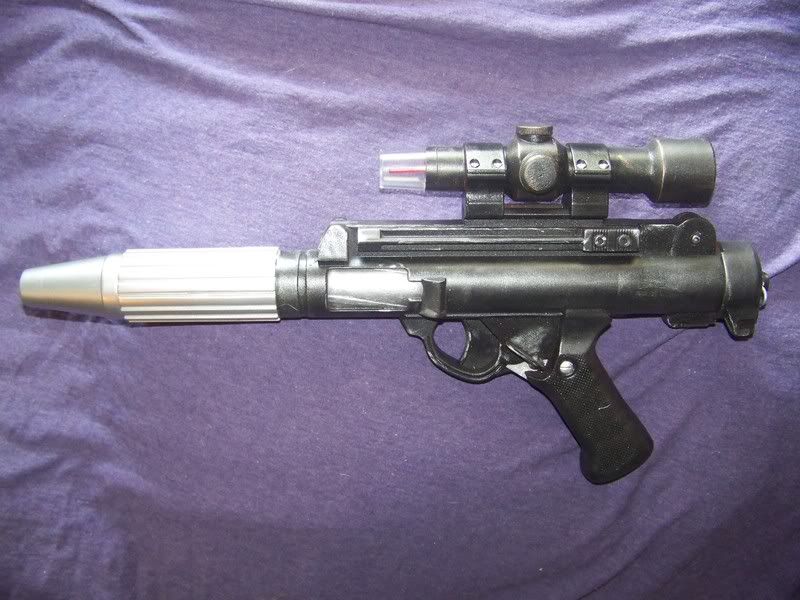
Needless to say, all screw holes and seams were filled in, some detail was scribed into the scope clips, and other assorted random cosmetic things. The whole blaster was given a coat of semi-gloss black. The muzzle hit with gloss black and then Krylon chrome. The shell ejection ports were coated with gun metal then generously drybrushed with silver. Silver was also used to weather in chips and worn paint. Graphite powder added t the gun body to ad depth to the color. And the scope was weathered with brass. All in all I think I only spent about 8 - 10 working hours on this. Just a fun quick project to pick up while waiting for other projects to dry.
Here are some pics:


