My Ghostbusters 2 Proton Pack and Thrower

Dakarn

Well-Known Member
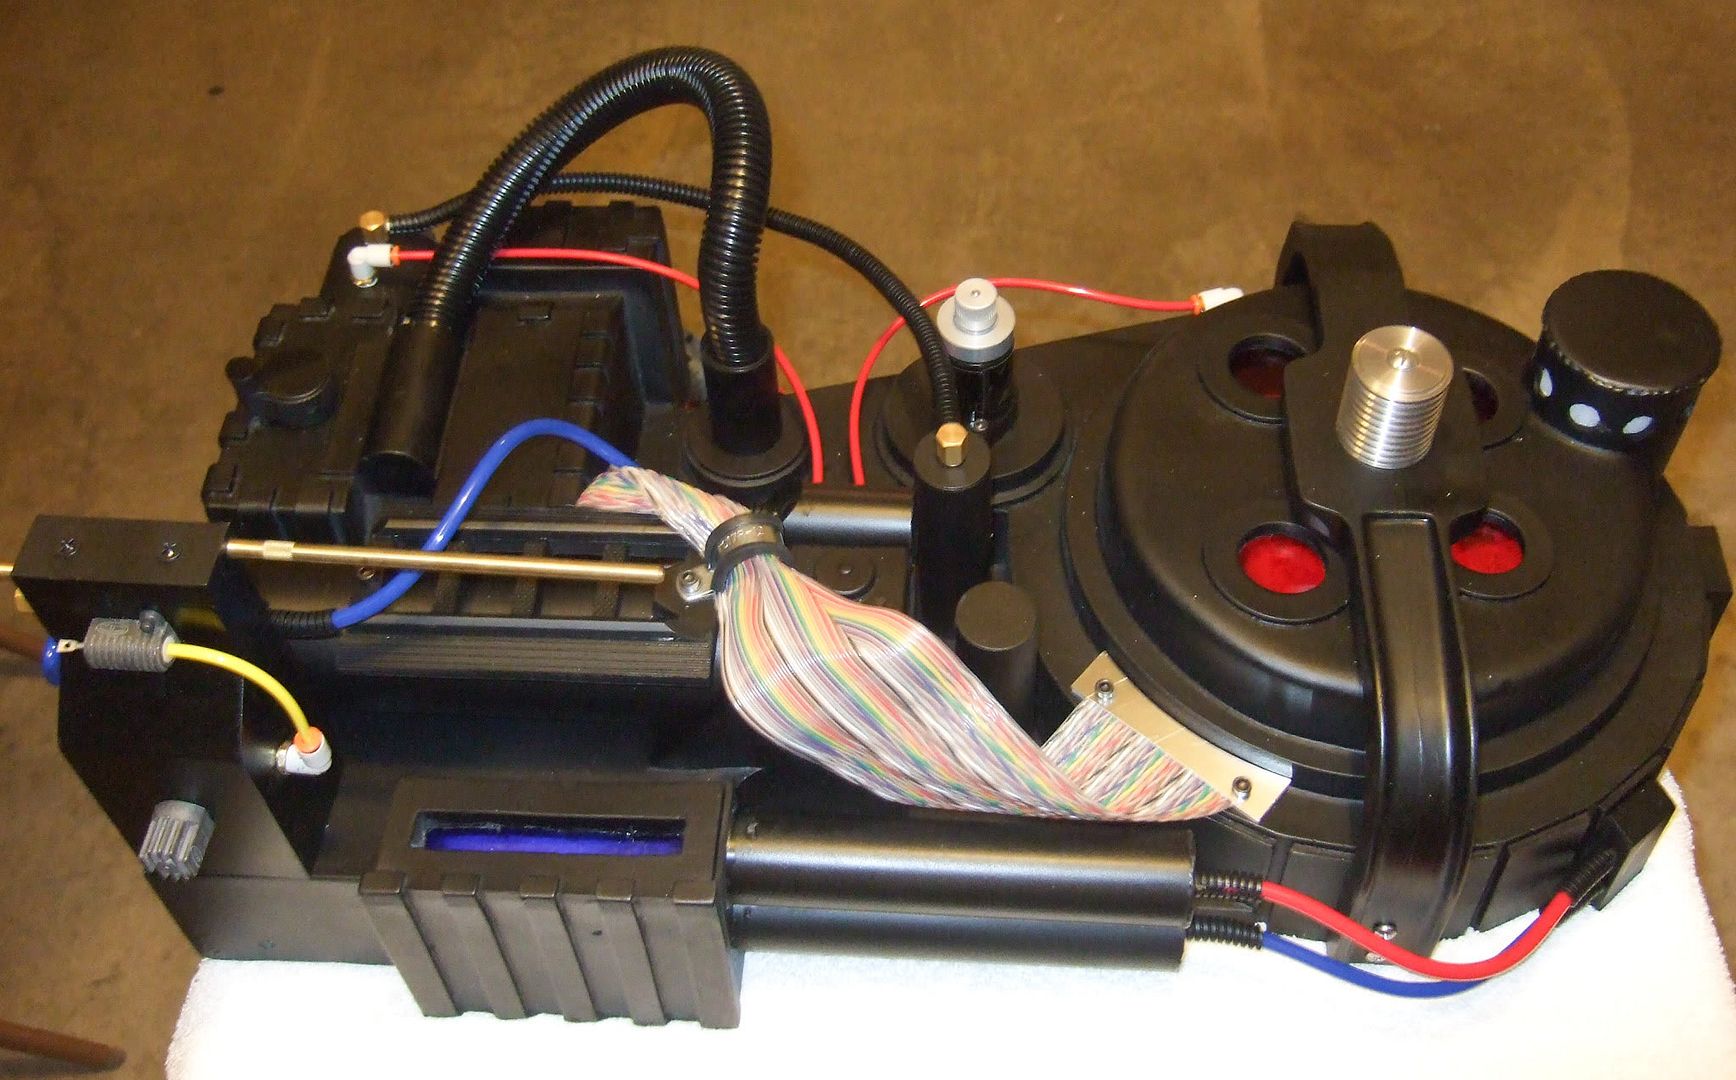
Started this build about 3 months ago for Megacon in Orlando. Completed it the Thursday evening before the Con. :)

In the beginning:

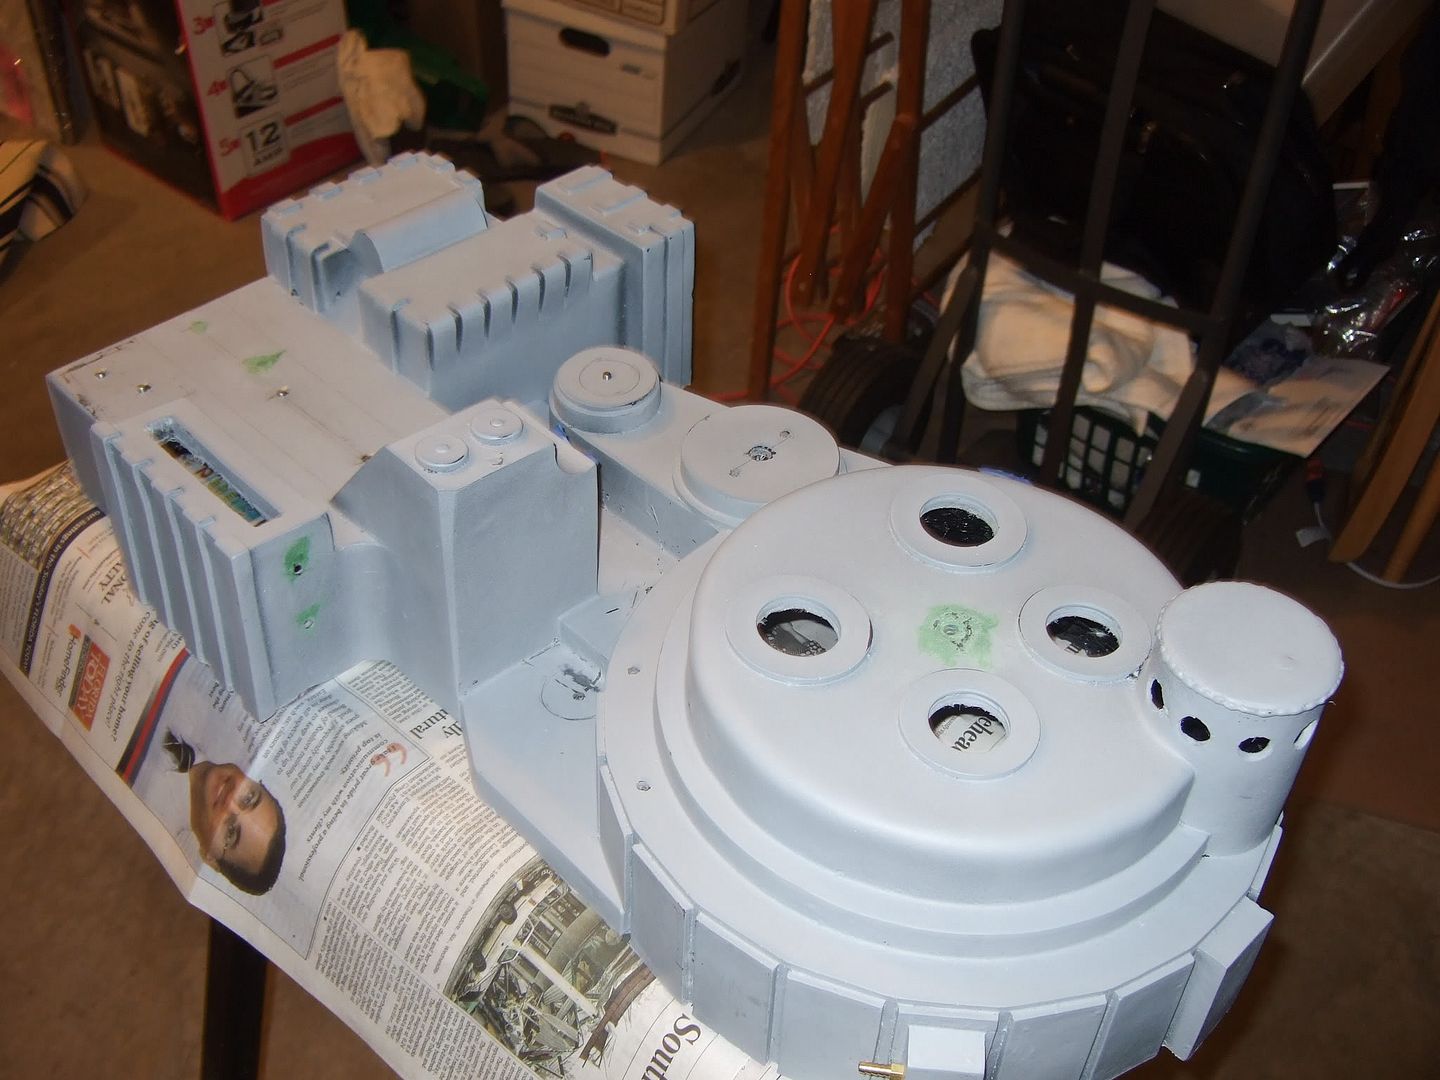
The Alkaline fiberglass and resin shell - after the initial sanding and coat of auto filler primer:
DSCF1544.jpg


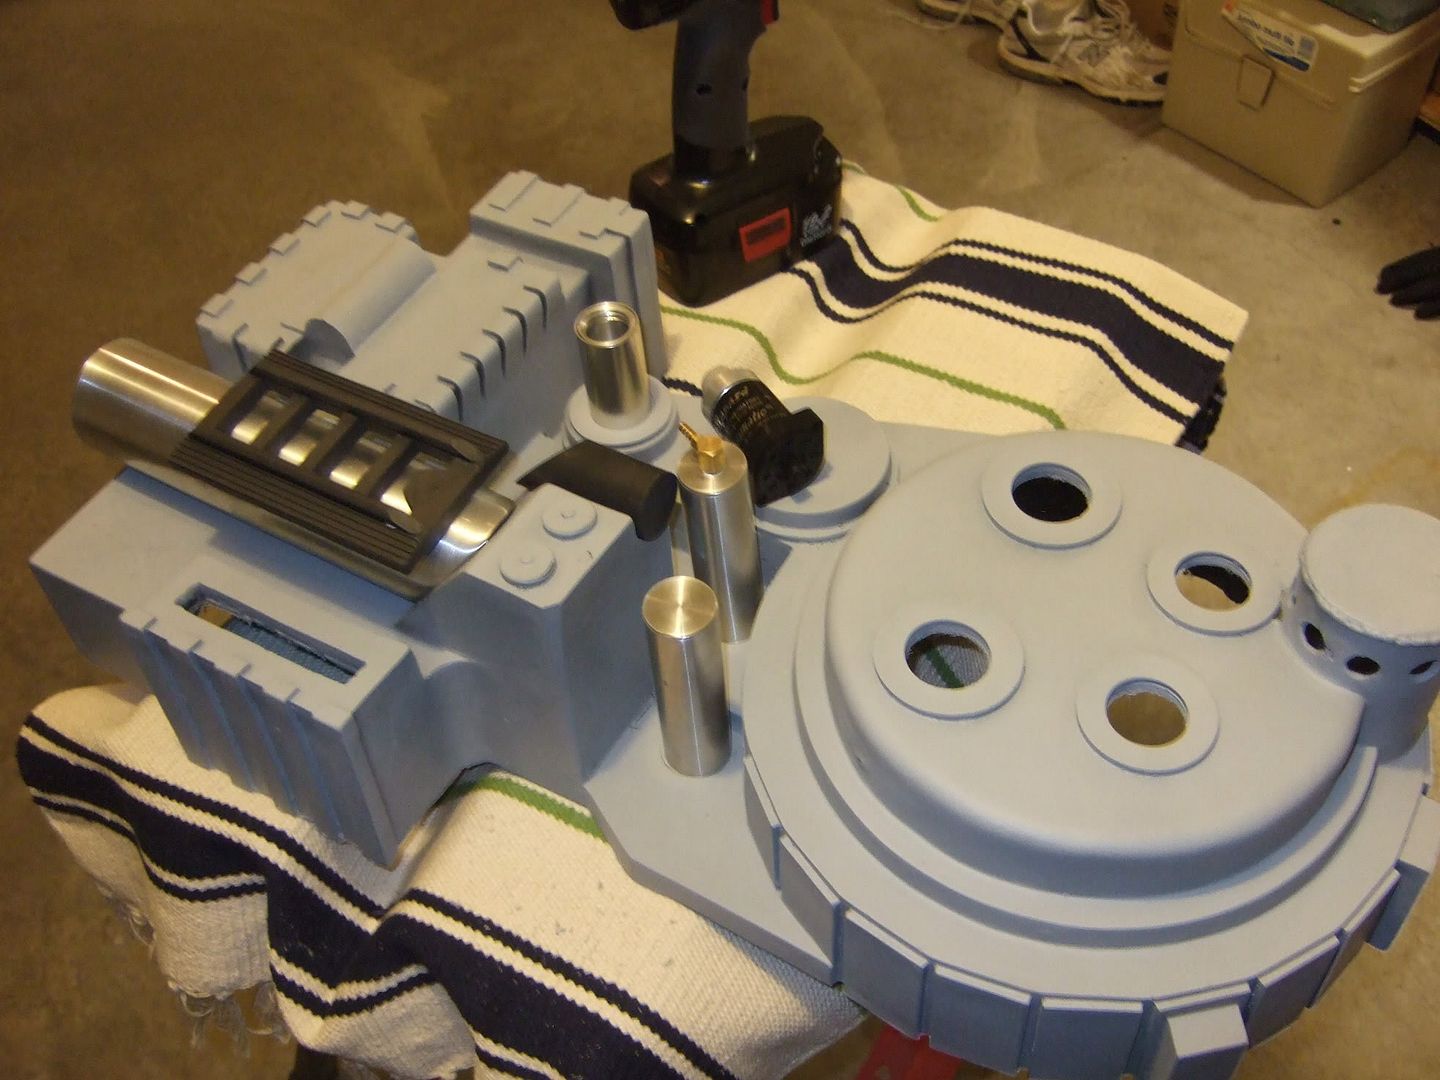
Test fitting the aluminum and resin parts on the shell after the appropriate holes were drilled and tapped:
DSCF1535.jpg


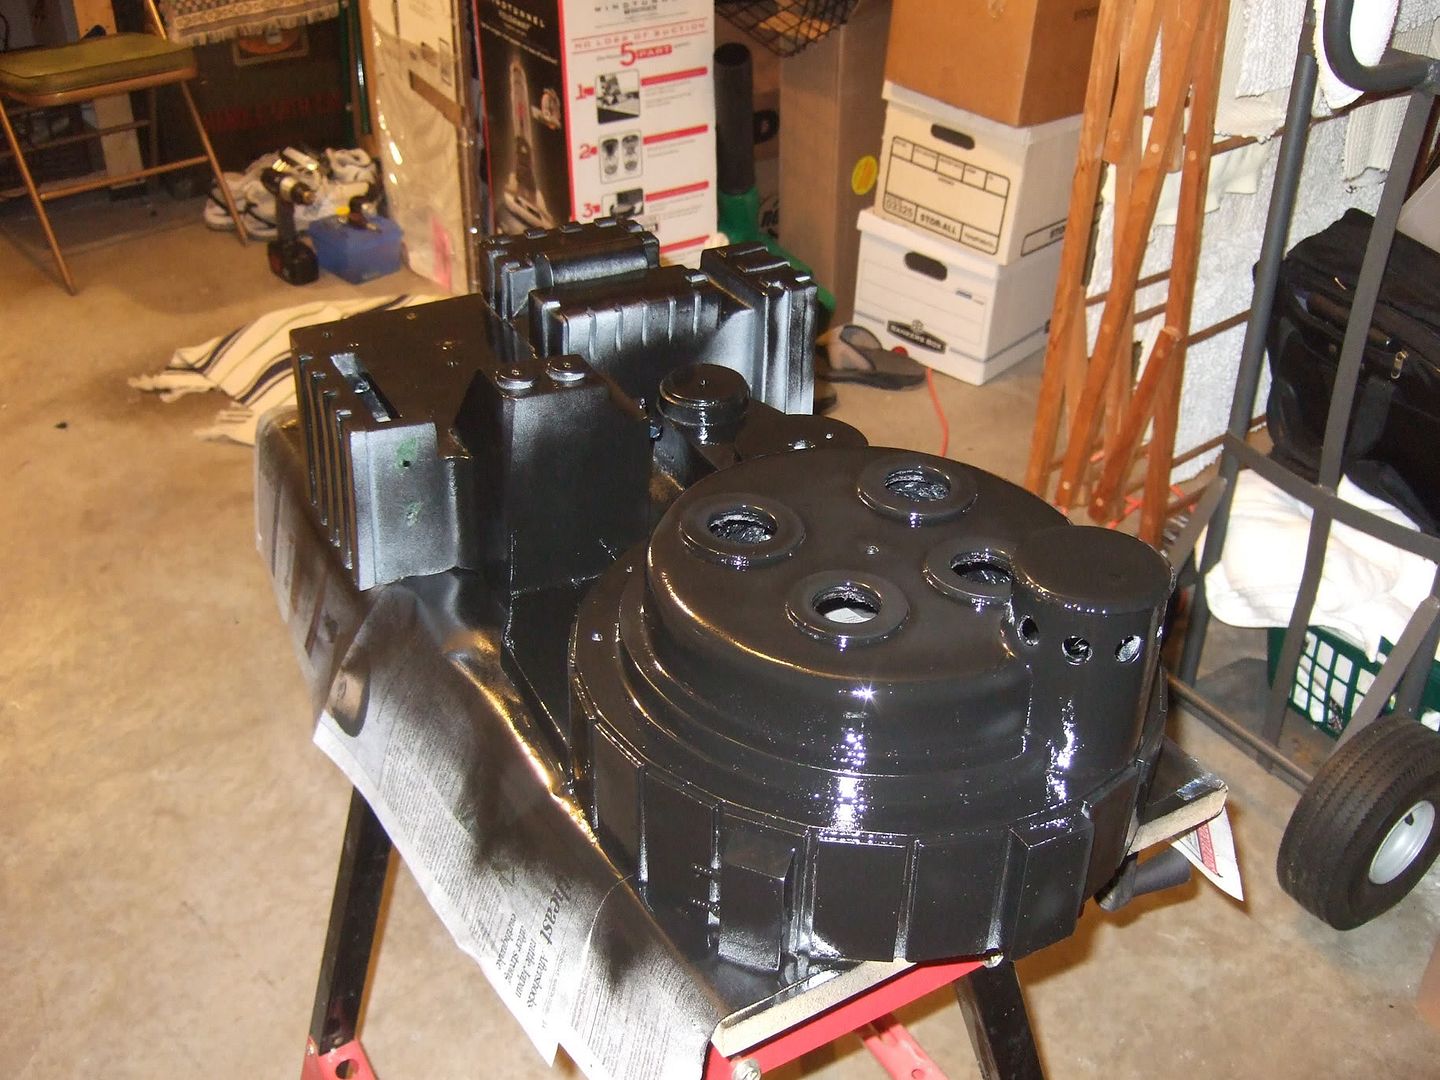
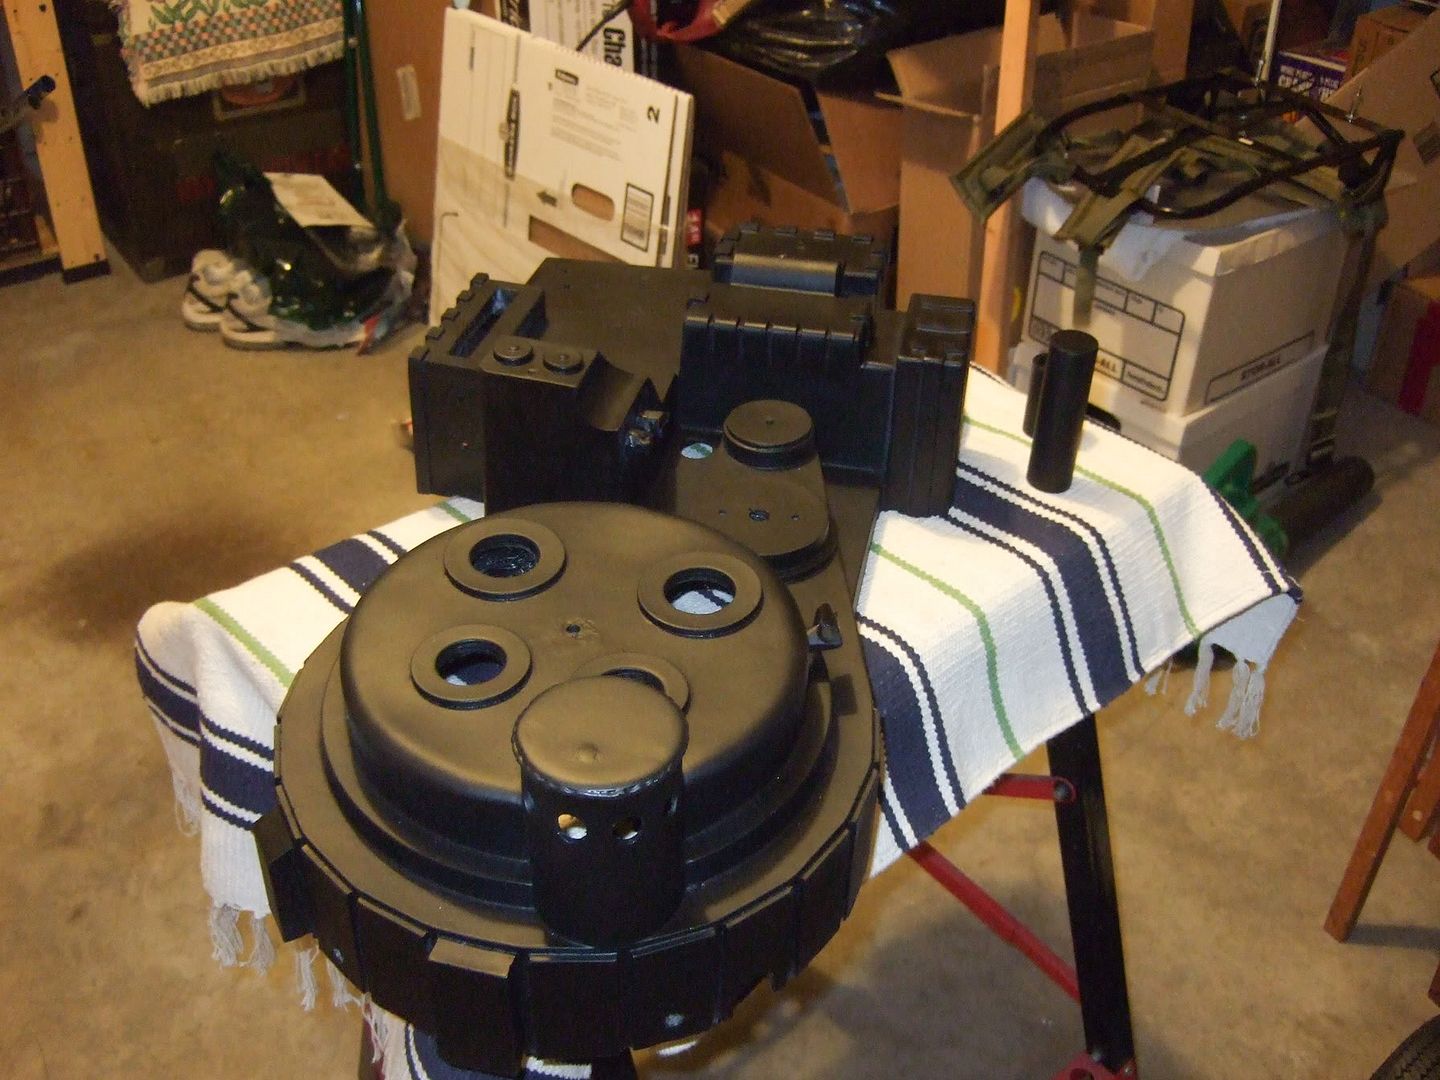
After a few coats of regular Krlyon black - it was extremely glossy:
DSCF1554.jpg


So after it dried I used a coat of matte to kill the gloss:
DSCF1556.jpg


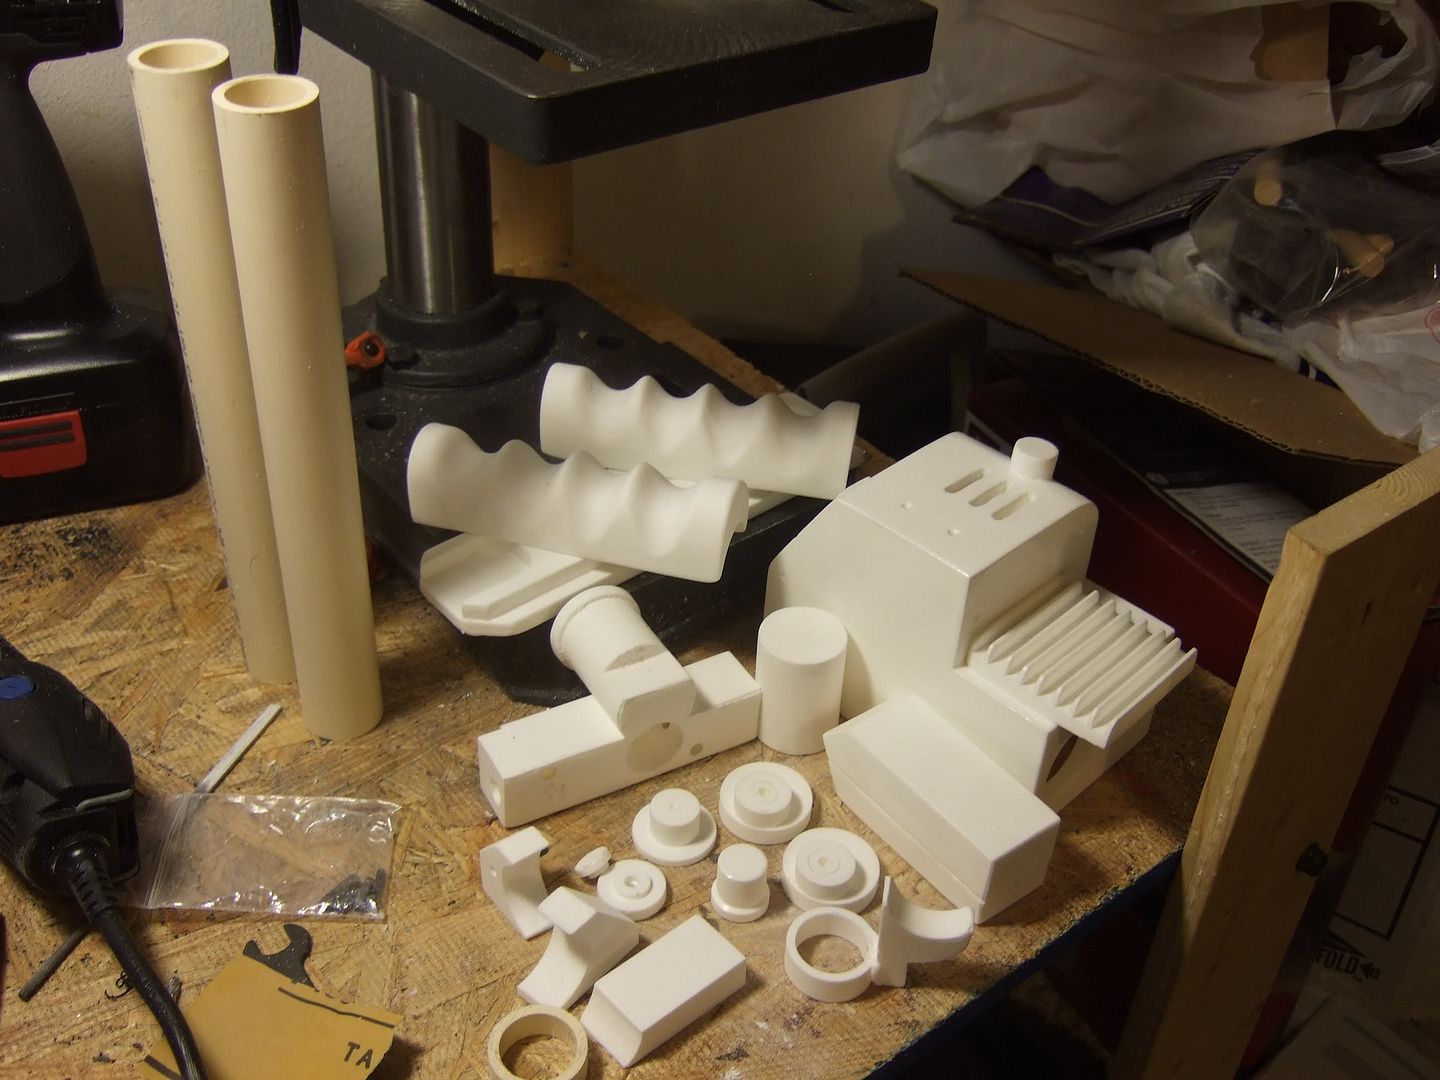
Meanwhile, I was sanding and assembling various pack parts:

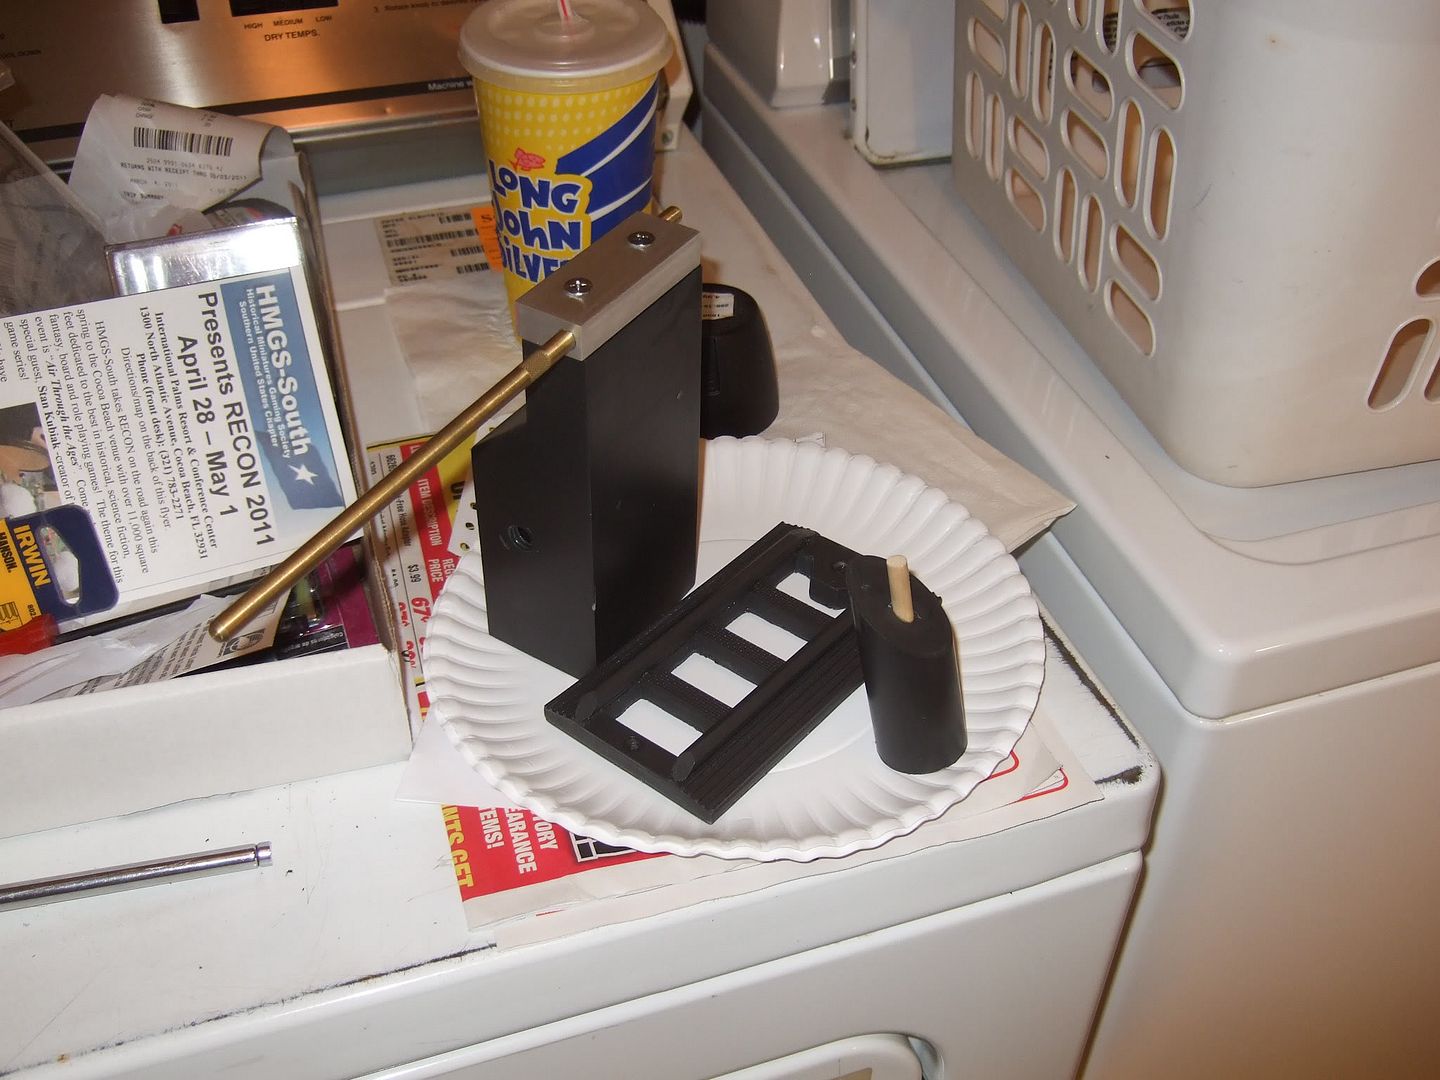
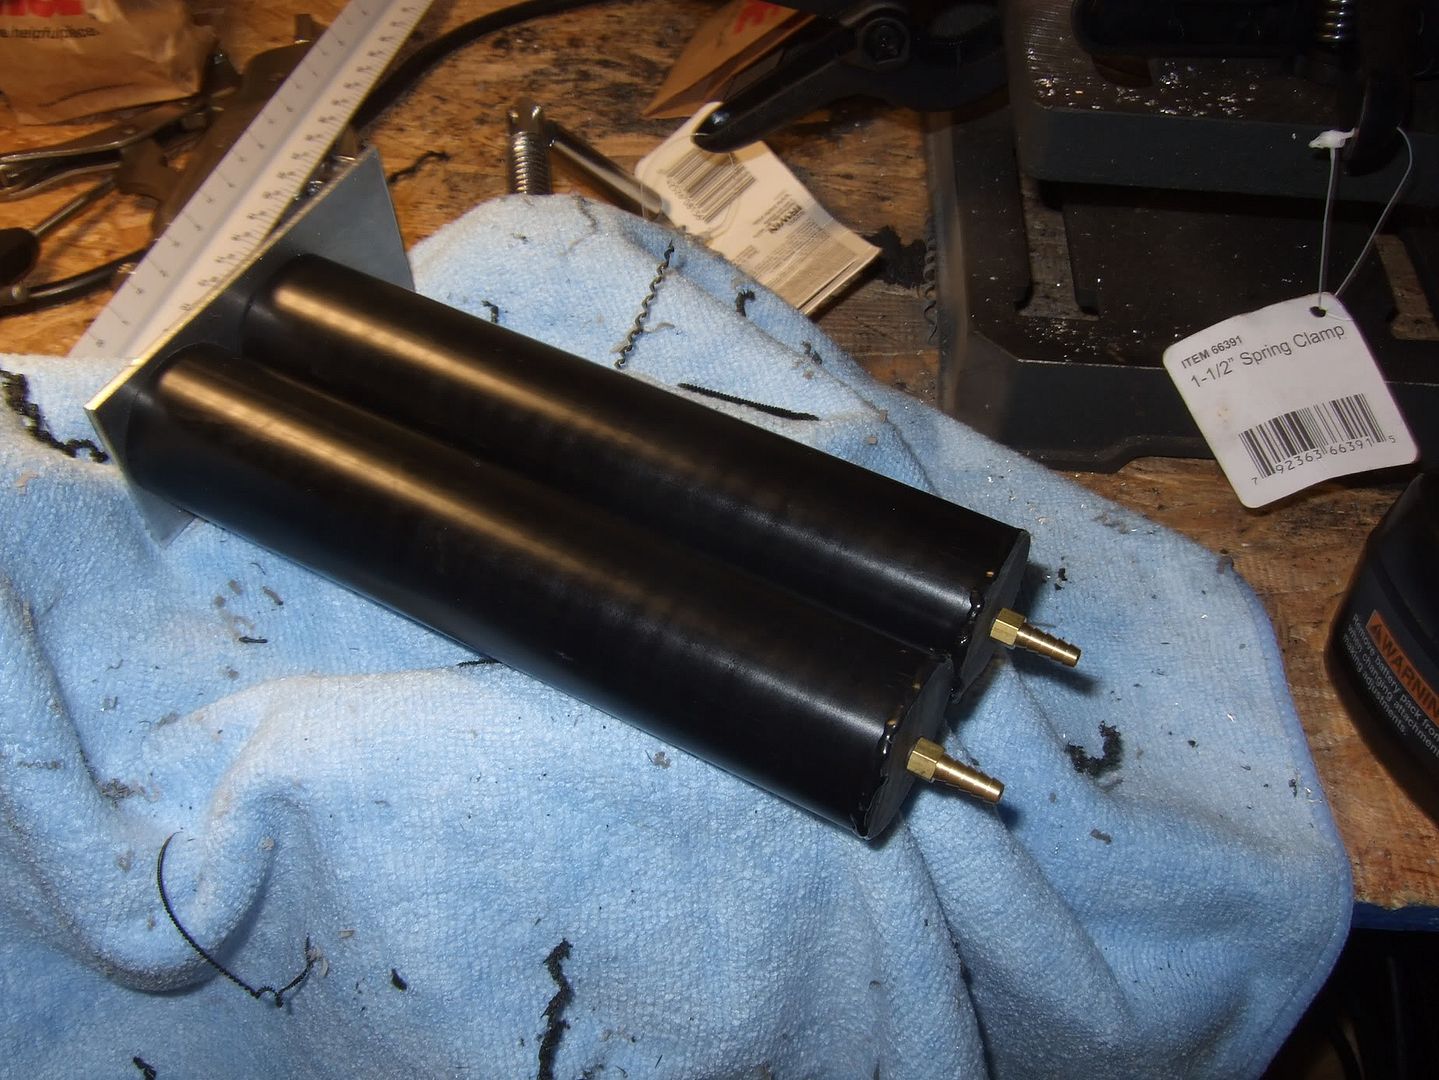
The power injector assembly, made from a piece of aluminum and 2 delarin rods cut to the appropriate length and drilled out:
DSCF1538.jpg


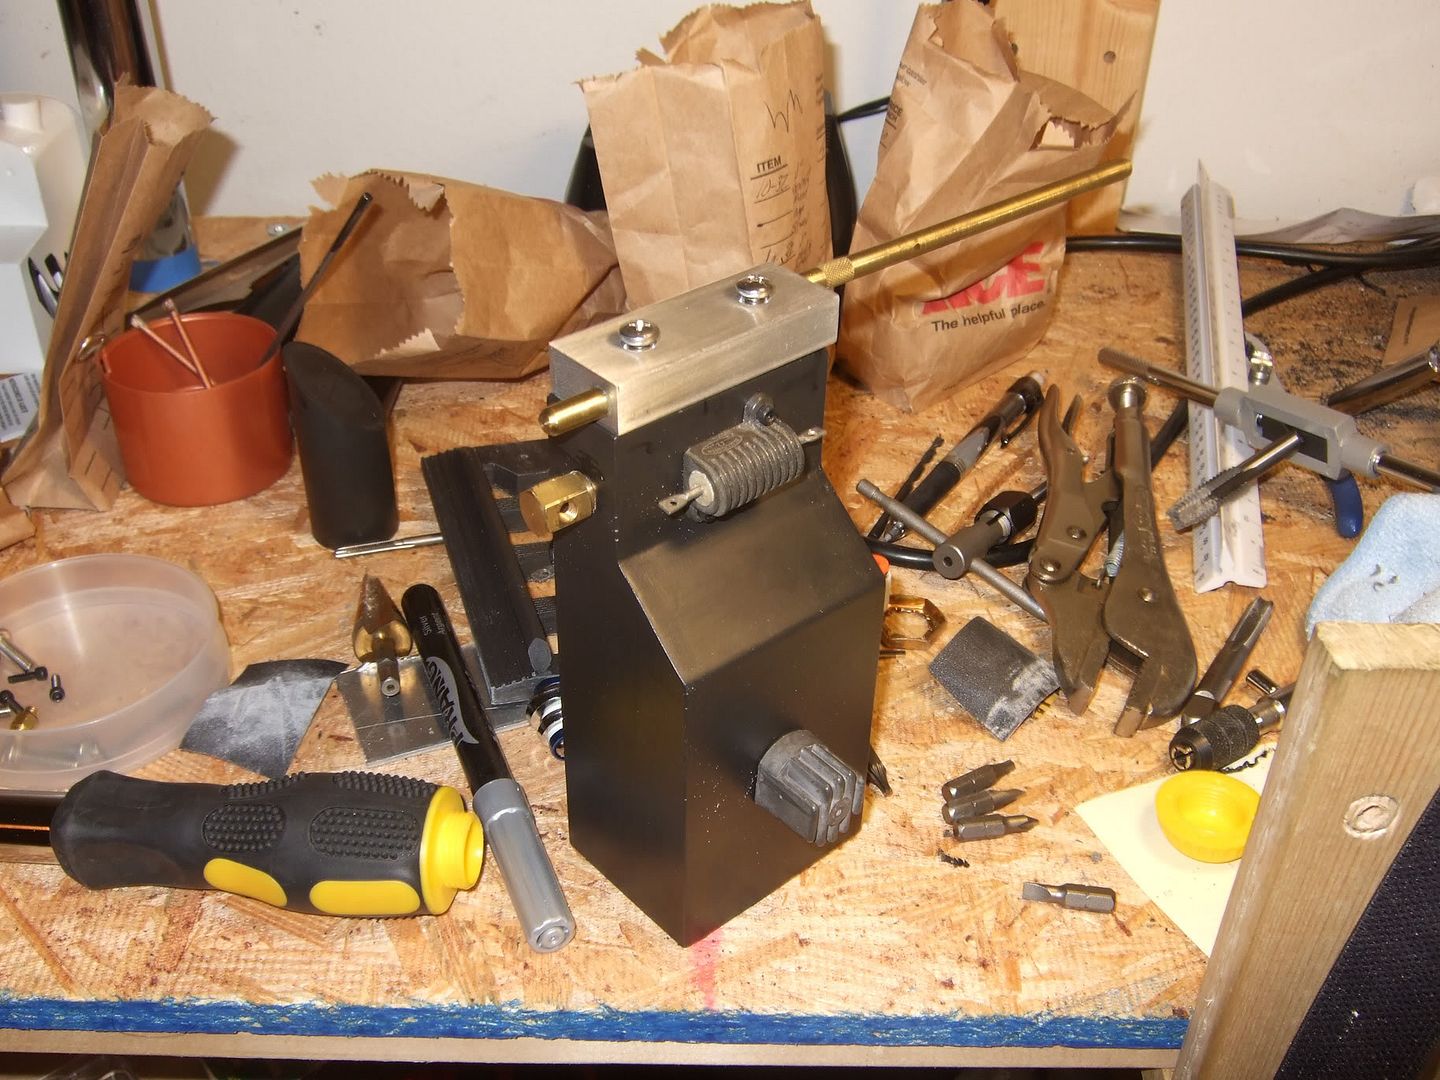
Ion Arm assembly test fit with the various resistors mounted. The box is a resin cast:
DSCF1541.jpg


Some of the parts painted:
DSCF1547.jpg


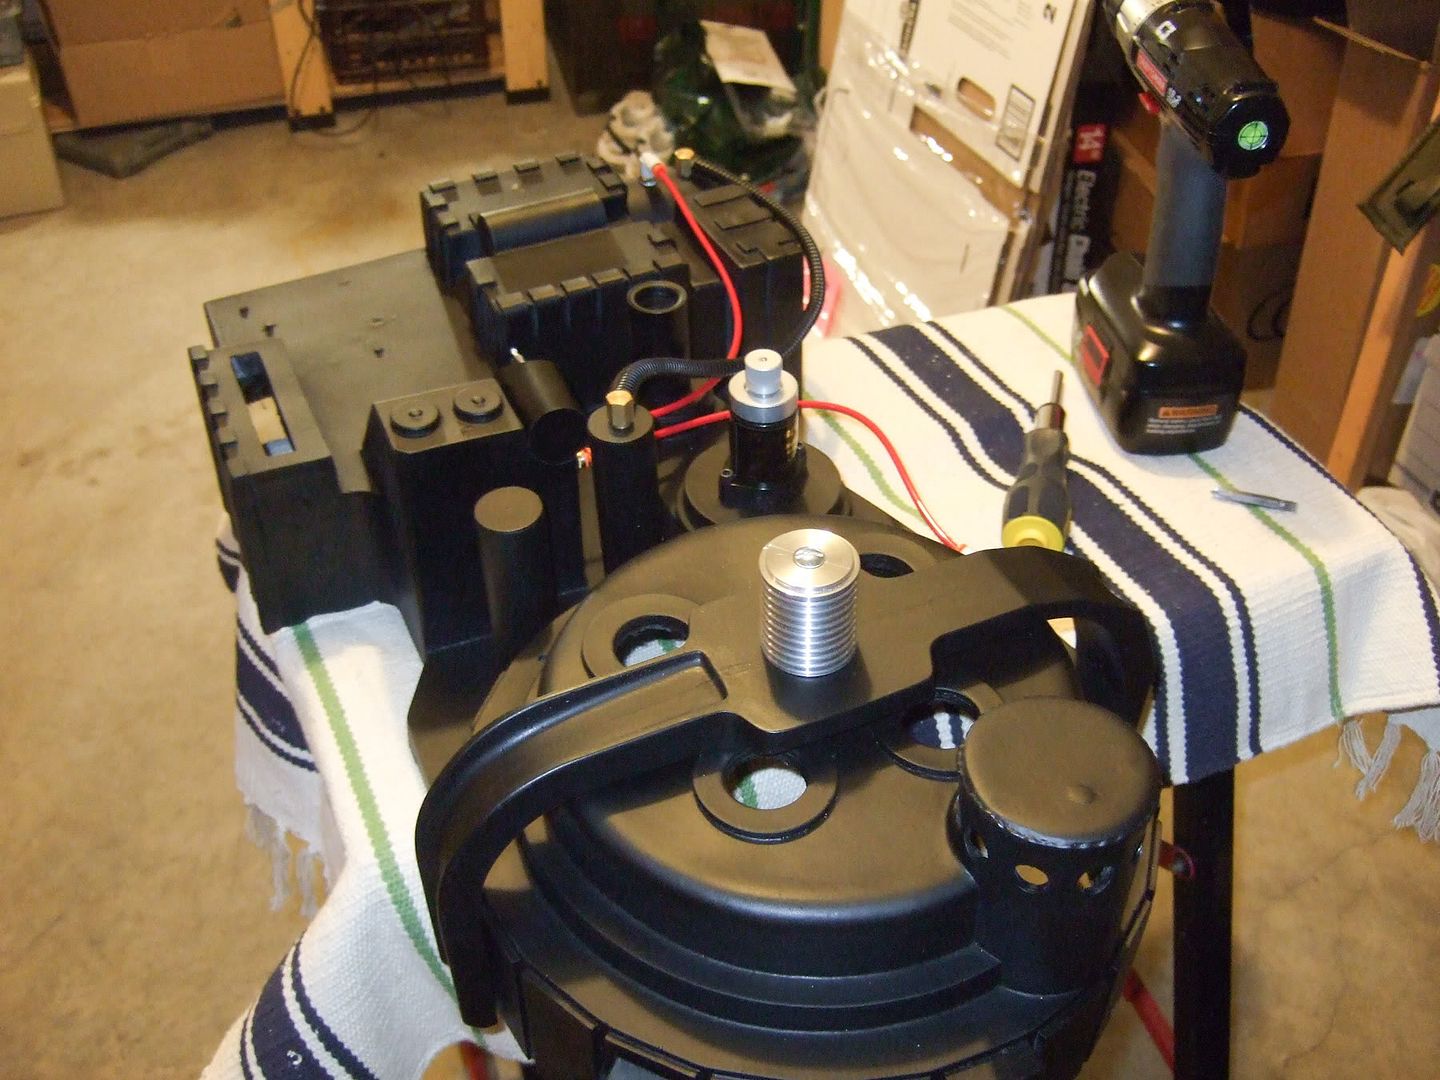
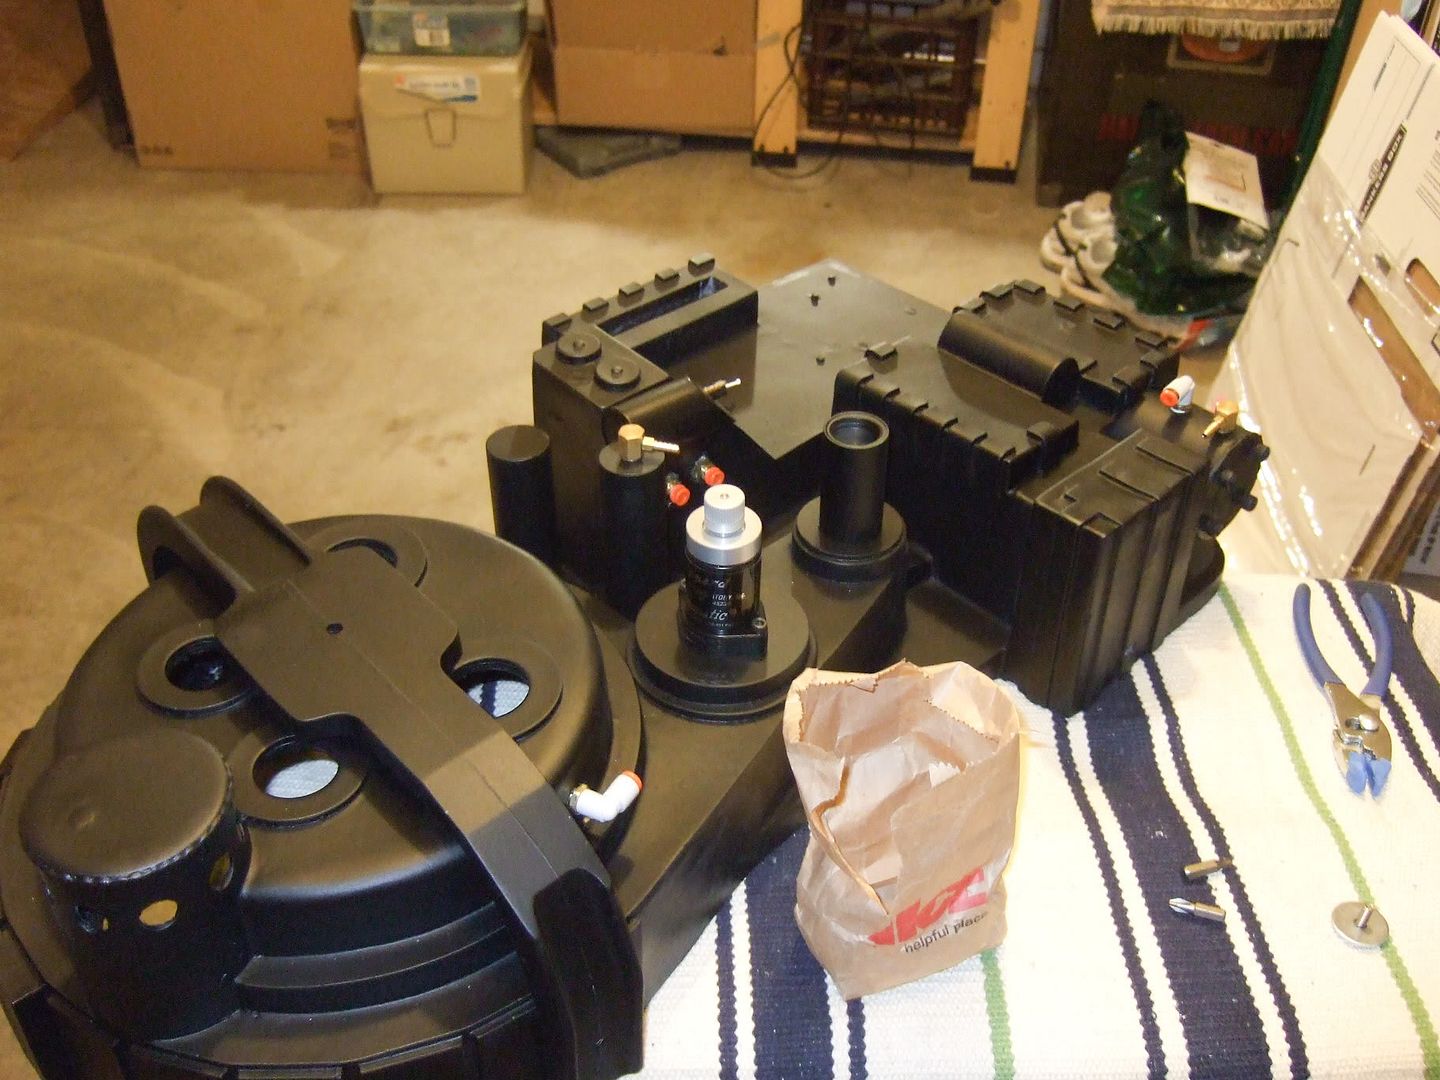
Getting pieces installed including a real Clippard valve and drilling and tapping the bumper:
DSCF1559.jpg
 
Continued:

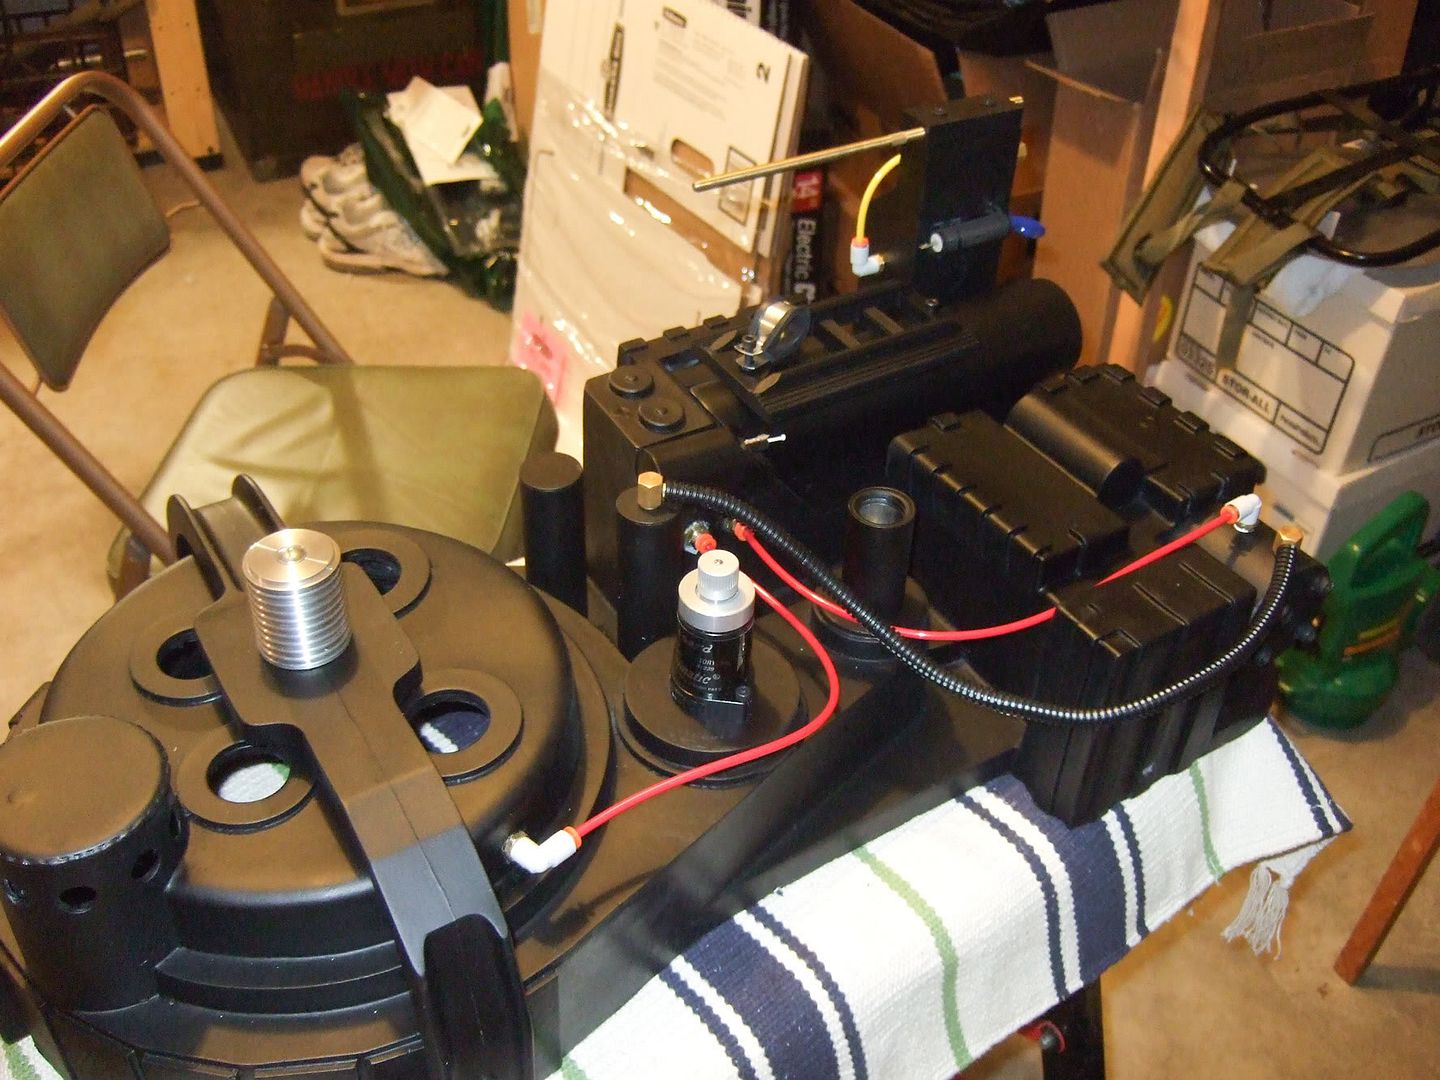
Running the tubing:
DSCF1560.jpg


Tubing plus the Ion Arm completed and installed:
DSCF1564.jpg


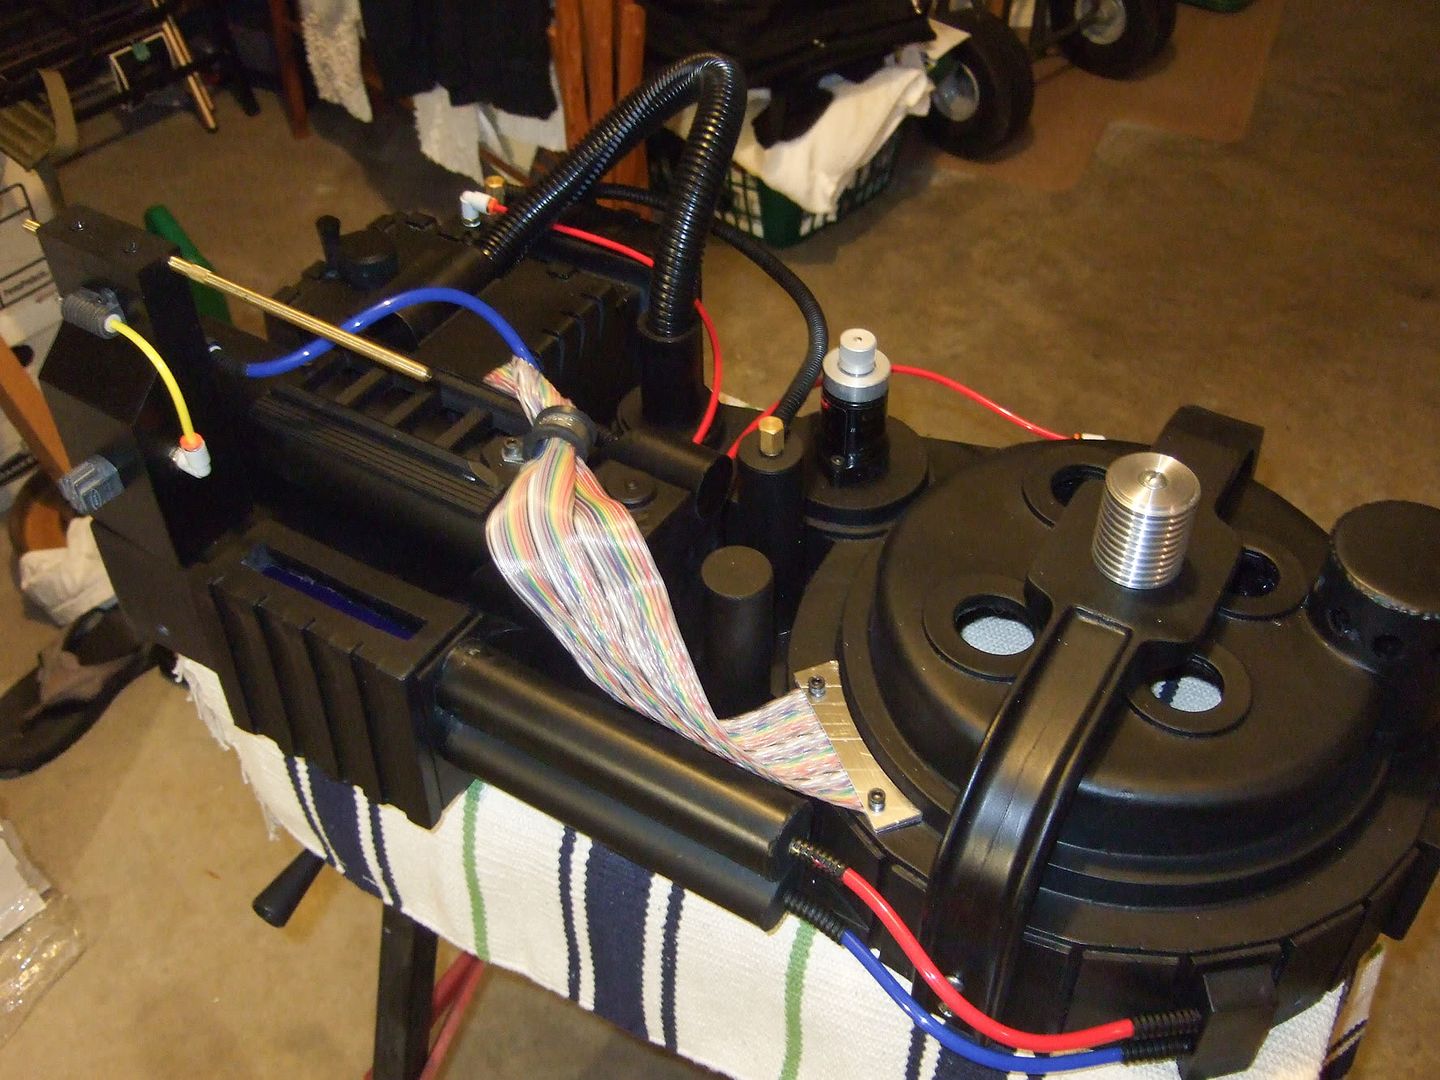
Almost there, running the cable and getting the power injectors installed which was a major pain. The holes were slightly off so they wouldn't mount correctly but the miracle of hot glue fixed that:
DSCF1568.jpg


Side view with the red and blue lens installed:
DSCF1573.jpg


The Thrower kit cleaned and sanded (well kinda, I was in a rush and the paint showed most of the sanding flaws):
DSCF1574.jpg


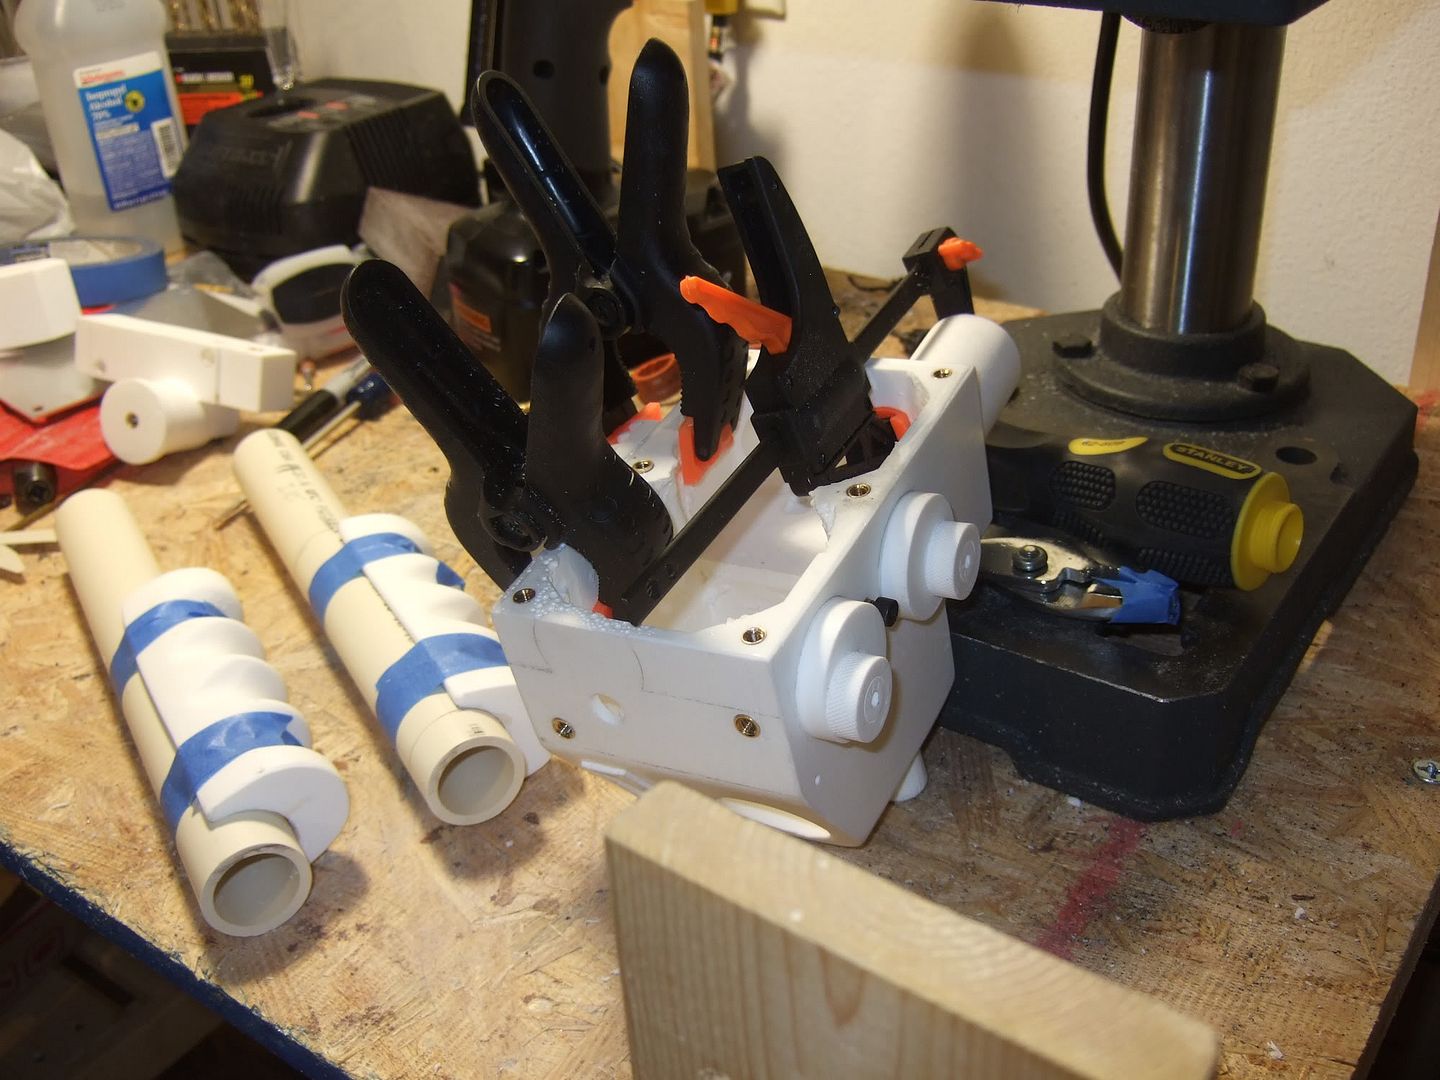
Epoxying the handles and the body:
DSCF1580.jpg


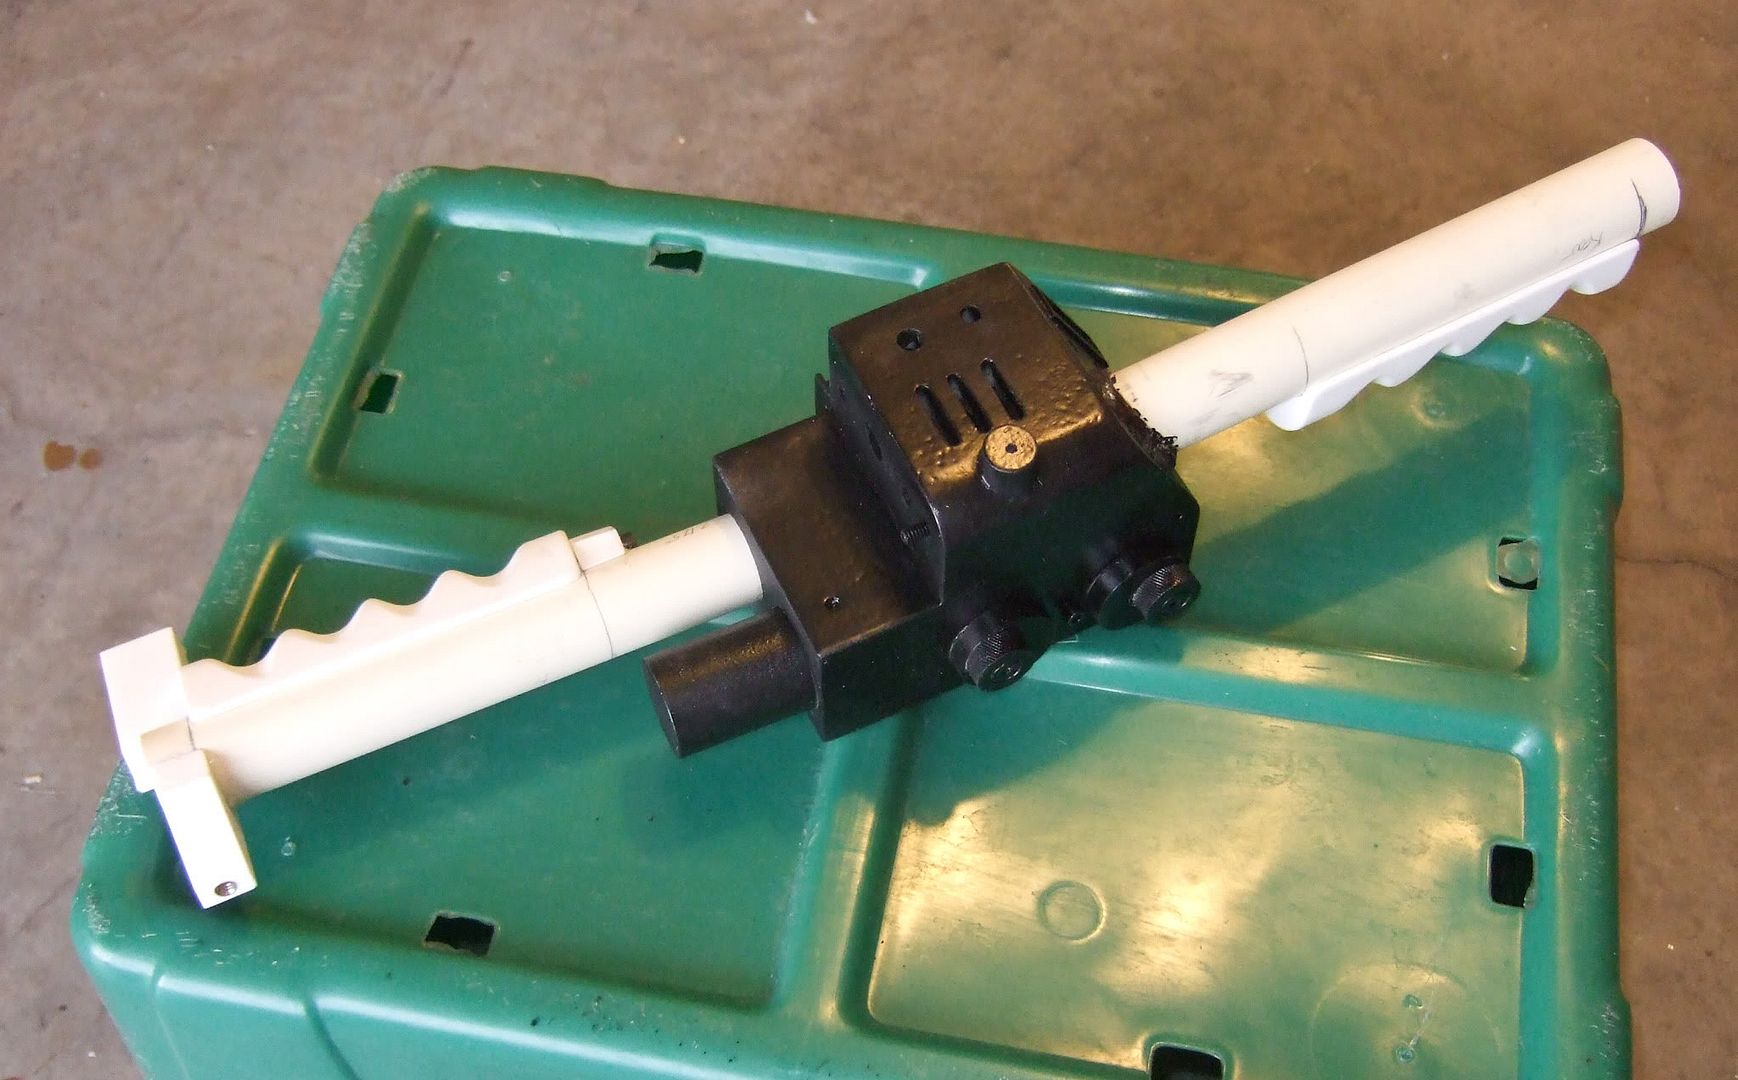
Thrower mostly done:
DSCF1590.jpg


More photos of the light install and Thrower completion later!

One of the most fun projects I've ever done.
 
Looks good so far! Who's lights are you using? I couldn't imagine fitting exorays lights into an MMM gun body. If you add sound let me know and I'll email you some cleaner sound files than what comes on the replica props sound chip
 
Looks good so far! Who's lights are you using? I couldn't imagine fitting exorays lights into an MMM gun body. If you add sound let me know and I'll email you some cleaner sound files than what comes on the replica props sound chip

The pack lights are Zombie Amusements with reflectors in the cyclotron spots. They work great. Using the Jupiter electronics for the Thrower. Not an easy fit, lots of trimming and thinning out the resin inside the body. The lights themselves are great though.

PM me, love to get those files. Any recommendations on a sound setup? I was thinking of using a 2x25w amp with 4" speakers and 12v 6500 mah rechargeable battery setup. Just need to figure out a sound source and the options are kinda thin right now.
 
Great setup Zombie! I'm curious how you wired the various sounds to the appropriate switch/button. Love to do my setup that way and avoid buying sound chips and such.
 
Video is a bit dark but here's the pack with the lighting on:
YouTube - Ghostbusters proton pack

The Zombie Amusements pack lights are good, the bar is really really bright, the cyclotron lights needed a boost so I hot glued them into flashlight reflectors and that did the trick. The wiring from the board to the cyclotron lights is a bit thin, otherwise a good board. The Jupiter Electronics thrower lights are great, just had to mod the interior of the thrower body by removing a lot of extra resin to get the main board in there properly.
 
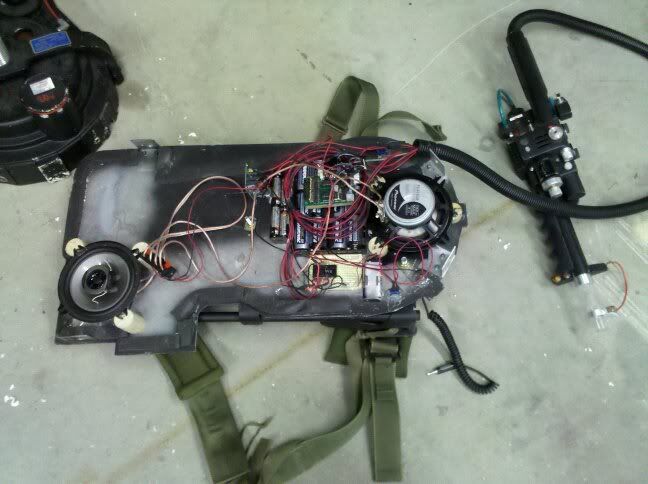
You'll still need to buy a sound chip, just not the more expensive one. Here's the inside of my pack. I lined the edge of my pack with 3/4" insulating foam to keep light from leaking out.

71633_1416243766600_1247765408_956429_2226472_n.jpg


Adding sound is a little tedious as you need to replace your switches with DPDT switches and at least one of the buttons.
 
I'm definitely thinking of ordering the effects only chip with a 25w stereo amp and adding the aux port. How do you add the aux port to this setup?
 
take a SPDT toggle switch. the center prong will have the positive lead going to the amp. and solder the positive from the sound board and headphone jack to the top and bottoms. the negative lead for the headphone jack will need to go to the negative on the amp.
 
take a SPDT toggle switch. the center prong will have the positive lead going to the amp. and solder the positive from the sound board and headphone jack to the top and bottoms. the negative lead for the headphone jack will need to go to the negative on the amp.

Thanks, ordering my chip, amp, speakers and battery on Monday. Rather wire it up myself and the sound quality is good.

Are your speakers 4" 2 way Pioneers?
 
Back
Top