My First Foam Iron Man Build

tk0600

New Member
First, a huge shout out to Demolition, thank you for helping me out with this!

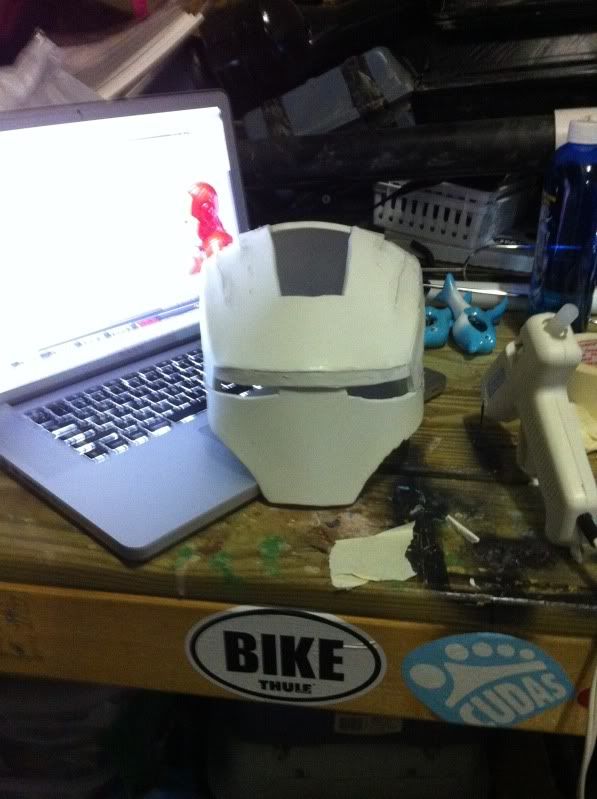
So, this is my first attempt at a Foam Pepkura build. I am having a allot of fun with it. I am happily surprised with how much improvisation is needed between template and construction. It keeps you on your toes and allows me to add a bit of my own creativity.

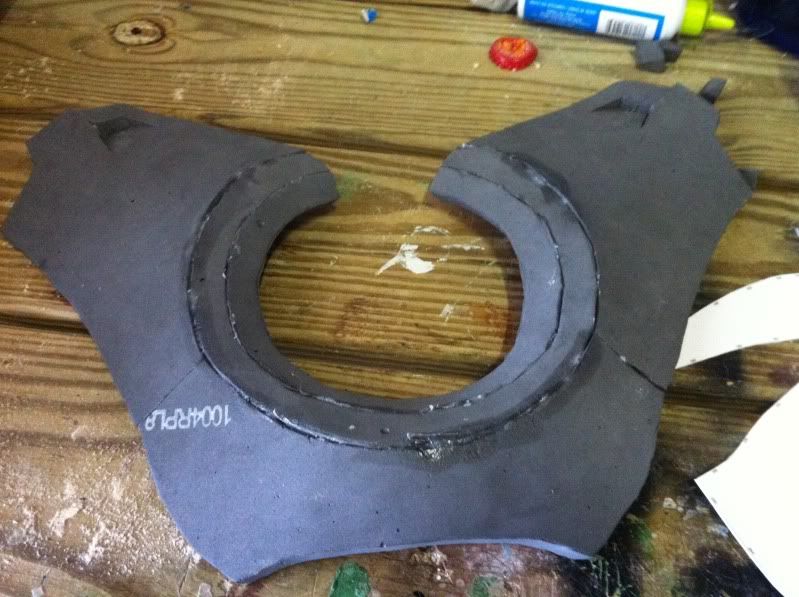
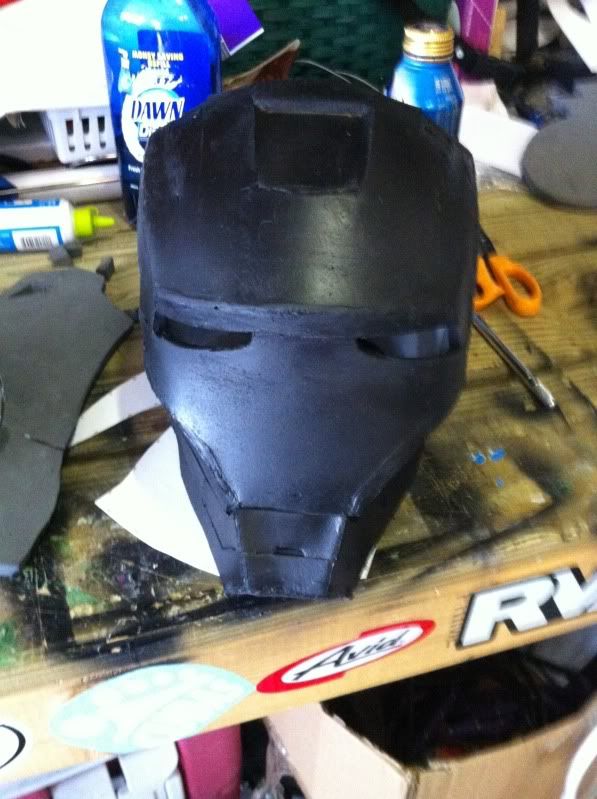
I am using michaels thick craft foam for the helmet so I can get the small details. I am planning to move to the EVA sheets for the body armor.

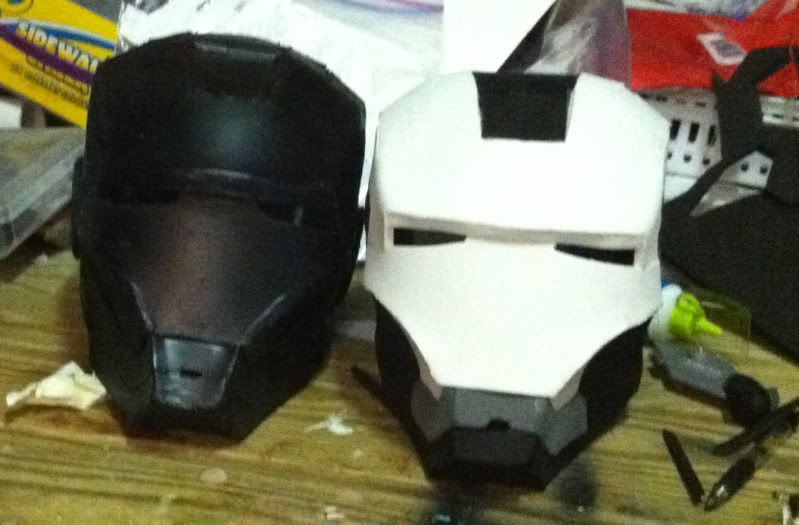
Question though. What paint and colors are you all using to paint your suits? Is it something that could be purchased at Lowes or Home Depot? Do you finish your suits with a spray gloss finish?

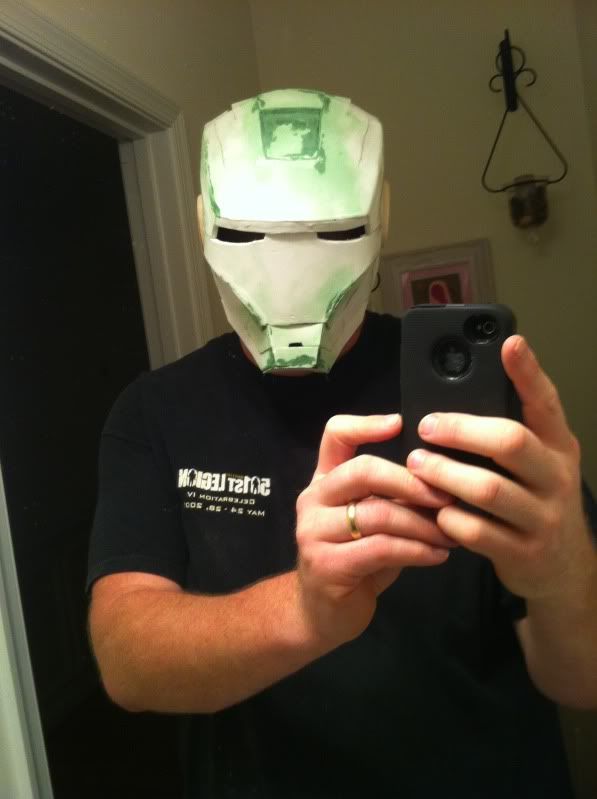
Here are the pics, let me know what you think.

photo2.jpg


photo2-1.jpg

photo1.jpg

photo-1.jpg
 
Made some more progress.

Also, bumping this to get everyone's opinion on spay paint and IM color selections. What is everyones paints and colors.

Another question. What is the resin that everyone likes. I picked up some EVA glue to seal the foam. But, I want to know what everyone prefers re: resin for hardening the foam. Or is this step even necessary?

photo3.jpg

photo4.jpg

photo5.jpg

photo6.jpg
 
I'm putting my money on... It's green stuff from games workshop :D
pretty cool stuff I first got it once i did minatures and still use it in prop making.
Its a 2 part epoxy, and once it gets hard... it gets HARD! extremely usefull for basicly everything you need. and it paintable. its like bondo but stronger in some ways and easier to handle for small parts ^^
 
Hey all, thanks for all the kind words. This has been allot of fun to build. I just ordered my plasti-spray (think that is what it is called), paint adhesion and paint. Just need to pick it up from NAPA.

Starting on the chest and back now.

The green stuff is called squadron putty. I used it allot in modeling and it comes in handy when you need to fill small areas. It's pretty easy to use. Just make sure it completely sets up before you try sanding it.

Here is a link to a tube of it.
Amazon.com: 2.5 Oz. Tube of Green Putty by Squadron Tools: Toys & Games

Another trick I learned was how to smooth out the overflow of the hot glue. If you use the glue gun's nozzle and drag it slowly along the crease, you can smooth out the overflow. Makes for a pretty nice seam. I am using a low-temp hot glue gun though. So, minimal impact on the foam.

Now, hoping that the plasti-spray will level everything and make a nice finish.

Someone posted a tip, use packing tape on the external seam, and apply a light bead for 2 inches or so, then push the seam together. Do this until it's complete and you'll have no overage spill on the outside and it looks pretty seamless at that point.
 
Thanks for the tip dough. I will give that a try.

So, in your opinion, is the plasti-dip spray the easiest way to harden the foam?
I just picked up a can to try it out. Never heard of this stuff prior to making this outfit and wondering if it is the best way to go.
 
The Plasti-Dip isn't necessarily meant to harden the foam, just seal it for painting. If you are wanting to add a hard exterior, like a resin/fiberglass suit has, you can follow XRobots' tutorial of using rotocasting resin to coat the outside of the pieces to give them a plastic shell. After that, the piece can be sanded smooth and painted like a fiberglass suit would
 
I was able to get pretty good seams by spreading the glue out with the gun tip on the edge close to the seam, making sure the bulk of the glue is on the middle/inside. Then I press the outside seam together and hold that for a few seconds and then fully press the pieces together which pushes the excess glue out on the inside. Sometimes the seam isn't perfectly tight, but at least there aren't any melted glue globs on the outside...for the most part. :) I figure the plasti-dip or PVA glue will help to fill in any gaps in the seams.
 
I decided to start over on the helmet. The craft was not where it needed to be on the 1st try. Way too much glue showing on the outside which did not give it a nice smooth finish.

So, I tried the tape technique. That really did the trick, thanks dougp!
Taping the pieces on the outside and then glueing from the back side makes a huge difference. And creates really clean seams.

I will most likely start over on the chest as well to see if I can get a cleaner finish.

Also, I purchased a 45 degree exacto knife to make the angle cuts. This really helps in getting the foam cut and positioned correctly.

Lots of trial and error with this foam build, but I am learning quite a bit and having allot of fun. I am glad I am starting this now. No way I would have gotten this build done in time for Halloween if I started in October.

photo2-2.jpg

photo1-1.jpg

photo-2.jpg
 
It is, It should pull narrow when I complete the back that wraps around the sides. At least, that is what happened to the 1st one I built.
 
Back
Top