B4DW0LF
Well-Known Member
The Cybermat made its return recently in the episode Closing Time and with that it reminded me that for the longest time I've wanted one of the classic versions, specifically the 1967 story 'Tomb of the Cybermen' version.
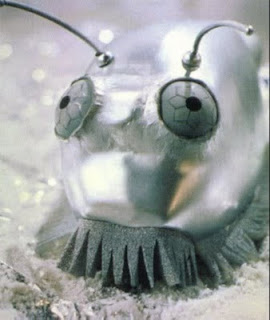
I remember seeing them when I was a child (in a repeat) and wanting one of my own, and being that Im currently waiting for parts to start my K9 build I decided to keep me busy I would start a small budget build.
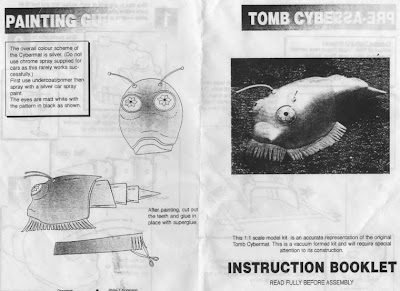
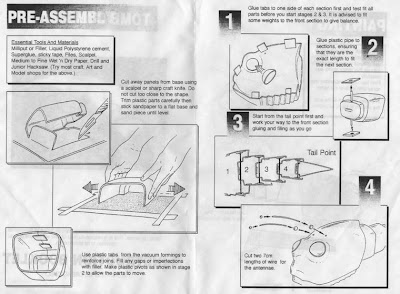
First I did a little research, searching the internet I found that years ago there was a kit sold through the Dr Who magazine, so thinking I might be able to find such a thing, I scoured the internet in search for this kit, maybe eBay would have something, what about the Dr Who Prop builders sites? even found the Cyberman builders forums and yet still no sign of this elusive vacuum mouded kit. So back to square one. I did manage to find the assembly instructions, and decided to use this for more reference images.
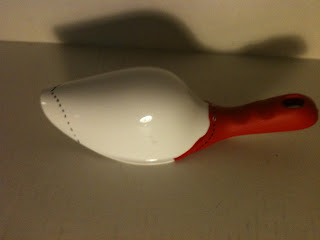
So now it was left for me to search the supermarkets and local stores for something that might resemble the size and shape of the Cybermat, estimating the overall size to be roughly 25/30cm long, I set to work and to be totally honest it didnt take me to long to find something I figured might actually be perfect....
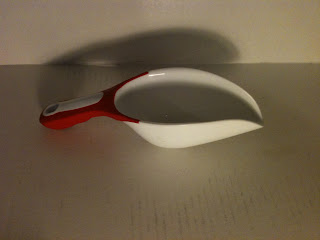
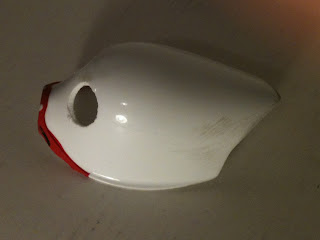
A small scope from my local Dollar store, I marked out where I wanted to make the first cuts and set to work...
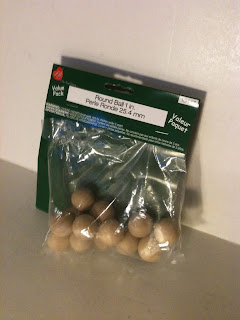
Also marking where the eye holes would be I drilled some sockets, making them smaller than the 1" wooden balls I bought for the eyes.
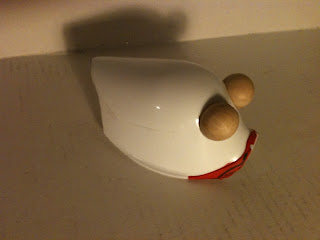
I simply hot glued two of the wooden balls into the sockets and it holds them great, I then used painters caulk to build up the sockets.
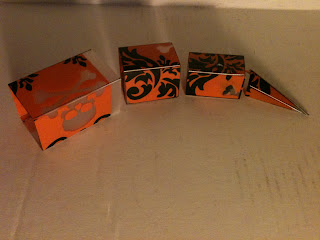
Now I had to work out how to make the tail, I went through a number of different ideas but the final and I think not only easiest but also cost effective was to use a sheet of plastic, this particular sheet was a place mat from Halloween which again cost $1 so far I spent less than $5 on this and already I can see this project taking shape.
Cutting the plastic in 4 different sizes and scoring the lines to help create sharper edges. These can all fit within each and when I bolt them together with will still allow for a little tail swooshing when my final piece is complete.
Once all the parts were ready I went ahead a primed everything...
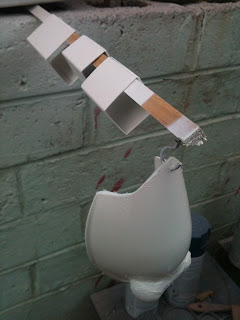
Once the primer was dry I sprayed everything silver...
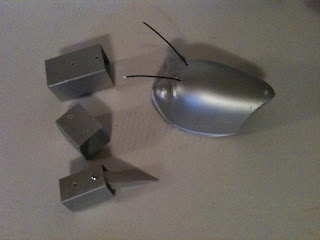
You'll also notice I added some antenna to the head piece and drilled holes in the tail pieces,

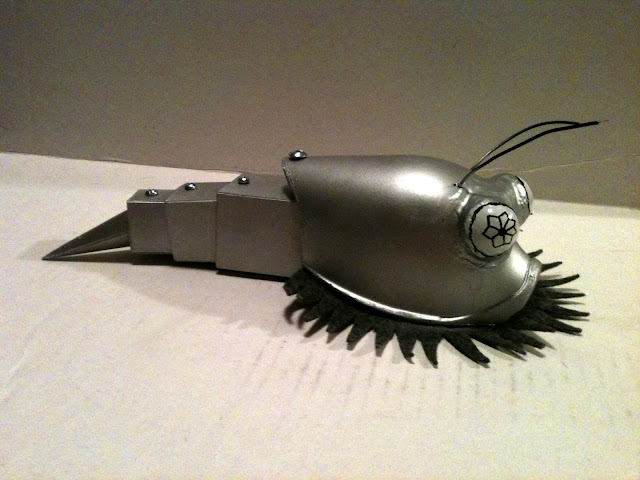
I then screwed it all together, and using felt I cut the 'feelers' which I then hot glued to the head unit.
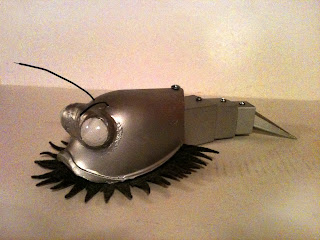
Being that this is a budget build I think it looks pretty cool. I do intend to get a small RC car and make this thing move. So with the patterns on the eyes I feel that this baby is done, not necessarily a replica but certainly it has the look of a Cybermat and personally I love it.
I remember seeing them when I was a child (in a repeat) and wanting one of my own, and being that Im currently waiting for parts to start my K9 build I decided to keep me busy I would start a small budget build.
First I did a little research, searching the internet I found that years ago there was a kit sold through the Dr Who magazine, so thinking I might be able to find such a thing, I scoured the internet in search for this kit, maybe eBay would have something, what about the Dr Who Prop builders sites? even found the Cyberman builders forums and yet still no sign of this elusive vacuum mouded kit. So back to square one. I did manage to find the assembly instructions, and decided to use this for more reference images.
So now it was left for me to search the supermarkets and local stores for something that might resemble the size and shape of the Cybermat, estimating the overall size to be roughly 25/30cm long, I set to work and to be totally honest it didnt take me to long to find something I figured might actually be perfect....
A small scope from my local Dollar store, I marked out where I wanted to make the first cuts and set to work...
Also marking where the eye holes would be I drilled some sockets, making them smaller than the 1" wooden balls I bought for the eyes.
I simply hot glued two of the wooden balls into the sockets and it holds them great, I then used painters caulk to build up the sockets.
Now I had to work out how to make the tail, I went through a number of different ideas but the final and I think not only easiest but also cost effective was to use a sheet of plastic, this particular sheet was a place mat from Halloween which again cost $1 so far I spent less than $5 on this and already I can see this project taking shape.
Cutting the plastic in 4 different sizes and scoring the lines to help create sharper edges. These can all fit within each and when I bolt them together with will still allow for a little tail swooshing when my final piece is complete.
Once all the parts were ready I went ahead a primed everything...
Once the primer was dry I sprayed everything silver...
You'll also notice I added some antenna to the head piece and drilled holes in the tail pieces,
I then screwed it all together, and using felt I cut the 'feelers' which I then hot glued to the head unit.
Being that this is a budget build I think it looks pretty cool. I do intend to get a small RC car and make this thing move. So with the patterns on the eyes I feel that this baby is done, not necessarily a replica but certainly it has the look of a Cybermat and personally I love it.
Last edited:
")