jessec
Well-Known Member
Hello all - Hope everyone is doing well.
i have been coming to RPF for a while but never worked on anything but with much inspiration from many projects seen here i have finally started my first ever
i have been working on the famous Battlestar model for 2 weeks now on and off. I have worked with wood before but i am by no means an expert in model building, LED lighting/wiring or painting but i have taken this project as a start to learn a bunch of new stuff while having some fun with it, i will be documenting everything here once i finish this project 100% in hopes that it may help someone start on their own...
I have done much research into related topics to accomplish this gial, matters such as led lights & wiring, paint , glue-cement, proper tools required & so on...
i Will be documenting the entire project here, all materials used and diagrams of led wiring and so on.
[documentation will start once i have the entire project done, as that will yield the best result possible]
Here is my development so far - this is a learn as i go project for me.
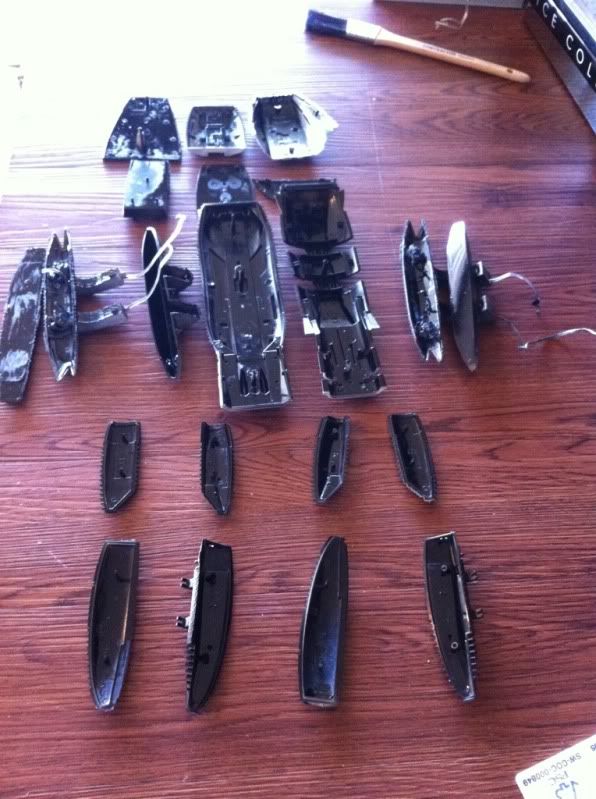
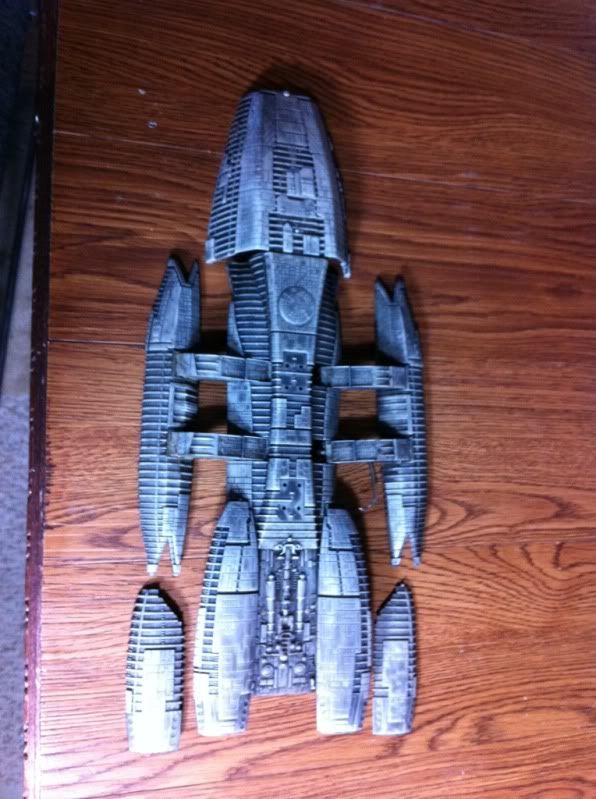
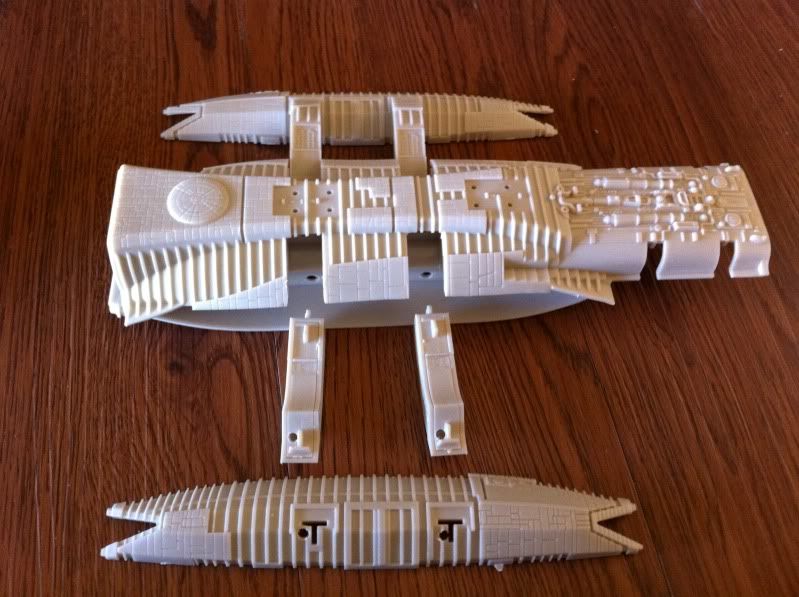
>>It all started when this thing showed up at the door, could not wait i unpacked it faster then a FTL Jump.
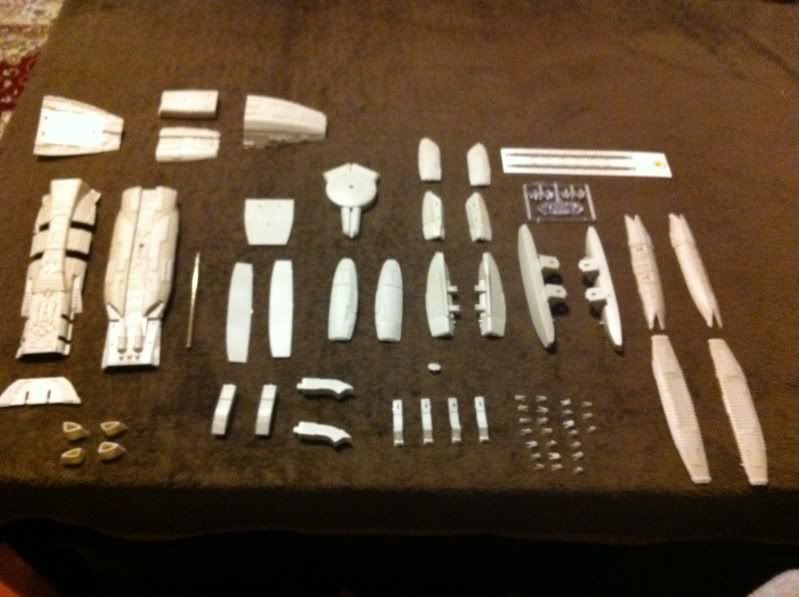
>> So i went to work right away !
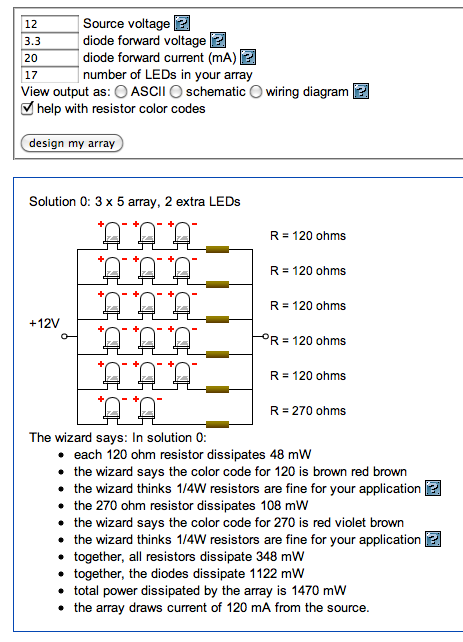
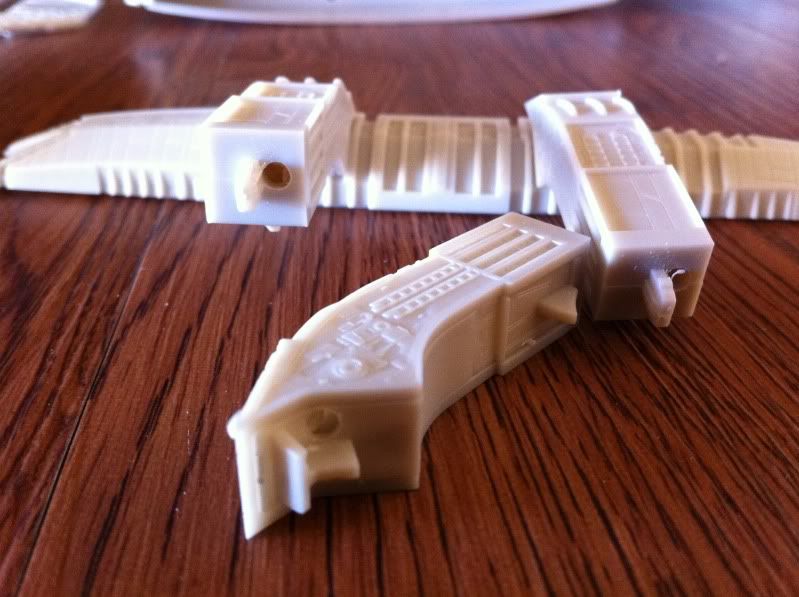
Ran a diagram of how i was going to wire and proceeded with drilling the holes to run wiring & made my first mistake....grr
holes are too close to the center they needed to be on extreme ends to hide the LEDs - no worries will fix later...
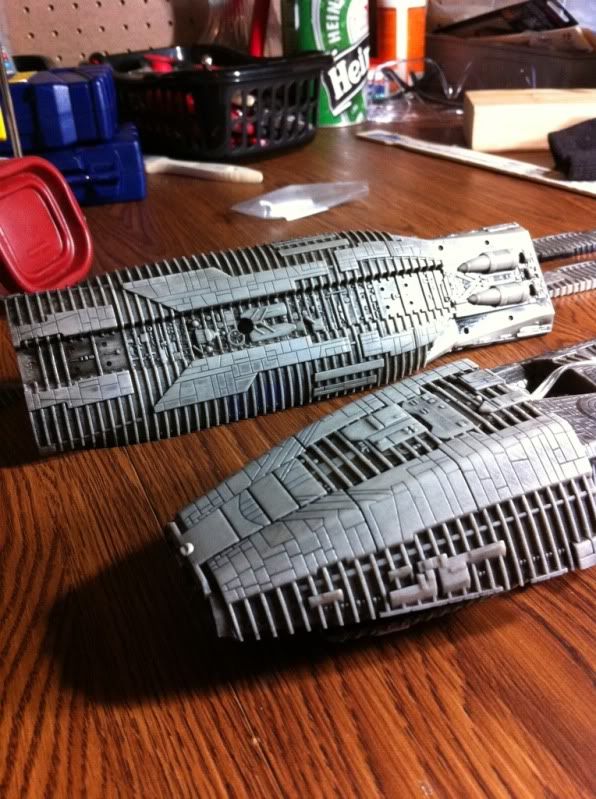
(Notice the detail on the ship is so crisp, Its worth every penny!)
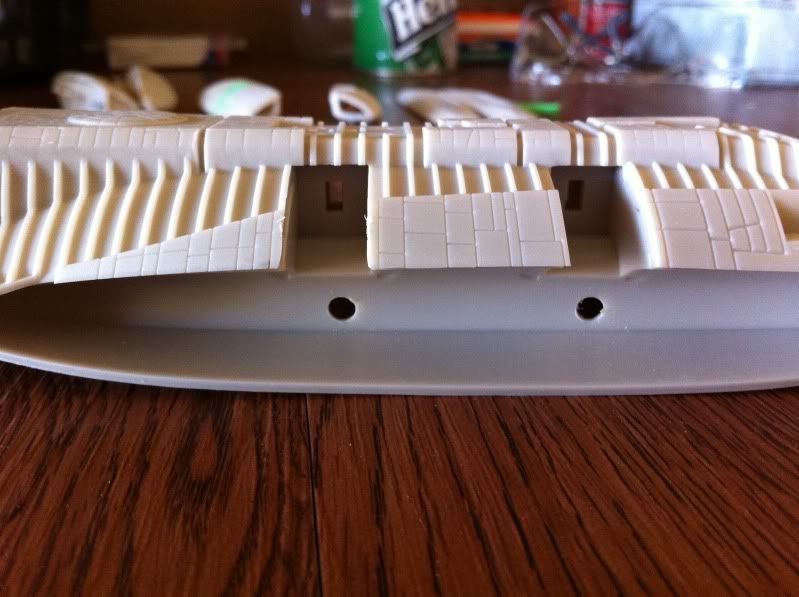
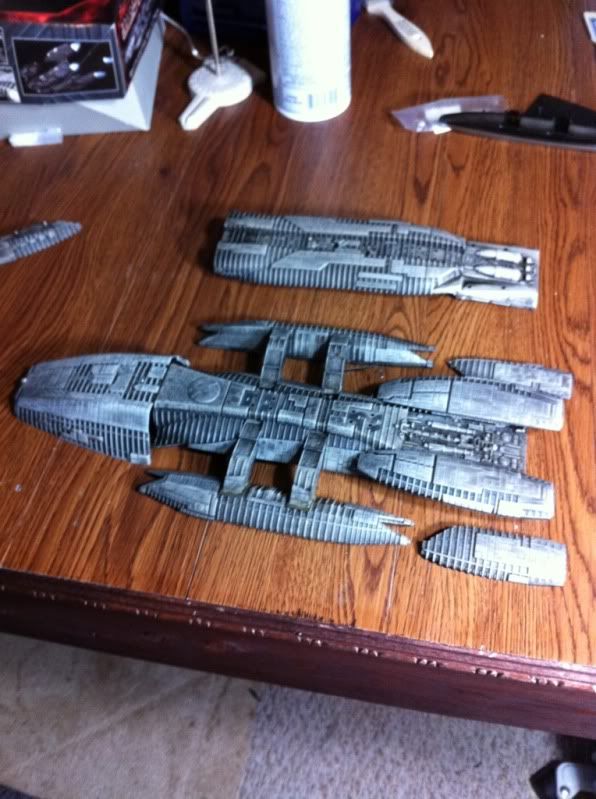
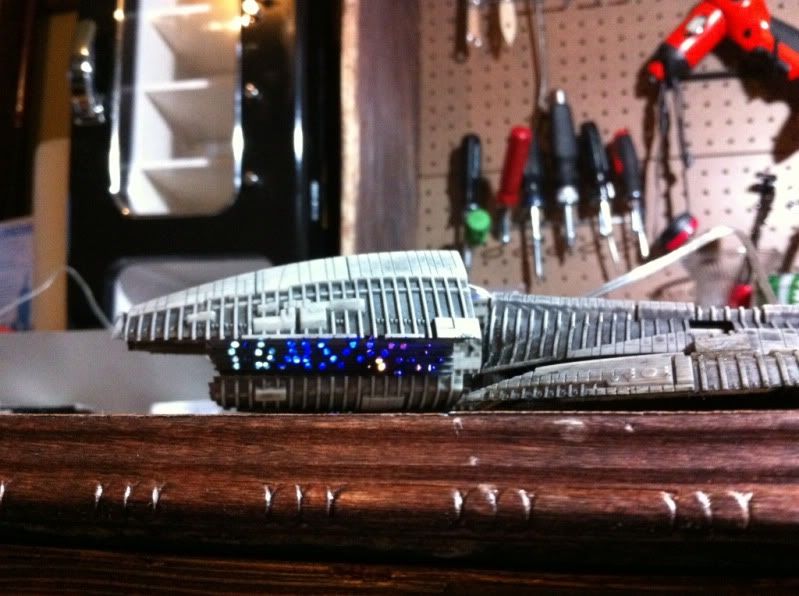
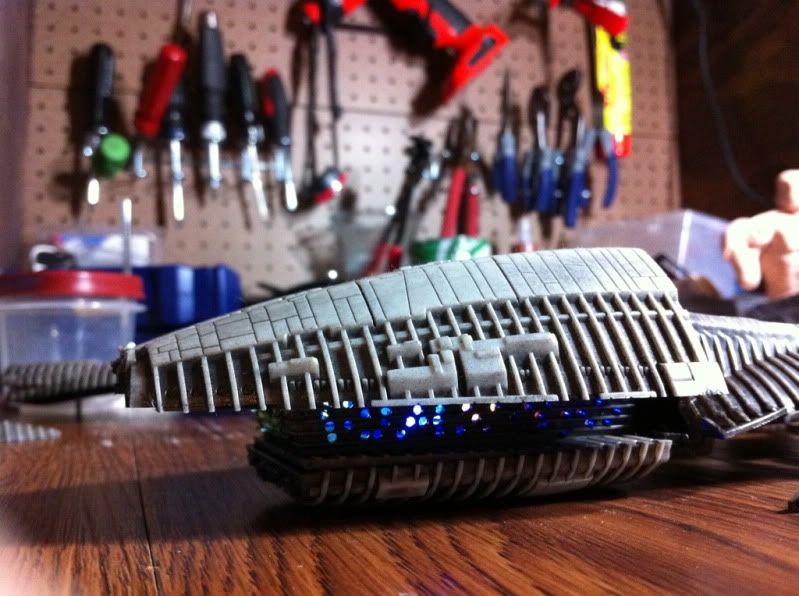
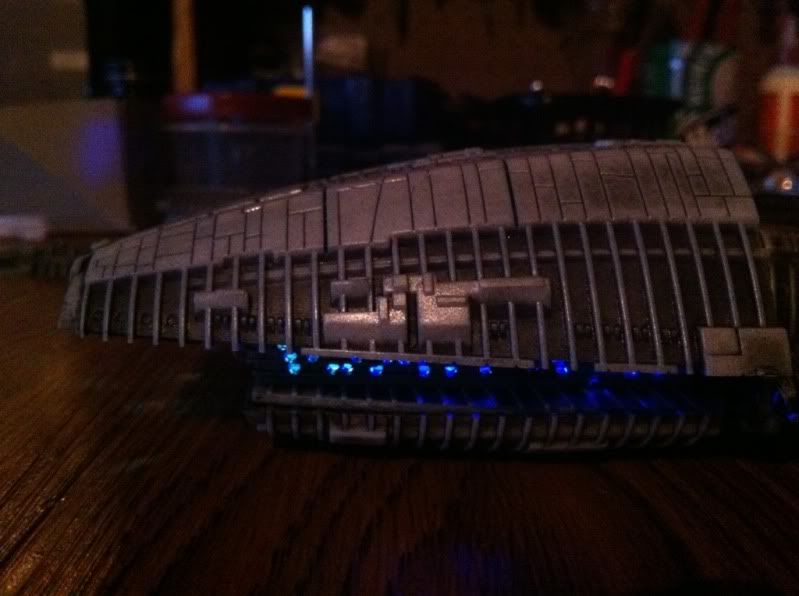
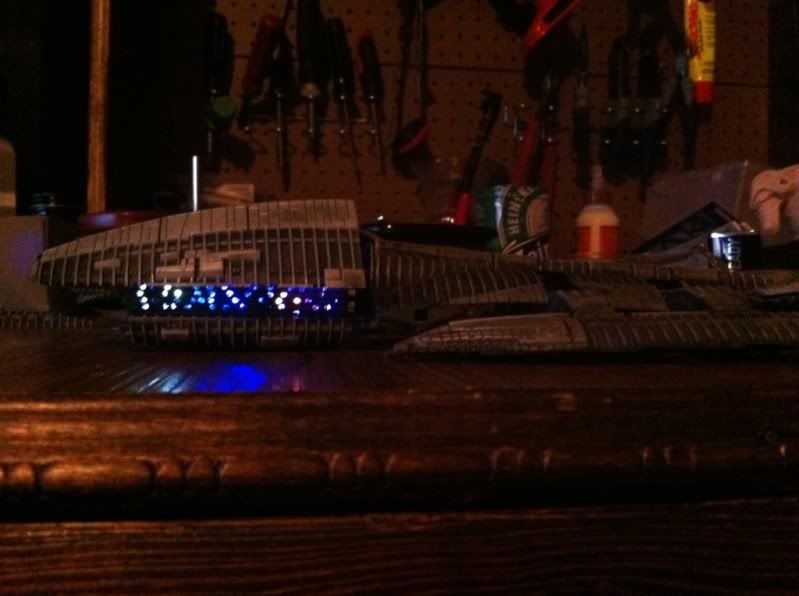
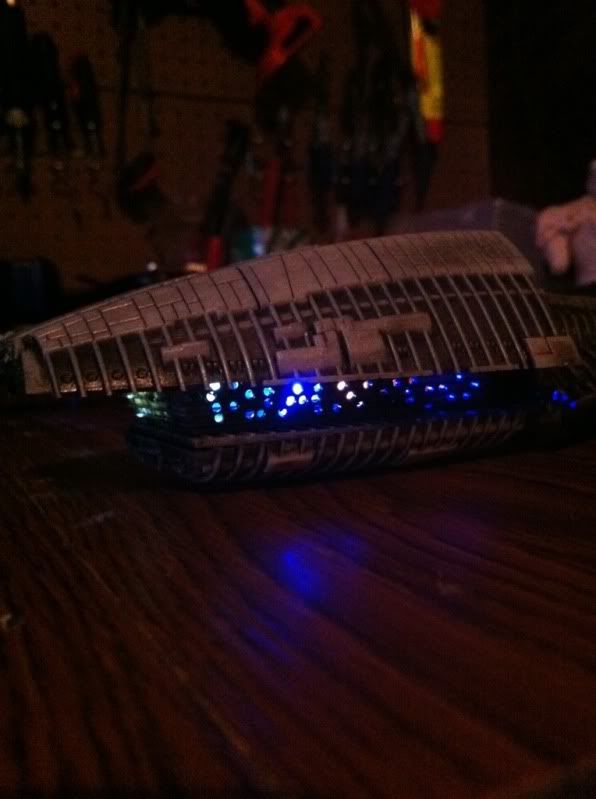
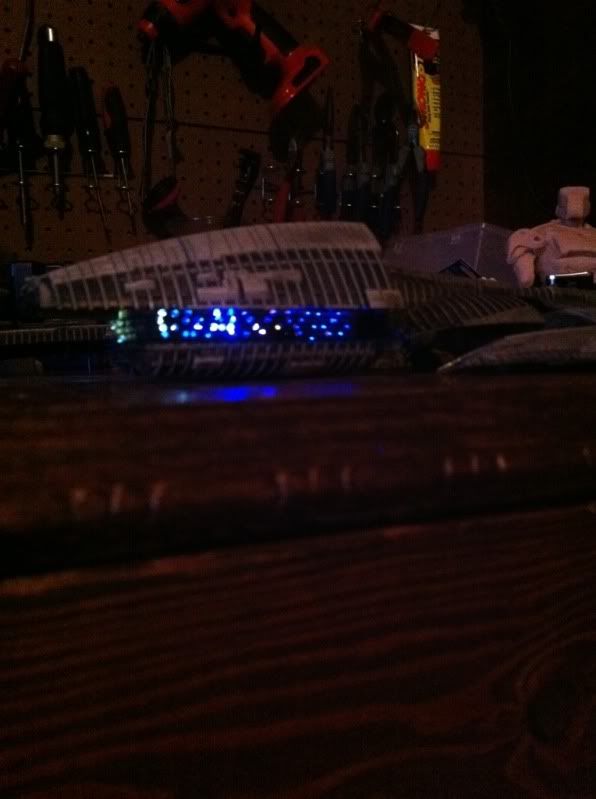
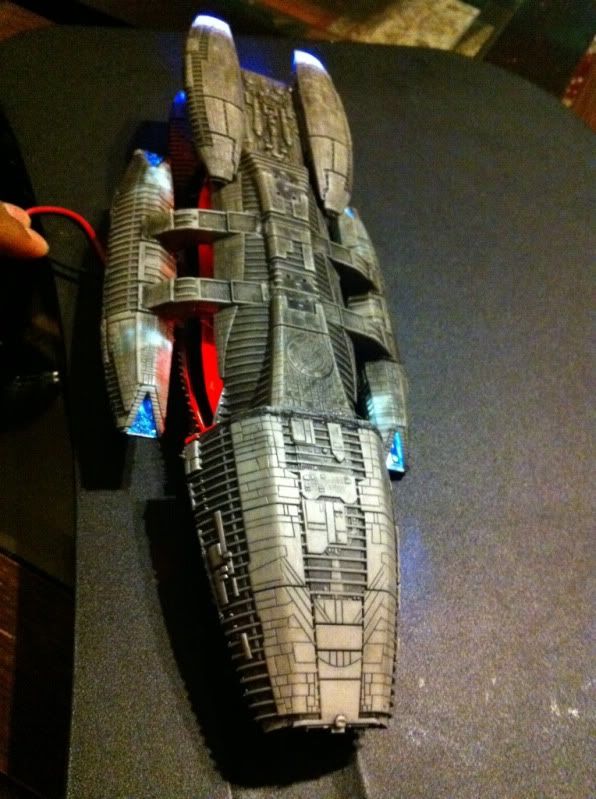
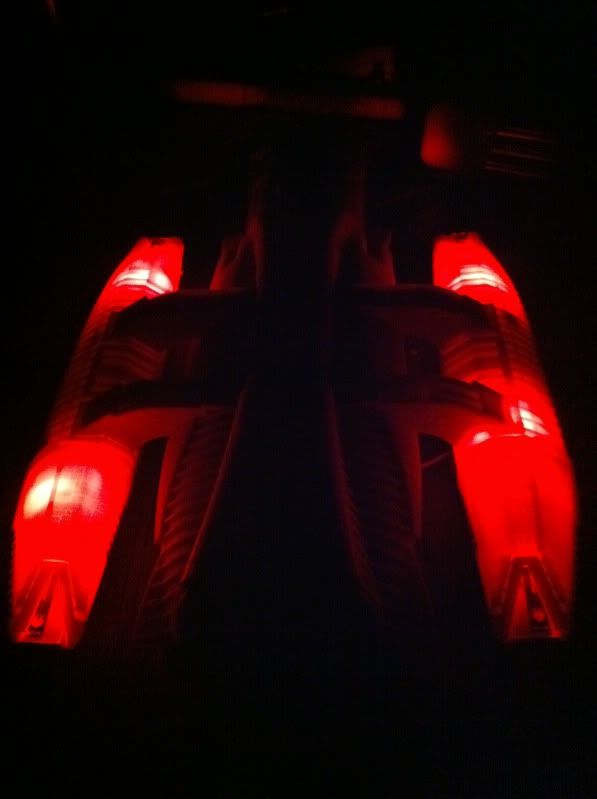
>>Landing Bays look test...
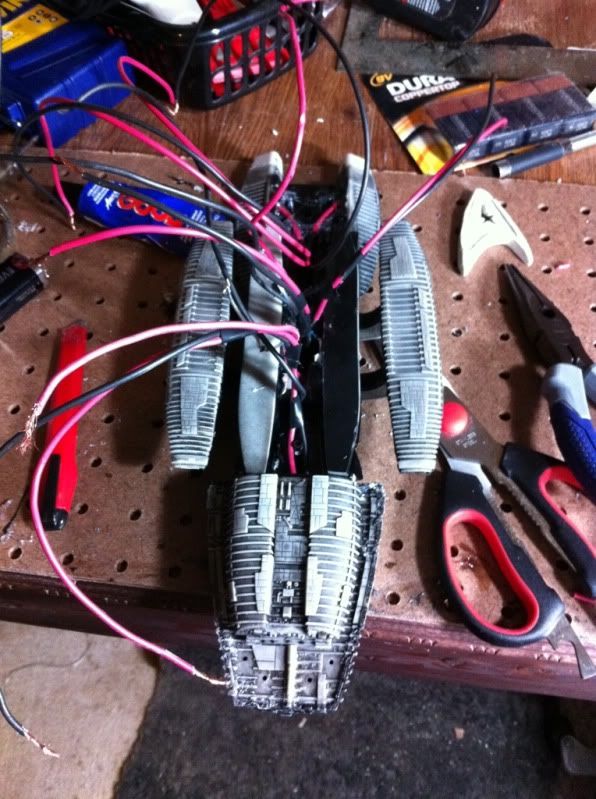
>>Close up on wiring holes
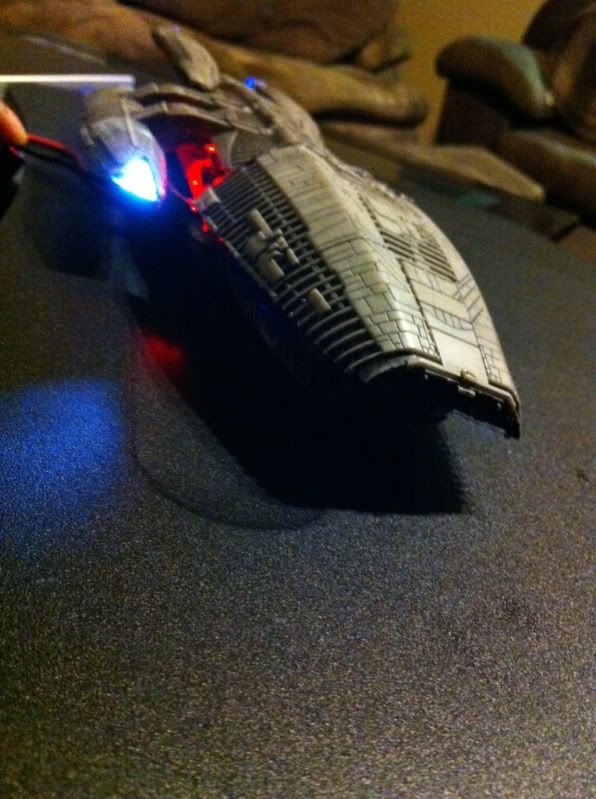
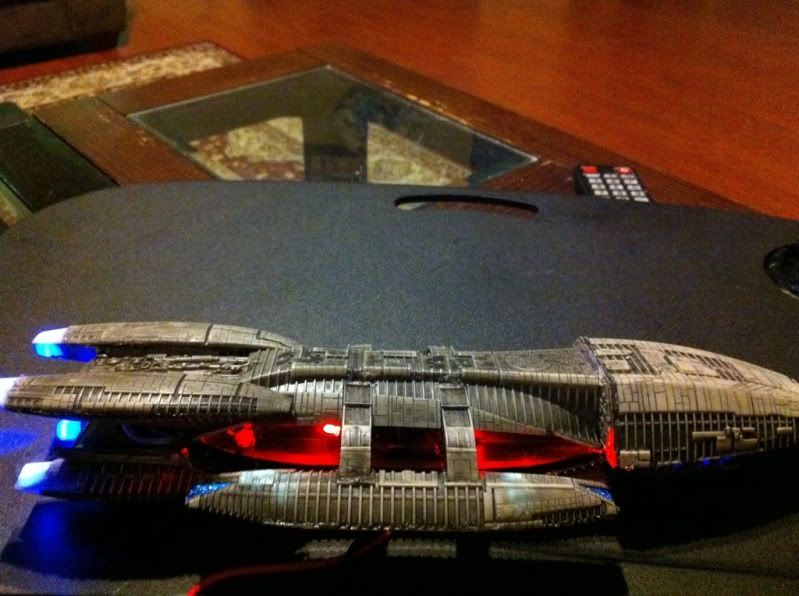
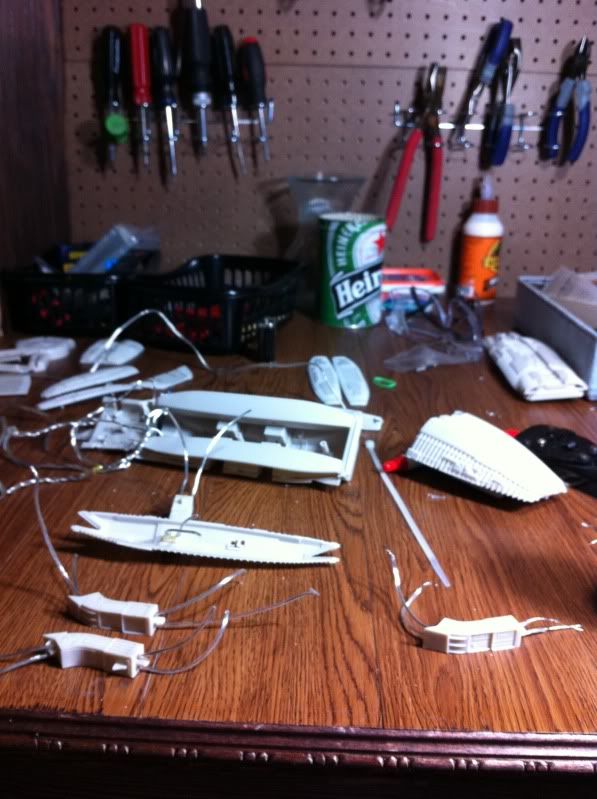
>>For LED Test i threw the wiring in there just to see & hooked red LEDs into the landing bay. I actulley will use super bright white LEDs for Bays
Messy
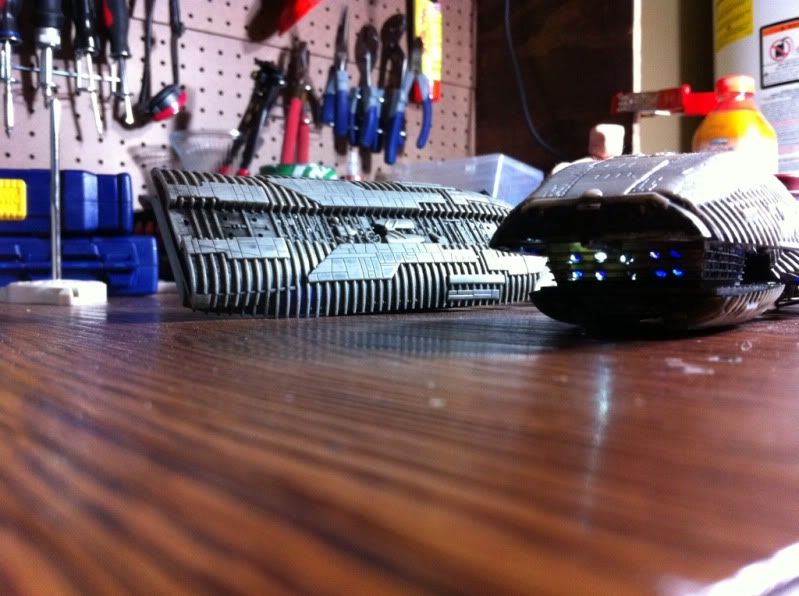
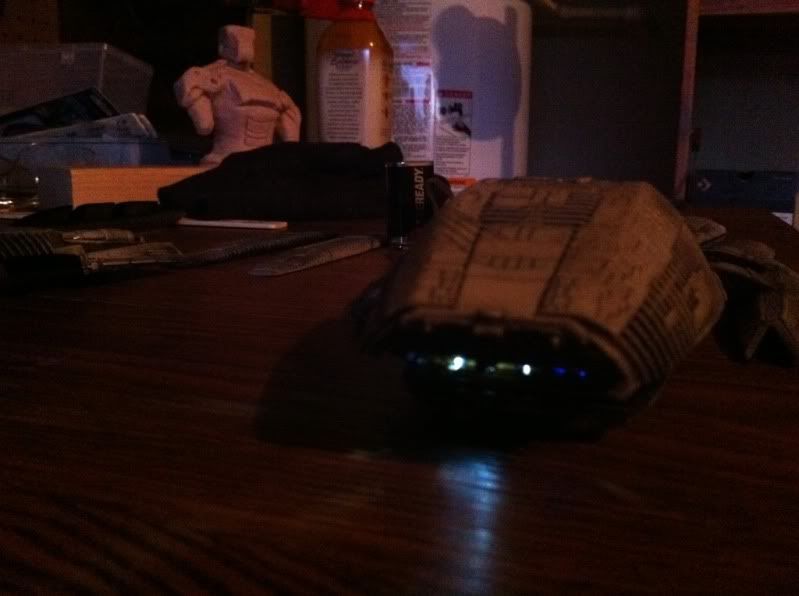
Bottom front - (hole idea credit to Cylon, i saw his & was inspired to do the same)
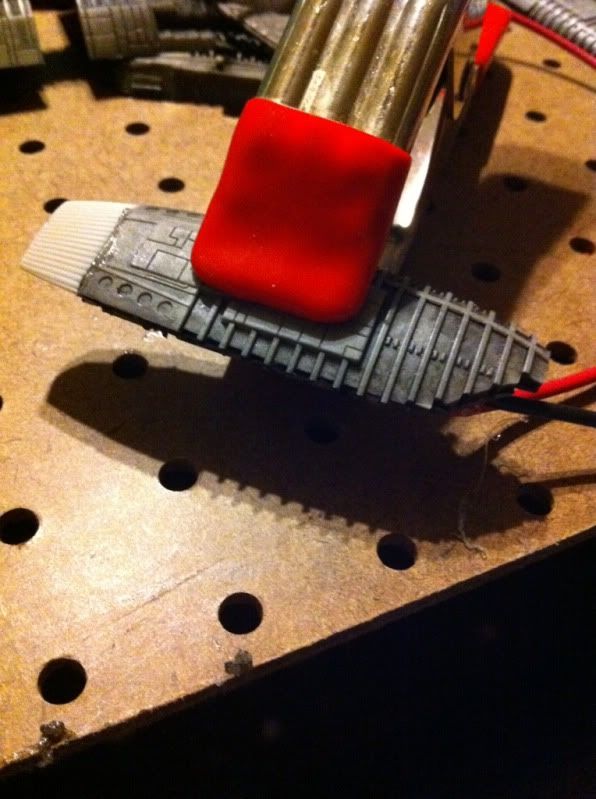
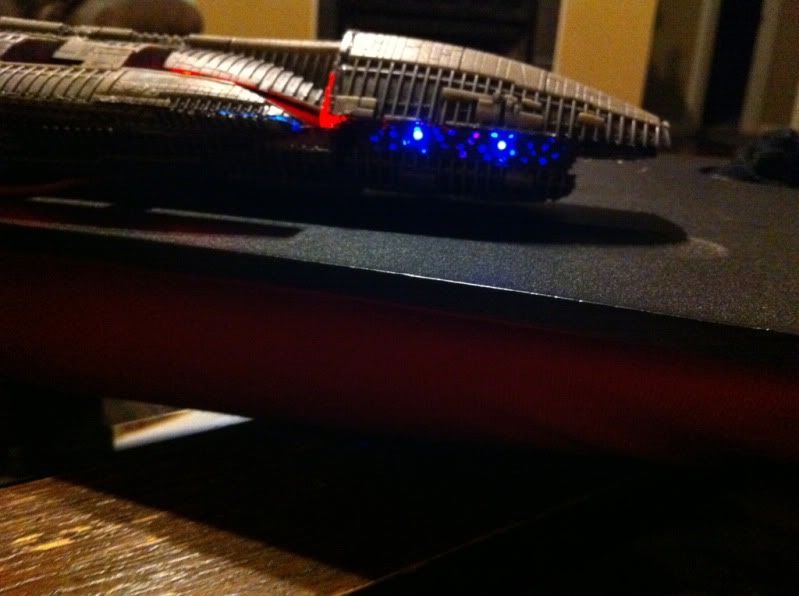
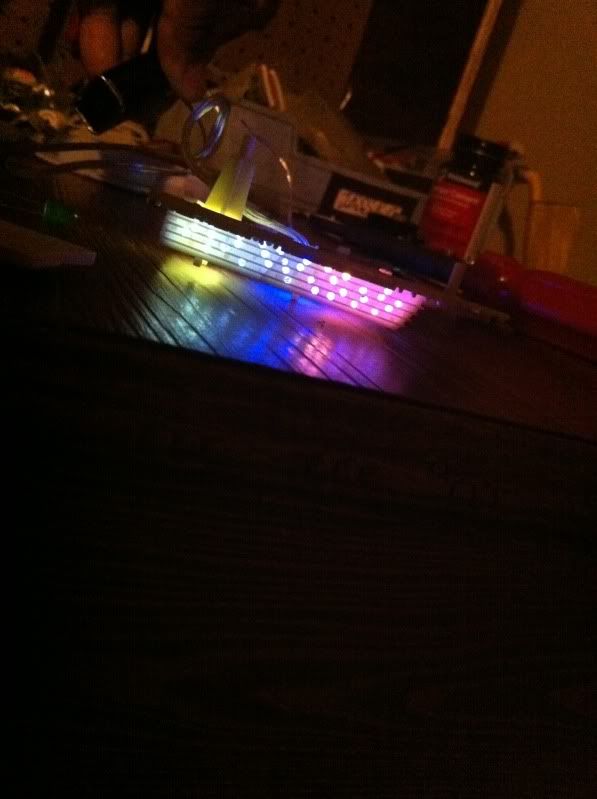
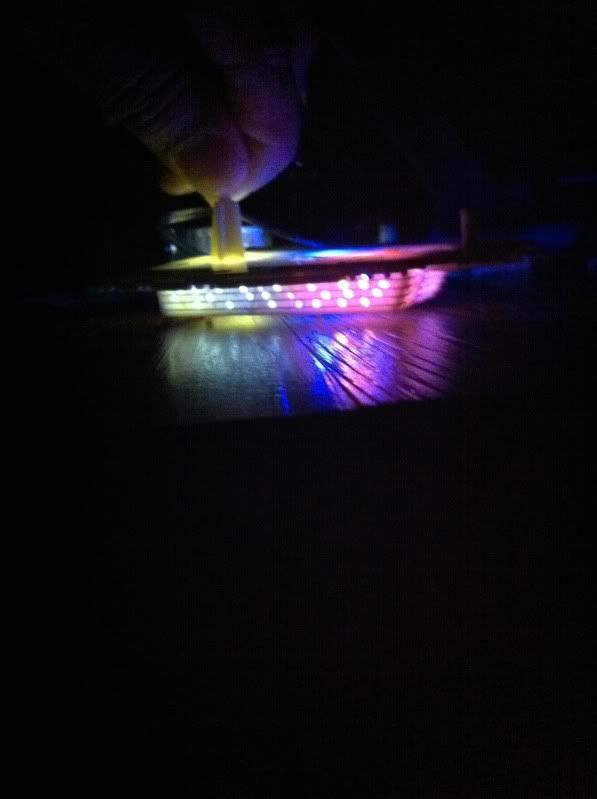
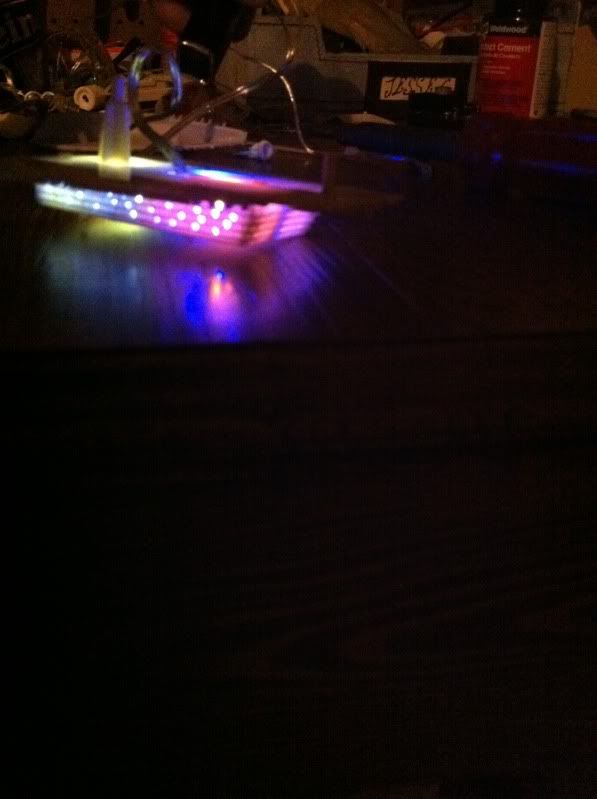
Here i created a ring of few different color LEDs to see what can be done. once again finished project may have something different.
Works Begins - -
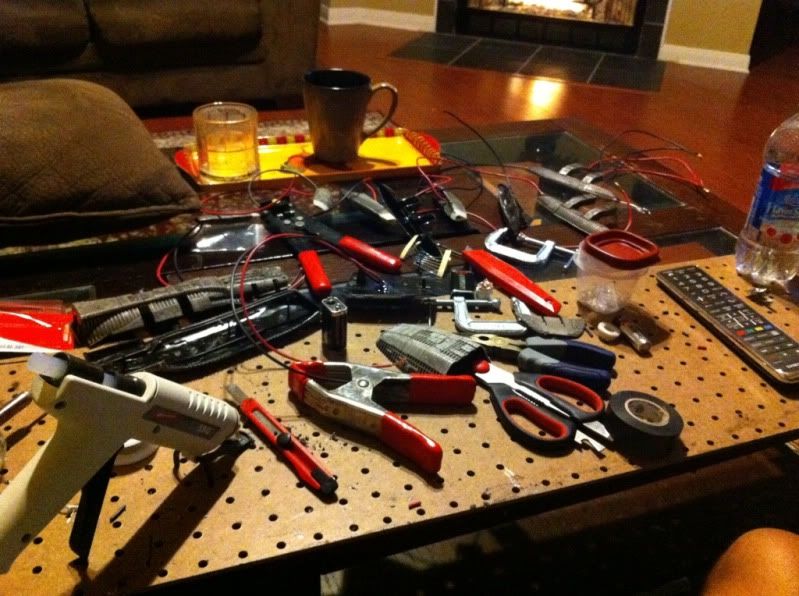
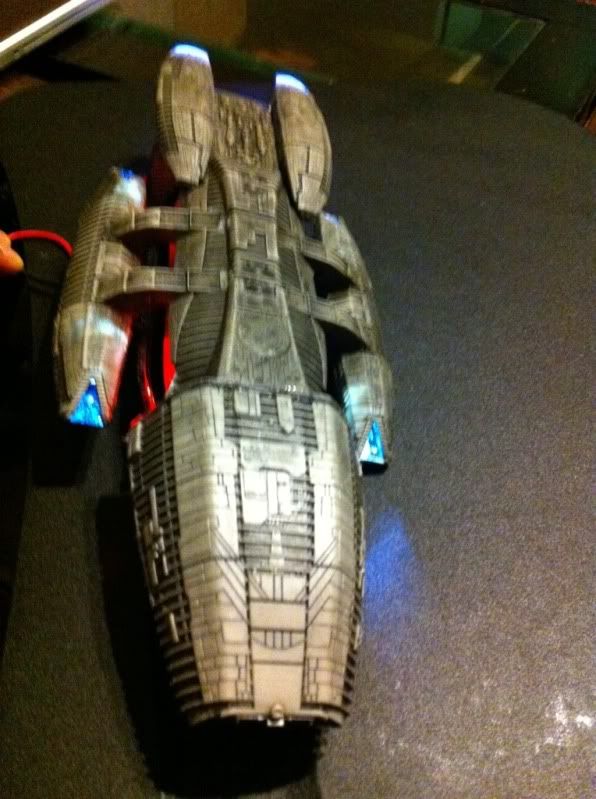
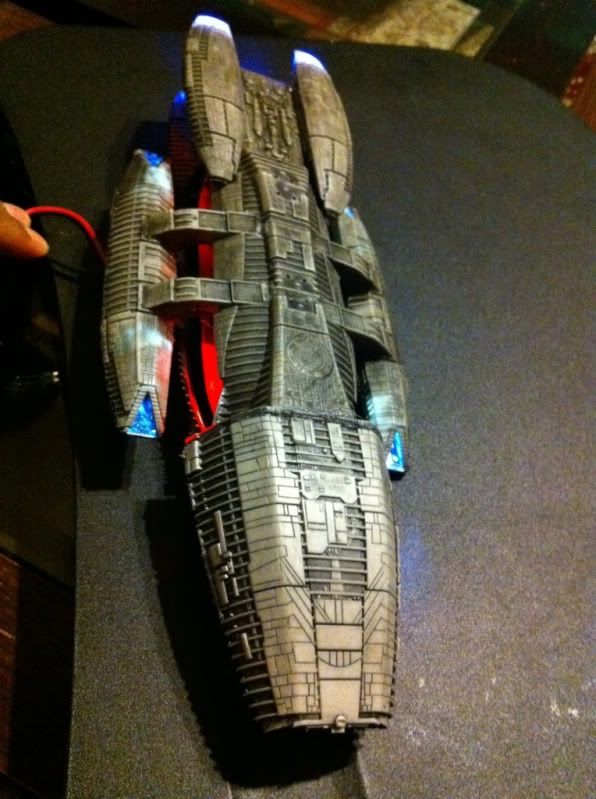
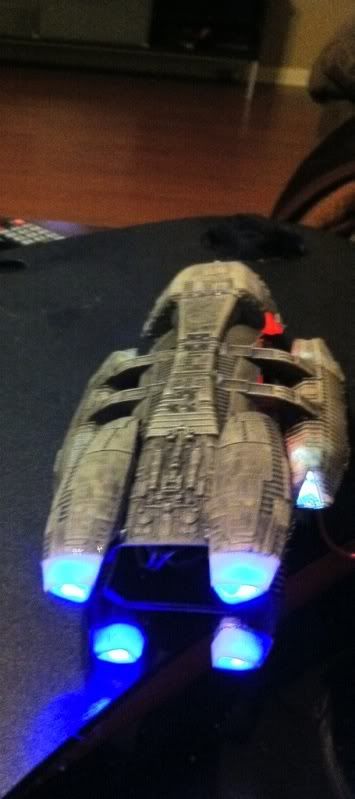
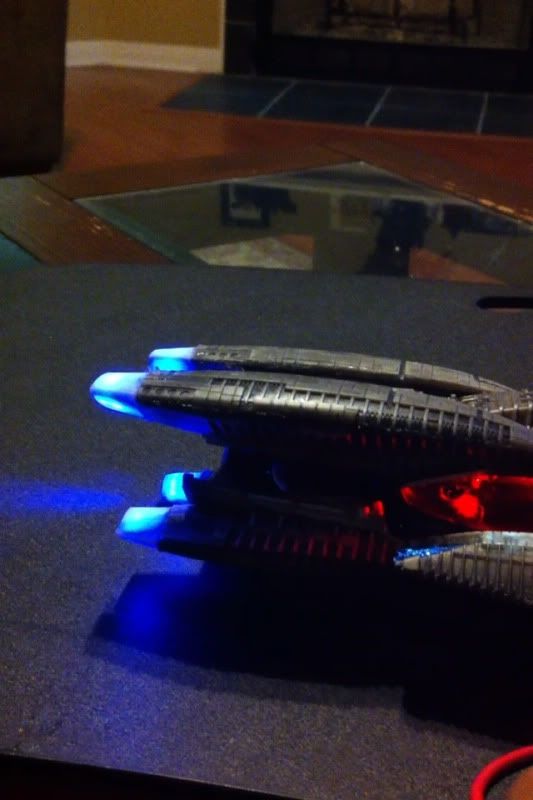
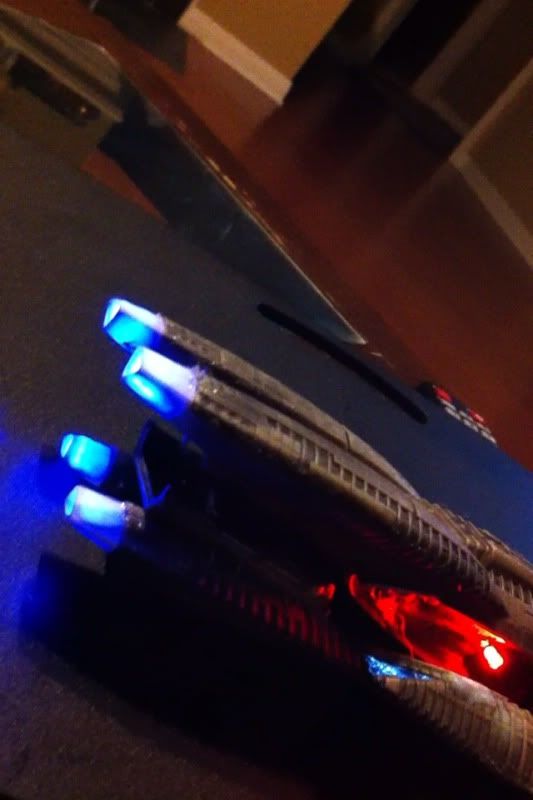
This is how far i have come but now starts the real work. I have finally put together a wiring diagram of working LEDS - i want to make the Engine LEDS Flicker as if they were really burning up.
will update as it happens. . .
Many Thnx
i have been coming to RPF for a while but never worked on anything but with much inspiration from many projects seen here i have finally started my first ever
i have been working on the famous Battlestar model for 2 weeks now on and off. I have worked with wood before but i am by no means an expert in model building, LED lighting/wiring or painting but i have taken this project as a start to learn a bunch of new stuff while having some fun with it, i will be documenting everything here once i finish this project 100% in hopes that it may help someone start on their own...
I have done much research into related topics to accomplish this gial, matters such as led lights & wiring, paint , glue-cement, proper tools required & so on...
i Will be documenting the entire project here, all materials used and diagrams of led wiring and so on.
[documentation will start once i have the entire project done, as that will yield the best result possible]
Here is my development so far - this is a learn as i go project for me.
>>It all started when this thing showed up at the door, could not wait i unpacked it faster then a FTL Jump.

>> So i went to work right away !
Ran a diagram of how i was going to wire and proceeded with drilling the holes to run wiring & made my first mistake....grr
holes are too close to the center they needed to be on extreme ends to hide the LEDs - no worries will fix later...
(Notice the detail on the ship is so crisp, Its worth every penny!)

>>Landing Bays look test...

>>Close up on wiring holes

>>For LED Test i threw the wiring in there just to see
Messy


Bottom front - (hole idea credit to Cylon, i saw his & was inspired to do the same)
Here i created a ring of few different color LEDs to see what can be done. once again finished project may have something different.


Works Begins - -
This is how far i have come but now starts the real work. I have finally put together a wiring diagram of working LEDS - i want to make the Engine LEDS Flicker as if they were really burning up.
will update as it happens. . .
Many Thnx

