ThatPhoenixGuy
Active Member
I think he meant Dominic Monaghan. Gimli would be me 
That is a great looking suit Psych, especially for a first attempt! Well done mate. Looking forward to seeing some paint on it. :thumbsup
Thanks man, yeah trial and error really is needed to get better at it.
And thanks for the compliment!
Dunno who you refer to in Lost but I guess you mean Gimli in LOTR.
Nice job! Where can you buy this foam in the USA?
OK then time for an update!
Alot have happened since I started the thread, since I didn't get any answer I just continued building more pieces to get the overall look and it looks pretty good.
I made a duct tape-mannequin to get something to attach all the pieces to and get a better look how they will fit on me and with eachother. Thanks Stealth for the tube-tutorial!
[url]http://i1353.photobucket.com/albums/q668/StefanLindstrom/B2F83EAD-6B23-4D95-BE10-41B6AB566BD4-15061-00001F79F3030EBD_zps793456c1.jpg[/URL]
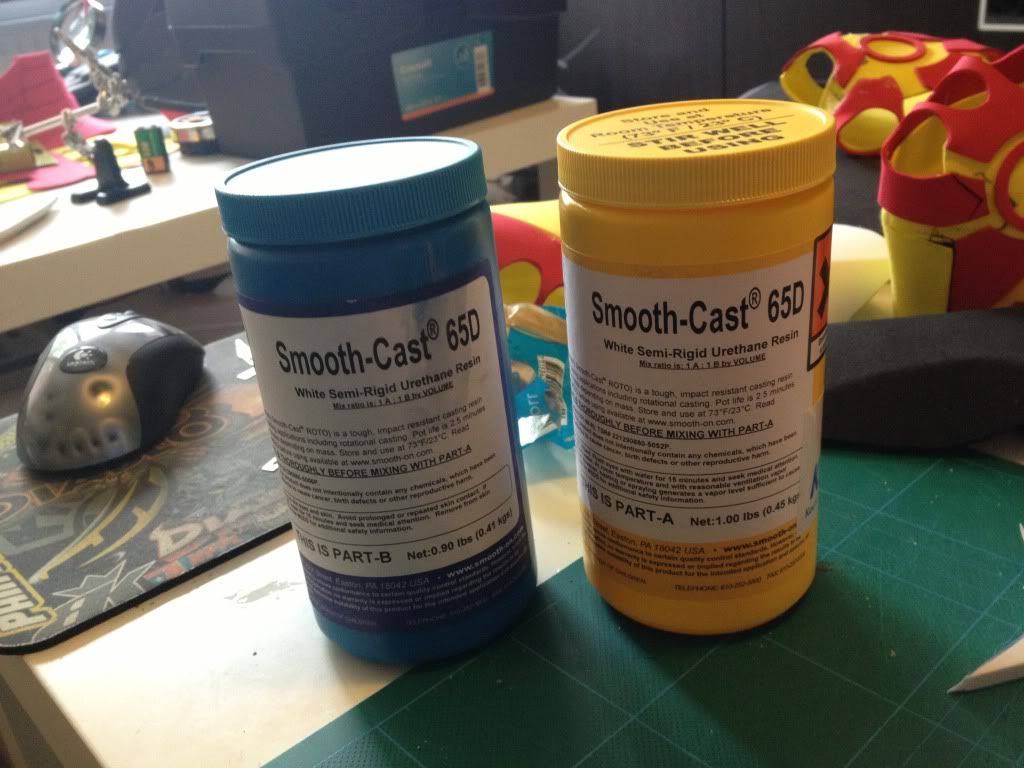
A few peices fitted on to try it out, my new foam helmet didn't fit since I have a piece of foam glued in it for holding shape until I can get it covered in Smooth-on 65D for a rigid shape.
[url]http://i1353.photobucket.com/albums/q668/StefanLindstrom/A7274202-48A5-4142-A535-7A18855AB59C-15061-00001F79E40EE482_zps4542f2cf.jpg[/URL]
I had to remake the neck a few times to get it the right size, practice makes perfect. ^^
Made in 2mm foamies.
[url]http://i1353.photobucket.com/albums/q668/StefanLindstrom/82478828-2833-4686-9370-7BF208674CDC-15061-00001F7A100CF391_zps168e2be3.jpg[/URL]
The shoes are Robo3867's templates.
[url]http://i1353.photobucket.com/albums/q668/StefanLindstrom/2DFCC575-9A9F-40CC-B3AE-2E4FAFFC1E23-15061-00001F7B06D72A08_zpsf95d7ce6.jpg[/URL]
My sneakers fit pretty good in them.
I'm planning to find a solution to get em to fit better to them tho, in worst case I'll just take an old pair of sneakers and glue em.
[url]http://i1353.photobucket.com/albums/q668/StefanLindstrom/EE628480-F6F8-42B5-9D97-7DDAD85D989E-15061-00001F7A1893BBA6_zps22c6d69b.jpg[/URL]
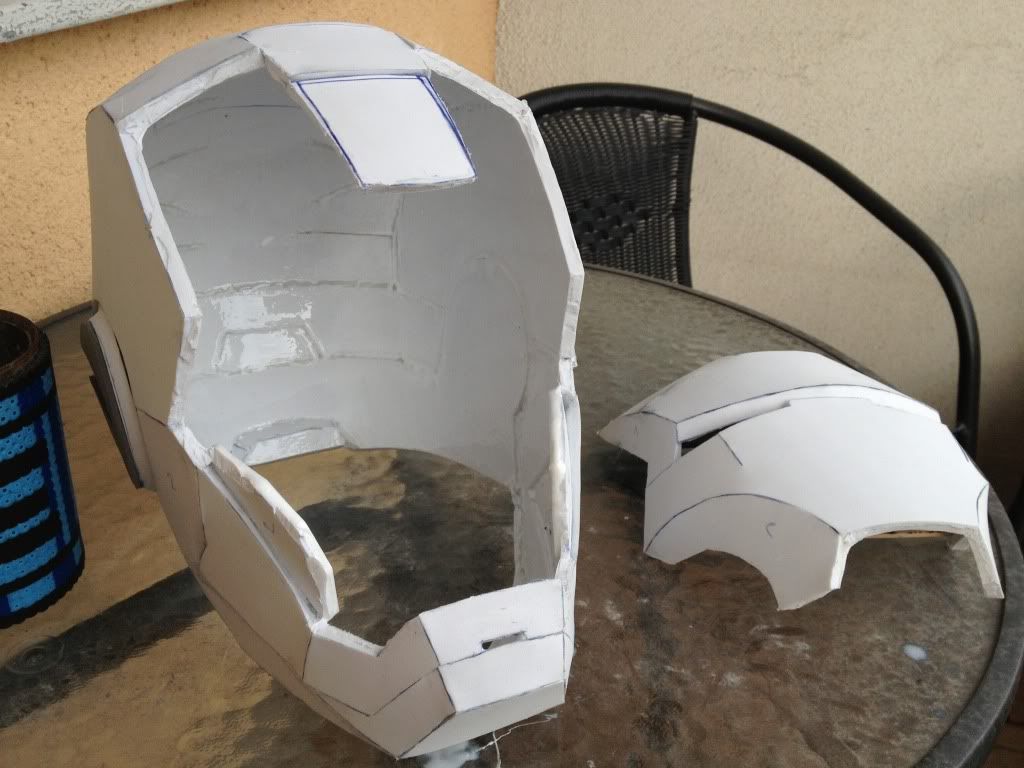
I made a new helmet of foam instead of pep and I like this one much better but there's always space for improvement.
I'm searching for something to use for getting the helmet top in the round shape in one piece by heating (Saw an tutorial by using two toy helmets). Haven't found anything useful around here yet tho.
[url]http://i1353.photobucket.com/albums/q668/StefanLindstrom/80F0E6DA-907F-404C-9439-6ECF774F7979-15061-00001F7A05DDC38D_zps945e489e.jpg[/URL]
[url]http://i1353.photobucket.com/albums/q668/StefanLindstrom/D73C4DEB-96F6-4E1E-A9B1-D8796890B776-15061-00001F7A0AB99BDE_zps605ca99d.jpg[/URL]
Got the shoulders done but I'm probably gonna redo em and trying getting a more rounded shape. Not really happy with em.
[url]http://i1353.photobucket.com/albums/q668/StefanLindstrom/5DBCE2F6-7912-41F8-A0D6-A354F9D10646-15061-00001F7A00EE1685_zps5fc27044.jpg[/URL]
Cod-piece. It didn't take long before I cut off the piece connecting between the legs.
[url]http://i1353.photobucket.com/albums/q668/StefanLindstrom/8AEA5B11-B143-40D1-BF7E-E6A081E456C4-15061-00001F79FC353450_zps91575794.jpg[/URL]
The spine connected to the back of the abs. Hadn't got the abs fully done on this picture.
[url]http://i1353.photobucket.com/albums/q668/StefanLindstrom/46AE0338-9981-41C6-9454-AD0969DEFE60-15061-00001F79EE559261_zps25060c20.jpg[/URL]
Front of abs.
[url]http://i1353.photobucket.com/albums/q668/StefanLindstrom/7537CE18-8A7A-4DB2-8917-A91BBA59F3D1-15061-00001F79E89A4E61_zps5f37a53a.jpg[/URL]
I also made 2 hip-dongles of foam. The first idea was to make it in something else or buy a set of em but I'm pretty happy with the result.
[url]http://i1353.photobucket.com/albums/q668/StefanLindstrom/D99B0E90-967E-44D1-8693-51DFDD9134E9-15061-00001F79DFA50402_zpsc2d2b1bf.jpg[/URL]
The two thigh-pieces. I have some shaping to do so they'll look and fit better.
[url]http://i1353.photobucket.com/albums/q668/StefanLindstrom/A94F8827-C617-4F54-986D-B98985B34CBC-15061-00001F79C93EAD40_zpsaeb6247e.jpg[/URL]
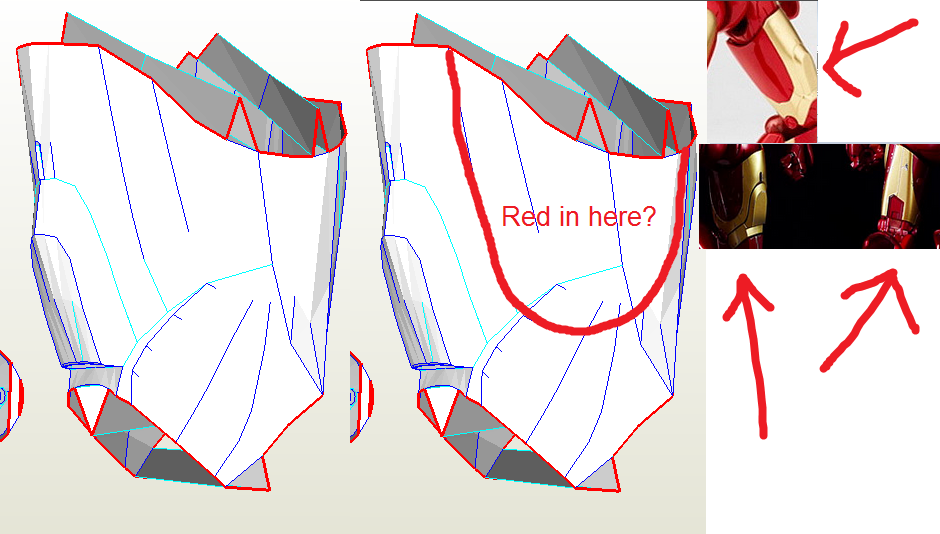
And I just finished the calves a few hours ago. Didn't really get the right bend on the upper back-flap but I'm happy with the result.
And I must say that the thighs and calves were ALOT harder to do than I thought.
[url]http://i1353.photobucket.com/albums/q668/StefanLindstrom/C9178985-B98D-4B9B-9BAA-7C64BD82558B-15061-00001F79DA0471B0_zps66d46f8a-1_zps7d43b7d6.jpg[/URL]
I'm sorry for the long and pic-heavy post!
Now I'm off to do some fitting, adjusting and then I'll start with the hands unless I start with some PVA-glue painting, sounds like fun. ^^
Peace out!


