cepts
New Member
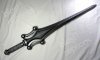
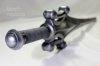
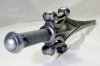
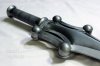
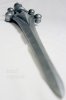
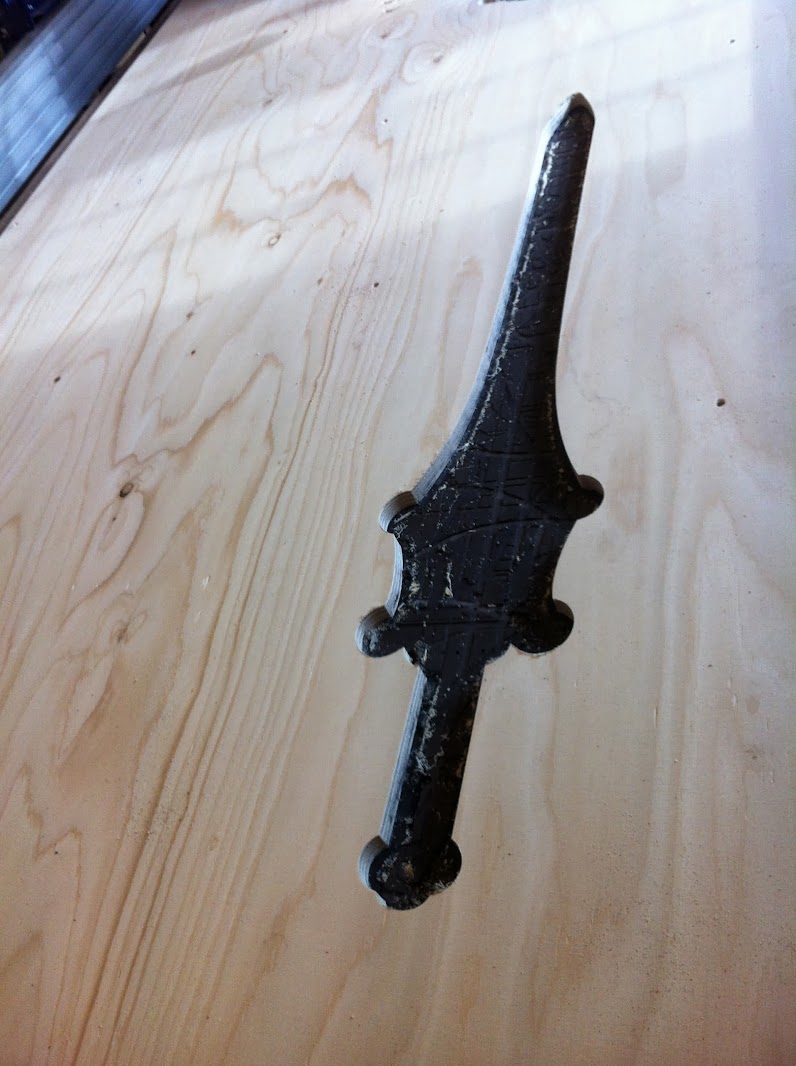
I know I'm not the first to replicate this sword. I'm just posting this to show the materials and processes that I used to get the results I wanted. We all have a trick or technique that might help someone else out with their project. I hope you can benefit from one of mine. The illustrators of He-Man used the same sword design for He-Man, She-Ra, and Skeletor. I potentially have three swords in one. So this build starts out the same as the others. I made a scaled vector blue print of the sword. I transferred the image to a sheet of styrene using a method that involves acetone. With this method, the image is placed face down on the surface you want it applied to, which was styrene in this case. Pure acetone is applied to the back of the image and before it evaporates, which happens very quickly, the print is rubbed with a hard flat object onto the surface of the styrene. Because of the quick evaporation, it's easiest to do small sections at a time. If the styrene is to be your final finished surface, you should try a different approach as pure acetone melts styrene.  Styrene is easily cut with scissors making it a great material to work with.  The shapping guides are made from what else, styrene. The longer guides going down the center of the sword are supported with strips of mdf. This is done to prevent them from getting wavy or leaning to one side. This took awhile to do, but it isn't as complicated as it may look. The guides are either following the outline of the sword, or the lines of the transferred image. They were all set in place with super glue.  The buttons that go in the corners were made from discs I cut out of 1/4 inch plywood using a hole saw. I wrapped them in styrene for a smooth outside finish.  The tops of the buttons were made from urethane poured into a paint tray.  I added half round to the ridge of the domes for a cleaner look.  The biggest cavities were first filled out with foam to make the piece lighter. The remaining voids were then filled with Bondo body filler.  I wanted the bridge pieces that went from corner to corner to have a beveled center. This was easily done with half round glued to the center of those pieces.  All of the empty spots were filled in with milliput. For small areas like this it is far easier to use a sculpting clay/putty than to use a body filler like Bondo. Body filler is sticky and has a very short pot life which is great for filling in big areas, but harder to handle in small ones.  I covered this entire sword with spot filler. This took a little while to do, but I knew there were lots of scratches and small blemishes that needed filling out.  Spot filler sanded smooth and the piece is ready for primer. 
|