Loess
Member
I've been lurking here for quite some time, and since I'd managed to get in in the last registration period I've still mostly been lurking. But, I figured it as time for me to show off my current project.
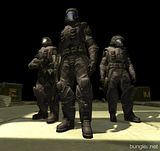
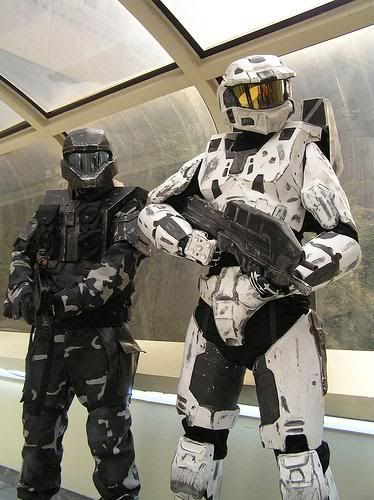
For the last few months, I've been working on a buildup of an ODST costume, with the HALO 2 version armor, using the Pepakura model process that I'd learned over at the 405th.
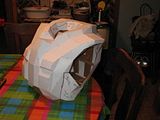
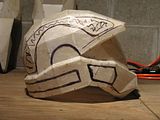
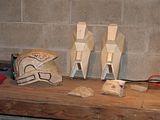
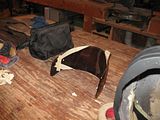
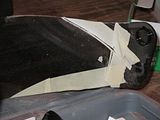
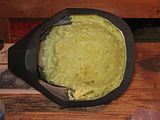
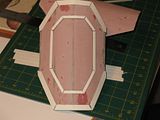
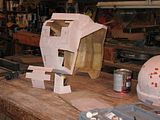
These are the first stages of the armor, just paper models, coated with polyester resin to prep them for lining with fiberglass.
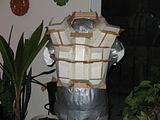
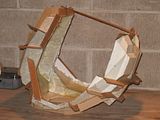
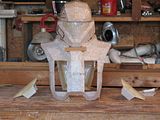
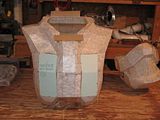
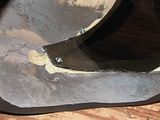
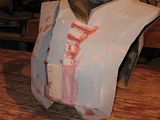
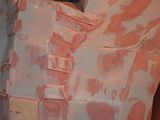
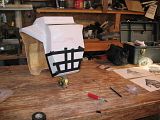
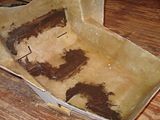
The torso needed some reinforcing while I was laying up the glass inside it. The pouches on the paper model are cut out, and filled in with illustration board before laying glass in the front of the torso. This is so that I can fit functional cloth pouches to the chest.
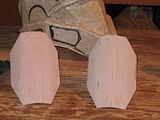
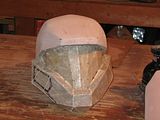
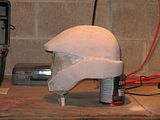
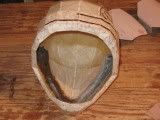
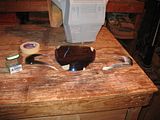
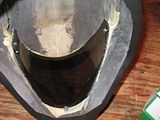
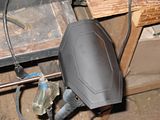
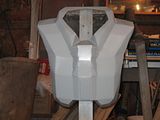
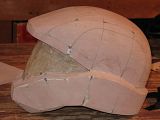
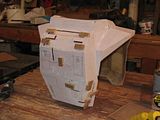
Smoothing out the angular models with bondo, and reinforcing around the visor with bondo-glass putty.
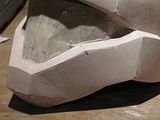
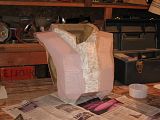
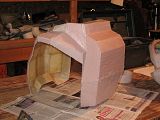
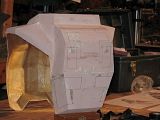
More bondo work, and illustration board detailing, and the layout for helmet and torso detailing.
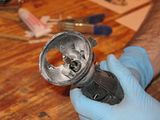
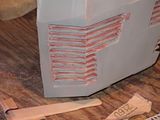
The details cut into the torso, then reattached with bondo-glass. Starting to carve some details into the helm with a dremel.
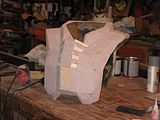
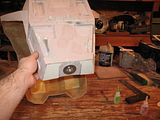
More torso details.

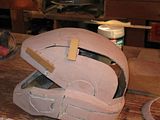
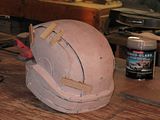
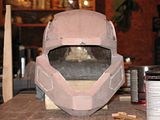
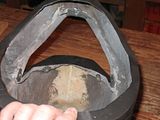
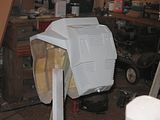
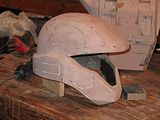
Details cut out of the helm, then inset and reattached. The carved detailing is also fairly far along.
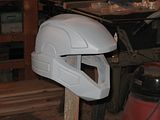
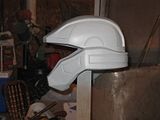
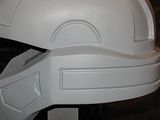
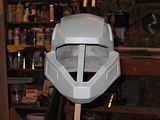
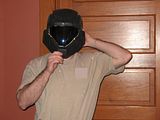
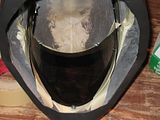
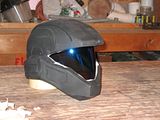
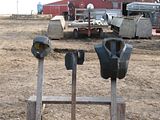
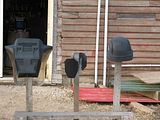
The helm is pretty much done except for paint and installing the visor.

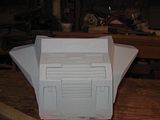
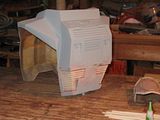
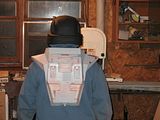
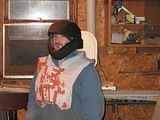
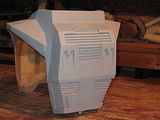
Went after the torso with spot putty, then added all the vent detailing on the back, it's mostly wrapped up, too.
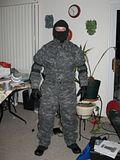
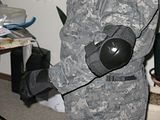
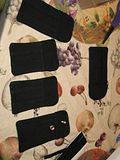
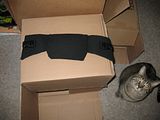
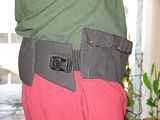
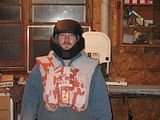
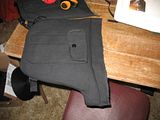
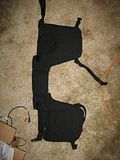
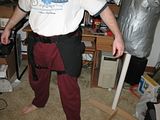
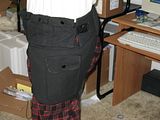
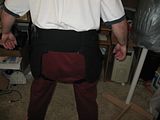
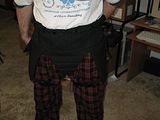
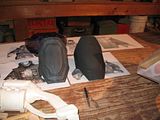
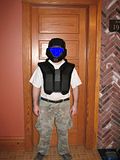
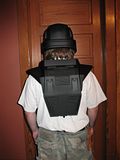
Here's the under-suit, and some of the soft armor progress.
That's a rush through the last six months of my weekends and most of my other free time, in mostly chronological order. If you want to see a slightly longer and in-depth explanation, my WIP over at the 405th basically has a week-by-week as I was working on this.
Thanks for reading, and hopefully, I'll have this done fairly soon so I can tackle some other projects.

For the last few months, I've been working on a buildup of an ODST costume, with the HALO 2 version armor, using the Pepakura model process that I'd learned over at the 405th.


These are the first stages of the armor, just paper models, coated with polyester resin to prep them for lining with fiberglass.


The torso needed some reinforcing while I was laying up the glass inside it. The pouches on the paper model are cut out, and filled in with illustration board before laying glass in the front of the torso. This is so that I can fit functional cloth pouches to the chest.


Smoothing out the angular models with bondo, and reinforcing around the visor with bondo-glass putty.


More bondo work, and illustration board detailing, and the layout for helmet and torso detailing.


The details cut into the torso, then reattached with bondo-glass. Starting to carve some details into the helm with a dremel.


More torso details.


Details cut out of the helm, then inset and reattached. The carved detailing is also fairly far along.


The helm is pretty much done except for paint and installing the visor.


Went after the torso with spot putty, then added all the vent detailing on the back, it's mostly wrapped up, too.


Here's the under-suit, and some of the soft armor progress.
That's a rush through the last six months of my weekends and most of my other free time, in mostly chronological order. If you want to see a slightly longer and in-depth explanation, my WIP over at the 405th basically has a week-by-week as I was working on this.
Thanks for reading, and hopefully, I'll have this done fairly soon so I can tackle some other projects.

