Gb1 Style Ghostbusters Proton Pack

Thanks nightwing....the pack is nearing completion and then it's onto the thrower, which i hope to incorporate the extending trigger tip into aswell!!
 
Thanks ustryker, glad everyone likes it...i really didn't know how well it was gonna turn out at the beginning
 
Yeah, that whole not knowing how well its going to turn out aspect is what's keeping me from building my own. That, and the costs... Unfortunately, my owning a Proton Pack relies on whether or not Matty'll produce one.
 
Well i guess it was pretty obvious that the next stage was to turn the shell black (even though i loved the Silver look) so here she is after 2 coats of Satin Black.

DSCF6254.jpg


Next ting on the to do list was to scuff one side of the red lenses for the Cyclotron...shown here

DSCF6256.jpg


Once all four of these were done i glued them and the blue Powercell lens into place...i couldn't help myself to be tempted to get a lamp and shine it on the inside just for a giggle lol!!

DSCF6257.jpg


DSCF6258.jpg


DSCF6259.jpg


So after i had my fun it was time to get back to the real work, which was to screw all the bits to the shell and take more photo's. You can see that i have added the Ion Arm, Booster Tube, Booster Frame HGA, Bumper, Injector Tubes, Shock Mount, Resistors, Cable Ribbon P Clip, Clippard Valve, Straights, Legris Elbows and Gun Mount to the shell.

DSCF6323.jpg


DSCF6324.jpg


DSCF6325.jpg


DSCF6326.jpg


DSCF6327.jpg
 
DSCF6328.jpg


DSCF6329.jpg


A quick shot of how everything looks from inside, you can see that i have used a double nut locking system to completely secure everything and make sure that nothing desides to take a dive whilst trooping.

DSCF6330.jpg


DSCF6331.jpg


Next was to find a way of making it so that the Crank Knob actually turns instead of just glueing it on. I didn't like the glueing idea as i've heard too many stories where the public have just said "oh does this turn?" and next thing ya know they hear a snap and they're now holding it instead of it being attached to the pack. So we came up with an idea that consists of a ball bearing circular bit (no idea what it's called, we found it lying about my mates shed and liked it) an a few washers and nuts. It wasn't very stiff so the knob just spun freely, which i wasn't too happy with so we shoved a piece of foam between the knob and the shell to stiffen it up a bit and this worked a treat!!

DSCF6332.jpg


DSCF6335.jpg


So with that done i decided it was time to give the pack a bit of colour and began to add some tubing. Some of had to be glued into place, but there was few other bits that i managed to get away with just pushing into place. Once that was done i added the pack labels aswell.

DSCF6336.jpg


DSCF6339.jpg


DSCF6340.jpg


DSCF6342.jpg
 
DSCF6344.jpg


By this time the Alice frame (used for army rucksacks in WW2 and even still today) was staring at me, taunting me just to mount it to the shell, so......that's what i did (y)

Now i now i was going for as close to screen accurate as possible, but when i saw the price of 3mm aluminium for the Motherboard i thought "to hell with that, lets see wut my mate has in the shed". SUCCESS!!! He was able to come up with 1mm thick aluminium that would do the very job FOR FREE!!! Now i know what ur thinking...wont it bend and bow when u go to put it on ur back??? Well surprisingly not!!!

We sat the shell on top of the aluminium and drew around it to get the outline, then with a pair of tin snips proceeded to cut that bad boy out. For the more inticate bits and hard to reach parts we hand to use the grinder to get them just right.

DSCF6390.jpg


Once that was done it was time to rivet the L Brackets in place, These will be used to hold the motherboard to the shell.

DSCF6391.jpg


Next we made the holes for the Alice Frame bolts, 3 in total...u can see 2 at the bottom and 1 in the middle i this pic.

DSCF6397.jpg


To space the Alice Frame from the Motherboard i just used small plastic tubes and cut them in half. Once all that was done and the holes had been drilled in the L Brackets for mounting to the shell it was time for a test fit and more giggle pics lol!!

DSCF6398.jpg


DSCF6399.jpg


DSCF6396.jpg


DSCF6401.jpg


DSCF6402.jpg


DSCF6403.jpg
 
Awesome build man!!! I've been hoping for an update since I was very curious to see how your pack would turn out. I have to say, awesome job!!!! I'm hoping to start my silicone mold this week (assuming my order of rebound 25 will be delivered this week). I have built many packs out of wood but this will be my first attempt at molding and casting... so if I can get anything in the end that is even half as good as yours I'll be pretty happy. Thanks again for this awesome thread. What would you say is the final weight of the pack with the alice frame attached ???
 
No worries dude, im glad ya (and everyone else) has enjoyed it so far. Thanks for the great cooment dude, really appreciate that everyone likes it and doesn't think it's crap. I hope all goes well with ur mould, im always here if u need any help or anything Im not entirely sure what the overall weight would be just yet, i still have a few things to attach and then the thrower is to be built aswell, but i'll be weighing it for sure when it's finished.
 
So this could be the last update on the actual pack for a while as it's time to start work on the thrower, but not before i update u all on my progress so far.

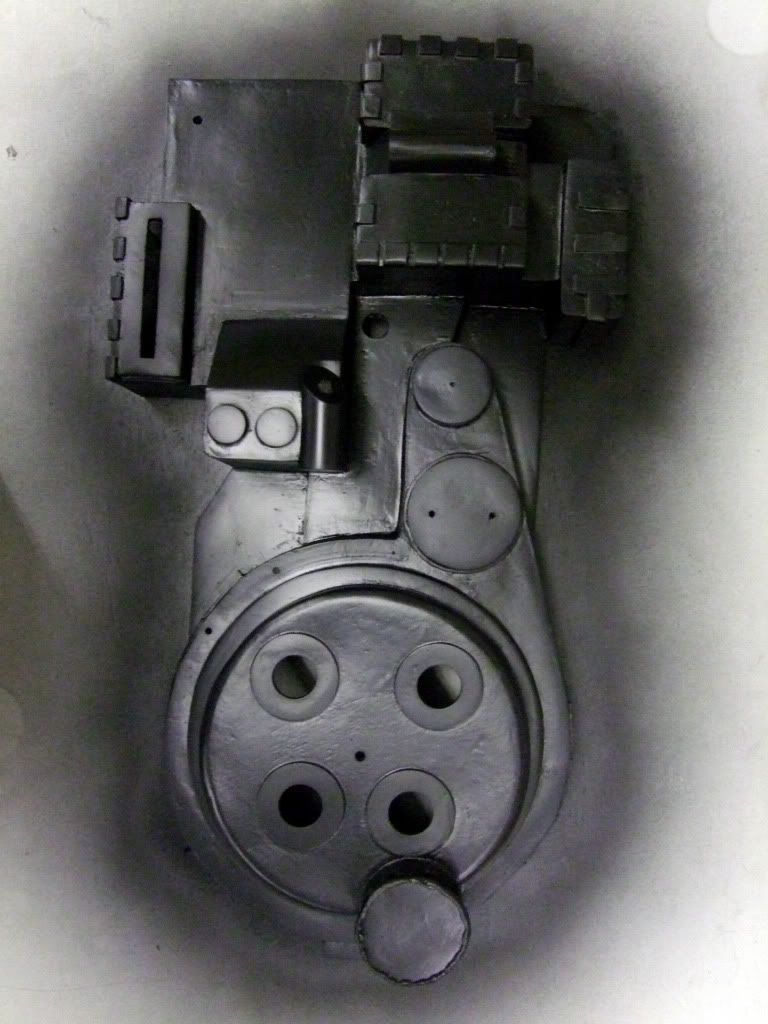
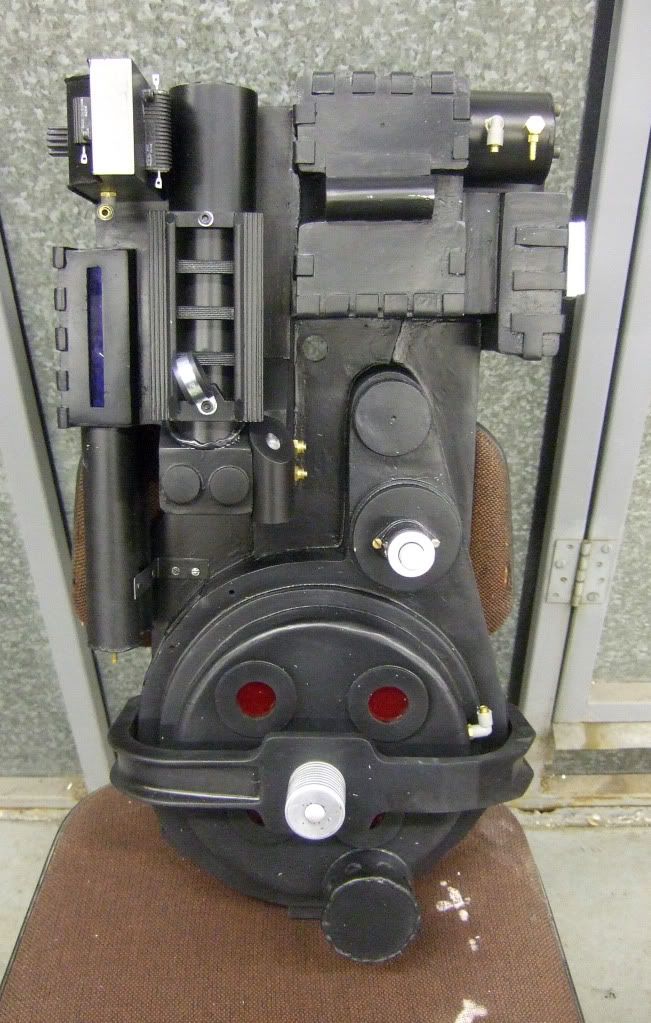
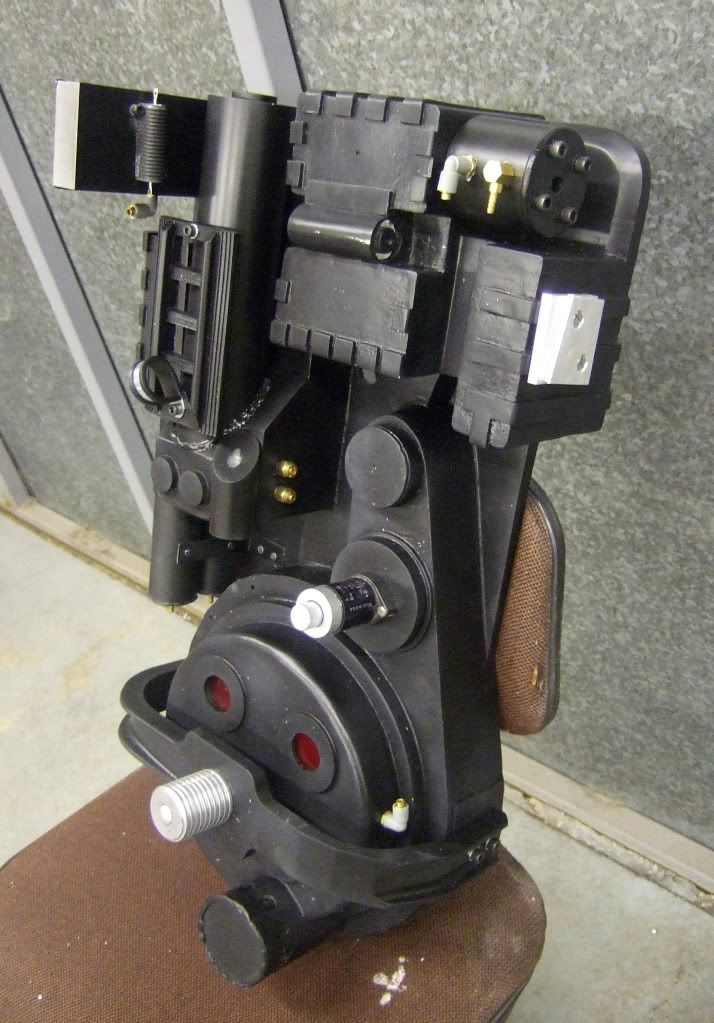
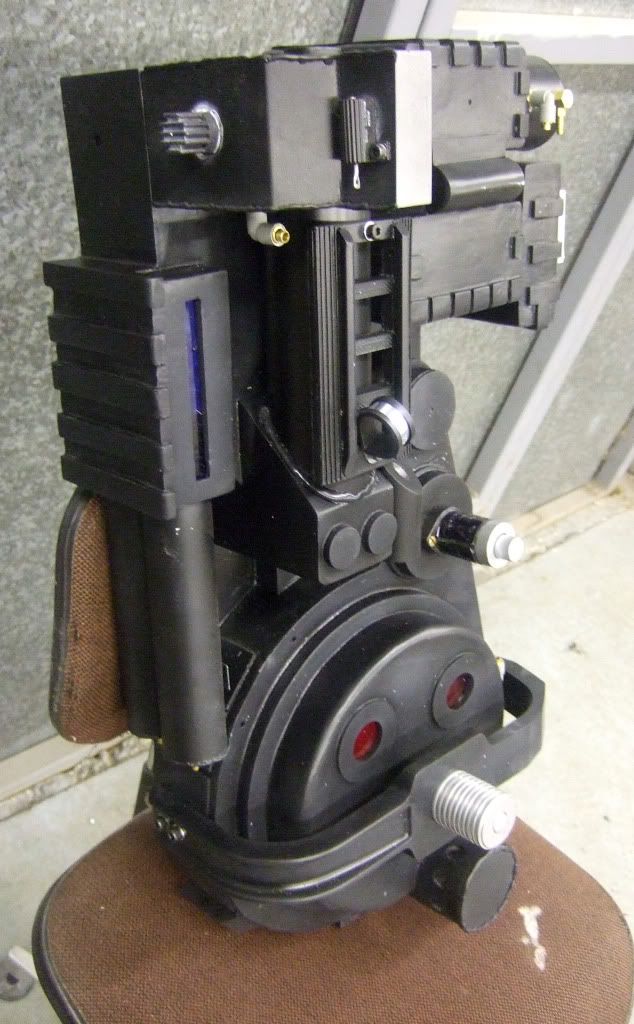
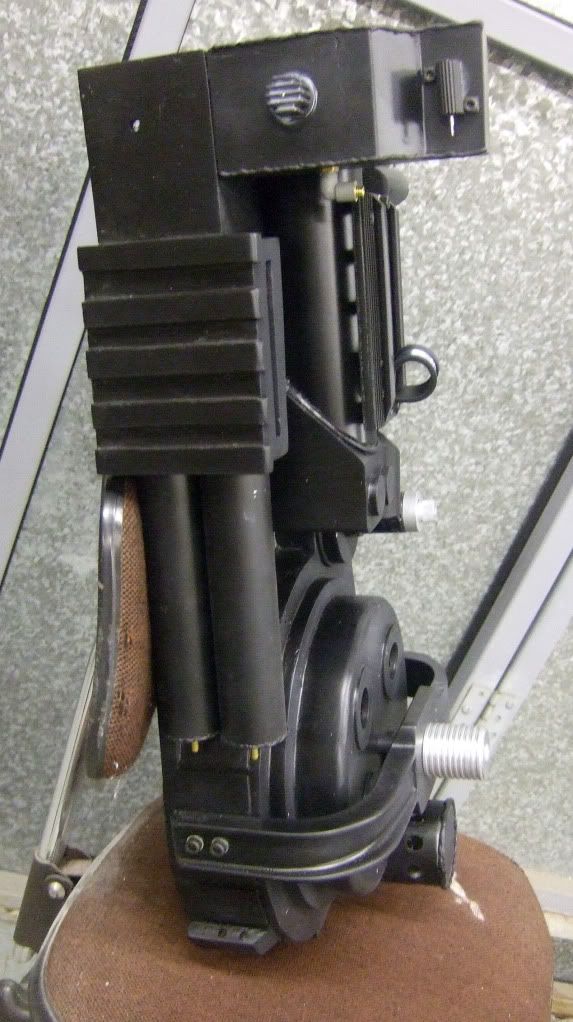
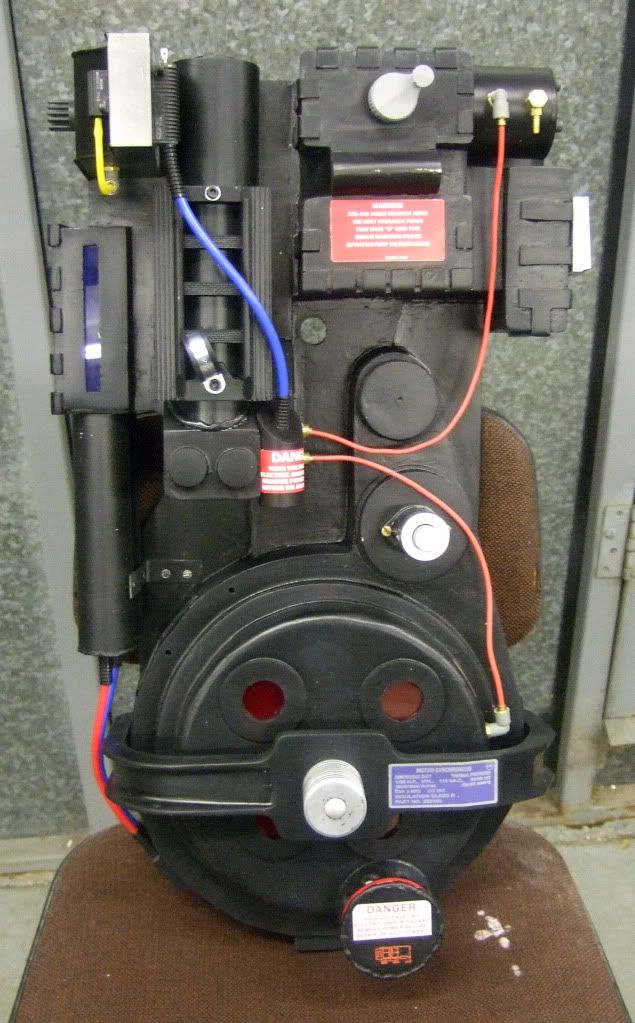
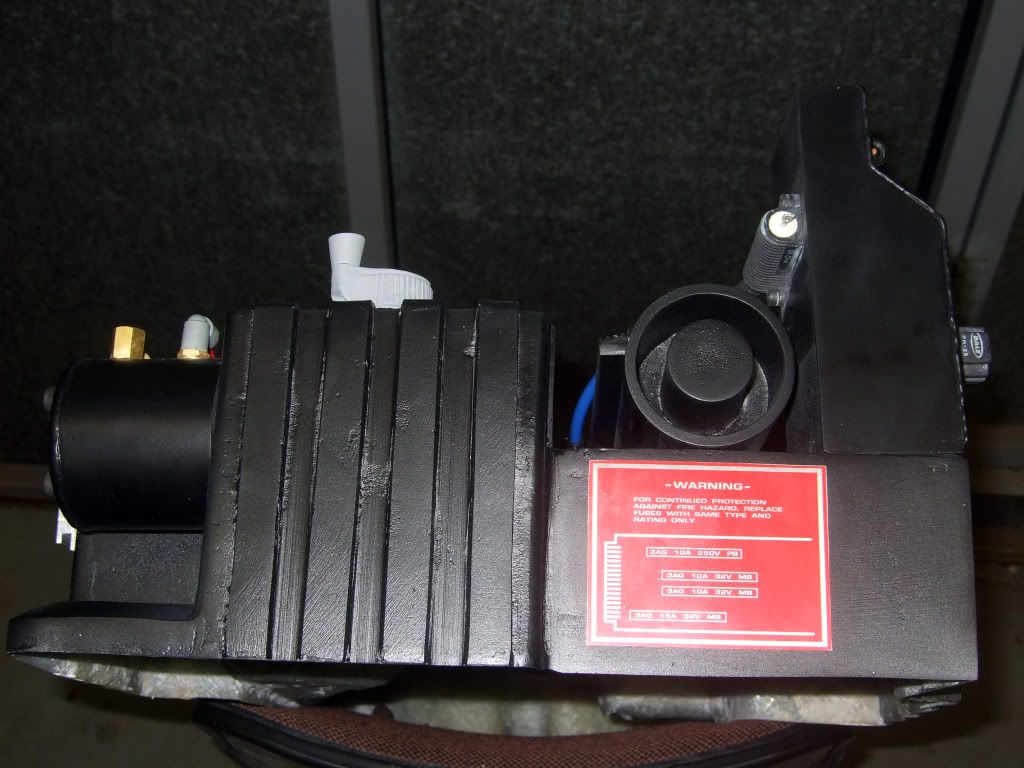
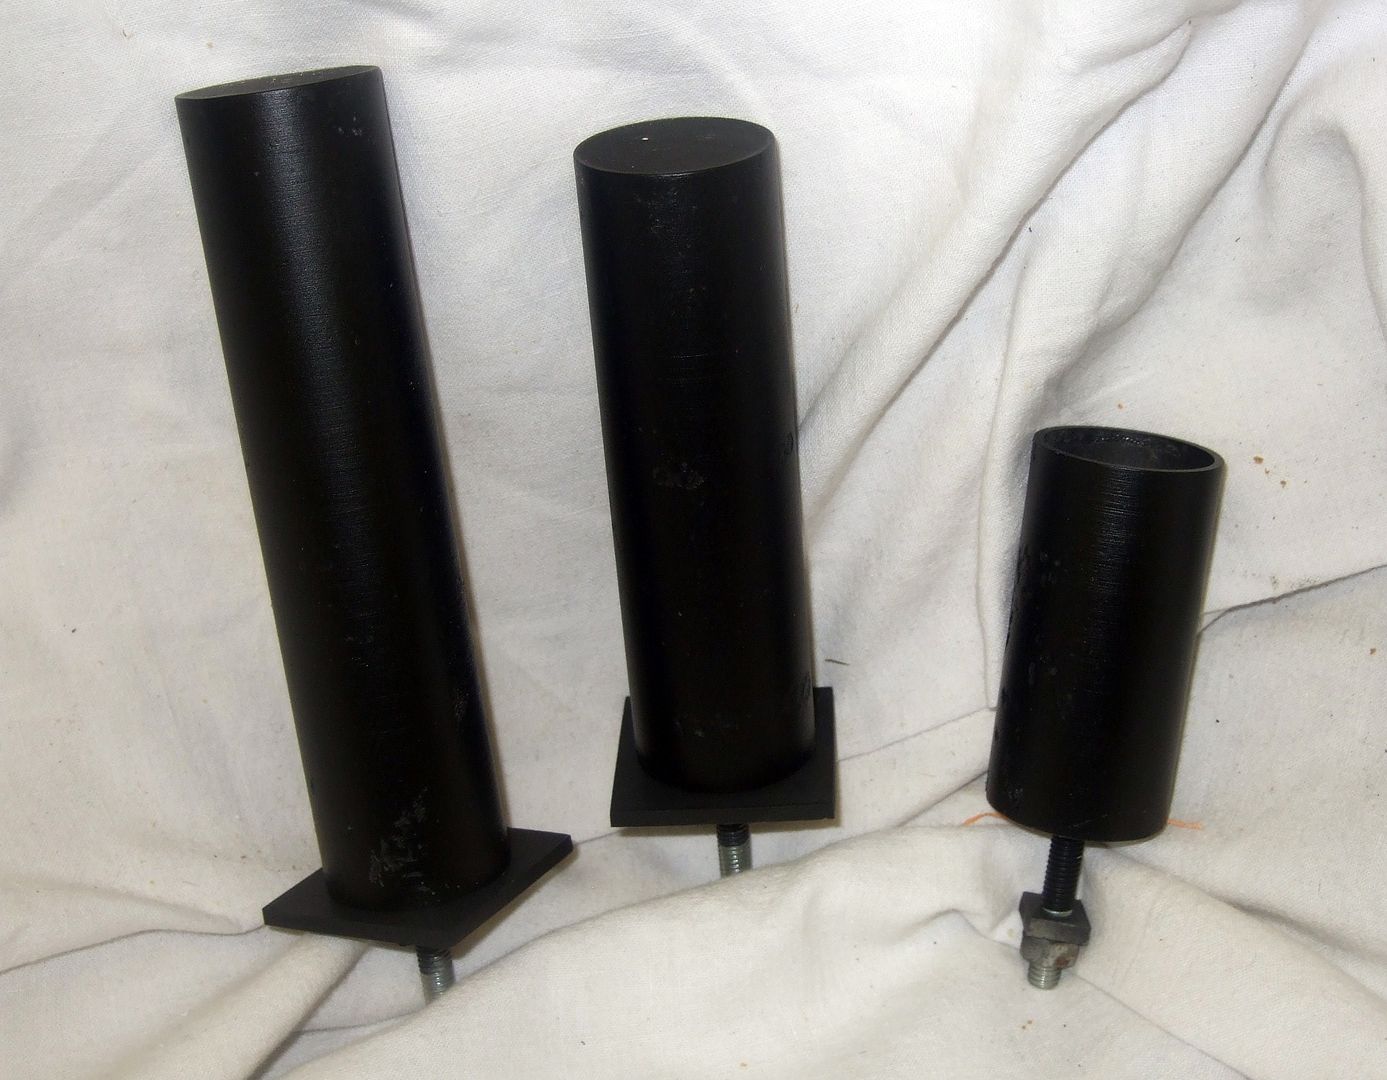
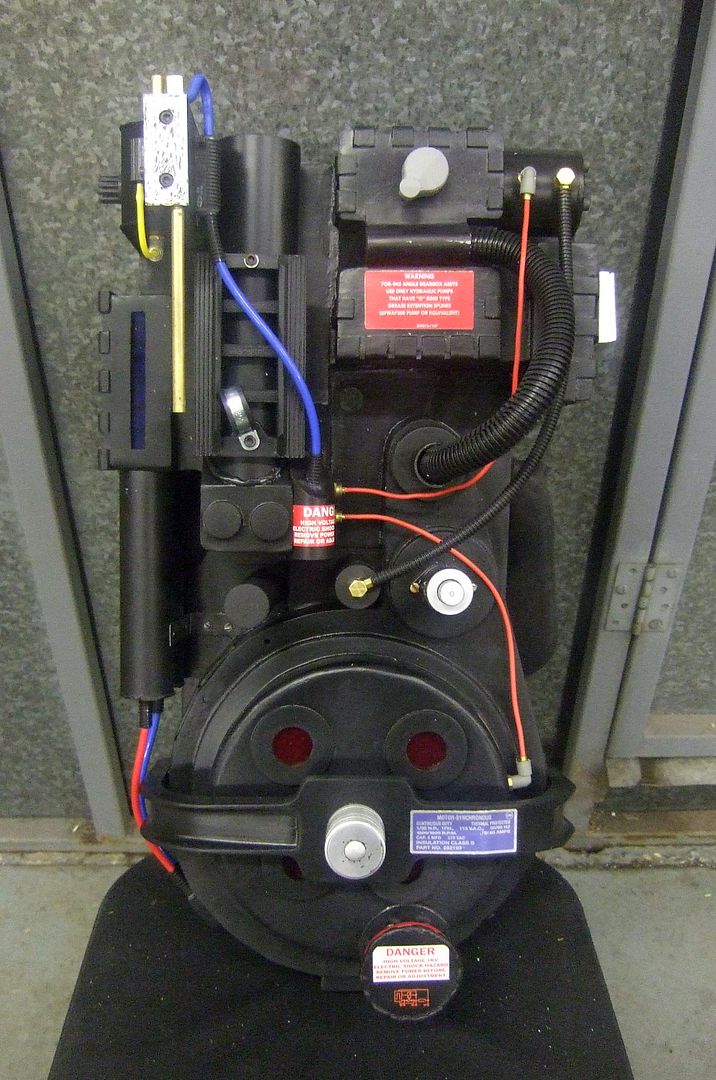
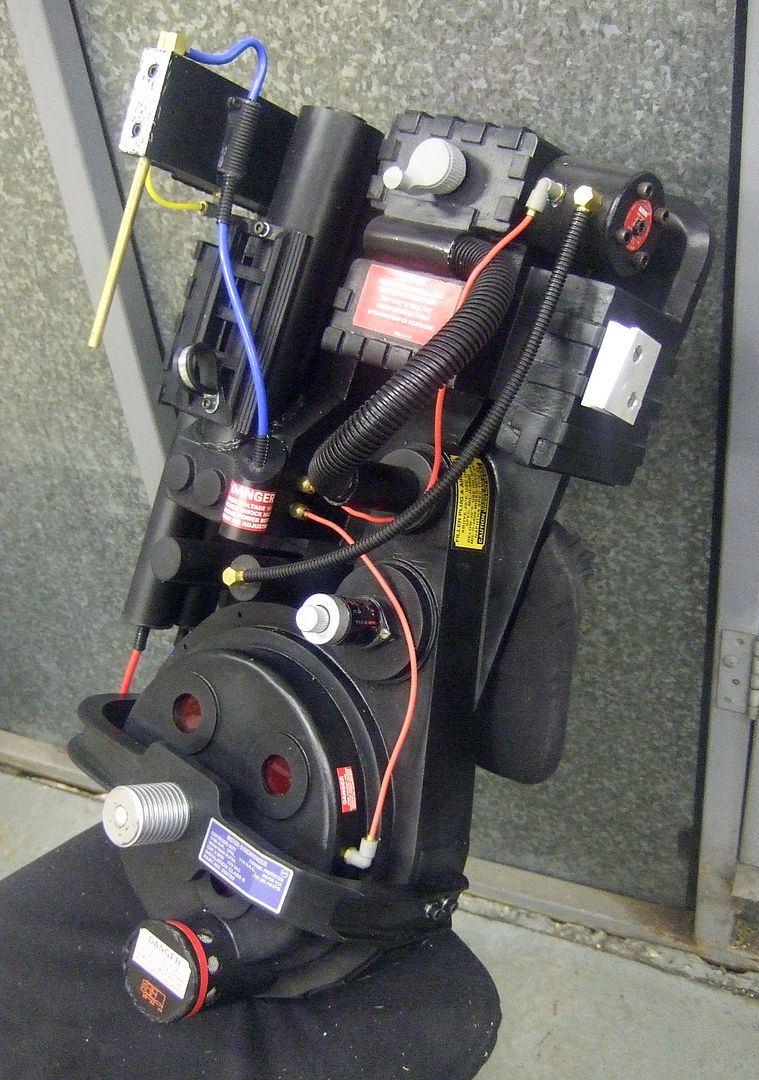
The next thing to do was to make the 2 filler tubes and the vac tube. These were pretty much made the same way as the Injector tubes below the Powercell. I used a length of Aluminium pipe and cut it into 3 seperate sections, wooden bunged the ends and added the securing bolts. For total screen accuracy there was 2 3mm thick squares below the 2 filler tubes...these can also be seen in the photo. After making these i sprayed them black to match.

DSCF6433.jpg


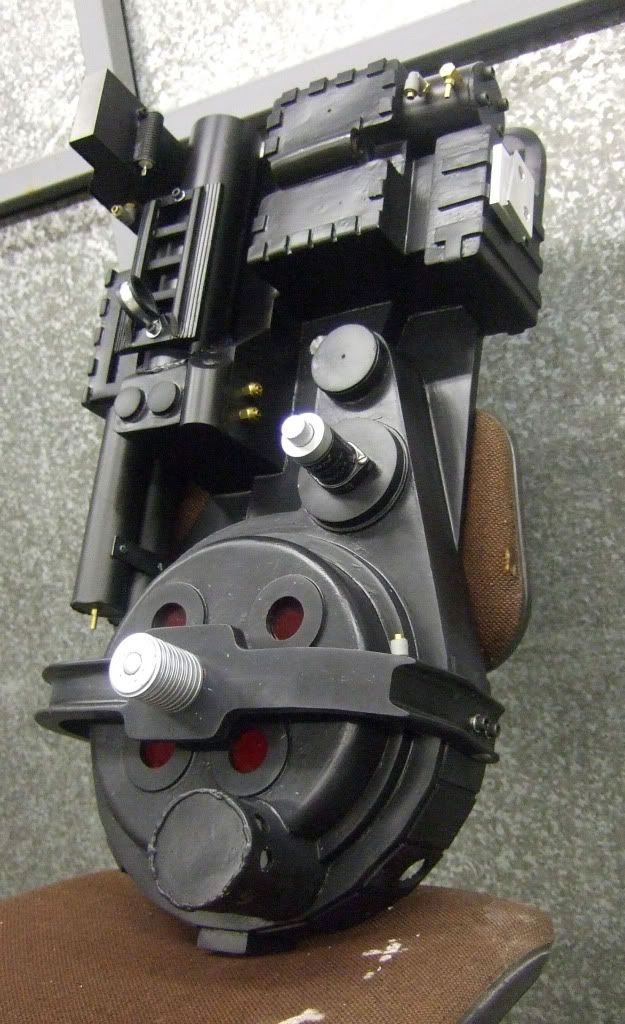
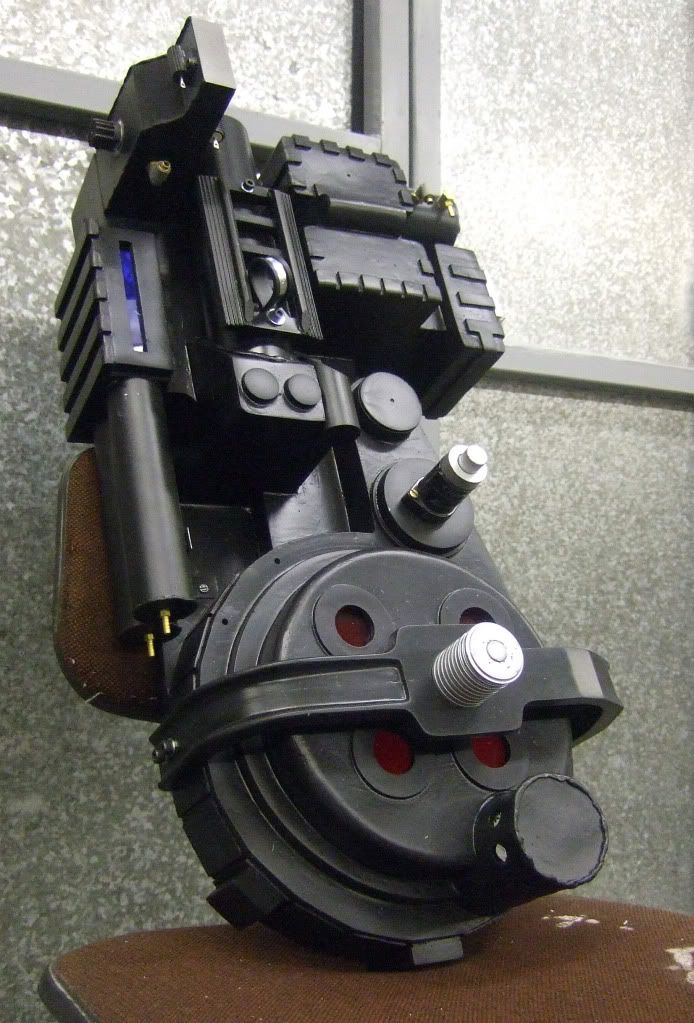
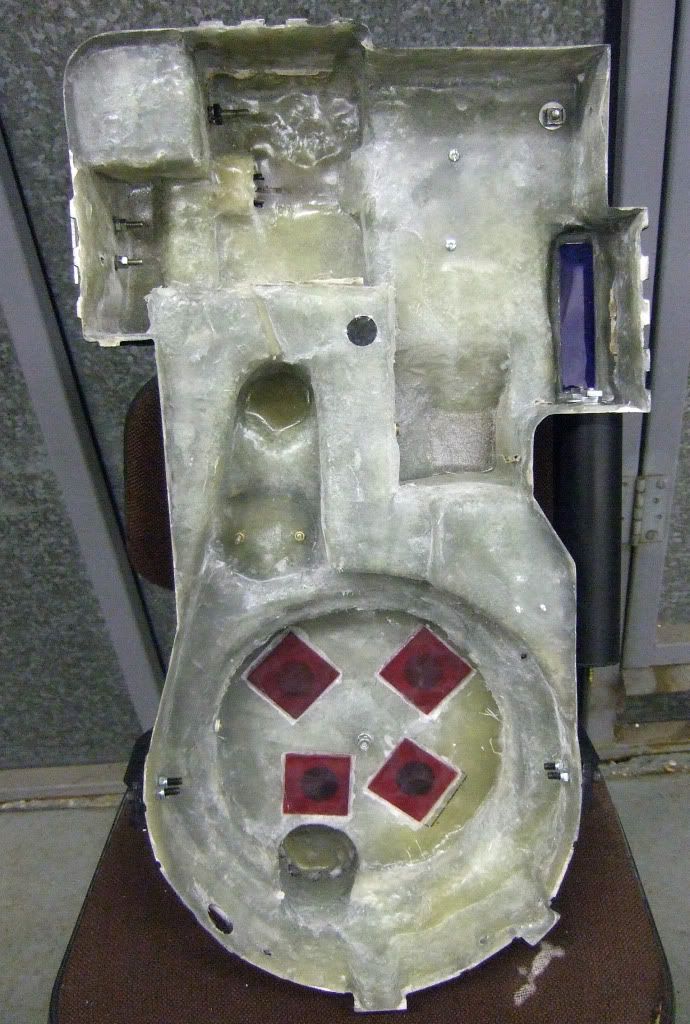
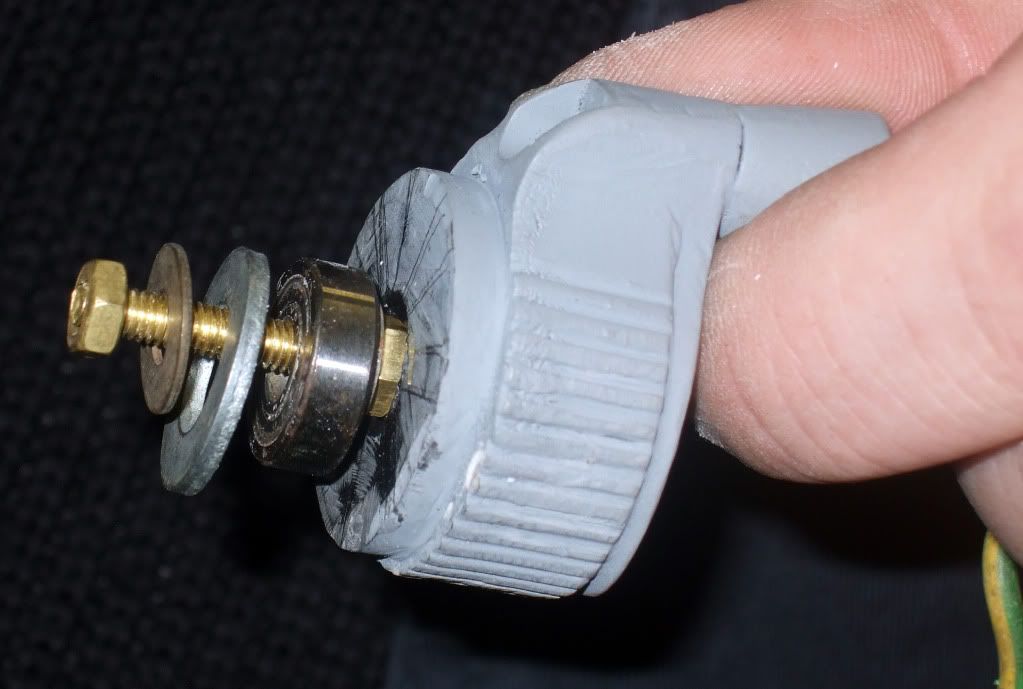
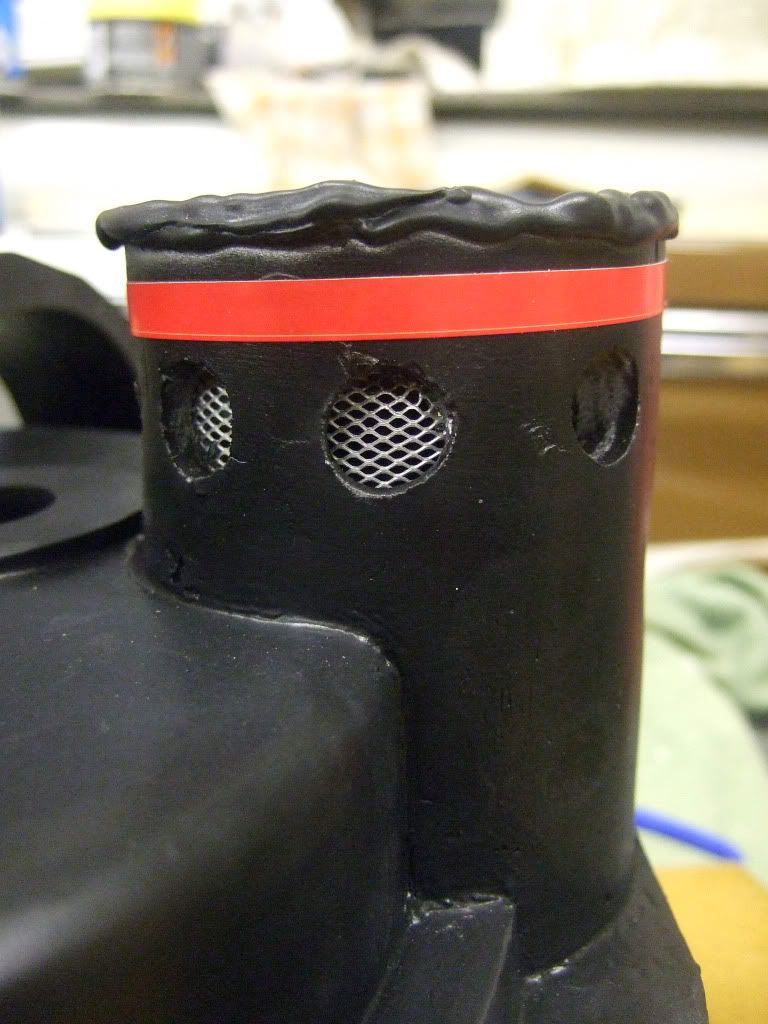
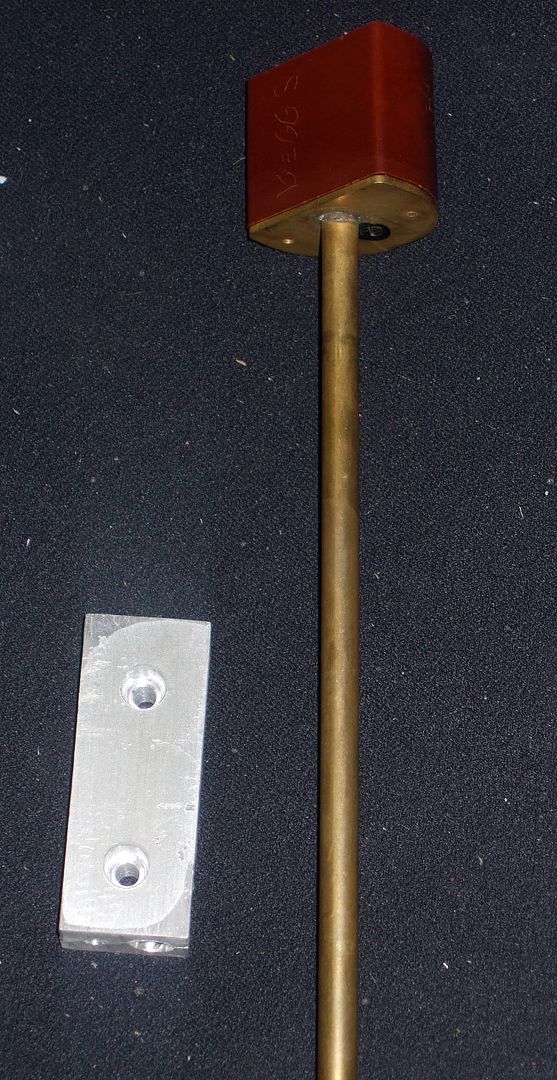
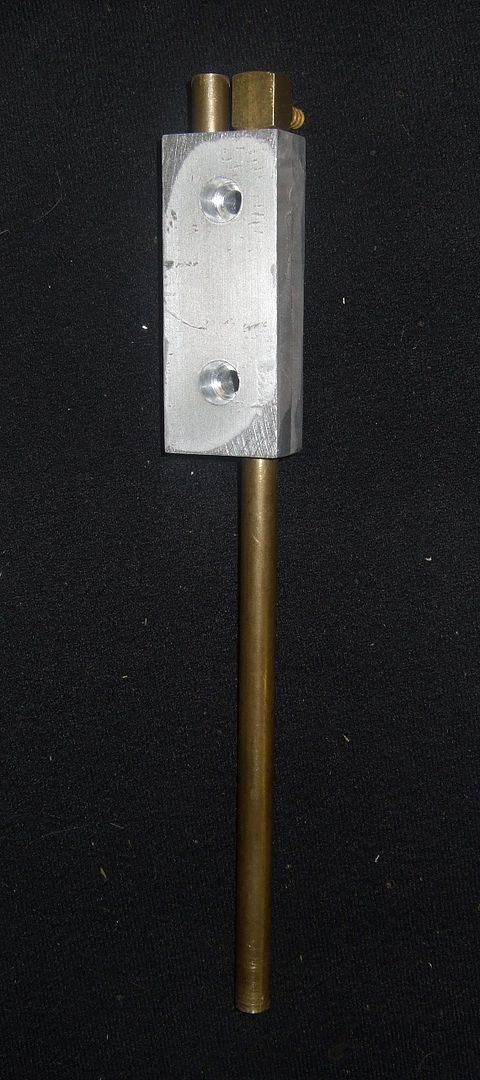
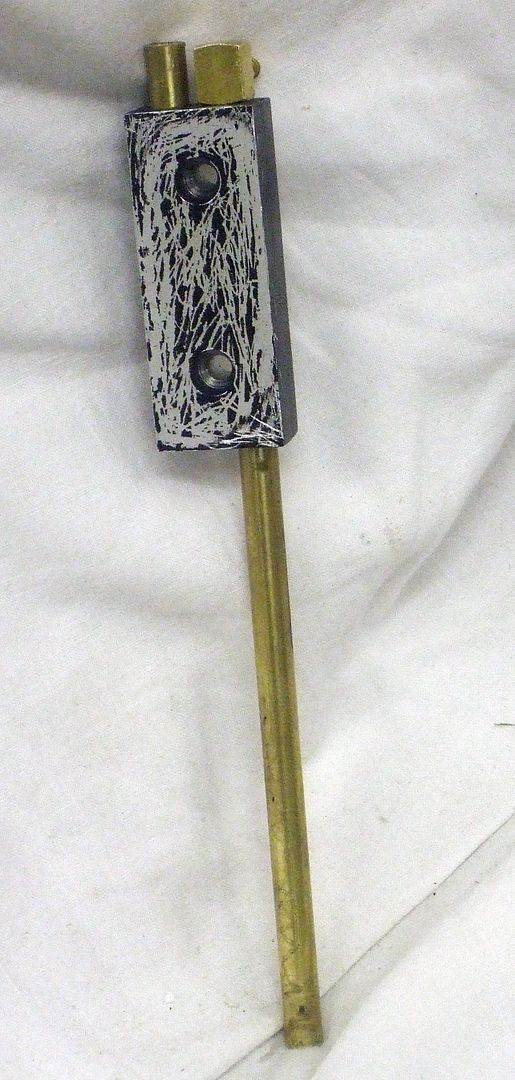
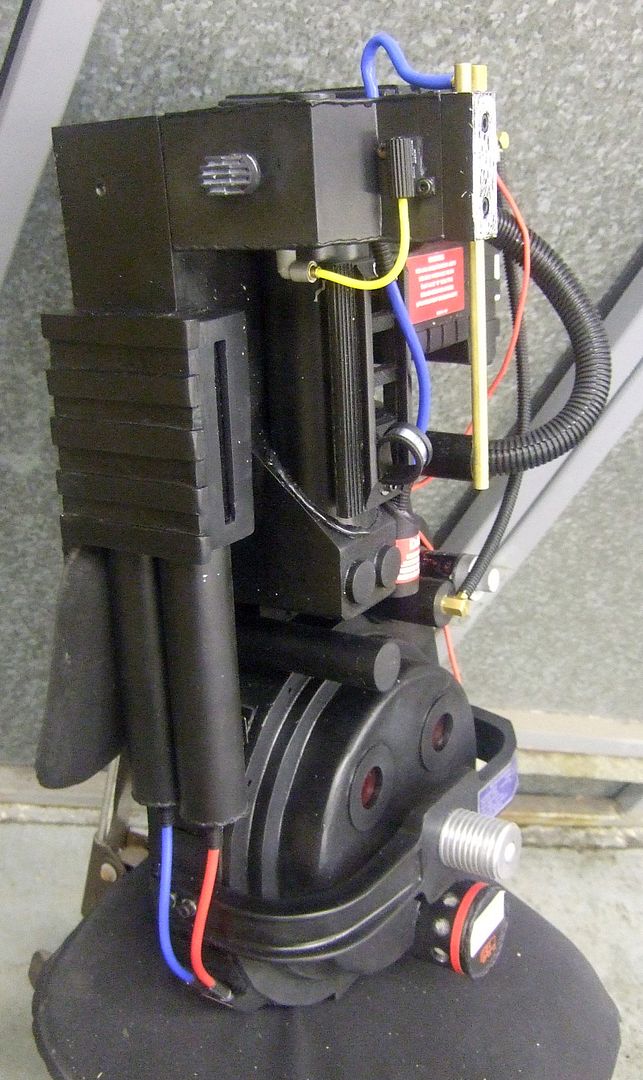
Next it was time to make the Ion Arm Cap. For this it is supposed to be 1 solid block of 1/2" Aluminium, but i couldn't find any in the shed and i wasn't really wanting to shell out extra money for a pre-built one....so!!! A new plan was drawn up....one that involved 2 pieces of 1/4" Aluminum glued together and an old Water Heater Thermostat for the Brass rods.

DSCF6437.jpg


DSCF6442.jpg


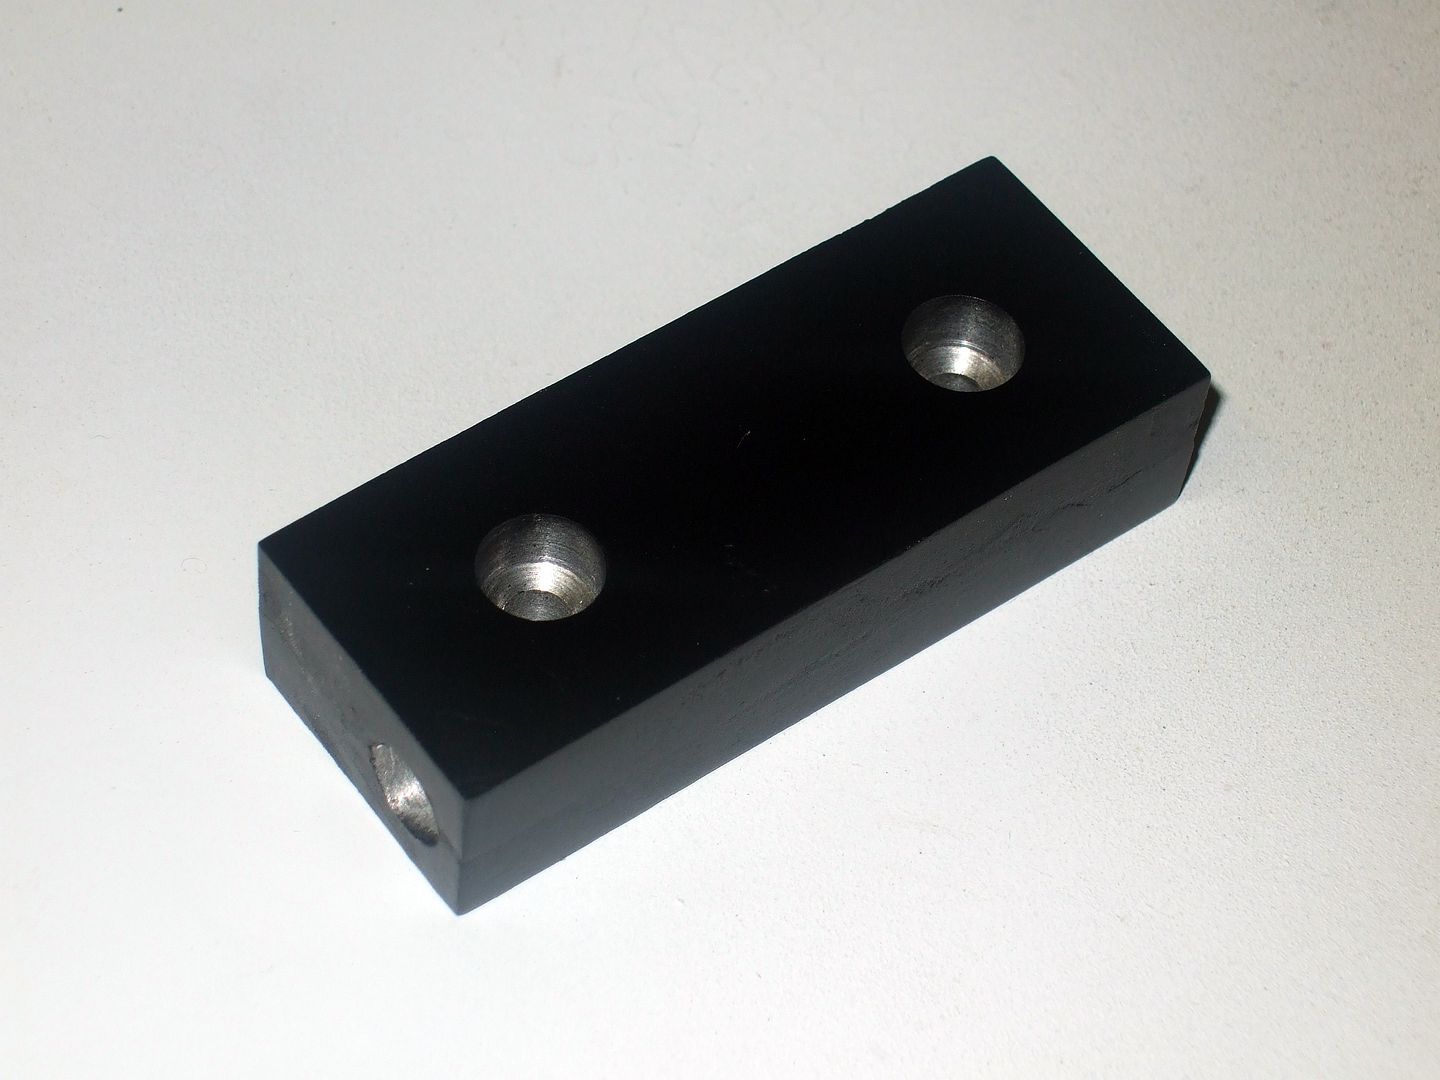
So once i was happy with how it looked i fillered the seem, drilled the holes, sprayed it black and glued all the bits into place.

DSCF6447.jpg


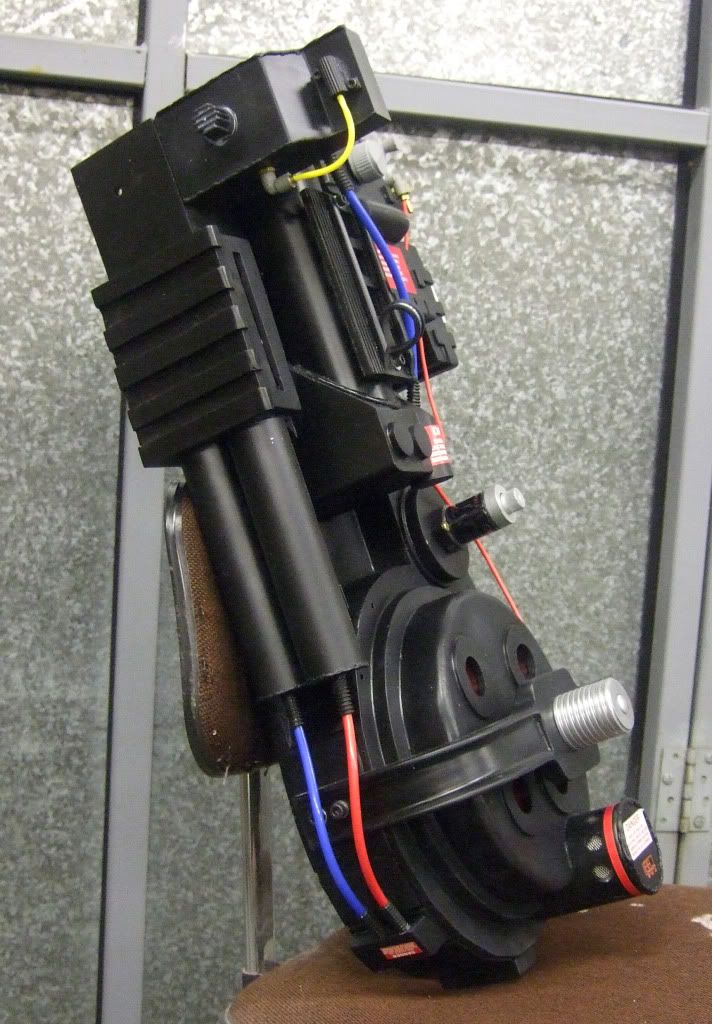
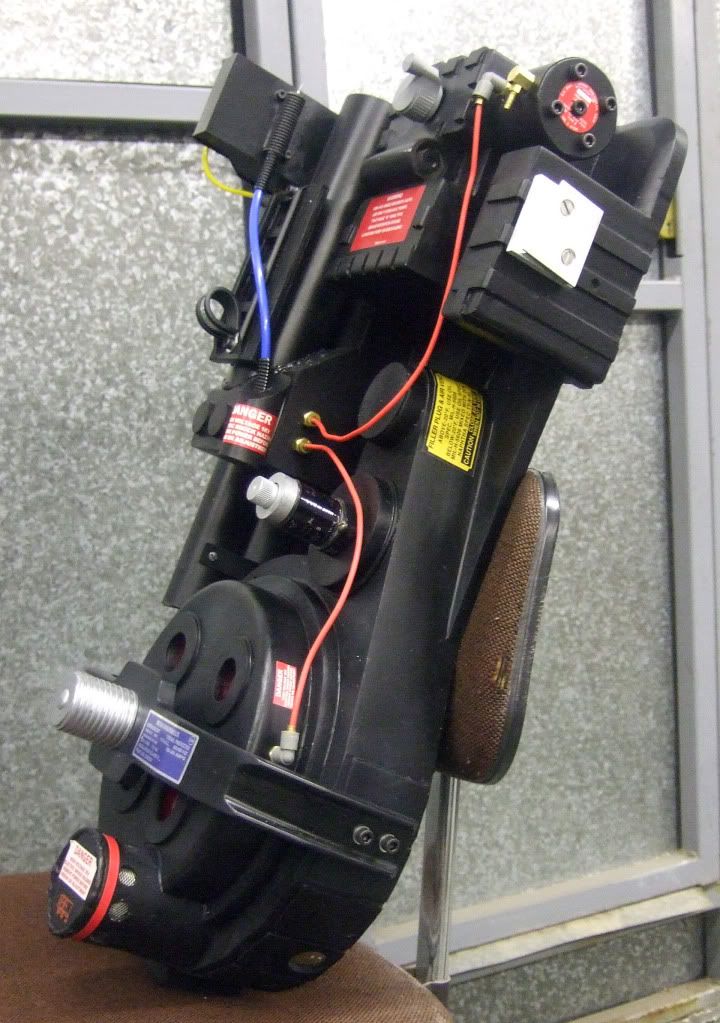
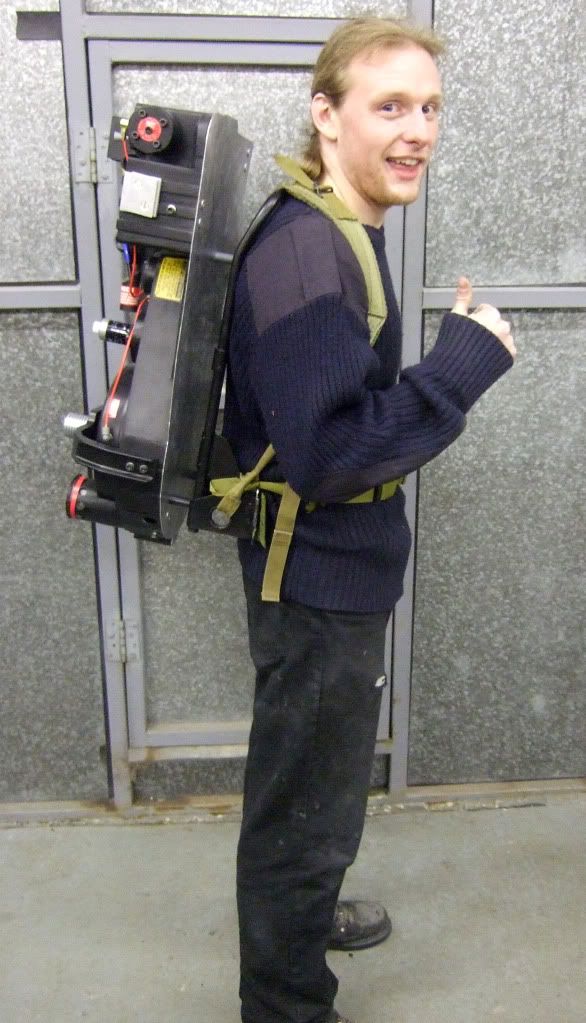
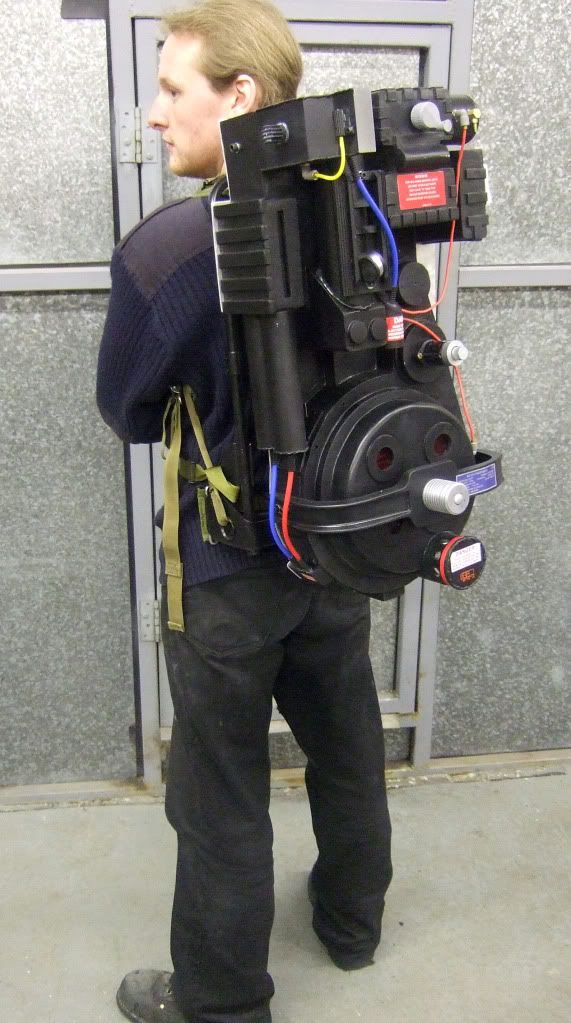
After that it was time to weather it up a bit by scratching off the paint. Then lastly it was bolted to the Ion Arm with 2 screws and some super glue. In the pics u can also see the filler/vac tubes attached and the rest of the tubing needed to complete the pack this far.

DSCF6452.jpg


DSCF6454.jpg


DSCF6457.jpg


DSCF6459.jpg


So next up will be updates on the thrower, but there is still a few things to be done to actually have the pack complteded such as:

Ribbon Cable & Clamp assembled and attatched,
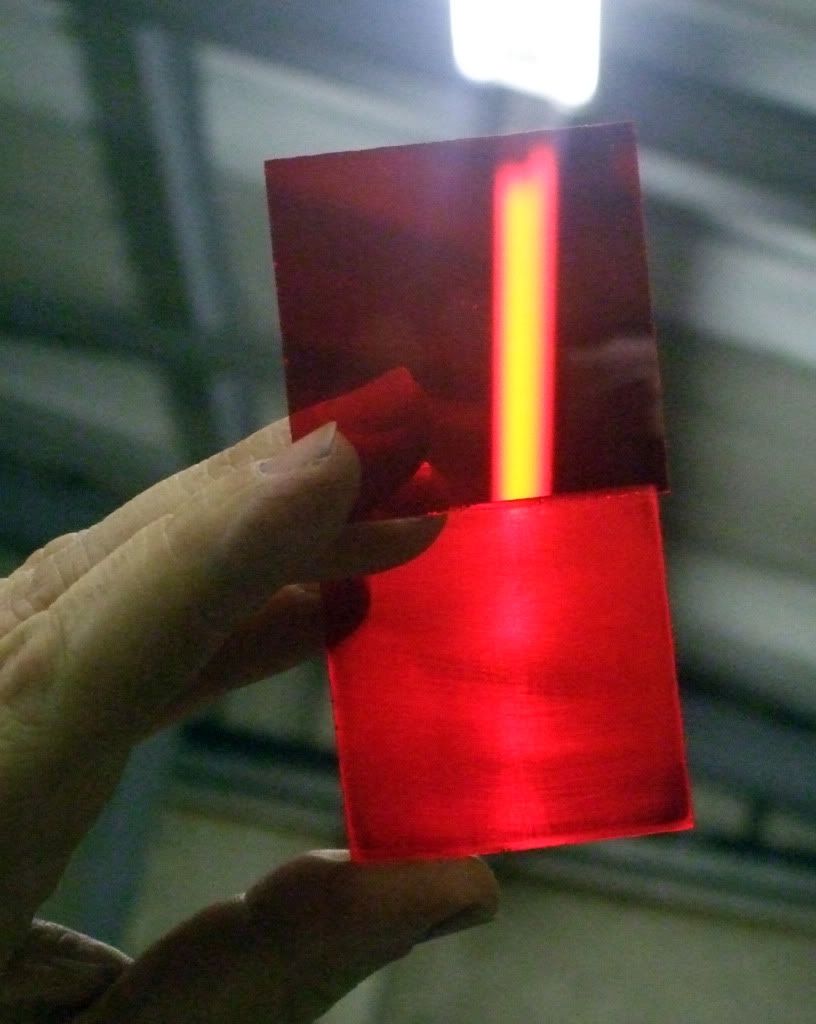
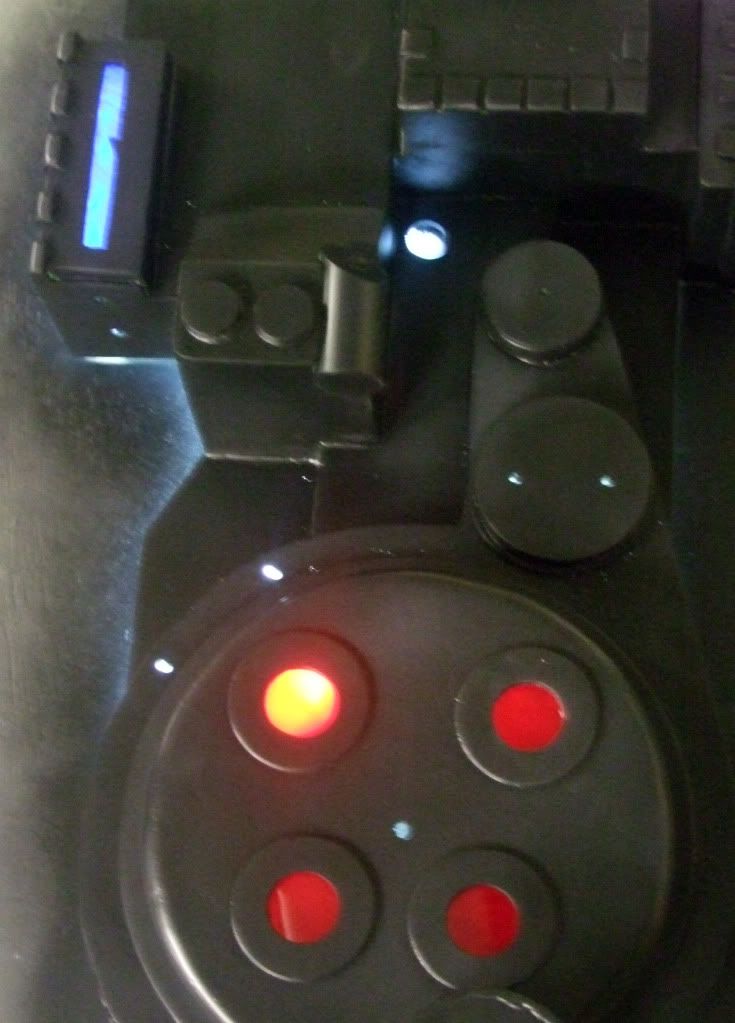
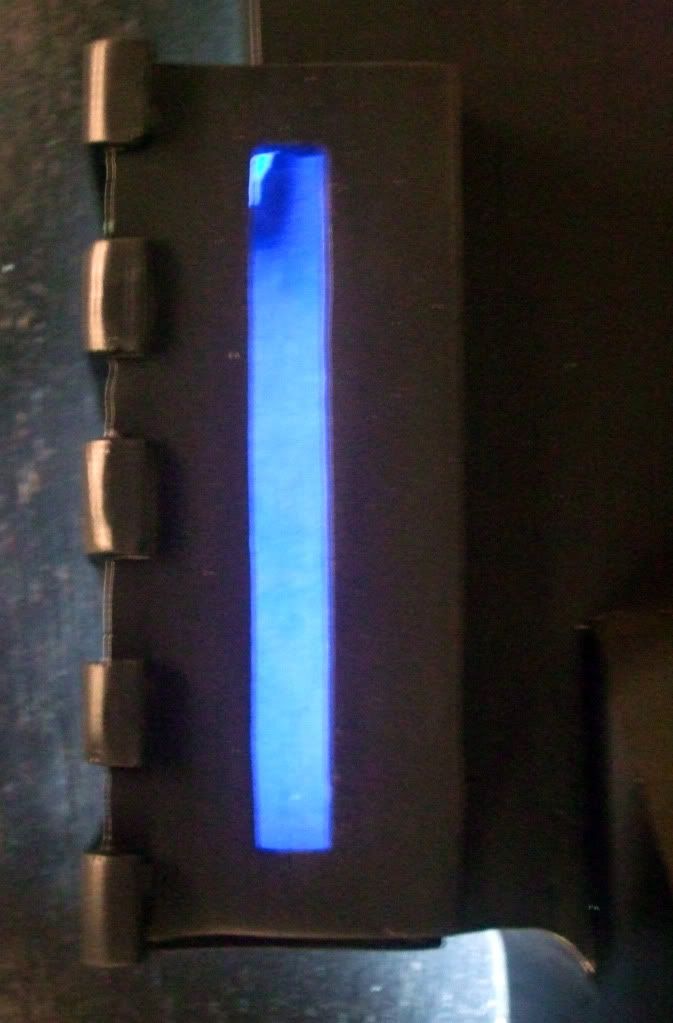
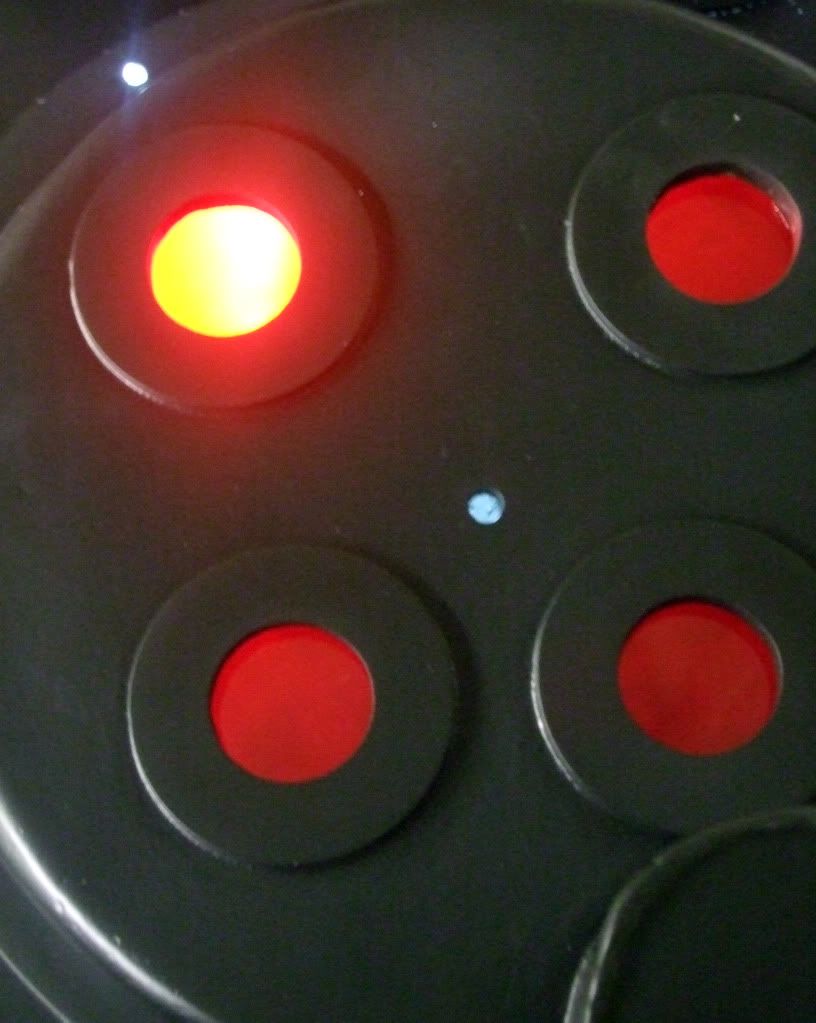
Light & sound kit assembled and installed,
Pack needs weathered by dry brushing silver paint on to areas that would be easily chipped.
 
Can't wait to see how the thrower is going to turn out!! That's the hardest part to build, in my opinion. Amazing work so far !!
 
Back
Top