KojiroVance
Sr Member
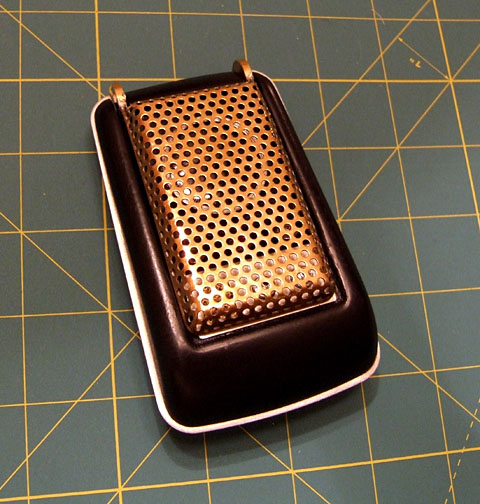
I've been hankering to redo a STTE even further than I have in the past. Previously, I've stripped the antenna and polished it, sanded the midplate and control plate for a less "chrome-y" look, oiled the motor transmission to quiet it, replaced the plastic mic grill, and updated the moire discs. Still, the jewels and buttons kinda bothered me. I knew what to do (particularly after seeing Matt White's, and others', backlit comms), but it took a lot of back-burner pondering to figure out how to do it.
This one, I'd already trashed the shell with Dremel sanding attempts. I went ahead and did the full bore wet sanding down to near smoothy, then painted with matte black, and buffed with 0000 steel wool. Looks like Bakelite, don't she?
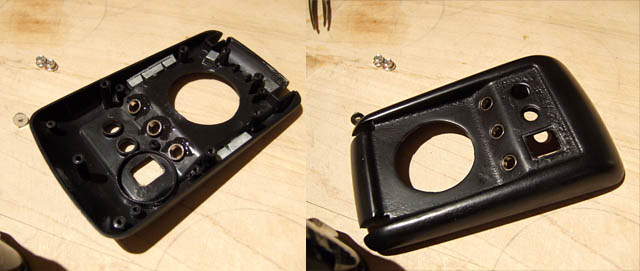
I suspected that replacing the jewel hubs might be tricky, as the tops are smaller than the holes in the STTE shell. Providence dictated that the plastic jewels would come in handy. They're actually a plastic "condom" that slips over the LEDs, and inserted from within. From the outside of the shell are the plastic, chrome sleeves that wrap the plastic jewels. Inverting the sleeves allowed me to simply glue them from the inside, and their interior diameter is a precise fit for contemporary plastic T-jet hub reproductions.
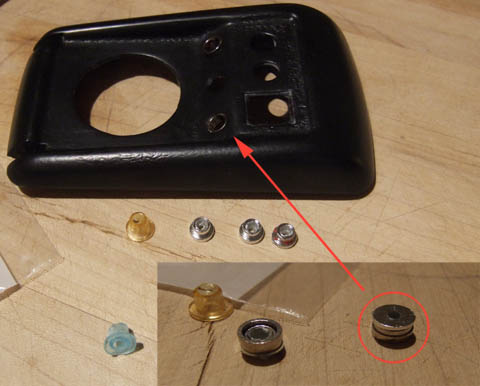
With Swarovski jewels with sanded bottoms (to allow light through), the holes in teh hubs let the jewels be backlit.
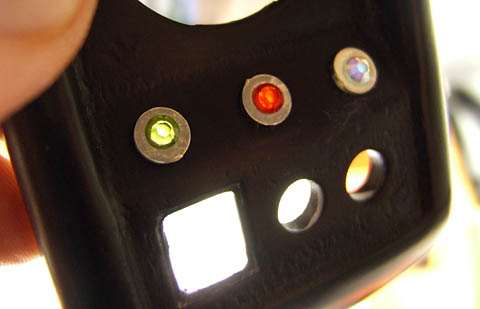
For this unit, I drilled out the tops of the T-Jet hubs, both to let some of the LED slid up into them (I ground down the LEDs too), and let more light through. Big mistake. The STTE's green LED is so bright, it lights up the entire hub, even with lots of black paint inside the hub and around the LED. The LEDs need to be replaced to do this right.
Replacing the buttons was a puzzling proposition. I wondered if I could make up bases from wood dowels, or brass rod, or...? They'd need a lip at one end to retain in the shell's button shaft. By accident, I noticed that Testor's glue tips were the same diameter, and had a lip on the bottom. I filled them with hot glue, cut off some of the bottom (this allows the new buttons the same amount of travel; I won't do that on the next one), and then cut them off at the top to be level with the control plate.
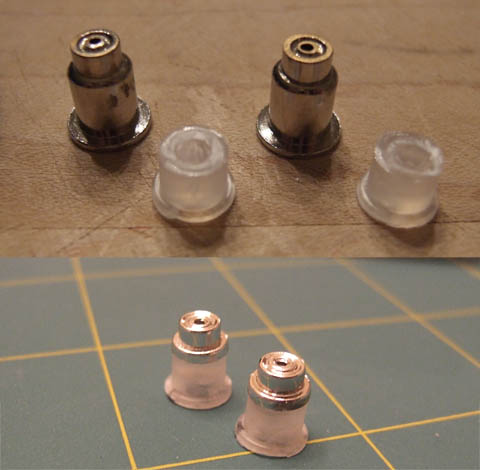
I left a little extra so that I could sand them down at a slight angle. The button shafts don't meet the plate at 90°, so the buttons normally protrude out at a slight angle. Sanding the new button bases at an angle corrected this.
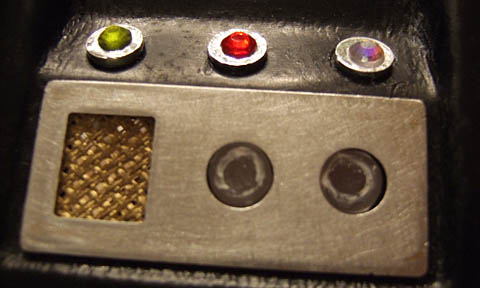
A closer look at the new buttons. Those Testor's glue tips didn't need any adjustment, their shaft is the same diameter as the STTE buttons, so it's a smooth fit.
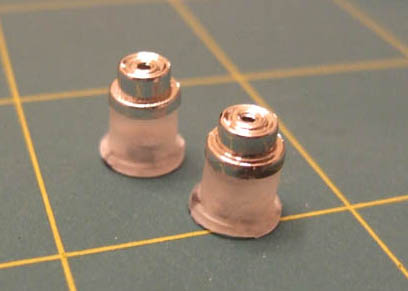
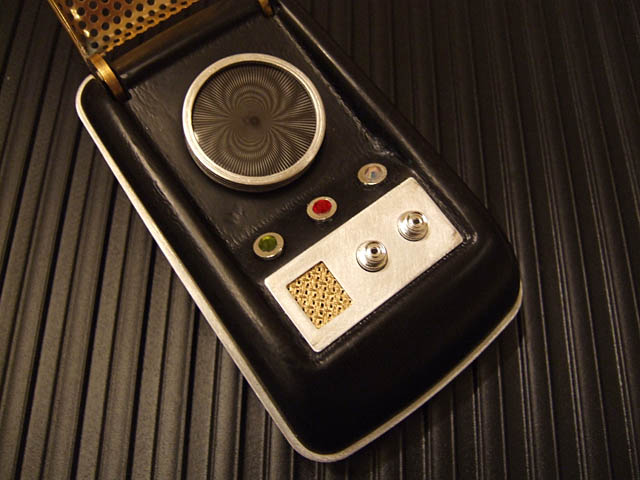
Here's the end result. (See how friggin' bright that green LED is. Sheesh. I need to go with yellow or blue for this one.)
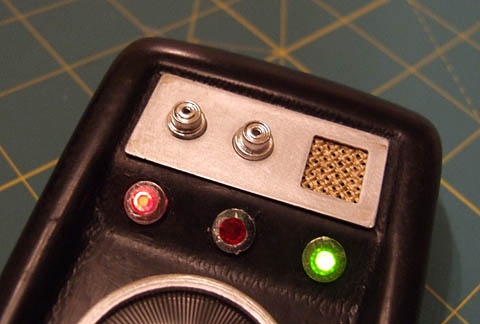
Here's a comparison with a STTE (with less upgrades, as described above).
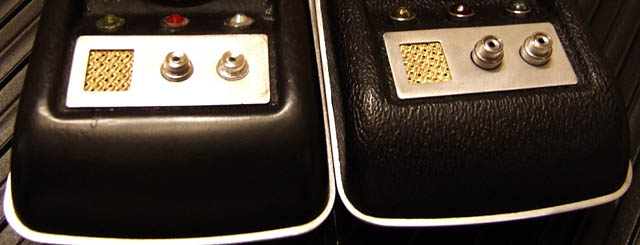
Voila ... Frankencomm.
Last edited:
