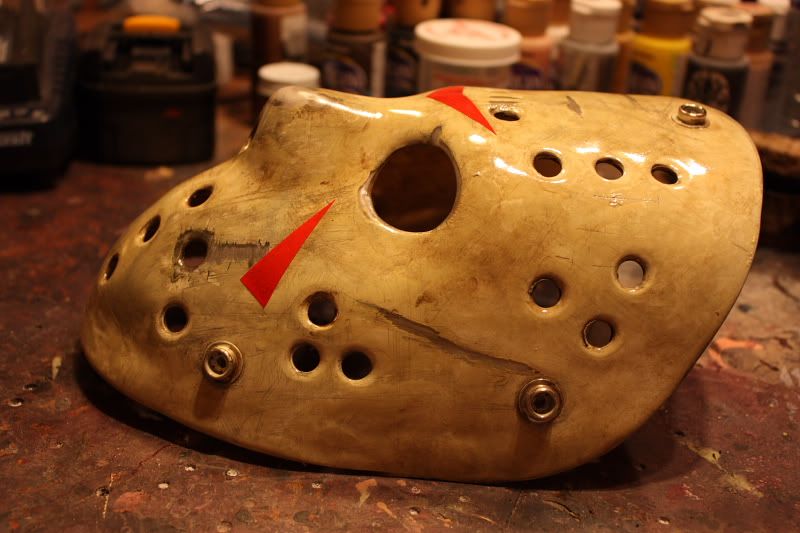
Friday the 13th part 3 Jason mask paint up start to finish

travsall

Active Member
Been workin on and off this mask for a while, kept putting it off for other things, customer orders etc, but finally put the clear coat on it yesterday! I'd really been wanting to play around with a clear blank, so I bought one and went after it! I decided I wanted a pretty destroyed lookin part 3, this would be like just before he takes the axe. Pretty happy with the outcome, and the evolution is kinda cool to see!
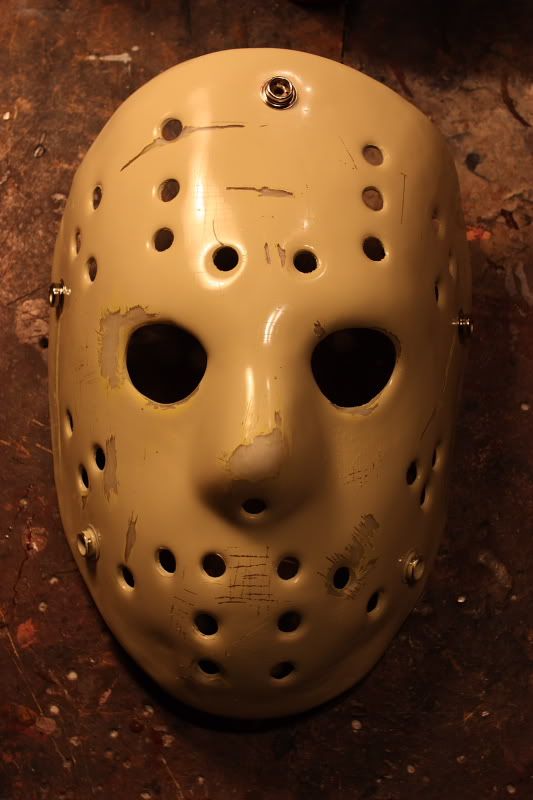
Forgot to get one fresh outta the box, but this is after trimming, drilling and sanding.
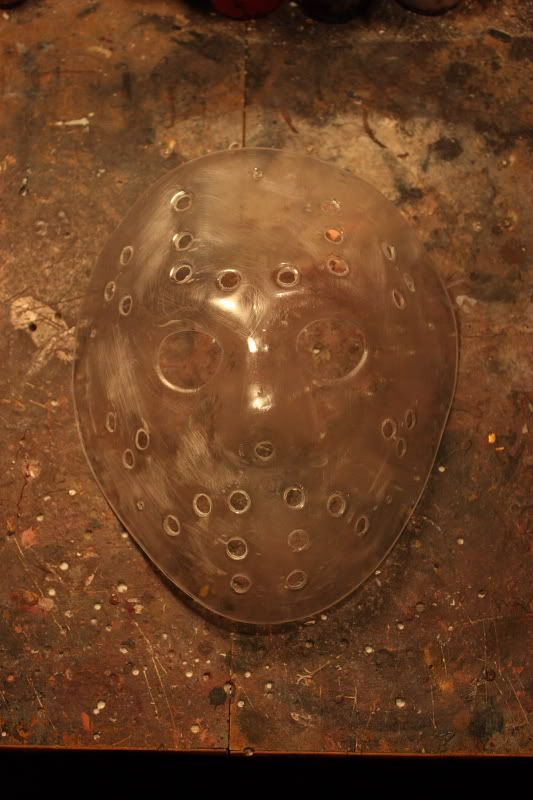
jason31.jpg


After the bottom snaps were attached and the base coat
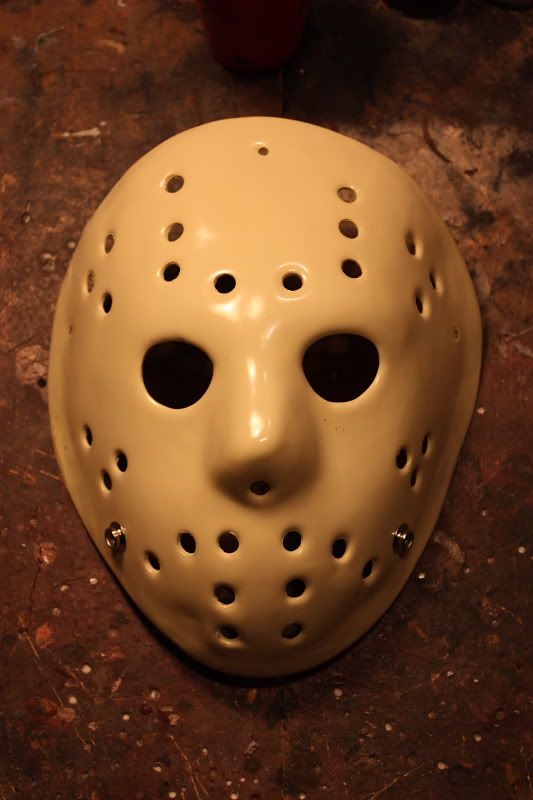
jason32.jpg


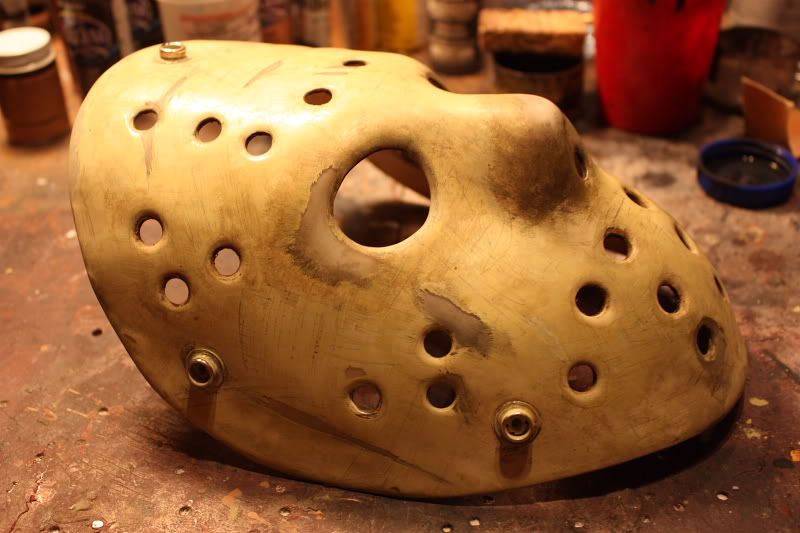
After reshaping to get the worn part 3 look while on display
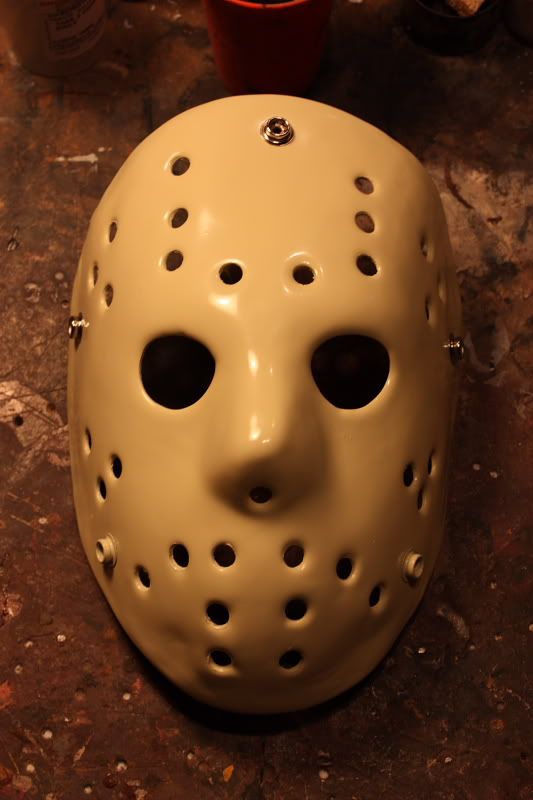
jason33.jpg


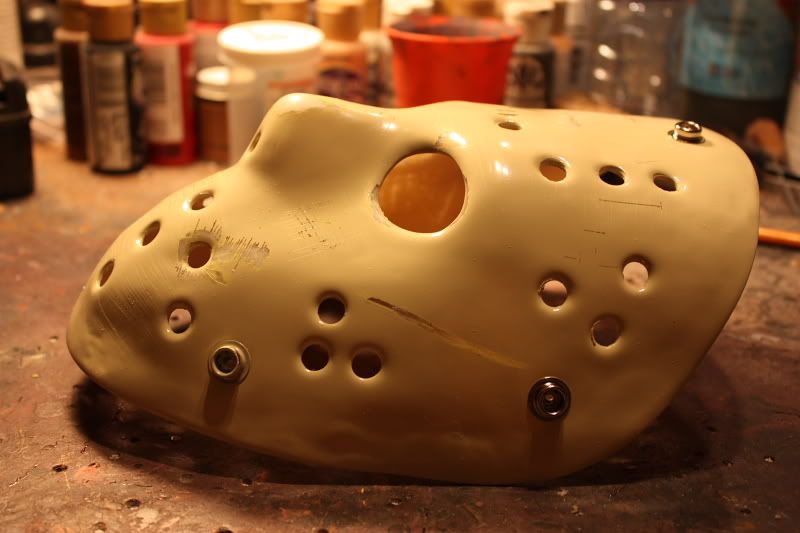
First round of damage
jason34.jpg

jason35.jpg

jason36.jpg


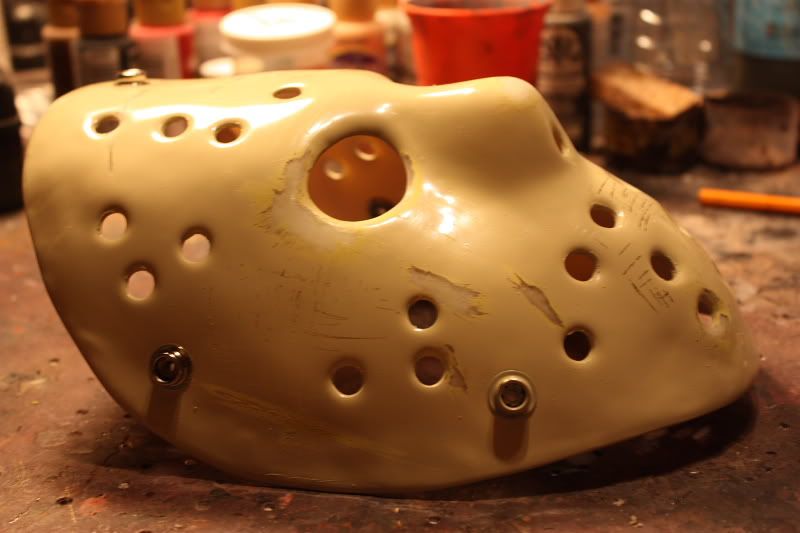
Second round of damage and first weathering
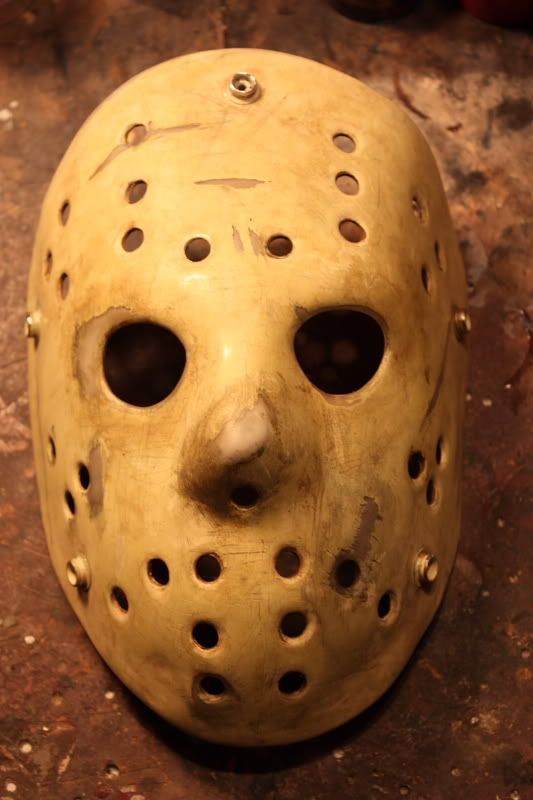
jason37.jpg

jason38.jpg

jason39.jpg


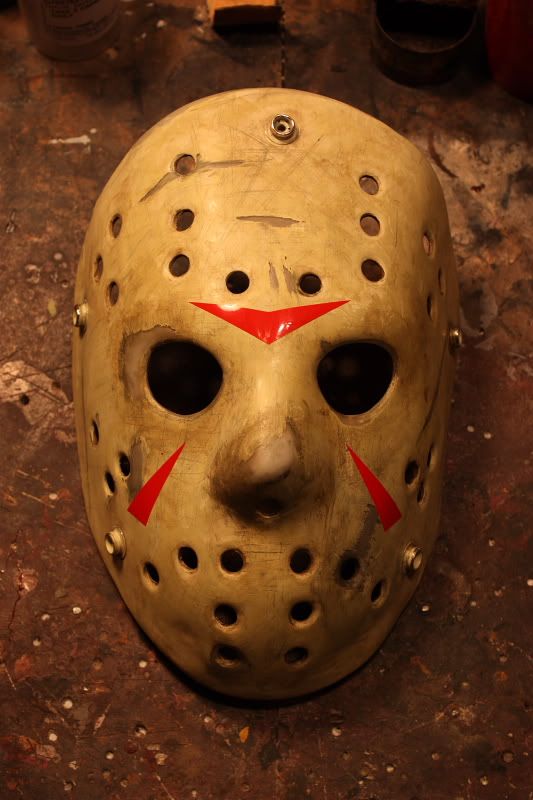
Weathering done, triangles added
jason310.jpg


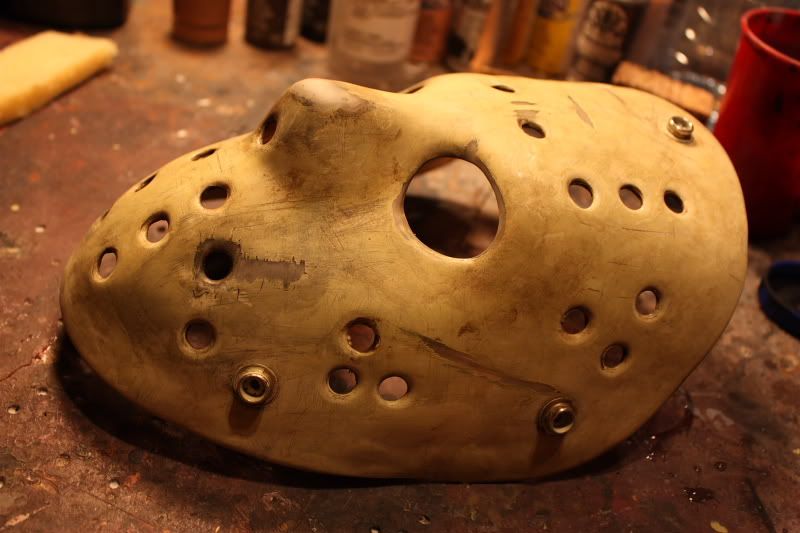
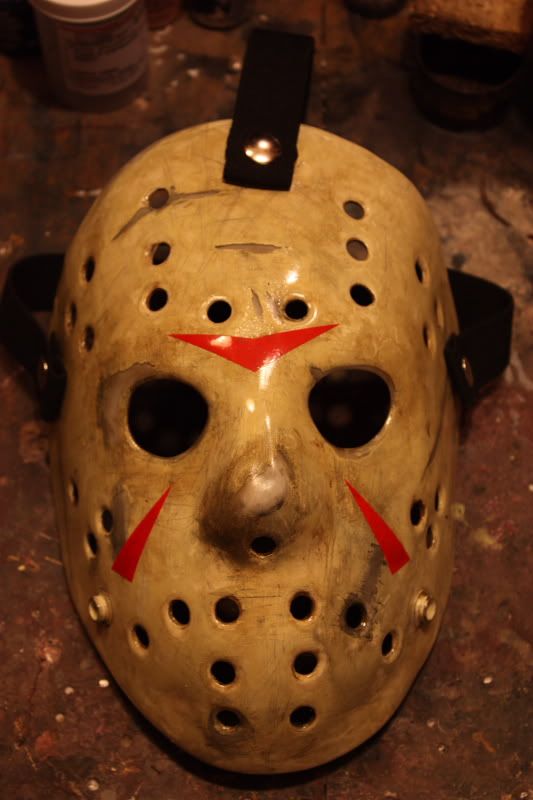
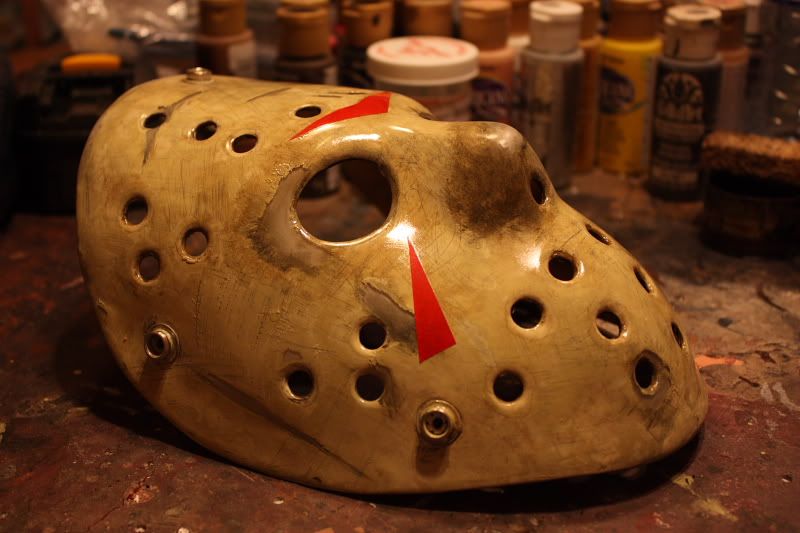
Finished with gloss clear coat
jason311.jpg

jason313.jpg

jason312.jpg
 
That looks awesome...

Im interested how much money you spent in this mask with all materials... May I ask?!?

Great job...

I ordered the new FvJ Mask from NECA, comming out in dec. 2010... I think this is enough for a nice costume...
 
Where did you get the base mask from? It looks good. PM me if necessary...

I'd like to work on one of these myself.
 
Thanks again guys!
Onkelpsycho, no prob at all asking the material cost. I actually bought the blank as a kit, came with the triangles, strap material, snaps and adjusting rings. First time I'd ordered a kit form, I usually just get the raw blank and add my own hardware etc. The kit was $29.99 plus shipping. I already had the rest of the materials, but if not it would be the cost of 2 colors of spray paint, a can of clear coat clear coat, and a few different colors of acrylic paint.

Al, I got the kit from fright stuff, FrightStuff Home page first time I'd done business with them, went smooth! Lot of controversey and questioning about the authenticity of the blanks, but I had no intrest or care at all about that. You can get whatever shape/damage/dents/bends out of any abs plastic mask with a little heat from a stove burner (held above) or a heat gun, so where it comes from is a moot point in my eyes. Another great source for blanks is JDF studios JDF Studios FX |
 
Dont know the page. Very cool...

Some parts would be a nice addition to my costume...

Thanks for sharing the information... ;)
 
this is amazing!

ive actually spent the day with richard brooker (jason in part 3) this last thursday, and he had the surviving original mask with him. i was lucky enough to hold it and have a photo of me with it. he says there were 3 made for filming. the main one is gone forever after not being looked after properly, (long story) and the other two reside with him and someone from the production.

with that in mind i can safely say that this mask is spot on!

also the frightstuff guy is for real. part three masks from him are as close to the real as you can get. again, i saw the real one on thursday.
 
Very good progress. even though it's only progress work, it still had the same feeling of seeing it on screen.
 
Just saw this question, sanding helps a lot with the paint adhesion. because the spots that show through to the white backside coat are sanded in, the damage is done then anyways. It also adds some realism that the parts that show through are a little bit clouded instead of looking brand new
 
Back
Top