DL-44 ANH HEro Blaster build for Avbat

scottjua

Master Member
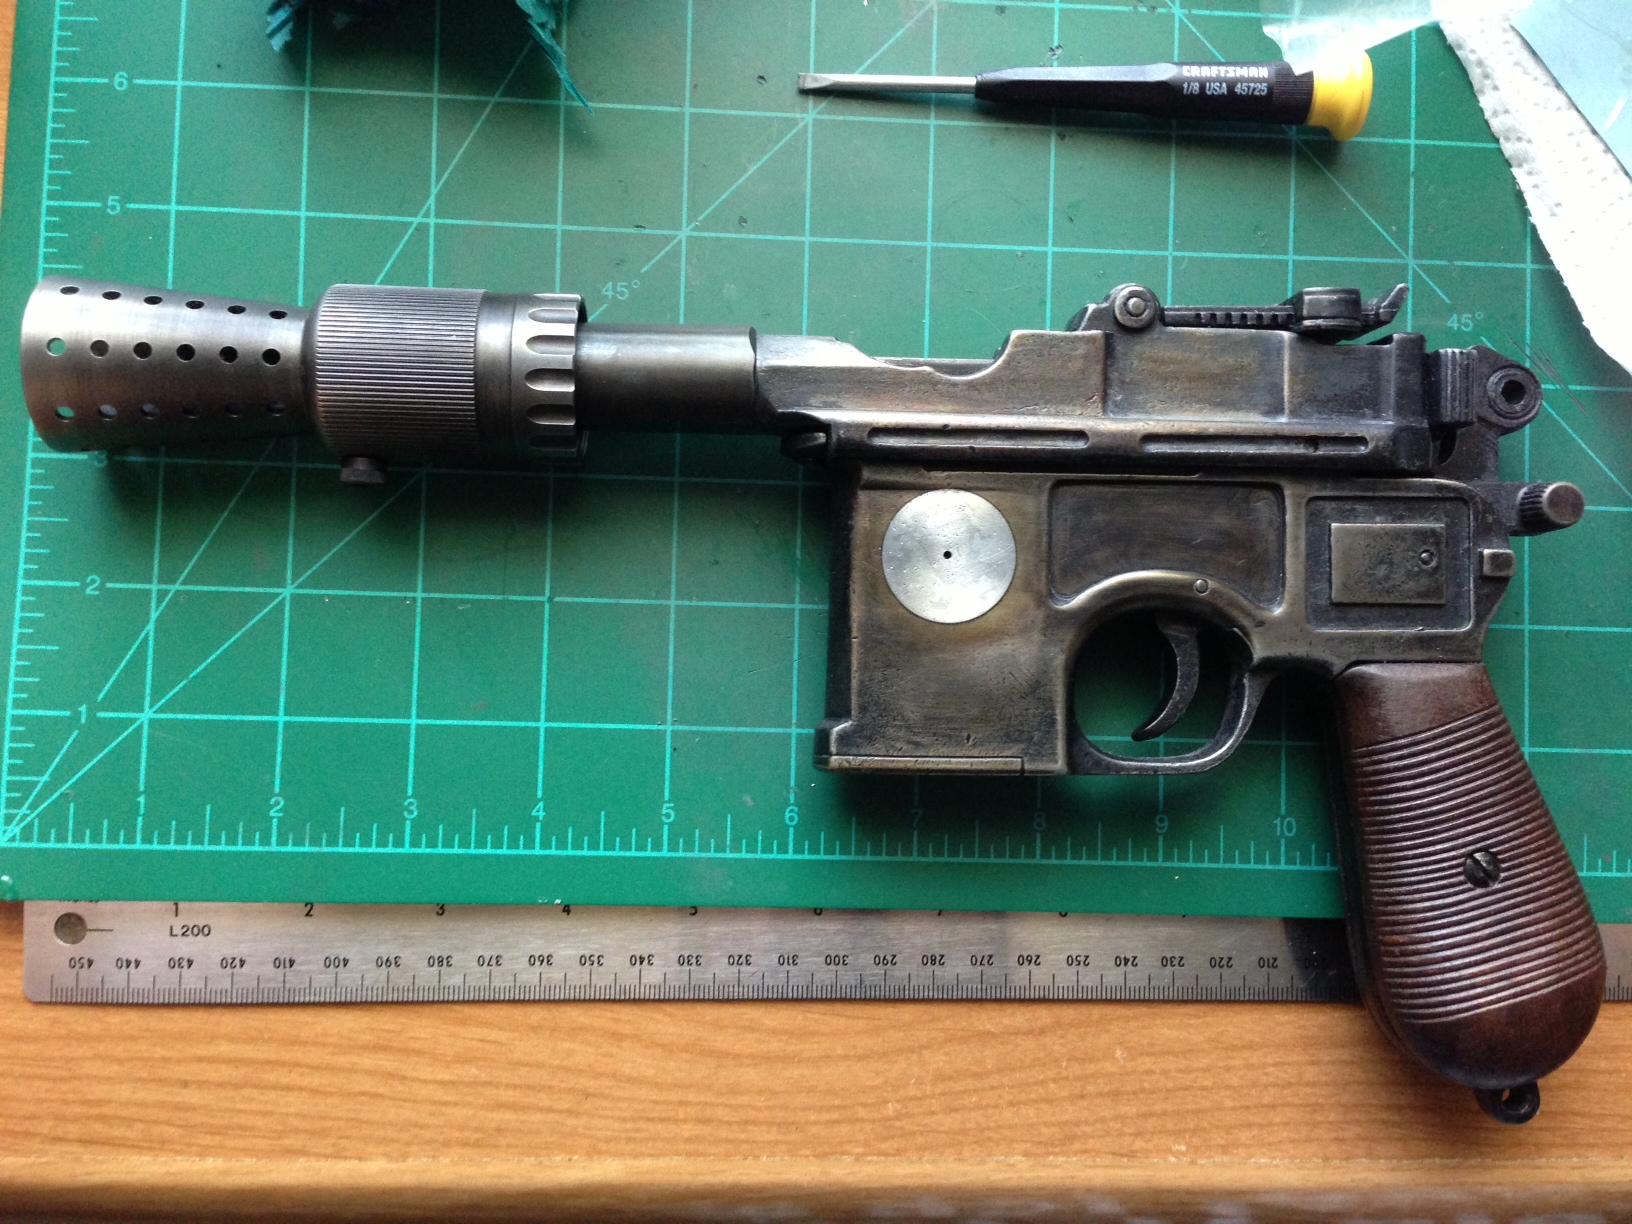
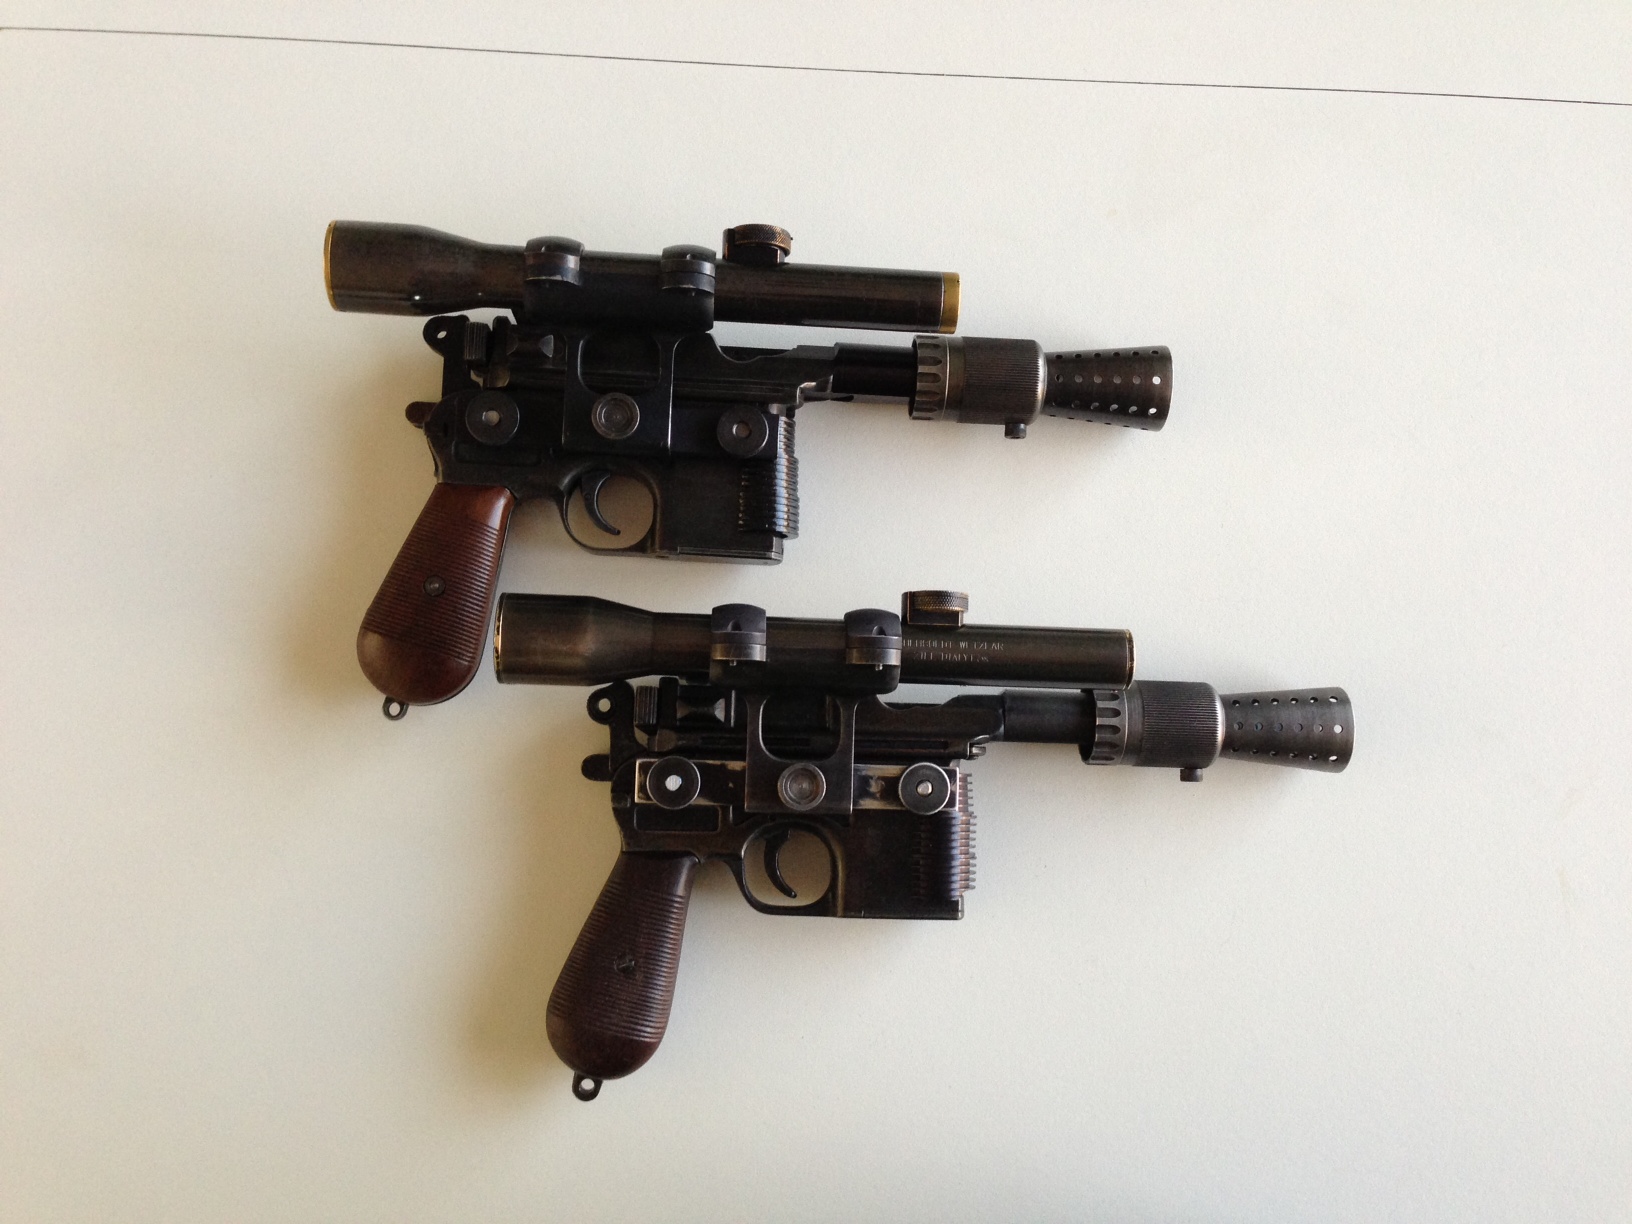
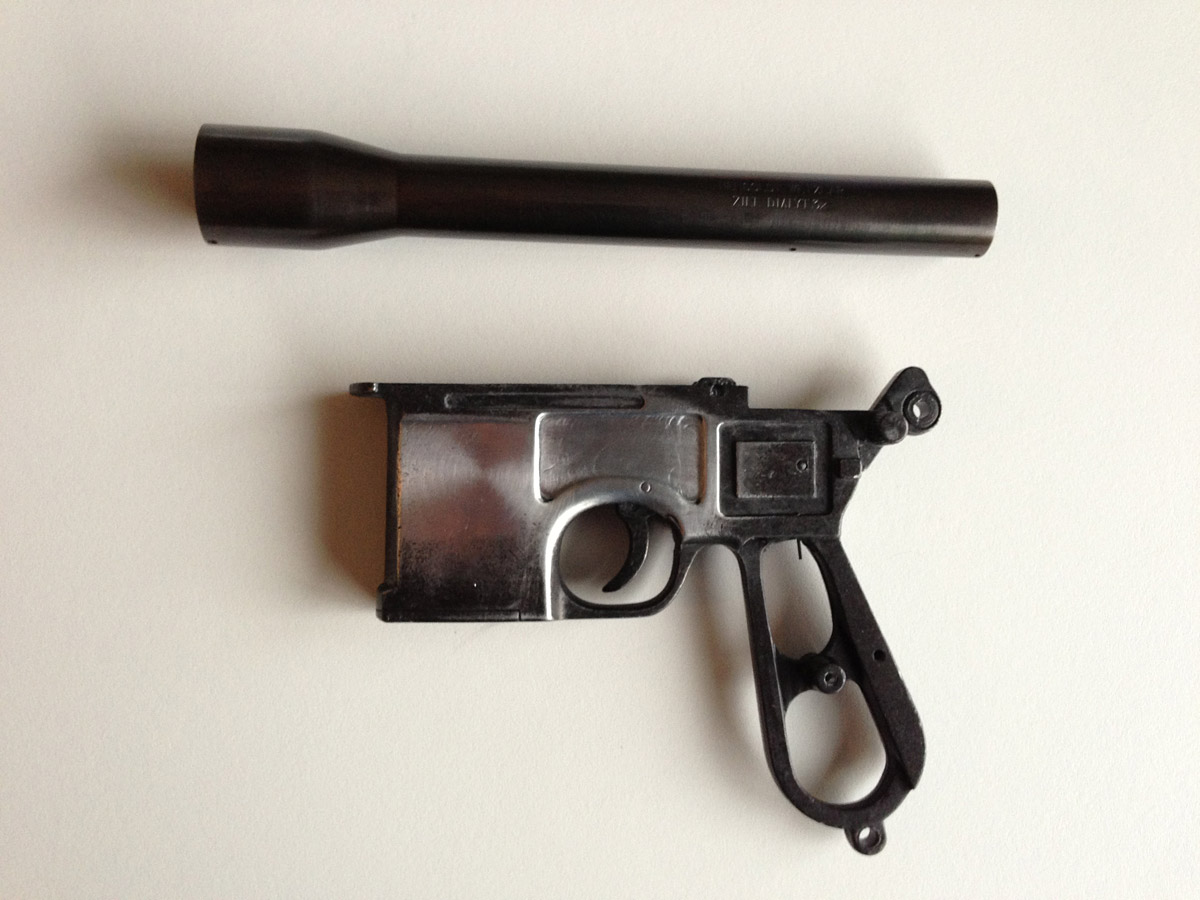
After seeing my build of my own Hero blaster Avbat asked me if I would take on his assembly for his DMachinist run parts kit on a Denix...

It's going to be a few weeks in the making, as I am balancing his build along with my business, father of a two year old, and some lightsaber commissions, but I got a little started and wanted to share.

I will update the thread as I go.

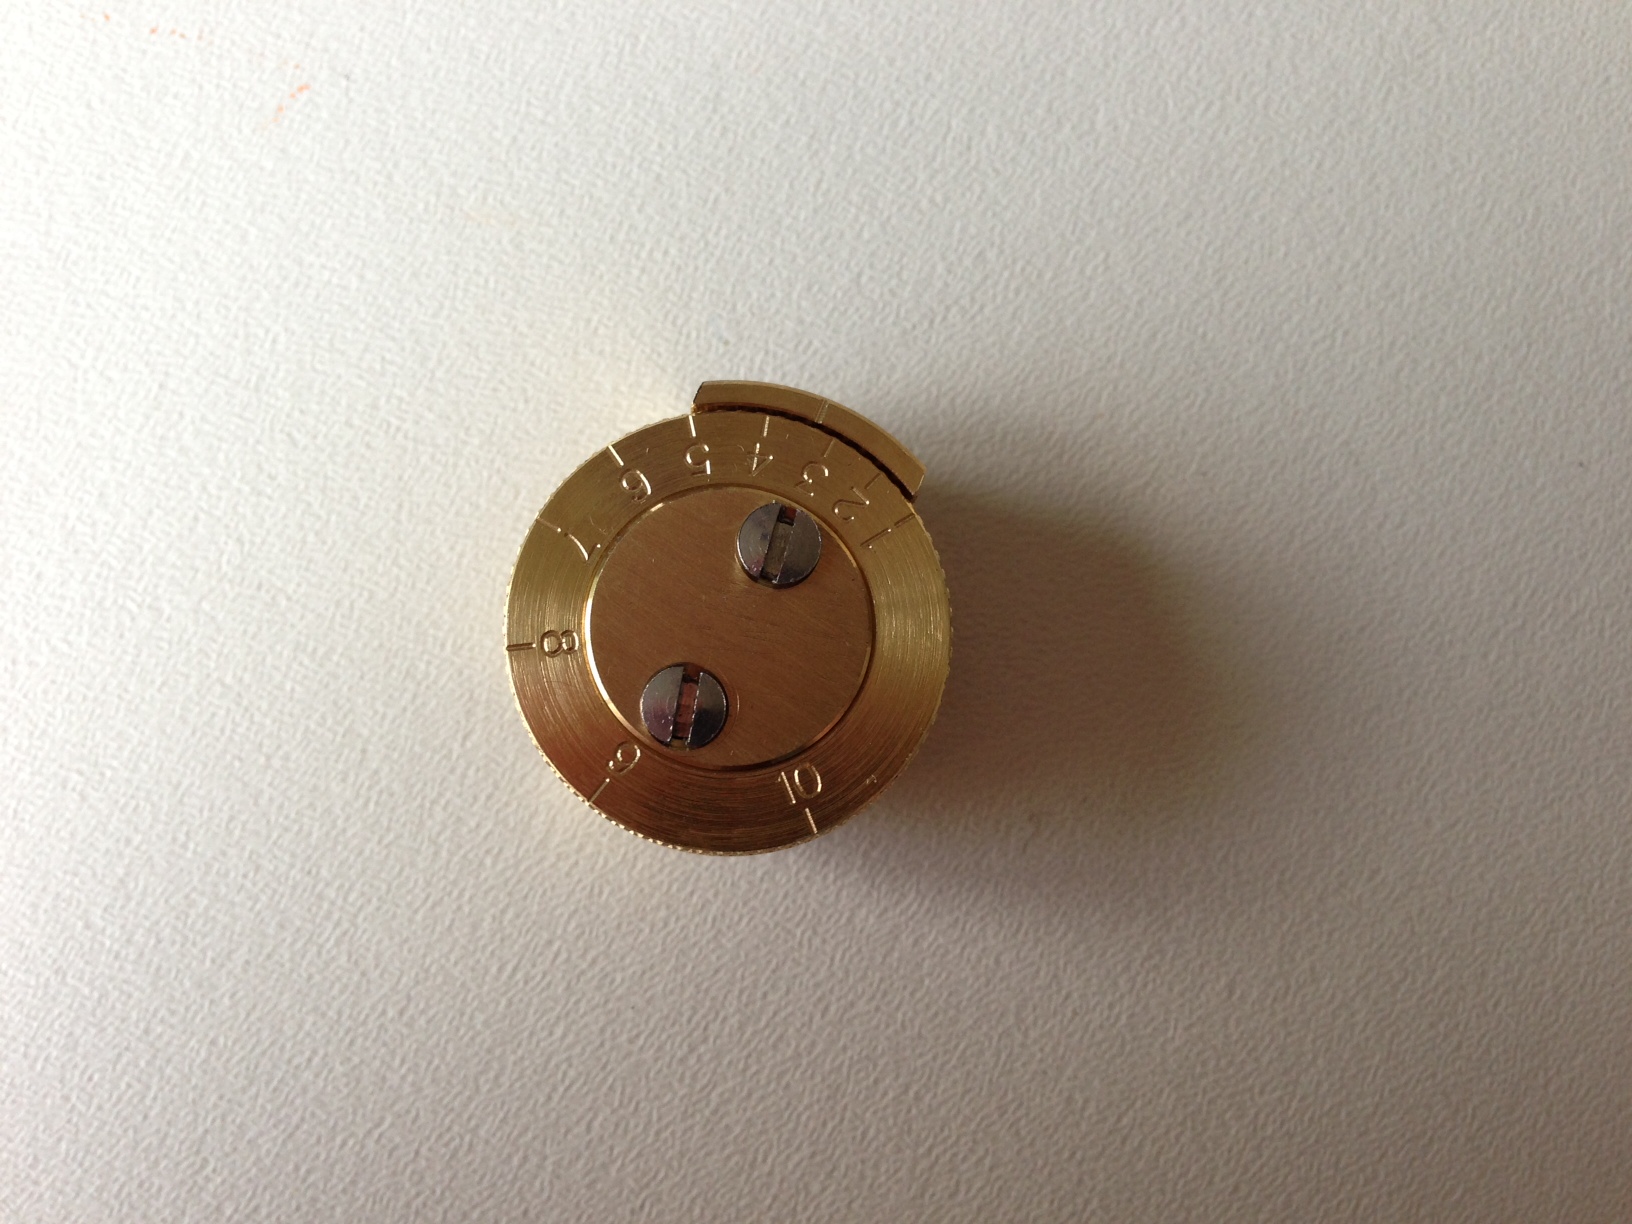
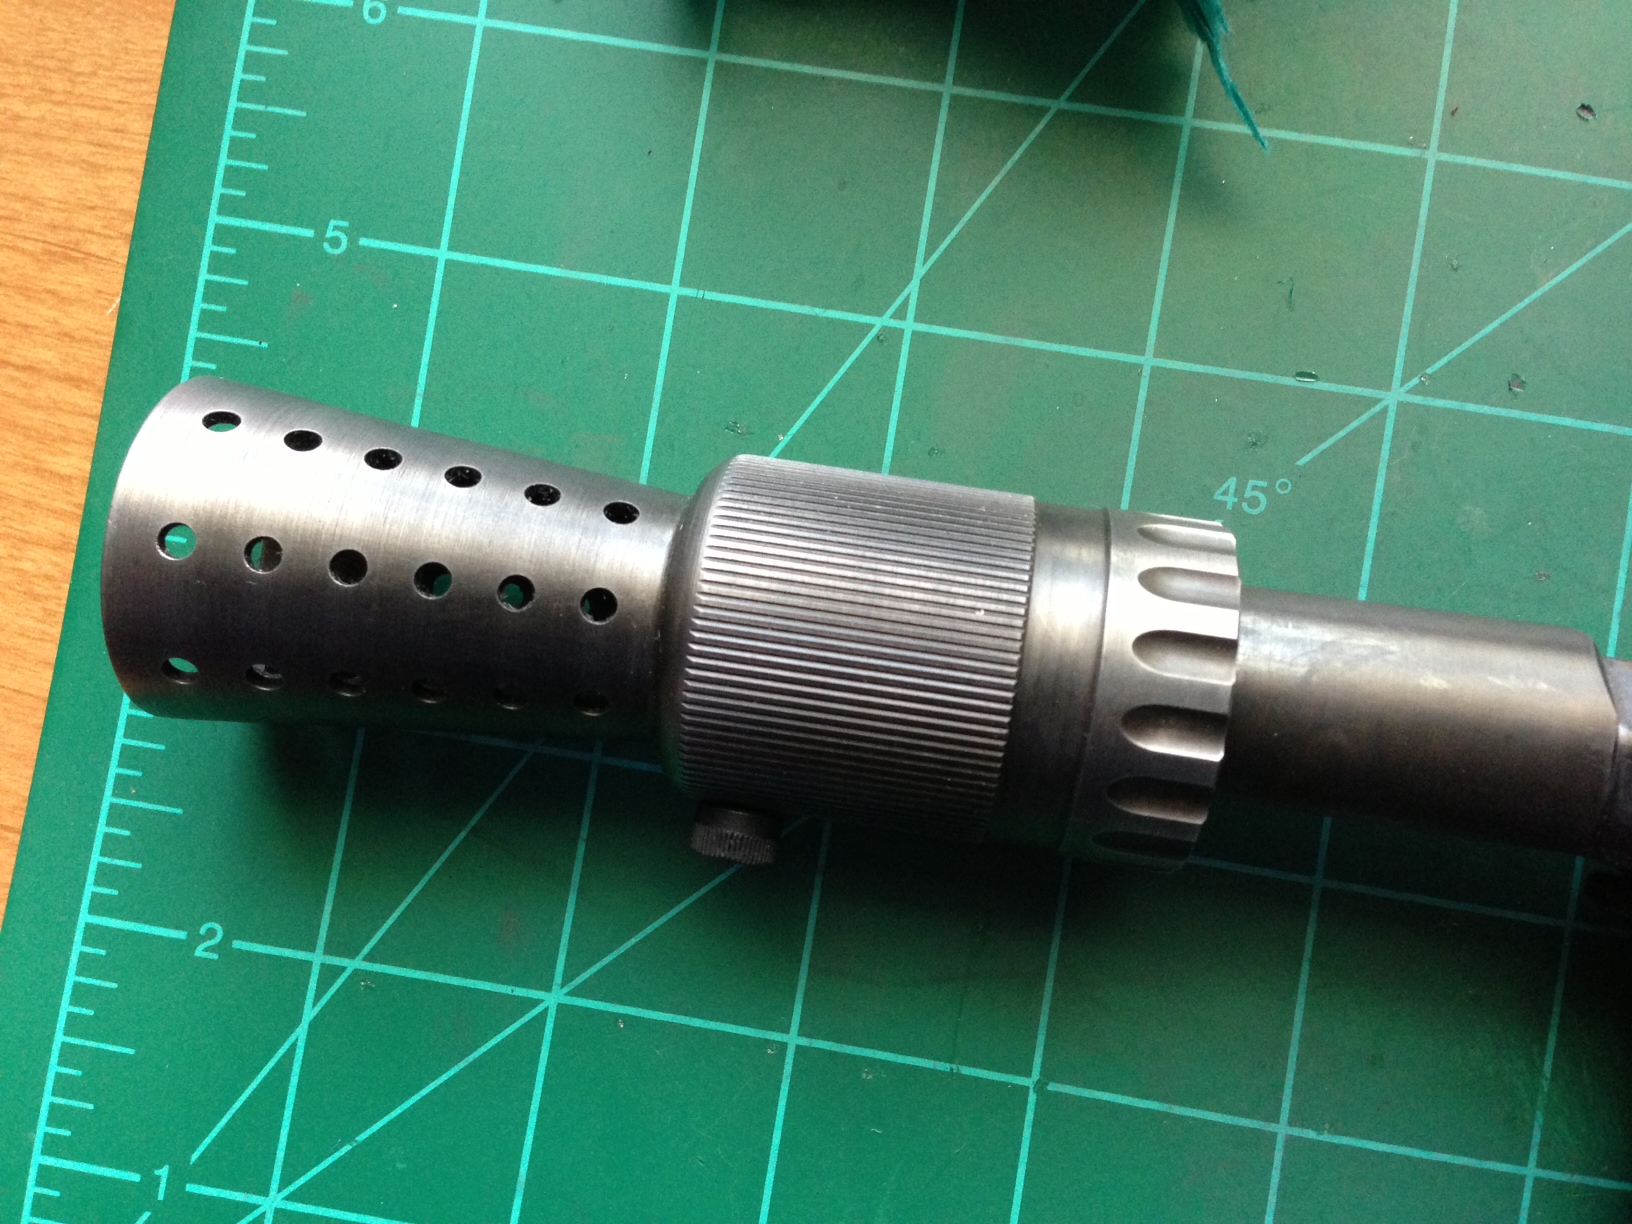
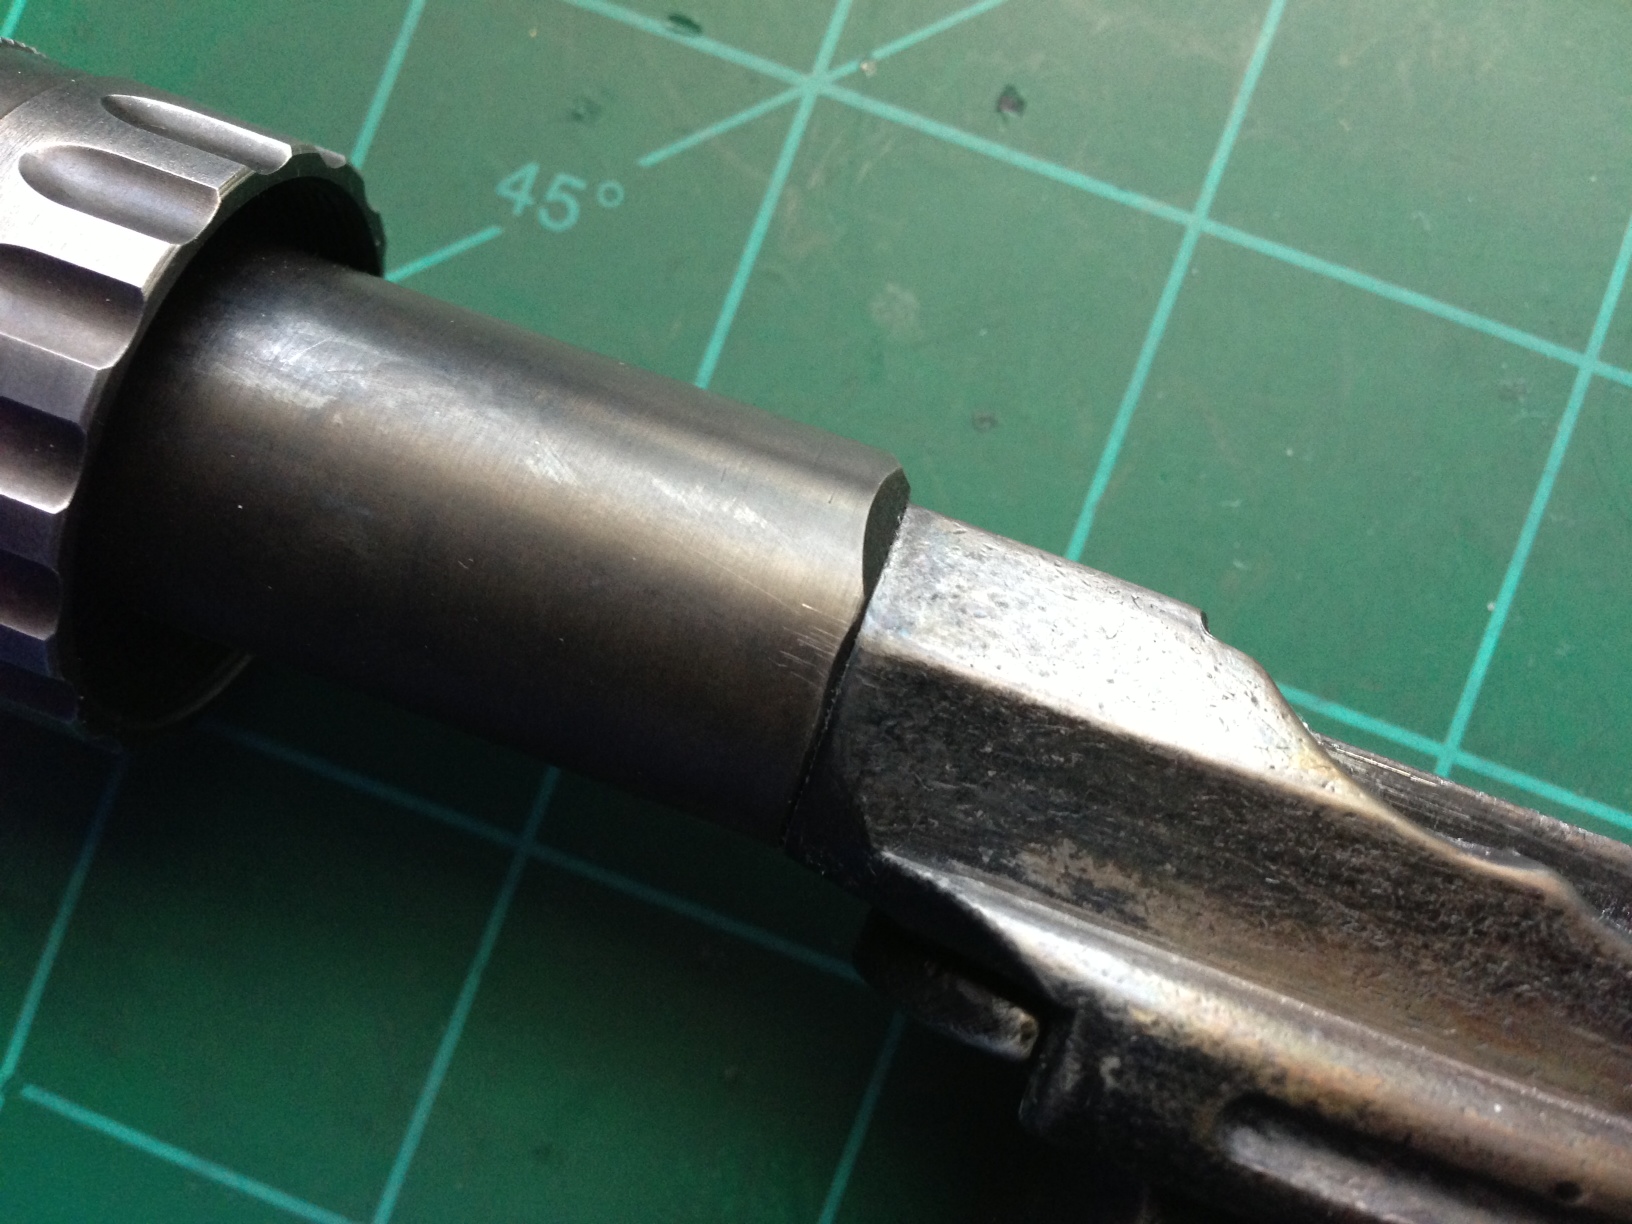
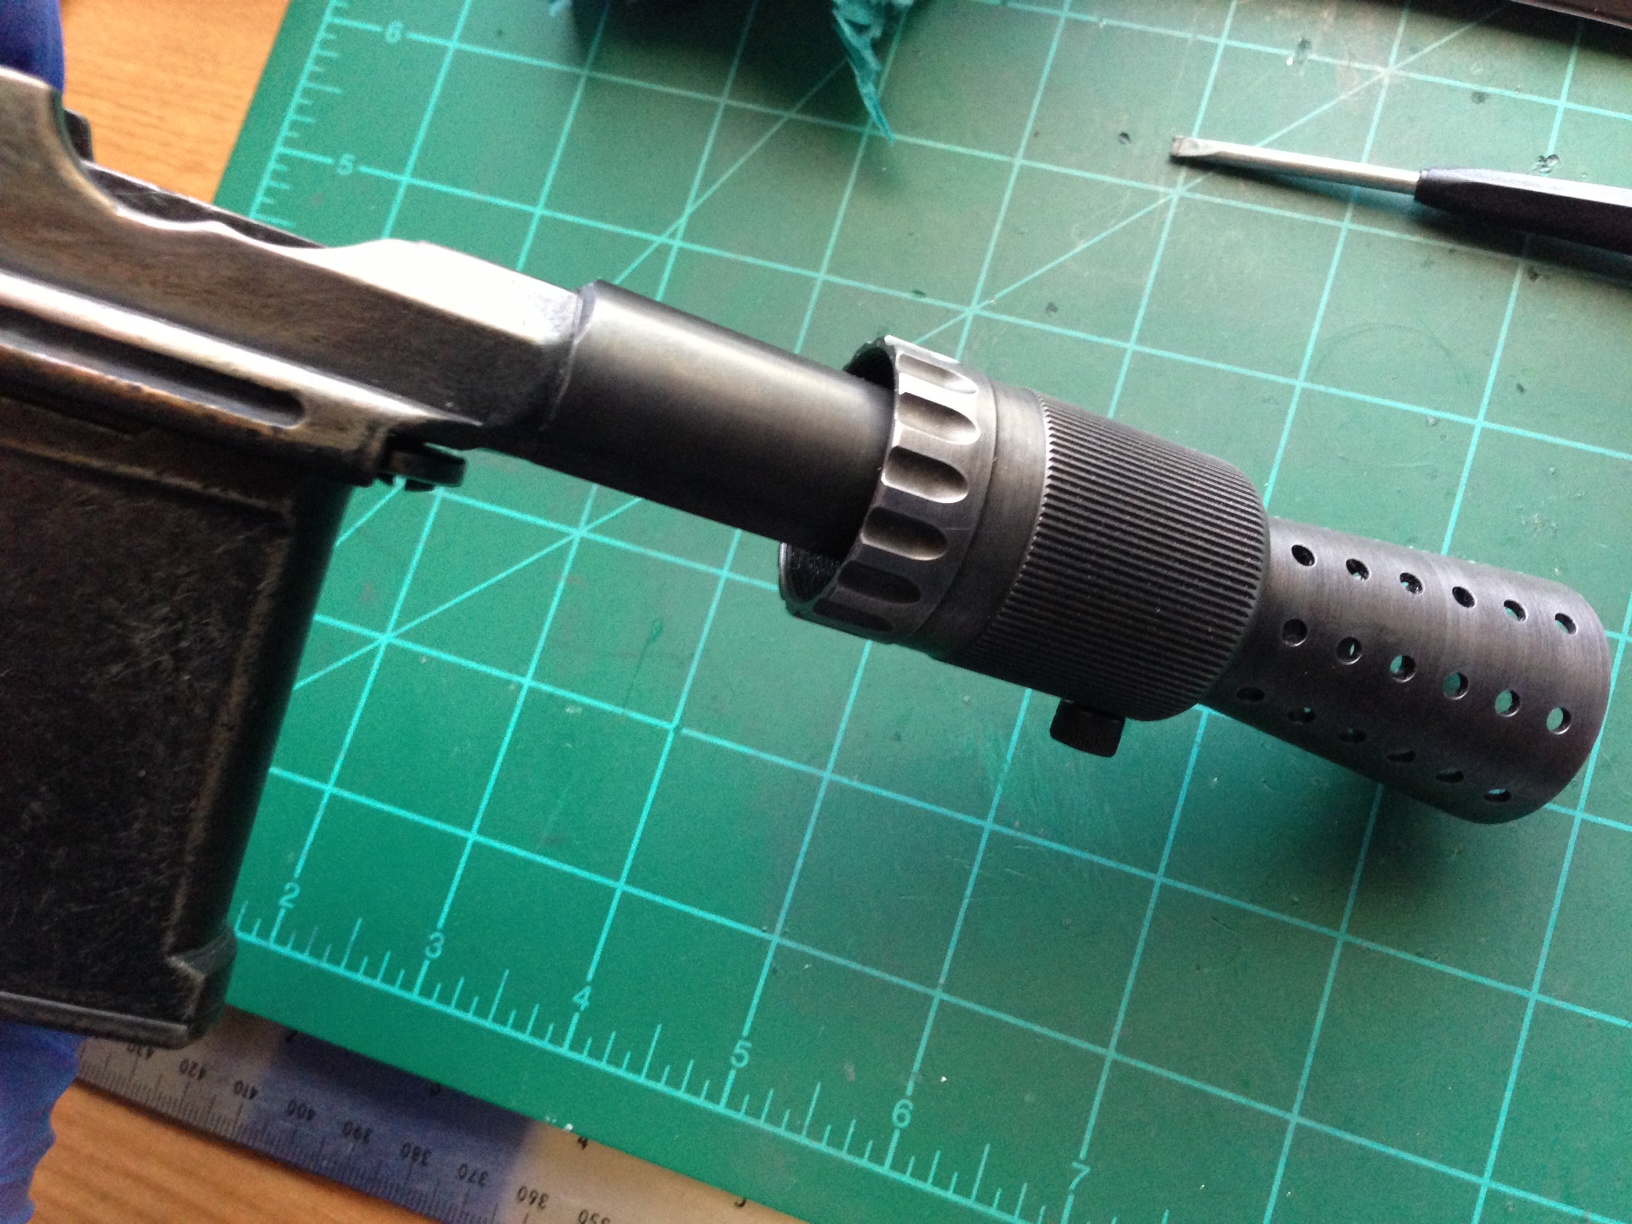
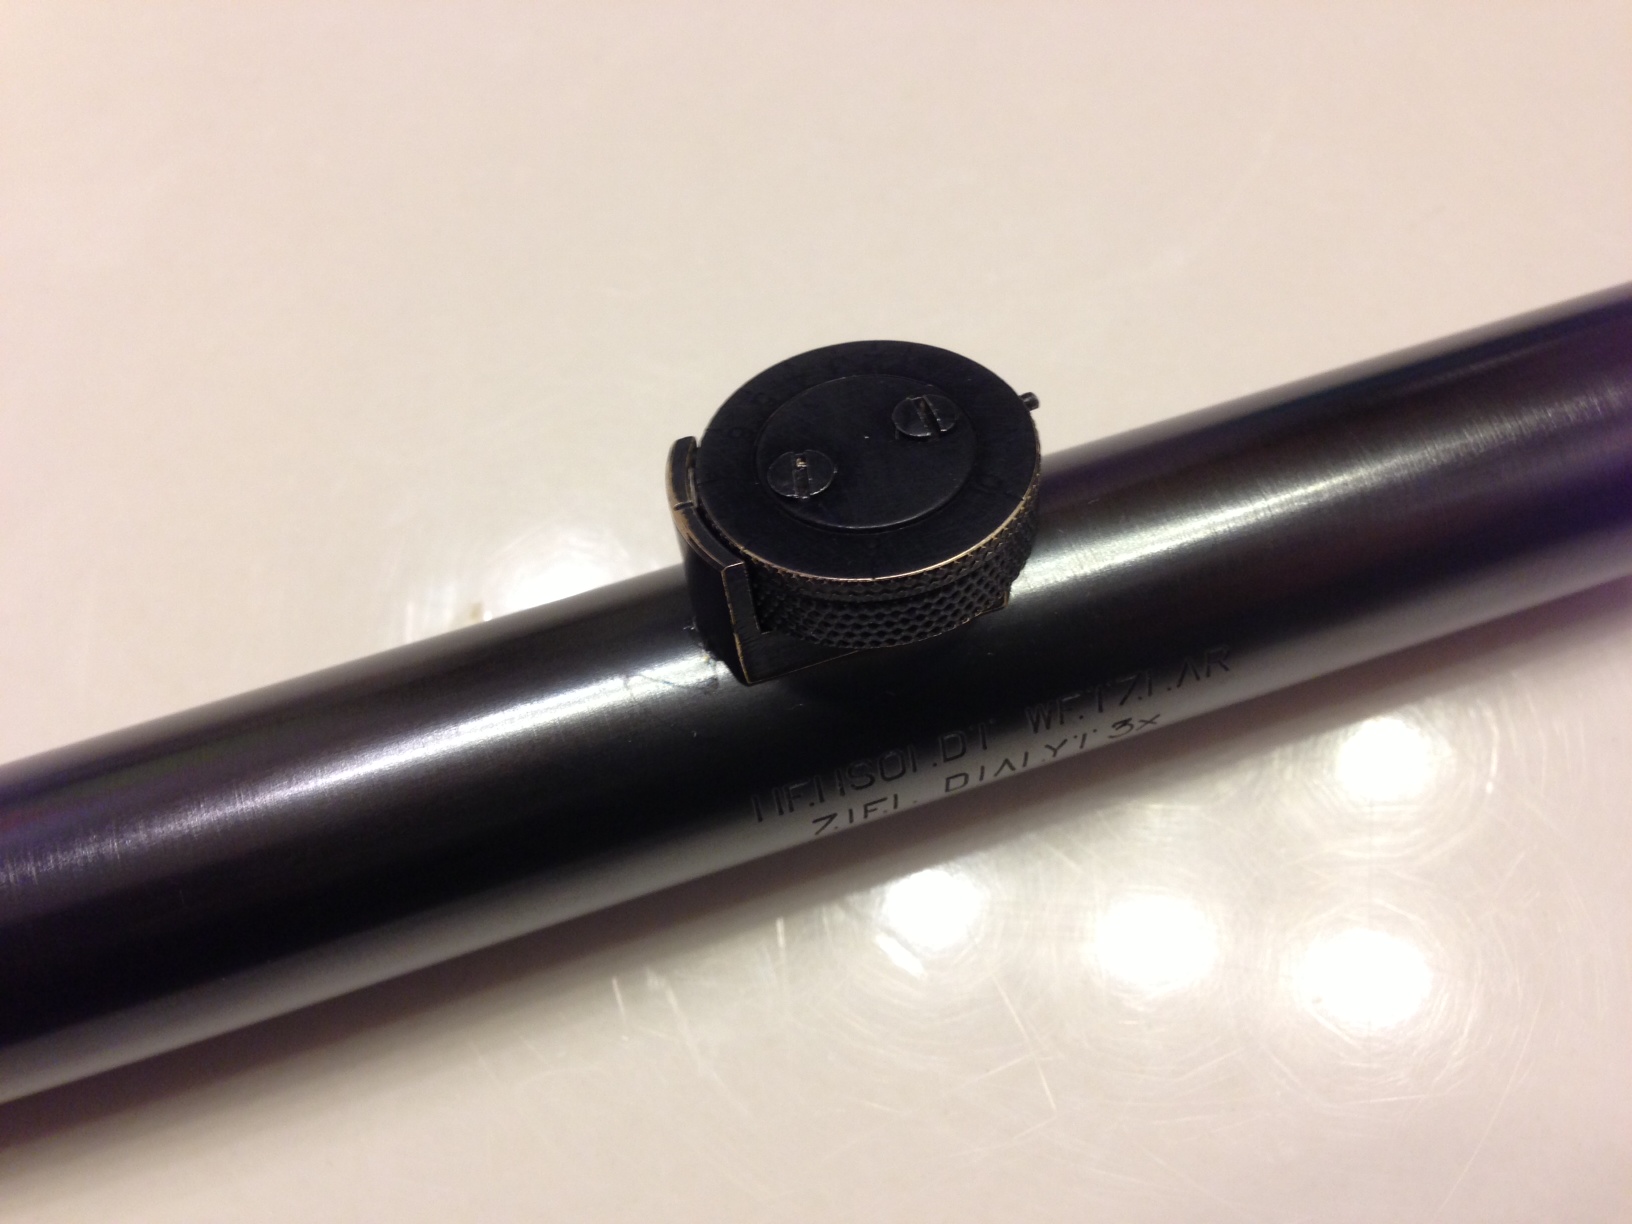
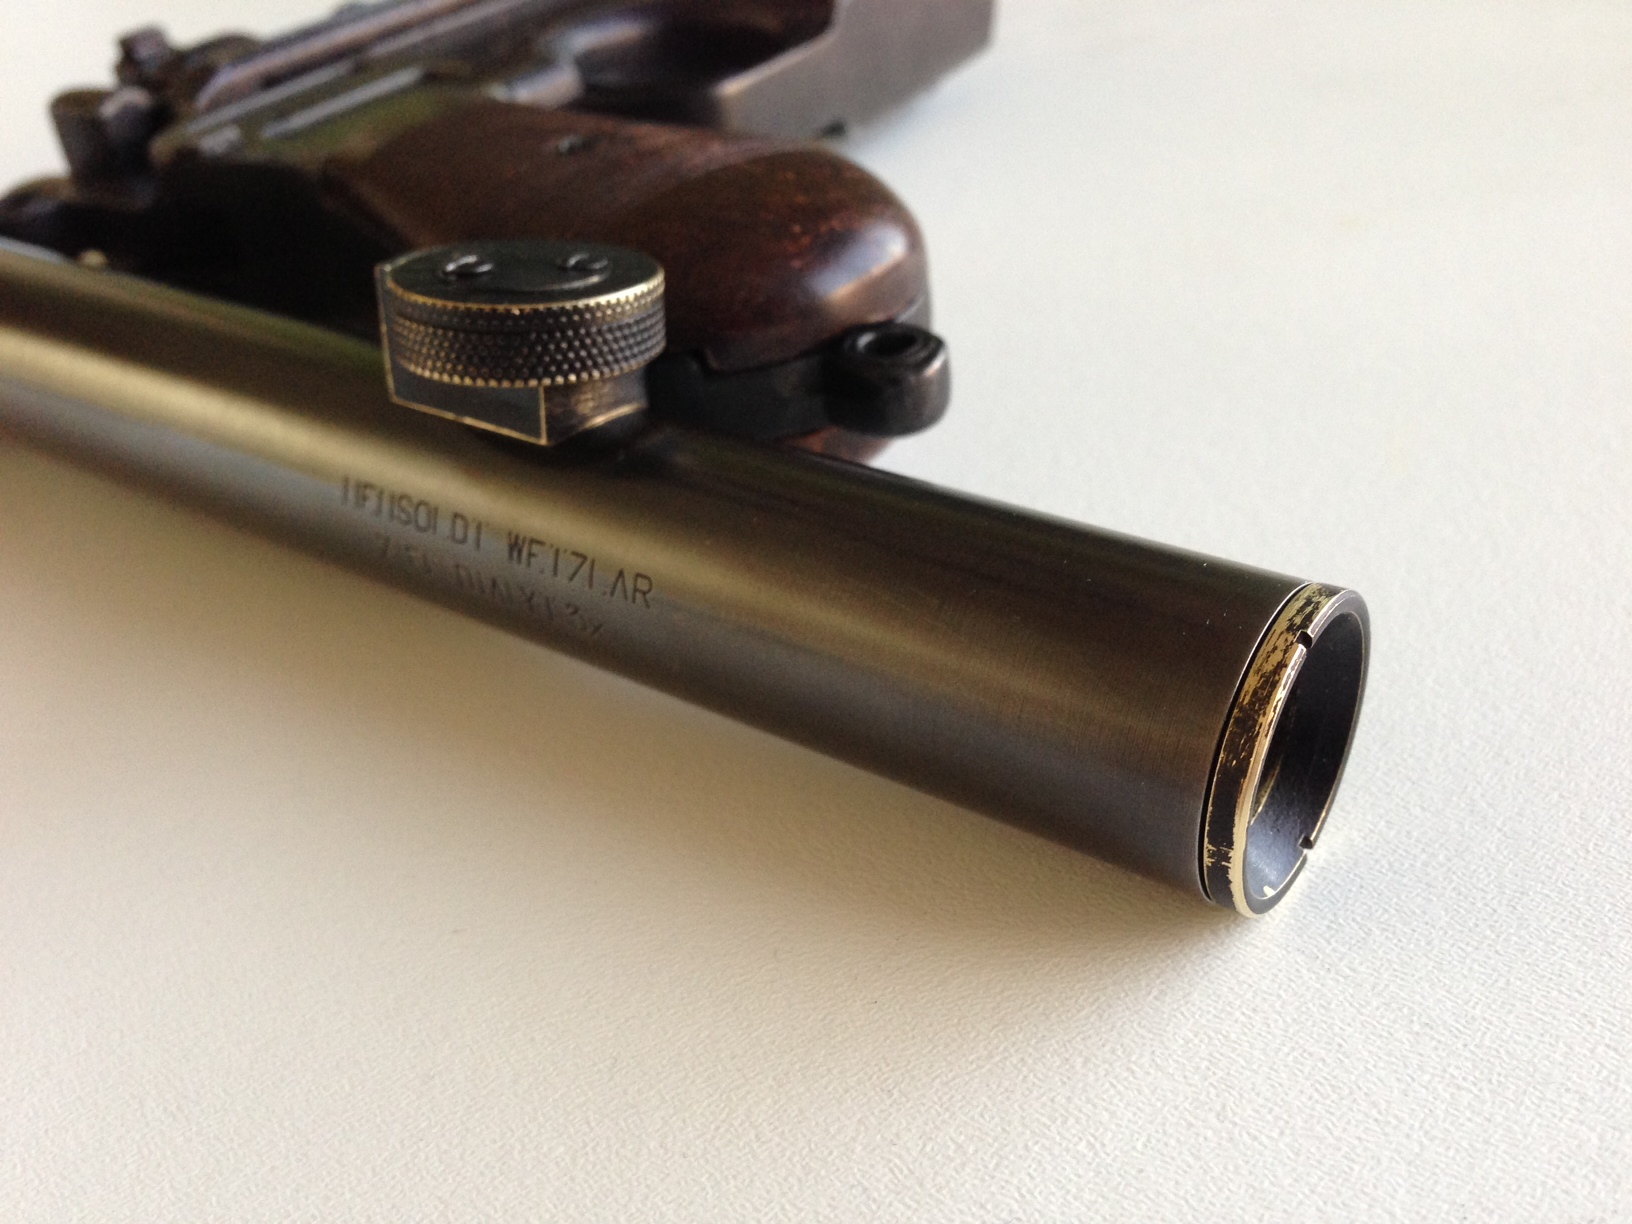
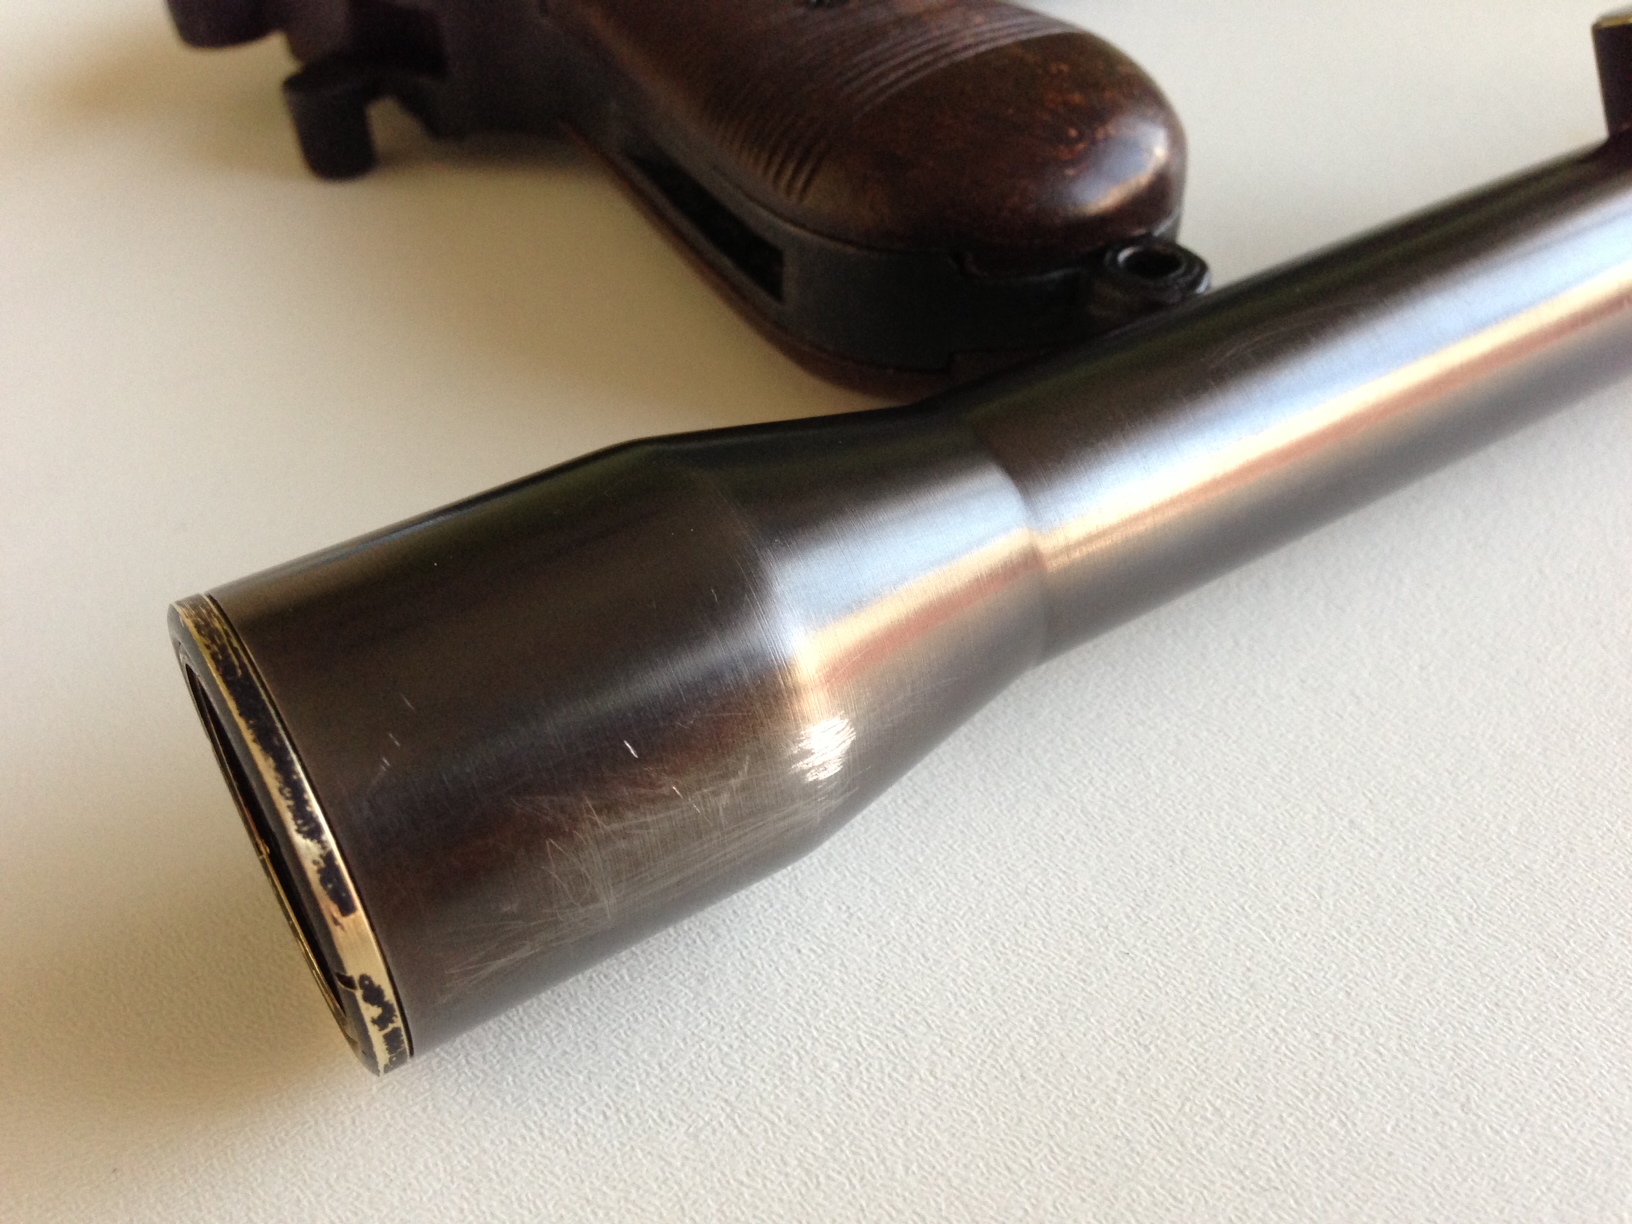
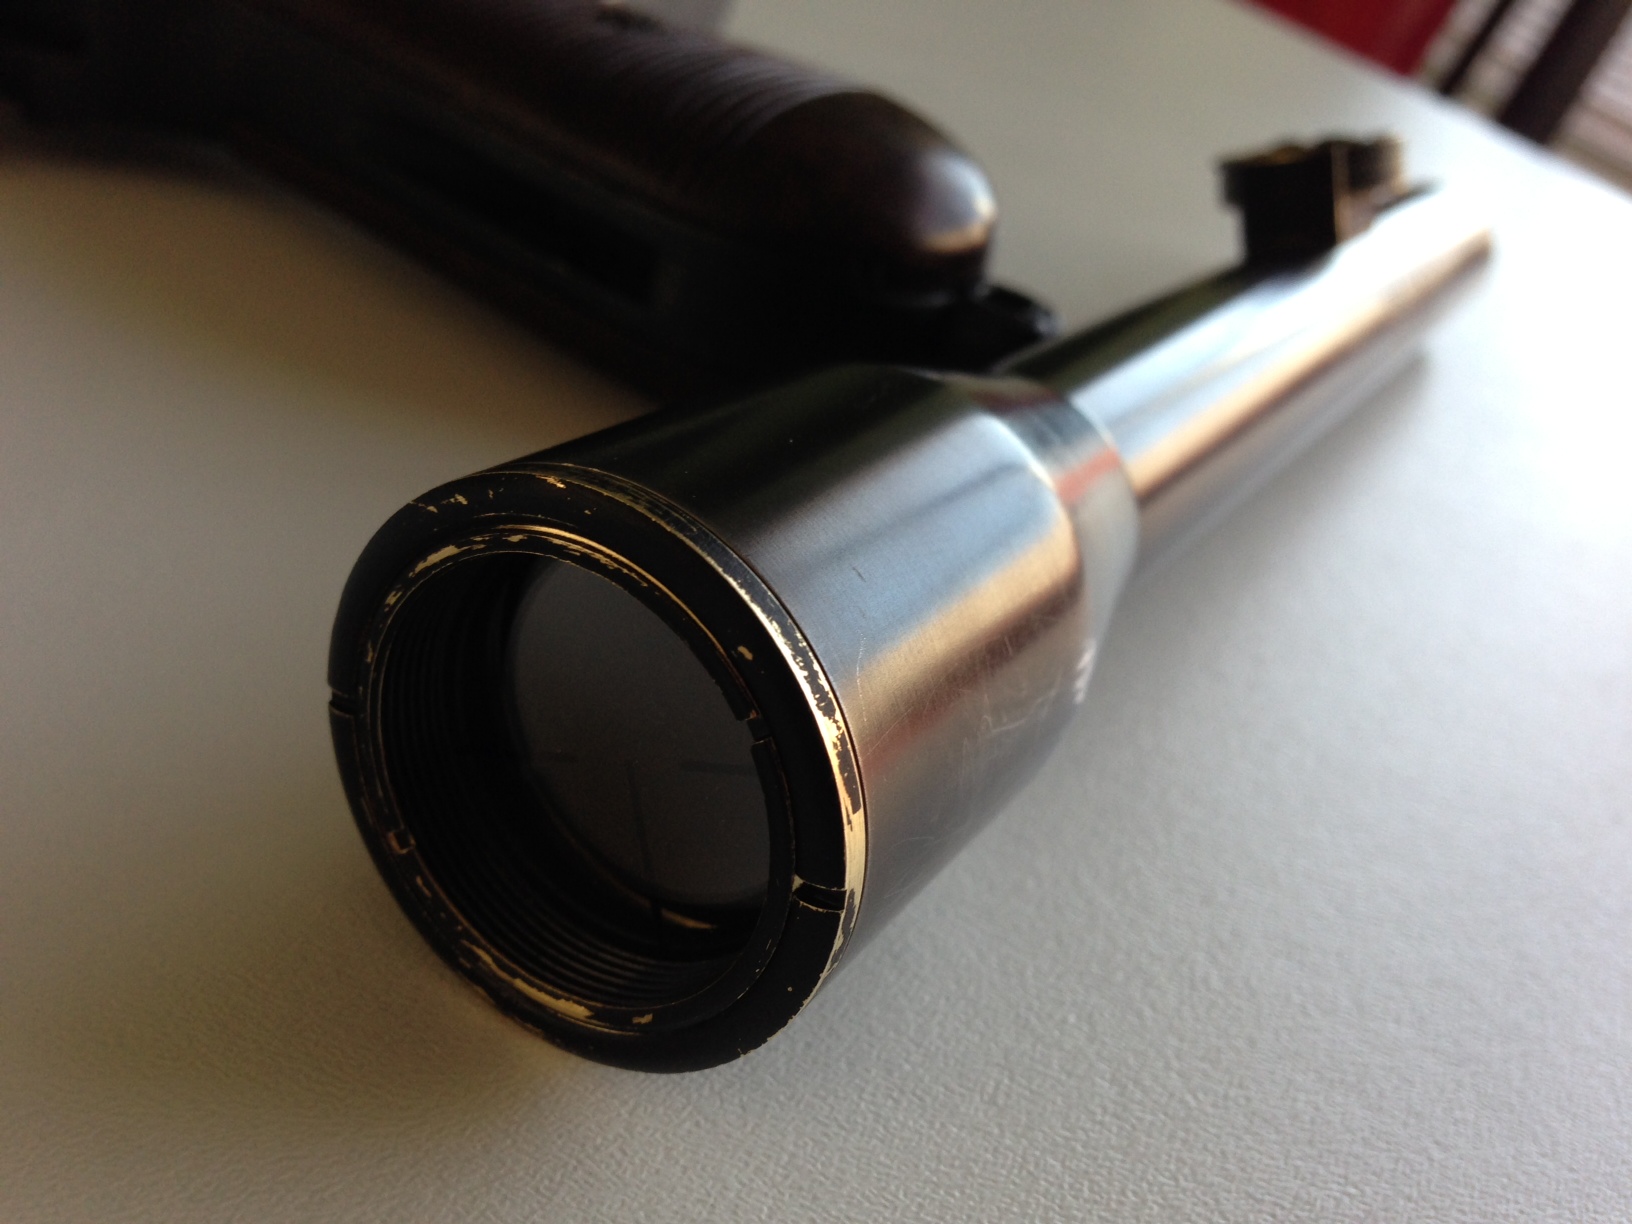
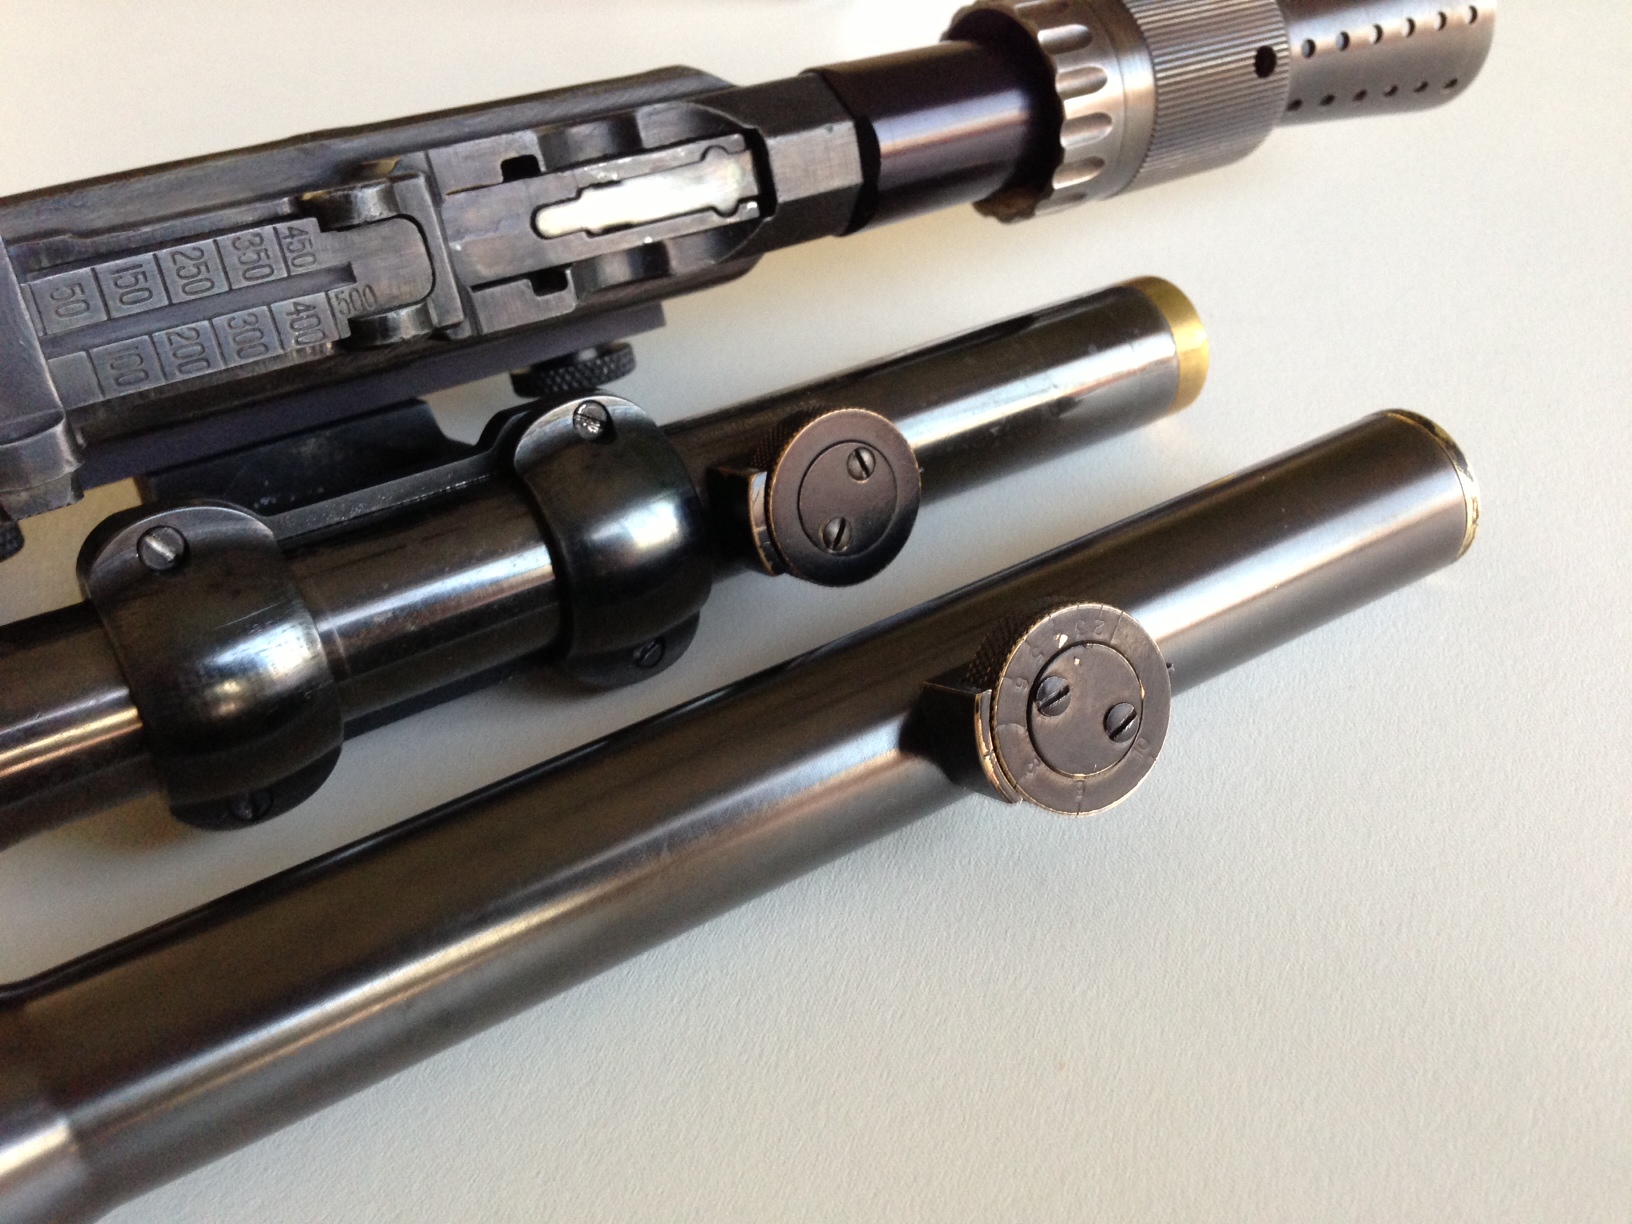
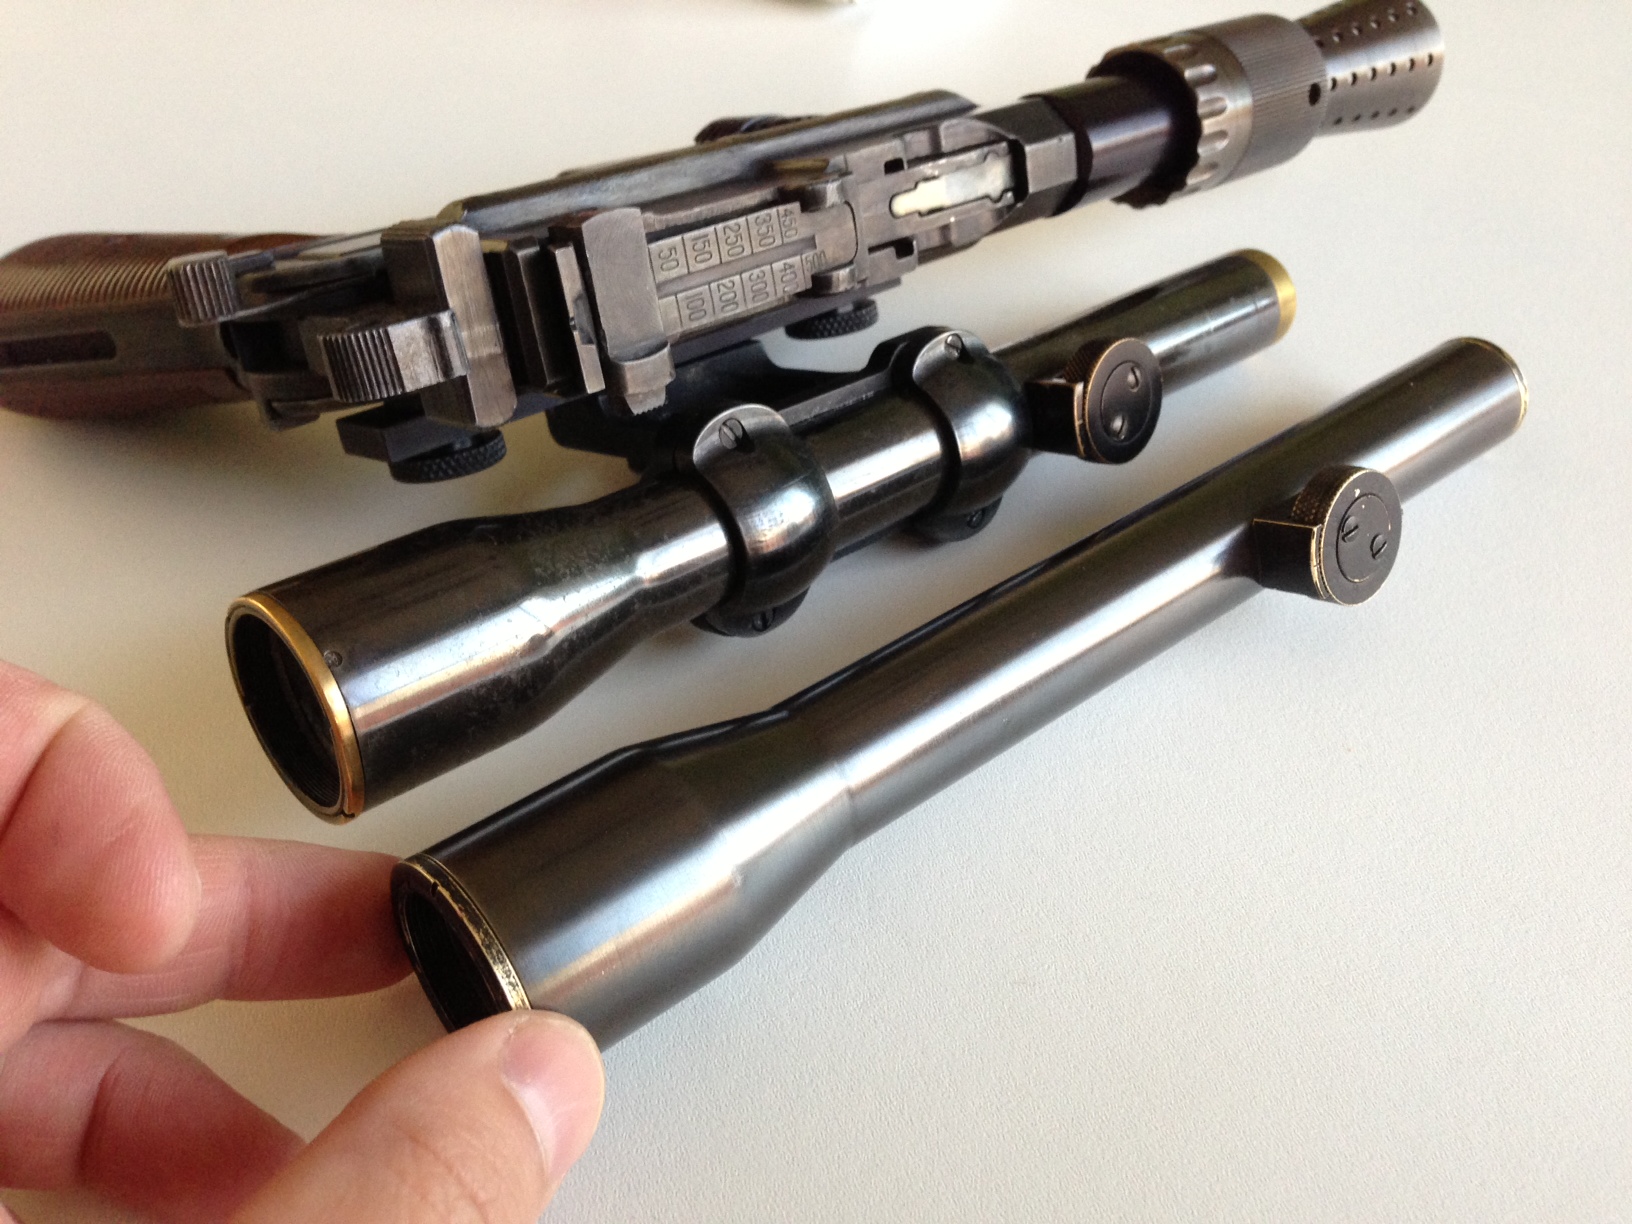
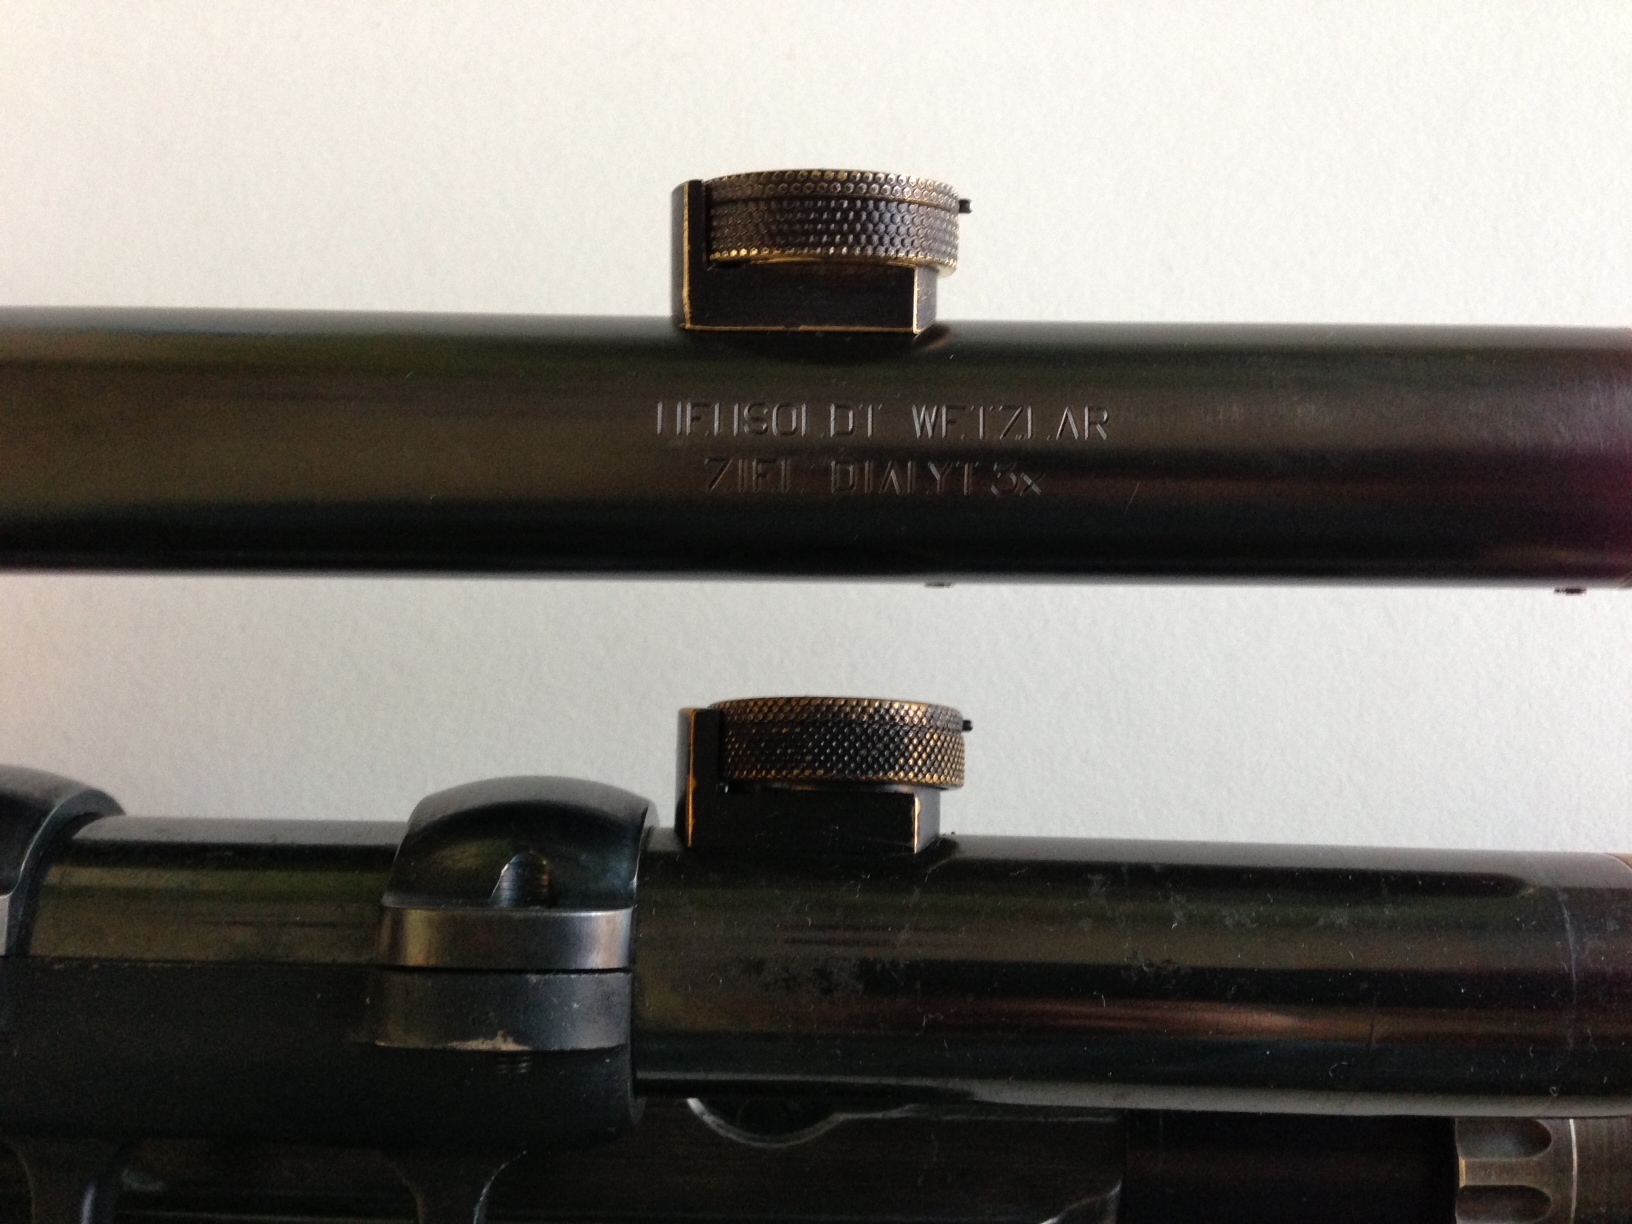
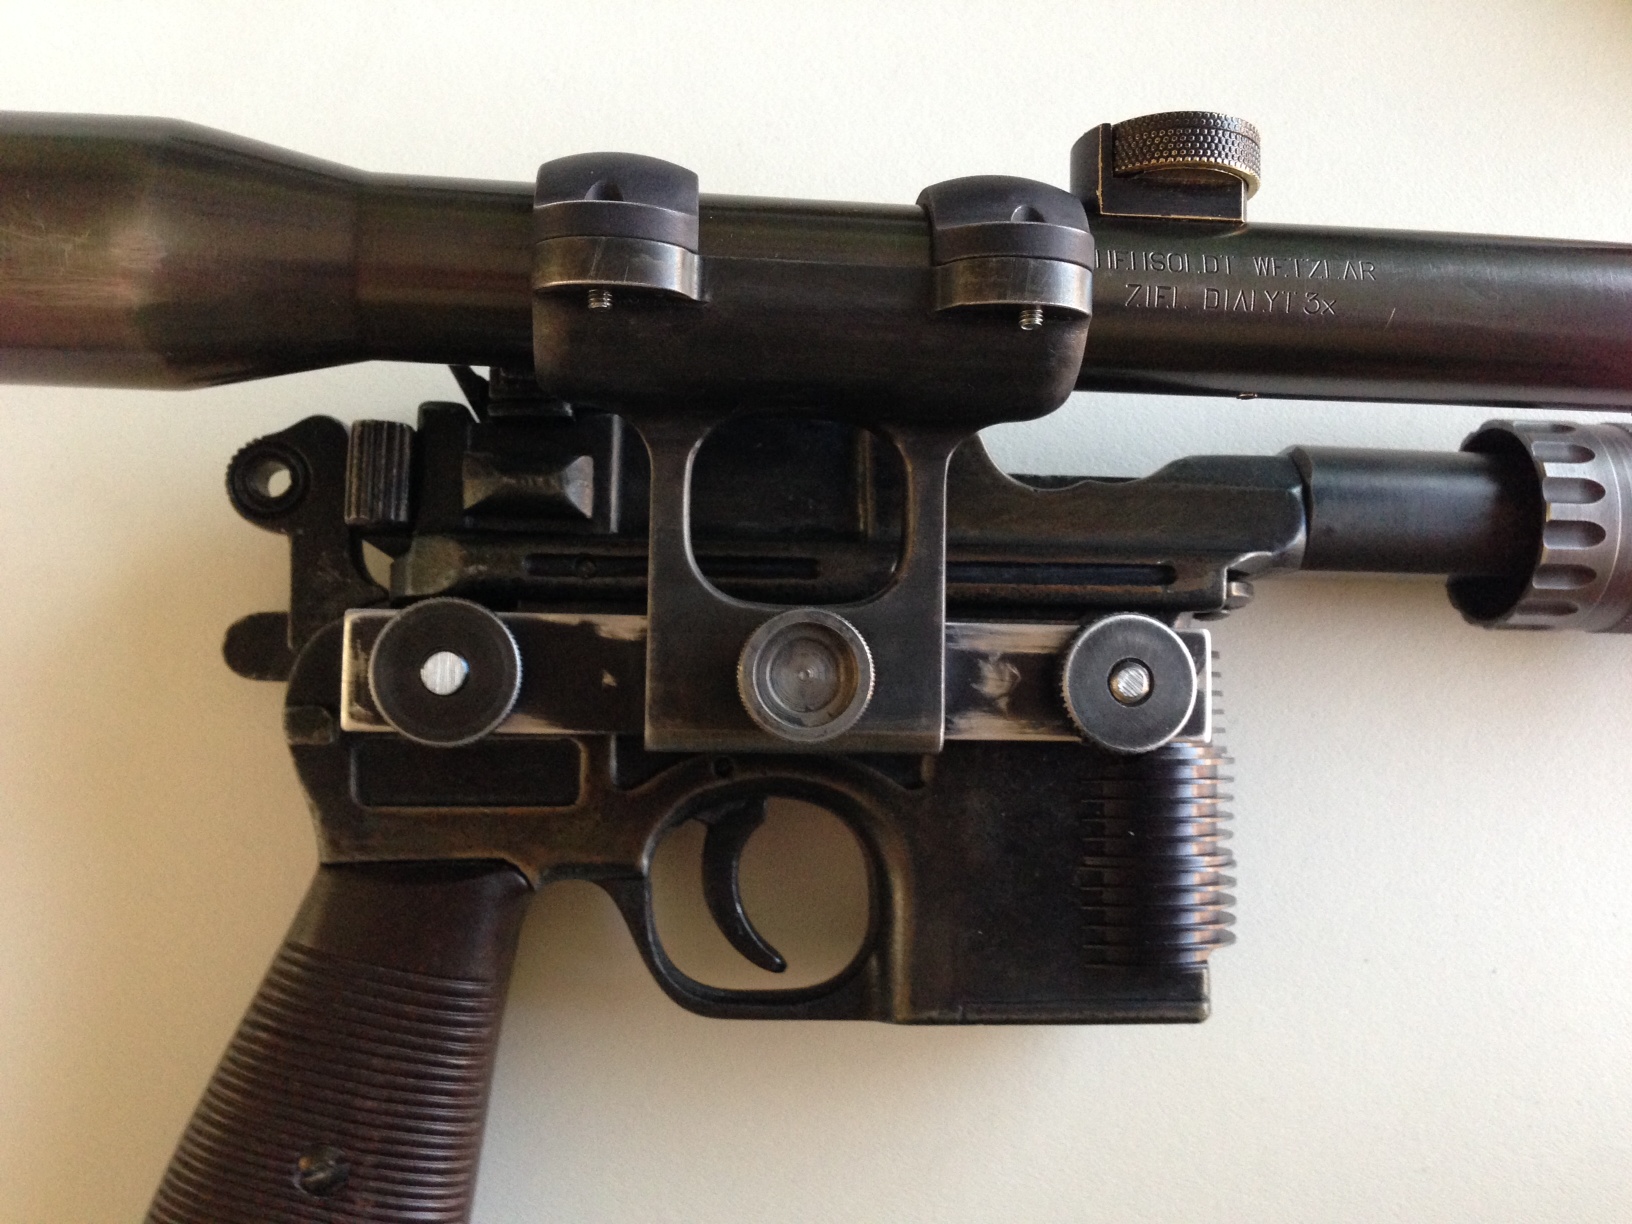
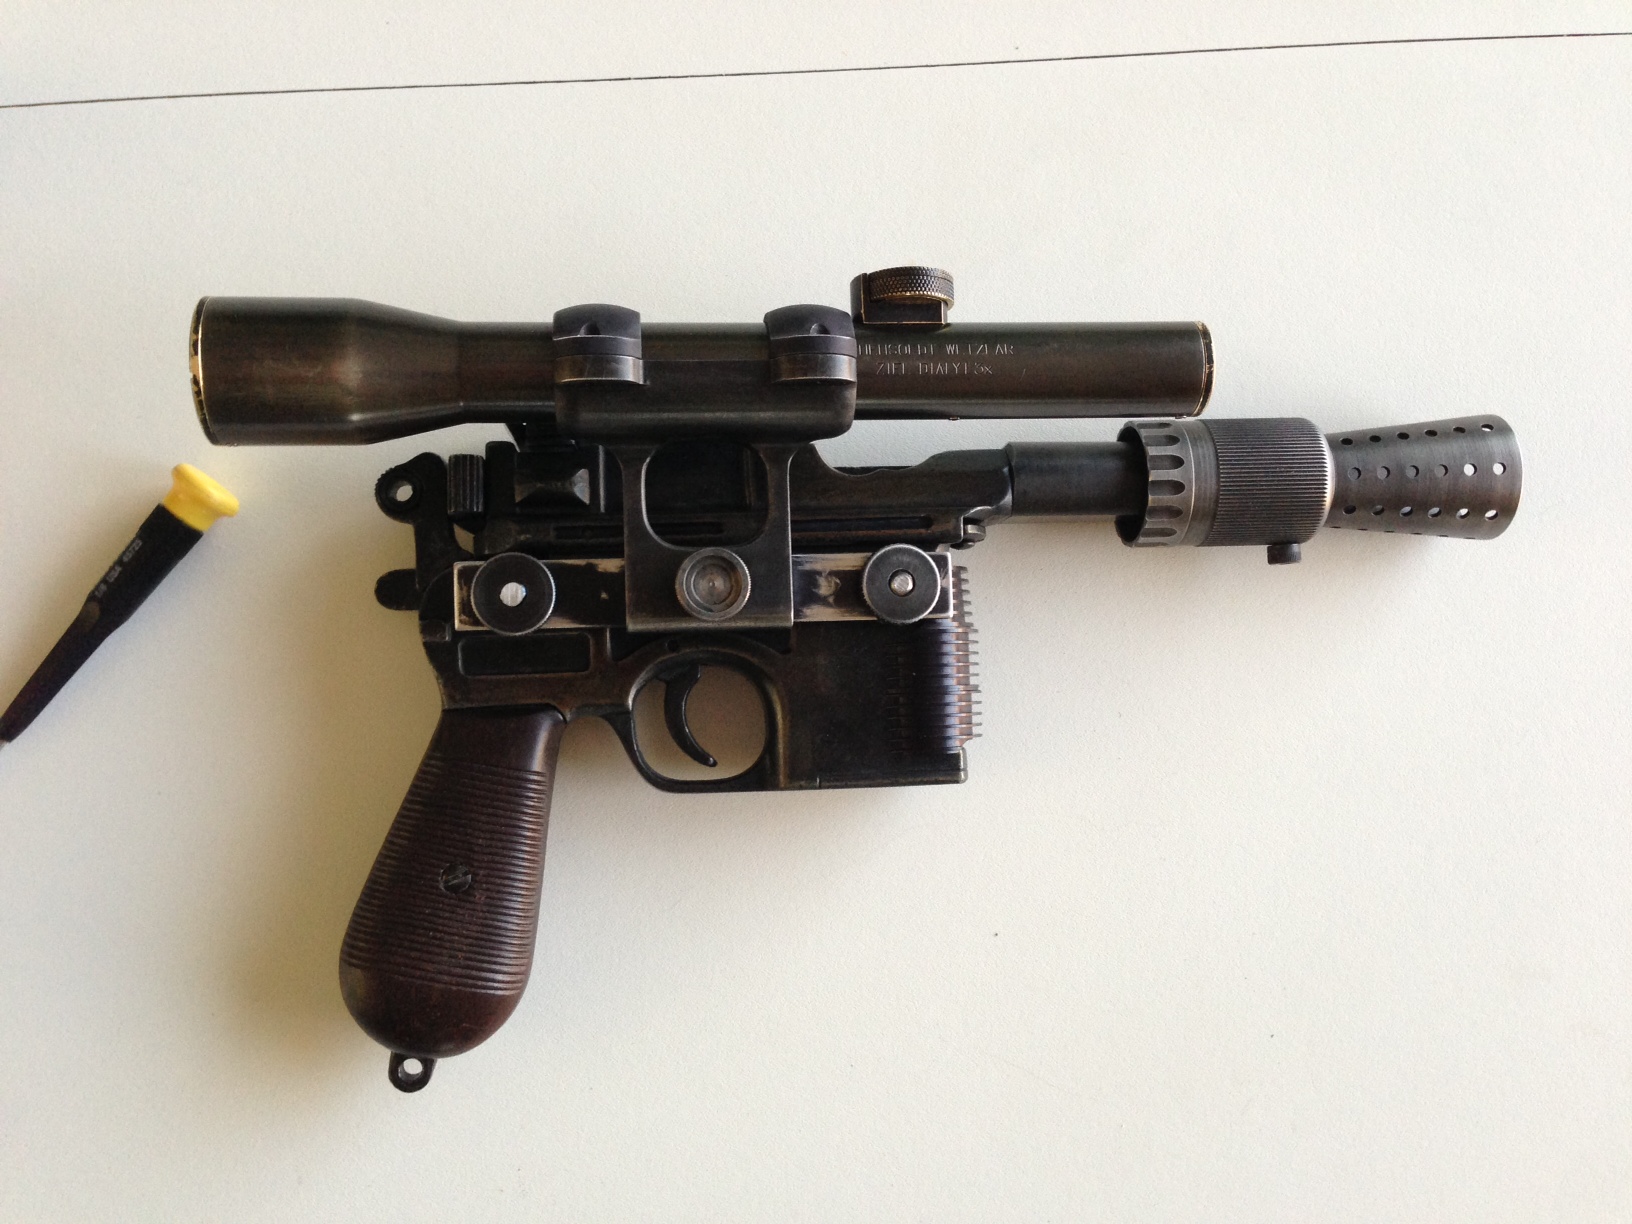
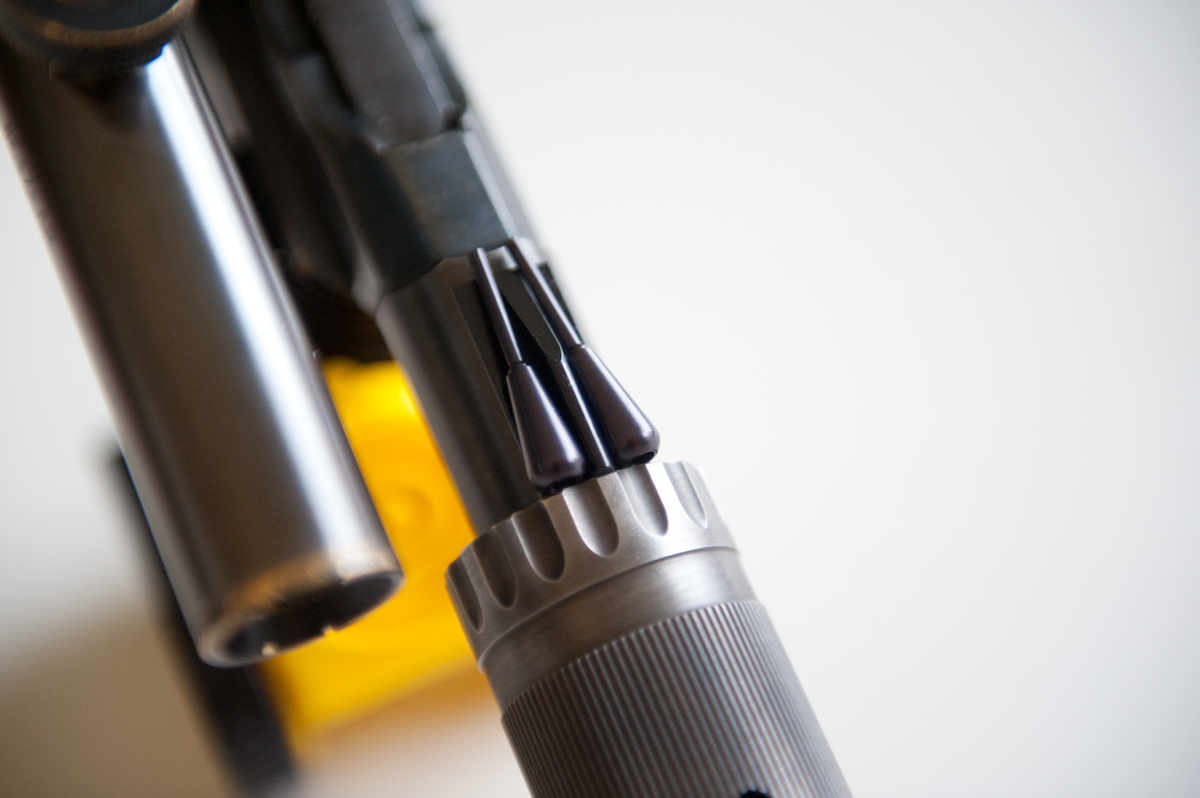
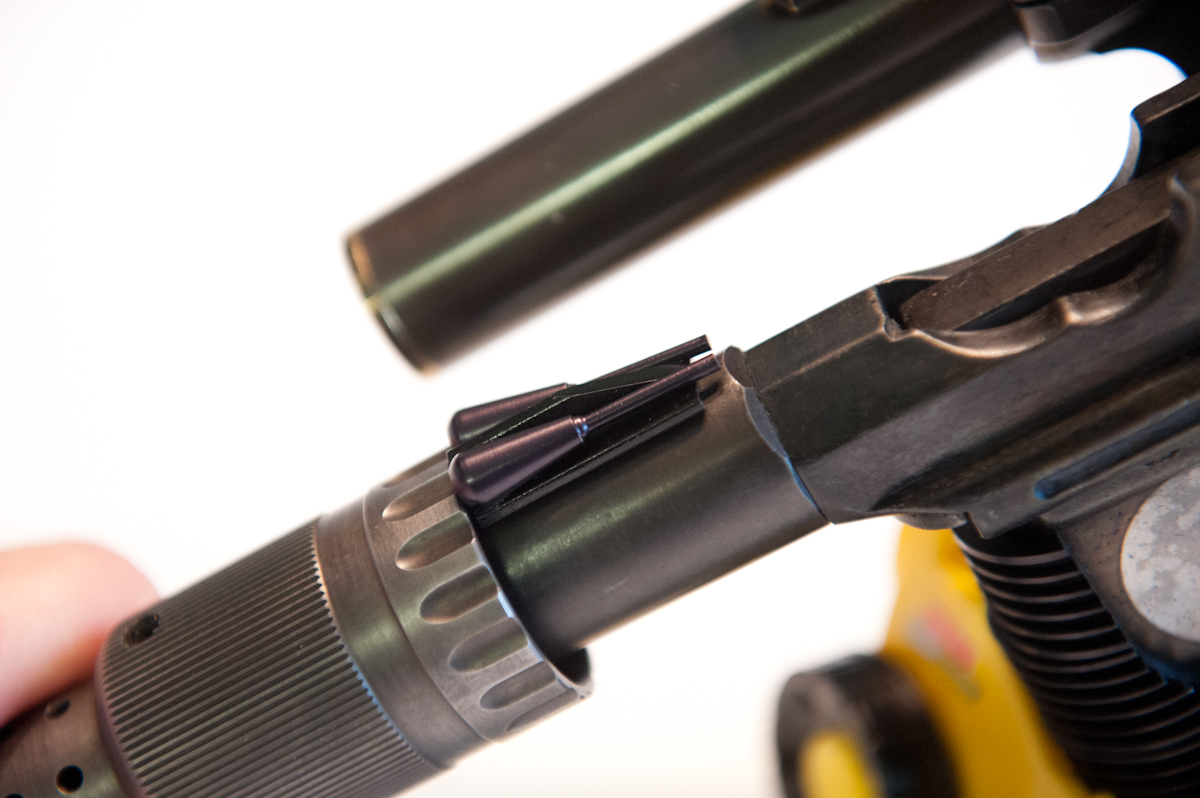
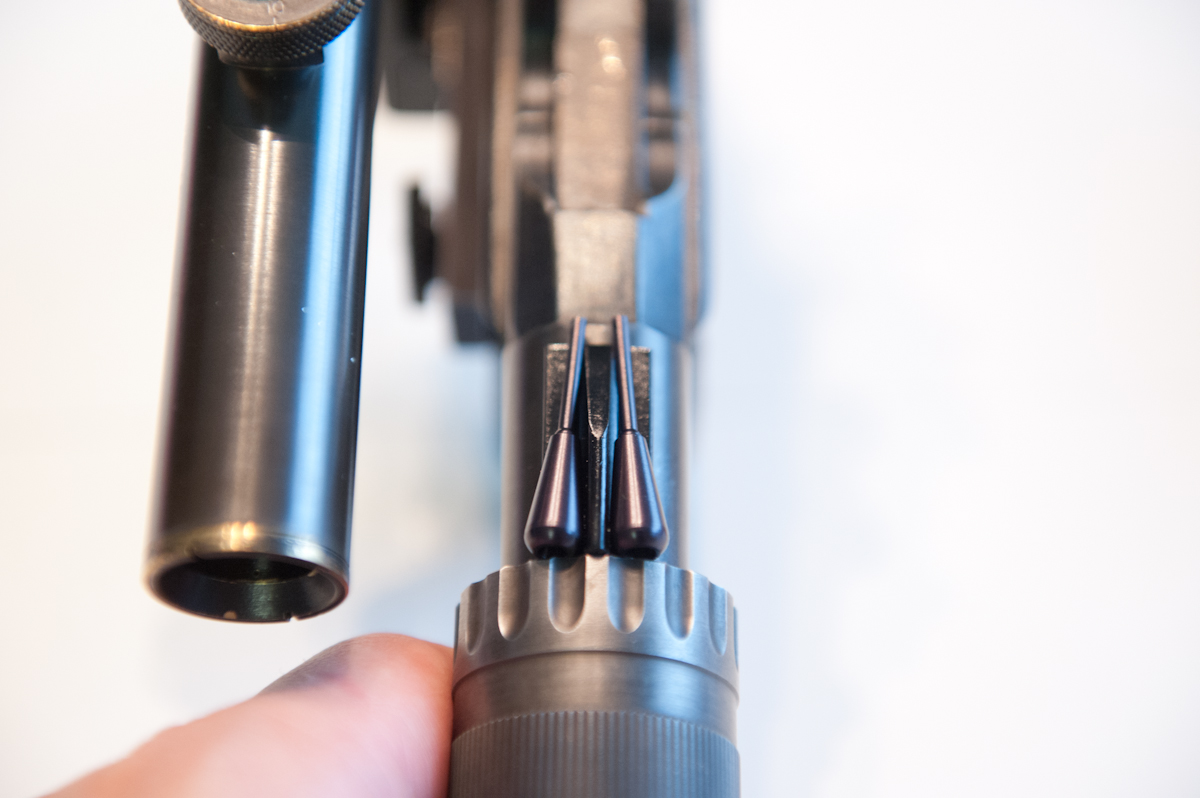
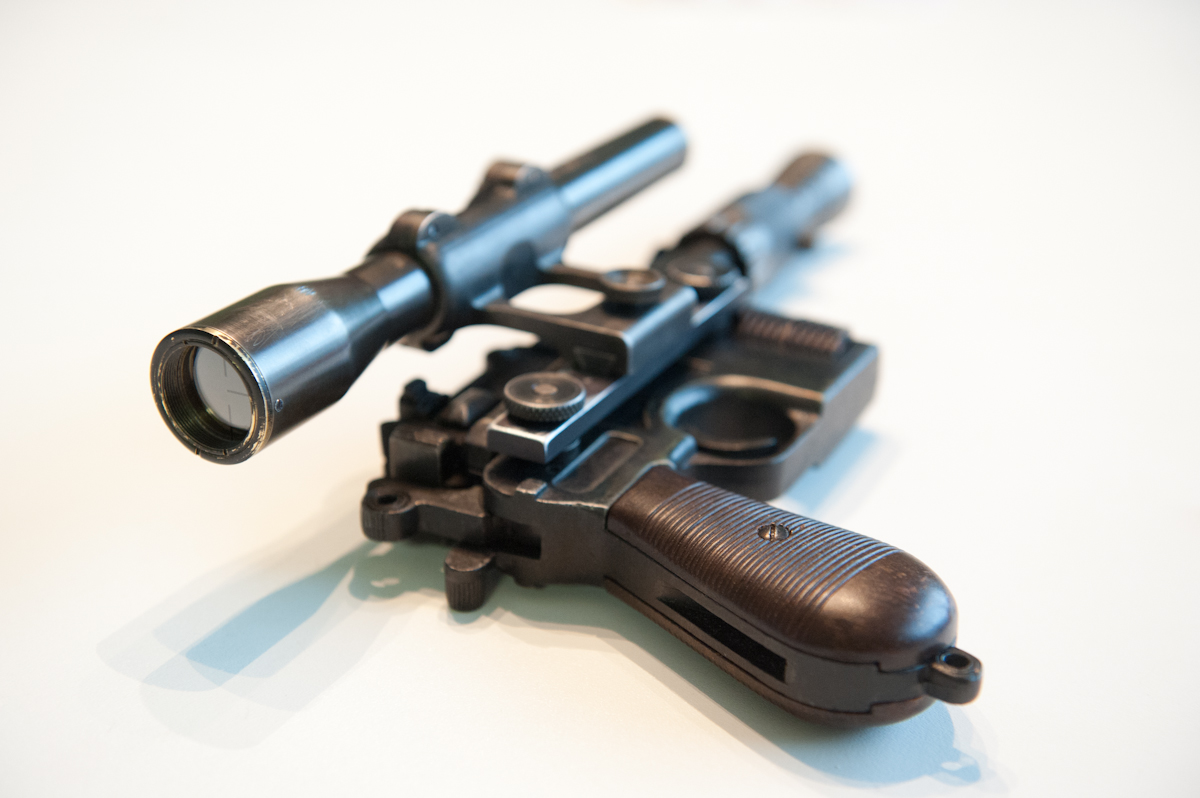
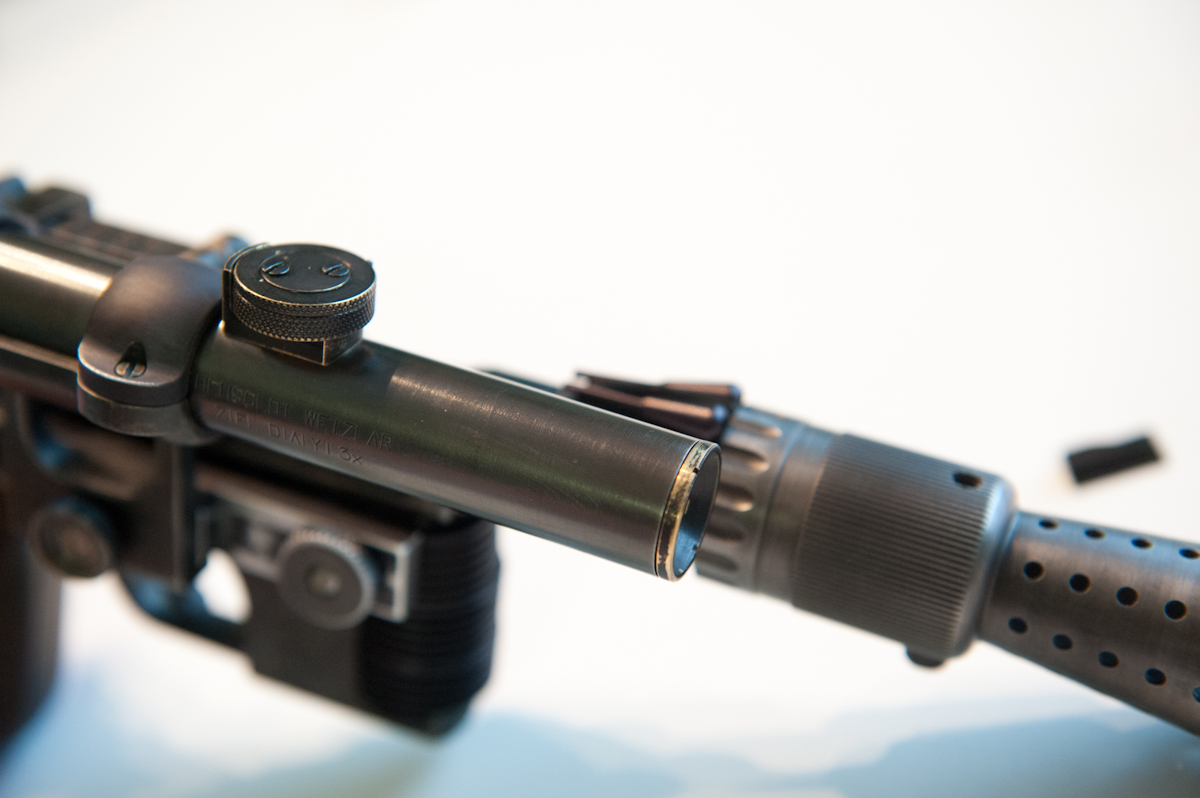
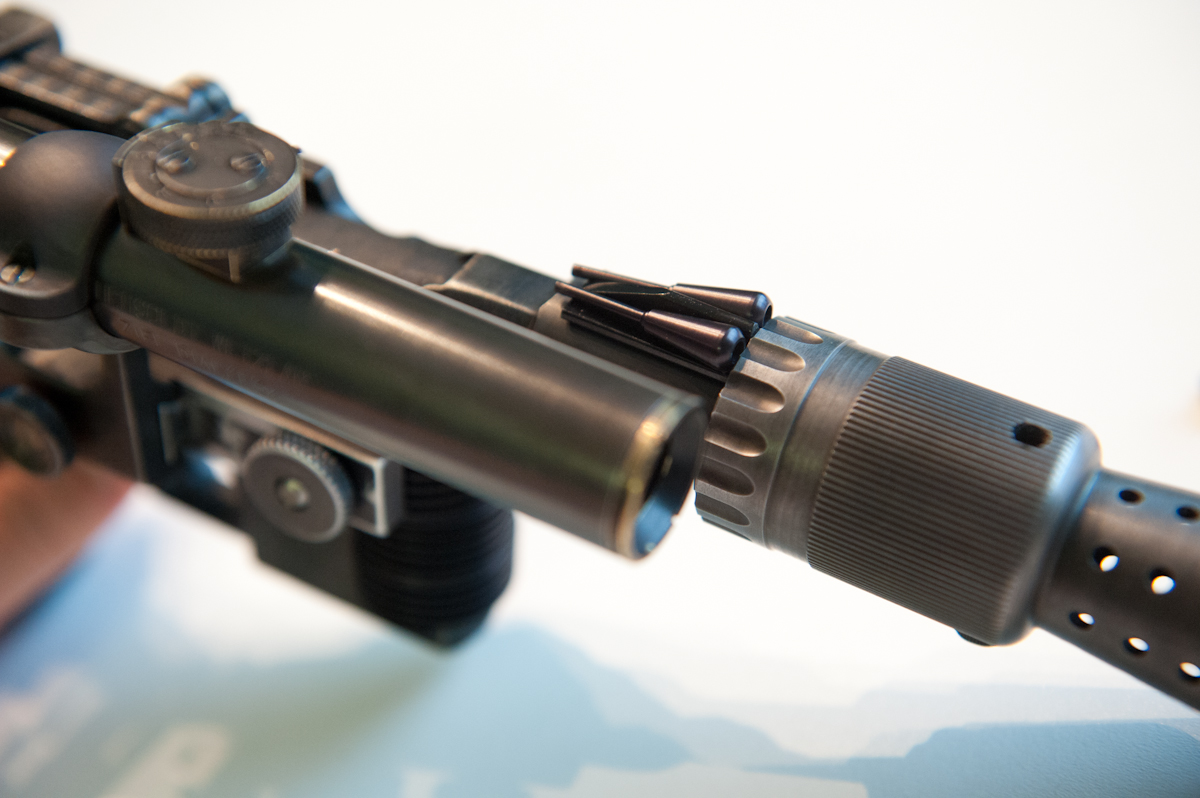
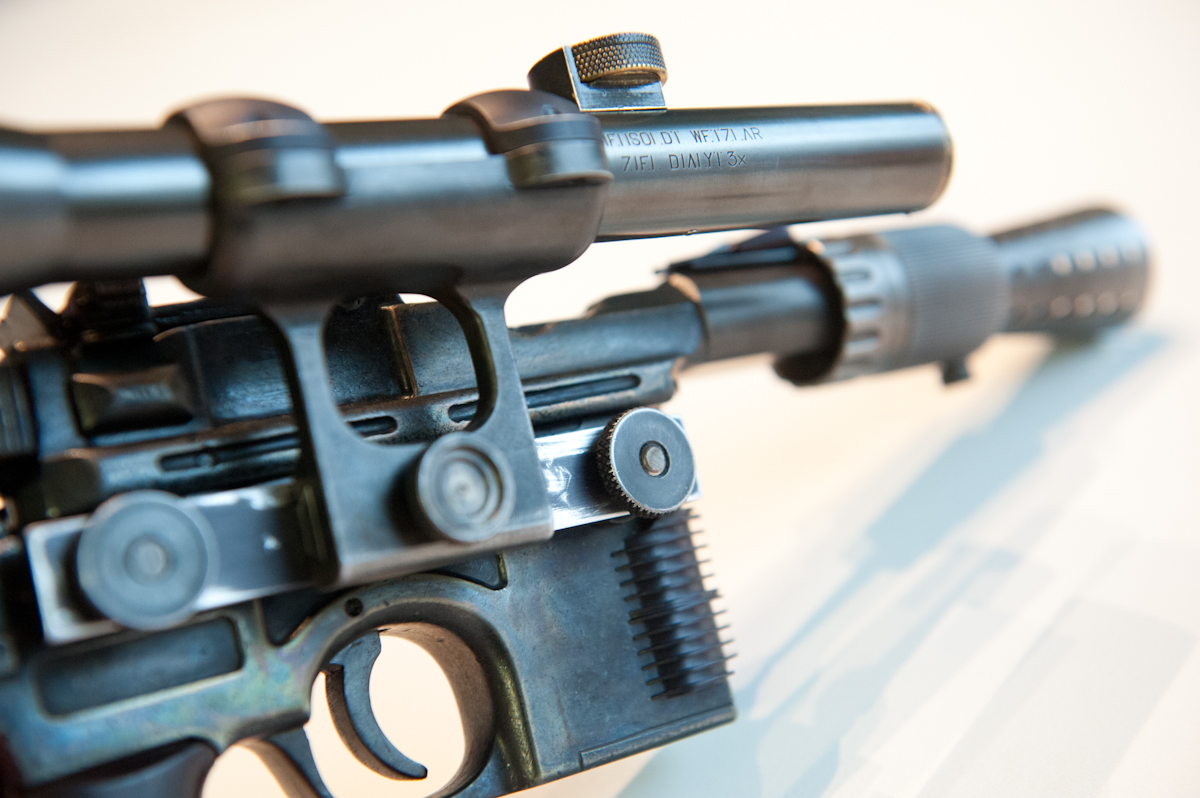
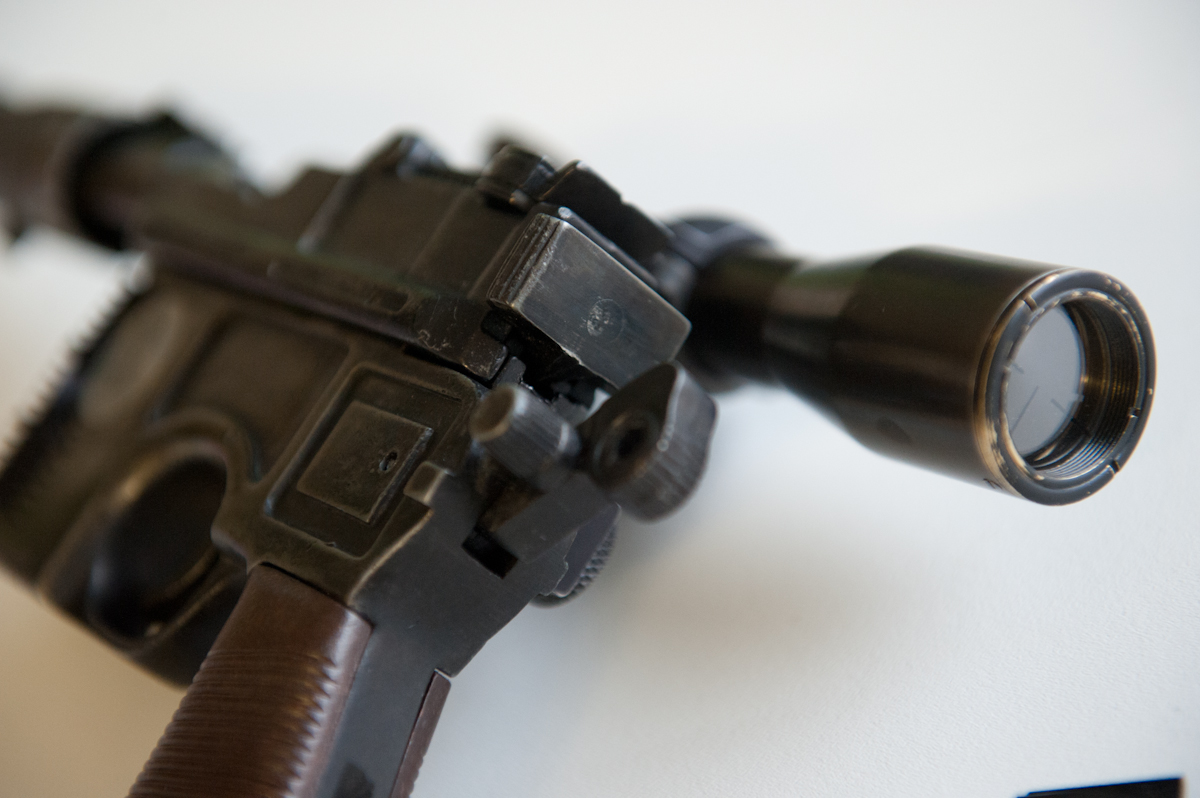
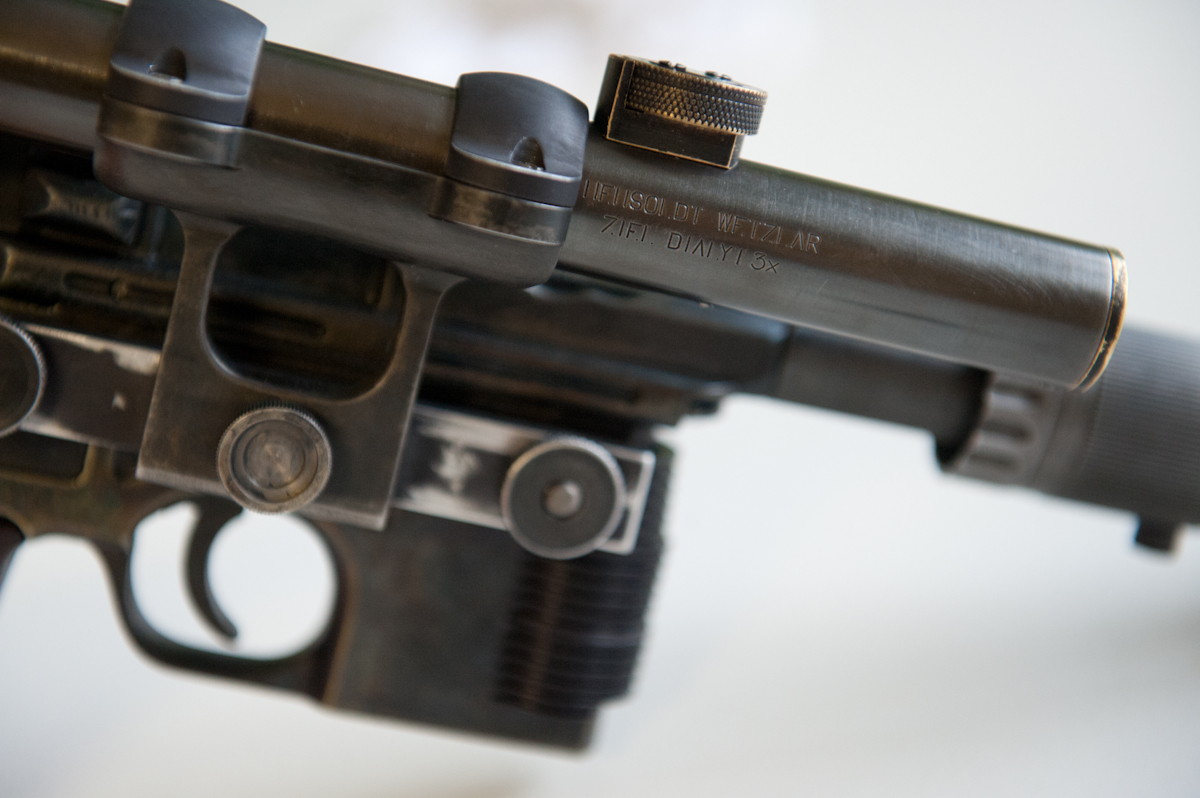
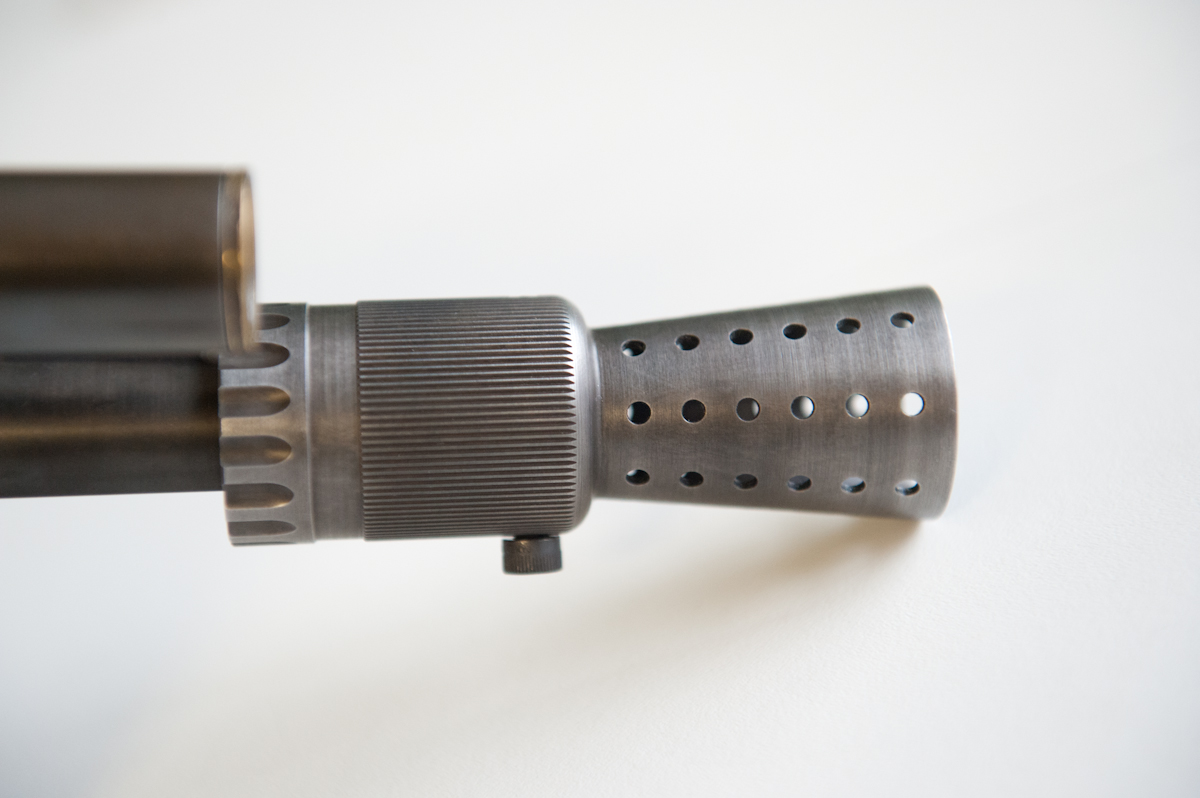
Avbat's kit is all steel aside from the grill, and when I opened to box is ALL black oxide coated. So first, I decided to strip the black Ox from the replica HW scope, and blue it.

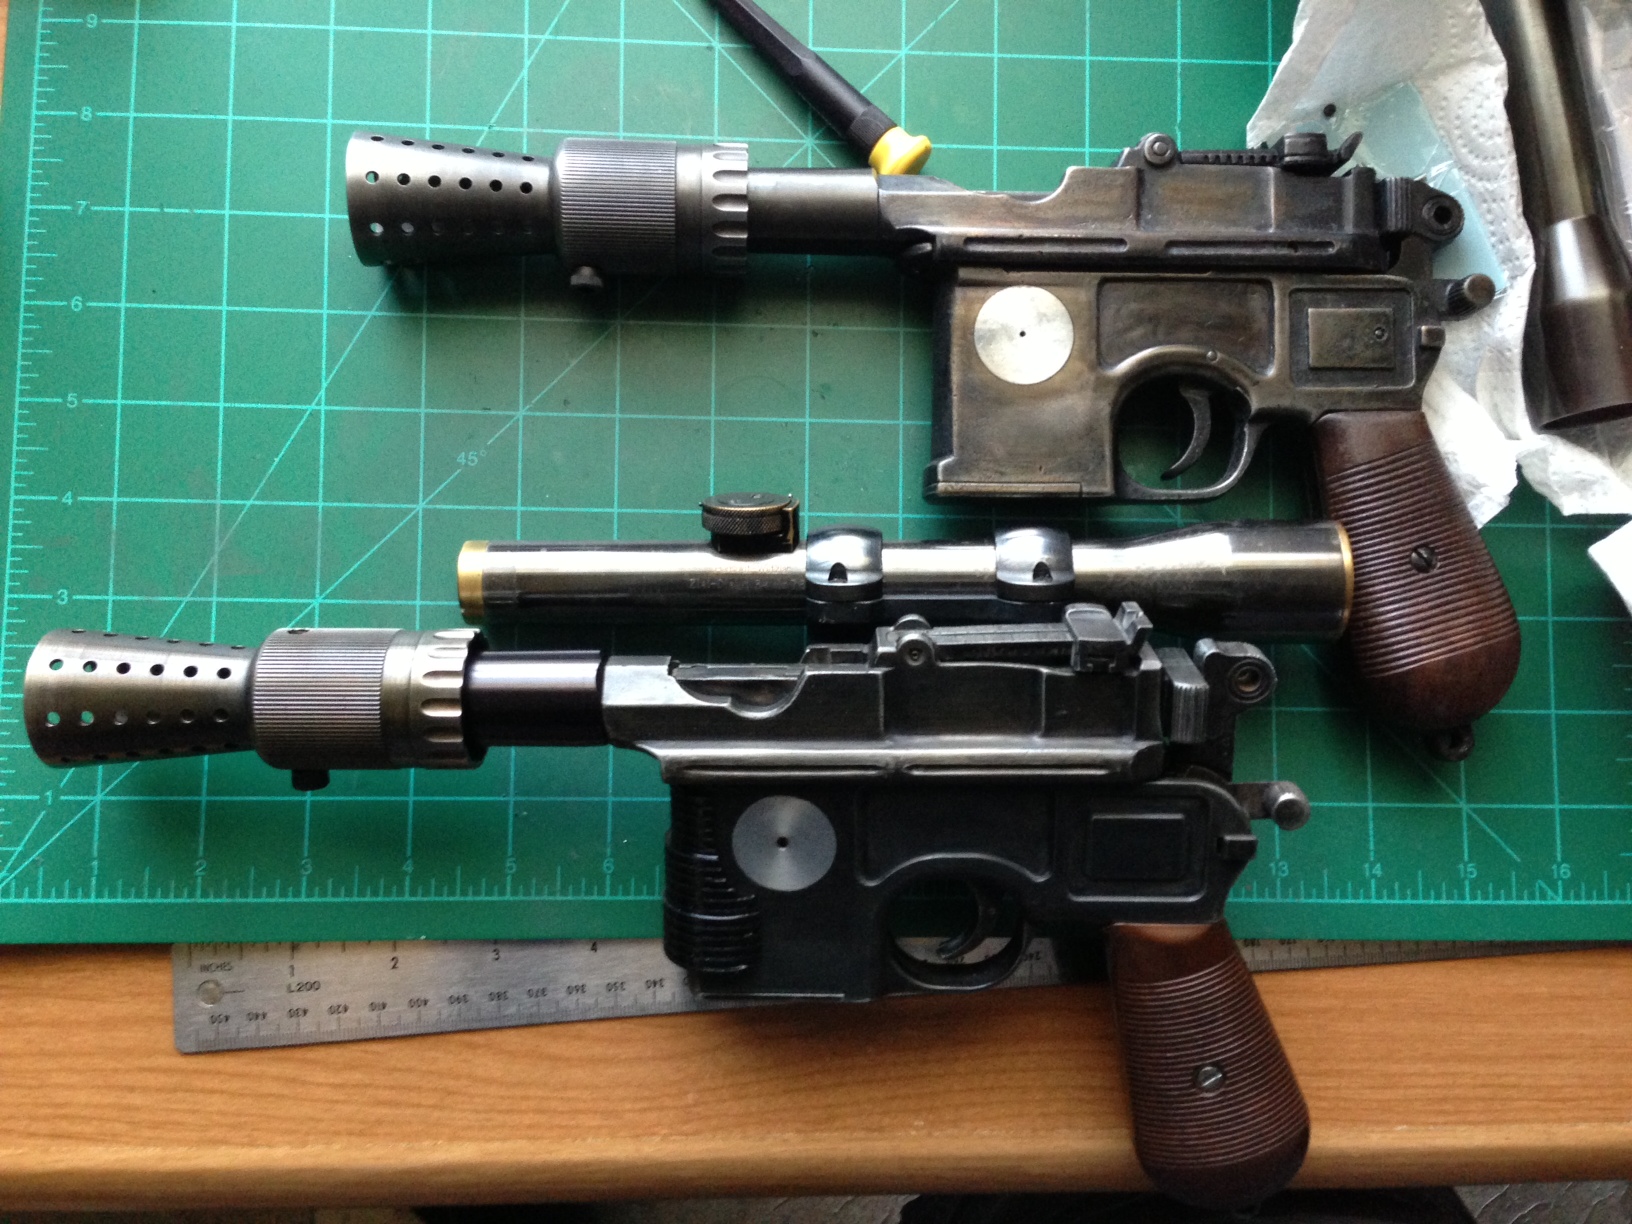
It didn't take much other than bluing remover to get the black ox off, but I went through 6 rounds of bluing on the scope to get it to match my real HW finish. That's 3 quick applications, one day, an overnight cure coated in Barricade, then another rinse and repeat session the next day. It came out VERY pretty. It's going to be a shame to weather it and scratch it.

002.jpg


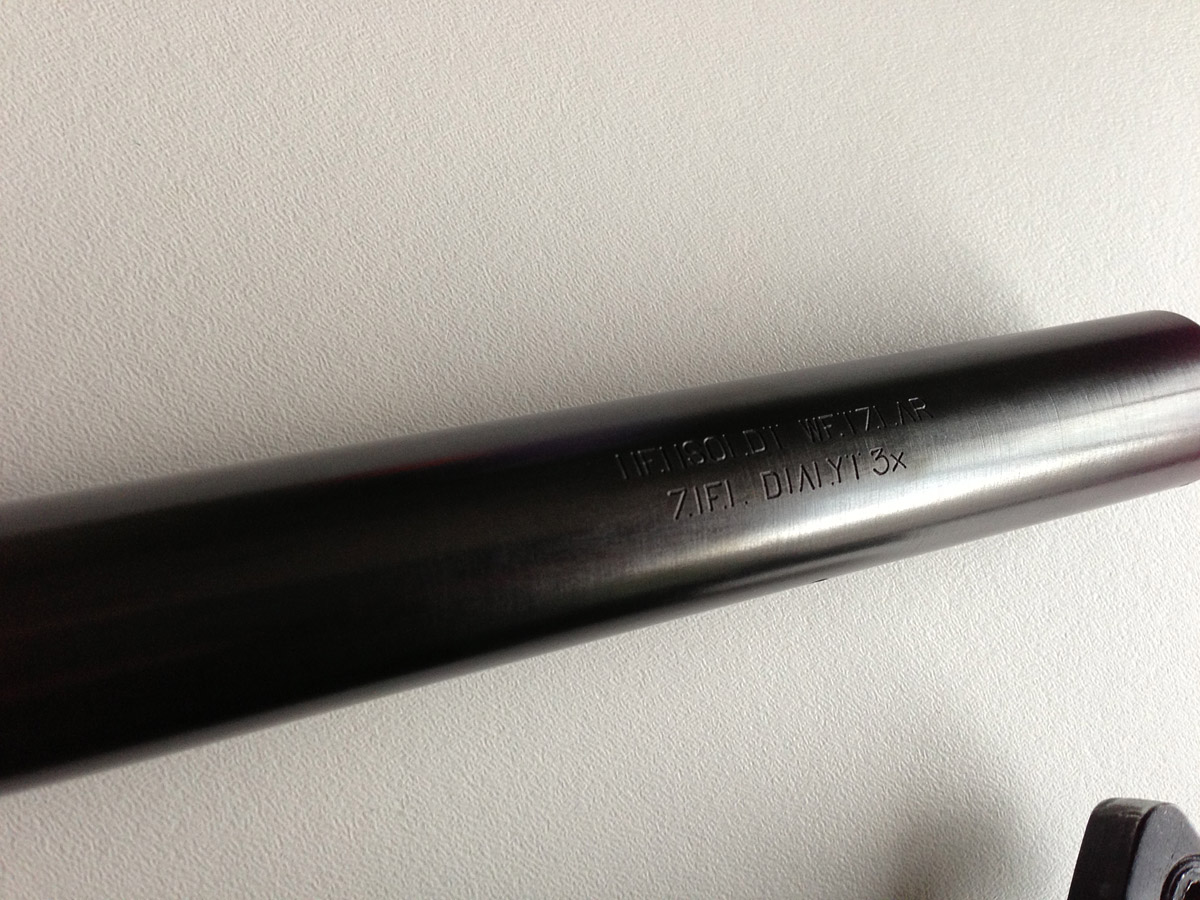
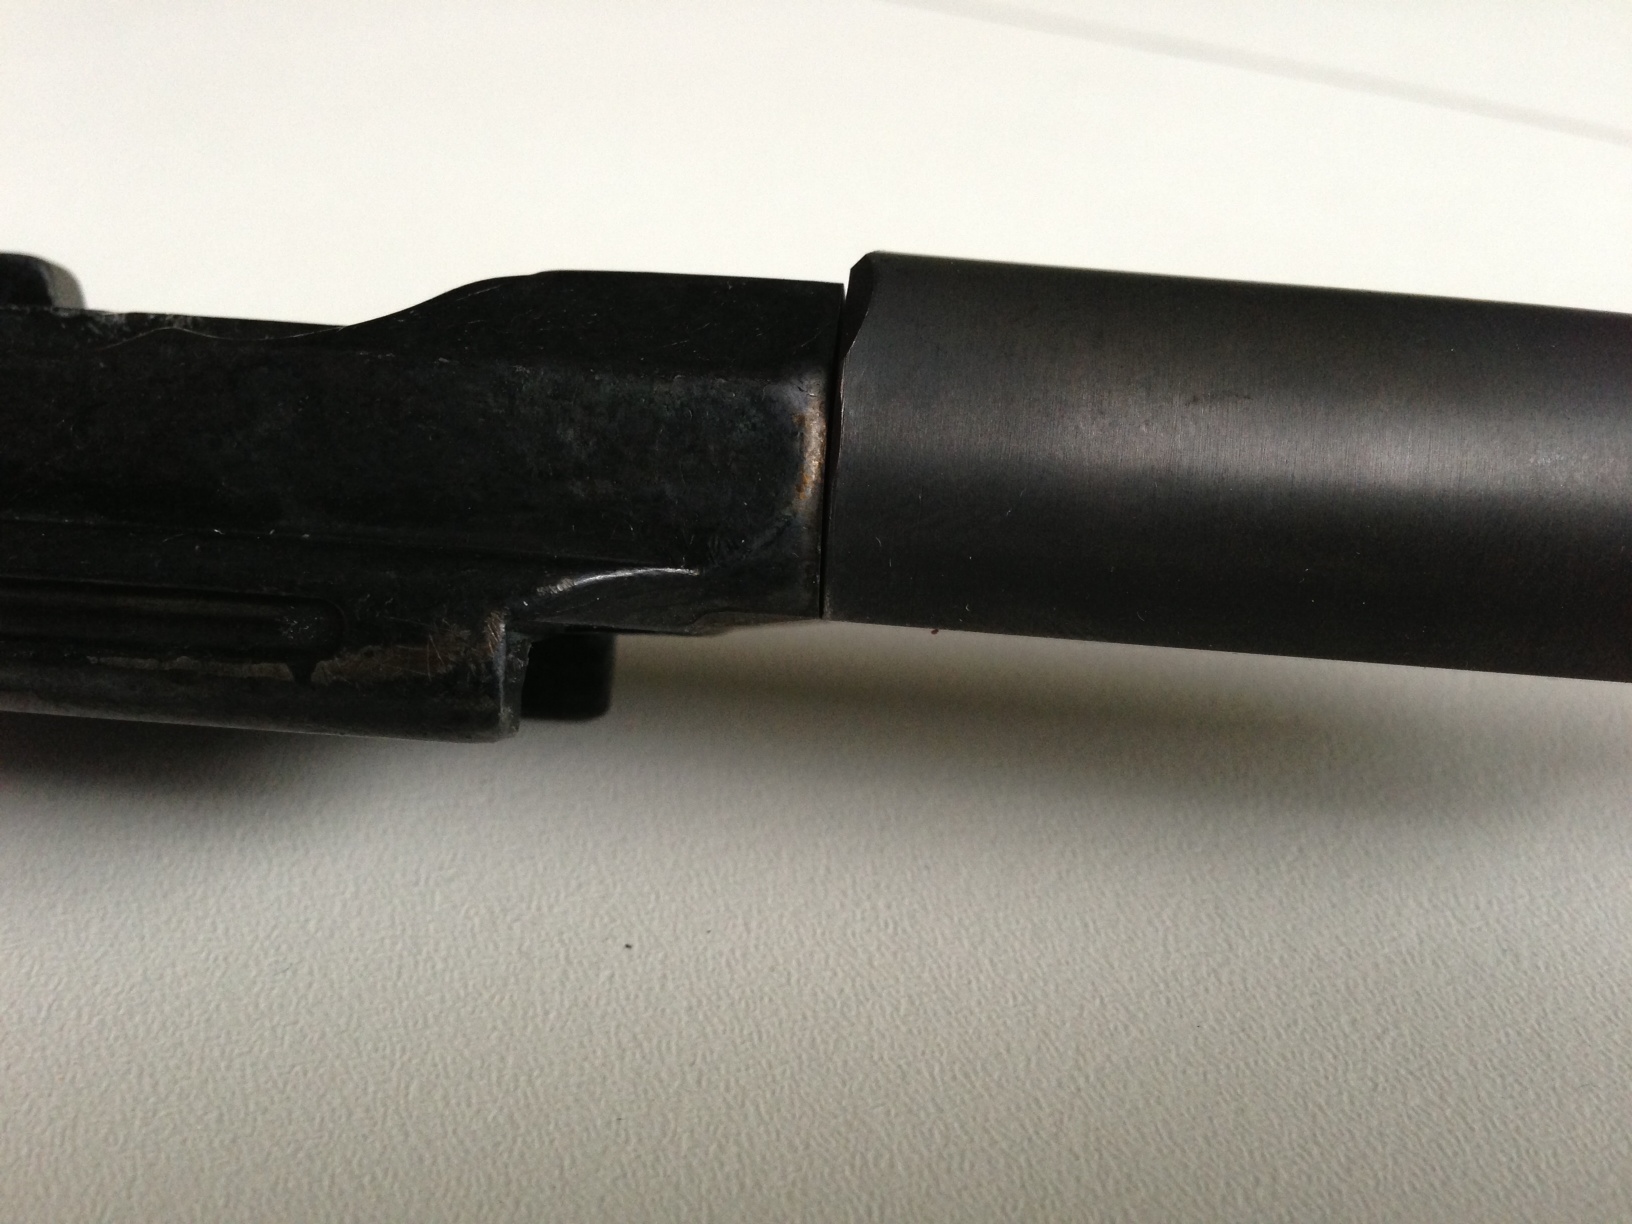
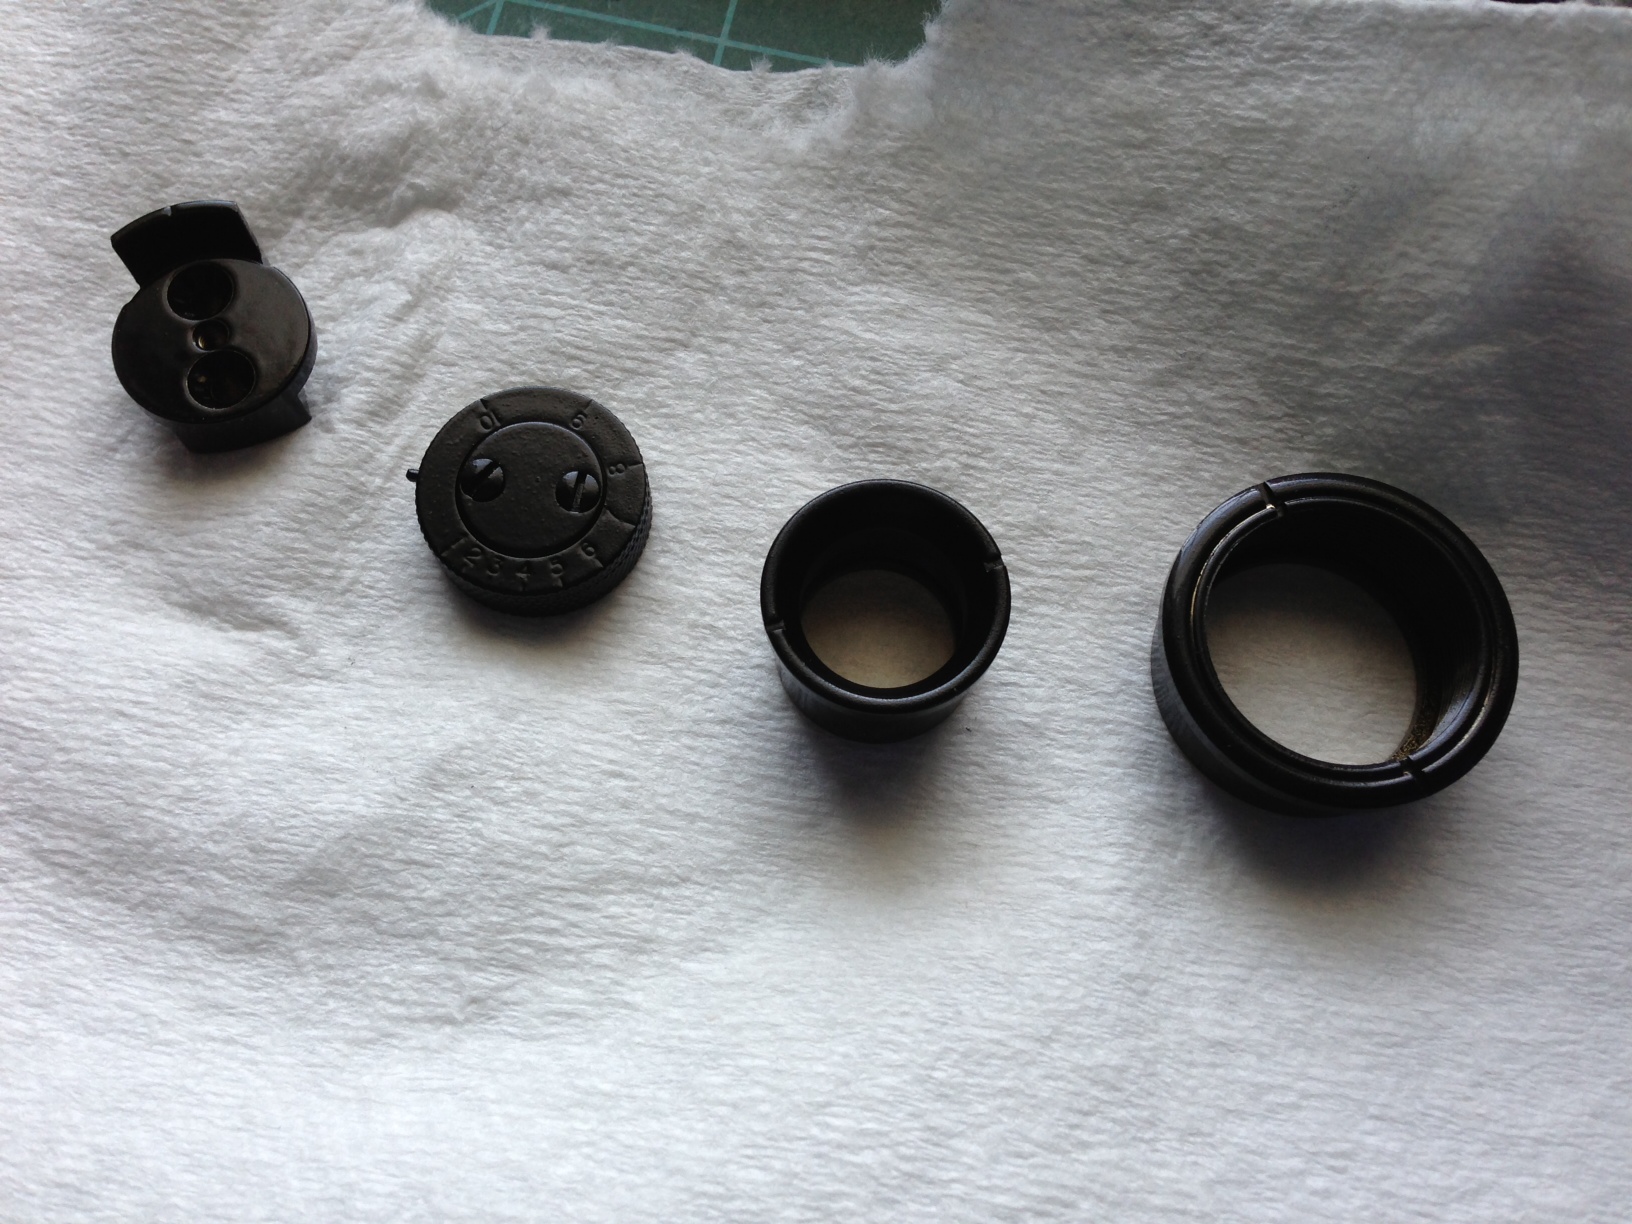
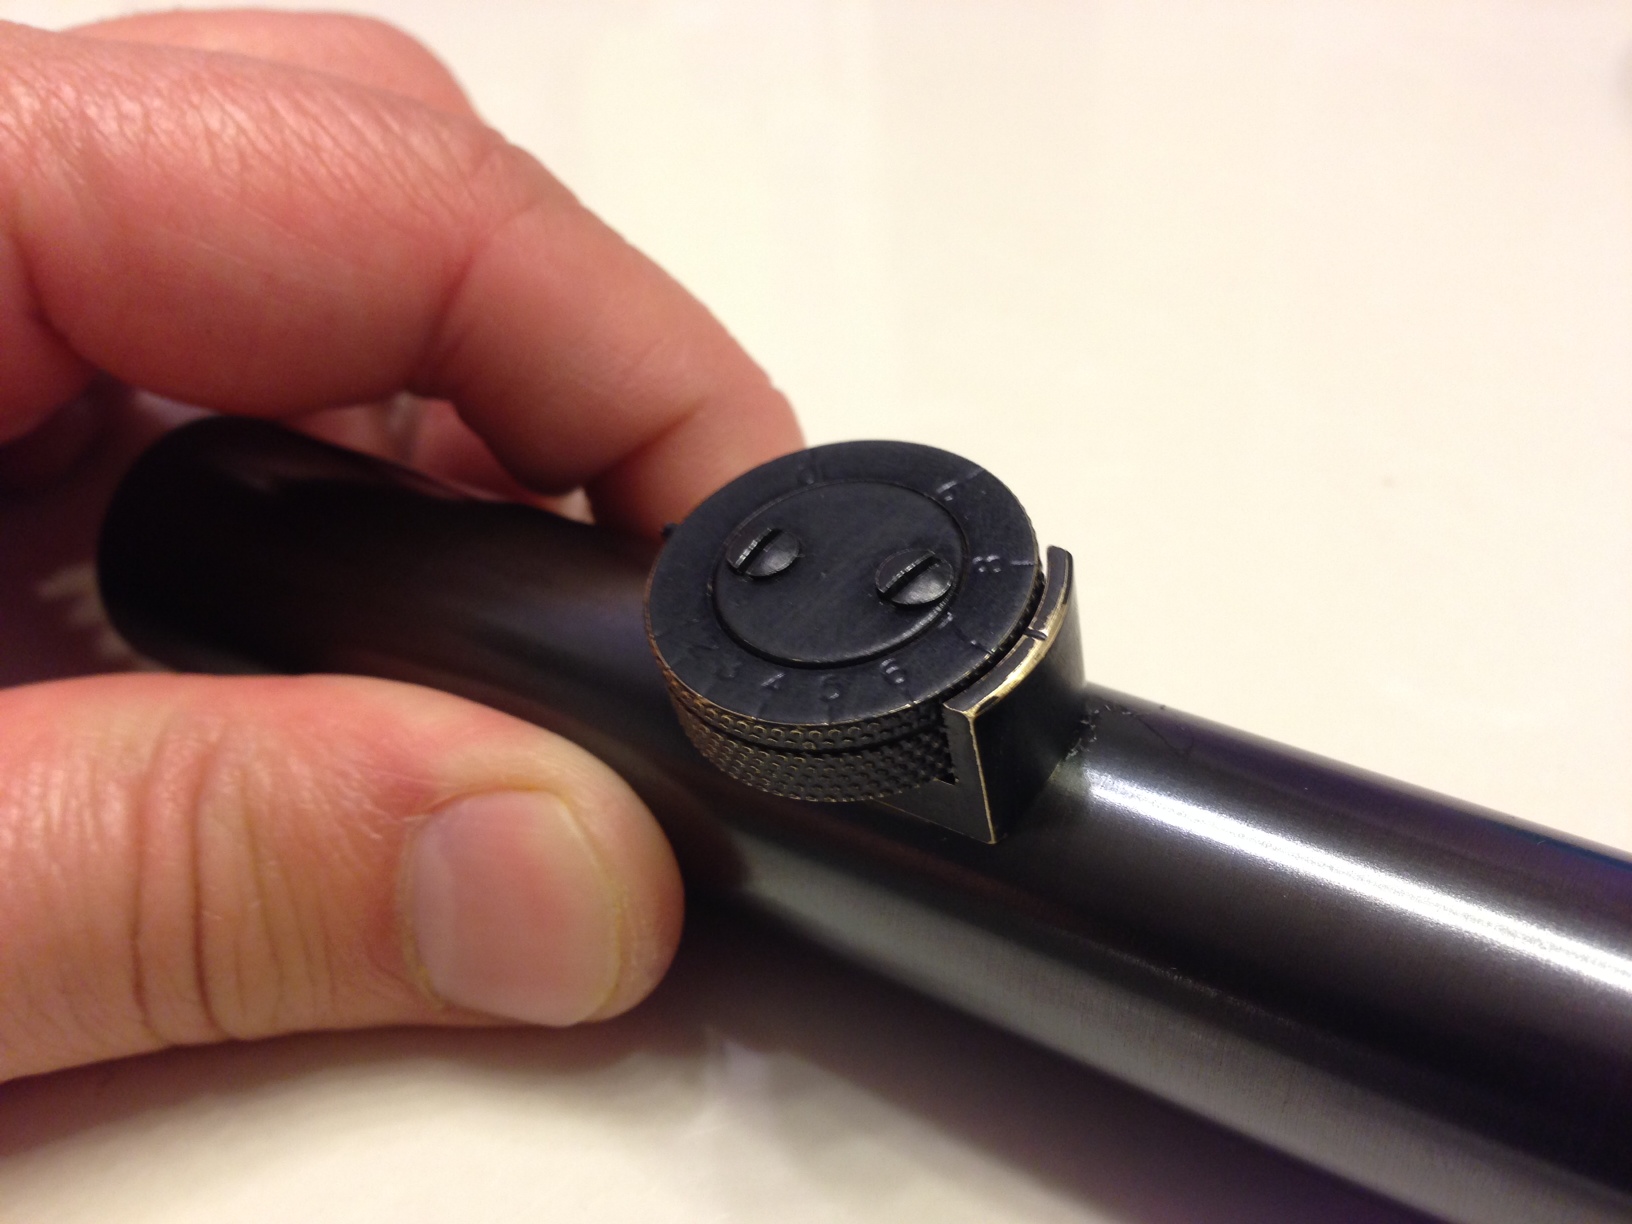
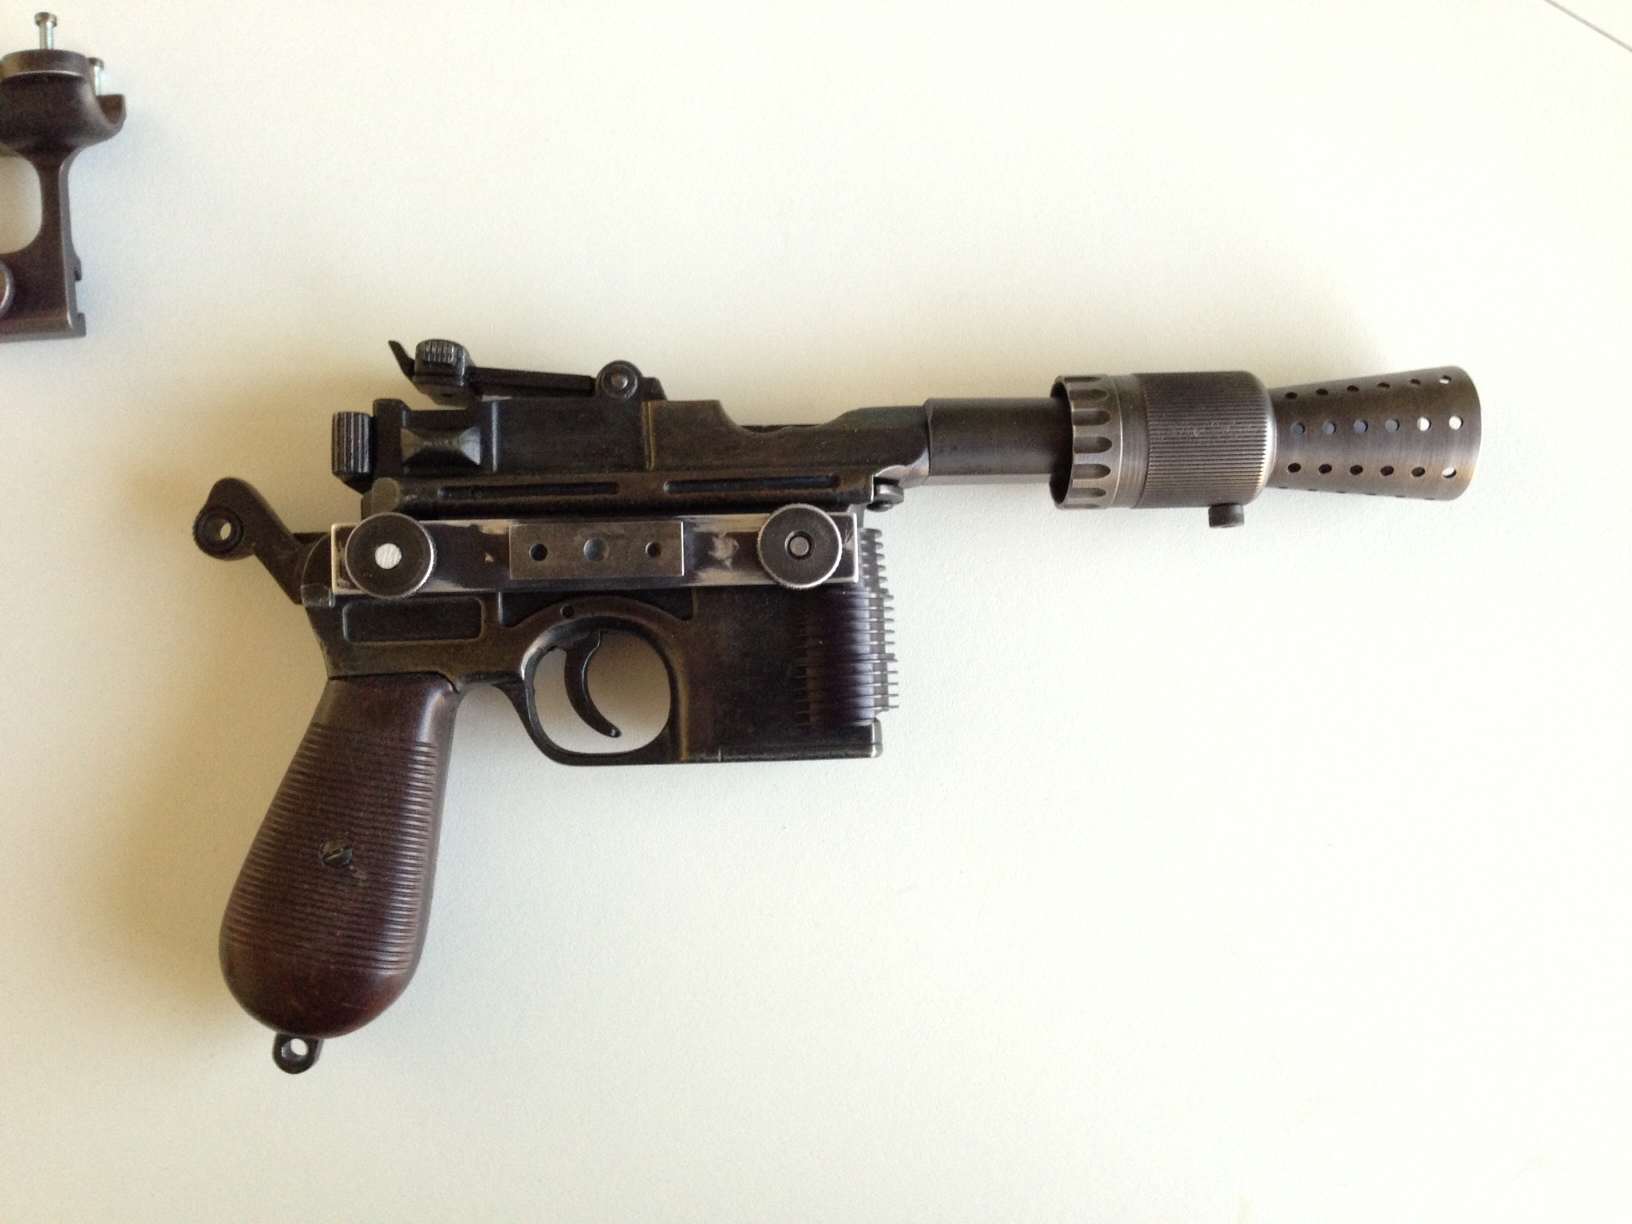
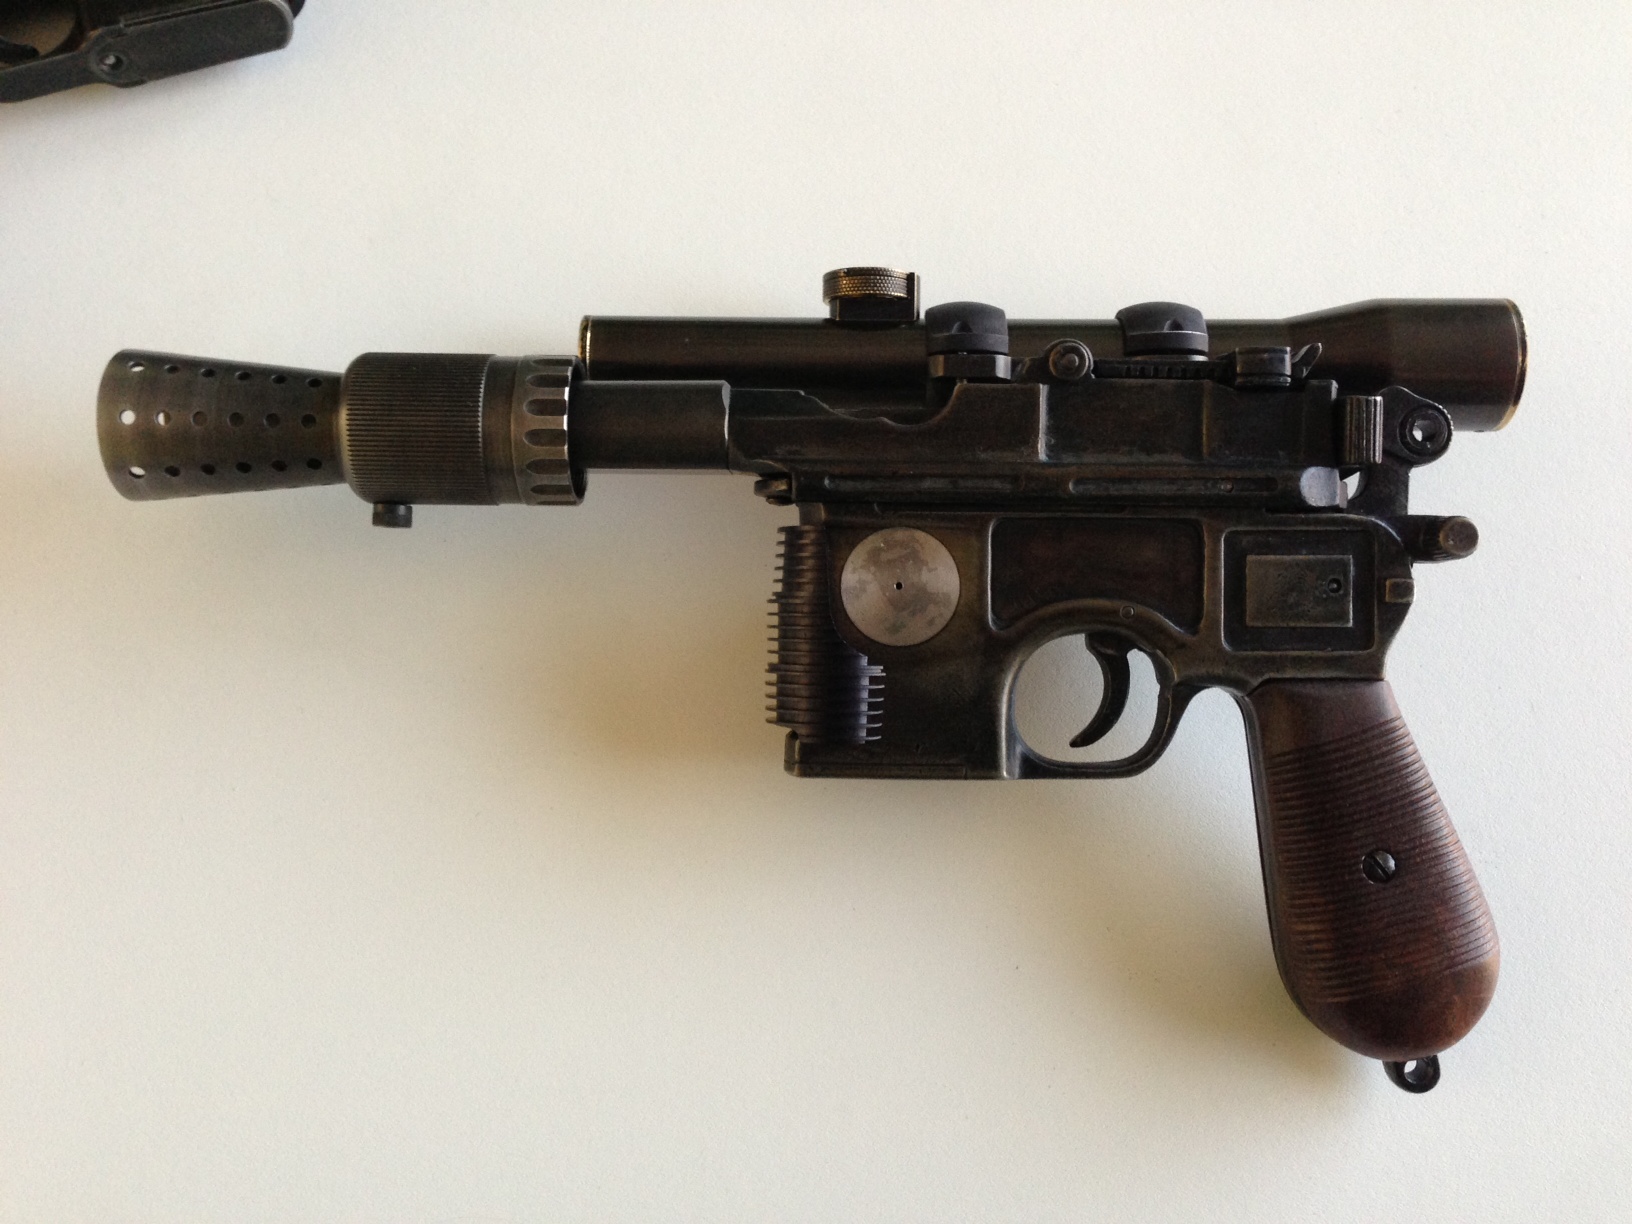
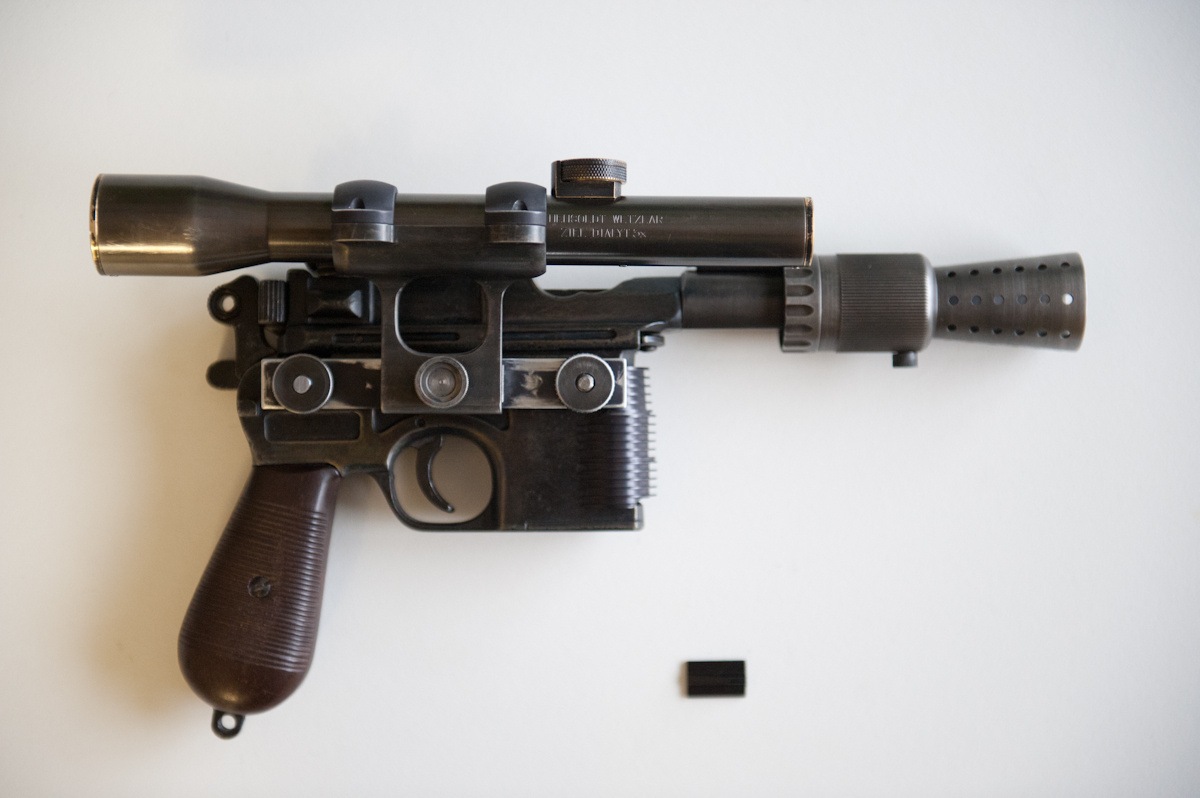
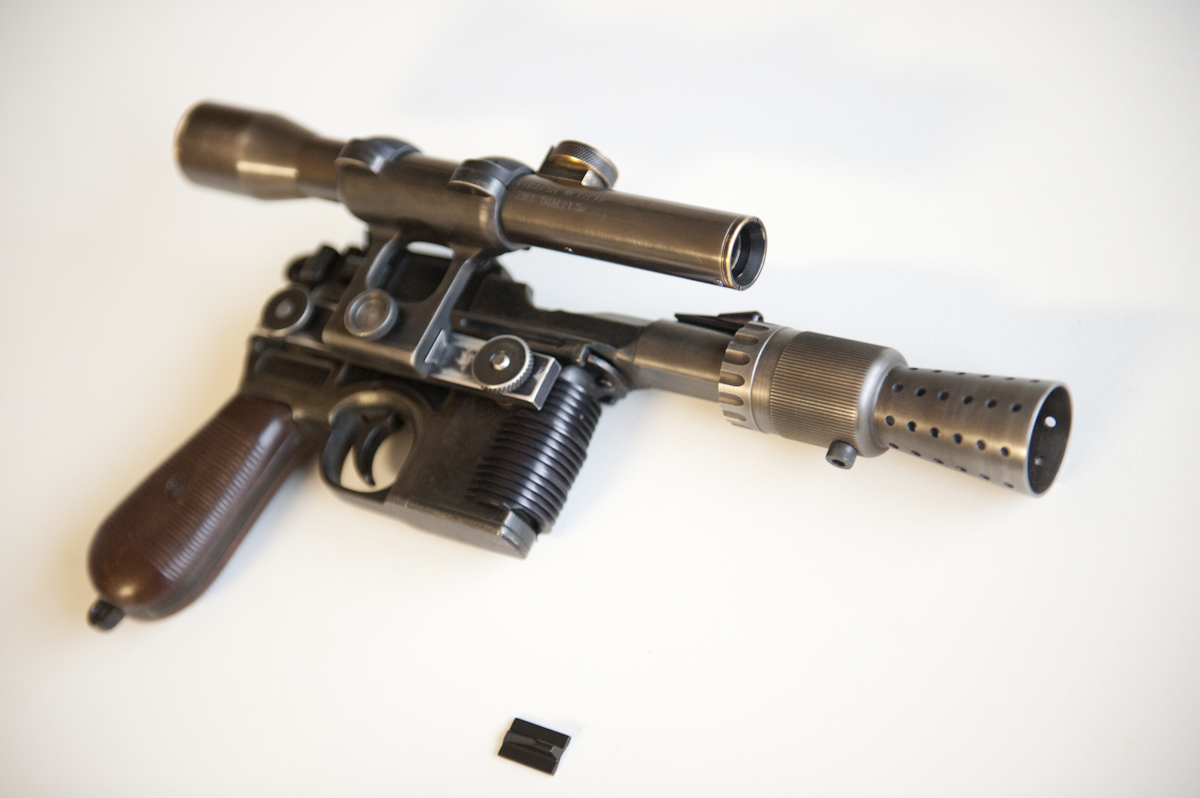
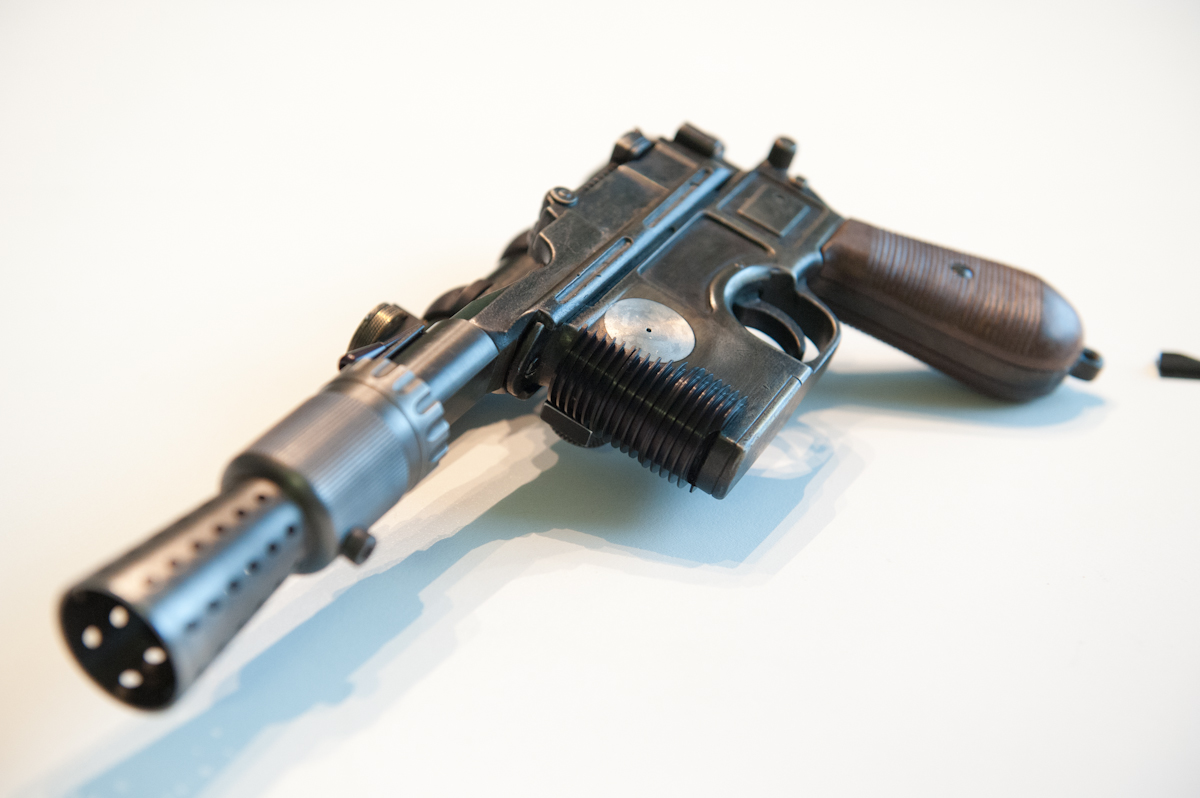
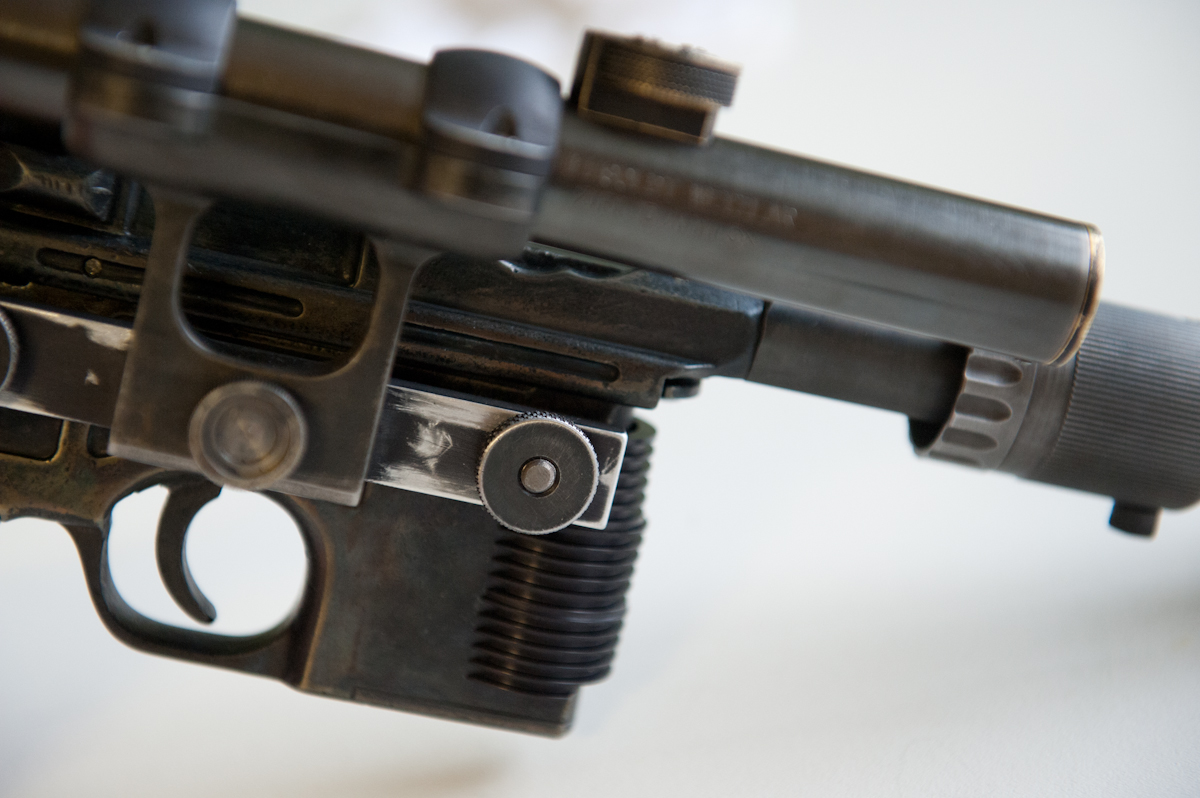
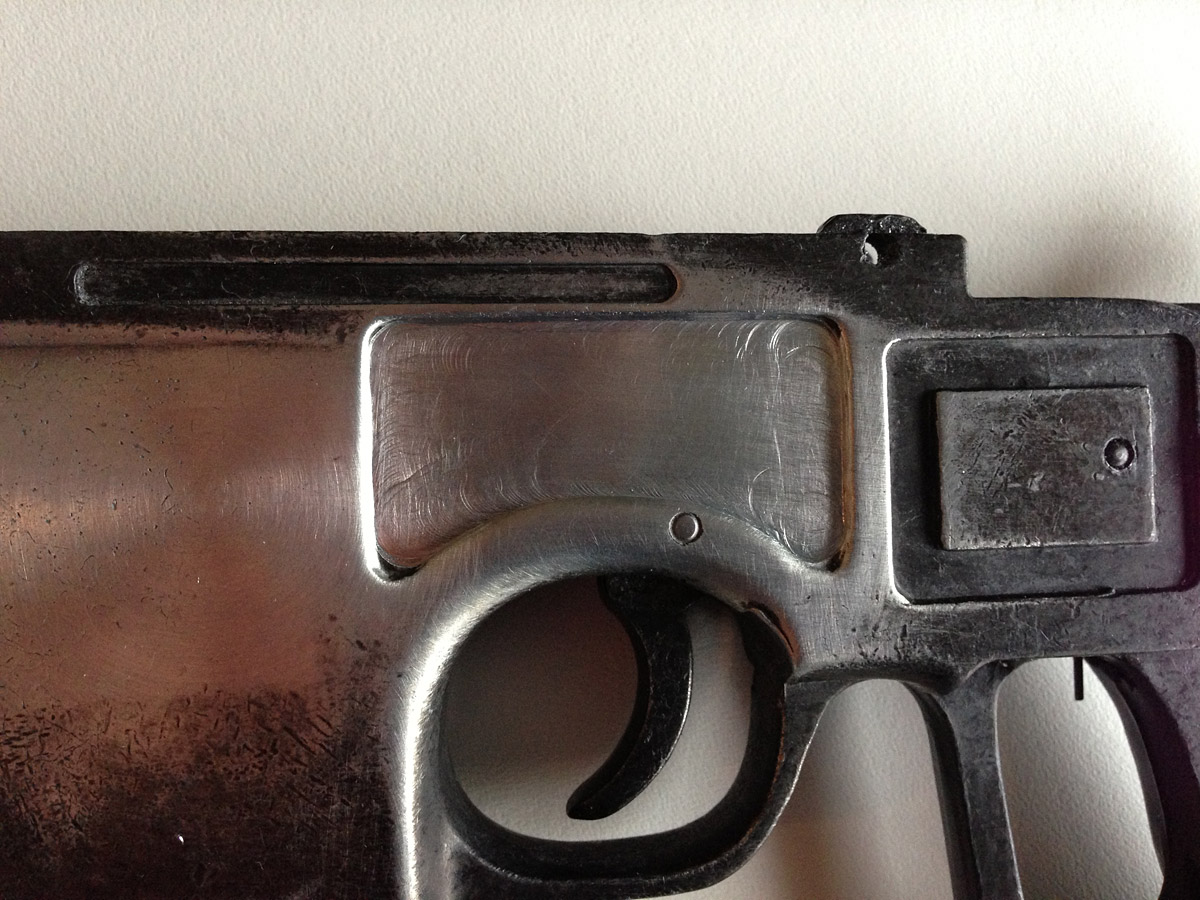
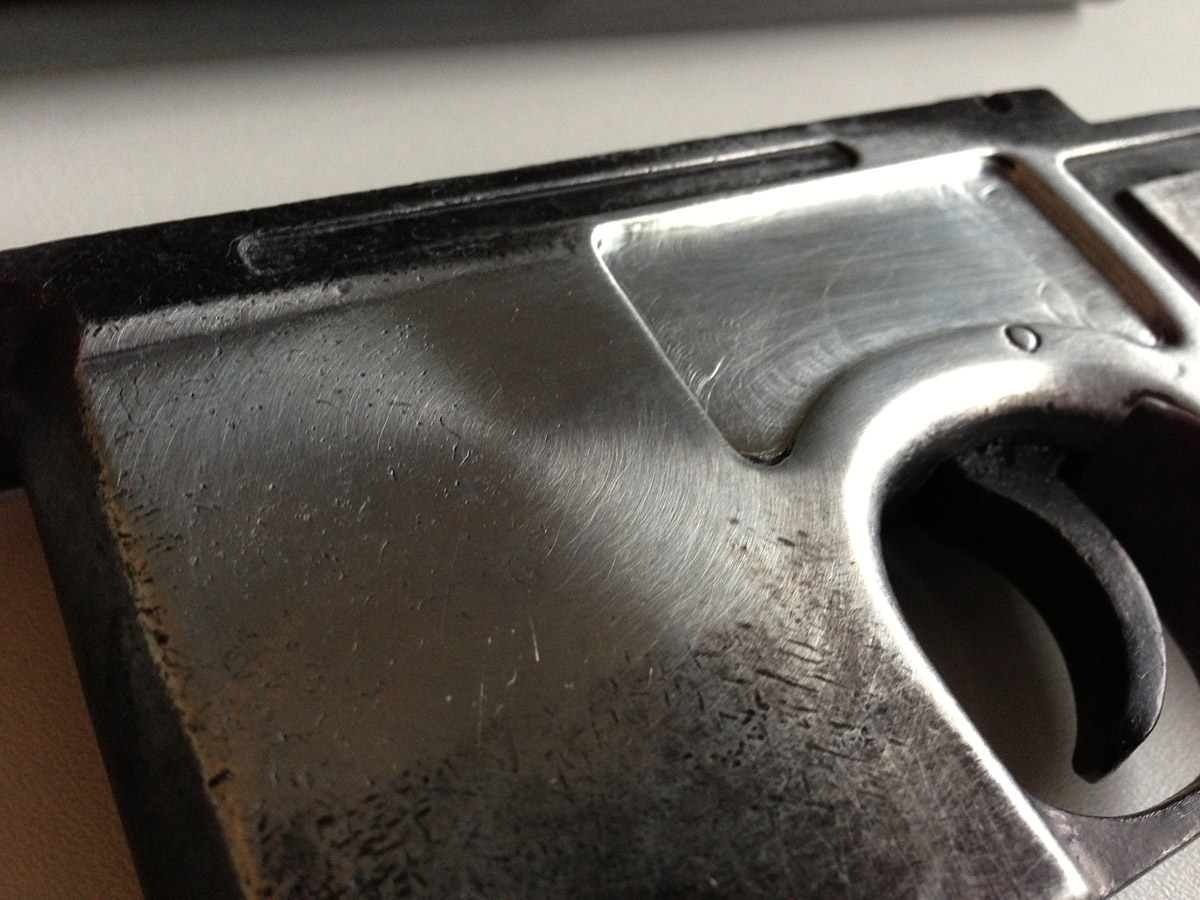
Next I sanded the area where the mystery disc will be, and decided to remove the Denix logos and other markings from the left side of the gun.
001.jpg


Rather than just sand off the markings, I wanted to add a LITTLE bit of realism to the denix, and milled down that recess. I purposely dug in and made deliberate depth changes of a couple thousandths, to mimic what I've seen on real mausers that exhibit the mill marks.
003.jpg


Sanding down... to make it less obvious and more like a real mauser in this area
004.jpg


005.jpg


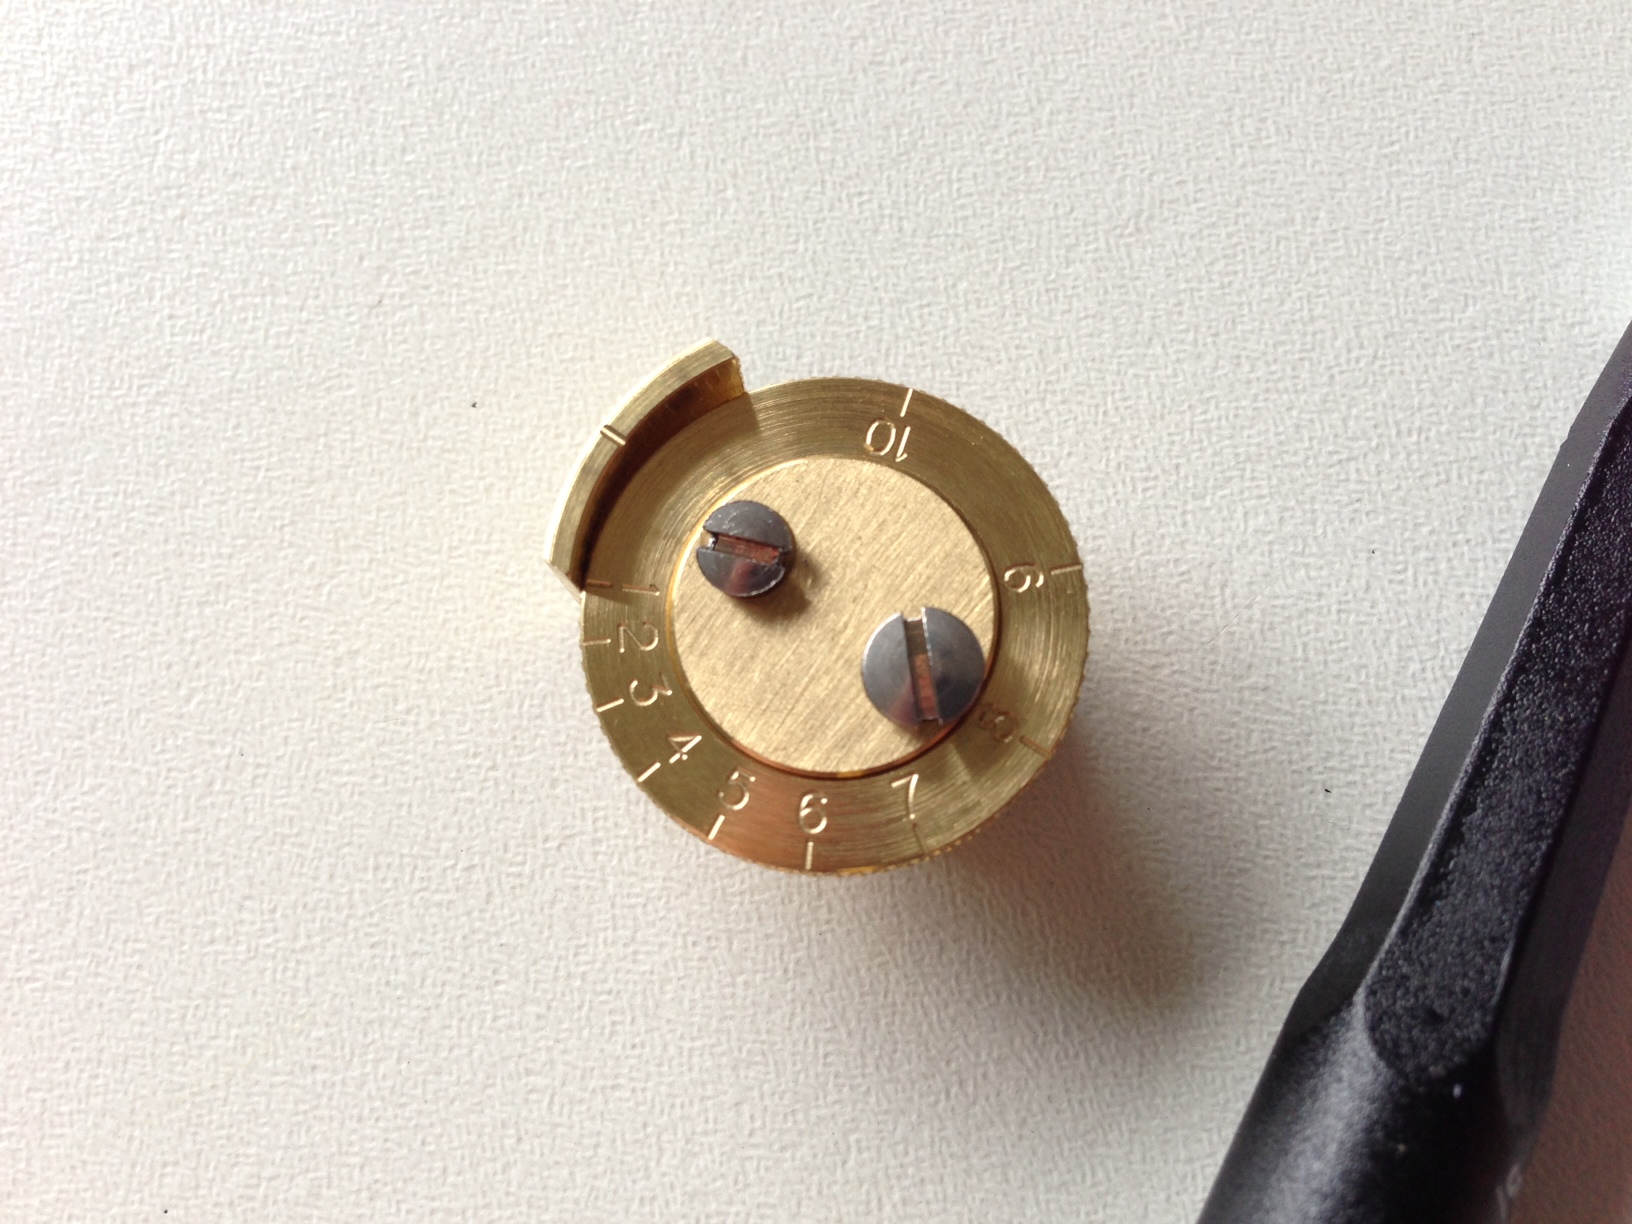
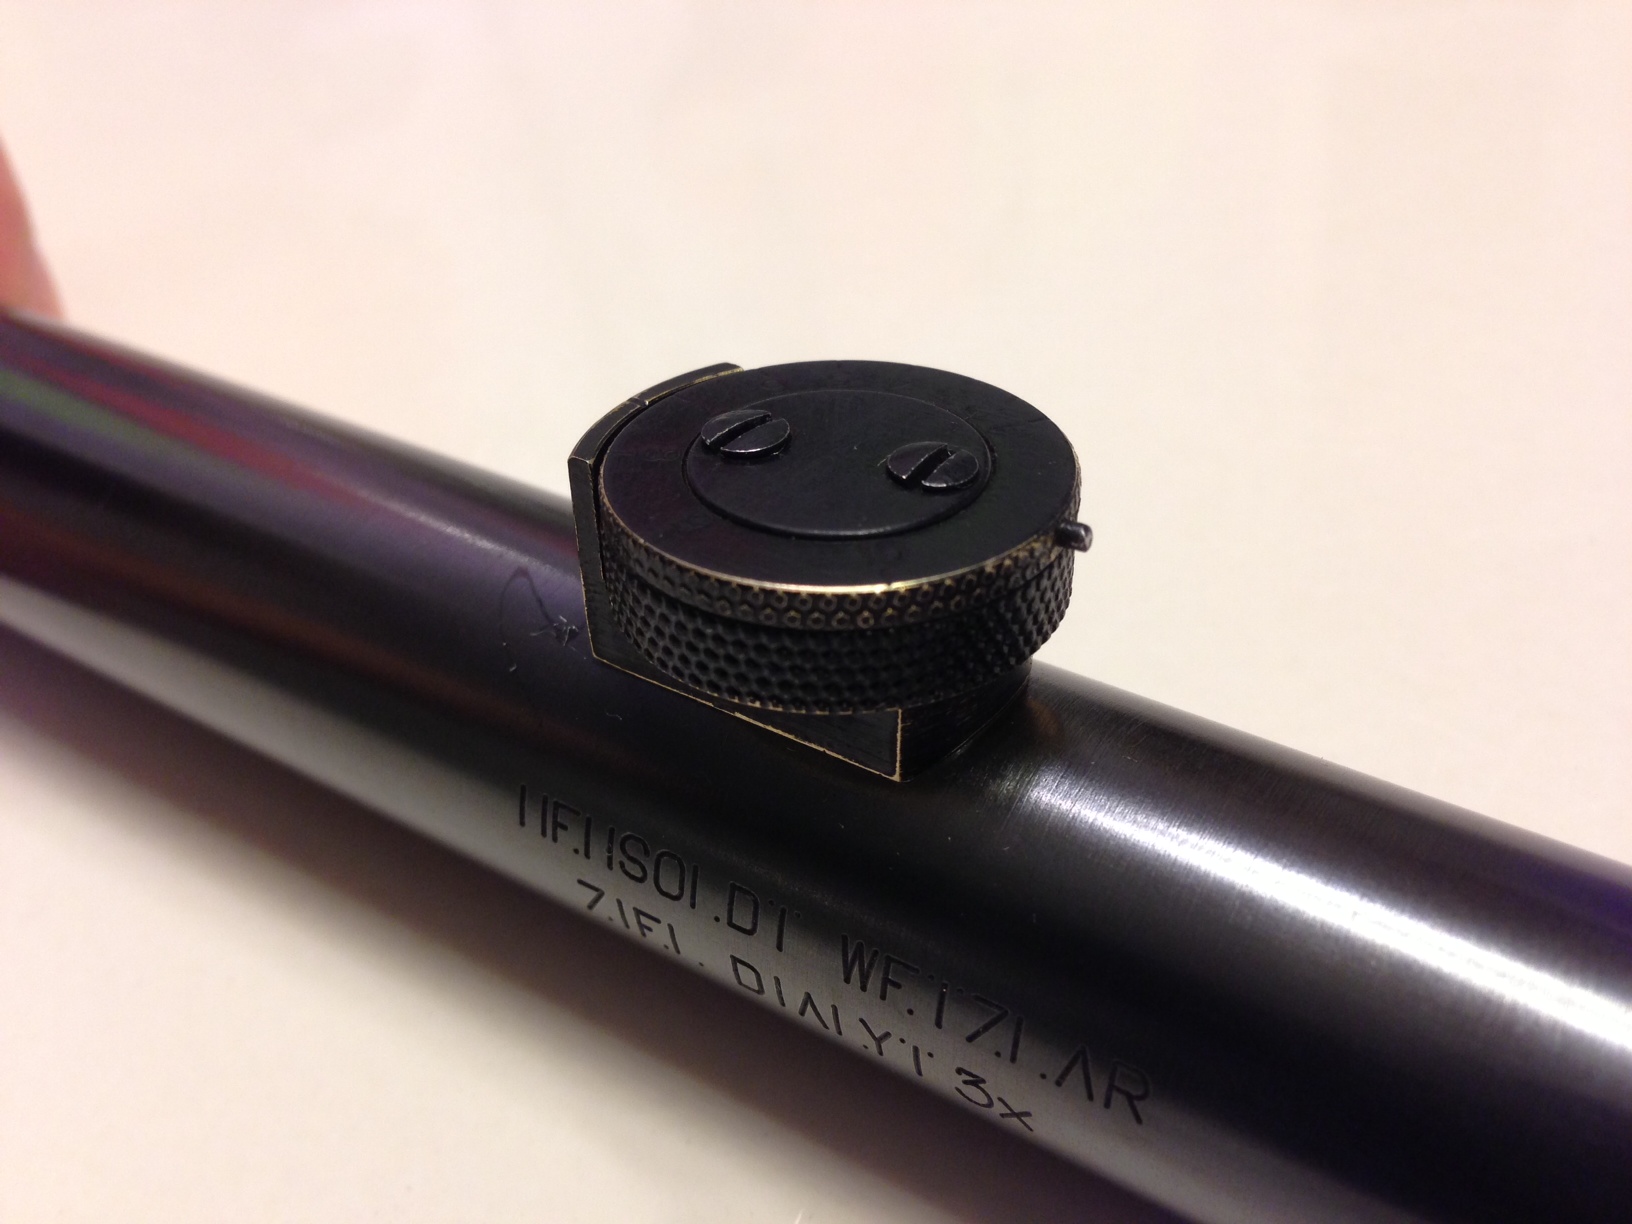
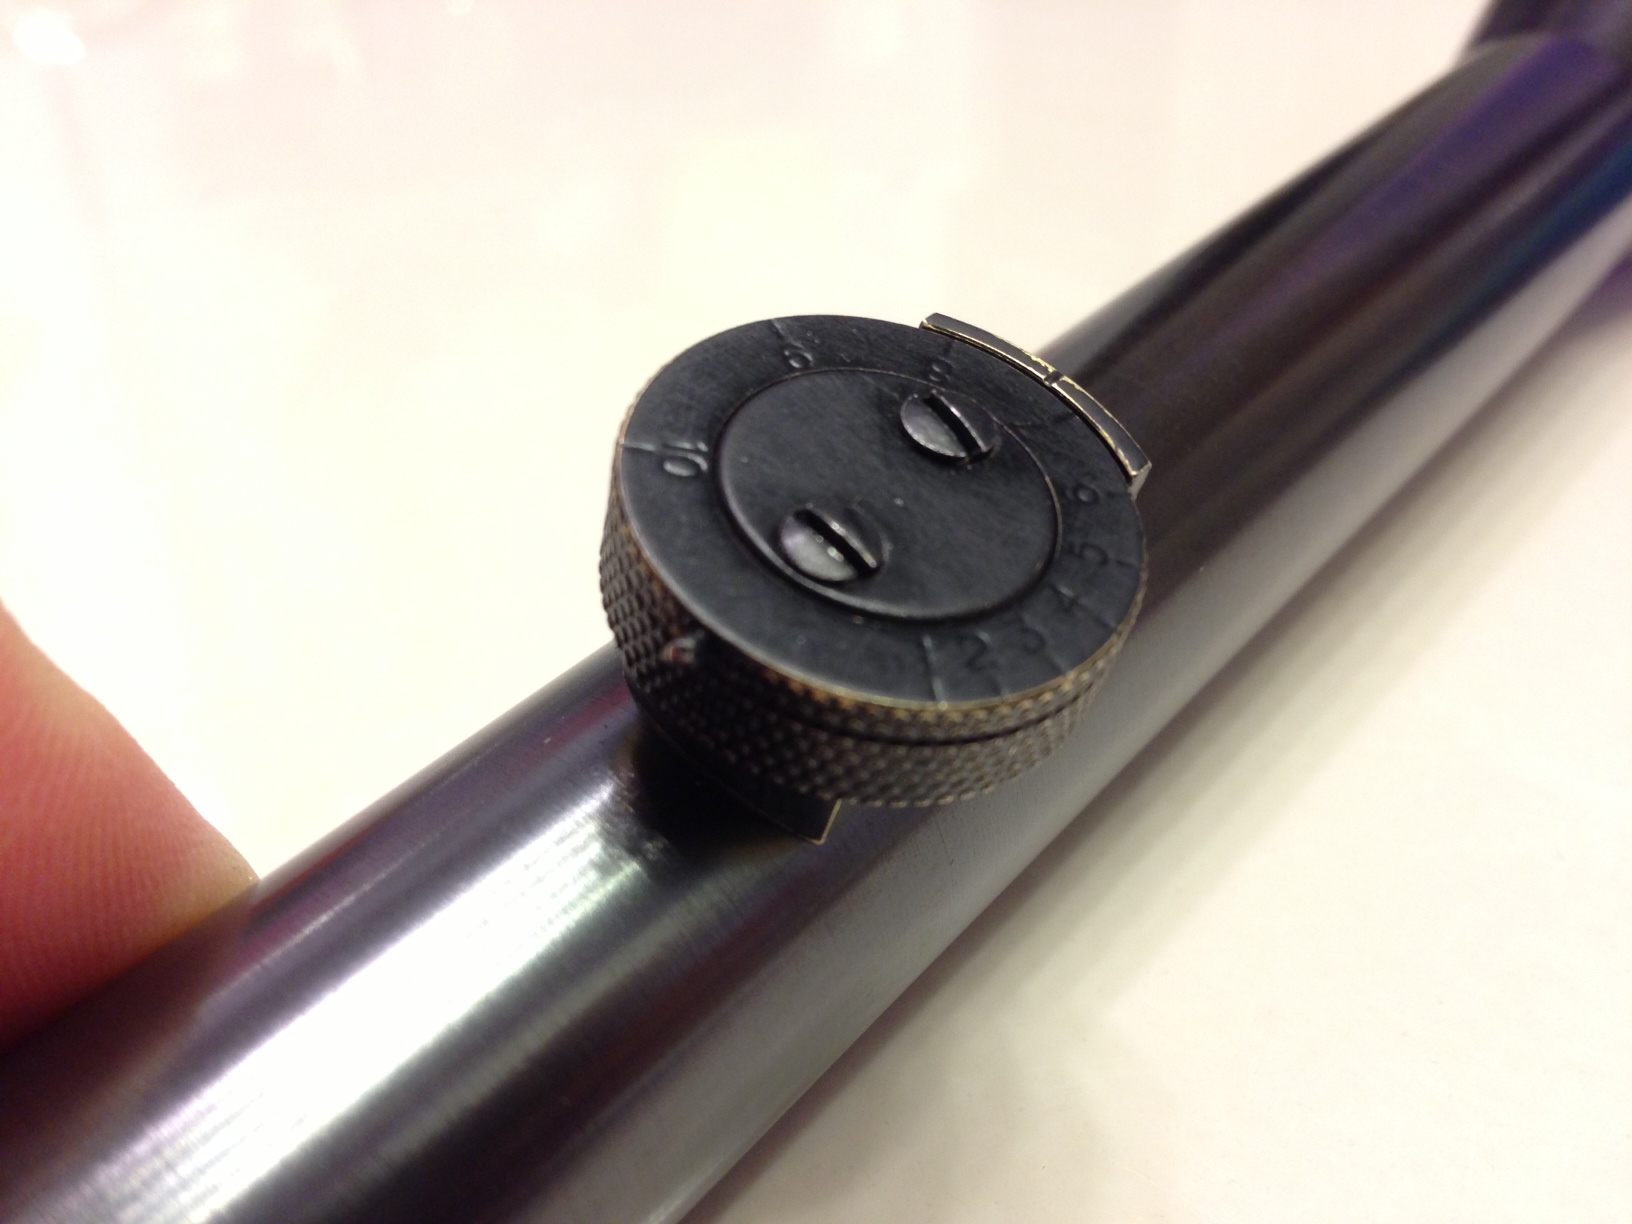
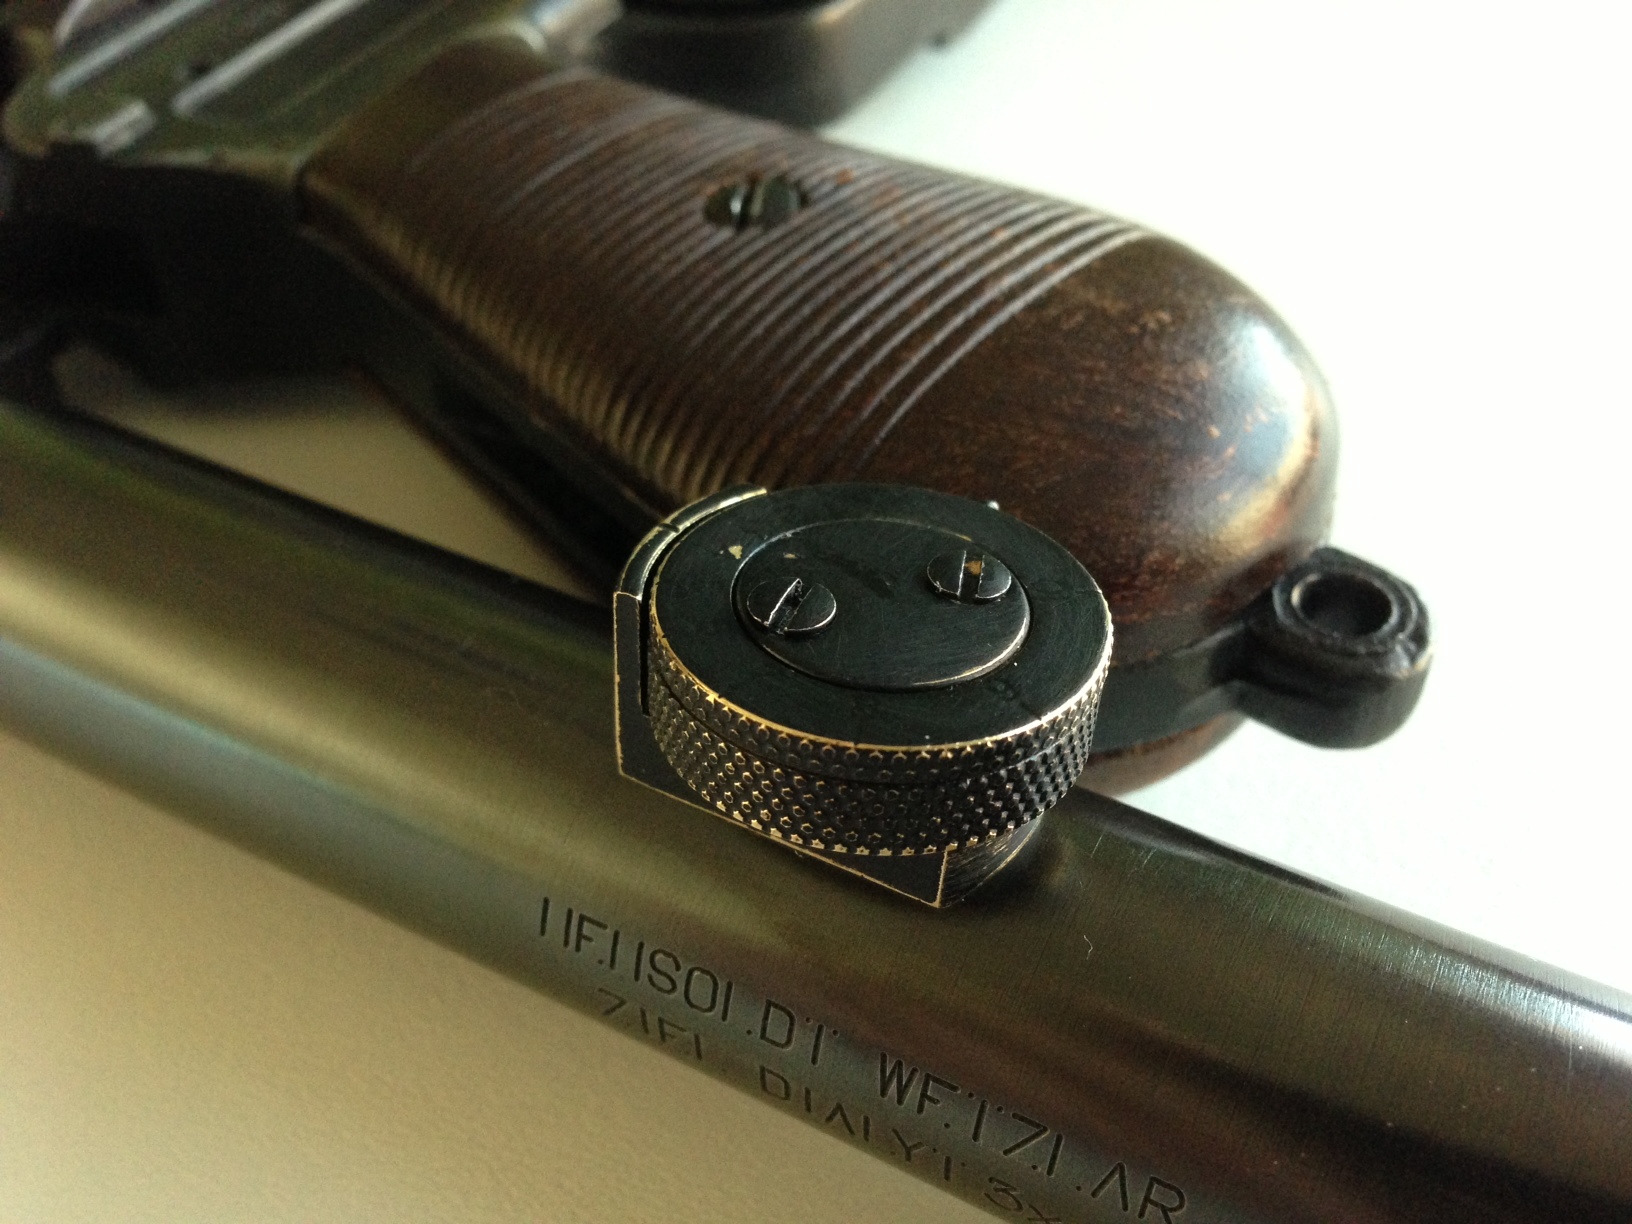
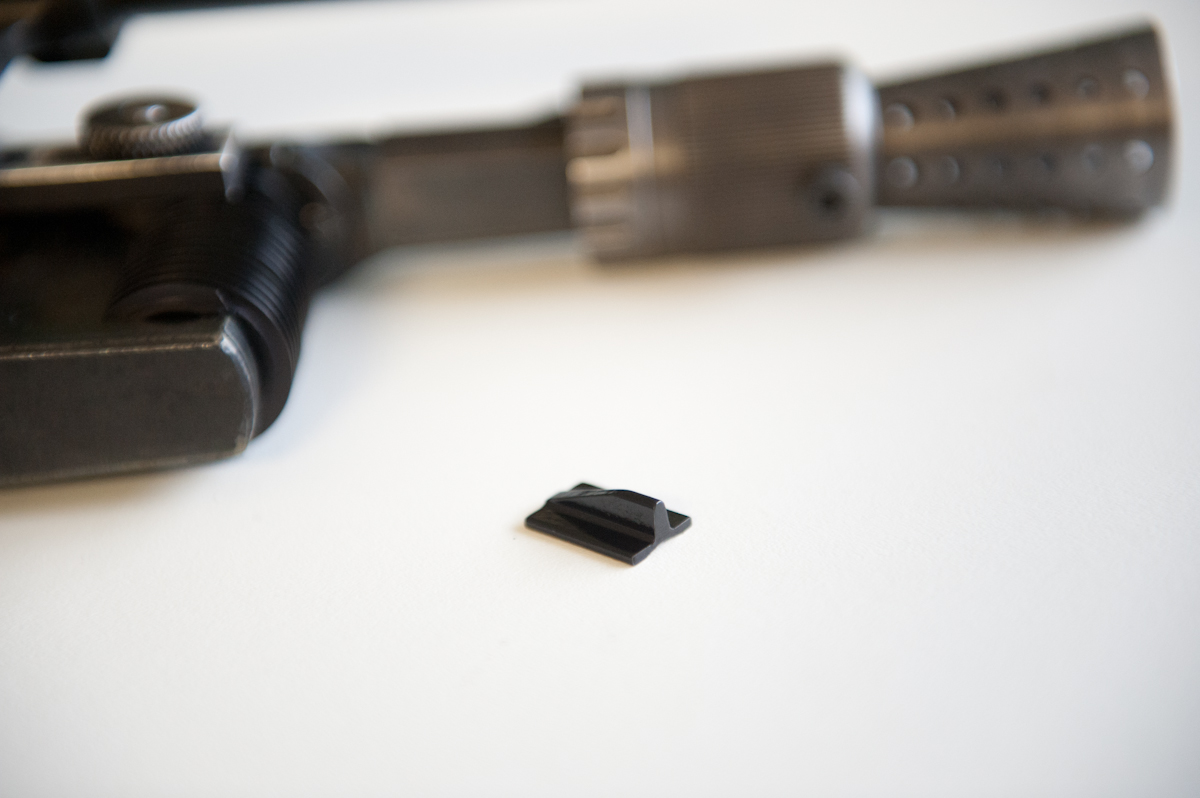
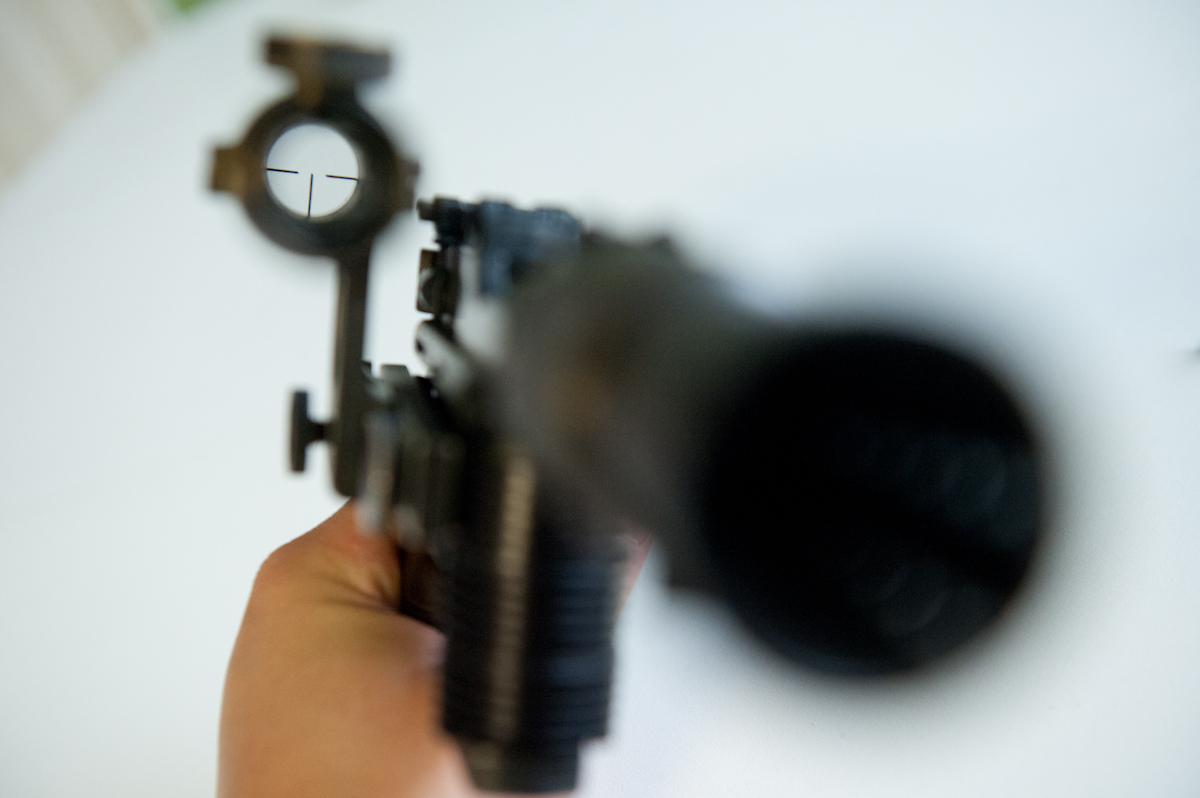
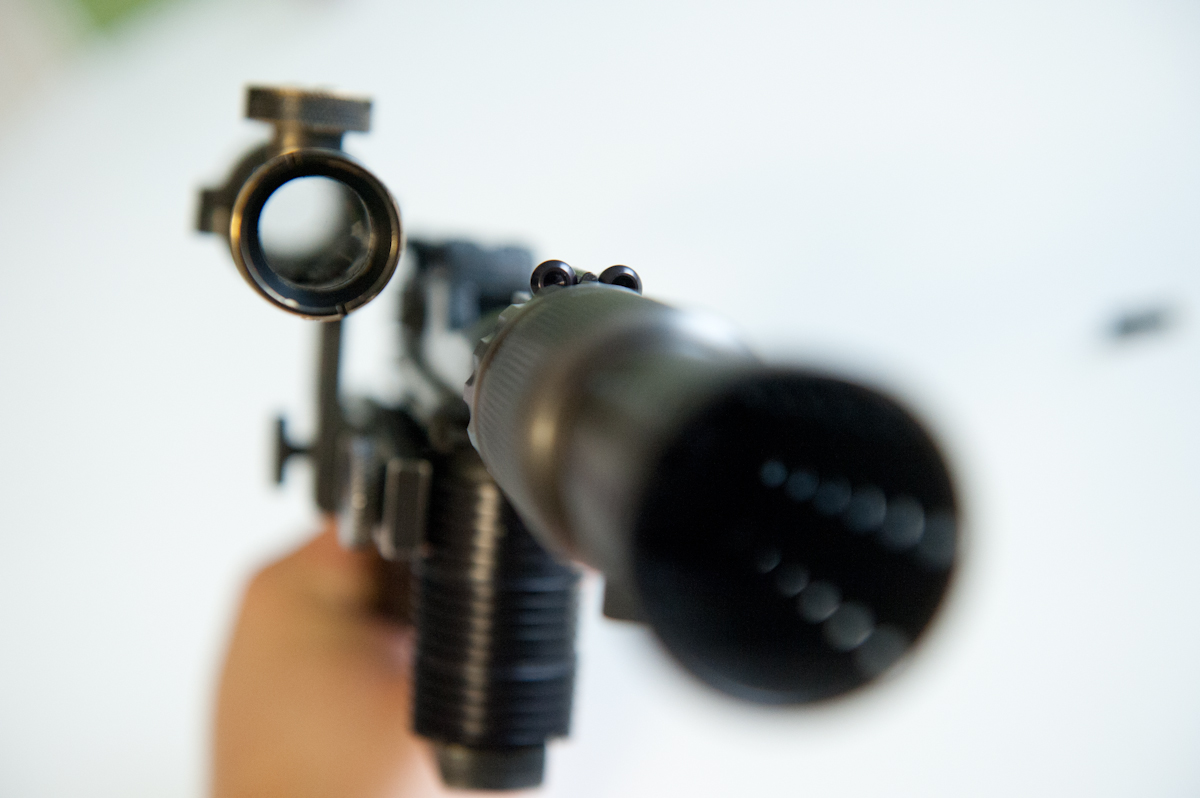
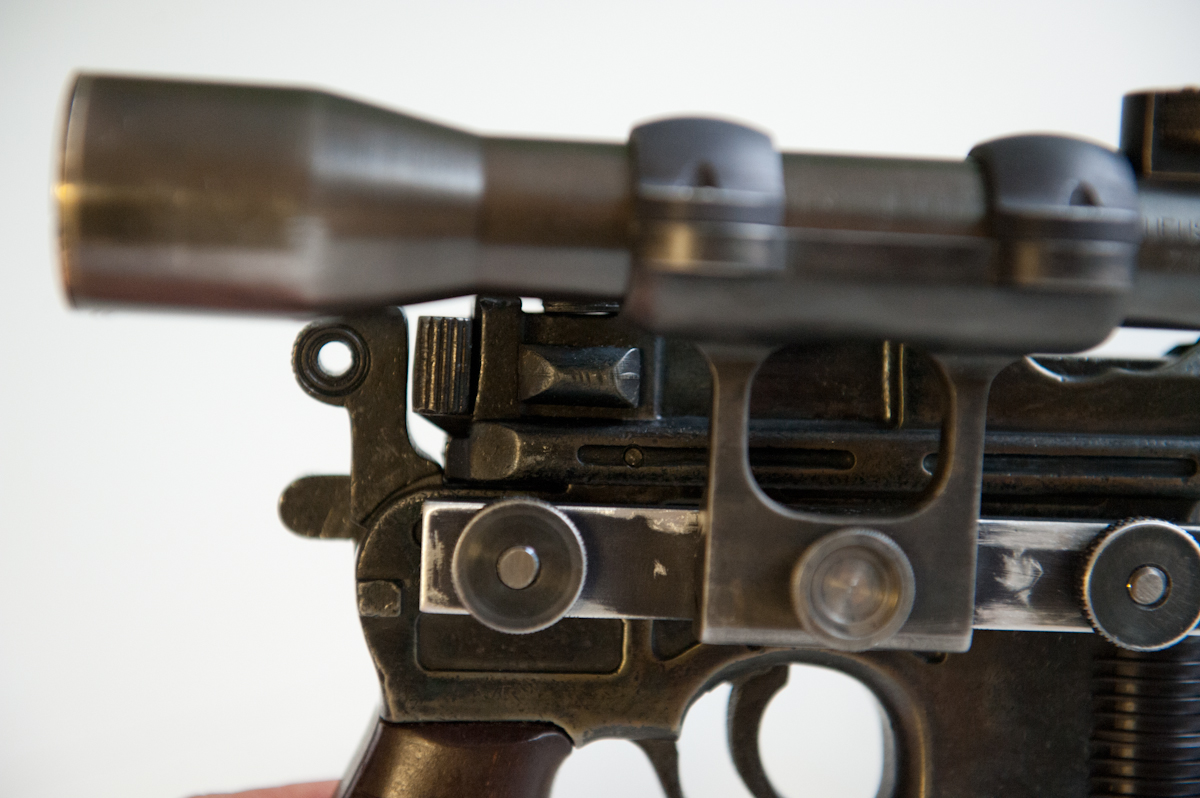
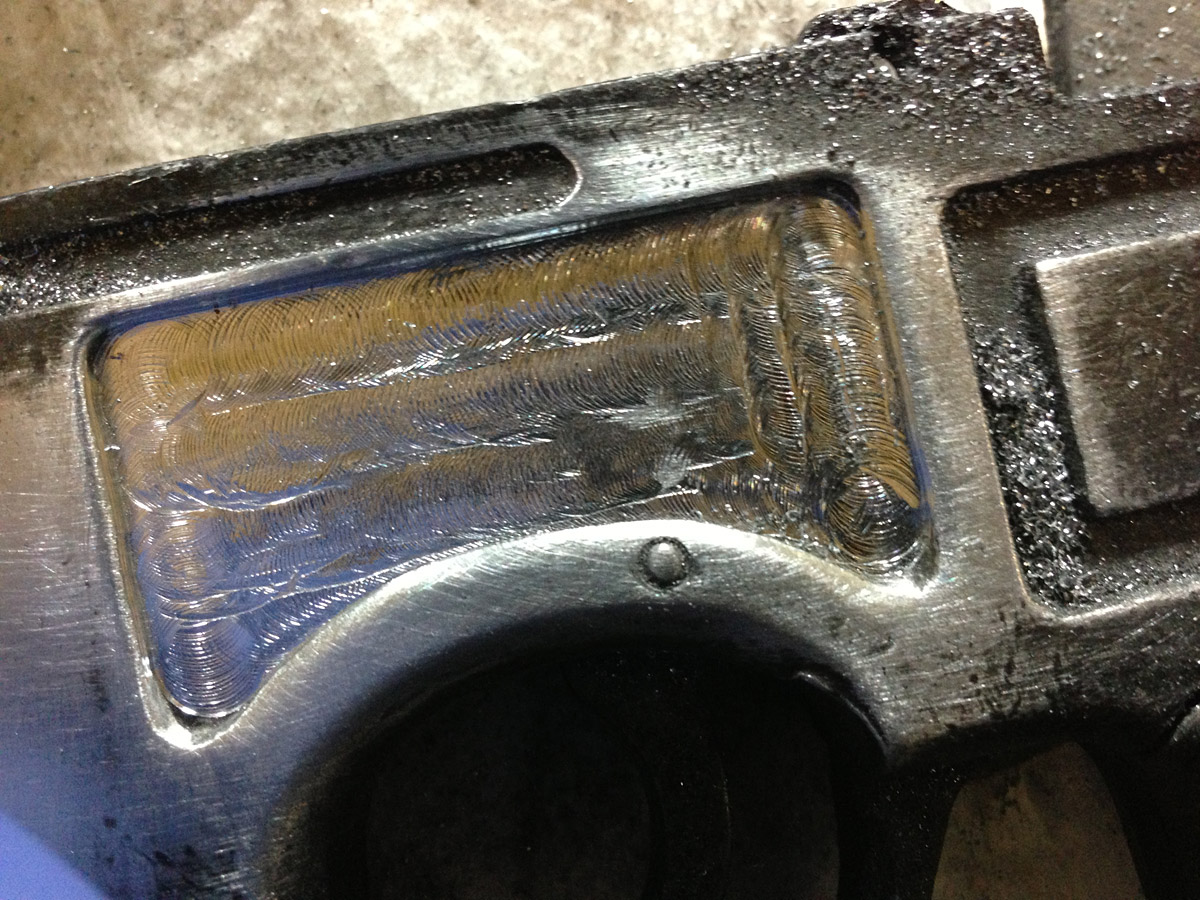
Then I used one of the aluminum stickers to mask off the mystery disc. I wanted to approach this like I did my own and blue around the disc instead of paint. I like the effect better than the paint method.
006.jpg


007.jpg


008.jpg


009.jpg


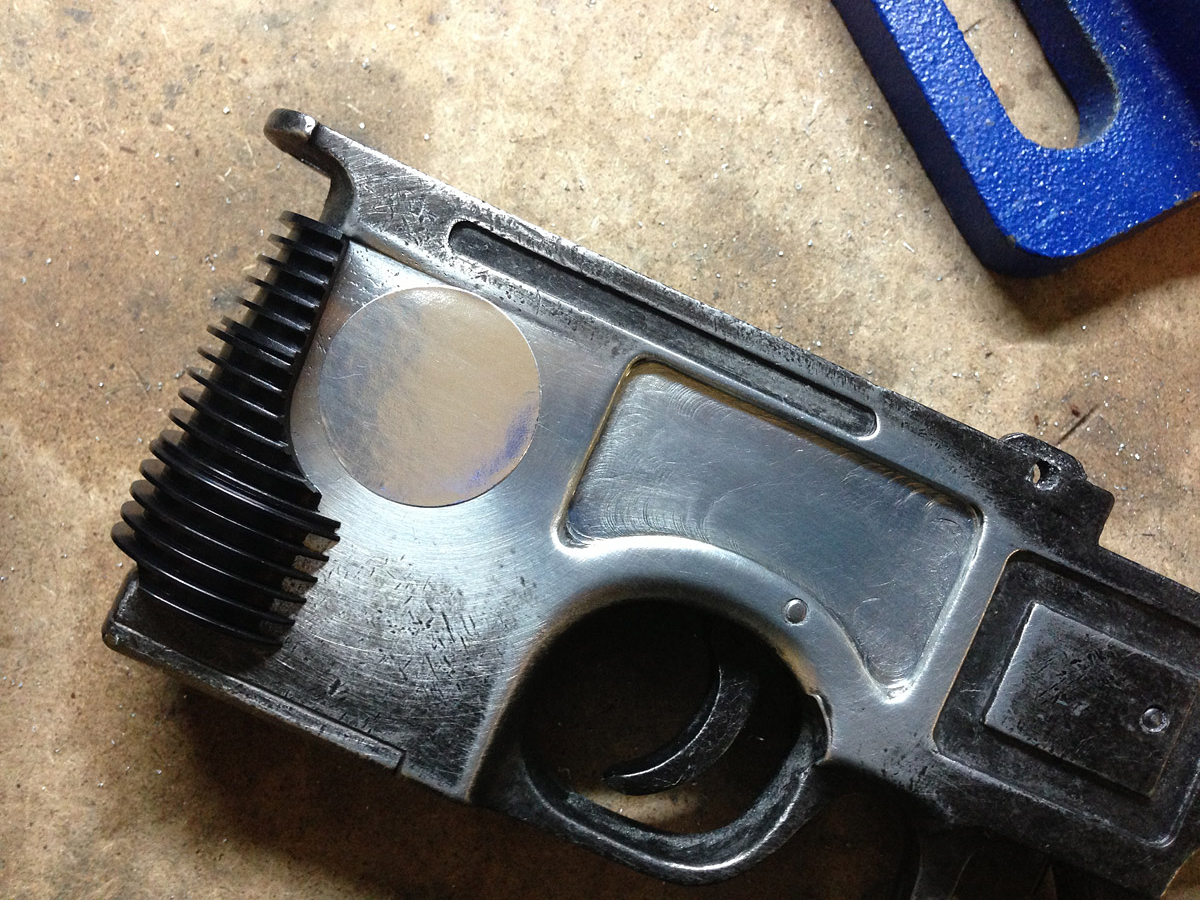
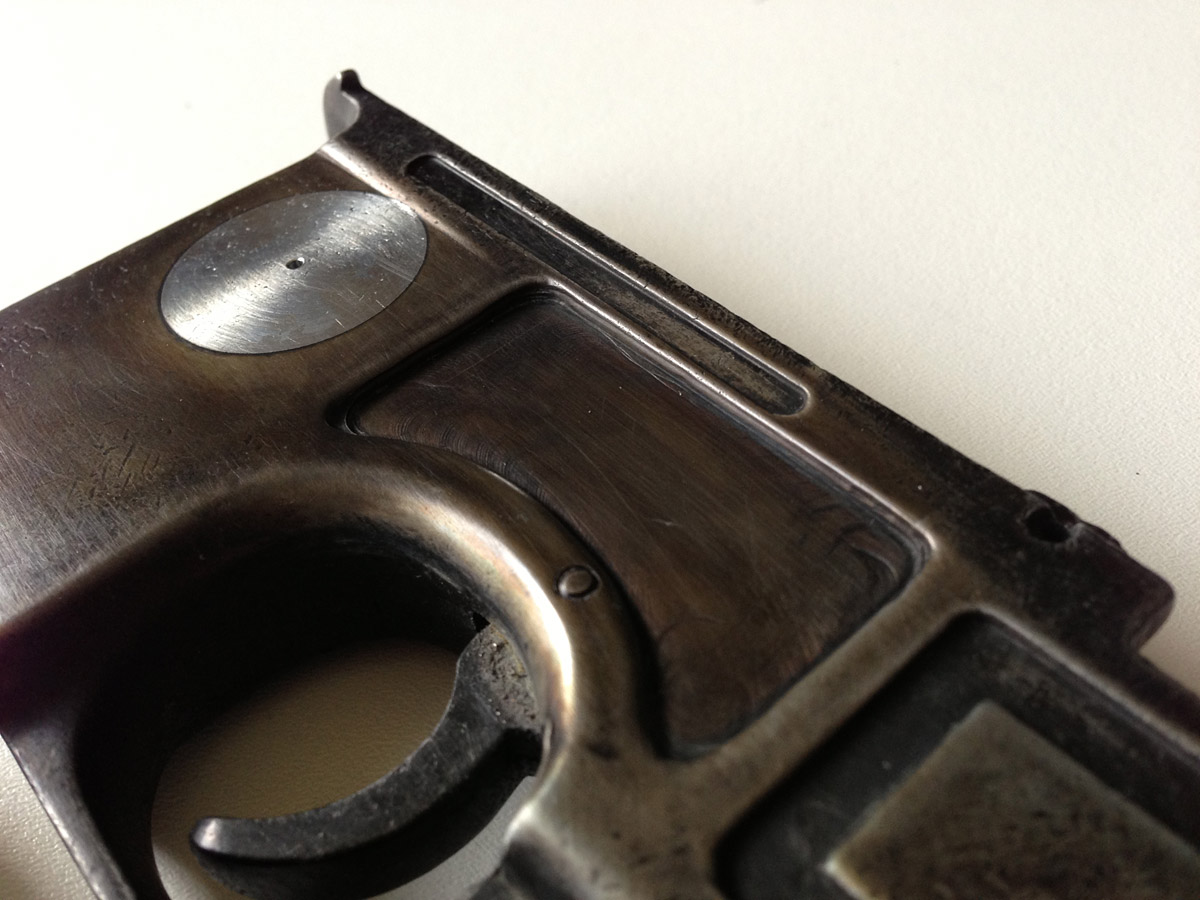
Still needs some weathering to make the disc less pristine, and lots more other work.

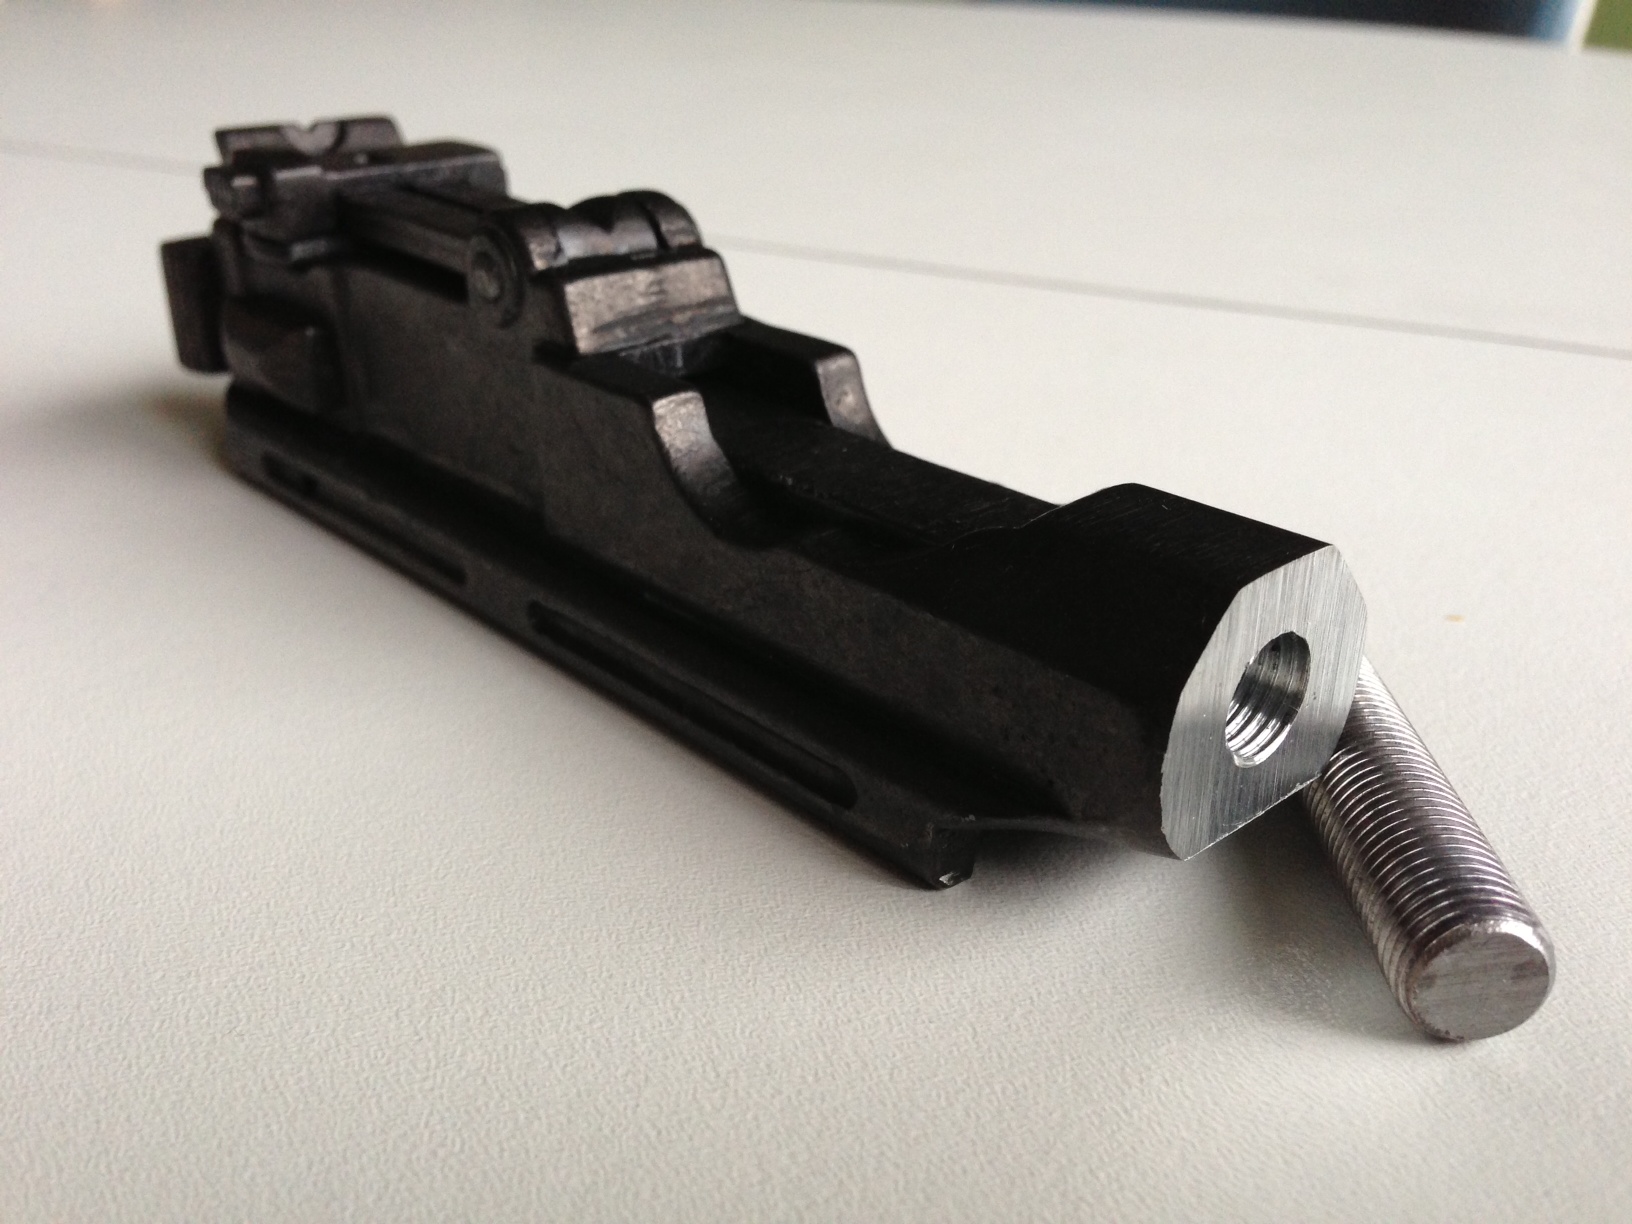
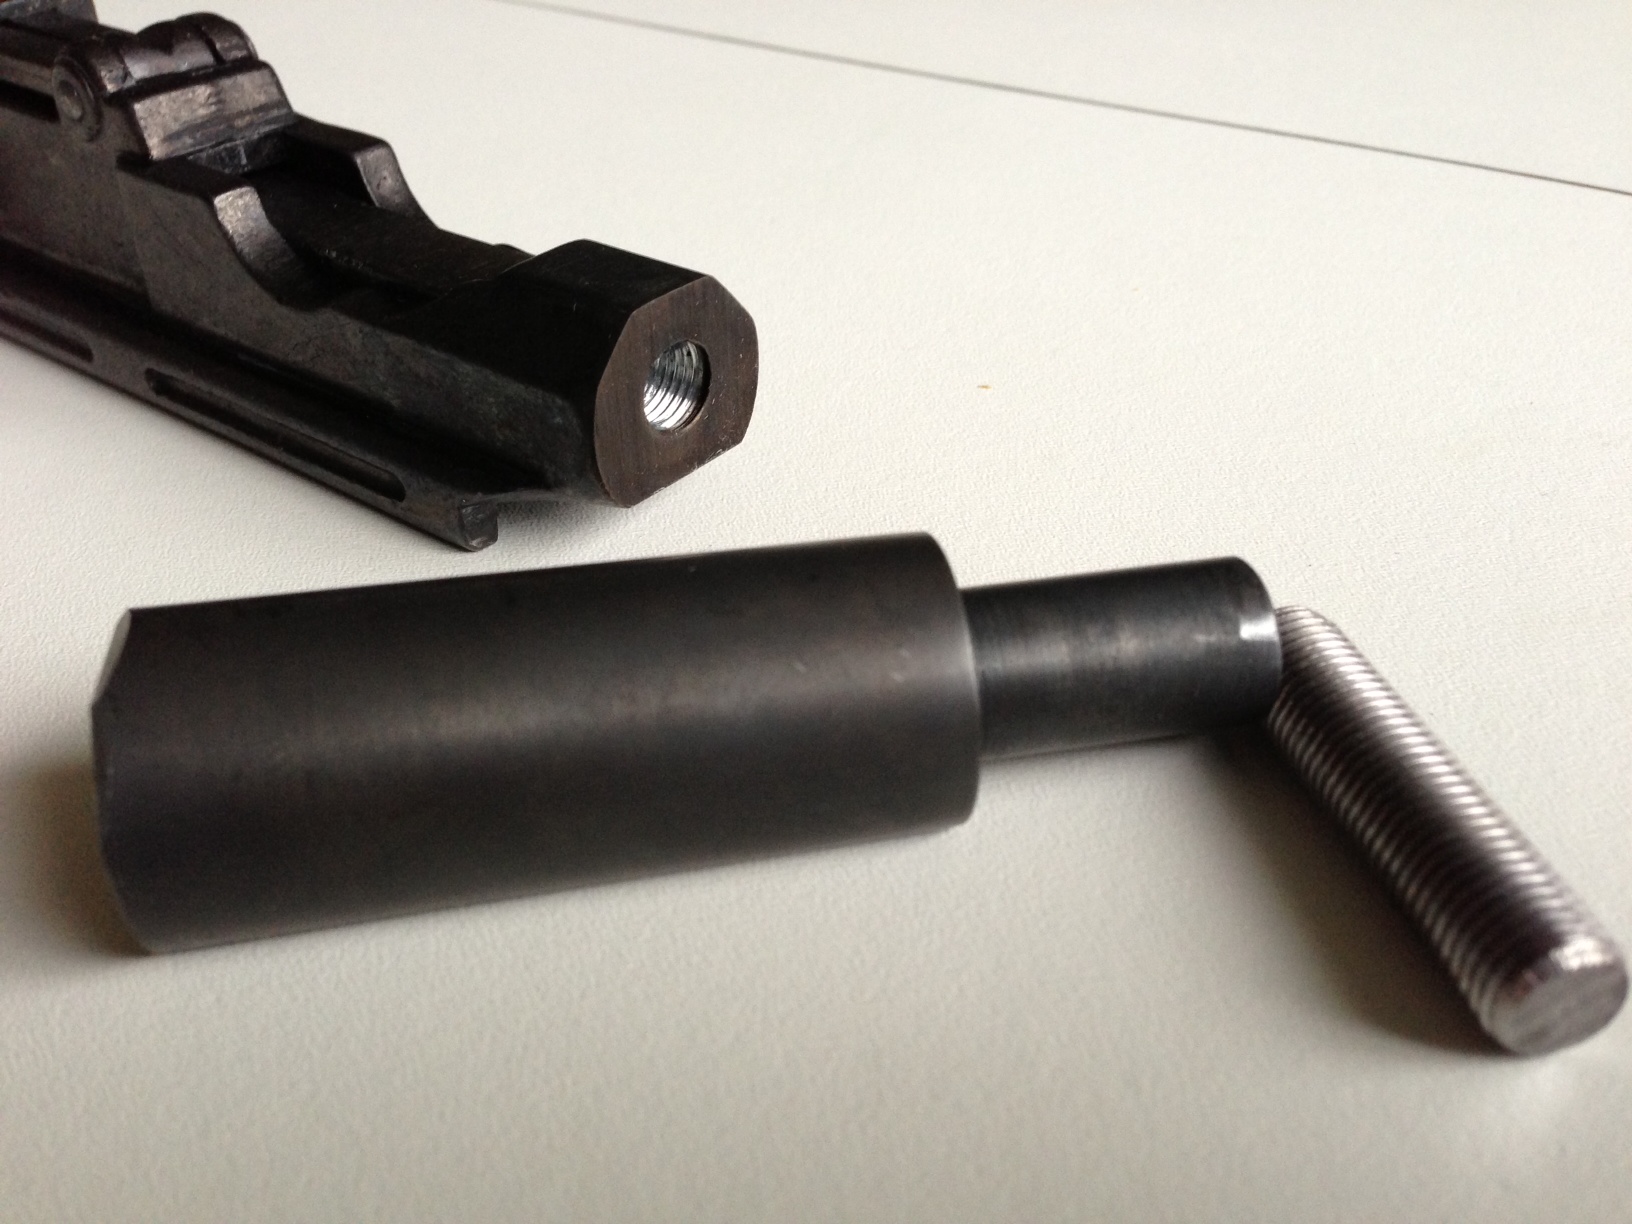
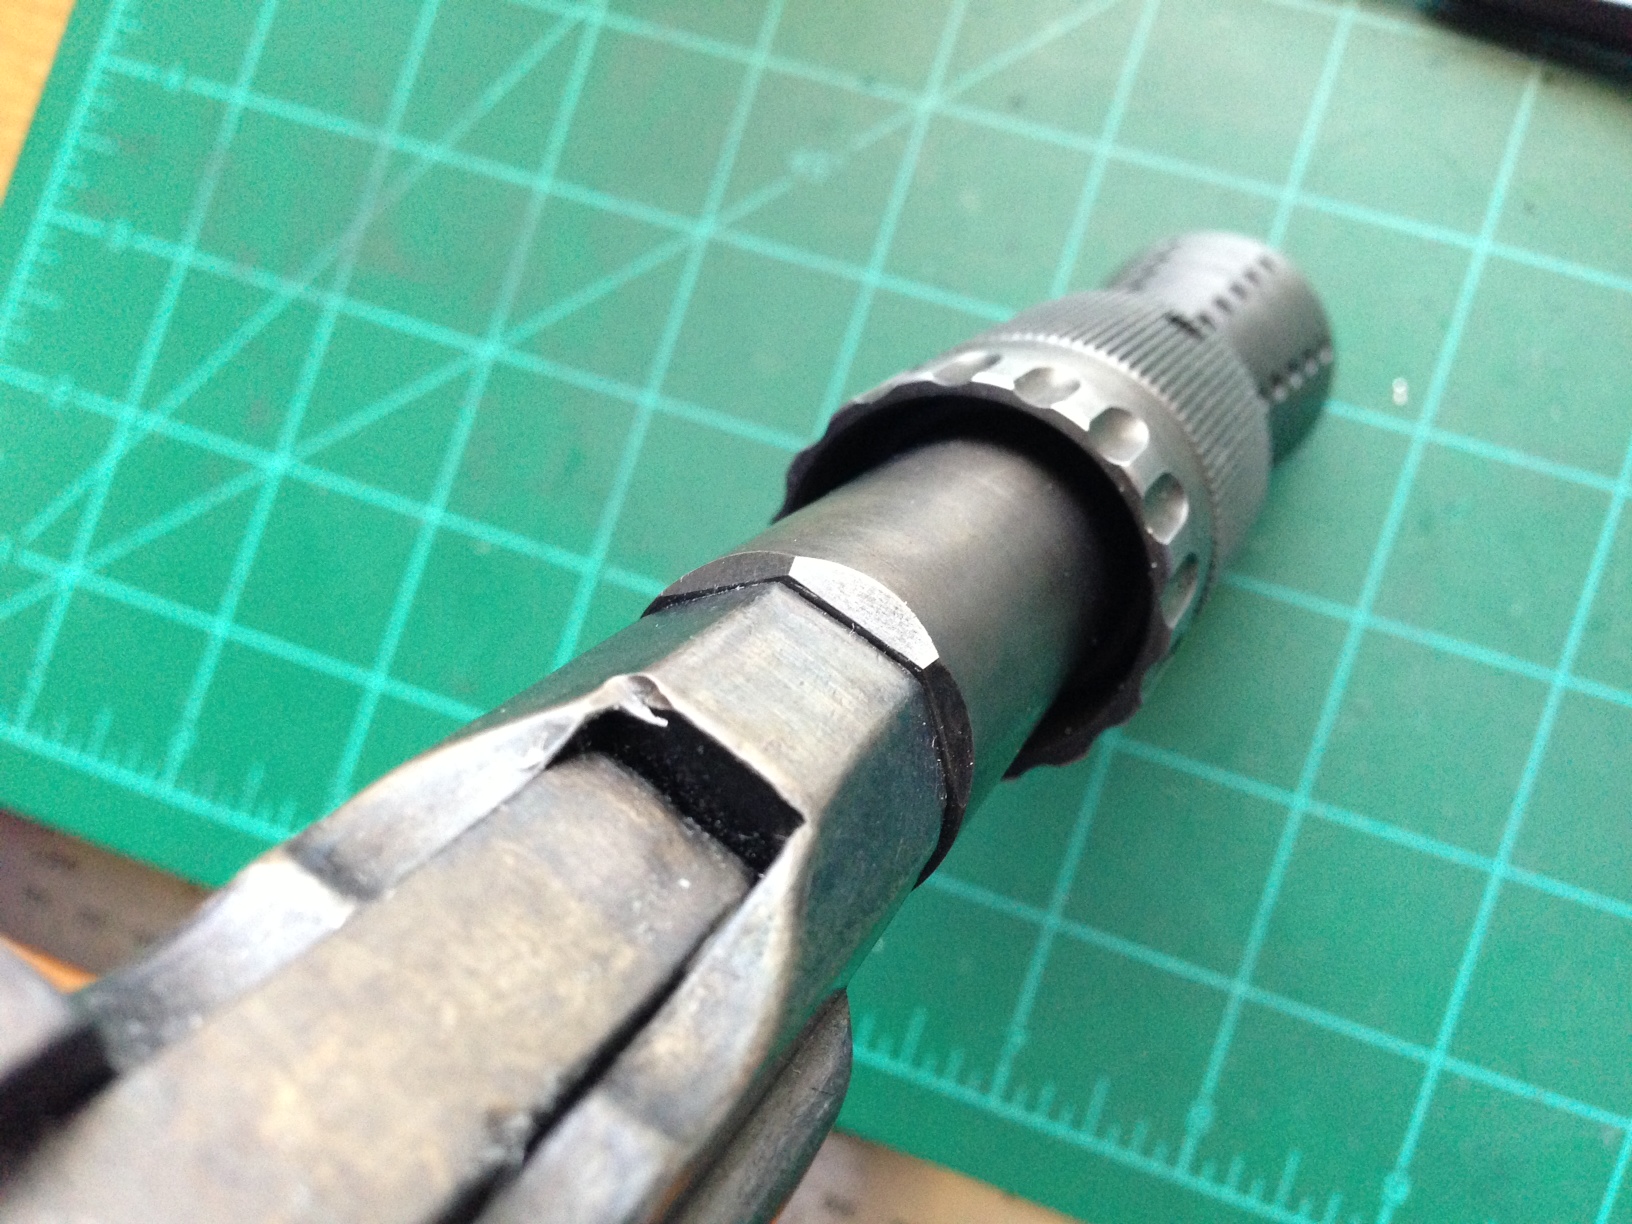
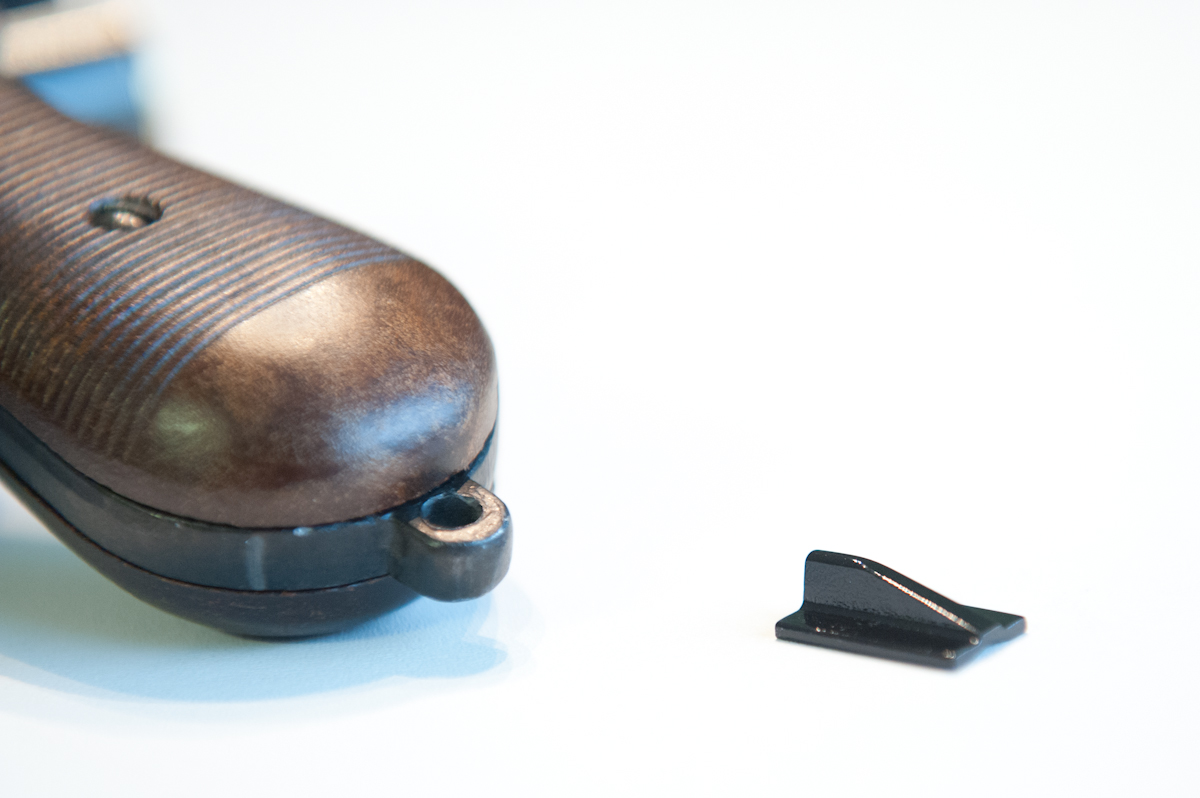
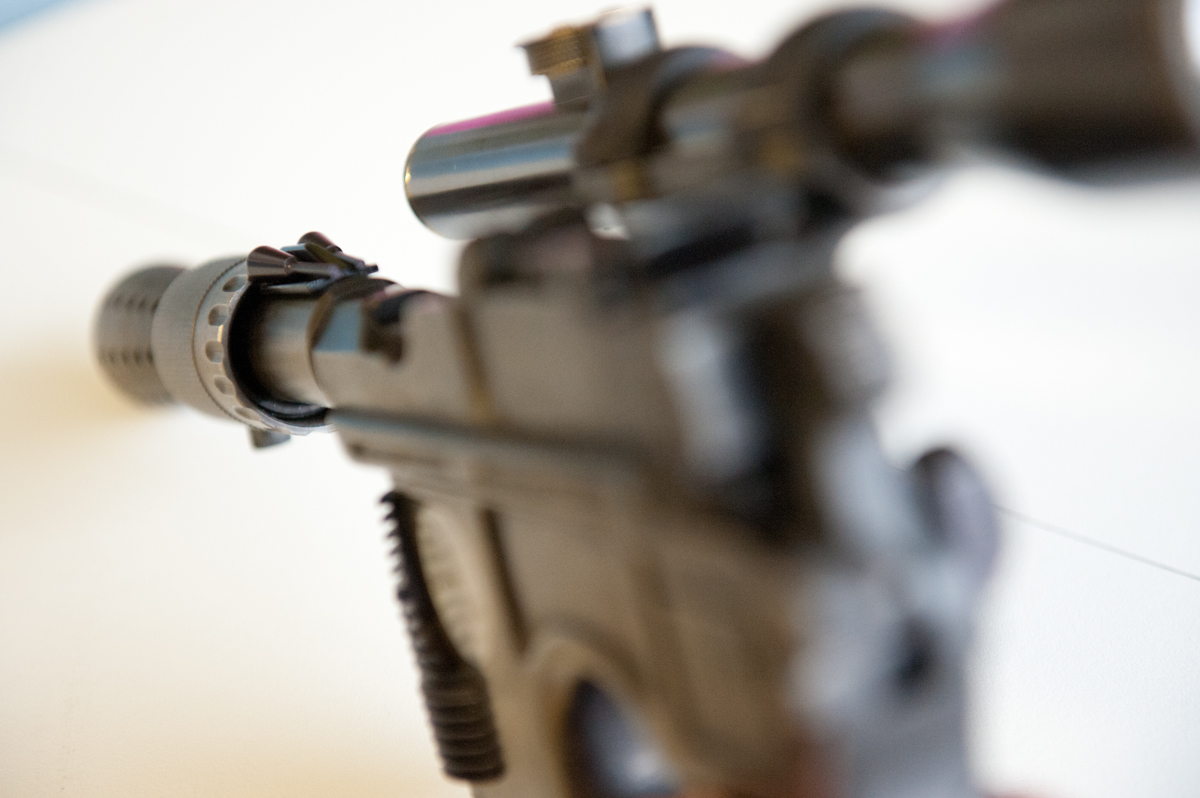
I did also get rid of the bolt nub as well, but forgot to take pics of that for now.

Anyway... its a start.
 
Subscribed! I just ordered some parts from dark energy creations to put on my denix. It'll be a while before they come, but I'm studying the details on this build.
Thanks for sharing:)
 
Did more over over the past few days.

First I had to do the bull barrel. But Since it was the fitted type, I had two ways to go about it. Make a post out of the barrel to fit into the bull barrel, or cut it off completely, drill a hole, tap for the post, and then fit the barrel.

Well, I tried the post method and an hour into filing with only 1-2mm worth of progress I said..forget this! So I went to cutting.

VERY careful measurement and thankfully a very squarely set up set up tools I had my cut off barrel and hole drilled and tapped. I recommend the sleeve barrel for people without power tools. ^_^
photo%201.JPG


Blued
photo%202.JPG


photo%203.JPG


Loosely fitted. Nice alignment. ^_^
photo%204.JPG


The slight gap is because its loose… not epoxied yet.
photo%205.JPG


Then while the bull barrel cured in place, and the blueing cured I tackled the scope.

First was making the windage knob screws the proper size. Here's one that I chucked in the lathe and turned, then filed down next to the full size one.
photo%201.JPG


both done
photo%202.JPG


Bull Barrel done curing. Fitted the flash hider, and put the two halves back together.
photo%203.JPG


Weathered the flash hider with some steel wool.
photo%204.JPG


Nice seam after the epoxy cured it flush
photo%205.JPG


Matches my sleeve barrel perfectly
photo%201.JPG


photo%202.JPG


Comparing to mine. I actually really like the way the mystery disc came out on Avbats. I will re-do mine now. ^_^
photo%203.JPG


Paint on the windage knob pieces finally cured
photo%204.JPG


Started weathering after assembly
photo%201.JPG


photo%203.JPG


photo%204.JPG


photo%205.JPG


photo%201.JPG


photo%203.JPG


photo%205.JPG


More to come.
 
Thanks!

I forgot to add these:

Adding the scratches to the scope was difficult as steel is much harder to scratch than aluminum. I approximated the scars of the original prop as best I could while making them light enough to be able to be removed if Avbat hates it. I can always smooth and re-blue it.
photo%201.JPG


photo%202.JPG


I used my real scope to get close to the real weathering. In time the exposed brass will dull naturally. I also used reference photos of the real prop.
photo%203.JPG


photo%204.JPG


photo%205.JPG


Next is the scope mount...
 
More

Well, Weathering the cross bar was a mega pain. The anodizing on the cross bar is SUPER tough, and it took a LOT of work to scratch it up.

photo%201.JPG


After that all that was left was fitting the scope and mount
photo%205.JPG


Oddly, the top scope rings were anodized aluminum just like the cross bar instead of steel, but they still look great. The only snag, is one of the scope ring screws is threaded oddly. It WILL NOT thread into the mount straight. Its like it only wants to thread wobbly and of course will not go in. Rather than risk damage, I will wait for a replacement screw. So for now, it only has three holding the scope in.

Compared to my MGC based hero. Dang... now I HAVE to weather my cross bar too. Oh the pain...
photo%202.JPG


My mystery disc hole is too big. I like the denix better. :(
photo%204.JPG


photo%203.JPG


I trimmed the scope ring screws as well, and then not pictured: I blued the mount bolt ends too so they blend.
photo.JPG


The last thing that needs finishing is a replacement screw and then trimming and fitting the T track and push rod greeblies.

Then its done.

Stay tuned.
 
I haven't even posted yet in my own blaster build thread!!!

Scott this thing looks absolutely awesome and I can't wait to see it finished!

FYI people: Scott is a top-notch guy and takes pride in what he does! pictures speak for themselves!
 
really great job ! Great Denix build. Nice work. Glad you posted this build progress with all the details...now I don't have to! :)
 
Thanks so much everyone, alas though... now it is DONE and ready to be shipped out!

First I got in touch with DMachinist, and he said he could gladly provide a replacement screw when the next run is done, however he also told me the thread pitch for the wonky screw. I happened to have the correct die, and with some persuasion the screw is now fixed!

Then I finally had to complete the sight/push rod greeblies and fix them to the barrel. I went over and over all the info in the threads, and came up with my best guess and interpretation of what it should look like.

I also used the trimming to give Avbat the option to take the push rod version off and use just the smaller sight T track piece only. I used 3M VHB tape to attach it, so its not permanent by any means if he decides to change it up.

Personally I like it. ^_^ I also chose NOT to weather it, since the original prop would have had plastic pieces, that would remain black anyway. Same with the grill.

Anyway... final pics:

E20130516-110829.jpg


E20130516-110840.jpg


Here's the extra sight piece
E20130516-110913.jpg


E20130516-110941.jpg


E20130516-111023.jpg


For the ramping cut, I held it with needle nose pliers and then shaved it down on my belt sander. ^_^
E20130516-111210.jpg


E20130516-111300.jpg


E20130516-111412.jpg


E20130516-111424.jpg


E20130516-111440.jpg


E20130516-111502.jpg


E20130516-111534.jpg


E20130516-111603.jpg


E20130516-111643.jpg


E20130516-111702.jpg


E20130516-111726.jpg


E20130516-111744.jpg


E20130516-111824.jpg


E20130516-111908.jpg


E20130516-111911.jpg


E20130516-111919.jpg


E20130516-111927.jpg


Thar she blows. It was a lot of little things and time put into it, but I hope Avbat likes it. I sure do. ^_^
 
Thanks guys! I appreciate it. I actually really hated to let it go. :)

I hope when my steel parts come I can make my own this good.
 
Excellent work. I especially like the mill mark detailing on the receiver. Been considering this myself, and after seeing your results I definitively will add the marks to my next Denix build-up. Have a steel kit on order too that will go on a real C96 as soon as i score a suitable one.
 
This thread is more than 10 years old.

Your message may be considered spam for the following reasons:

  1. This thread hasn't been active in some time. A new post in this thread might not contribute constructively to this discussion after so long.
If you wish to reply despite these issues, check the box below before replying.
Be aware that malicious compliance may result in more severe penalties.
Back
Top