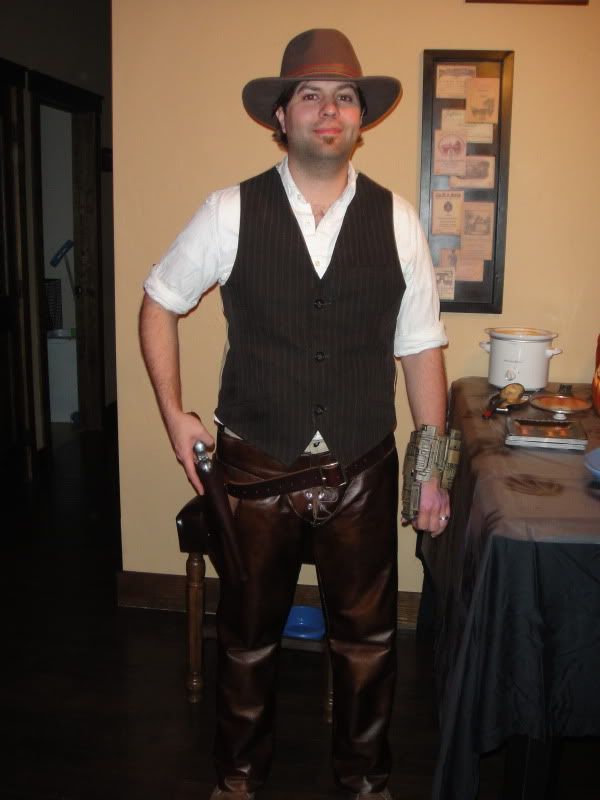
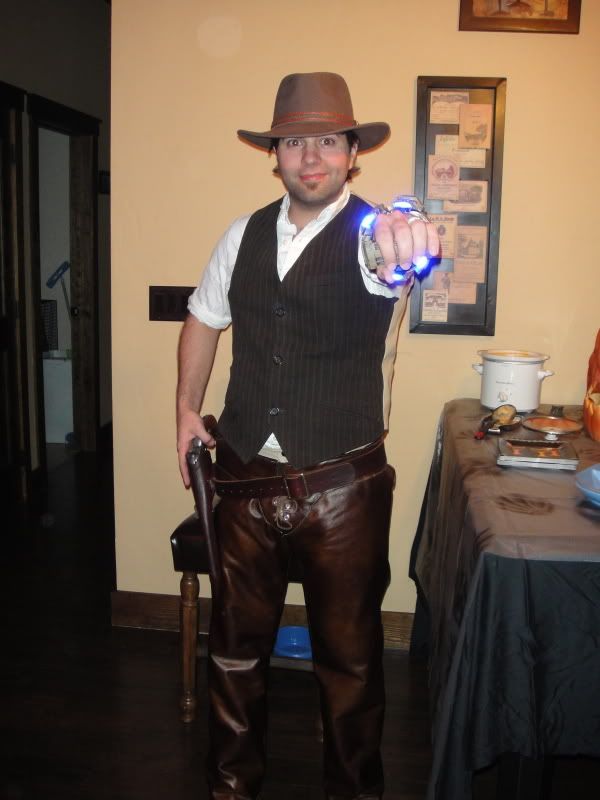
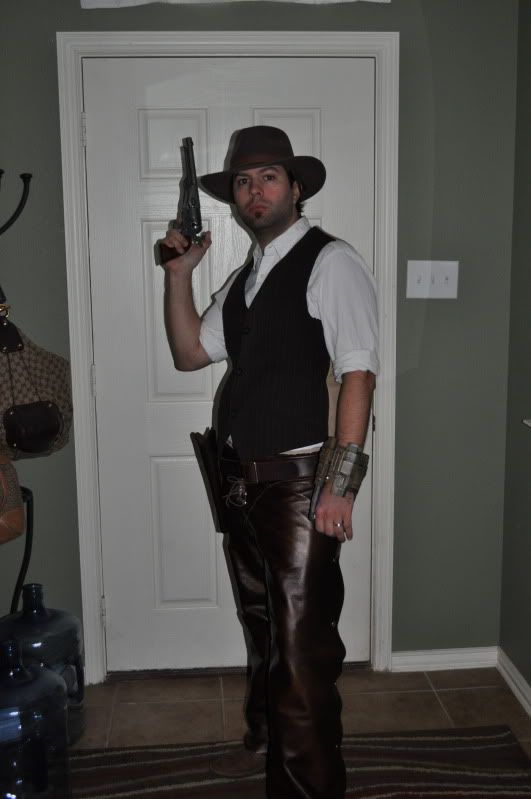
So with Halloween drawing ever so near, I decided I needed to get on with my Jake Lonergan costume.

I have so far:
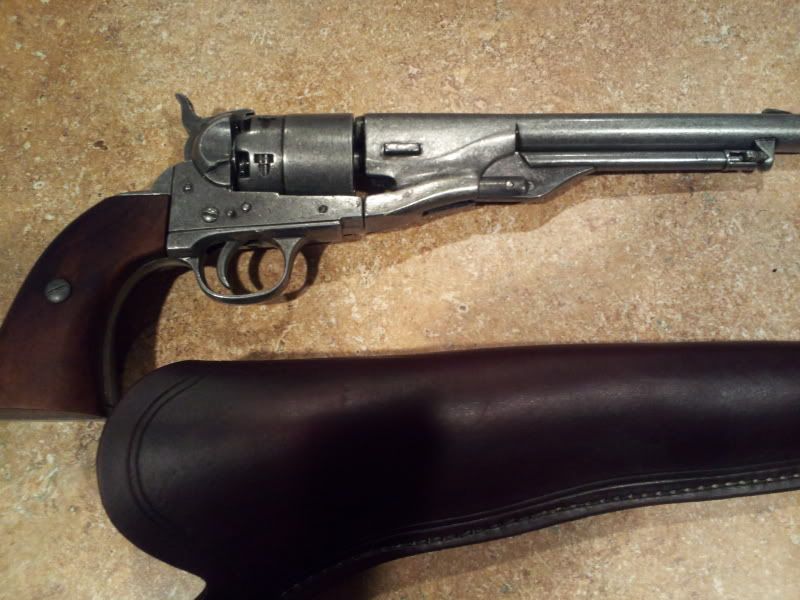
- 1860 Colt Army (Denix) and holster w/belt
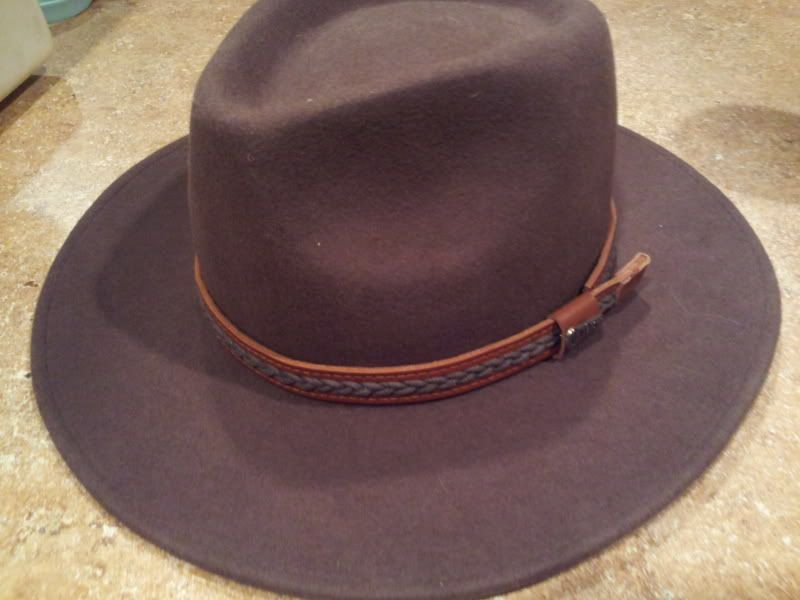
- Hat (picked it up in Wyoming last summer)
On my list to do is:
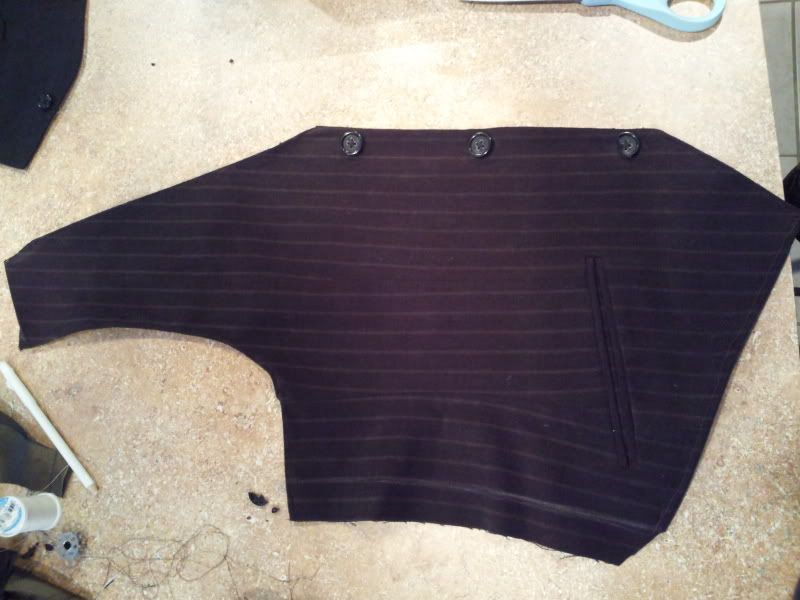
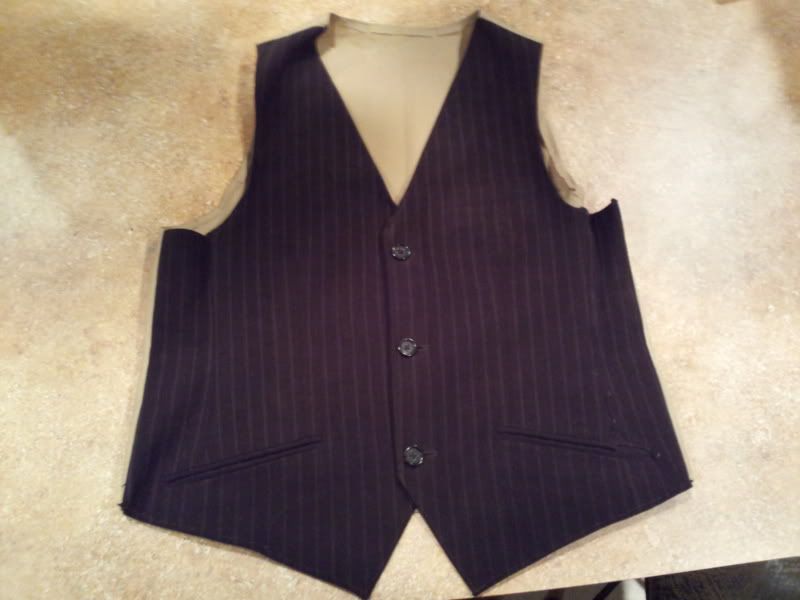
- Vest (chocolate brown pinstripe)
- Chaps
- White shirt, weathered
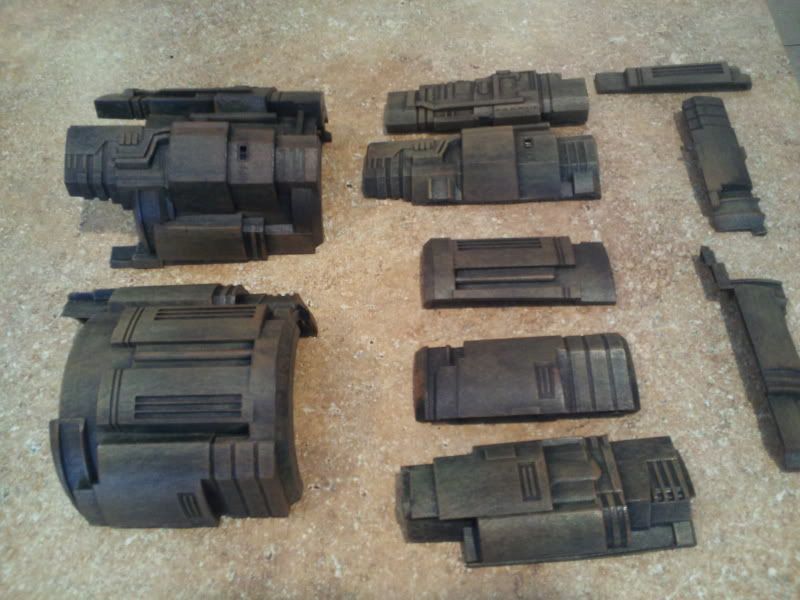
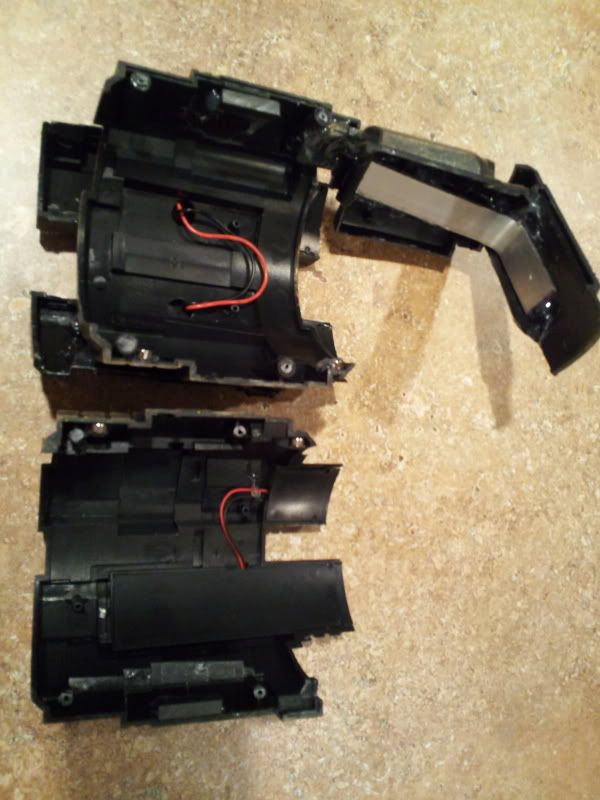
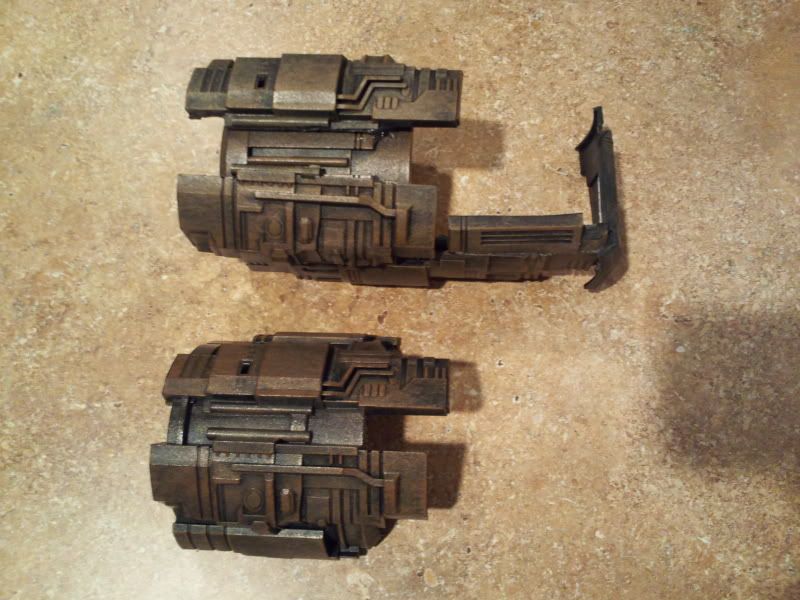
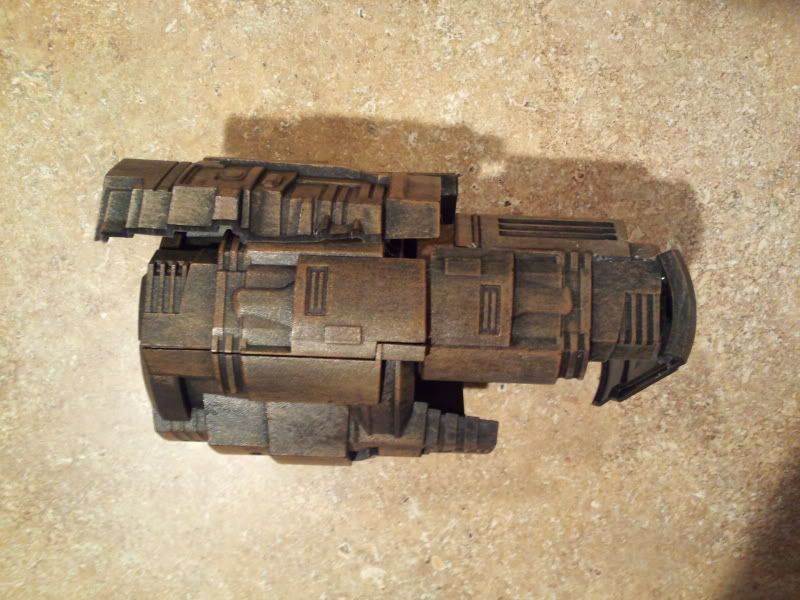
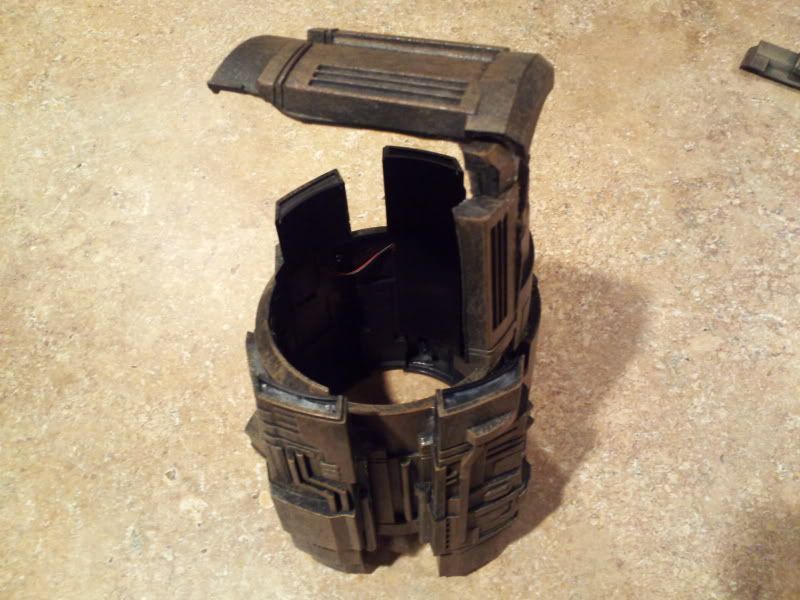
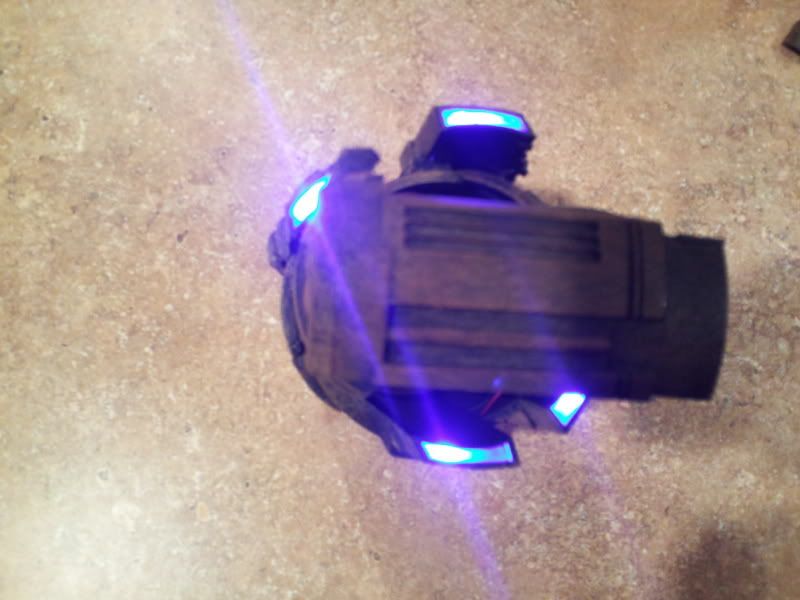
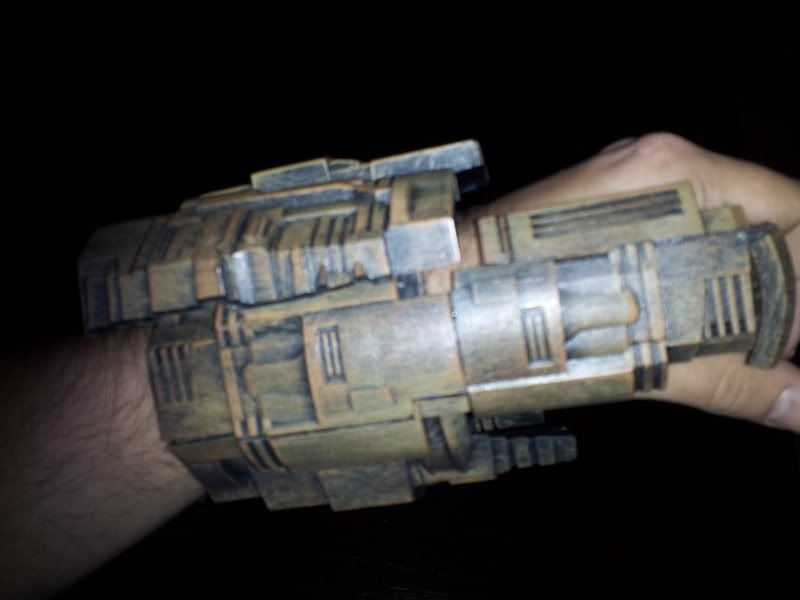
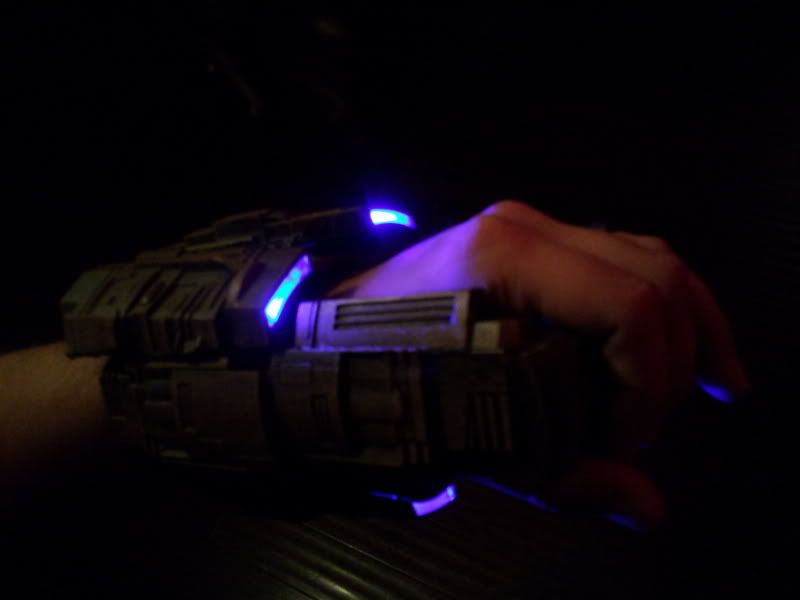
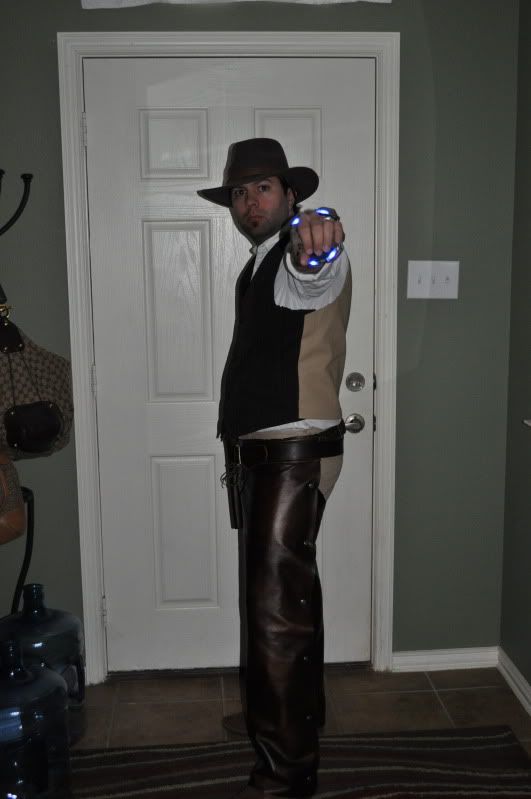
- Finish my wrist blaster

With a long weekend out of town next weekend, and working full-time in retail, I actually don't have another day off before Halloween that I will be able to work on this. So I took full advantage of my day today and started on the chaps.
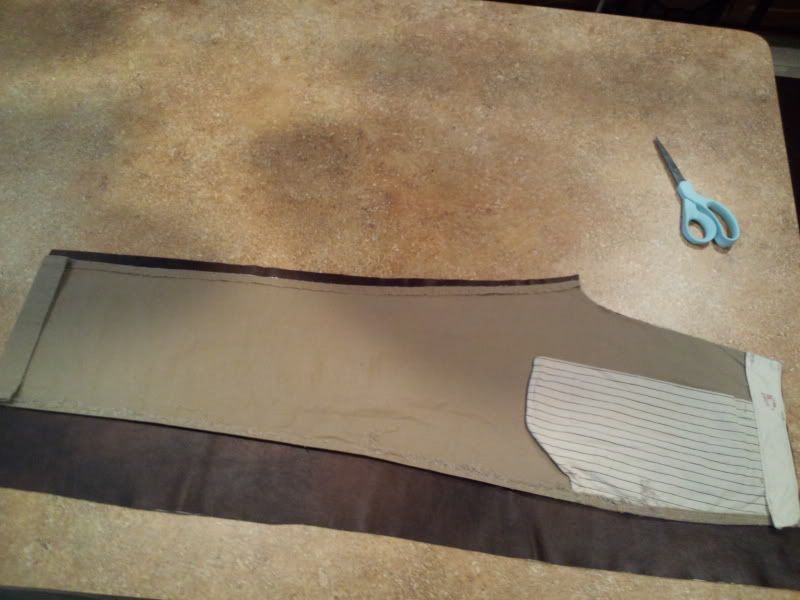
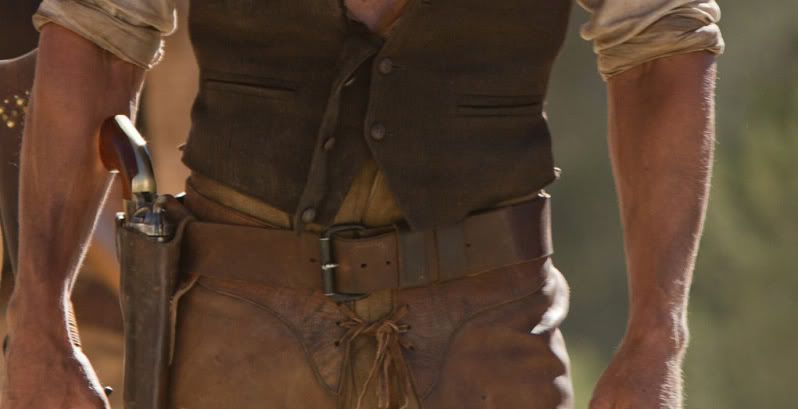
To begin, I took a pair of chinos I no longer wear, and dissected them at the seams! These would become my pattern. The particular style of chaps worn in the movie are mostly closed in the front, with the majority of the rear missing.

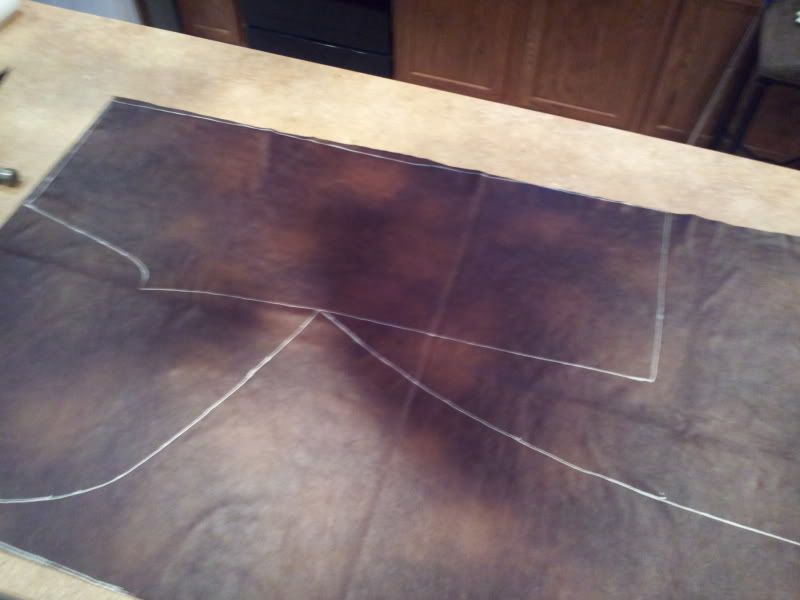
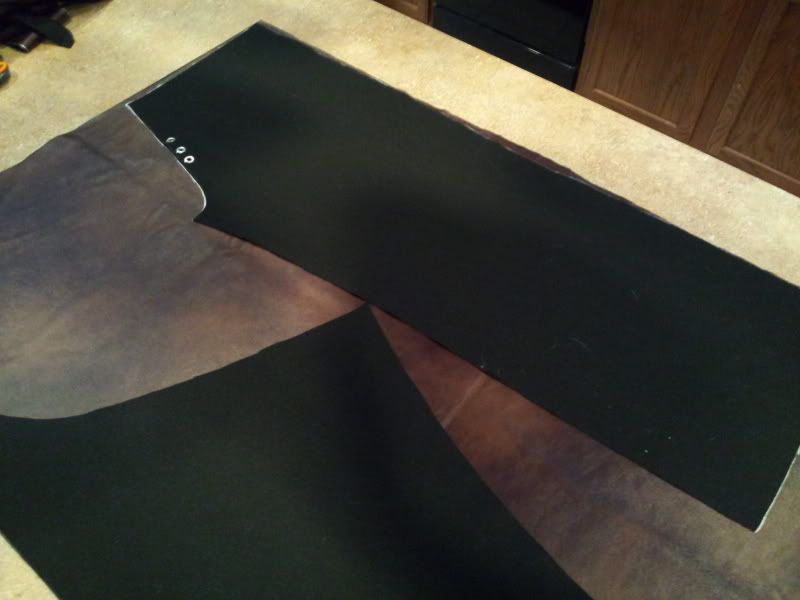
I purchased some leather-like upholstery vinyl from Hobby Lobby at a very decent price (yard and a half at $21.99/yd + weekly 40% off coupon found on their website!). Here you can see my "pattern" laid out on the fabric for marking and cutting:
As you can see, I left quite a bit of excess on the right side of the pattern to allow for wrapping around for closure on the leg.
After cutting out the right leg pieces, I flipped them over and traced them onto the second piece of fabric to replicate the left leg:
Now that I have two pieces cut for each leg, I needed two more pieces for the front detail seen here:
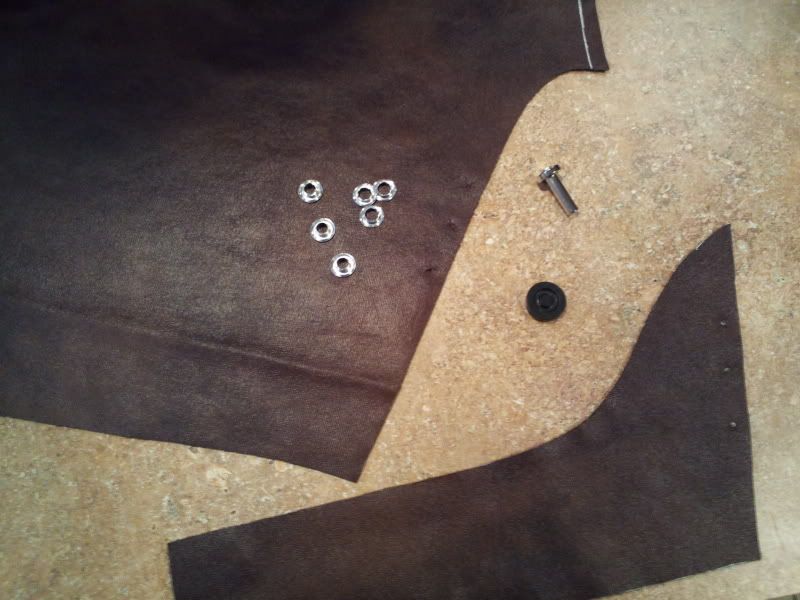
I freehanded these onto a scrap piece and cut them out, and used fabric eyelets (also purchased at Hobby Lobby) to attach them to the front leg pieces:

Before I did that though, I did a test fit of the front piece to check the length and overall fit. I noticed there was extra fabric at the top, so I decided I could fold the excess over to the back to create a slip for a belt to go in, which would attach the two legs and keep them up where I wanted them! I made sure there was enough for a belt to fit, and then stitched it down.
After attaching the front details with the eyelets, I broke out the wife's sewing machine (which I have never used before!) and sewed the rest of the piece down. Please forgive my poor stitching skills!

Next up was to sew the two halves of each leg together. I matched up my pattern marks (with seam allowances) and pinned them together, then ran them through the sewing machine.
Next I needed a way of joining one side to the other for wear: snaps. I placed six snaps equidistant from each other down the entire leg. I then did another test fit to mark the back piece for the other half of each snap. This required some help from my wife")

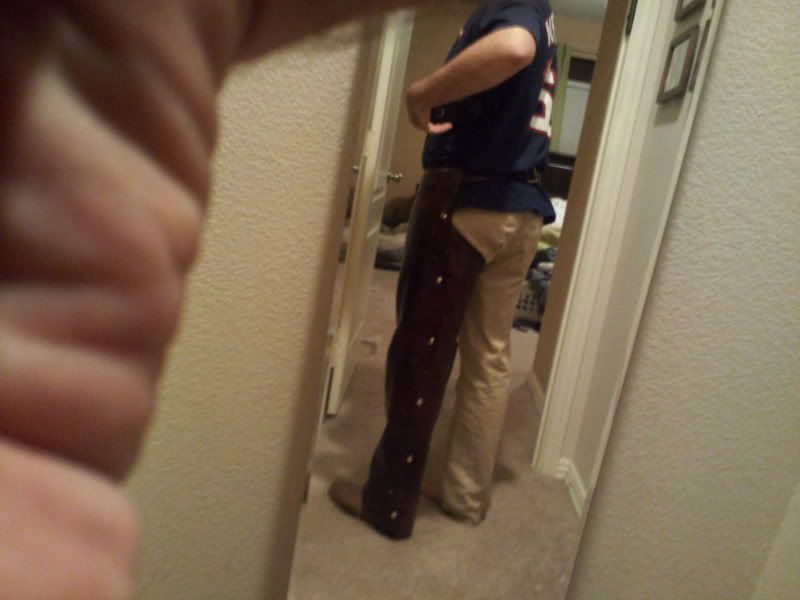
After marking the placement for the snaps, I finished installing them and gave them a final test fit.
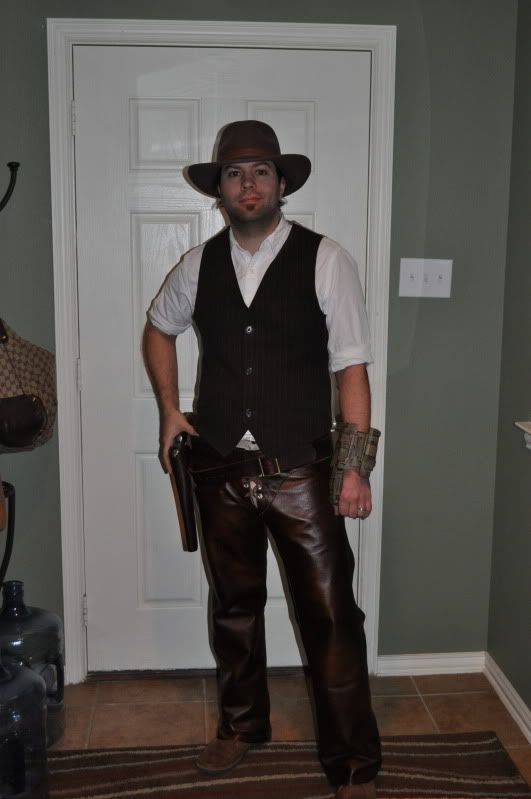
The front:

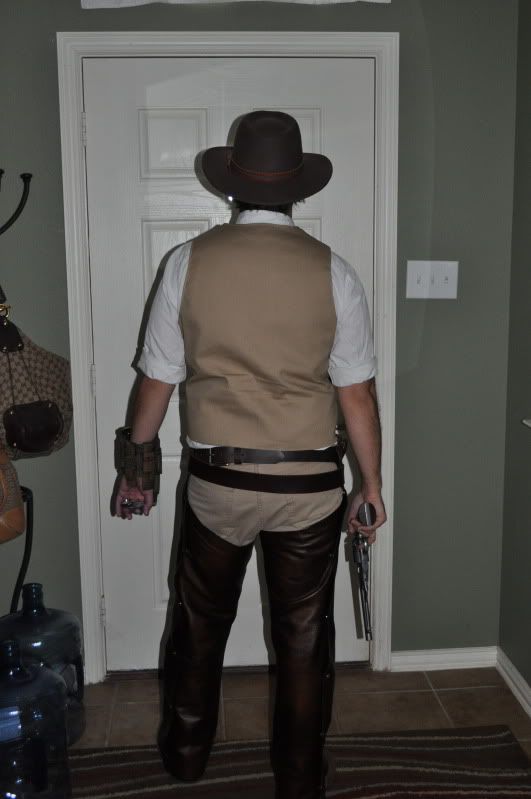
The back:
So one leg is complete, and the second shouldn't take too long. Next up will be the vest...
I have so far:
- 1860 Colt Army (Denix) and holster w/belt
- Hat (picked it up in Wyoming last summer)
On my list to do is:
- Vest (chocolate brown pinstripe)
- Chaps
- White shirt, weathered
- Finish my wrist blaster
With a long weekend out of town next weekend, and working full-time in retail, I actually don't have another day off before Halloween that I will be able to work on this. So I took full advantage of my day today and started on the chaps.
To begin, I took a pair of chinos I no longer wear, and dissected them at the seams! These would become my pattern. The particular style of chaps worn in the movie are mostly closed in the front, with the majority of the rear missing.
I purchased some leather-like upholstery vinyl from Hobby Lobby at a very decent price (yard and a half at $21.99/yd + weekly 40% off coupon found on their website!). Here you can see my "pattern" laid out on the fabric for marking and cutting:
As you can see, I left quite a bit of excess on the right side of the pattern to allow for wrapping around for closure on the leg.
After cutting out the right leg pieces, I flipped them over and traced them onto the second piece of fabric to replicate the left leg:
Now that I have two pieces cut for each leg, I needed two more pieces for the front detail seen here:
I freehanded these onto a scrap piece and cut them out, and used fabric eyelets (also purchased at Hobby Lobby) to attach them to the front leg pieces:
Before I did that though, I did a test fit of the front piece to check the length and overall fit. I noticed there was extra fabric at the top, so I decided I could fold the excess over to the back to create a slip for a belt to go in, which would attach the two legs and keep them up where I wanted them! I made sure there was enough for a belt to fit, and then stitched it down.
After attaching the front details with the eyelets, I broke out the wife's sewing machine (which I have never used before!) and sewed the rest of the piece down. Please forgive my poor stitching skills!
Next up was to sew the two halves of each leg together. I matched up my pattern marks (with seam allowances) and pinned them together, then ran them through the sewing machine.
Next I needed a way of joining one side to the other for wear: snaps. I placed six snaps equidistant from each other down the entire leg. I then did another test fit to mark the back piece for the other half of each snap. This required some help from my wife
After marking the placement for the snaps, I finished installing them and gave them a final test fit.
The front:
The back:
So one leg is complete, and the second shouldn't take too long. Next up will be the vest...
Last edited: